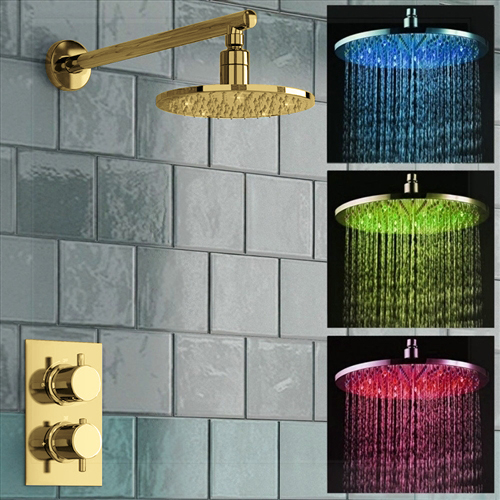
Fontana Round Thermostatic Mixer Shower Set with Optional LED Lighting
This versatile shower head comes in four different sizes: 8", 10", 12" and 16" so you can choose the right size to complement your bathroom. In addition to this, it comes in brushed nickel finish to blend with your style preferences. Optional LED lighting provides you with visual shower temperature cues to reduce water waste.
Fontana Round Thermostatic Mixer Shower Set with Optional LED Lighting Features:
Brand Name: FontanaShowers
Model Number: FS1261MS-G
Feature: Thermostatic Faucets
Type: Fixed Rotatable Type
GPM: 1.3
Water Flow Rate: 5 (L/Min)
Surface Finish: Chrome
Installation Type: Wall Mount
Cold/Hot Water Control Type: Dual Holder Dual Control
Before you begin, please read the installation instructions below. Observe all local building and safety codes.
Unpack and inspect the product for any shipping damages. If you find damages, do not install.
Please note all showers must be installed by a professional and certified plumber otherwise warranty might be voided.
shower
Shower Head Installation Instructions
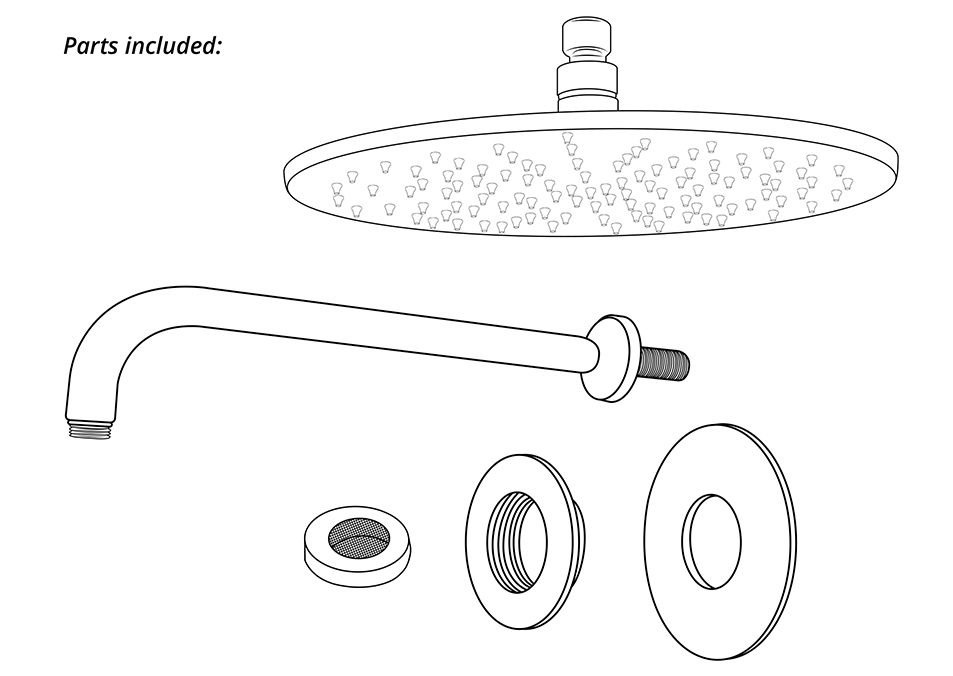
Shower Head Parts Included:
Wall Mounting Arm
Locking nut
Wall trim
Shower arm
Showerhead Fixing screws
and wall plugs (not shown
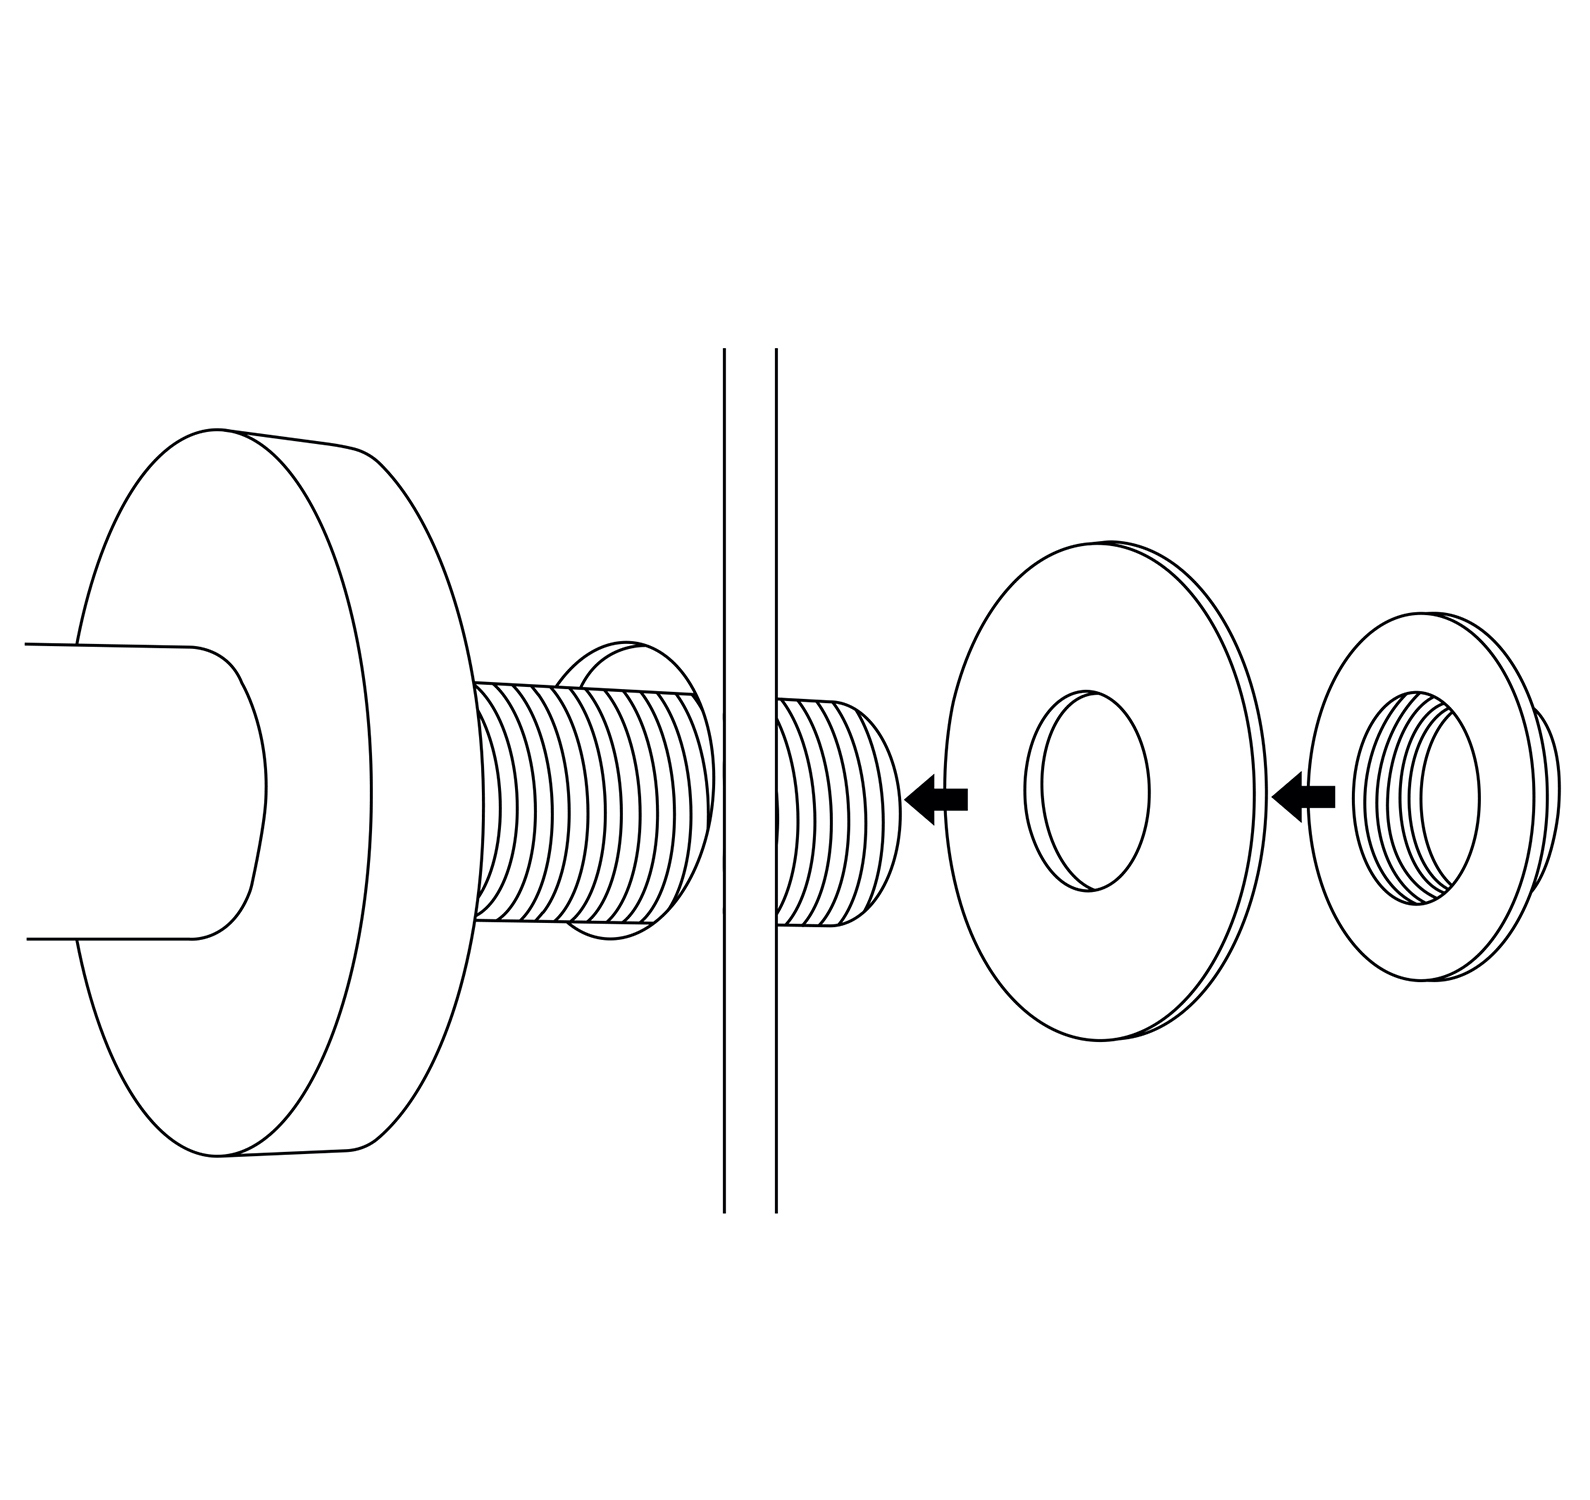
Step 1:
Step 2:
Step 3:
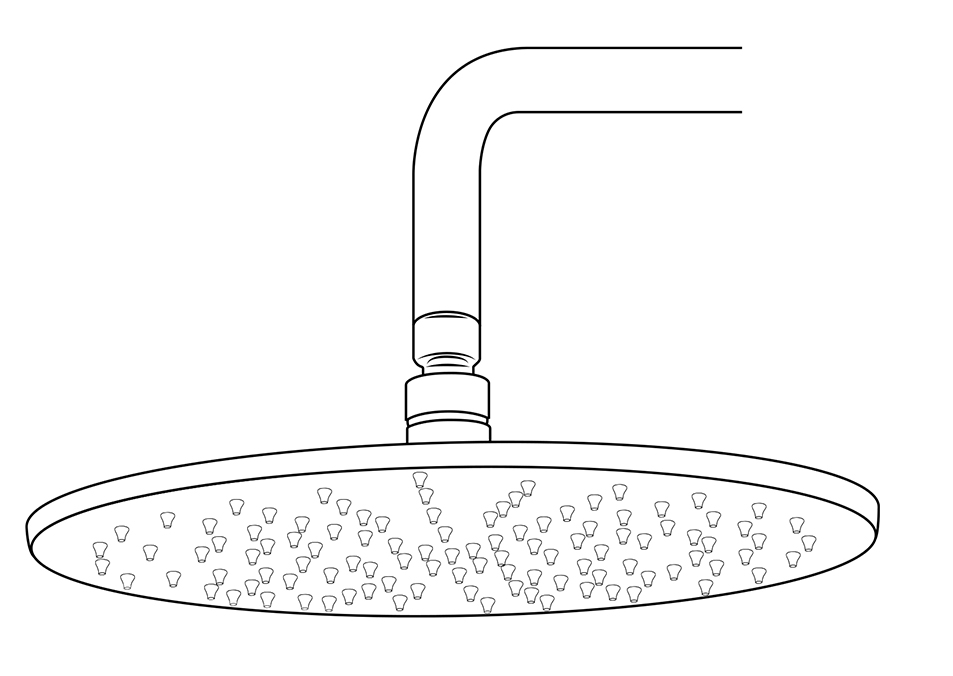
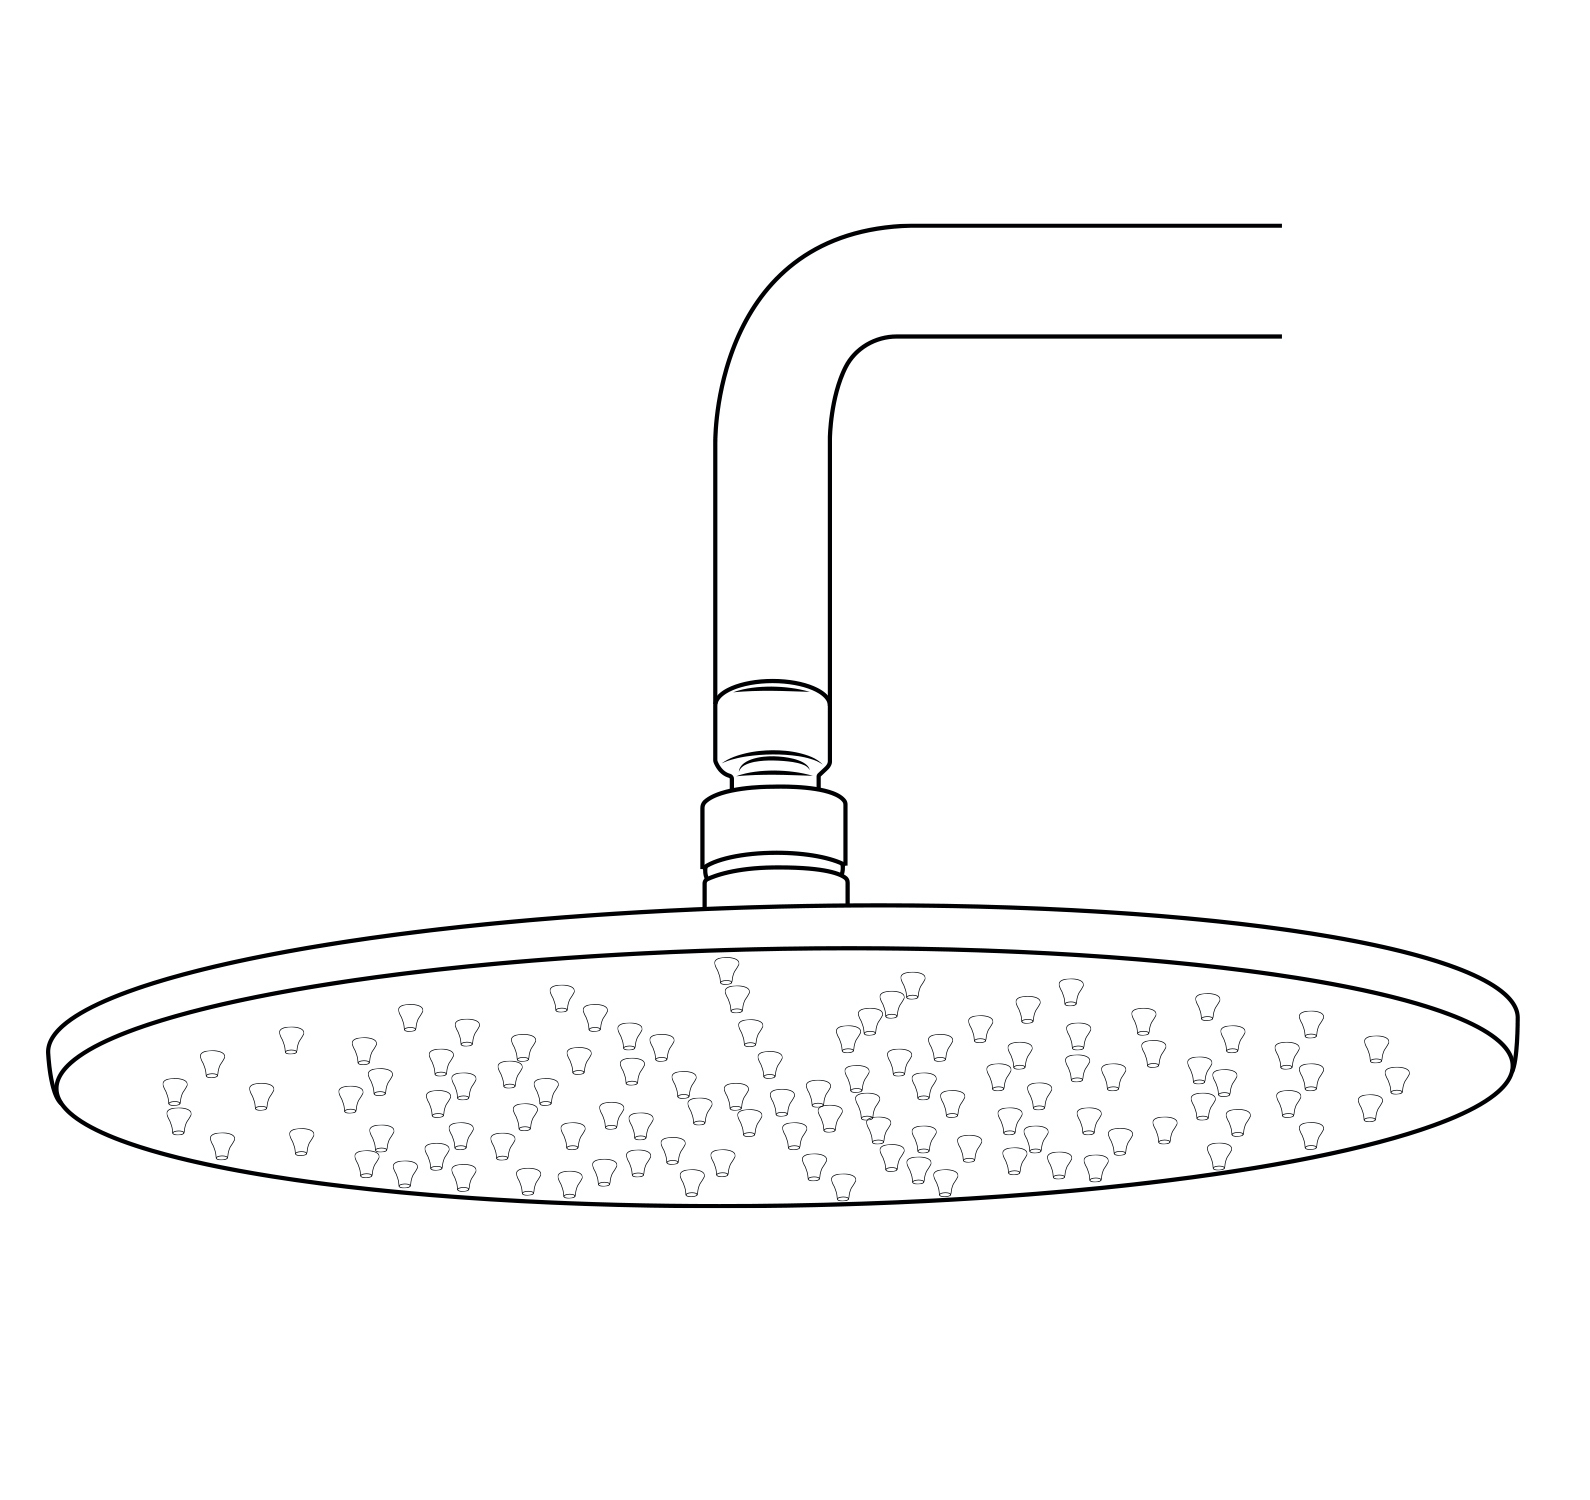
Wall Mount Round Showerhead
Shower
Shower
Wall Mount Round Showerhead
Step 4:
Step 5:
Step 6:
Wall Mount Round Showerhead
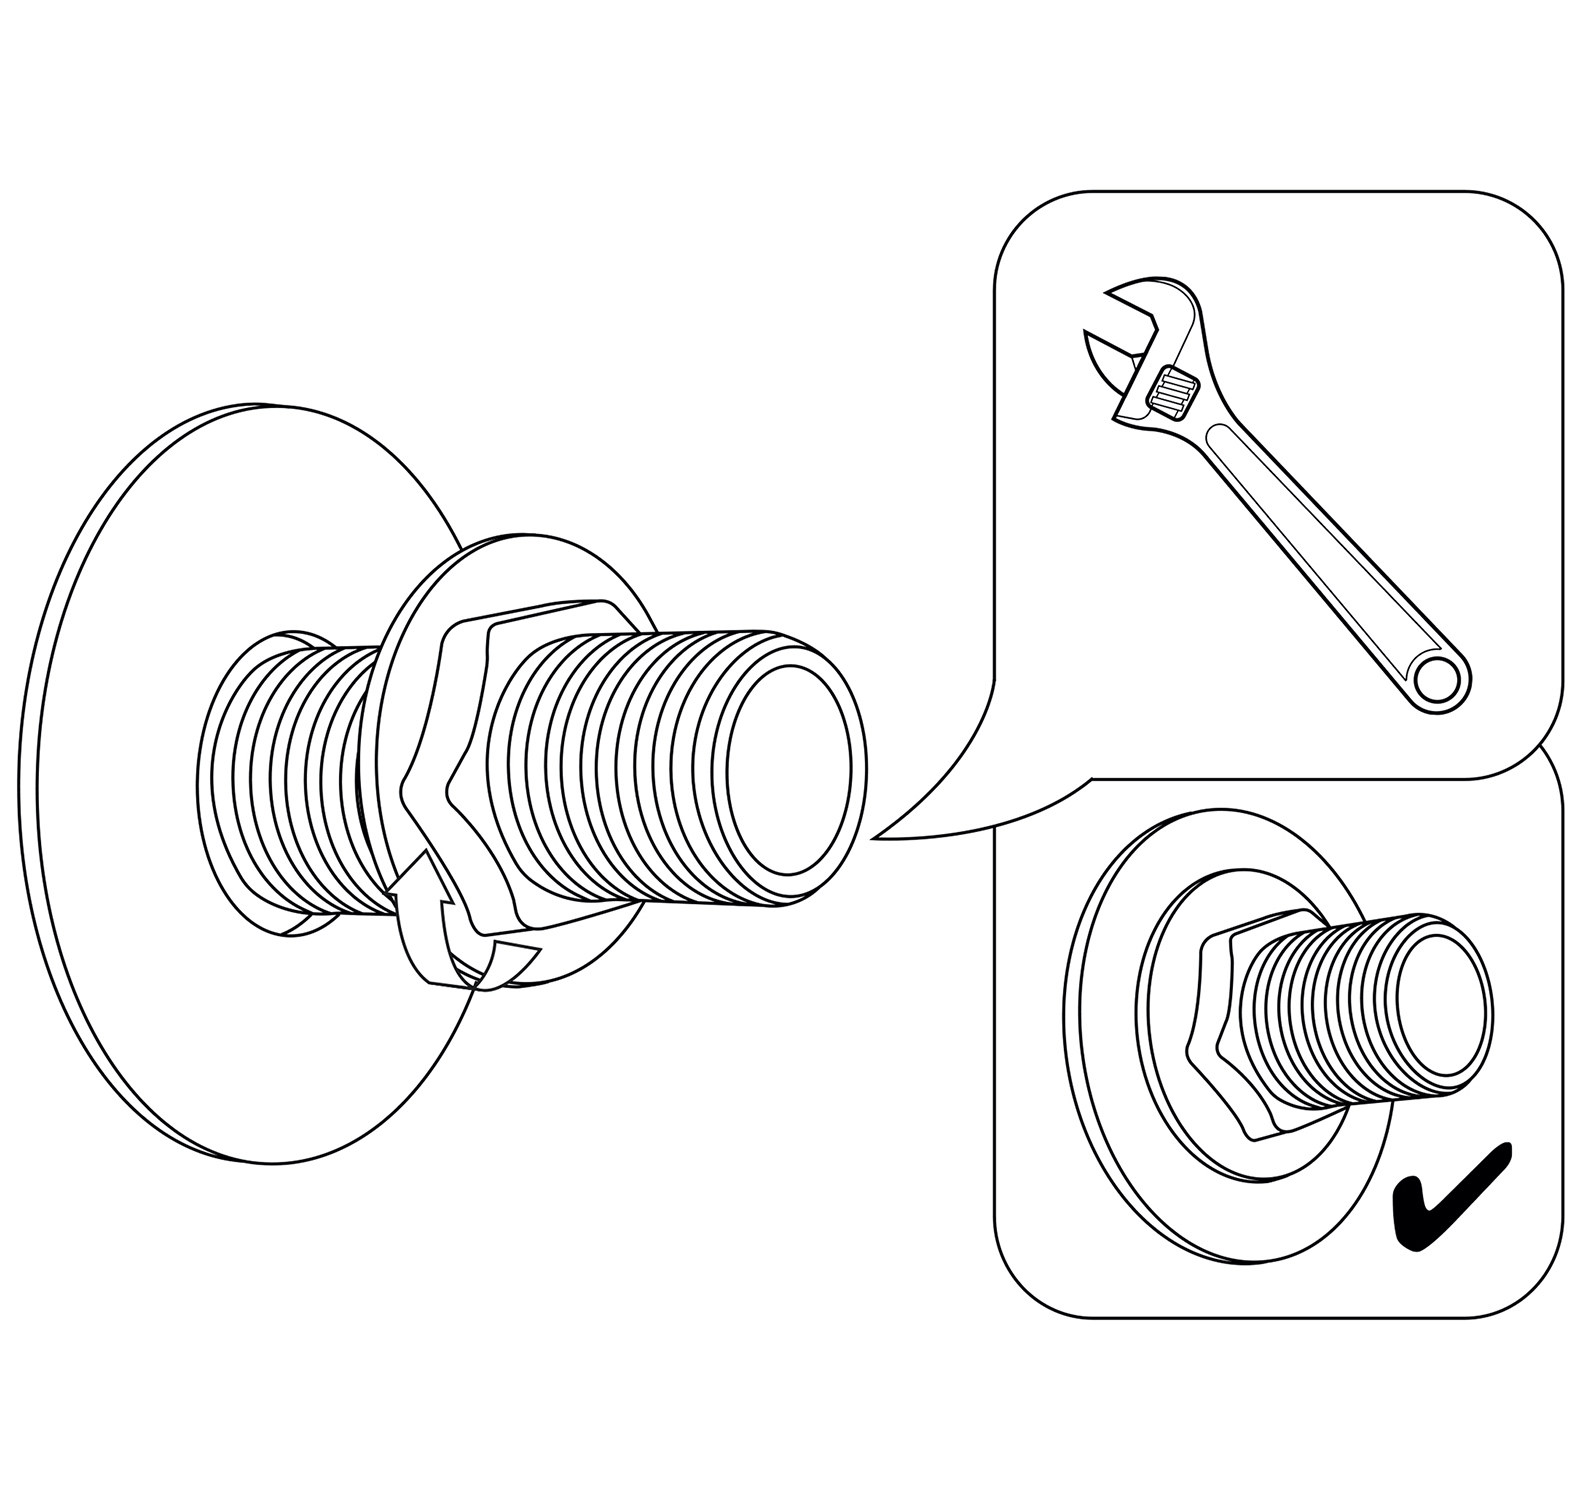
1. Remove the old shower head by using the channel lock pliers or monkey wrench. Be sure to turn the pliers counter-clockwise to loosen the old shower head. (Tip: Right is tight, left is loose.)
2. Remove the shower arm by turning it by hand counter-clockwise. Make sure you remember to apply putty or tape to the new arm. (Tip: Using teflon tape is less messy)
3. Apply teflon tape to the threading of the shower arm by wrapping it around the threads, go all the way around 3 or 4 times depending on the quality of the Teflon tape.
4. Install the new shower arm by going clockwise by hand until it is tight, then put painters tape around the arm and tighten the arm with the channel lock or monkey wrench.
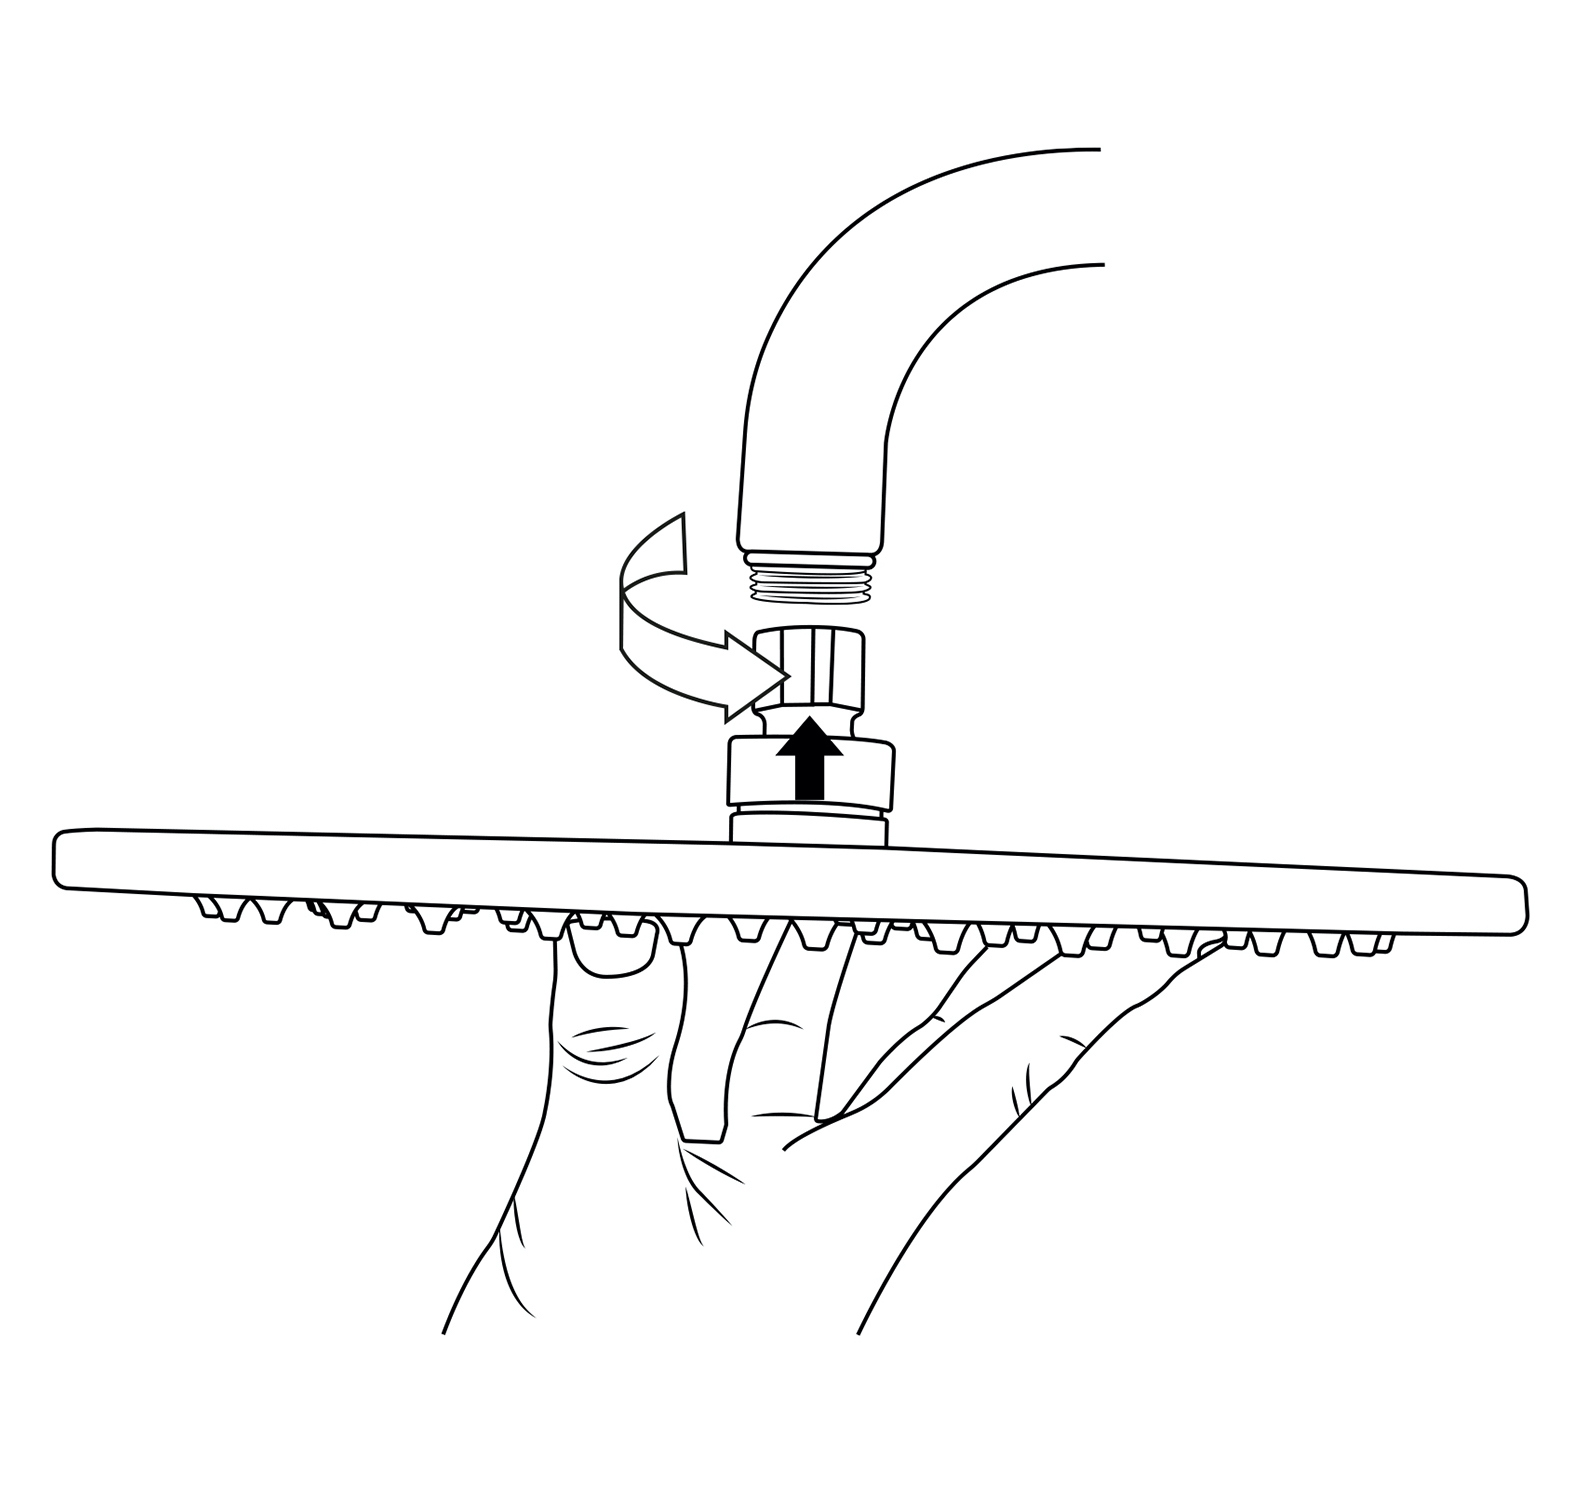
5. Place Teflon tape around the threads on the shower head and then place the shower head onto the shower arm by turning the shower head clockwise after the shower arm is already in the wall.