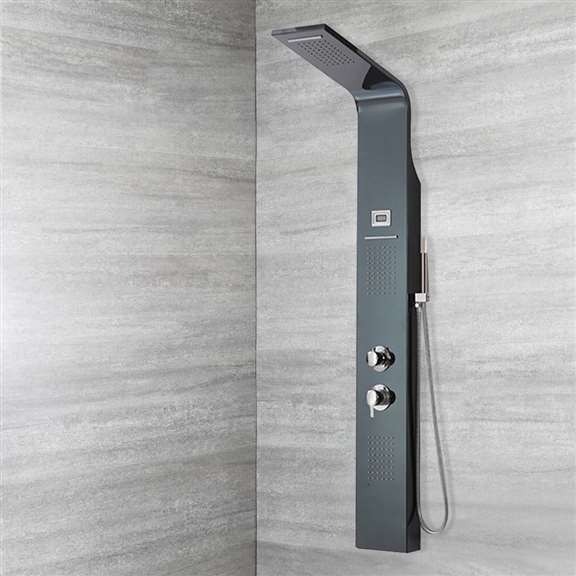
Installation Instructions for Fontana Massage Shower Panel System
In order to install this shower panel, a simple understanding of plumbing techniques will be necessary. Please contact a professional plumber if you are unfamiliar with plumbing techniques or require assistance.
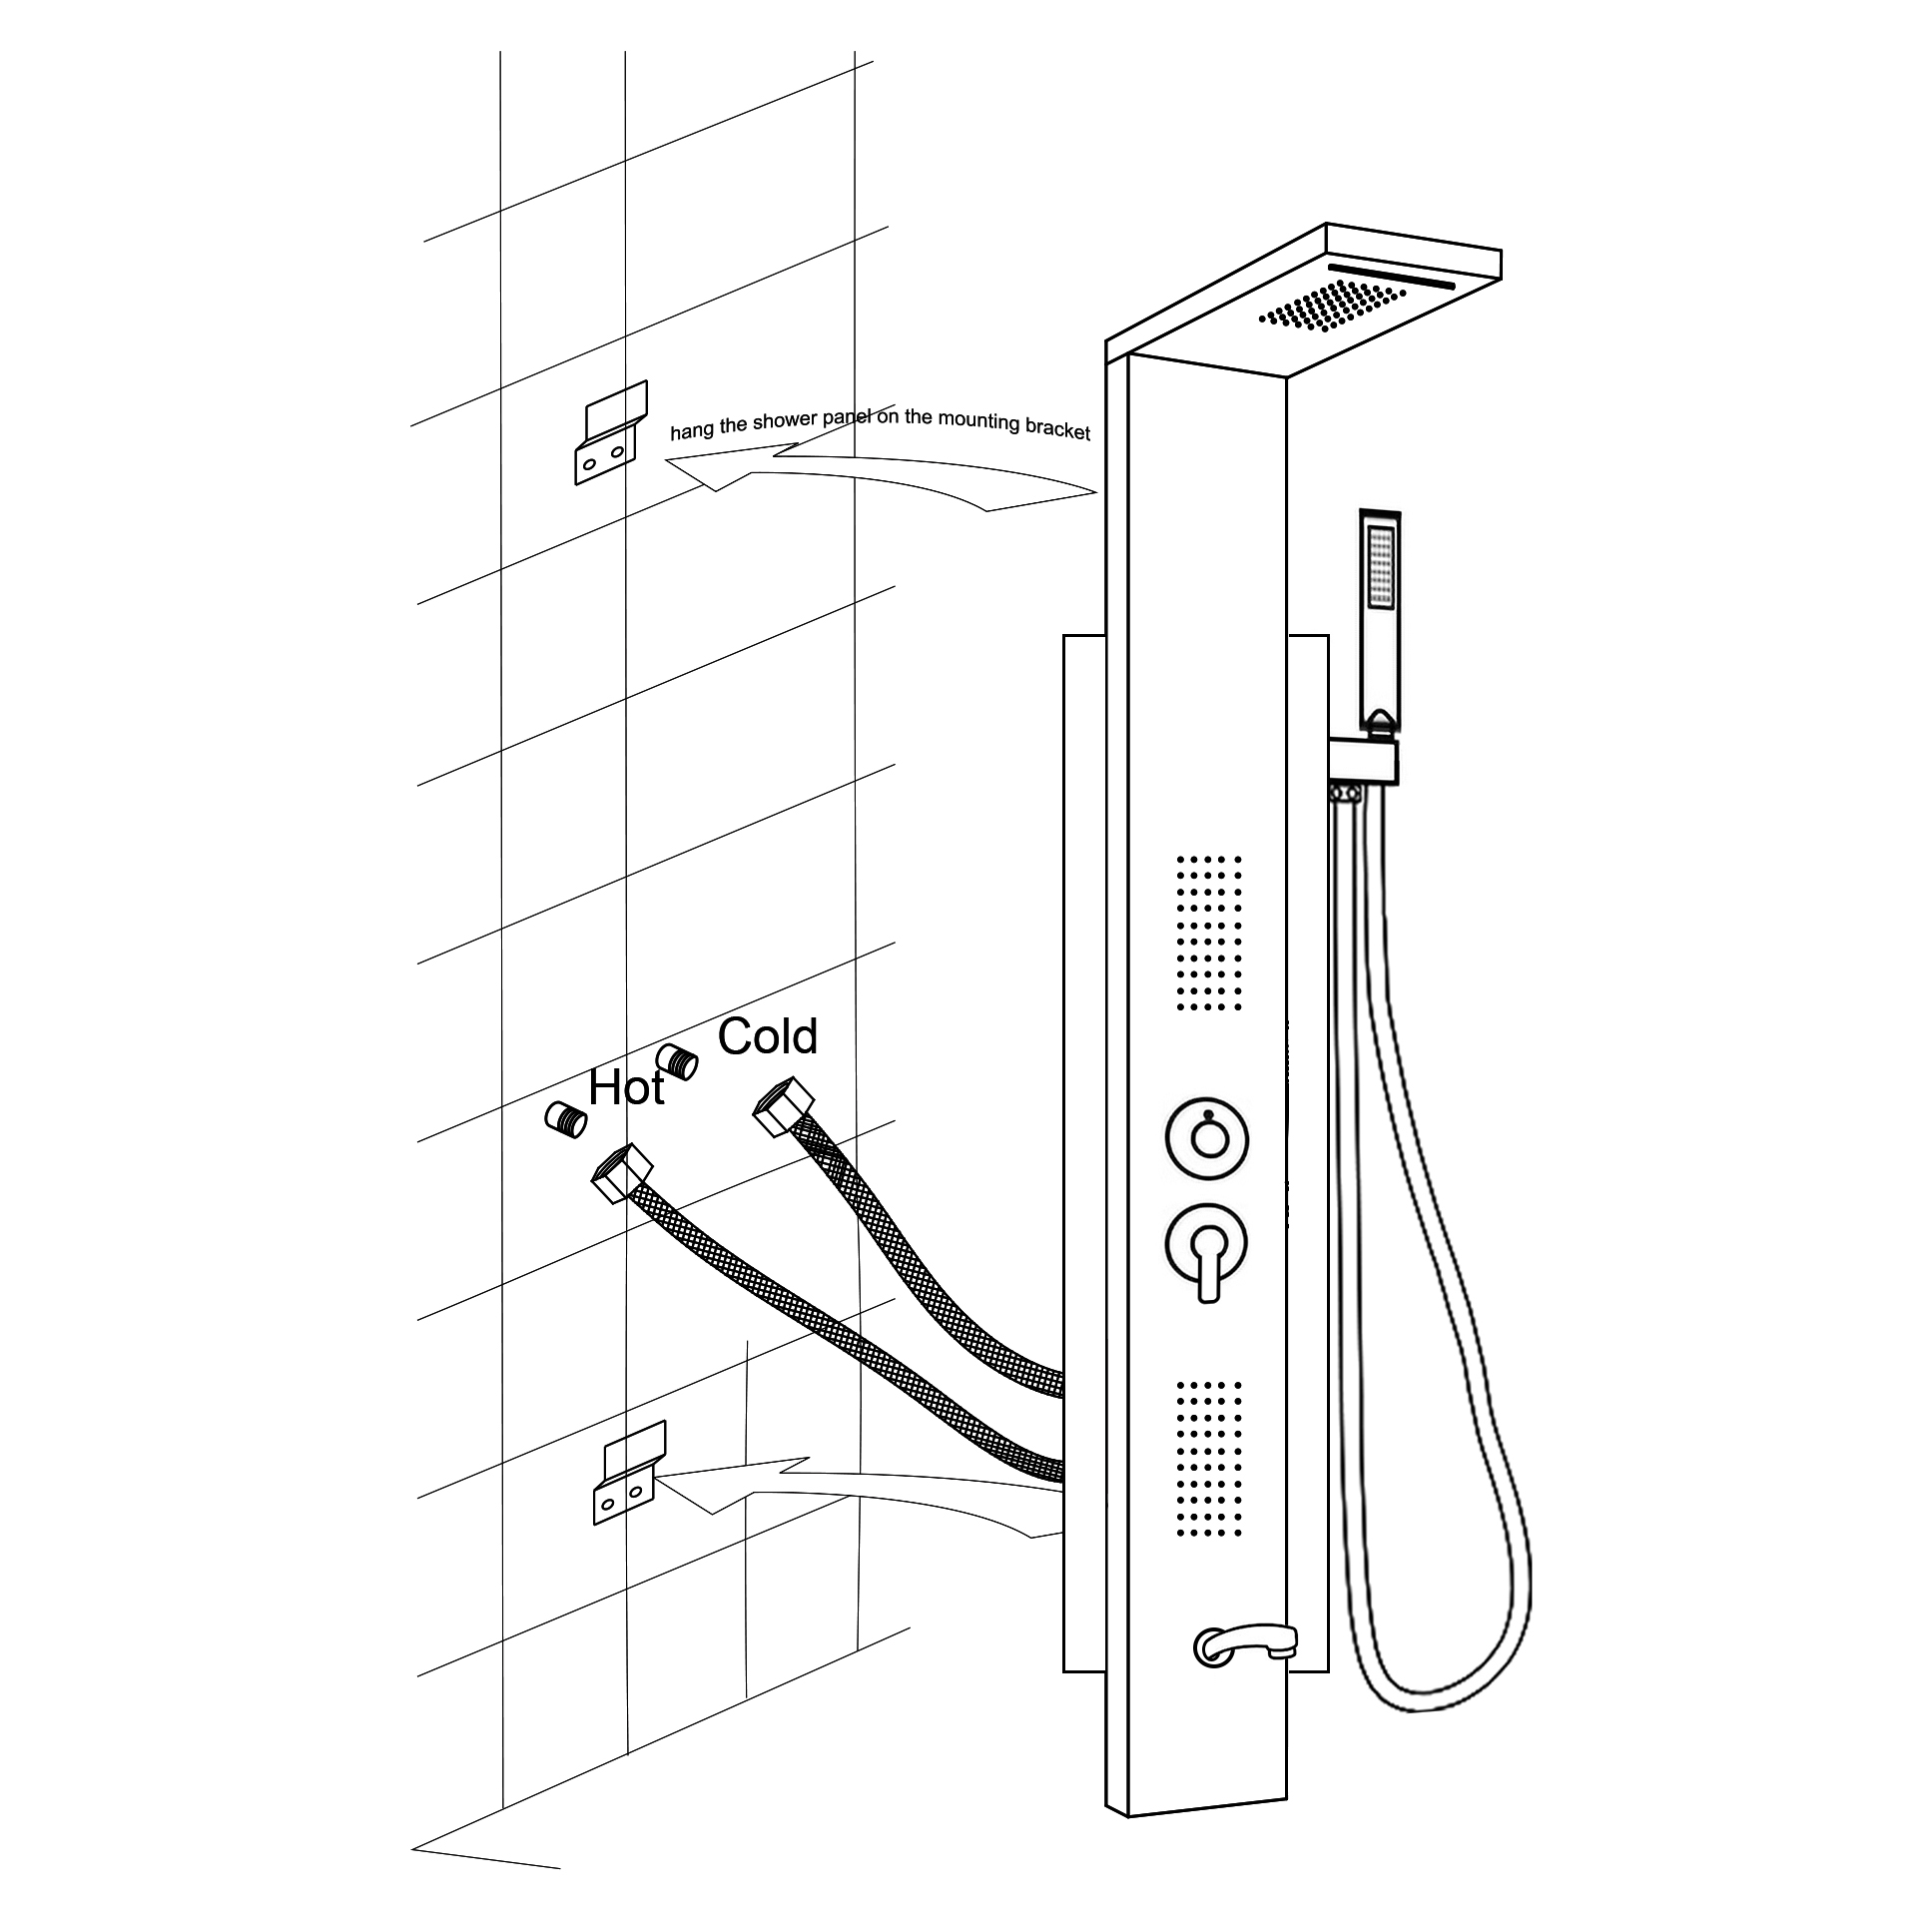
Separate cold and hot water supply lines. This shower panel replaces any mixing valve you are currently using.
Remove the shower panel and locate the position of the mounting brackets. Take measurements and then transfer those brackets to the location of the wall. Mark the center point of the location of the mounting brackets.
Using a drill, attach wall mounting brackets with the included hardware. An extra set of hands may be required for the following steps. Lift and locate the hot and cold water lines on the shower panel.
Connect the hot and cold water supply lines to the flexible hoses. Be sure to use the included washers. It is recommended a 3/8″ right angle connection be installed to better route the flexible hoses.
Once connected, lift the entire shower panel and hook it to the wall using the mount brackets. There are two types of mounting brackets used for our shower panels.
Check if the unit is leveled. Test out all shower functions including the water temperature to finish the installation. If your water temperature is either too hot or too cold, please check the hot and cold water lines. The connection many by reversed (Cold and hot).
Complete the installation by using a silicone sealant around the perimeter of the shower panel. Your installation is now complete.