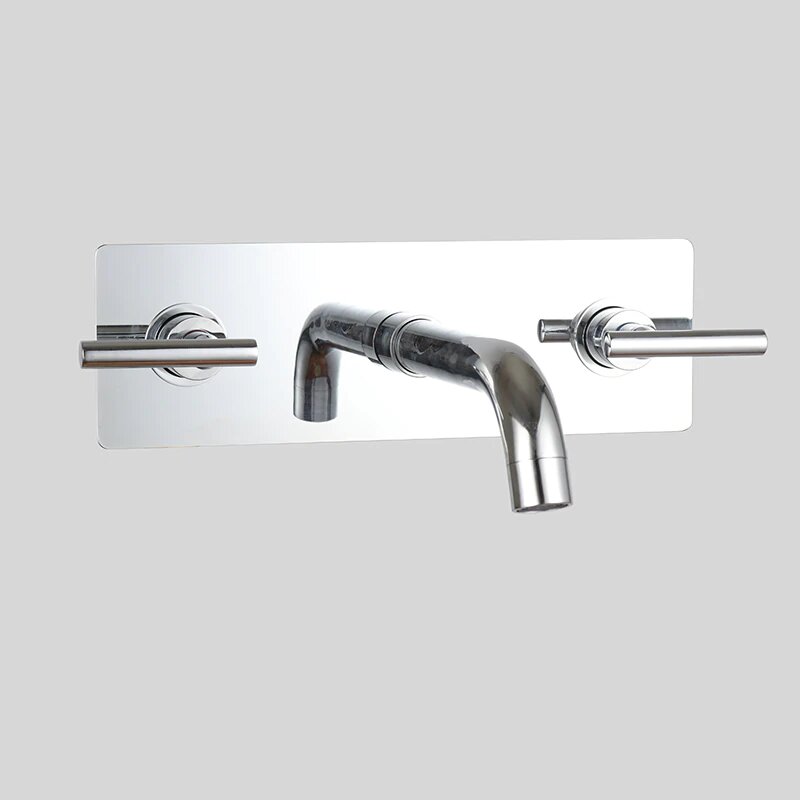
Fontana Sierra 3pcs Chrome Wall Mount Bathroom Sink Or Bathtub Faucet
Combining architectural forms with sensual design lines, the Fontana Sierra 3pcs chrome wall mount bathroom sink or bathtub faucet and accessories bring a touch of modern elegance to your bathroom. When it comes to new bathroom upgrades, FontanaShowers offers the shape, finish, and style that you've looking for. Give your bathroom an elegant look with these faucets and fixtures. Fontana Sierra is one of the trendiest finishes across decor styles in the bathroom. Sierra faucet exemplifies the FontanaShowers collection style, with its low gooseneck spout and dual lever handles. Easy-to-install and leak-free. It comes with super seal technology inside, capable of delivering superior performance with solid construction for long durability that will upgrade your bathroom with a modern and sleek look for a long period of time. This faucet can be used for hot & cold water. The valve core material is a high quality of ceramic.
Fontana Sierra 3pcs Chrome Wall Mount Bathroom Sink Faucet Features:
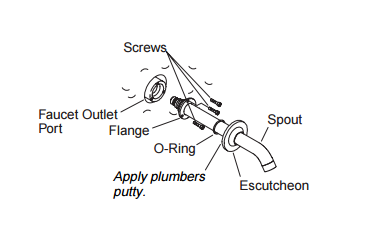
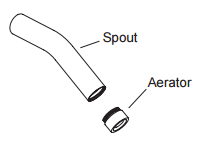
IMPORTANT! Use care when installing the spout to avoid scratching the finish.
Thread the spout into the spout shank until it is snug. If needed, adjust the spout slightly to position it so it points straight down.
Secure the spout in place by tightening the flange with the screws provided. Confirm that the O-ring is inside the escutcheon.
Apply plumbers putty or other sealant to the back surface of the spout escutcheon according to the putty manufacturer’s instructions.
Carefully slide the spout escutcheon over the spout and press firmly against the finished wall.
Remove any excess putty or sealant
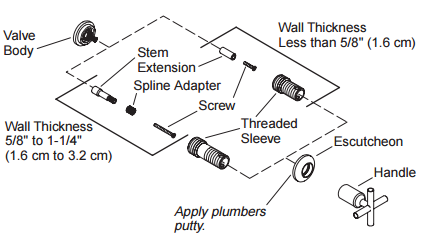
2. Install the Handles
NOTE: If the finished wall is less than 5/8″ (1.6 cm) thick, no spline adapter will be used with the installation.
Determine the thickness of the finished wall.
If the finished wall is less than 5/8″ (1.6 cm) thick, use the 1″ (2.5 cm) long stem extension, 7/8″ (2.2 cm) long screw, and the 2″ (5.1 cm) long threaded sleeve.
If the finished wall is 5/8″ (1.6 cm) to 1-1/4″ (3.2 cm) thick, use the 1038270 hardware kit supplied.
If applicable, slide a spline adaptor onto the stem extension.
Place a stem extension the valve stem. Secure with the screw provided. Thread a threaded sleeve onto the valve body.
Apply plumbers putty or other sealant to the back of the escutcheon according to the putty manufacturer’s instructions.
Thread an escutcheon onto the threaded sleeve. Remove any excess putty or sealant.
Press a handle over the stem extension and move the handle to the closed position (Hot = Counterclockwise, Cold = Clockwise). Lever handles should be horizontal when closed.
If adjustment is needed to achieve the desired handle alignment, remove the handle, screw and spline adapter or stem extension. Turn the spline adapter 1/4 turn. Check the handle position. Repeat the procedure until the proper handle position is achieved. Secure with the screw.
Thread the handle assembly onto the escutcheon. To maintain the proper handle alignment, hold the handle in place with one hand and turn the base of the handle with the other hand.
Repeat the procedures with the second handle.
3. Complete the Installation
Ensure that both faucet handles are turned off (hot = counterclockwise to close, cold = clockwise to close).
Turn on the water supplies and check the installation for leaks.
Repair as needed.
Remove the aerator.
Open the valves and run water through the spout for about a minute to remove any debris. Check for leaks.
Remove all debris from the aerator.
Turn the valves off, and reinstall the aerator.
2 cross handles for quick and easy water control
Low-arc spout with a 6-1/4 in. reach for ample room in the sink
Low-flow aerator option available (not included)
Solid brass construction for durability and reliability
Polished chrome finish resists corrosion and tarnishing for lasting beauty
Fluid design lines for ease of cleaning
Modern, minimal design is sure to coordinate well with the Purist suite and accessories