


FontanaShowers® | Architectural and Installation Resource
Fontana DualOrion™ Gold Widespread Basin Faucet: Aerator Assembly Detail
This installation and maintenance resource explains the removable outlet assembly at the end of the high-arc spout. It addresses the outlet housing, approved aerator insert, sealing component, retaining element, flow direction, finish protection, debris inspection, cleaning, reassembly, stream evaluation and access for future service.
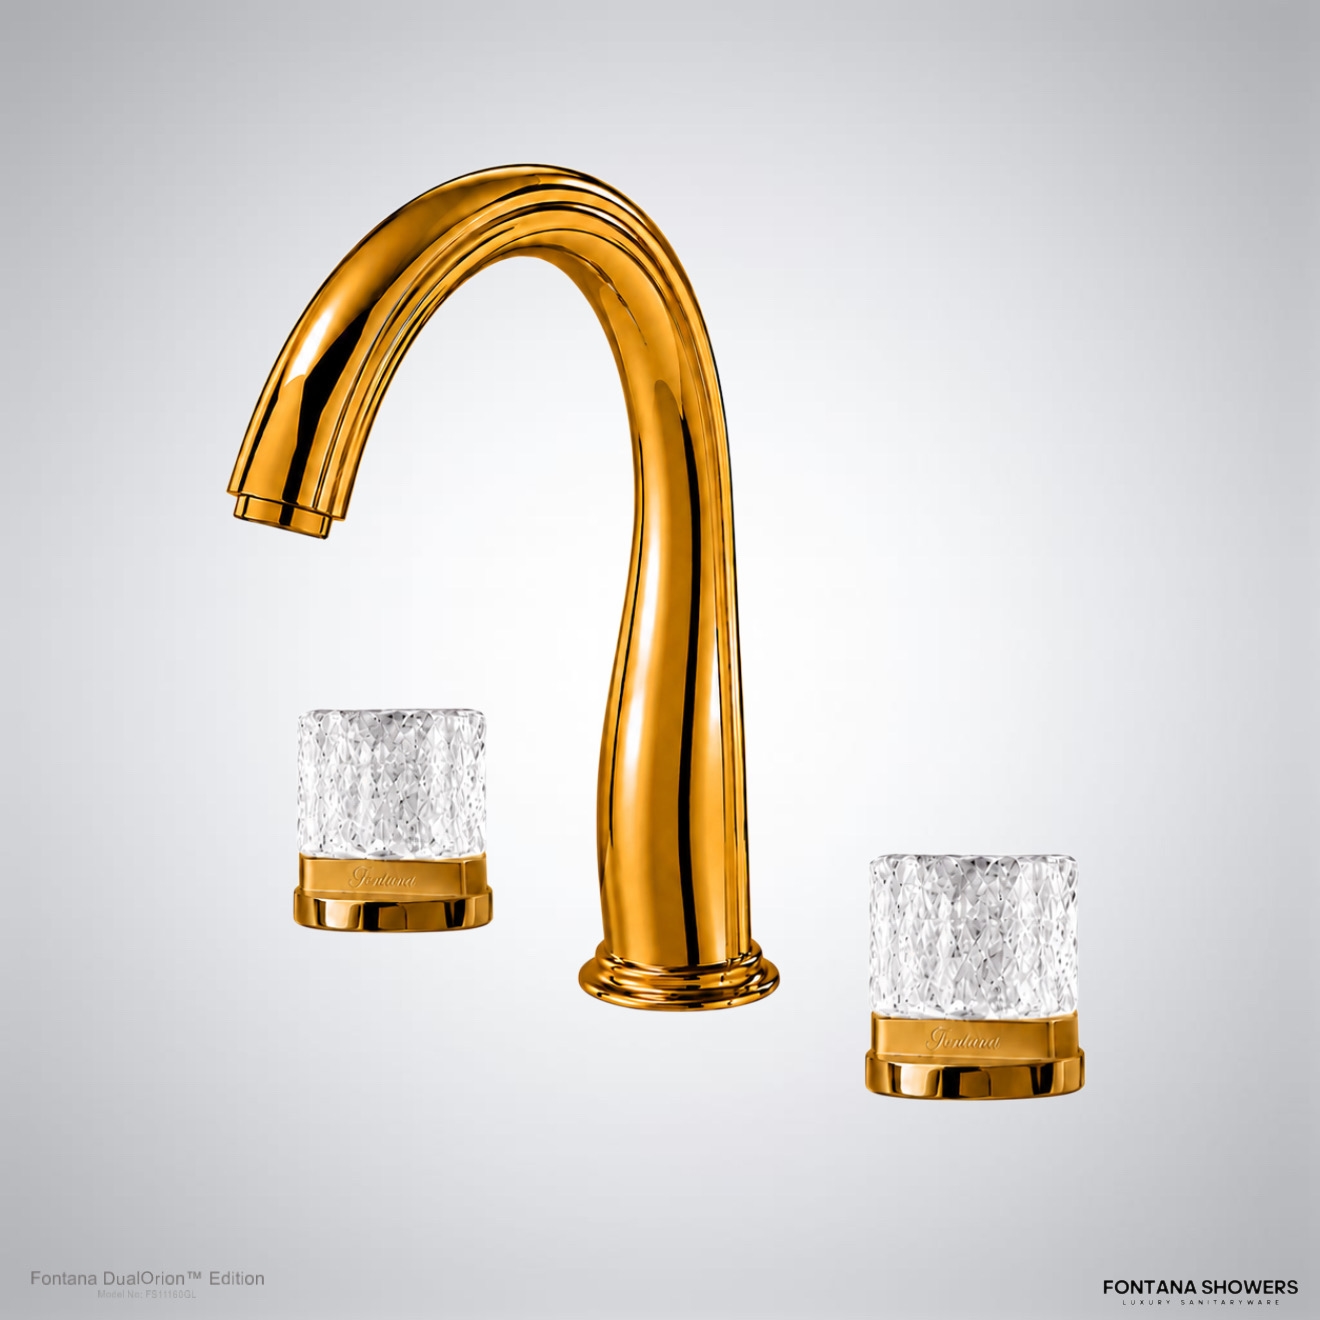
The Outlet Assembly Shapes the Final Water Stream
Water from both handle valves reaches the spout before passing through the outlet assembly. Correct aerator seating and clean internal passages support a consistent stream while the sealing and retaining parts help prevent leakage or loosening. Careful servicing also protects the visible polished gold outlet from scratches and tool damage.
- Spout outlet: Clean internal seat and undamaged visible gold finish
- Aerator insert: Approved component installed in the correct orientation
- Sealing element: Clean, flat and positioned without twisting or displacement
- Retaining element: Started freely and secured without cross-threading
- Flow direction: Water travels through the full insert before discharge
- Maintenance: Debris removed using nonabrasive, manufacturer-approved methods
- Commissioning: Stream pattern and outlet leakage checked after reassembly
Spout Outlet and Aerator Stack
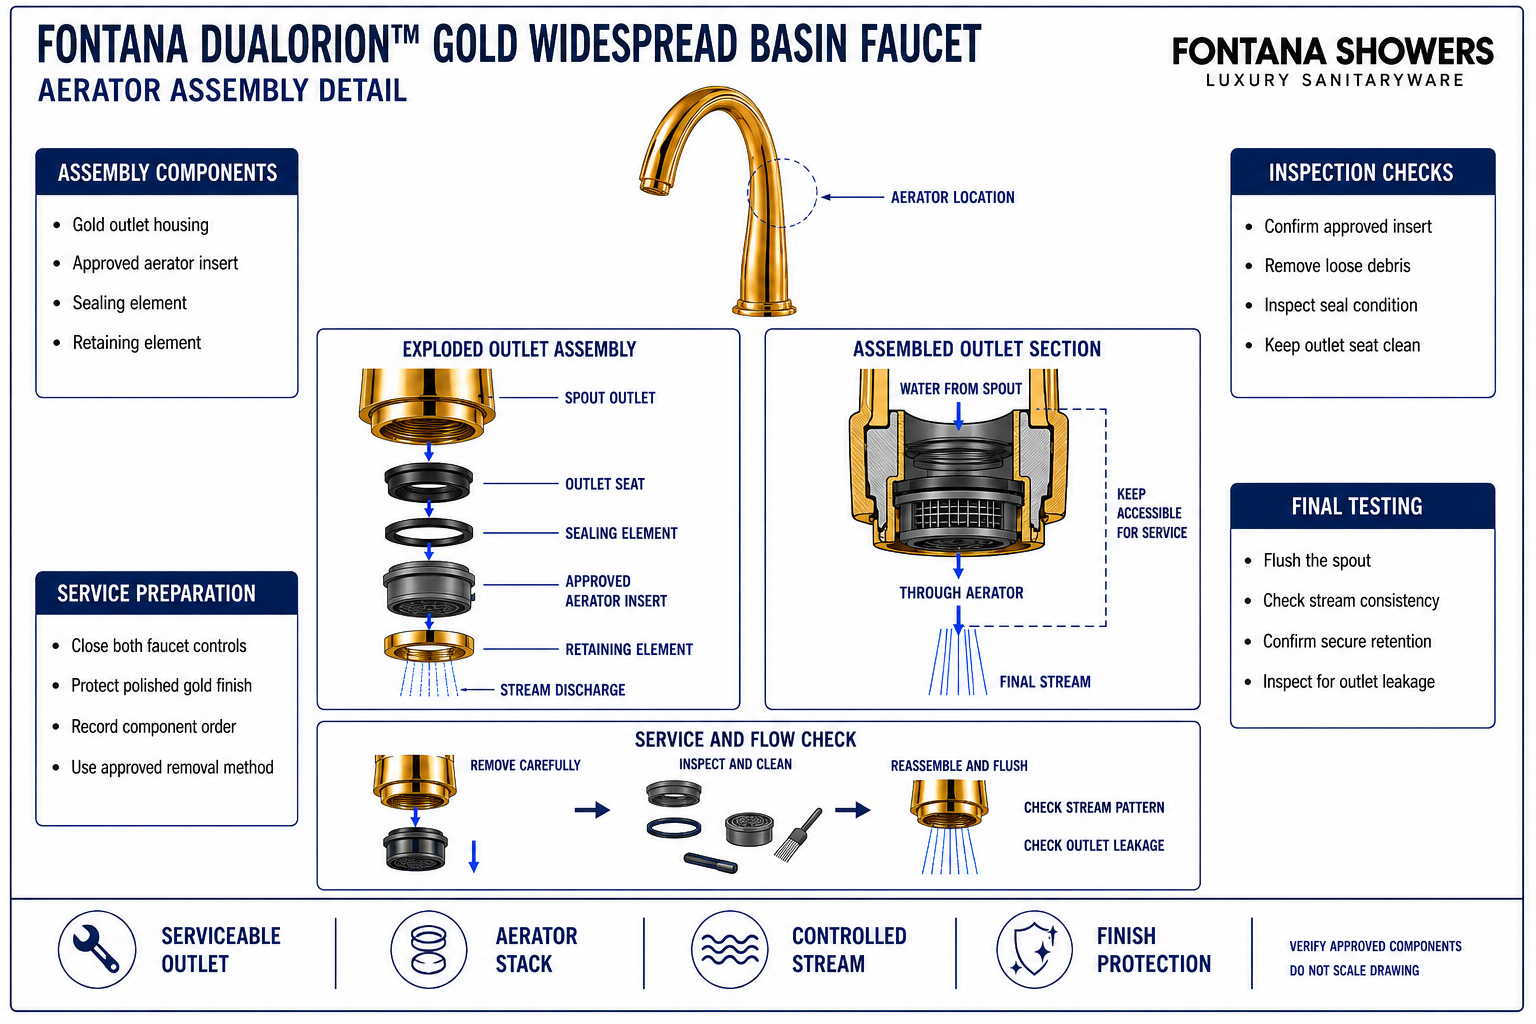
The enlarged section identifies the spout outlet, approved insert, sealing element and retaining component in their functional order. The lower view illustrates water approaching through the spout and exiting through the assembled outlet without assigning an unpublished flow rate, thread standard, removal-tool type or tightening value.
Conceptual aerator-stack diagram. Confirm the approved insert, sealing element, component order, removal method and service procedure before disassembly.
| Outlet item | Service requirement | What it controls | Field verification |
|---|---|---|---|
| Spout outlet housing | Protect the visible finish and keep the internal seat clean | Stable seating and undamaged service access | Visual and tactile inspection |
| Approved aerator insert | Install in the correct orientation without contamination | Stream formation and internal flow passage | Identity and orientation check |
| Sealing element | Seat flat in the approved location without twisting | Leak resistance around the outlet assembly | Condition and full-contact check |
| Retaining element | Start freely and secure using the approved method | Assembly retention without finish or thread damage | Engagement and final seating check |
| Completed stream path | Flush before final evaluation and observe discharge | Consistent stream and leak-free outlet operation | Flow, splash and leakage check |
Aerator Inspection and Reassembly Process
Close the Faucet Controls
Confirm both handles are fully closed and the spout has stopped discharging before servicing the outlet.
Protect the Gold Outlet
Use clean, nonabrasive protection and keep metal tools from contacting the visible polished surface.
Remove the Retaining Element
Use the approved removal method and record the direction and order of every component.
Inspect the Aerator Stack
Examine the insert, seal, retainer and internal seat for debris, deformation or visible damage.
Clean Using Approved Methods
Remove loose deposits without enlarging openings, scratching parts or using incompatible chemicals.
Reassemble in Correct Order
Position the seal and approved insert correctly, then start the retaining element freely by hand.
Flush the Spout Carefully
Open the water gradually and clear residual particles while controlling splash at the outlet.
Evaluate the Final Stream
Check for a consistent discharge, acceptable splash behavior, secure retention and outlet leakage.
Aerator Service Planning Considerations
Approved Insert Identity
Match any replacement aerator to current approved documentation rather than appearance alone.
Clean Outlet Seat
Remove debris without scratching the housing or leaving deposits beneath the sealing element.
Correct Stack Orientation
Keep the insert, seal and retainer in their approved direction and assembly order.
Seal Condition
Replace damaged, flattened or contaminated sealing elements only with approved components.
Finish-Safe Servicing
Use nonabrasive protection and the approved method to prevent scratches or outlet deformation.
Routine Inspection Access
Keep the outlet reachable for periodic stream checks, cleaning and component replacement.
Aerator Assembly Checklist
- Both faucet controls are closed and water discharge has stopped before outlet servicing begins.
- The visible gold finish is protected using clean, nonabrasive materials.
- The aerator insert has been positively identified as approved for the spout outlet.
- The outlet seat, insert and water passages are clean and free of installation debris.
- The sealing element is undamaged, correctly oriented and installed in the approved position.
- The retaining component starts freely and seats without cross-threading, forcing or distortion.
- The completed outlet has been flushed and checked for a consistent, controlled stream.
- The aerator remains secure and no leakage appears around the assembled outlet housing.
Related Product and Planning Resources
Project verification: This page describes aerator-assembly relationships but does not replace the approved product submittal or service instructions. The plumbing engineer, licensed installer and maintenance provider must verify insert compatibility, seal condition, component orientation, approved removal method, flushing, stream performance and leak-free operation.









