|
Step 1:
|
|
|
Step 2:
|
|
|
shower
|
|
|

|
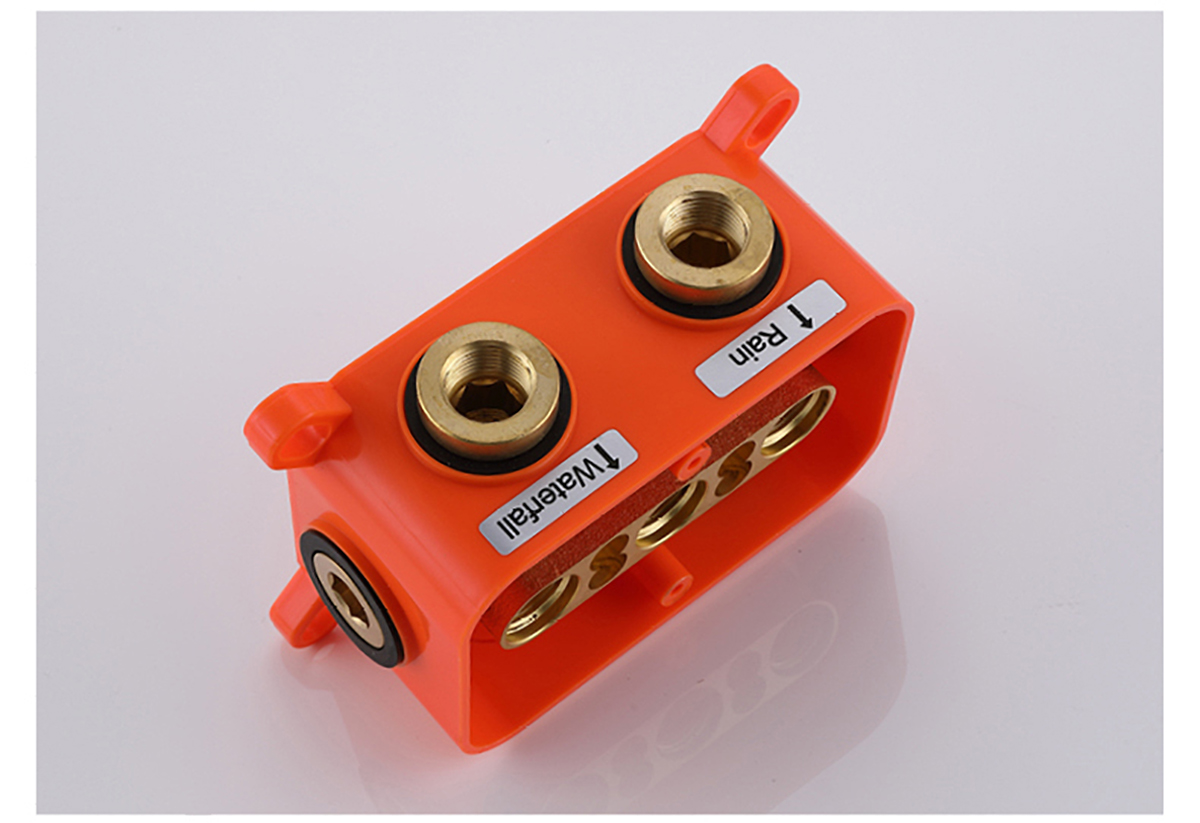
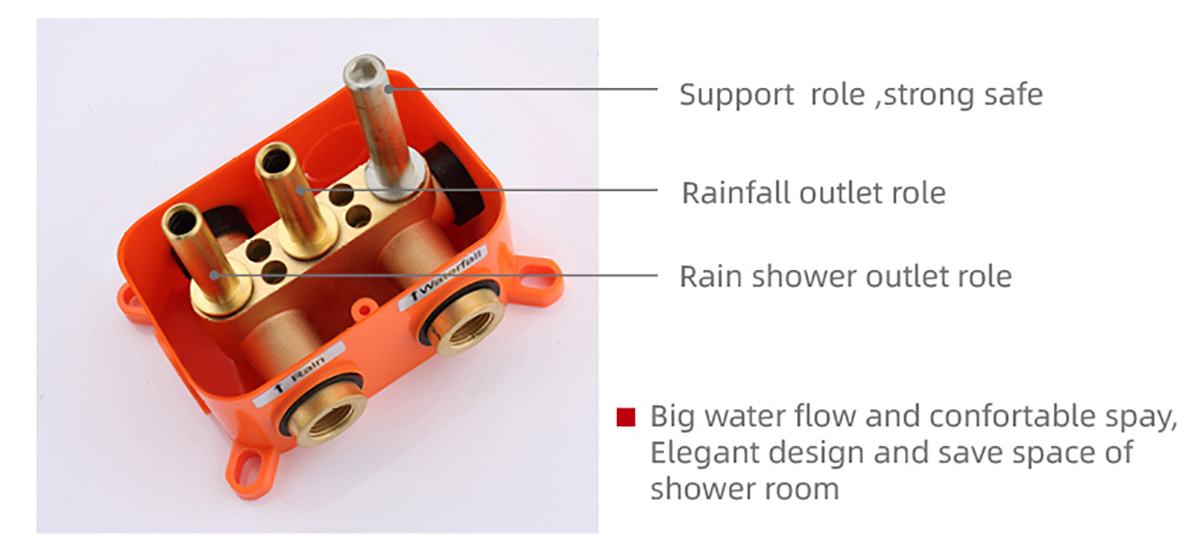
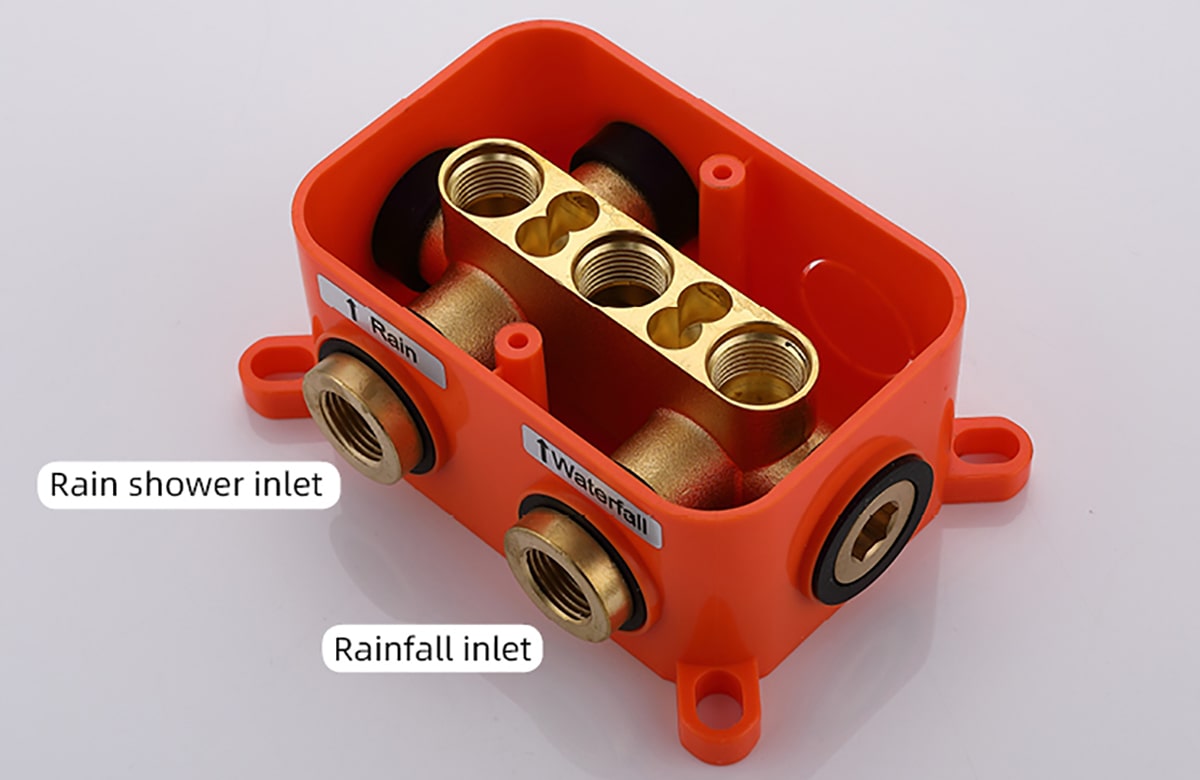
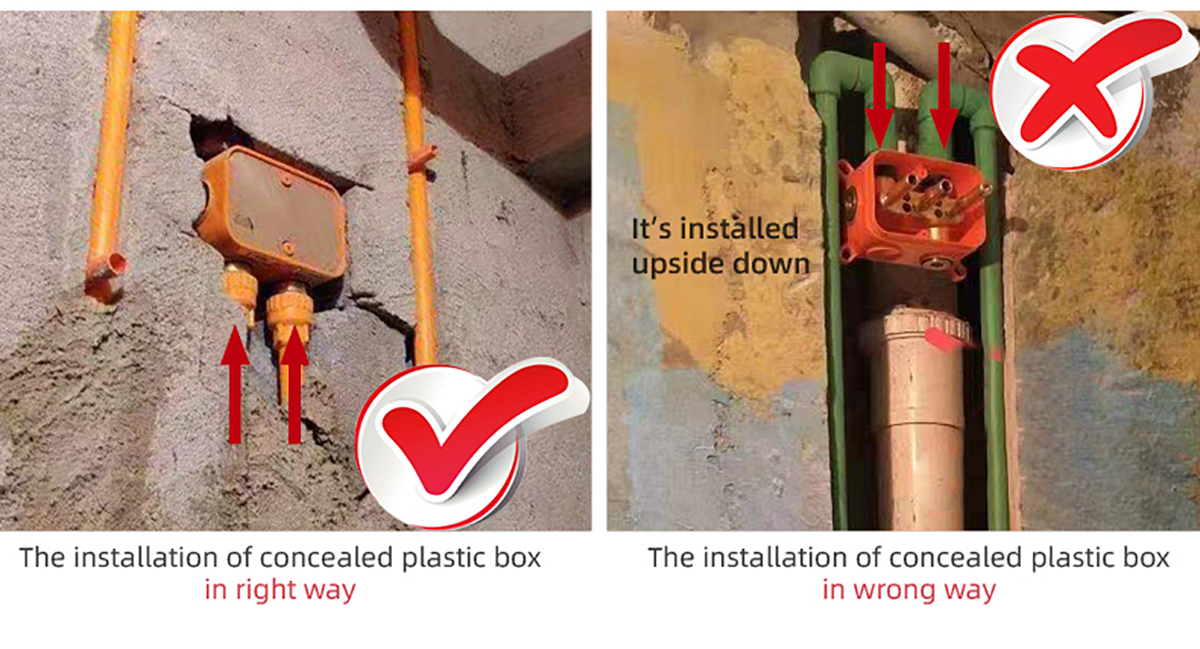
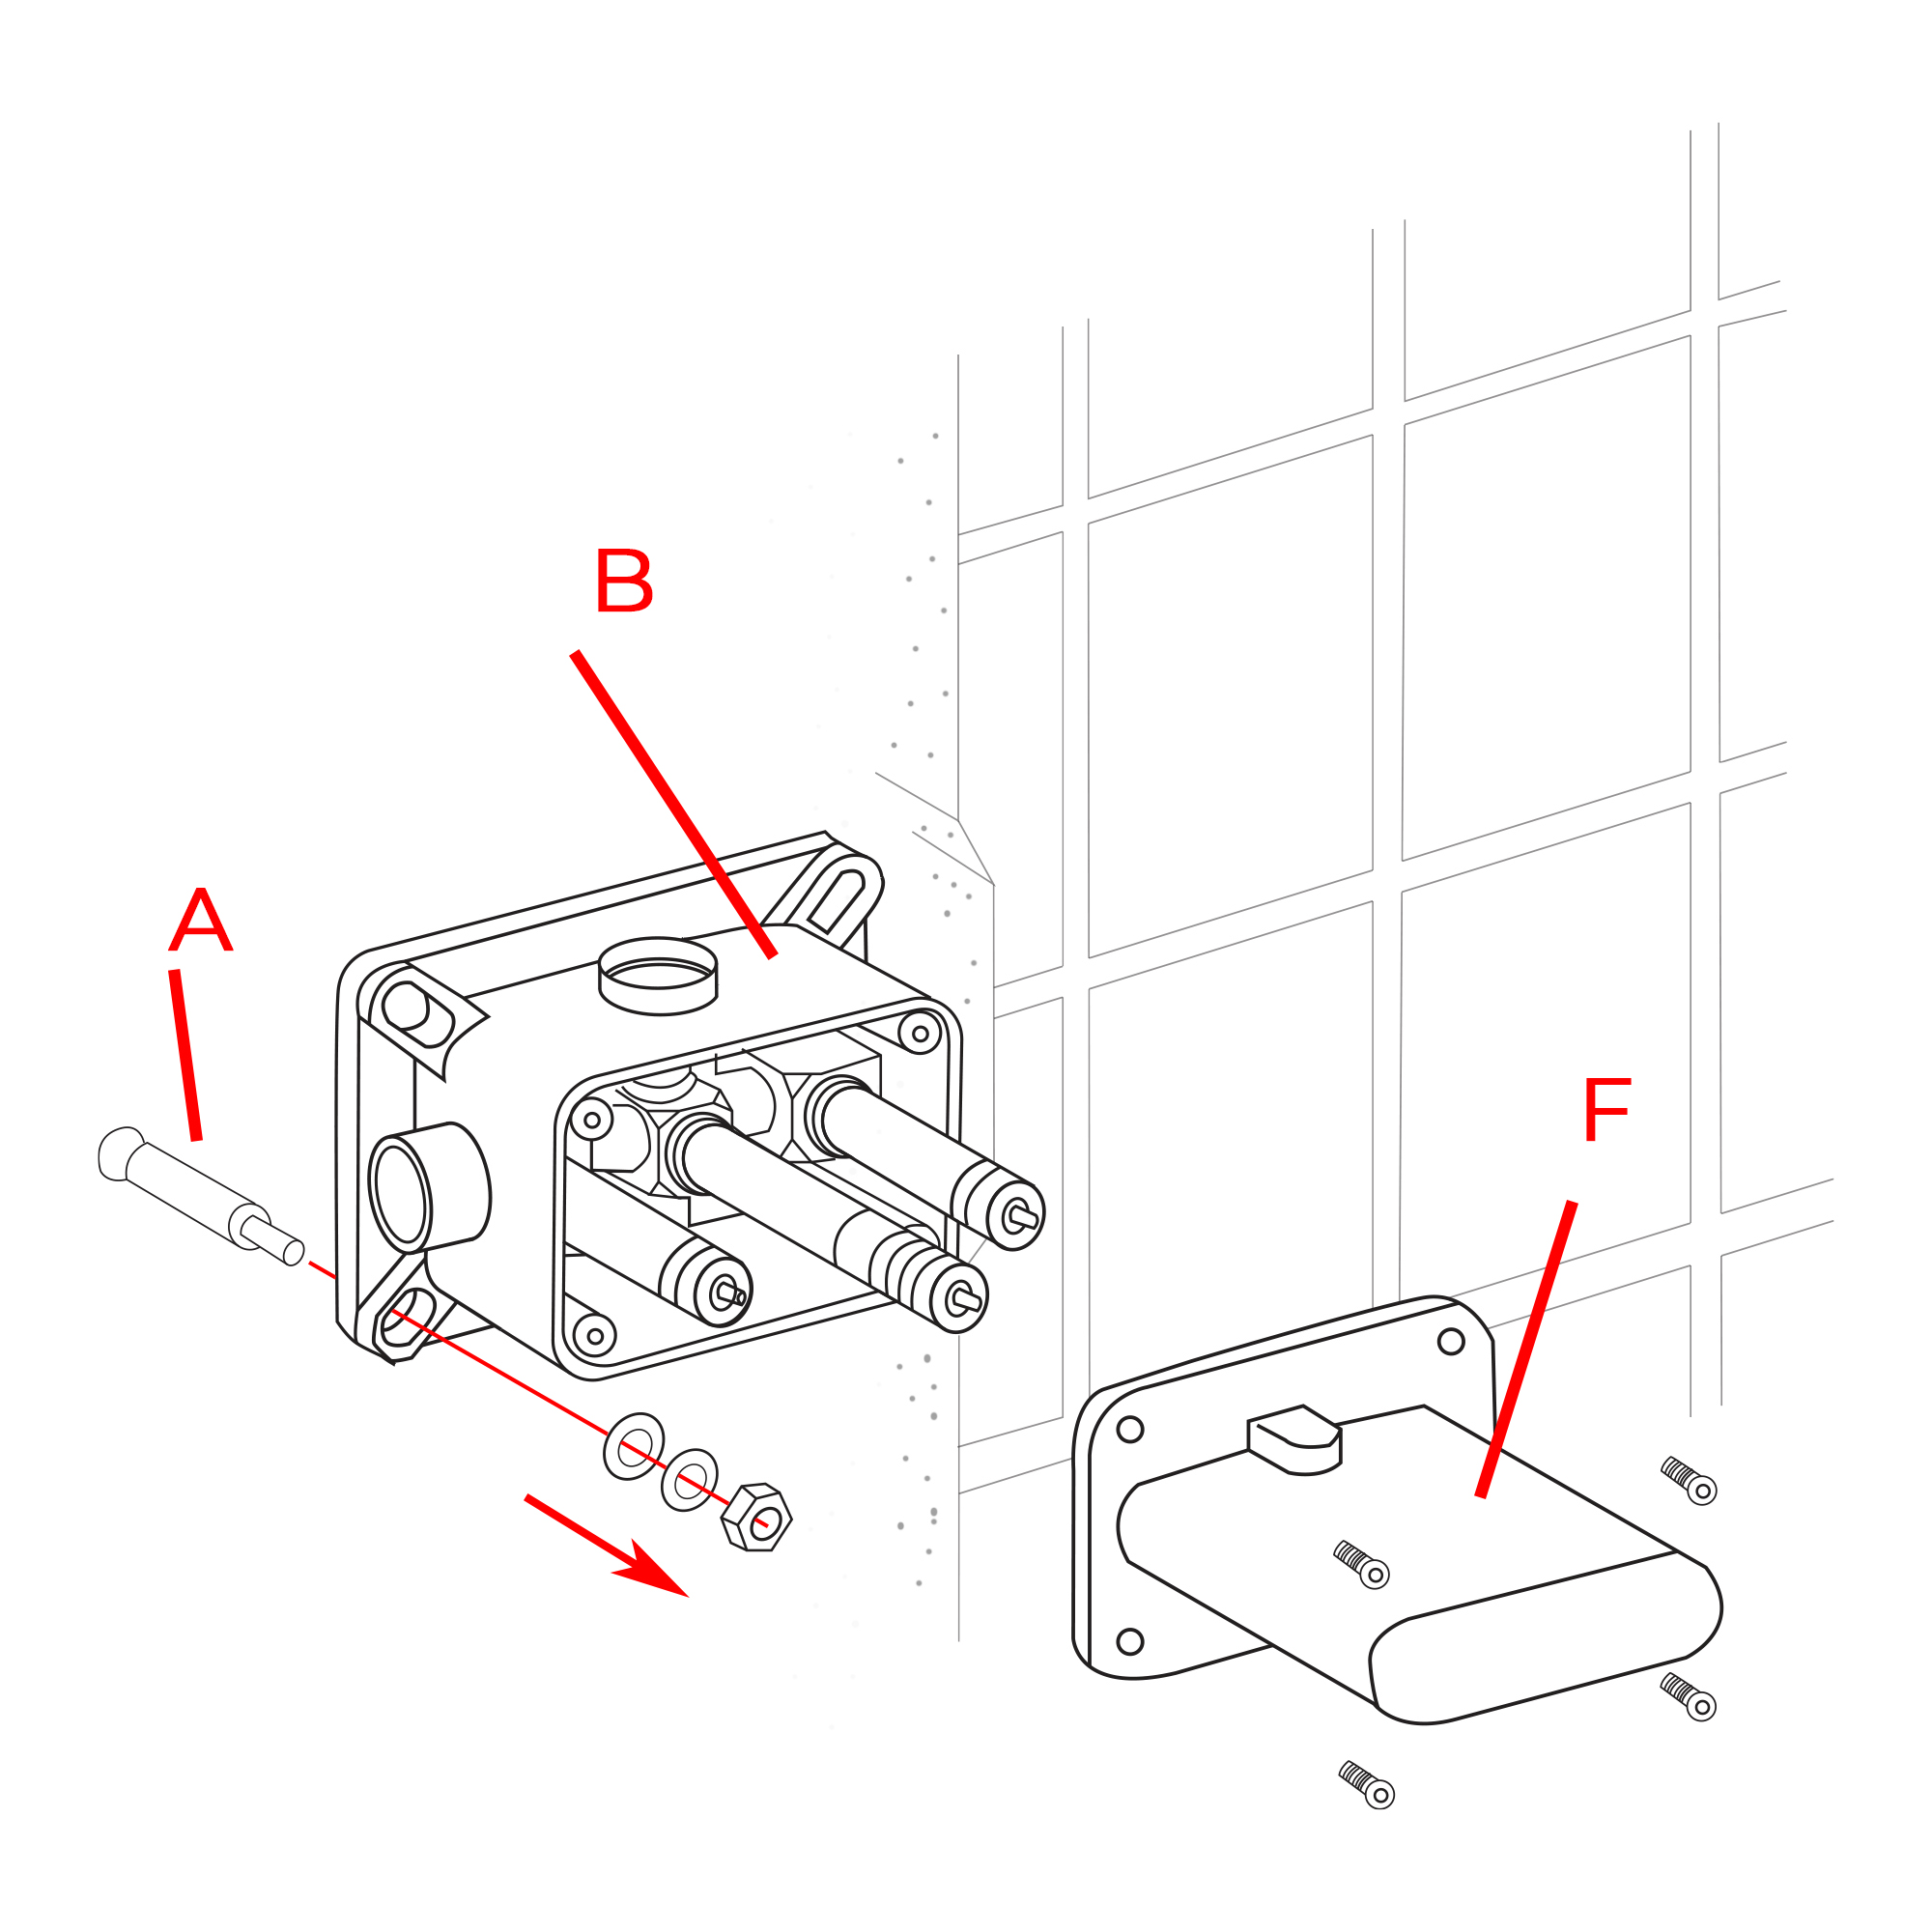
Remove the protective cover (F). Mark the positions and drill holes to suit the anchors (A). Install the anchors (A) and fix the rough-in valve (B) into the wall with screws. Use a level to ensure that the rough-in valve (B) is straight and level. (Important: Flush the water supply to remove any dirt and debris before installing the valve body).
|
|
|
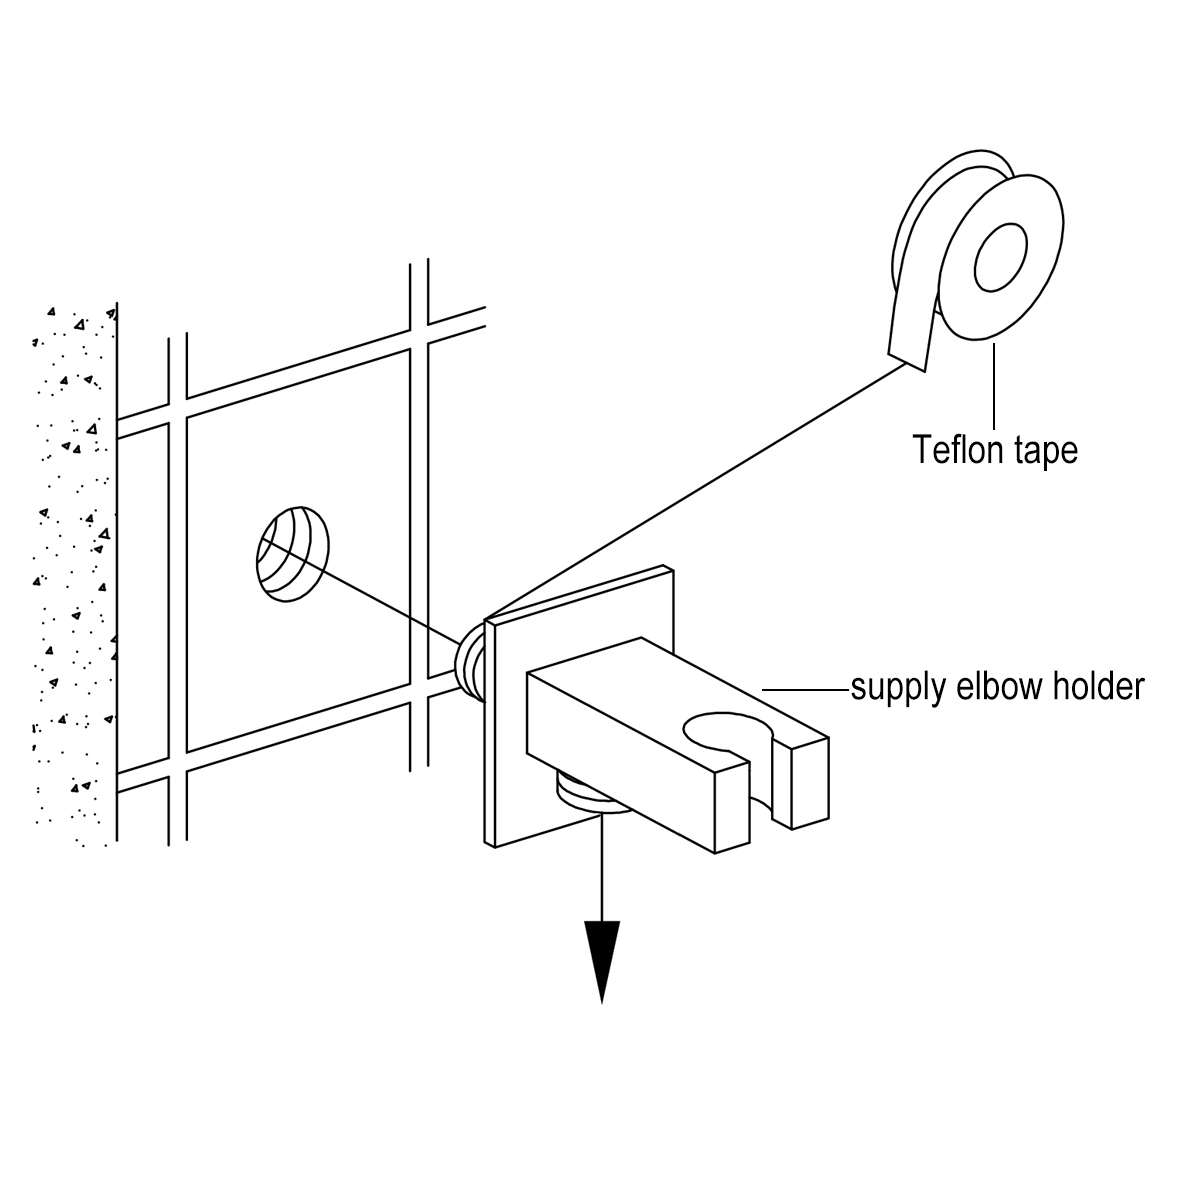
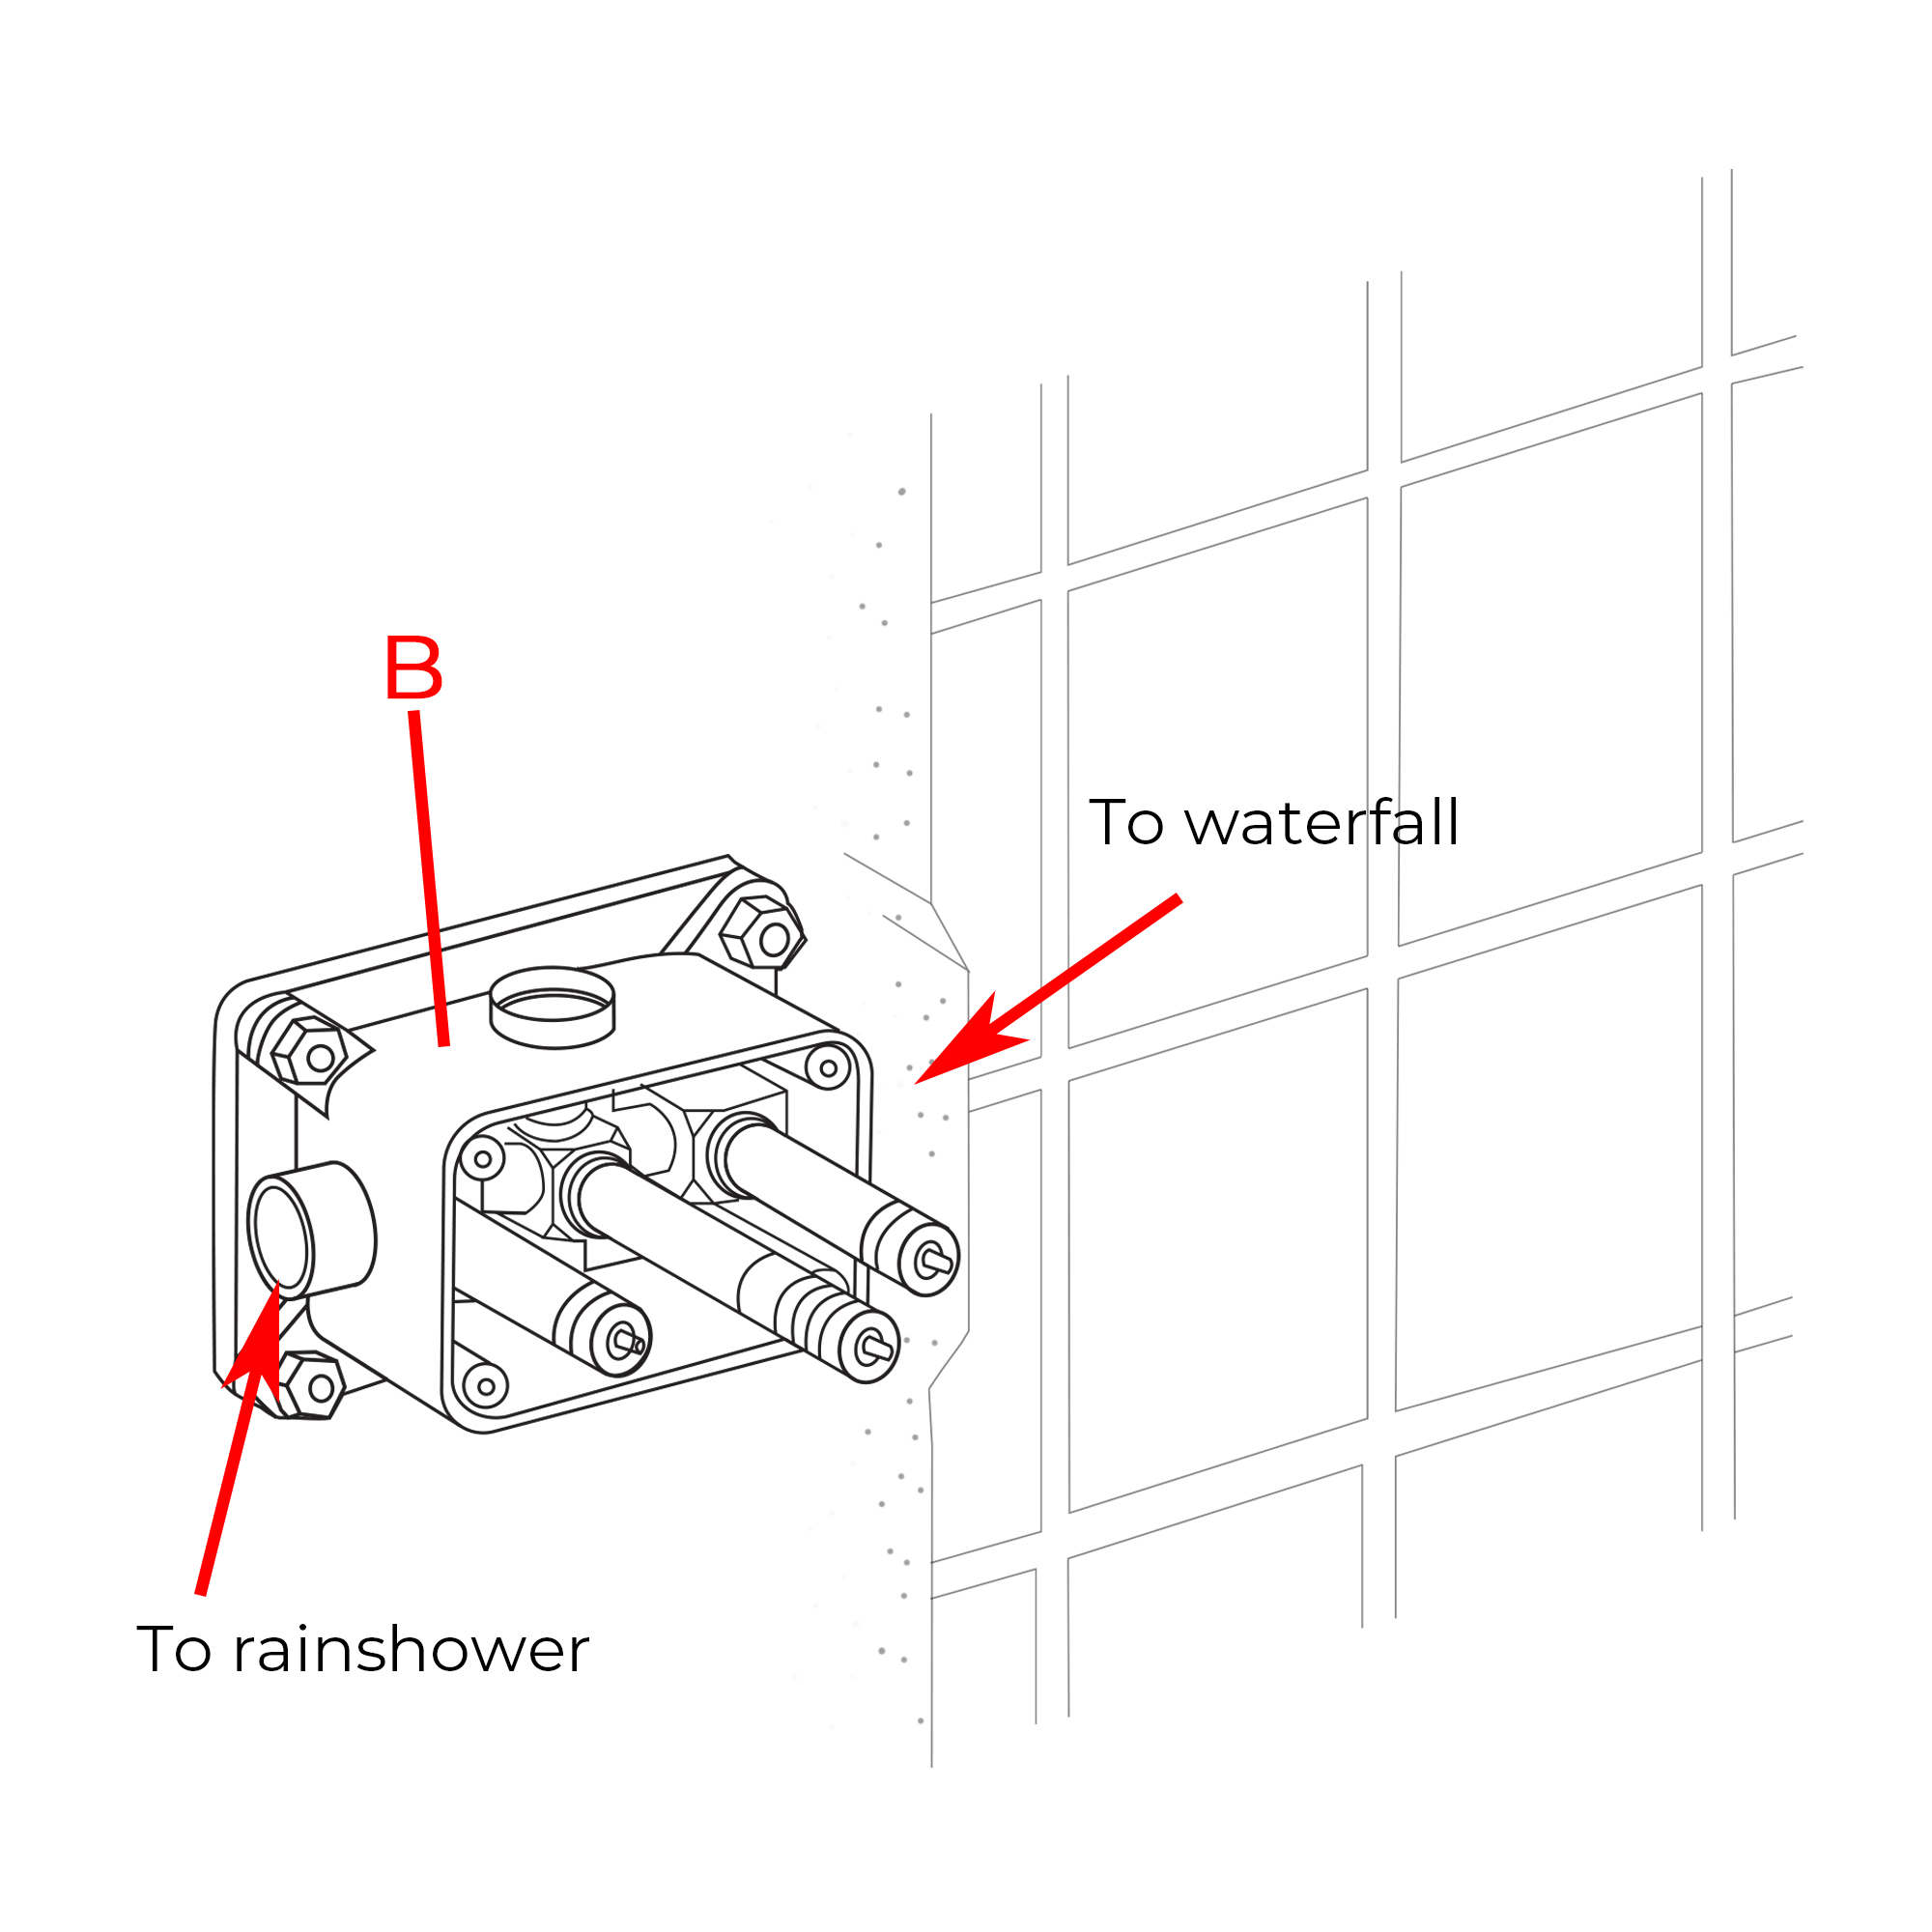
Wrap Teflon tape around the pipe threads and connect water supply lines and in-wall pipes (not included) as desired to the rough-in valve (B). Turn on the water supply and open the cartridge to check for leakage. Then put on the protective cover and finish the wall surrounding the valve. (Note: Test the water pressure after the pipe connections have been made and before the finished wall material is installed).
|
|
Shower Head Installation Instructions
|
|
|
|
|
|
Step 3:
|
|
|
Step 4:
|
|
|
|
|
|
|
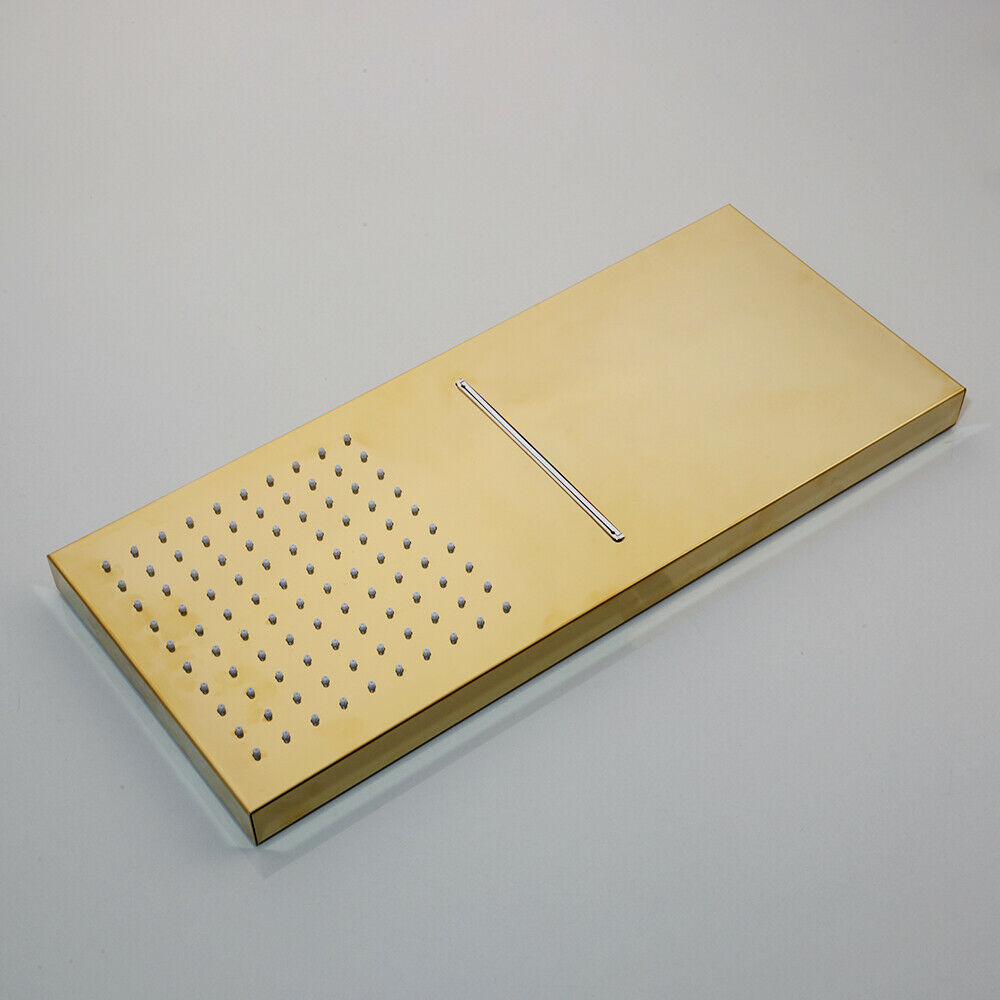
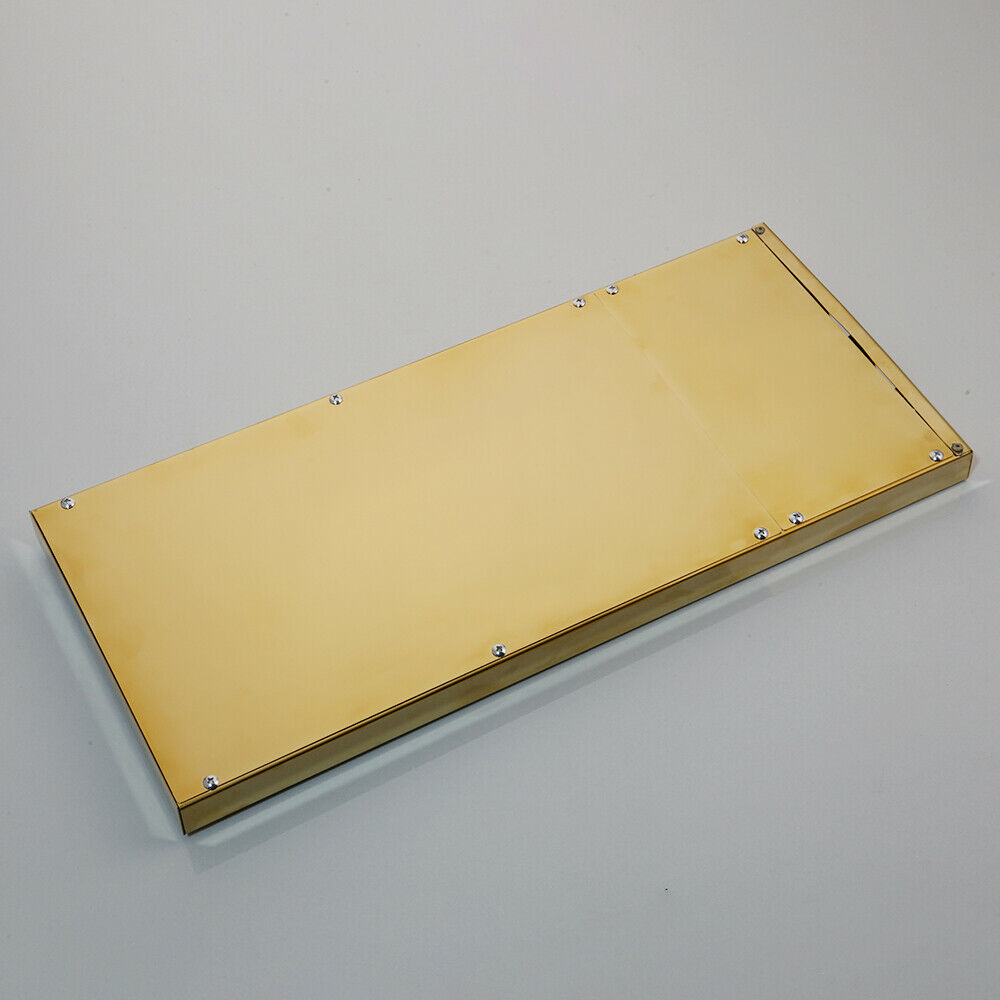
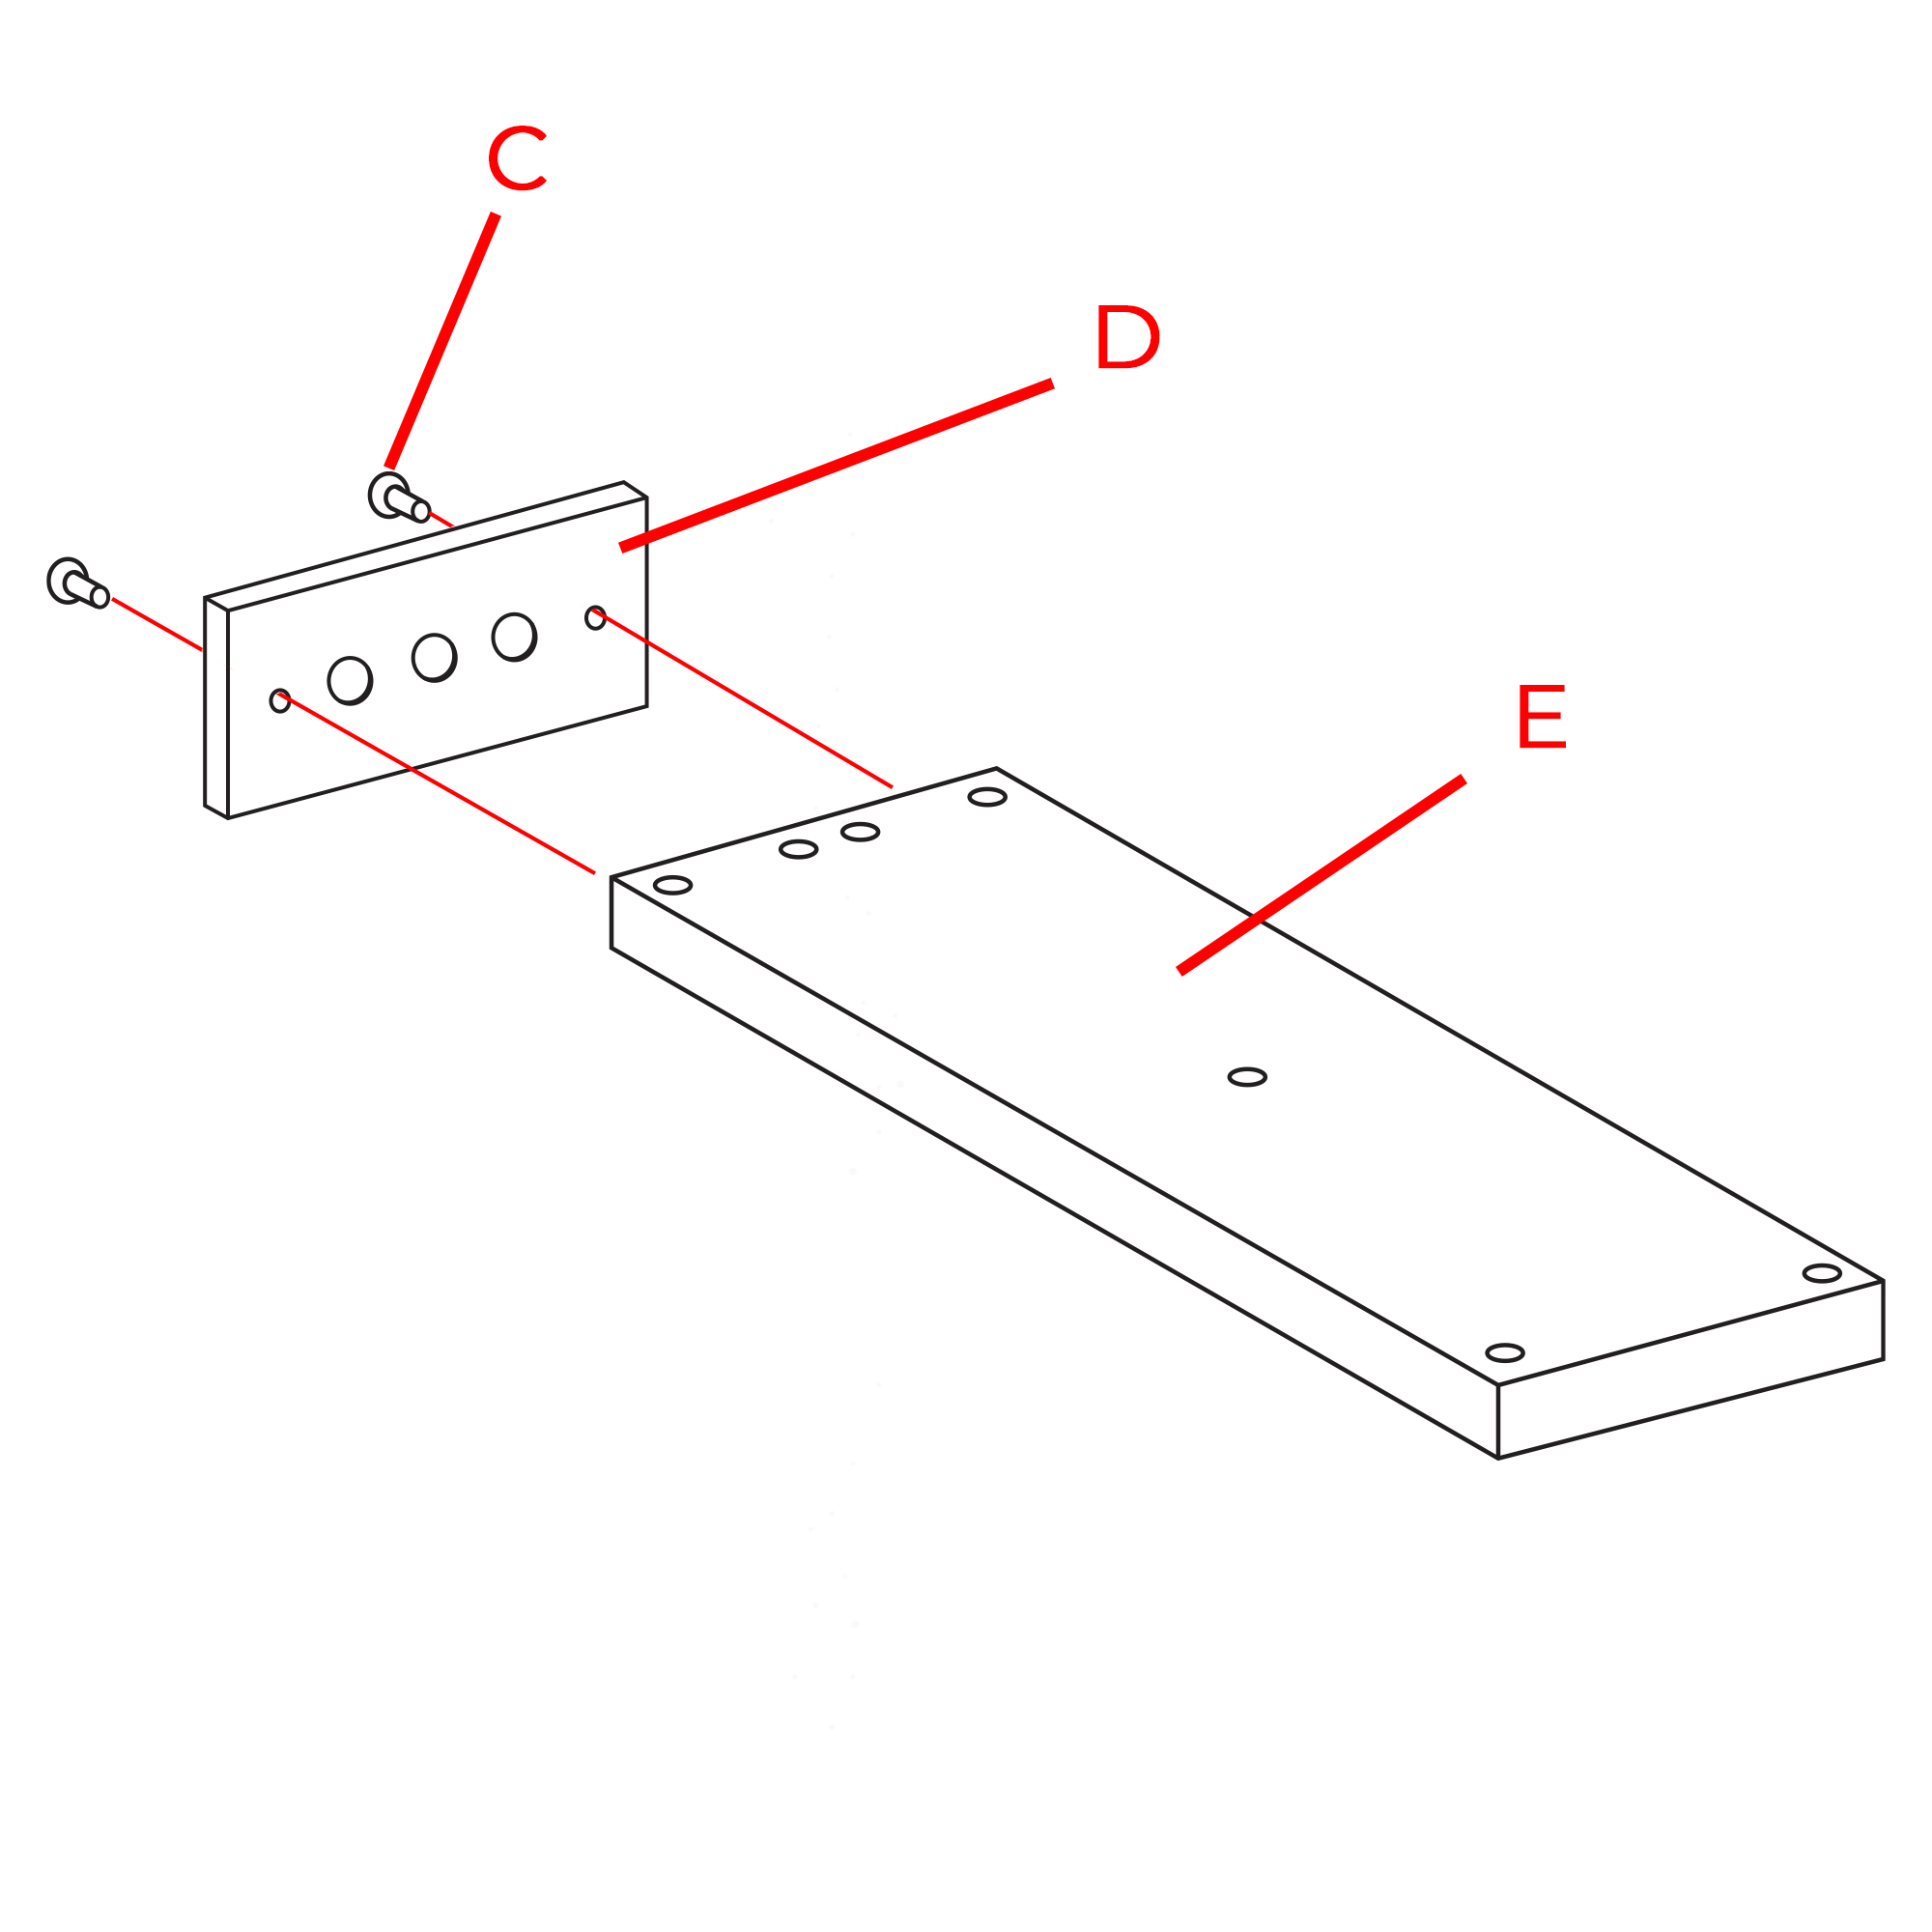
Fix the escutcheon (D) to the showerhead (E) with screws (C).
|
|
|
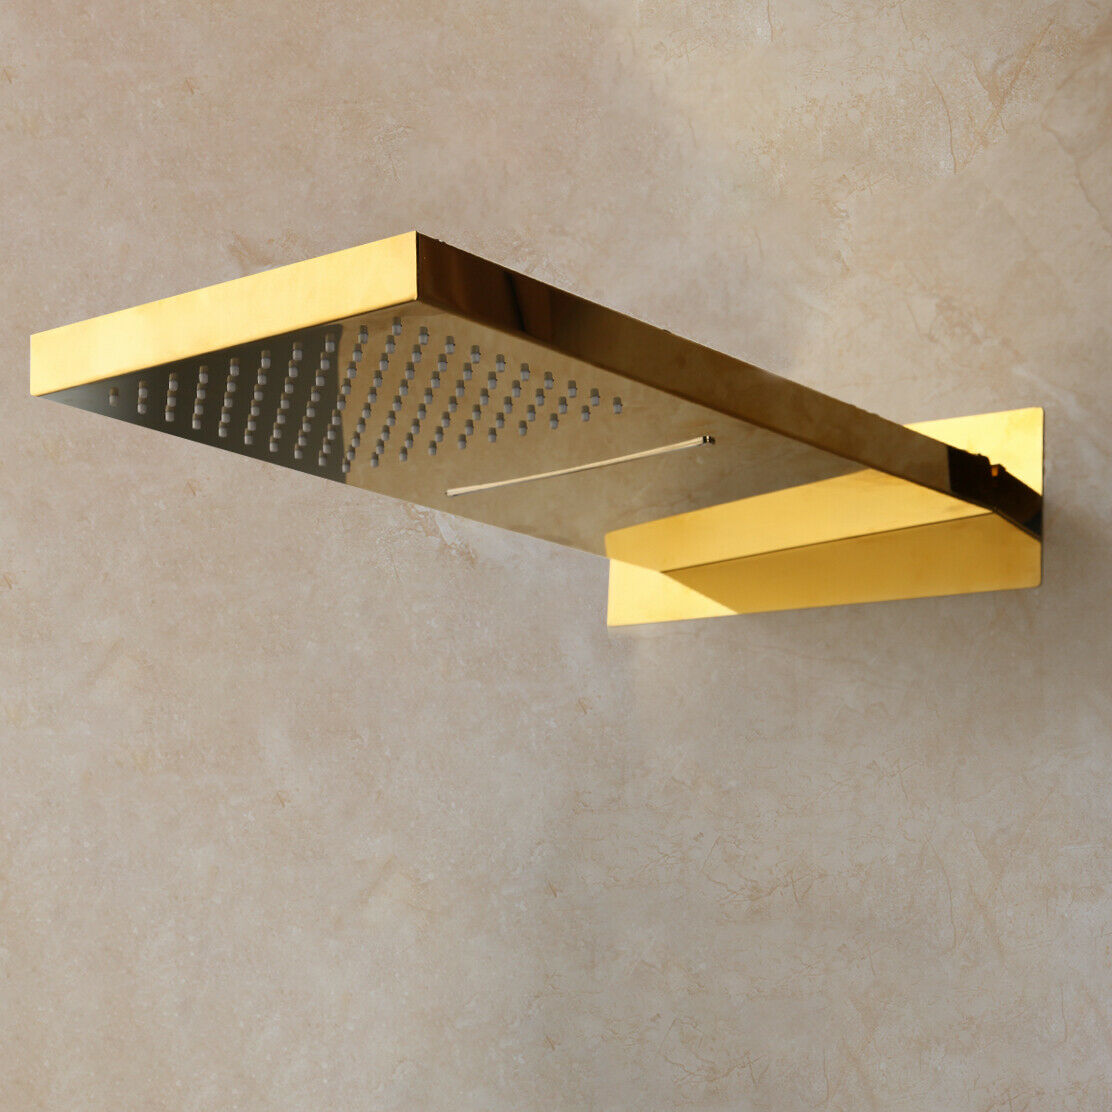
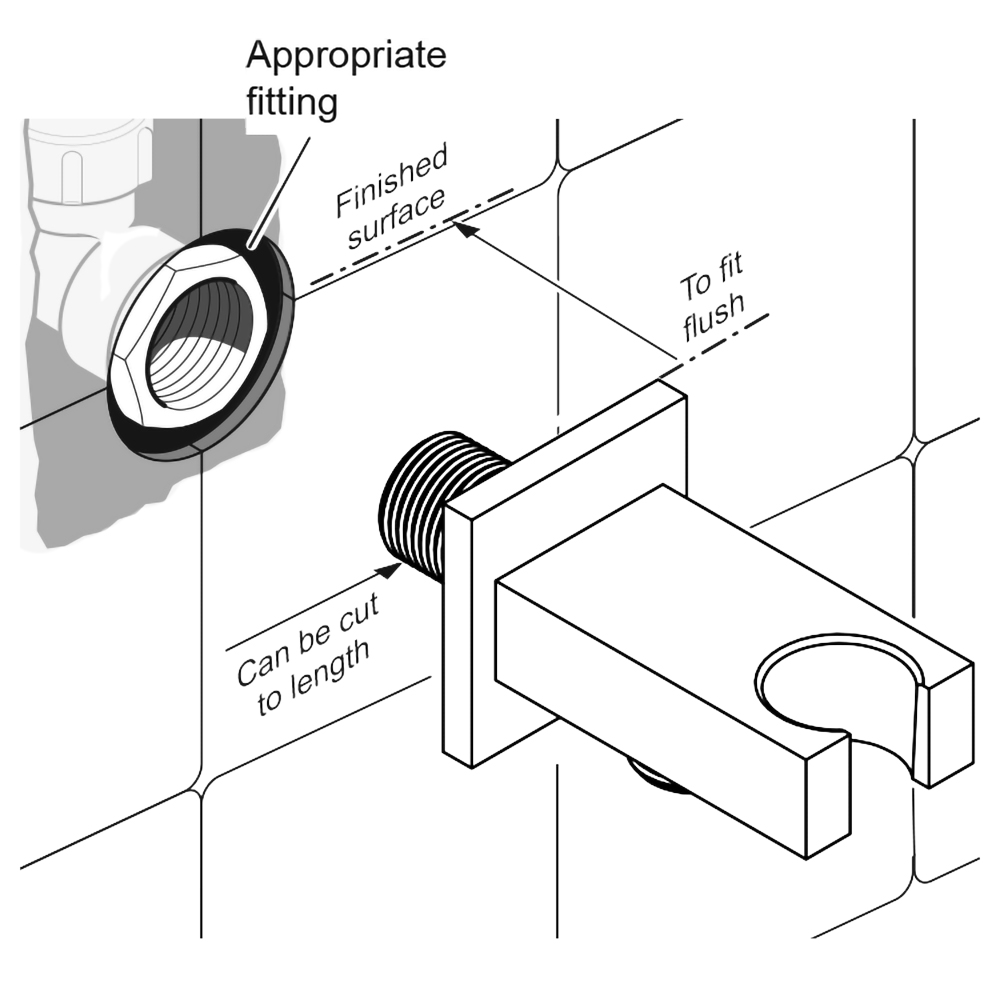
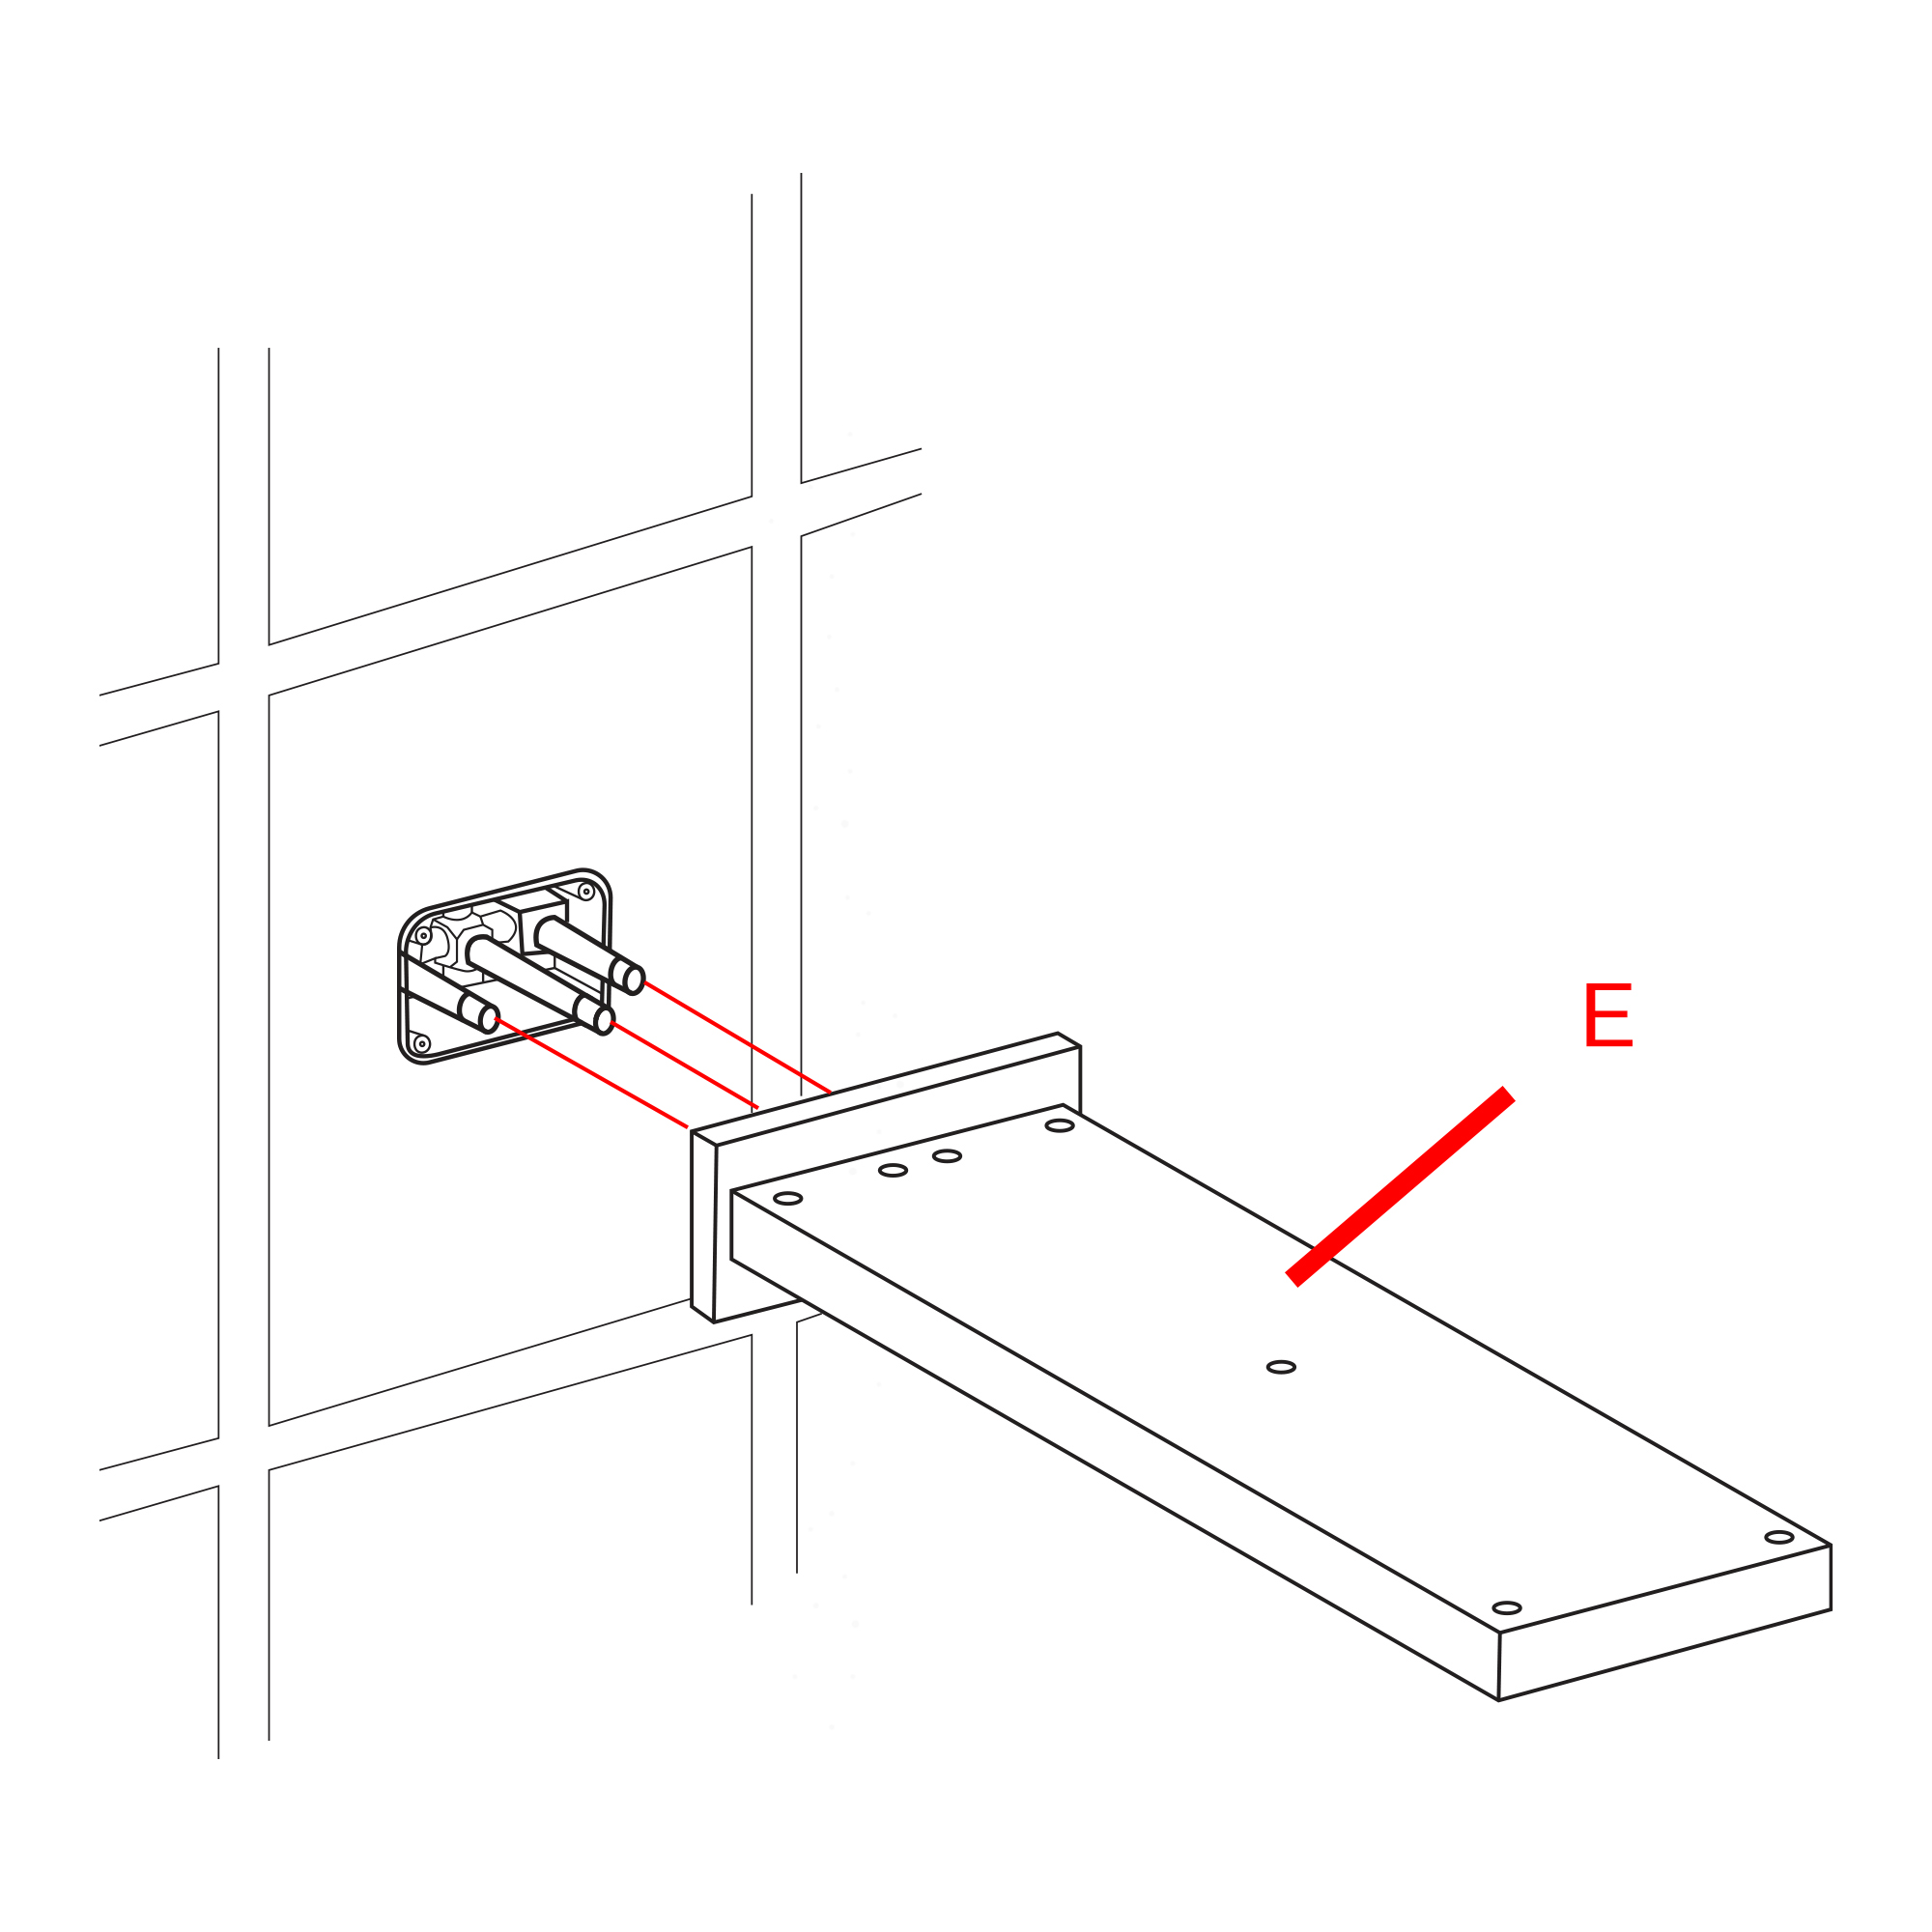
Remove the protective cover when the finished wall is completed. Then, install the showerhead (E) and press it against the finished wall.
|
|
|
Shower Head Installation Instructions
|
|
|
|
|
|
|
|
|
|