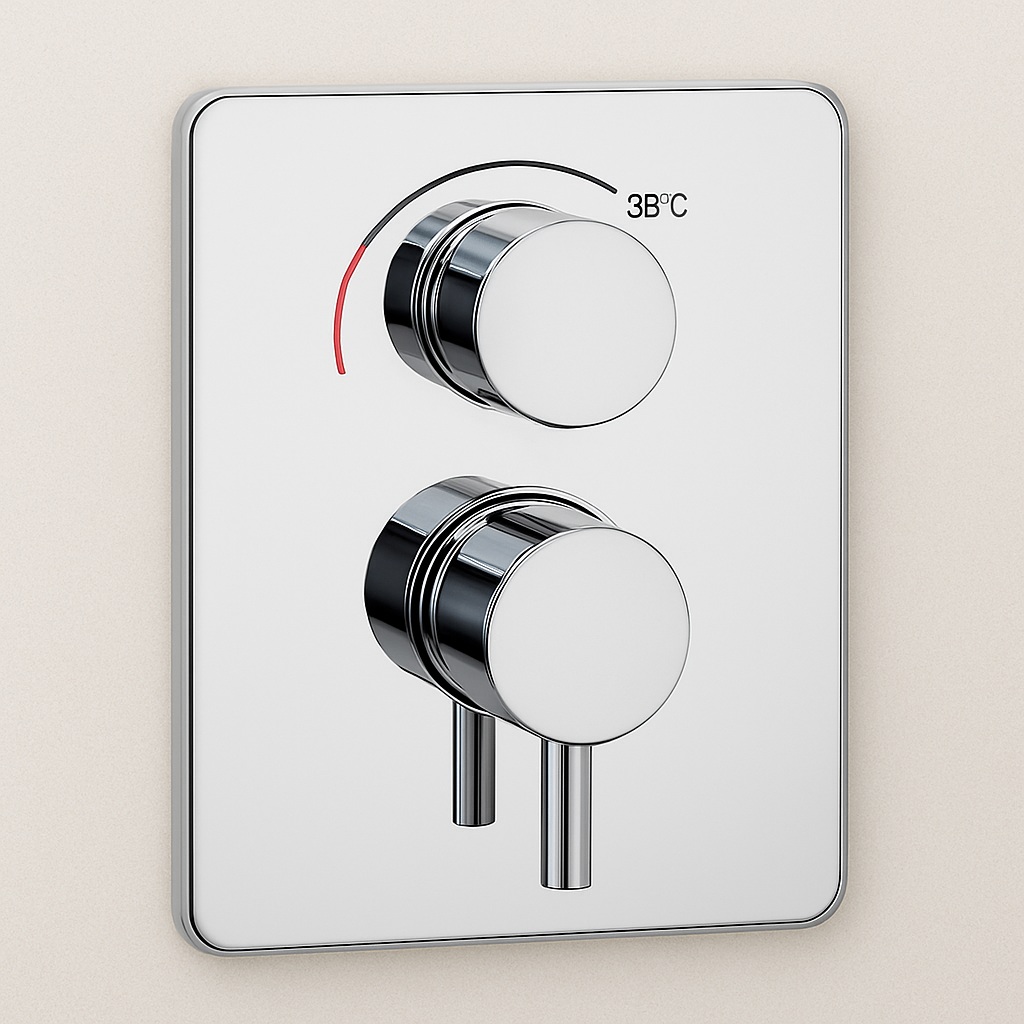
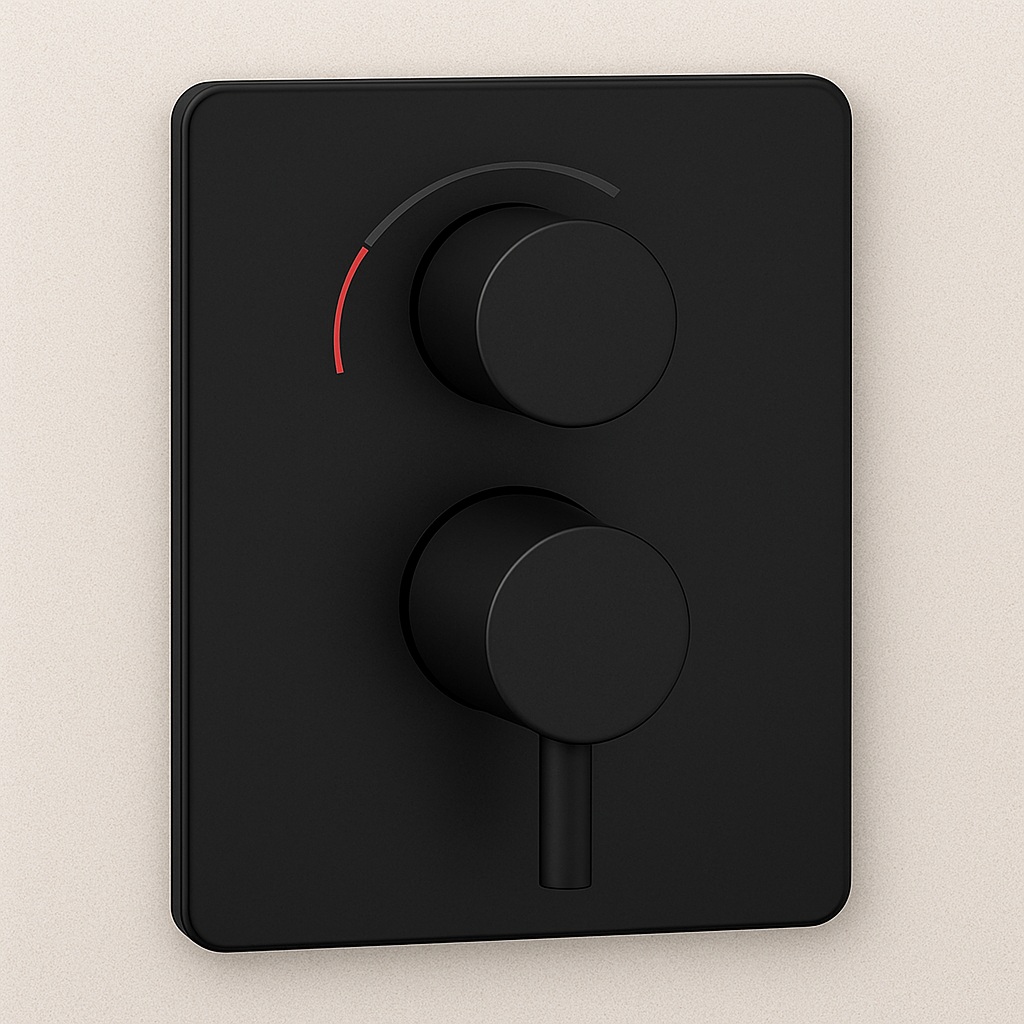
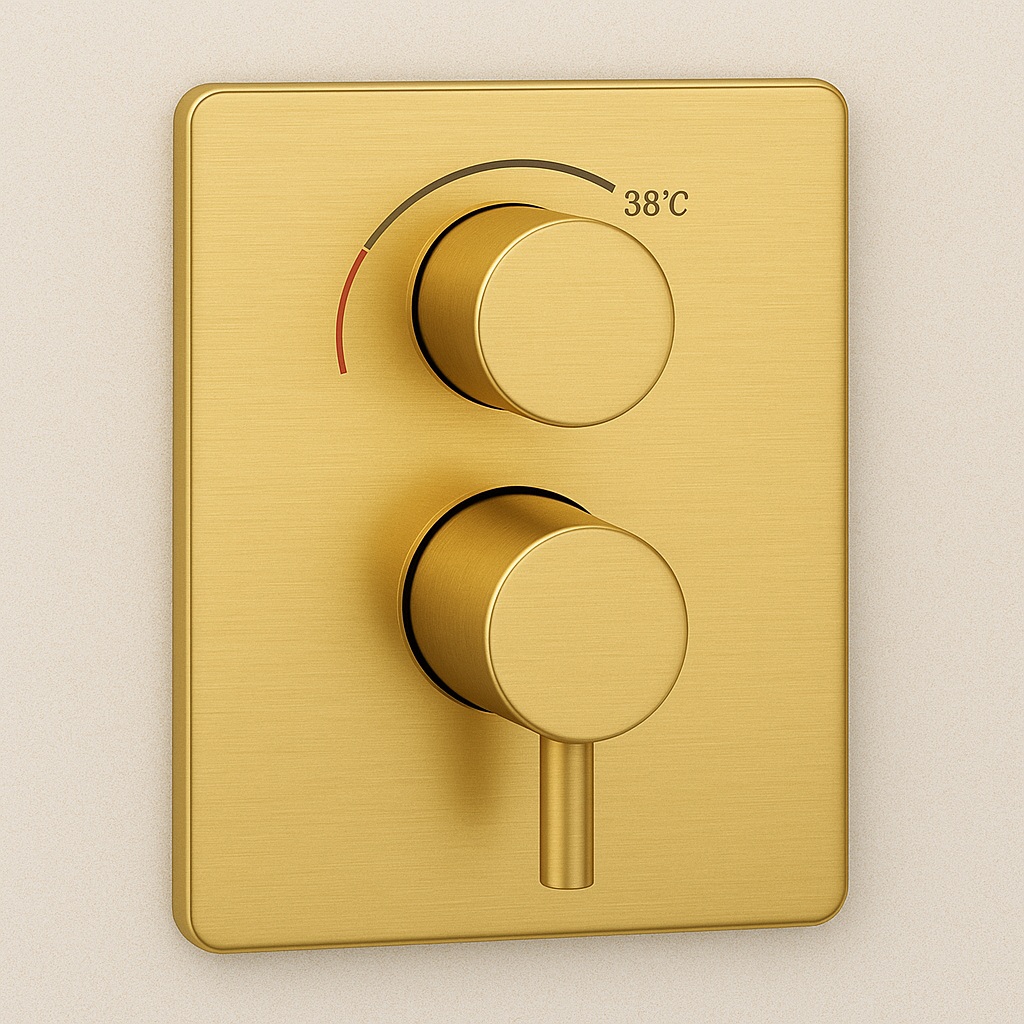
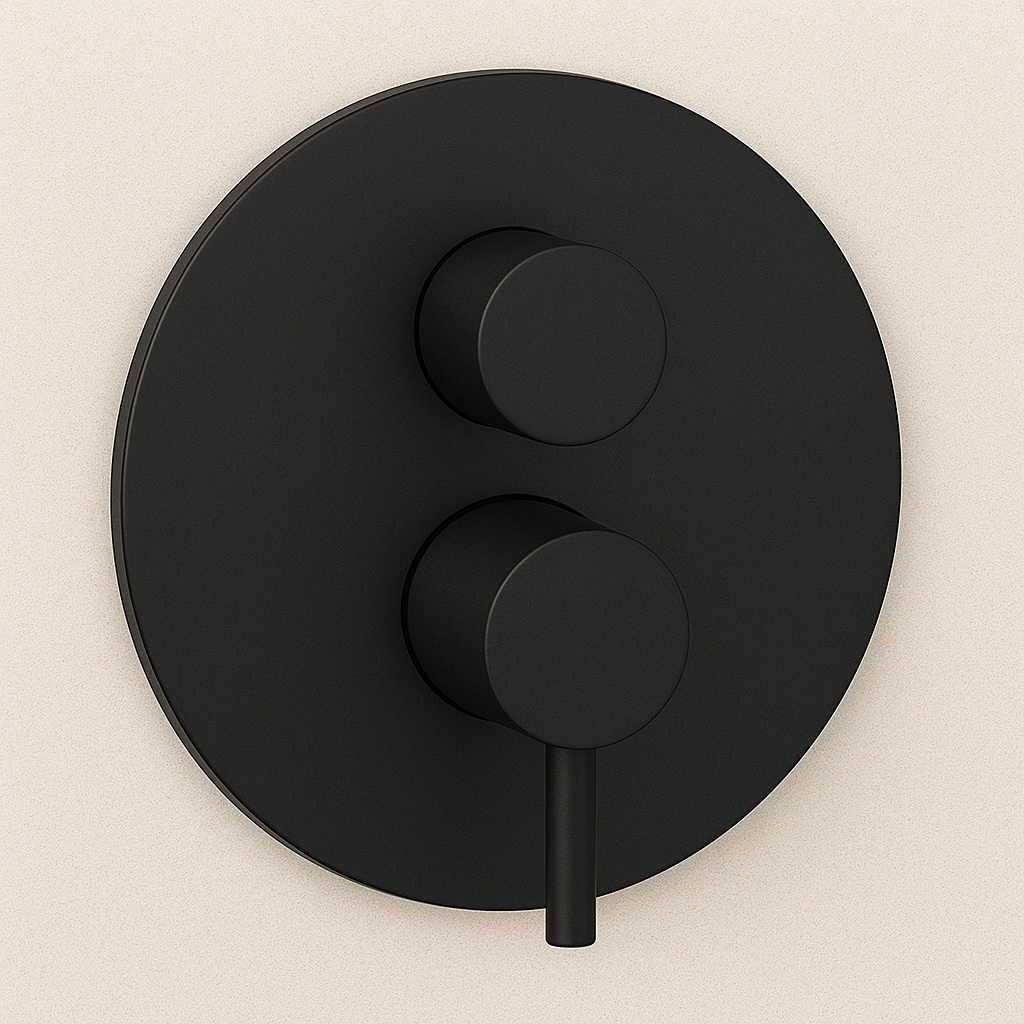
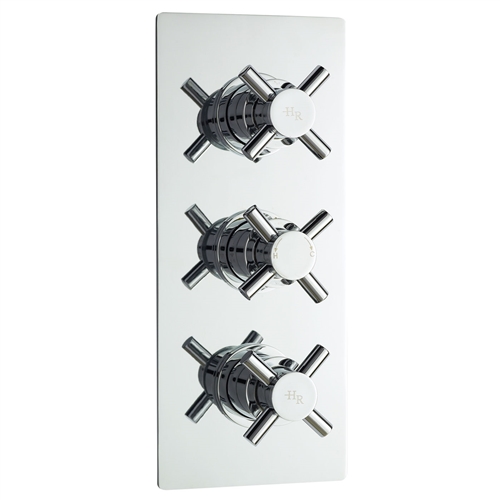
Tub Valve Packages for Contractor and Engineer Specs
Built for repeatable rough-in, clean trim alignment, and predictable temperature control. Use these tub valve picks when you need a concealed
install that closes out fast, documents well, and stays serviceable after turnover. This page is organized the way crews build: decide outlet
count, choose control type, then lock a finish family.
Keep rough-in predictable, avoid trim surprises, and reduce rework during wall finish.
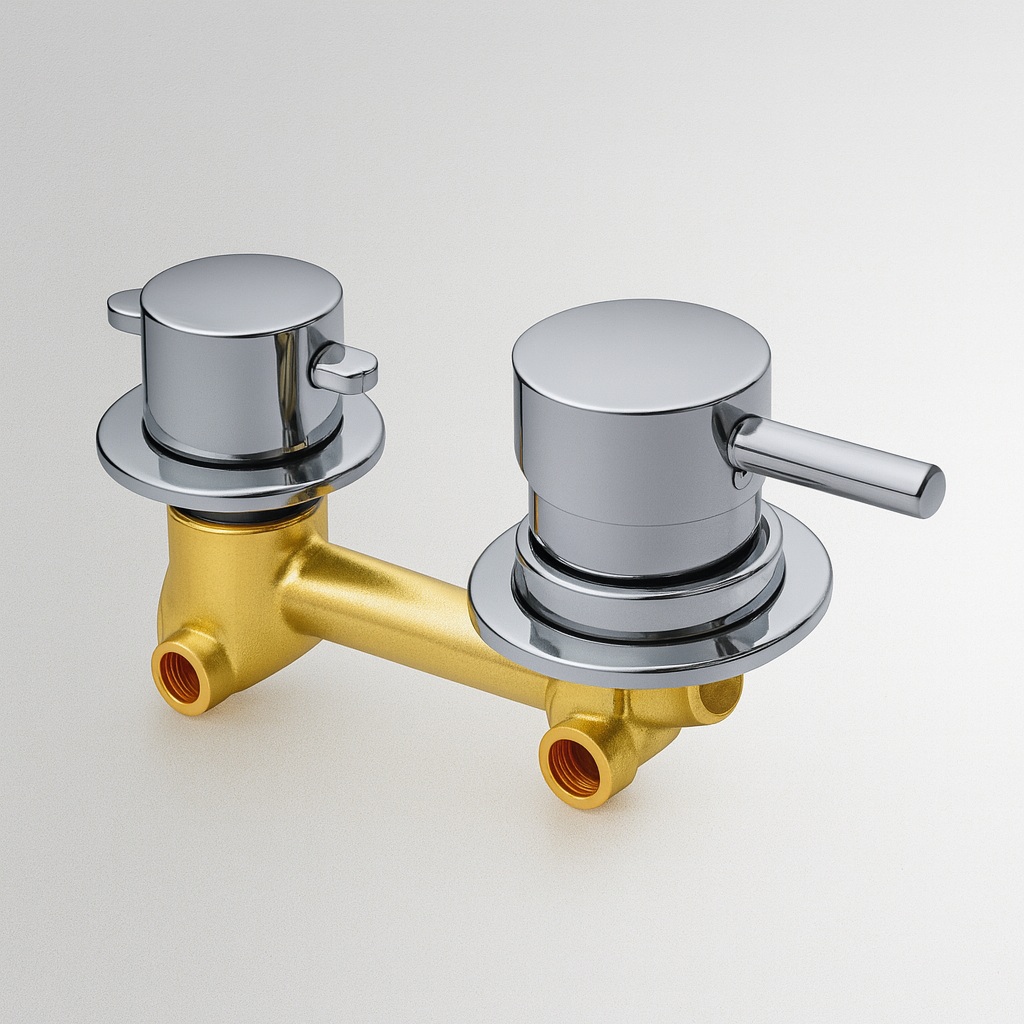
Lock valve depth and finished-wall thickness early. Add a quick field check before closing walls.
Standardize one valve family per project to simplify stocking, commissioning, and punch lists.
Confirm outlet count and diverter logic (1, 2, 3, 4, or 5 way) before ordering trim.
Engineer and owner priorities
Controlled temperature, safe operation, and service access after occupancy.
Use thermostatic control when you need stable temperature and fewer comfort complaints after turnover.
Plan access for cartridge service. Do not bury service points behind fixed millwork.
Keep one clear spec path: product page, install steps, and BIM file when needed.
Fast selection map
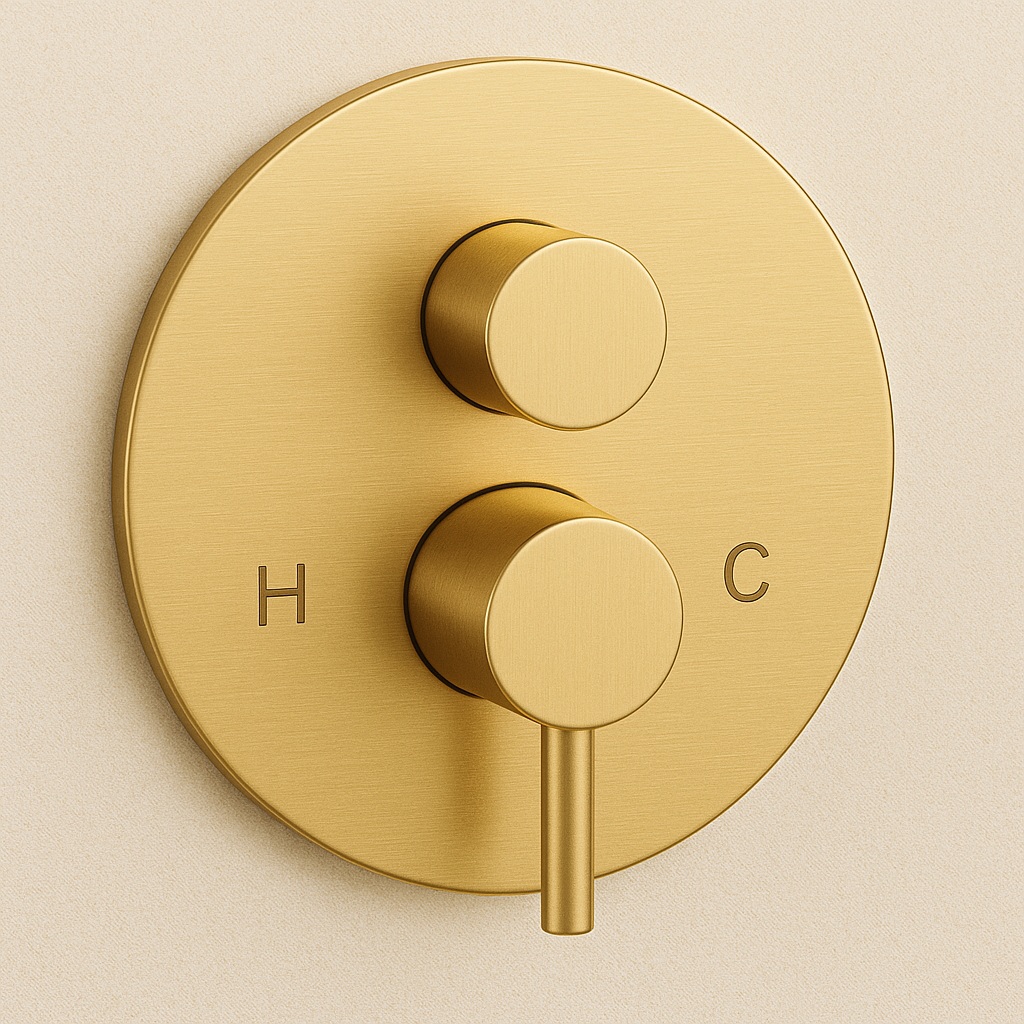
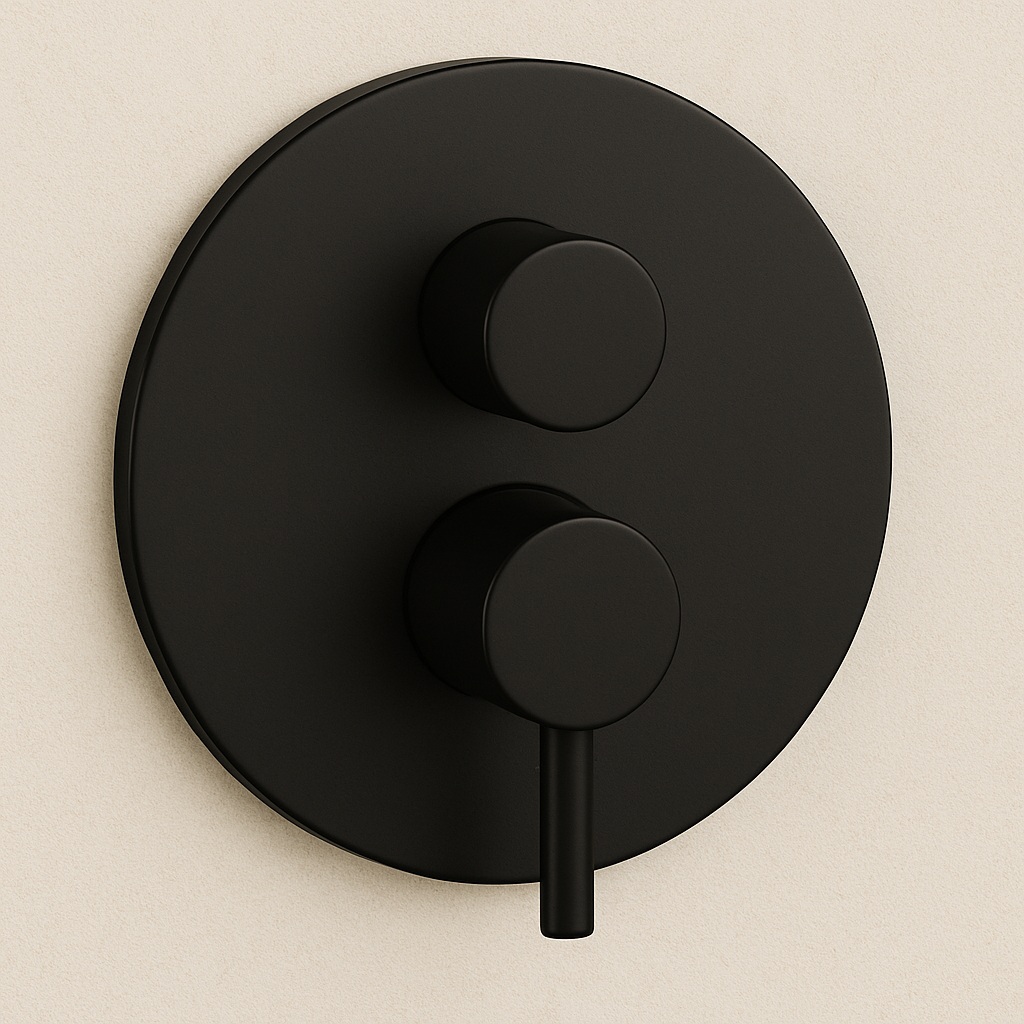
If the scope is simple, choose a 1-way or 2-way wall mixer. If the bath has multiple outlets, choose a 3-way or multi-control diverter.
If your project has premium tenant floors and executive restrooms, thermostatic control is often the cleanest way to deliver a more managed experience.
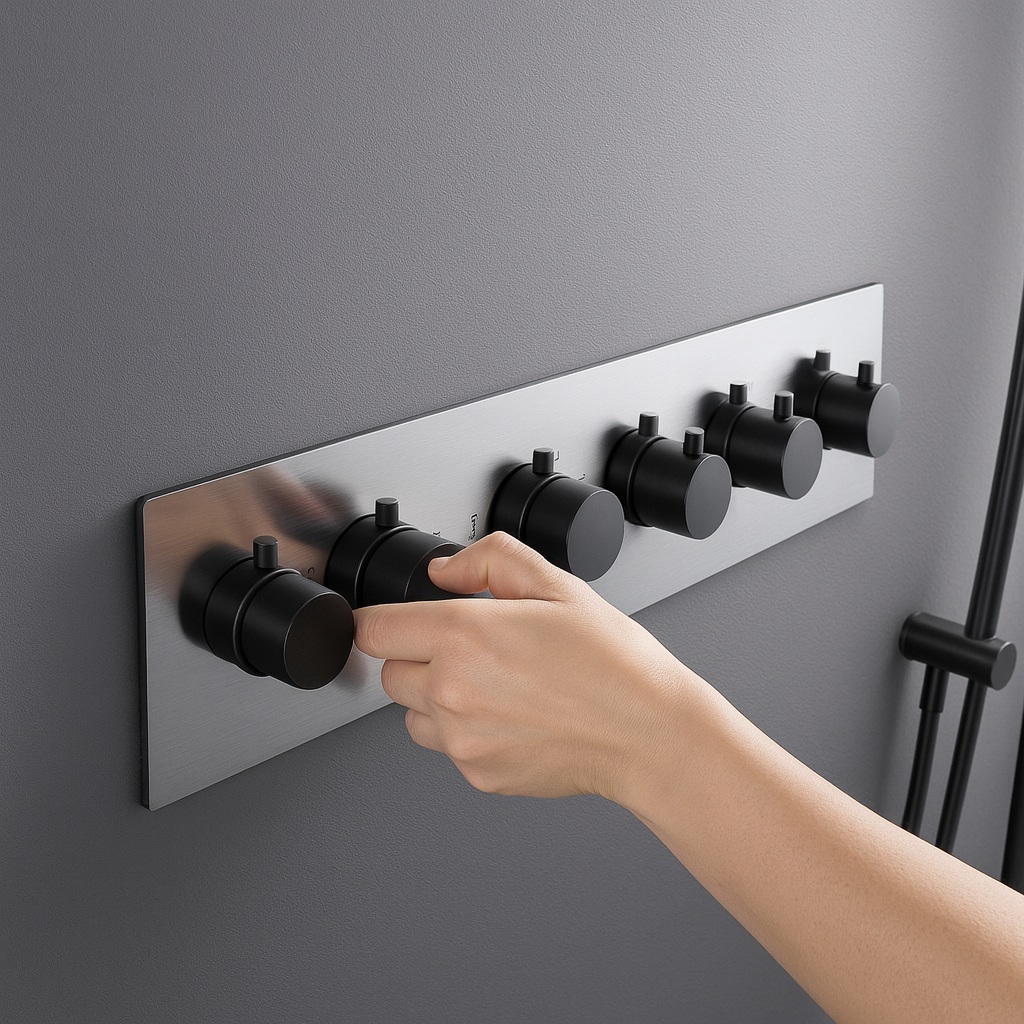
1-way: single outlet 2-way: two outlets 3-way: tub + hand shower + head Thermostatic: stable temperature Multi-control: separate controls
Use case
Best fit
What to confirm early
Closeout notes
Standard unit tubs
2-way or 3-way mixer
Wall depth, outlet count, trim plate clearances
Document model + finish, keep spares aligned to the valve family
Premium tenant floors
Thermostatic + 3-way
Temperature range expectations, service access, finish schedule consistency
Include install steps and commissioning notes for stable temperature setup
Executive restrooms
Thermostatic + multi-control diverter
Outlet labeling, handle travel, and user flow between outlets
Provide a one-page diagram showing “what each control does”
Amenity suites with multiple outlets
4-way or 5-way diverter
Outlet logic, rough-in locations, and trim alignment in tile grid
Hand over a parts list for cartridges and trim screws
Helpful when the design calls for distinct, separate controls by outlet.
Good for executive restrooms and premium amenity bath suites.
Video workflow: tub valve planning and close-in
Use a short install video during precon to align the team on rough-in depth, trim plate placement, and service access.
This is the fastest way to reduce trim misalignment and late wall rework.
FAQ for tub valve specs
What should we standardize first on a multi-unit project?
Standardize outlet count and the valve family first. Once that is fixed, rough-in depth, trim layout, and finish scheduling become repeatable.
What causes the most punch-list issues?
Late changes to outlet count or mounting depth after framing and backer board. That drives tile rework, trim misalignment, and schedule risk.
How do we deliver a more managed experience on premium floors?
Use thermostatic control where stable temperature matters, keep controls labeled by outlet, and provide a simple one-page operating note at closeout.
What belongs in the closeout binder?
Product page links, install steps, BIM file if used, a short spares list, and the warranty sheet. Keep it simple so facilities teams can act fast.
Designed for concealed tub and shower installations that require consistent performance and a clean finished wall. These valve packages support straightforward rough in, reliable temperature control, and simple user operation, making them a strong fit for standard residential builds and light commercial projects where durability and predictability matter.
Find Out First
Get FontanaShowers emails of inspiration, new product releases, and more!