Fontana Touchless Faucets™ | Architectural and Engineering Resource
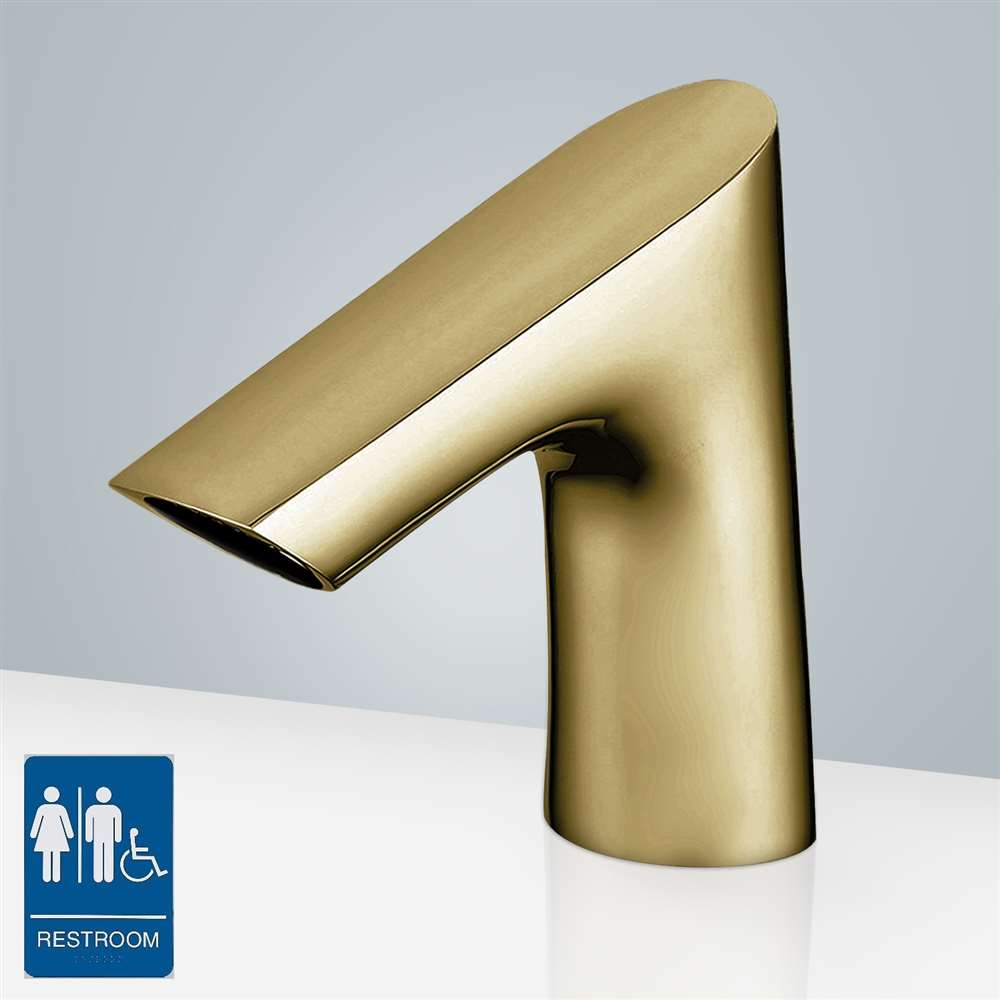
Fontana Commercial Brushed Gold Touchless Automatic Sensor Faucet:
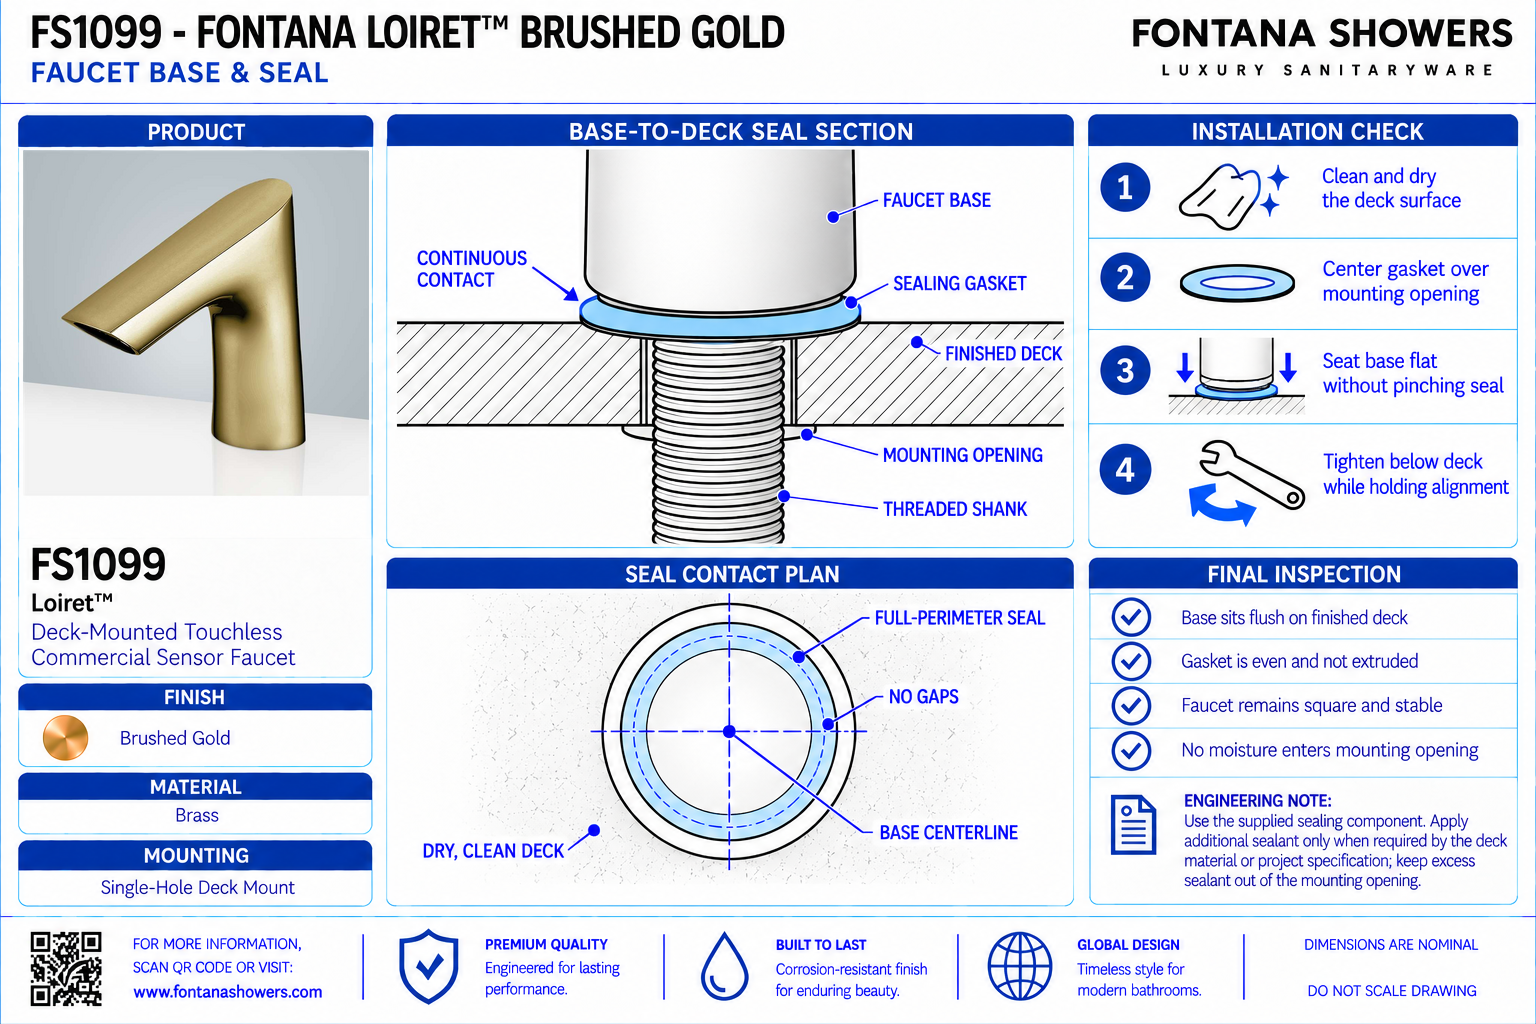
Faucet Base & Seal
This installation resource supports architects, plumbing engineers,
contractors, installers and facility managers coordinating the FS1099
base interface with a finished lavatory deck. The detail should identify
the O-ring groove beneath the faucet body, the countertop contact surface
and the mounting penetration. Coordinate seal placement with body
alignment, protected hose and cable routing, and the underside fastening
assembly.
Fontana FS1099 Faucet Base and Deck Sealing Interface
The installation guide directs the installer to place the O-ring
in the faucet body’s bottom groove before inserting the assembly
through the deck. Keep the seal seated as the body is positioned,
then secure the underside hardware with the faucet aligned over
the intended washing area.
- Model: FS1099
- Finish: Brushed Gold
- Installation: Single-hole deck mount
- Overall height: 6 inches / 152.4 mm
- Base dimension shown: 1.5 inches / 38.1 mm
- Upper-body dimension shown: 0.5 inch / 12.7 mm
- Base seal: O-ring seated in the faucet’s bottom groove
- Mounting-hole diameter: 1.26–1.38 inches / 32–35 mm
- Maximum countertop thickness without deck plate: 1.38 inches / 35 mm
- Under-deck assembly: Rubber washer, metal washer, mounting nut and locking screws
- Seal dimensions and material: Not specified in the referenced documents
- Millimeter body dimensions: Calculated equivalents of the illustrated inch values
Required Faucet Base and Seal Drawing Package
Organize the drawing around an enlarged base section and a local
assembly detail. Identify the faucet underside, O-ring groove,
finished deck and mounting opening. Distinguish the above-deck
sealing interface from the rubber washer beneath the countertop,
and show routed components clear of both contact surfaces.
Base Contact Section
Show the faucet base seated on the finished countertop.
Identify the sealing interface around the penetration and
distinguish the deck contact area from the opening through
which the mounting components pass.
O-Ring Groove Location
Identify the bottom groove that receives the supplied O-ring.
Use the actual component or approved assembly information
for its geometry rather than assigning an estimated groove
depth or seal diameter.
Seal Seating Detail
Illustrate the O-ring positioned within its groove before
the body is lowered onto the deck. Show the intended assembly
condition without prescribing an unsupported compression
percentage or tightening torque.
Finished-Surface Condition
Identify the countertop surface beneath the base. Inspect
this area for debris, chips or local irregularities that
could interfere with even seating or displace the seal
during installation.
Penetration and Base Alignment
Coordinate the mounting opening with the faucet base.
Check the complete contact interface using the supplied
assembly; the illustrated base dimension alone does not
establish a seal-contact width or fabrication tolerance.
Hose and Cable Passage
Show the flexible water pipe and sensor cable passing
through the mounting opening. Keep these components clear
of the base contact area so they cannot become trapped
beneath the body or across the O-ring groove.
Under-Deck Clamping Relationship
Show the rubber washer, metal washer and mounting nut
below the countertop. Distinguish their fastening function
from the O-ring at the faucet base and preserve access
to the locking screws.
Completed Interface Inspection
Check that the base seats evenly and the faucet remains
stable after fastening. Inspect the surrounding deck and
underside during commissioning for moisture, then identify
its source before making corrective adjustments.
Engineering note:
The FS1099 installation guide identifies an O-ring in the faucet
body’s bottom groove but does not establish its material, cross-section,
groove tolerances or required compression. Confirm replacement-seal
compatibility with the manufacturer. Do not substitute an assumed
O-ring size or prescribe additional sealant without approved
instructions. The illustrated base dimension is not the mounting-hole
diameter or a complete sealing-interface specification.
Faucet Base and Seal Installation Sequence
1. Inspect the Contact Surfaces
Examine the faucet underside, seal groove and finished
countertop around the opening. Remove debris and resolve
damaged or uneven surfaces before seating the assembly.
2. Inspect the Supplied O-Ring
Check the seal for visible cuts, deformation or contamination.
Confirm that it belongs to the supplied mounting assembly
and obtain a compatible replacement if it is damaged.
3. Seat the Seal
Place the O-ring in the faucet’s bottom groove as directed.
Check that it follows the groove without twisting or
protruding from its intended seating position.
4. Lower and Align the Body
Feed the mounting components through the opening and lower
the faucet onto the deck. Keep the hose and cable clear of
the base while maintaining the intended outlet orientation.
5. Secure the Mounting Assembly
Install the underside washers and mounting nut, then secure
the locking screws according to the guide. Observe base
seating and avoid using tightening force to compensate
for an obstructed or unsuitable contact surface.
6. Verify the Completed Interface
Confirm stability, alignment and even seating.
Complete the operating checks and inspect for moisture
beneath the deck, distinguishing supply leaks from water
entering around the mounting penetration.
Architectural and MEP Coordination Considerations
Countertop Surface Geometry
Check local slopes, seams and surface texture at the mounting
position. Confirm that the supplied base and seal can seat
correctly on the selected finished material.
Opening Quality
Inspect the penetration for edge damage and irregularities.
Coordinate drilling with the fabricator so the mounting
opening does not compromise the base contact area.
Assembly Alignment
Set the final faucet orientation before securing the hardware.
If repositioning is necessary, release the fastening assembly
and recheck the seal rather than forcing the body to rotate
against a clamped interface.
Leak-Source Identification
Inspect the hose connections and deck interface separately
when moisture appears below the lavatory. Identify the
source before replacing the base seal or adjusting fasteners.
Cleaning and Seal Compatibility
Follow manufacturer care instructions for the finish and
sealing components. Obtain compatibility guidance before
applying chemicals, lubricants or supplemental sealing
products at the base.
Replacement Access
Keep the underside fastening assembly accessible for future
seal replacement. Coordinate removable panels and service
space so the faucet can be released without disturbing
permanent countertop finishes.
FontanaShowers Installation and Specification Resources
Professional Engineering and Accessibility References
Project verification:
This resource supports base and seal coordination and does not
establish a waterproofing rating for the deck penetration.
Confirm the supplied seal, mounting hardware, finished-surface
conditions and manufacturer installation requirements before
accepting the completed assembly.
|
|
|