Drain trim, pop-up assemblies, and floor drain details cause real punch-list time when they are not standardized early.
This page is built for spec teams who want predictable rough-in, clean finish coordination, and quick closeout.
Start with the basin type, confirm overflow and outlet geometry, then lock a finish family across drains and trim.
OverflowConfirm overflow vs no-overflow early. It drives the drain body and sealing method.
Outlet + TailpieceVerify outlet size and tailpiece length so trap rough-in stays repeatable.
MaterialPrefer brass bodies where long service life and fewer callbacks matter.
Finish FamilyLock drain caps to faucet and accessory finishes to prevent substitutions.
Contractor priorities
Avoid leaks, avoid rework, and keep under-vanity access simple for turnover and service.
Confirm overflow vs no-overflow drains before sink orders are finalized.
Standardize the drain body and tailpiece geometry so trap rough-in stays repeatable.
Coordinate finish on drain caps with faucets, accessories, and escutcheons to reduce substitutions.
Engineer and owner priorities
Durable materials, predictable performance, and service that does not require removing the countertop.
Prefer brass drain bodies and corrosion resistant components where long life matters.
Confirm outlet size, sealing method, and maintenance steps for housekeeping and facilities.
Keep submittals tight: product page, spec sheet or cut sheet, BIM when required, and warranty.
How to choose the right sink drain
Confirm overflow vs no-overflow on the basin before purchasing drains.
Verify outlet size and tailpiece geometry so the trap alignment stays clean.
Match finish to the faucet and accessories to keep the schedule consistent.
Confirm service access under the vanity so seals and parts can be replaced easily.
How to choose a floor drain for wet rooms
Confirm floor build-up and tile thickness so the drain sits flush.
Check single-hole fit and drainage path to avoid site modifications.
Pick a finish that matches the trim package and stays consistent across the floor.
Confirm cleaning access so facilities can clear hair and debris quickly.
Common field mistakes that cause punch list work
Ordering no-overflow drains for overflow sinks (or the reverse).
Tailpiece and trap mismatch that forces rework or odd offsets under the vanity.
Finish mismatch between faucet, drain cap, and accessories late in procurement.
Missing gasket order or over-tightening that leads to slow leaks after turnover.
Choosing floor drains without a clear cleaning path for hair and debris.
Fast selection map
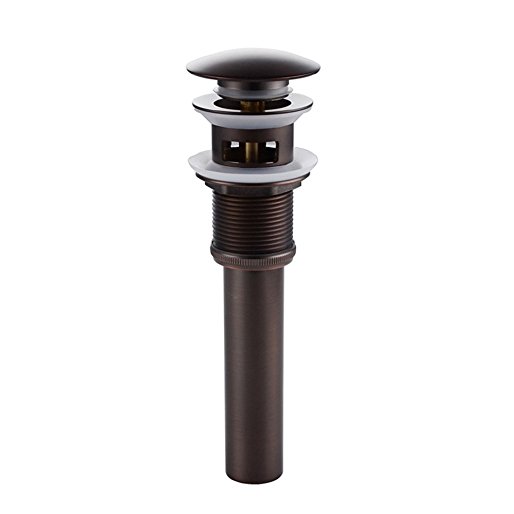
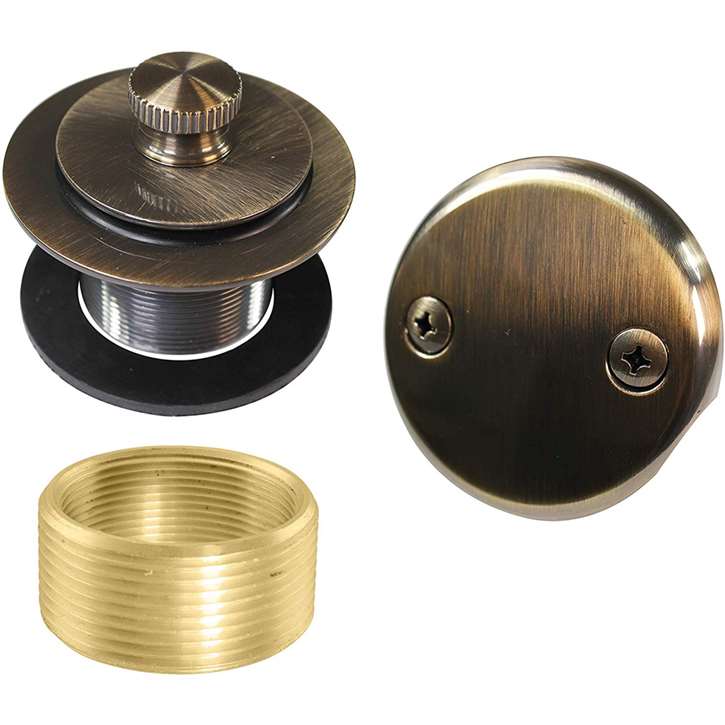
For standard units, use a repeatable pop-up drain assembly that matches the basin overflow requirement and locks a finish family.
For premium floors, tighten finish coordination across faucet, drain, and accessories so every vanity reads as one system.
For wet rooms and public washrooms, include floor drains that align with the same finish schedule and simplify cleaning.
Overflow match: prevents returns Brass body: longer service life Standard outlets: faster rough-in Finish family: clean schedule Easy clean: fewer callbacks
Keep spare seals and one matching finish cap per unit type
Premium tenant floors
Finish-coordinated drain family
Finish schedule across faucet, drain, and accessories
Lock model + finish as one line item to prevent substitutions
Public / high-use washrooms
Durable drain + easy-clean details
Cleaning access, clog resistance, service steps
Add a short maintenance note for facilities and housekeeping
Wet rooms / tiled floors
Pop-up floor drain
Single-hole fit, odour seal, finish alignment to trim
Include installation guidance and BIM/spec links in closeout
Specification and submittal resources
Keep one clean path for review. Use product pages as the source of truth, and pull BIM files when required.
Pair each submittal with a short spares list for closeout.
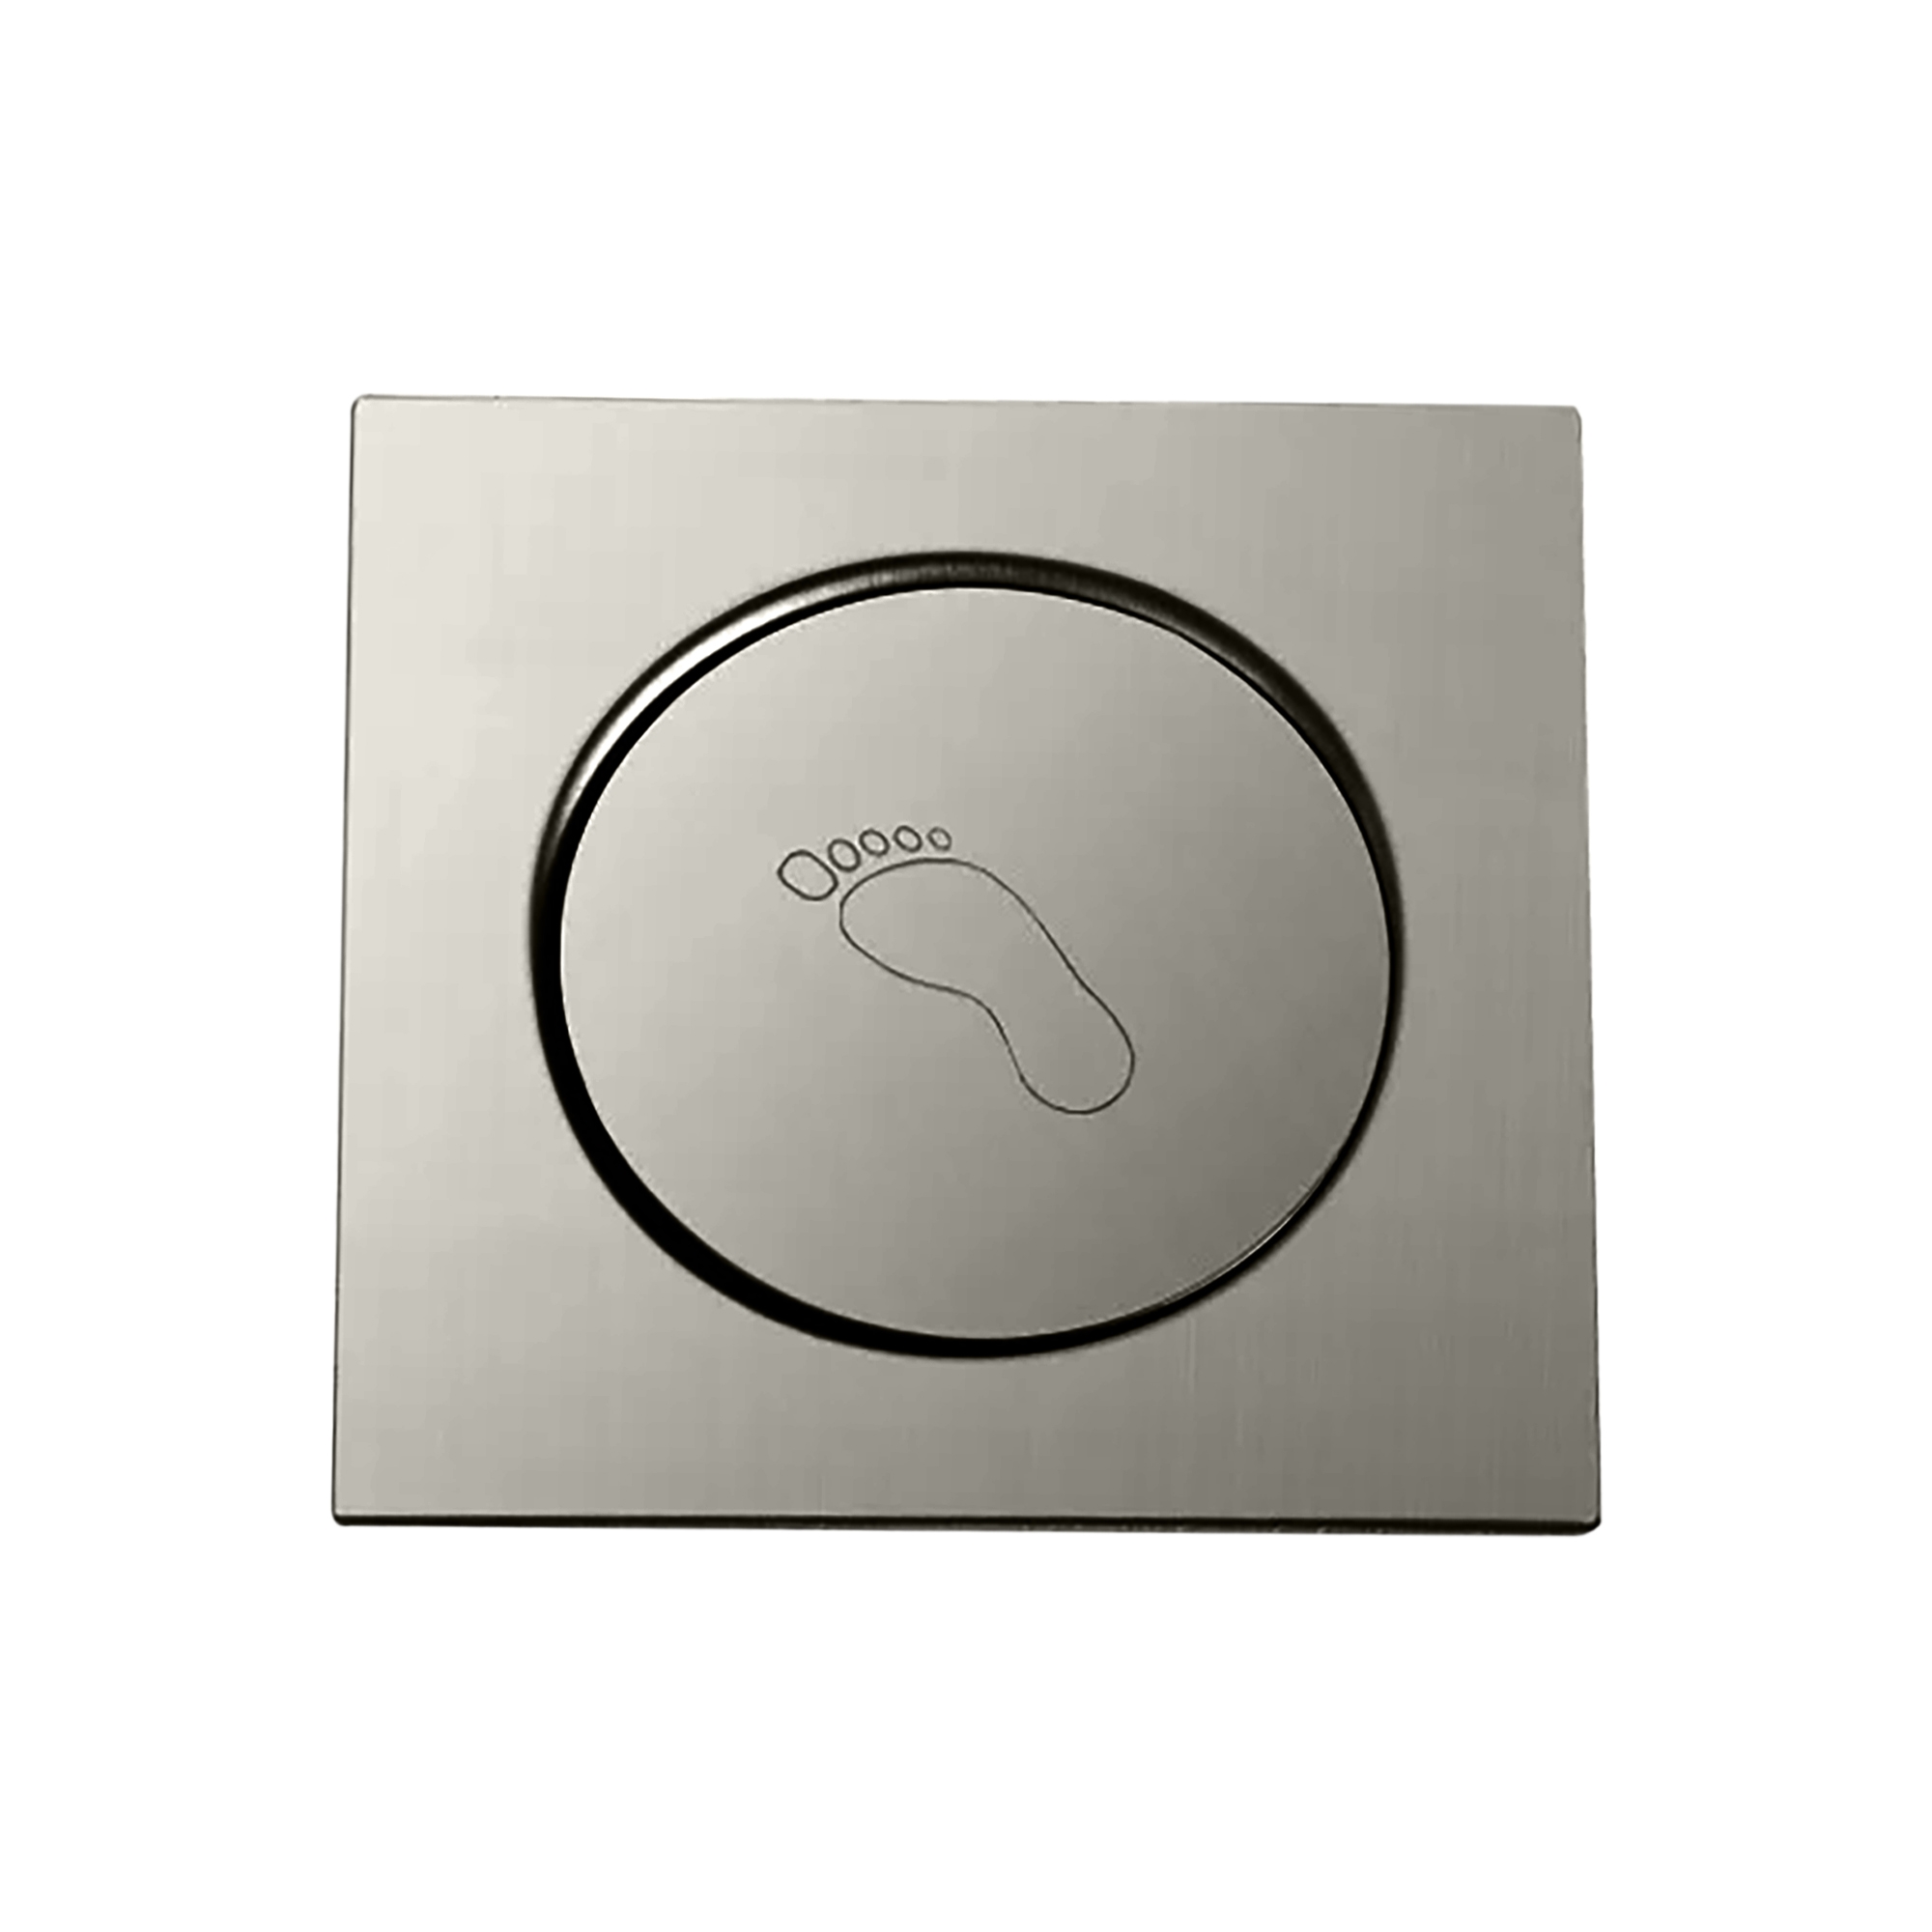
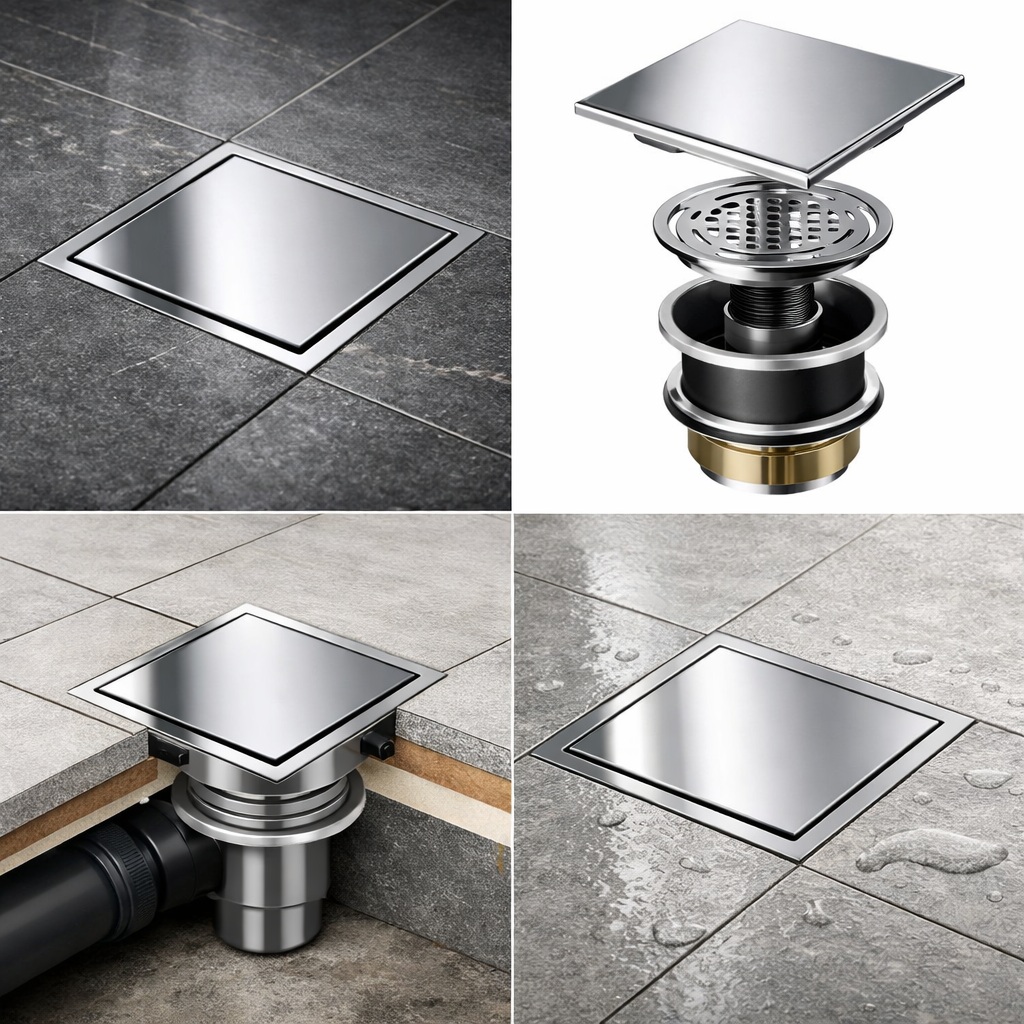
Square profile works well in modern tile layouts and wet areas.
Useful when you want a clean, minimal drain line in the floor plan.
Spec note: confirm tile thickness and service access for routine cleaning.
Video workflow: pop-up drain installation and leak prevention
Use a short drain install video during precon to align the team on sealing order, linkage adjustment, and leak checks.
This reduces call-backs and helps keep under-vanity service clean at turnover.
FAQ for sink hardware specs
What should we standardize first?
Standardize basin type (overflow vs no-overflow) and one drain family first. Once that is locked, rough-in, trap alignment,
and finish coordination become repeatable across floors.
What causes the most punch list issues?
Wrong overflow selection, inconsistent tailpiece geometry, and missed sealing steps that lead to slow leaks.
Finish mismatches on drain caps also create late rework and substitutions.
How do we keep finish coordination clean?
Lock faucet + drain + accessory finishes as one family per unit type or per floor. Use one approved finish name and one SKU line
per drain assembly so procurement does not substitute midstream.
What belongs in the closeout binder?
Product page links, spec sheet or cut sheet, install guidance, BIM file if used, and a short spares list (seals and key trim parts).
Keep it simple so facilities teams can act fast.
Specify sink hardware the same way you spec faucets: pick the basin type first, then lock the drain style, then lock the finish family. Start by confirming overflow or no overflow so the drain body and sealing method match the sink. Next, verify outlet and tailpiece geometry so the trap rough in stays repeatable across units. Finally, align finishes across faucet, drain cap, and accessories so procurement does not substitute midstream.
For standard units, choose one durable pop up drain assembly and keep spares simple. For premium floors, keep one approved drain family per finish so every vanity reads consistent. For public and high use washrooms, prioritize easy clean details and service access so facilities teams can clear clogs without pulling countertops.
Find Out First
Get FontanaShowers emails of inspiration, new product releases, and more!