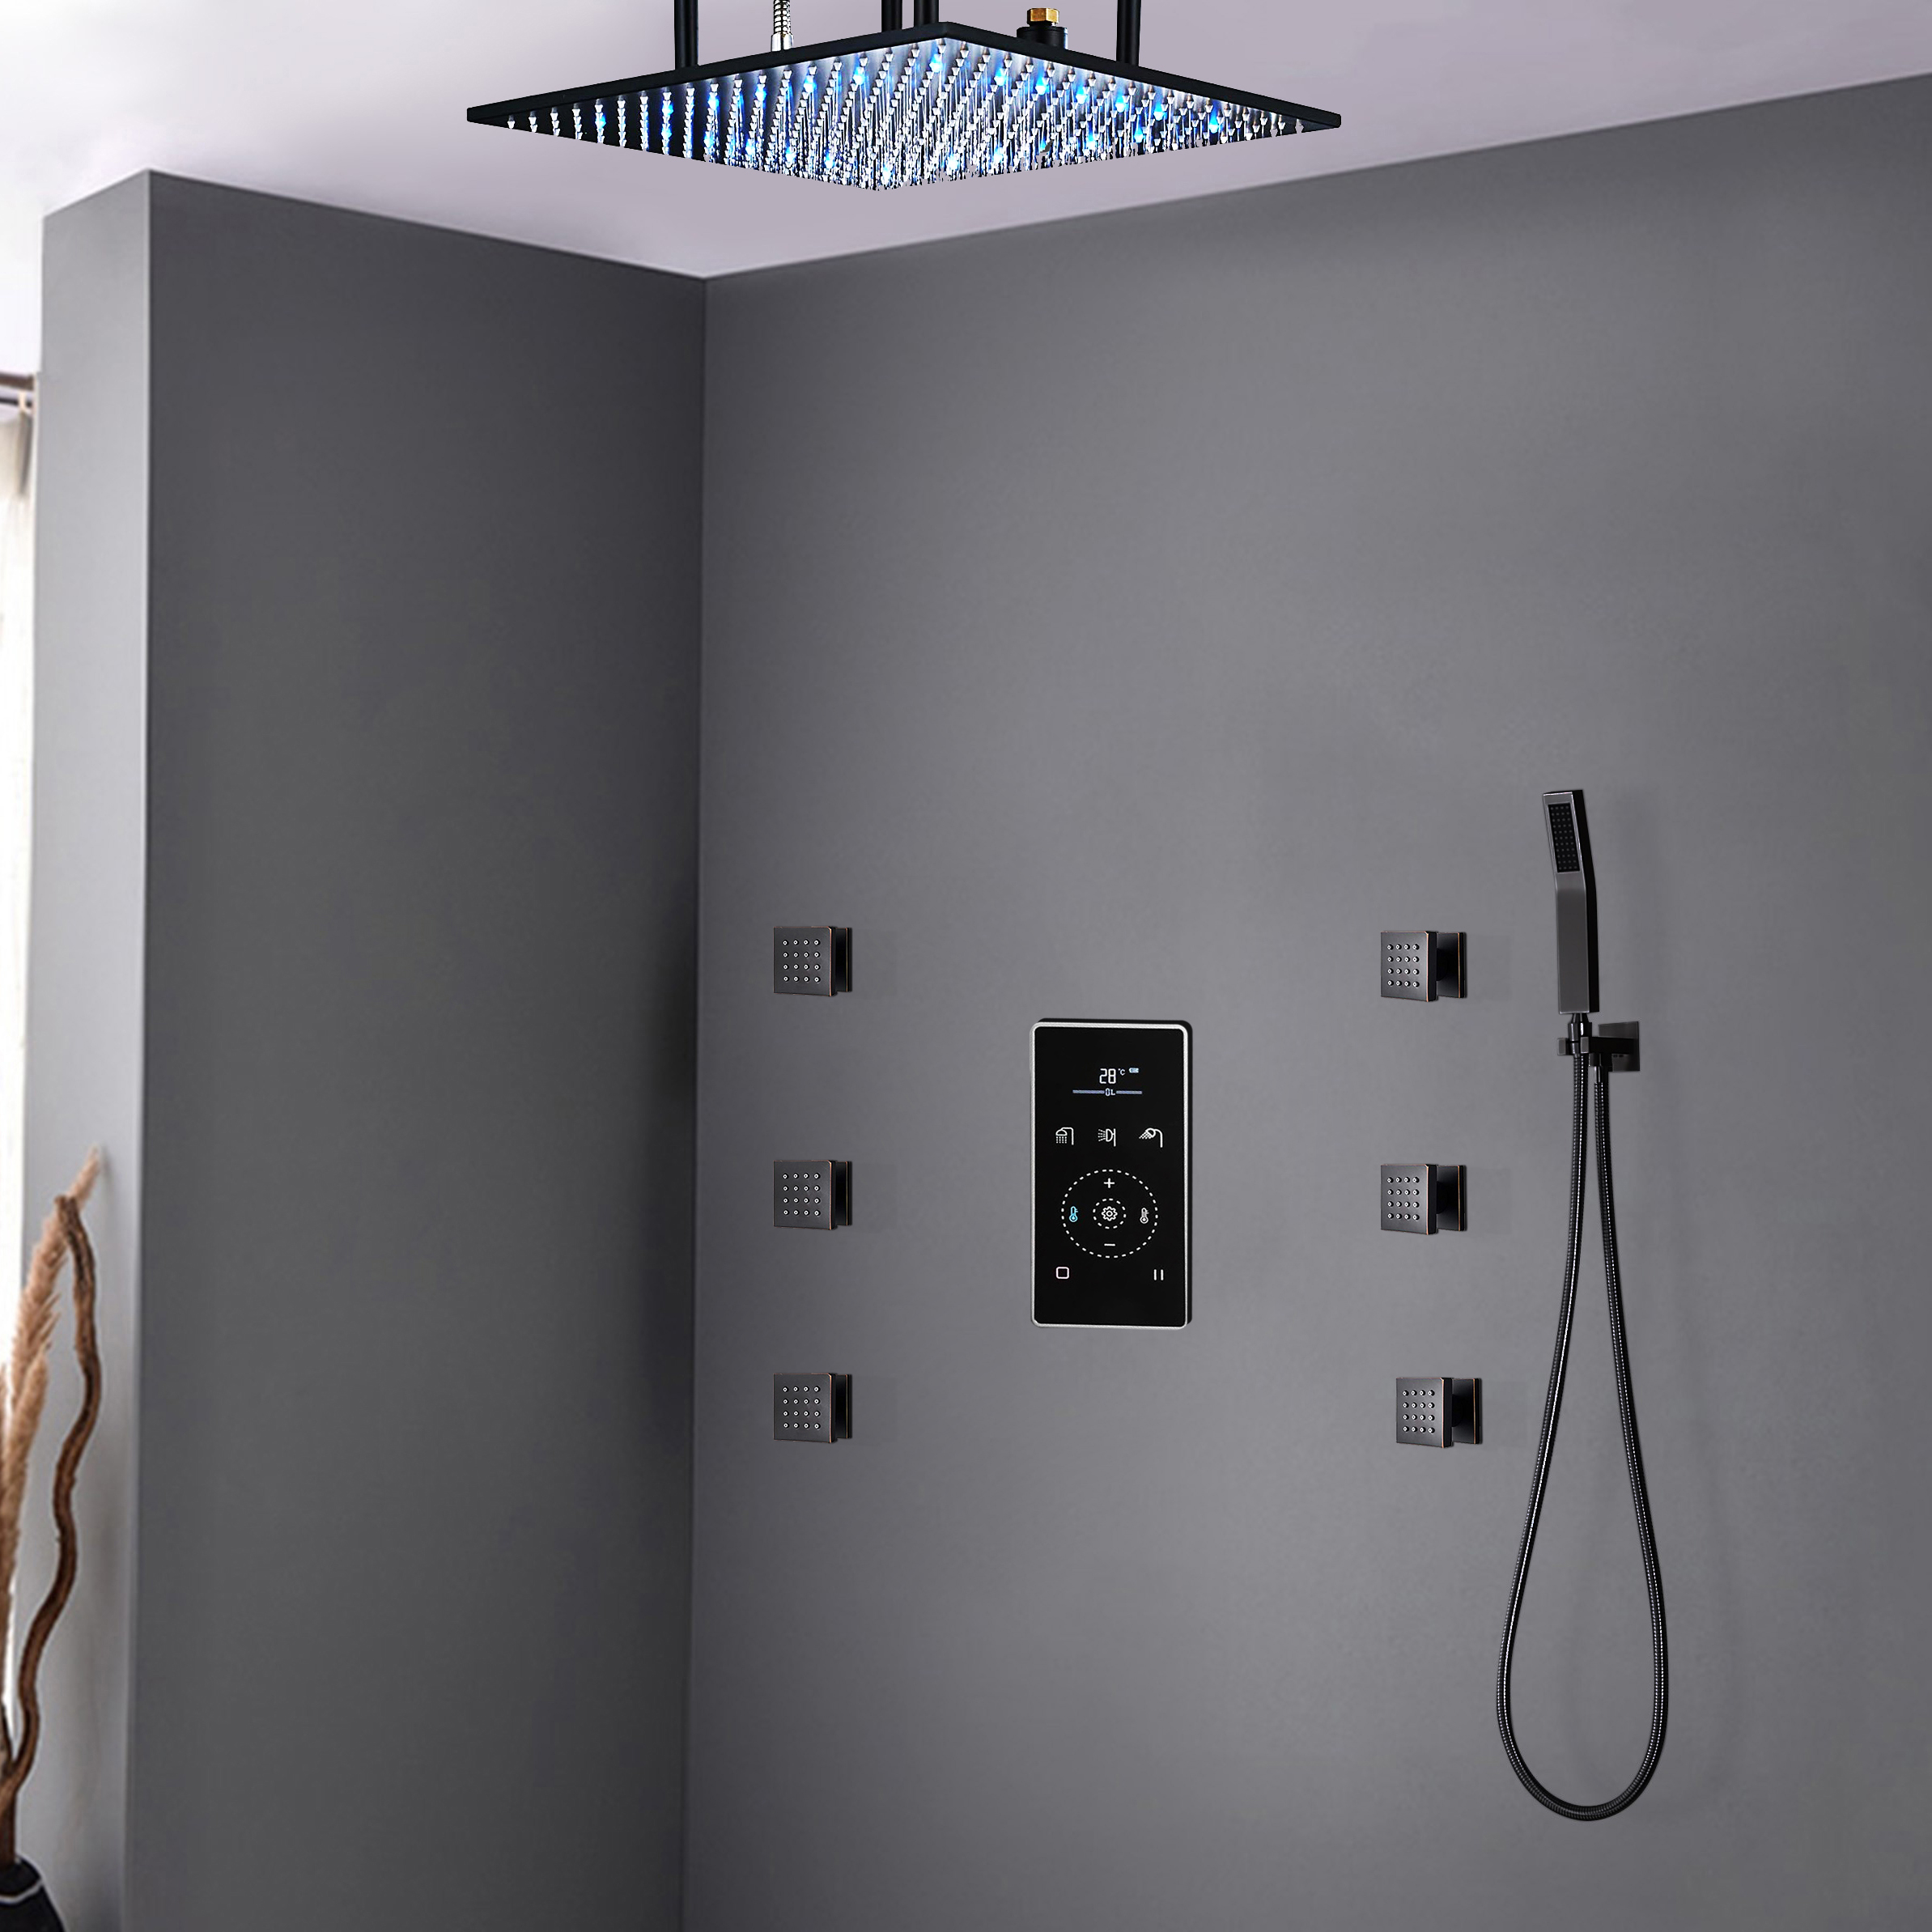
Fontana Reno Dark Oil Rubbed Bronze 3 Way Digital Shower System
Give your bathroom an elegant glance with our Fontana Reno Dark Oil Rubbed Bronze 3 Way Digital Shower System. Concealed digital shower mixer are a great solution for those looking to create a minimalist theme to their bathrooms. Enhanced with oil rubbed bronze finish, offers a sleek look. This is one of the most trendiest finishes across decor styles in the bathroom. This has an elegant modern design and elevates the appeal of your decor made from the highest quality and for great tastes. When it comes to new bathroom upgrades, FontanaShowers is offering shape, finishes and styles that you've looking for.
Fontana Reno Dark Oil Rubbed Bronze 3 Way Digital Shower Mixer Features:
Brand Name: FontanaShowers
Model Number: FS10120
Type: Shower Set
Number of Functions: 3 Functions
Mixer Type: Digital Mixer
Flow Rate: 4.5 GPM
Number of Handles: None(Digital Touch Screen)
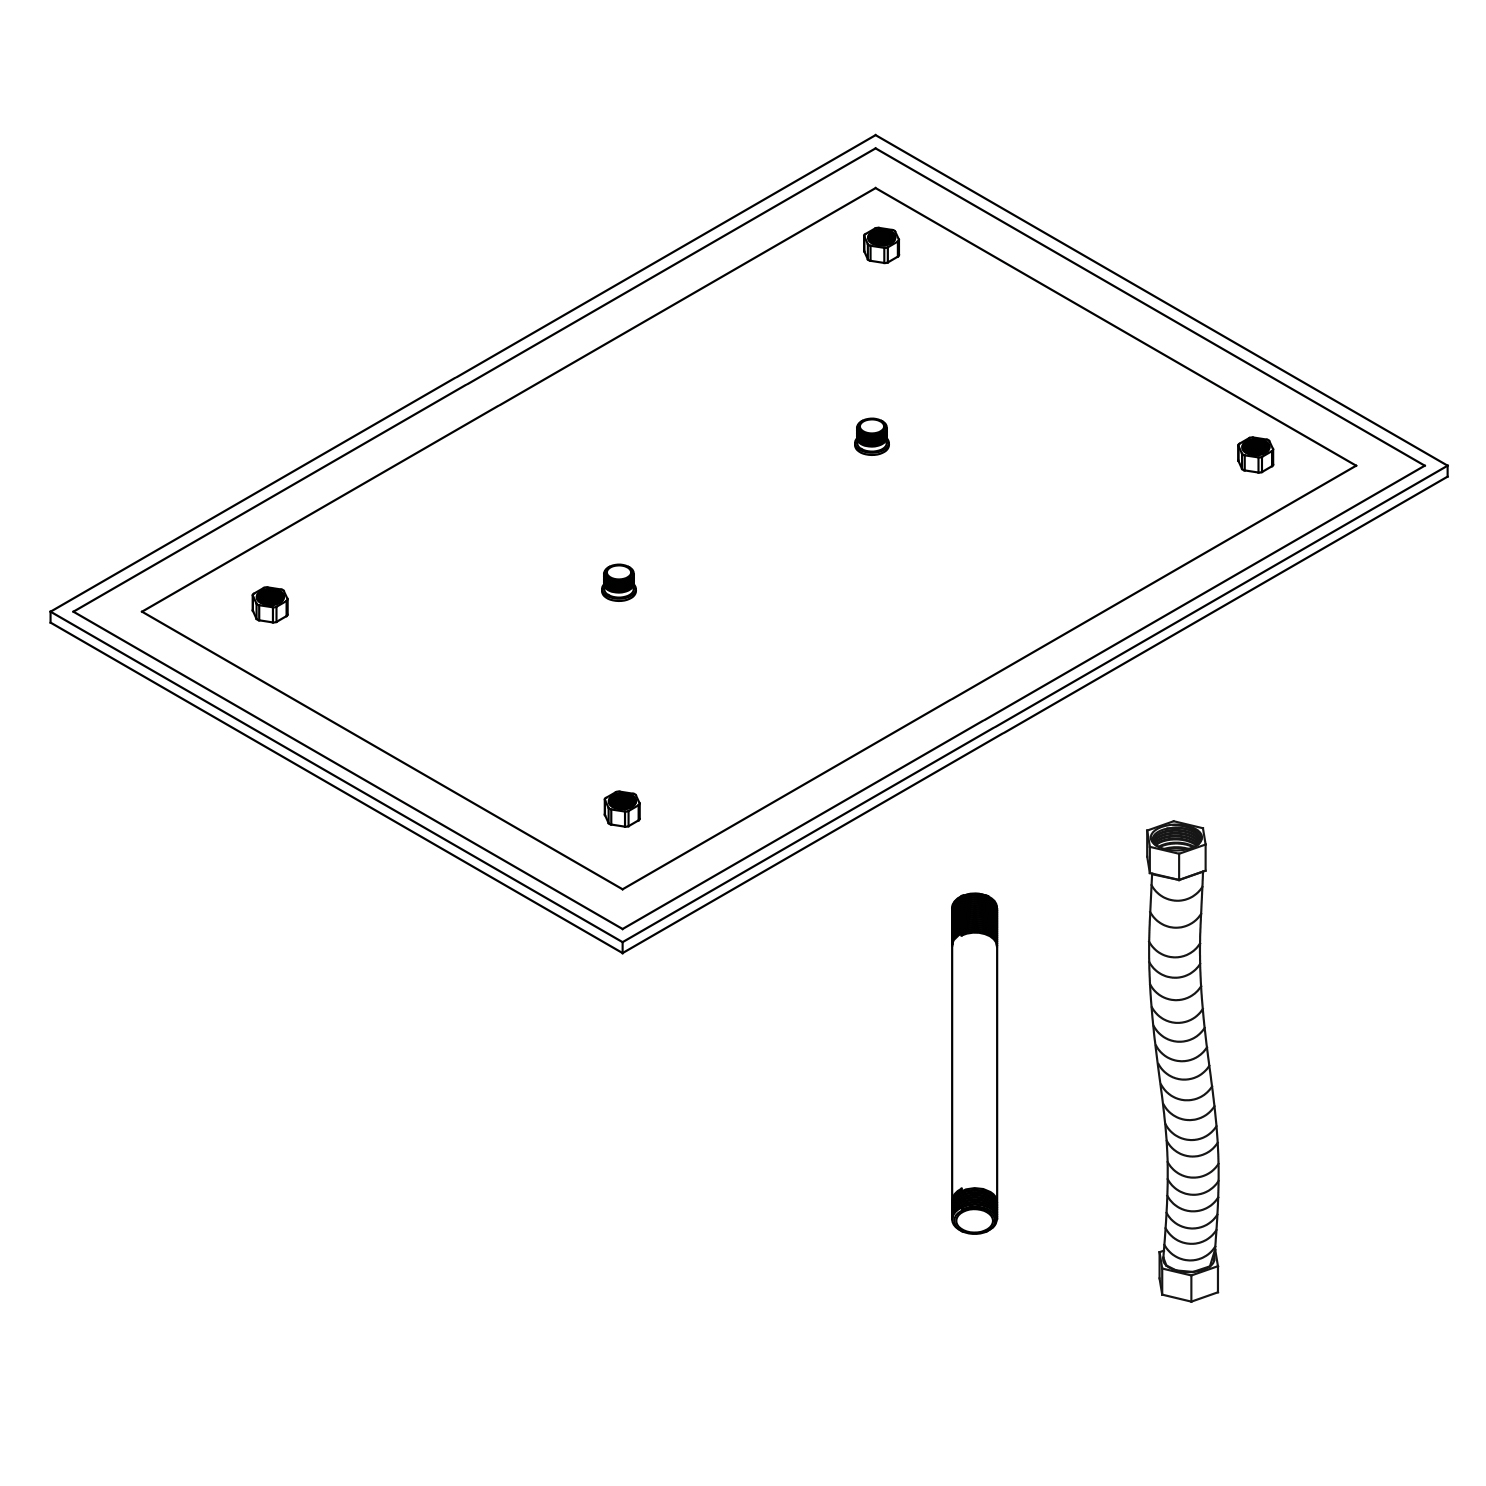
Shower head Size: W 24" x L 24"x H 1"
Body Jets Count: 6
Body Jet Size: 2"x 2"
Surface Treatment: Dark Oil Rubbed Bronze
Shower head Installation Type: Ceiling Mount
Shower head function: Rainfall
Shower Head Additional Feature: Water Powered LED lights.
Before you begin, please read the installation instructions below. Observe all local building and safety codes.
Unpack and inspect the product for any shipping damages. If you find damages, do not install.
Please note all showers must be installed by a professional and certified plumber otherwise warranty might be voided.
shower
Shower Head Installation Instructions
shower
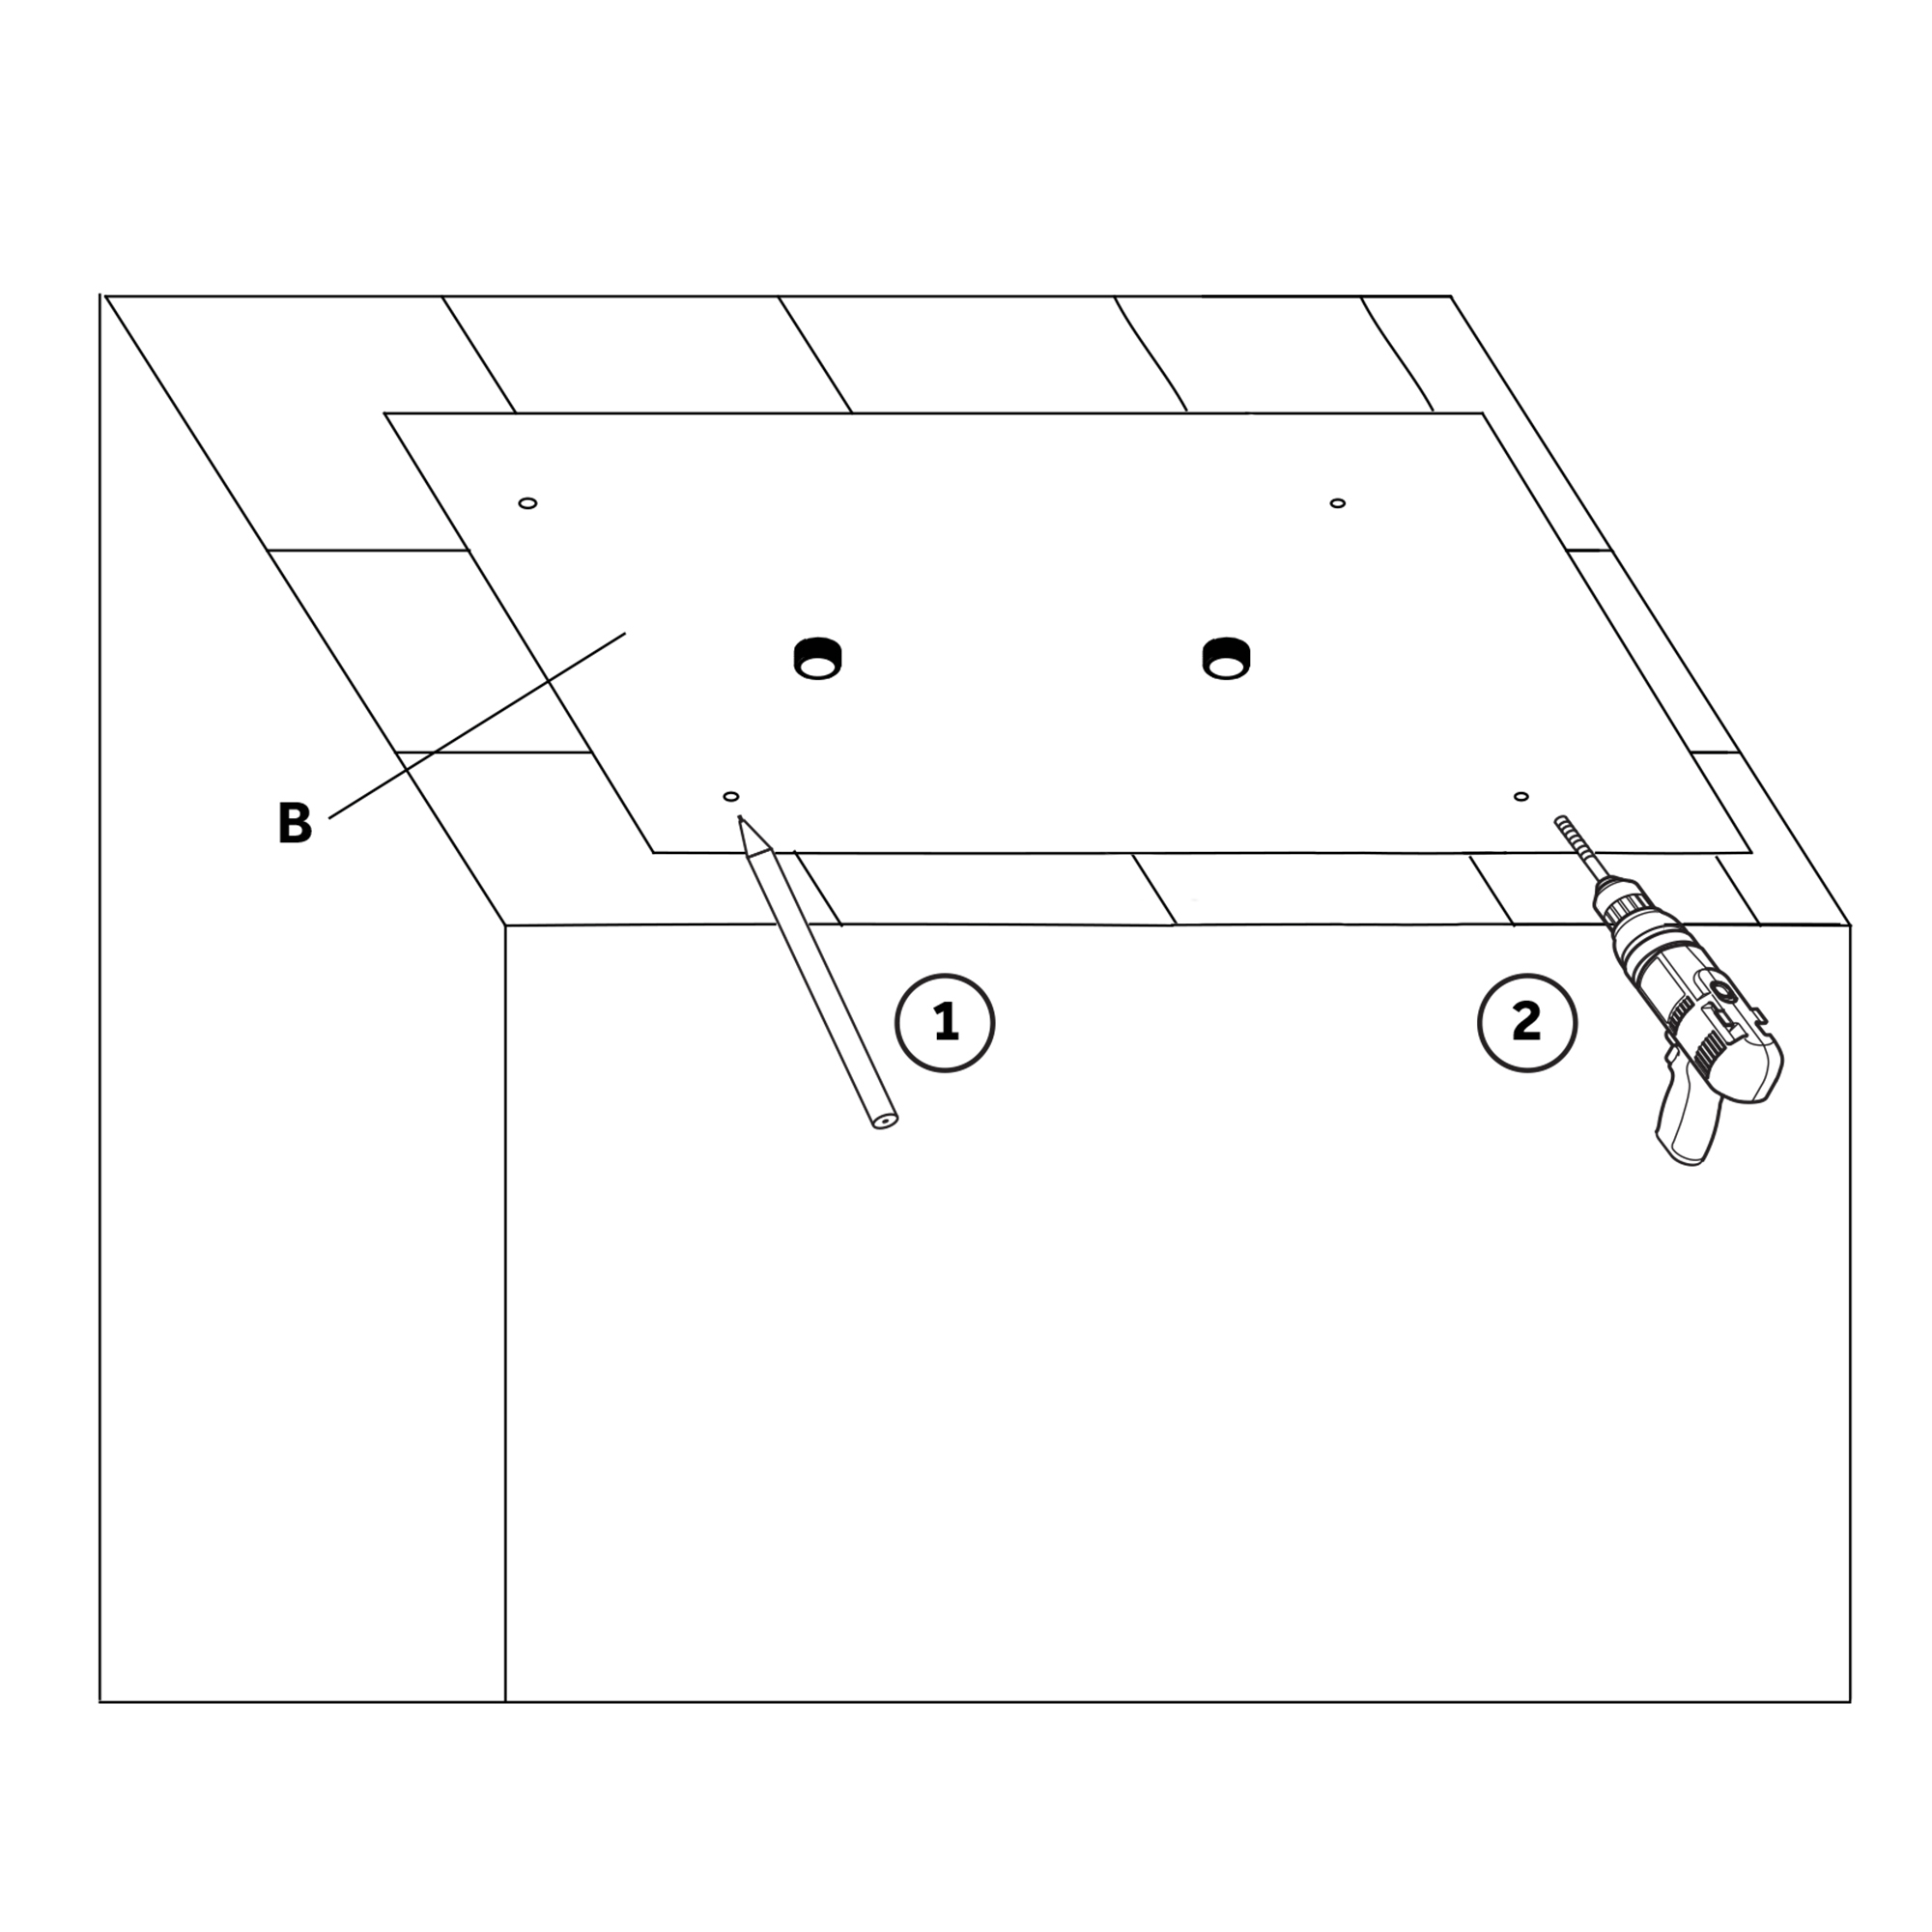
Step 1:
Step 2:
According to the template (B) mark the location of the mounting holes (1). Use a drill with a 6mm bit to drill mounting holes into studs or blocking.
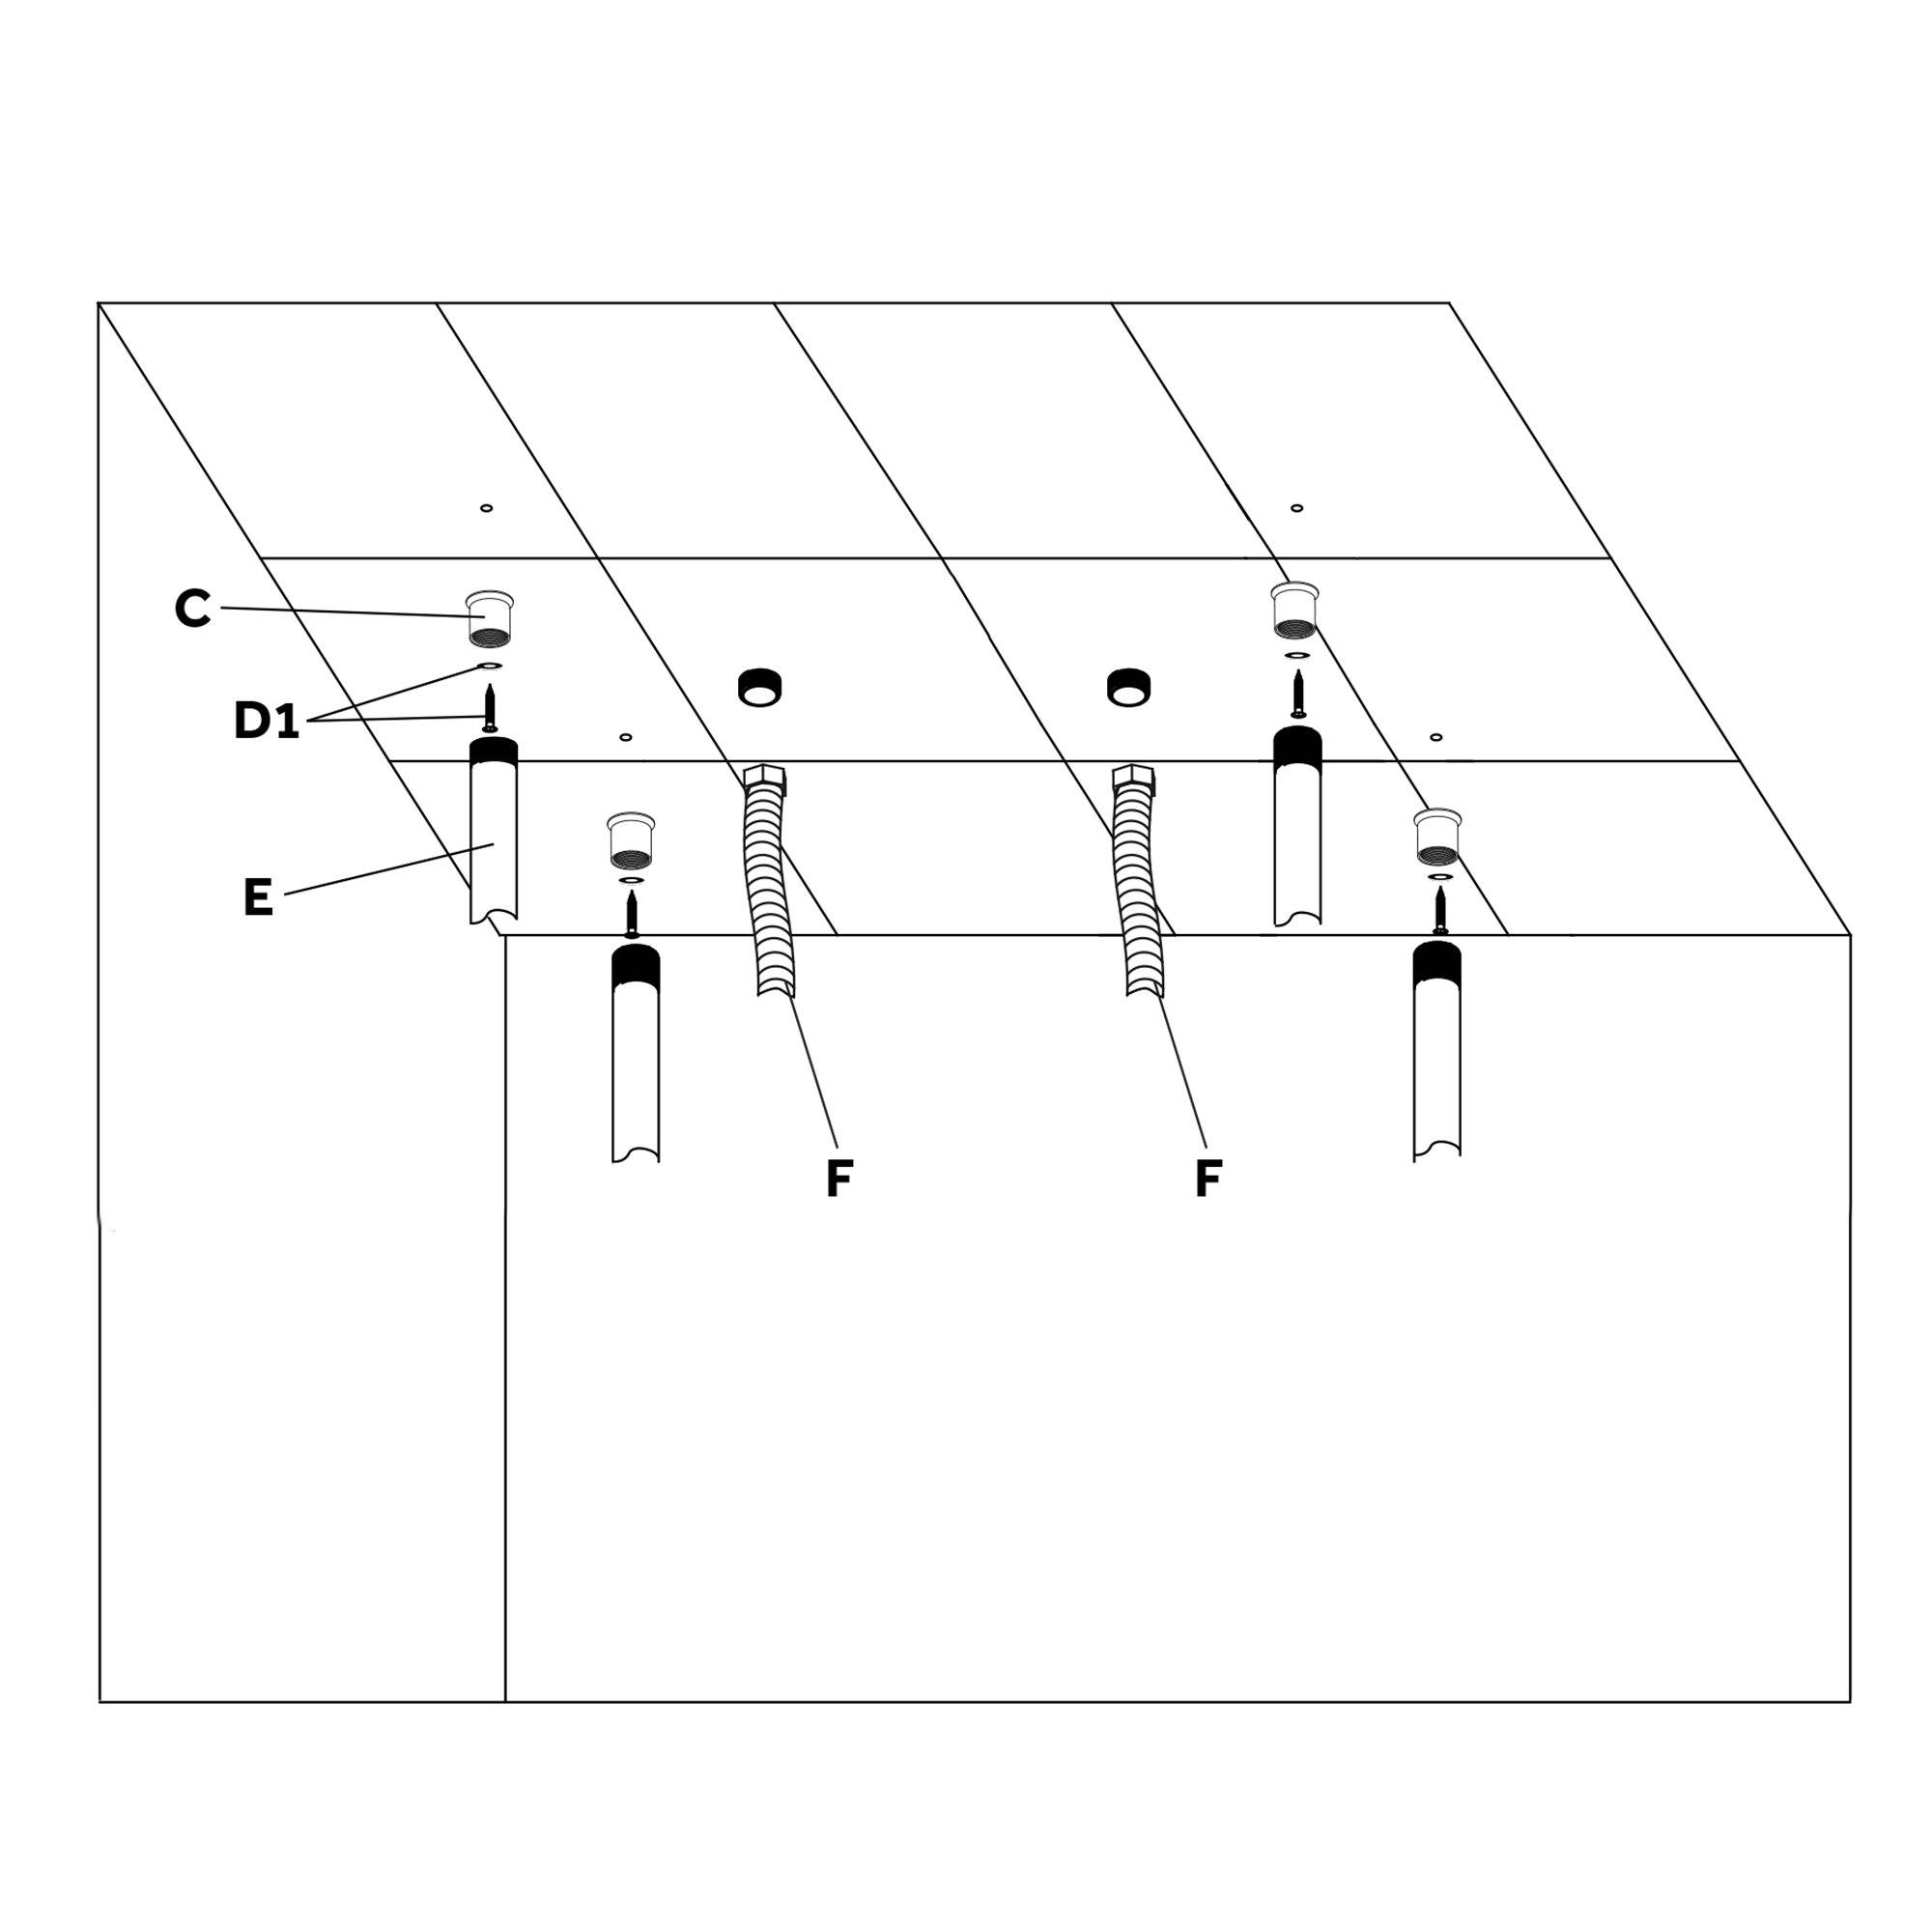
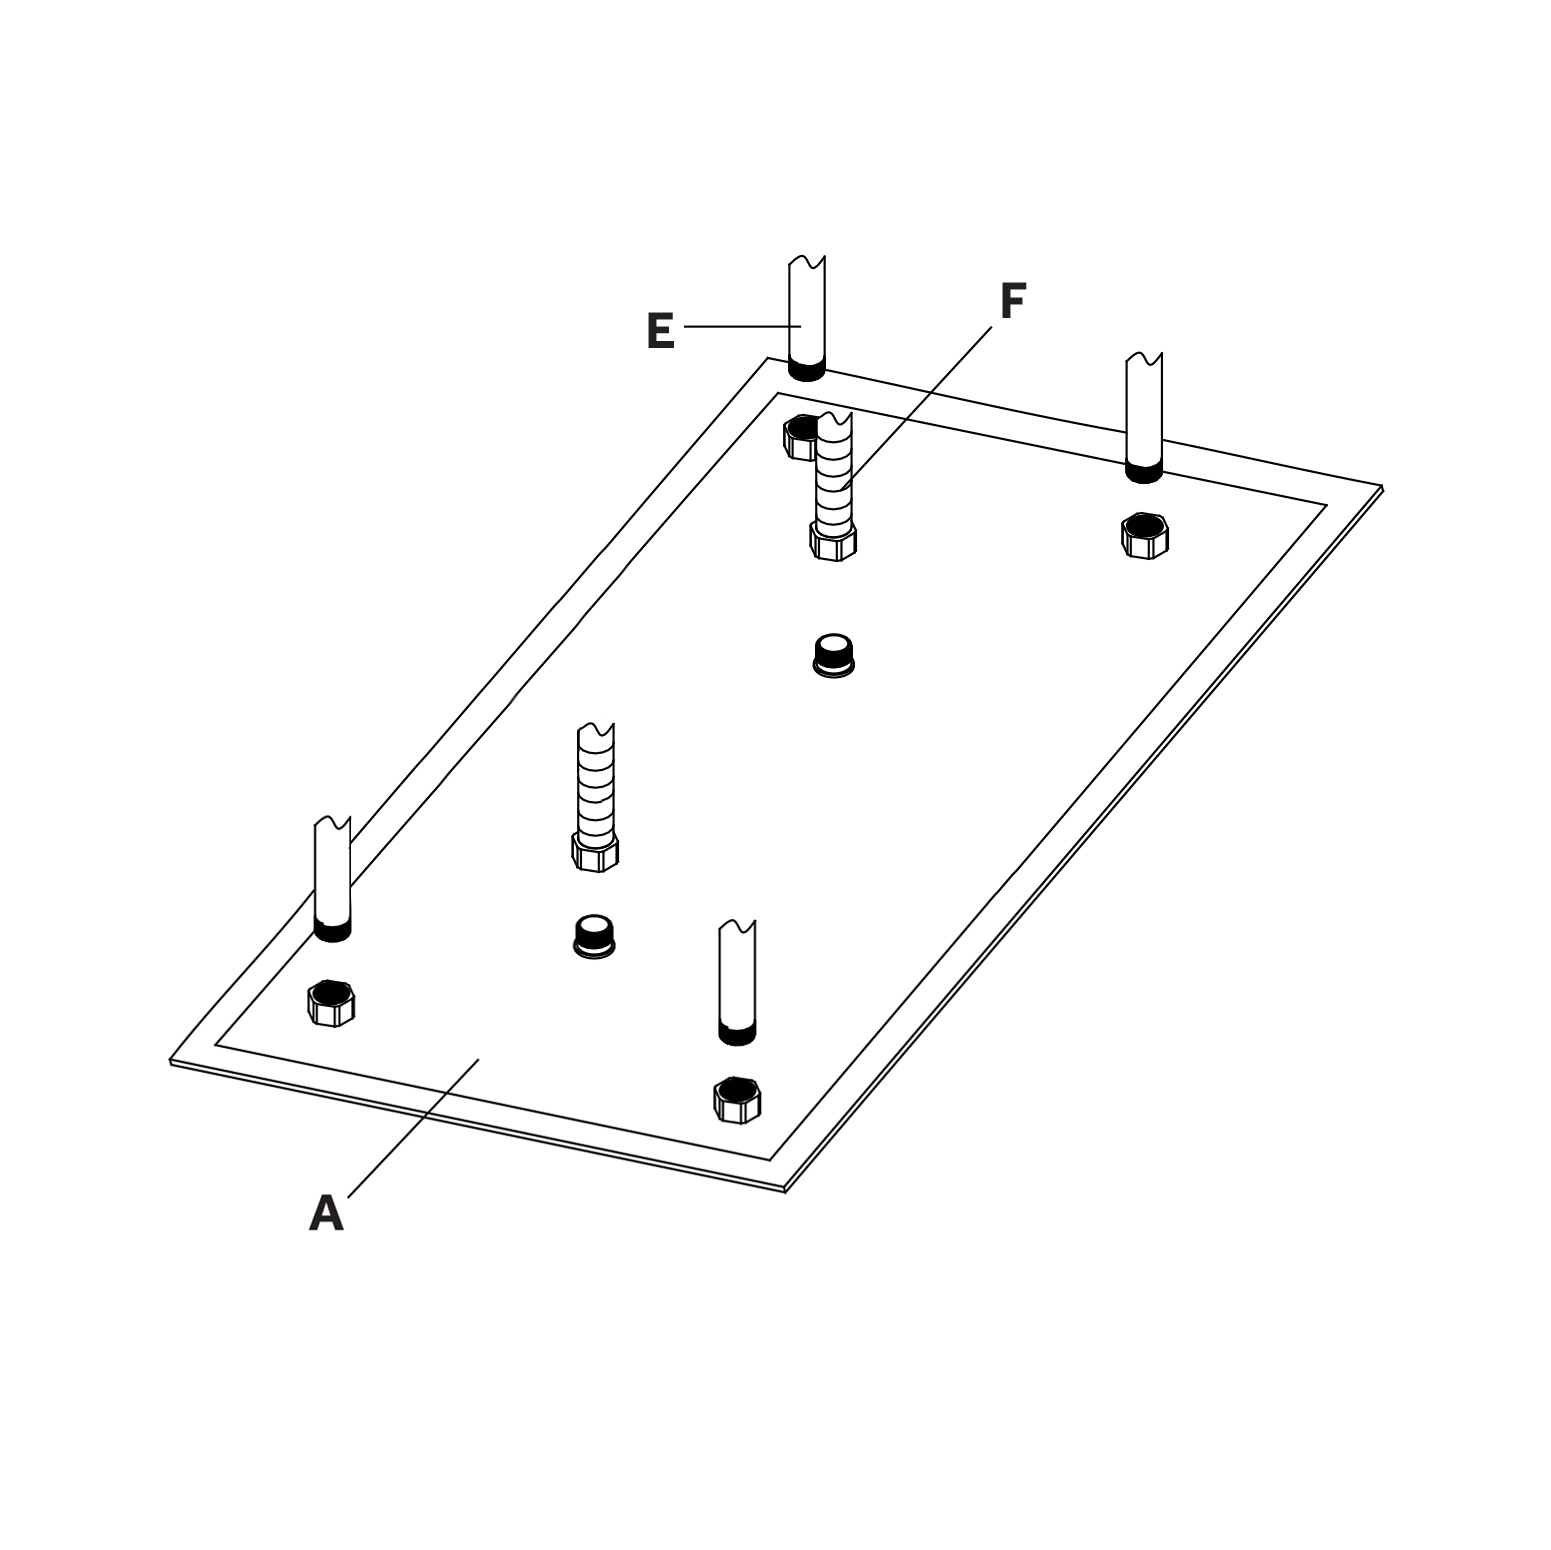
Install the mounting brackets (C) with the tapping screws (D1). Thread the shower bars (E) onto the mounting brackets, and the inlet hose (F) onto the water inlet.
Step 3:
Step 4:
Attach the shower head (A) to the shower bars (E). Connect the inlet hose (F) to the showerhead.