Home > How to Perform Basic Installations for Fontana Shower Panels?

Fontana Shower Panels Basic Installation


Sort By:
Page of 1
Fontana Shower Panel Tower, Rainfall And Waterfall Wall-Mounted Shower Fontana Shower Panel Tower, Rainfall And Waterfall Wall-Mounted Shower

Fontana Shower Panel Tower, Rainfall And Waterfall Wall-Mounted Shower

Retail Price $1,319.94
Sale Price: $997.87
Savings: $322.07
Free Shipping
FontanaShowers Cascading Bliss Brushed Nickel Shower Panel FontanaShowers Cascading Bliss Brushed Nickel Shower Panel

FontanaShowers Cascading Bliss Brushed Nickel Shower Panel

Retail Price: $2,155.23
Sale Price: $1,502.73
Savings: $652.50
Free Shipping


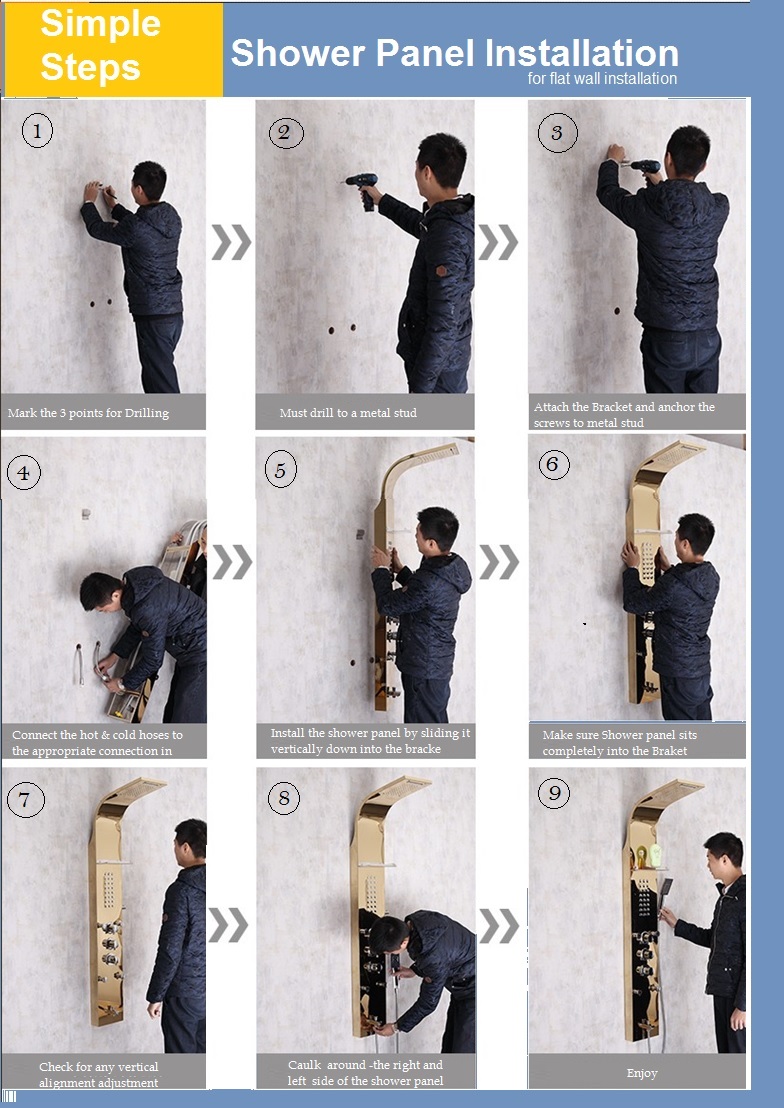
Fontana Shower Panels Basic Installation Instructions


Prepare the Work Area: Ensure the water supply is turned off before beginning the installation. Clear the installation area of any obstructions and clean the wall surface where the shower panel will be mounted.

Mark the Mounting Points: Hold the shower panel against the wall to determine the best height and position. Use a pencil to mark the spots where the mounting brackets will be attached.

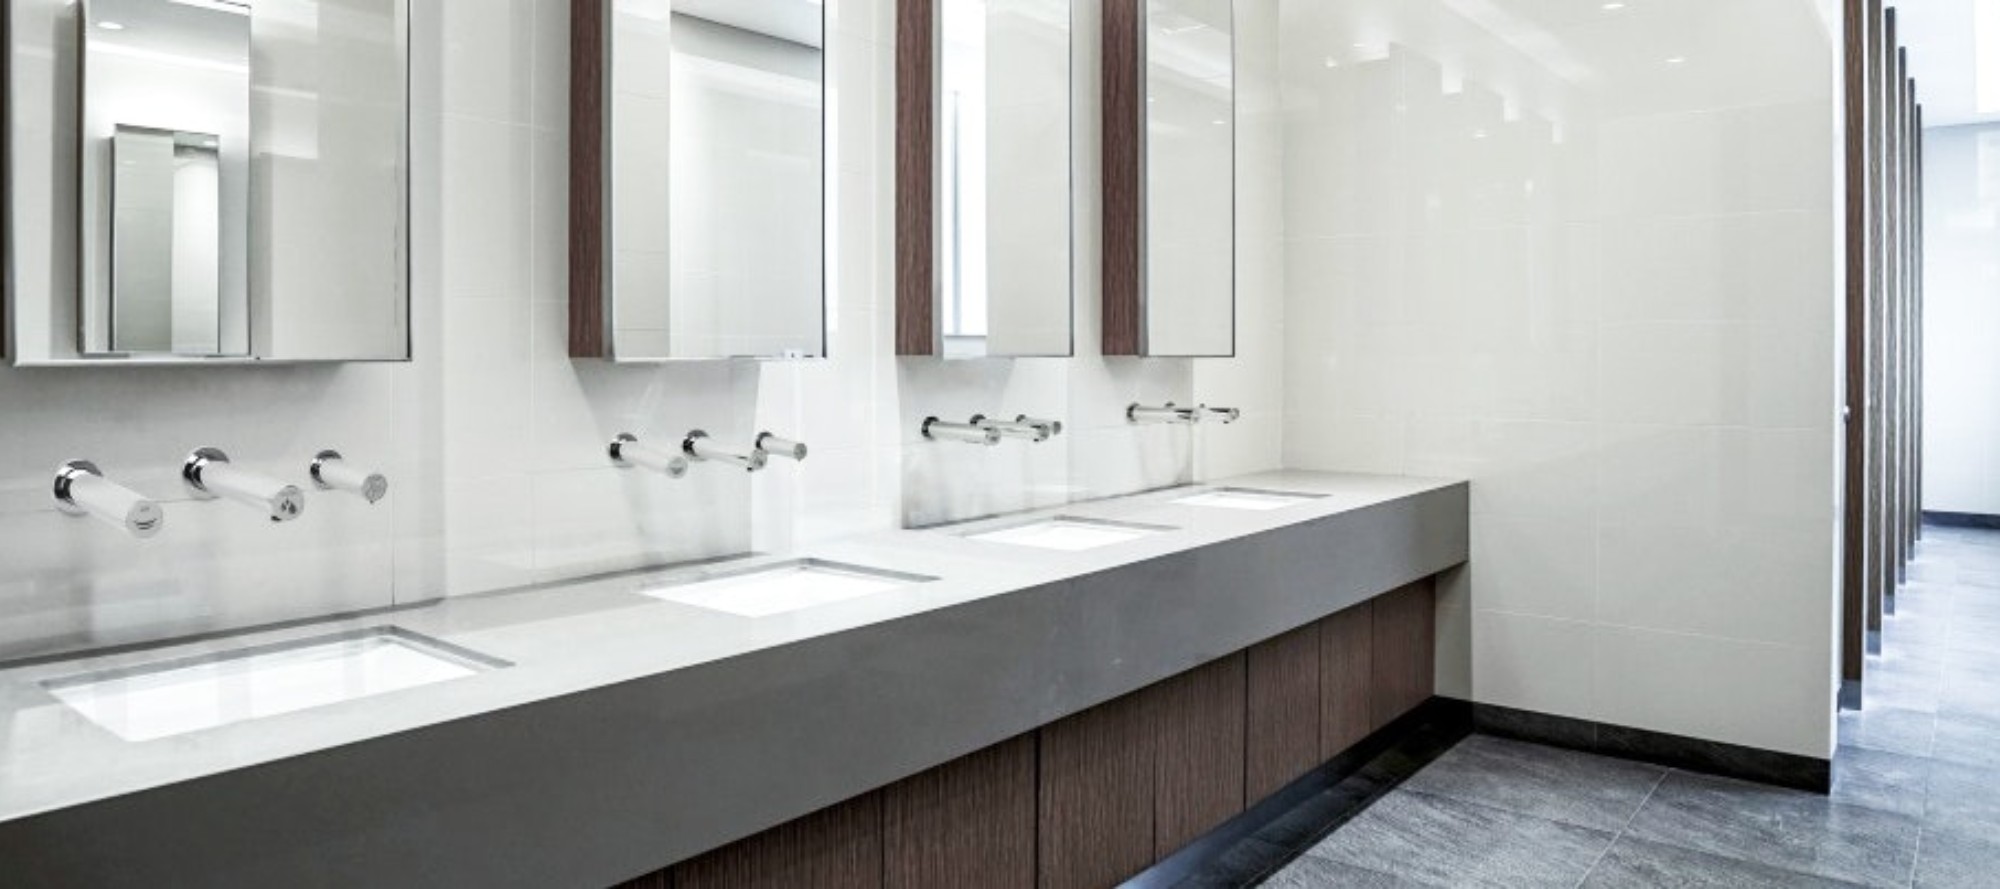
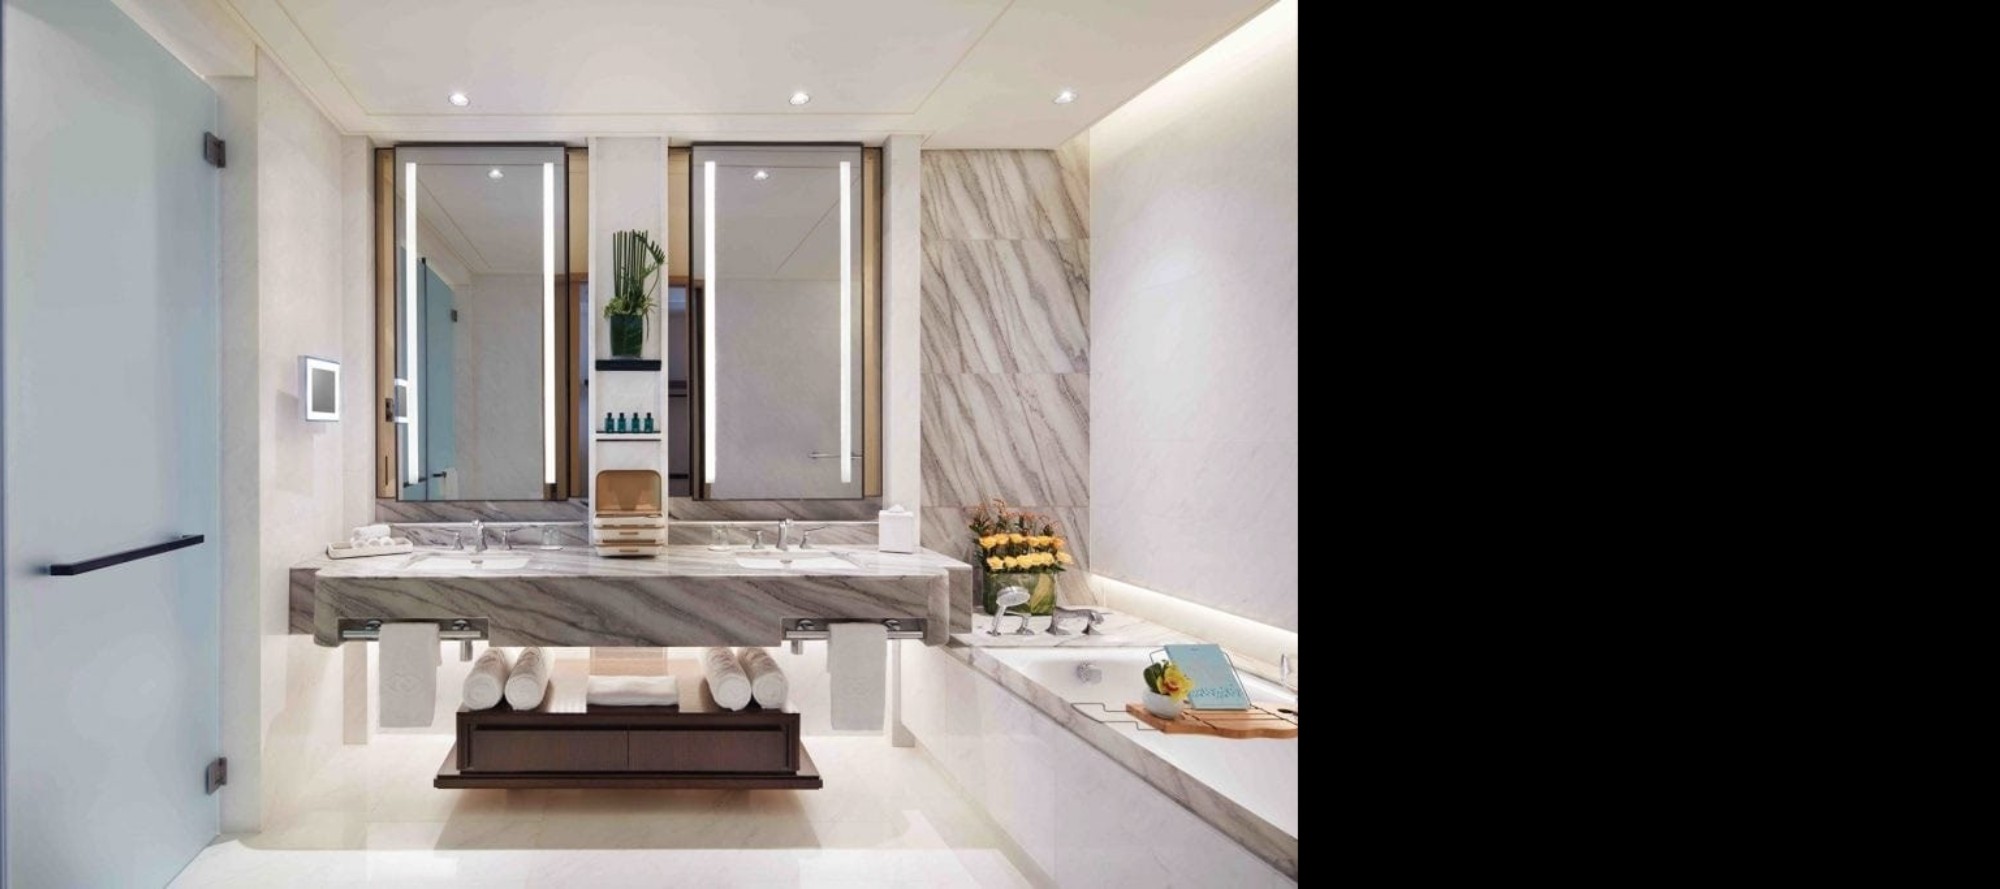
Fontana is a top pick for architects like Gensler, AECOM, HDR, Perkins and Will, DP Architects, and more due to delivering high-quality products, ensuring reliability and longevity in commercial projects. We boast a wide range of contemporary designs, allowing architects to find the perfect fit for various designs and themes. It is no surprise that our products have gained the trust and preference of architectural firms for their projects. Immerse yourself in our favorite design ideas by following our Instagram. Share your own Fontana projects by including the #MyFontana hashtag in your post for the opportunity to be included on our website and social media accounts.


Install the Mounting Brackets: Drill holes at the marked spots. Insert wall anchors if necessary to ensure a secure fit. Attach the mounting brackets to the wall using screws, ensuring they are level and securely fastened.

Connect the Water Supply: Connect the hot and cold water supply lines to the corresponding inlets on the back of the shower panel. Ensure all connections are tight to prevent leaks.Use plumber's tape on the threads if needed.

Mount the Shower Panel: Align the shower panel with the mounting brackets. Carefully hang the shower panel onto the brackets, ensuring it is securely in place.

Check and Secure Connections: Double-check all water connections to ensure they are tight and secure. Turn on the water supply gradually and check for any leaks. If leaks are found, tighten the connections as needed. Test the Functions: Turn on the shower panel and test all its functions, including the main showerhead, handheld shower, and any body jets. Adjust the thermostatic valve as necessary to ensure the water temperature is comfortable and consistent. Final Adjustments: Make any necessary adjustments to the positioning or settings of the shower panel. Ensure all components are functioning properly and there are no leaks. Finish Up: Clean the area and remove any installation debris. Ensure the shower panel is securely mounted and all functions are operating smoothly. Maintenance Tips: Regularly clean the shower panel to prevent the buildup of limescale and soap residue. Periodically check the water connections and fittings for any signs of wear or leaks. Access the internal thermostatic valve, strainers, and water supplies as needed for routine maintenance or repairs. Following these basic instructions will help ensure a successful installation and long-lasting performance of your Fontana shower panel. If you encounter any issues, consult the detailed installation manual or contact a professional plumber for assistance.