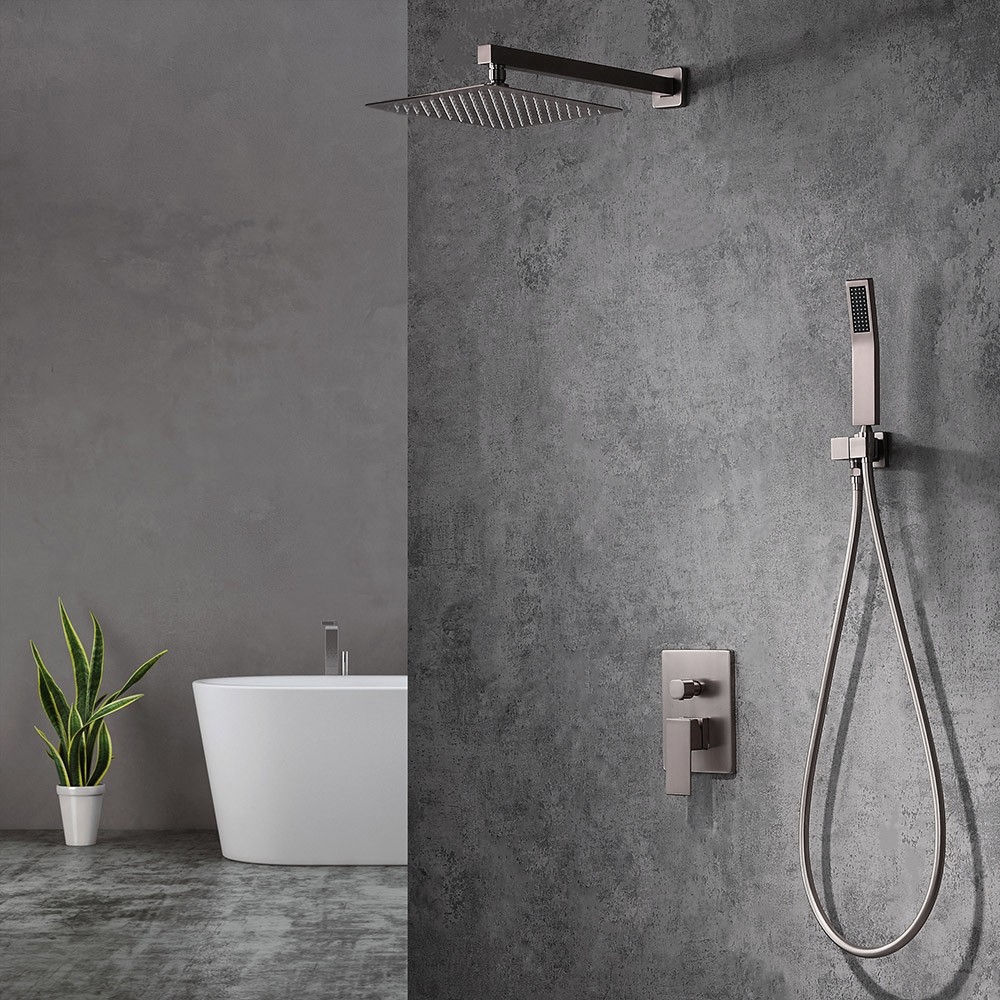
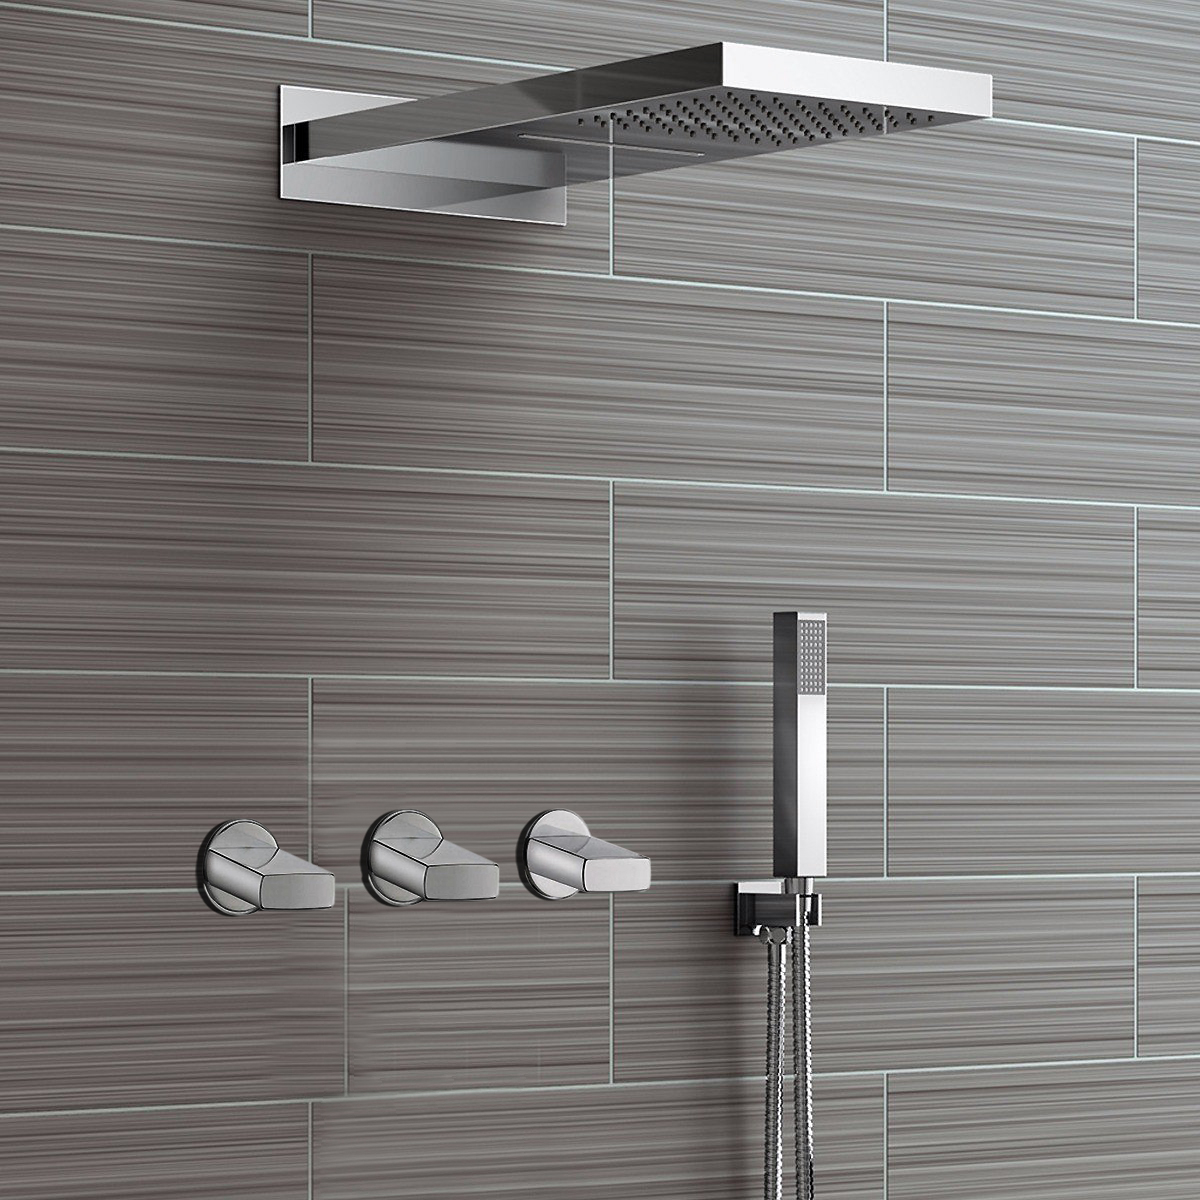
How to install Fontana Rain Shower Set Single Handle Thermostatic Valve Brushed Nickel Wall Mount Shower With Handshower | FS1507
Rain Shower Set with Thermostatic Valve & Wall Mount Shower
Before you begin, please read the installation instructions below. Observe all local building and safety codes.
Unpack and inspect the product for any shipping damages. If you find damages, do not install.
Please note all showers must be installed by a professional and certified plumber otherwise warranty might be voided.
shower
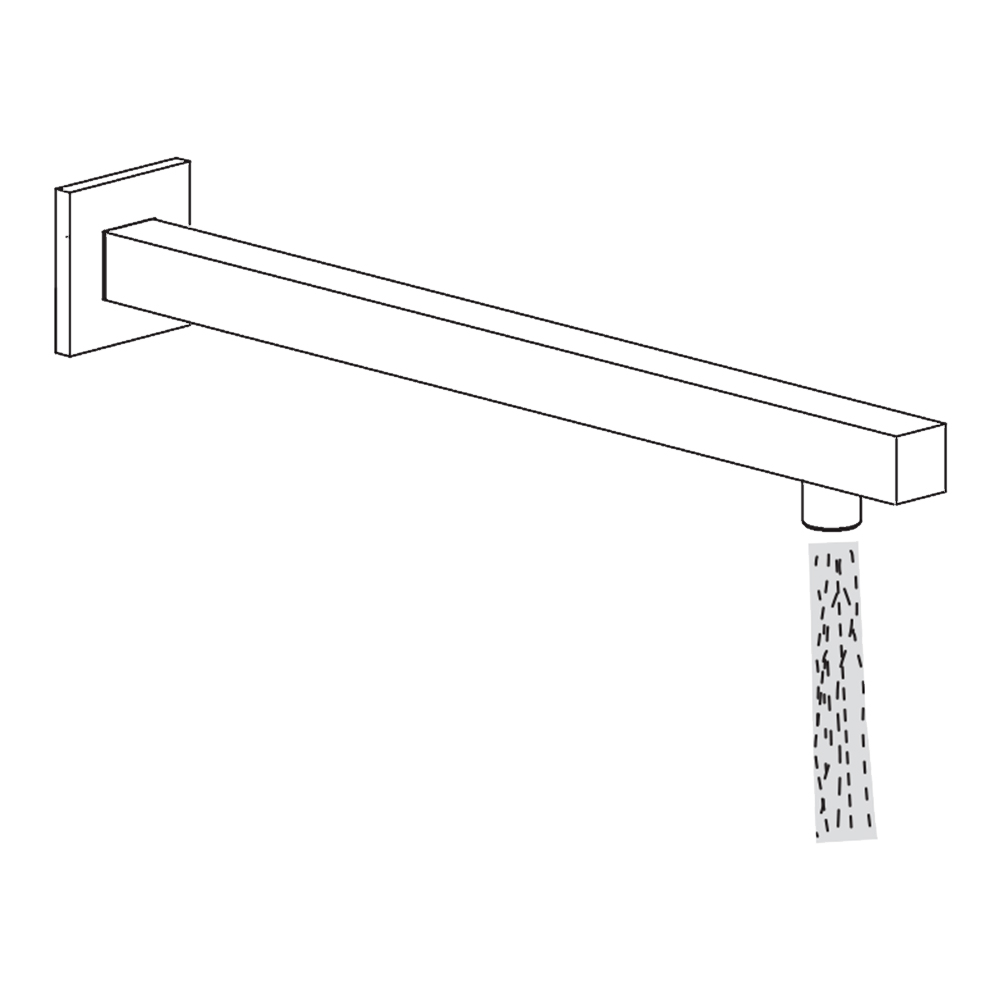
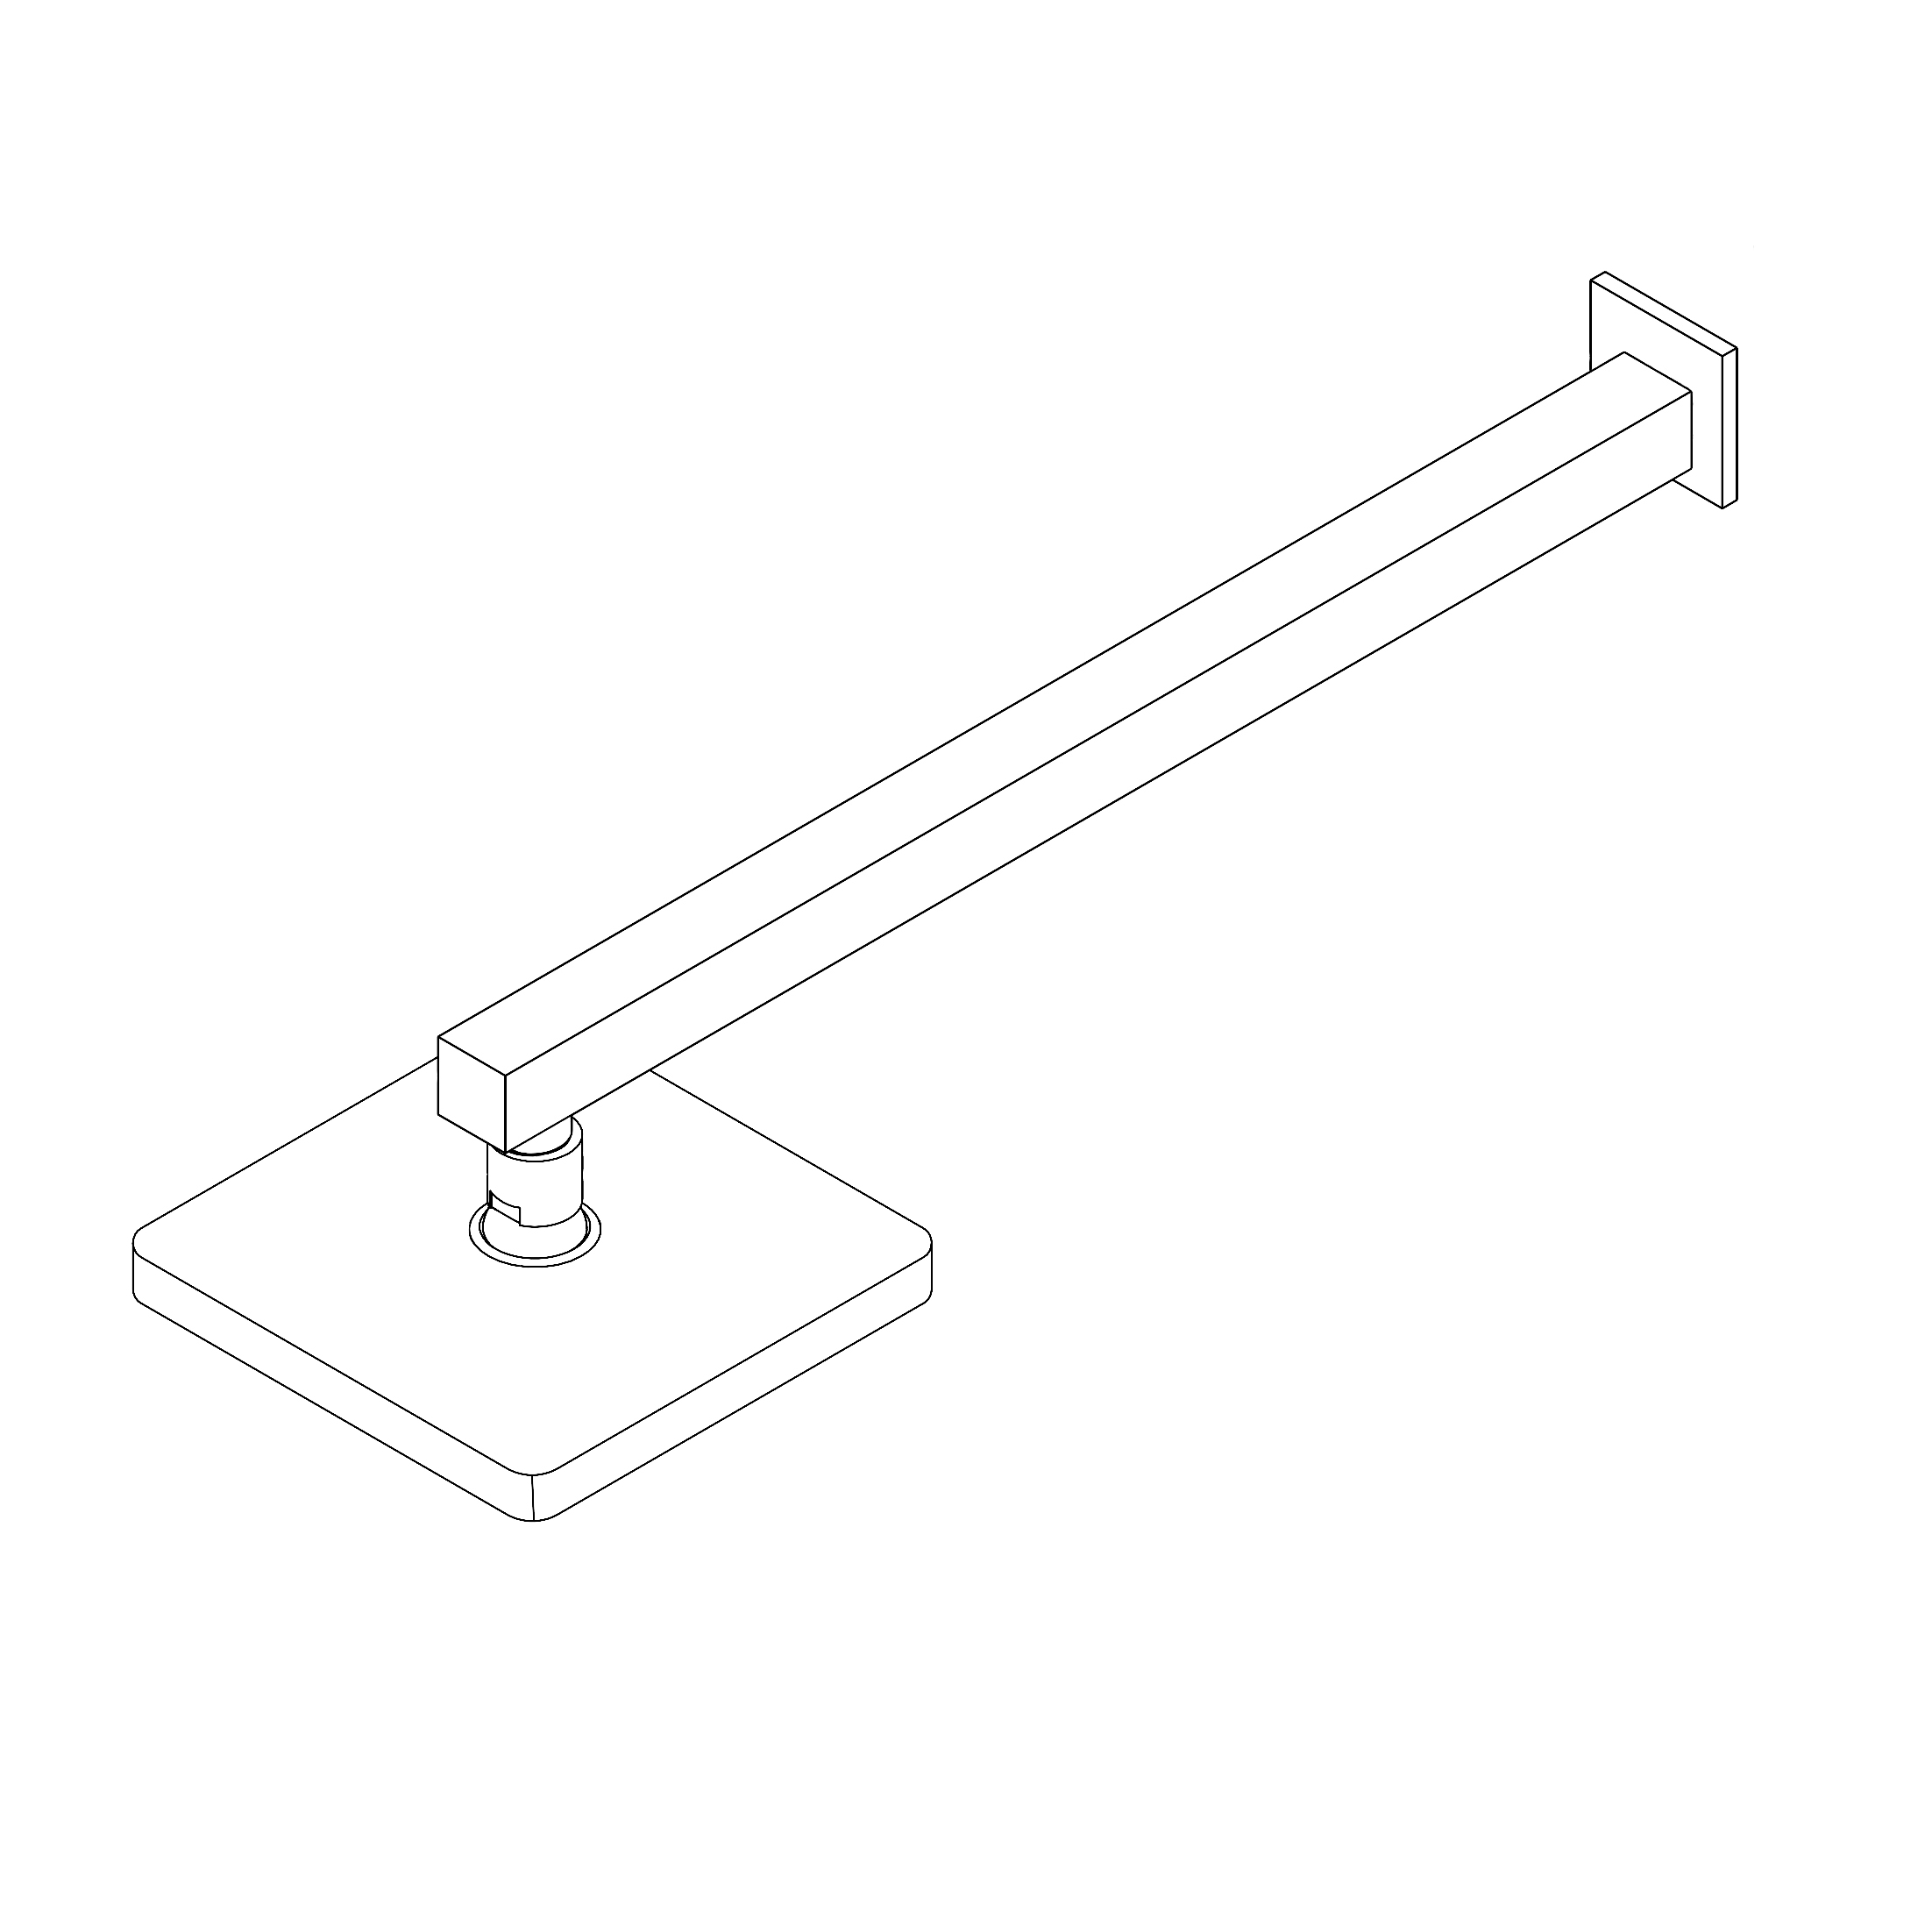
Wall Mount Shower Head Installation Instructions
Step 1:
shower
Step 2:
Step 3:
Step 4:
Step 5:
Step 6:
No tools required, ½ connector fits standard-sized shower plumbing.
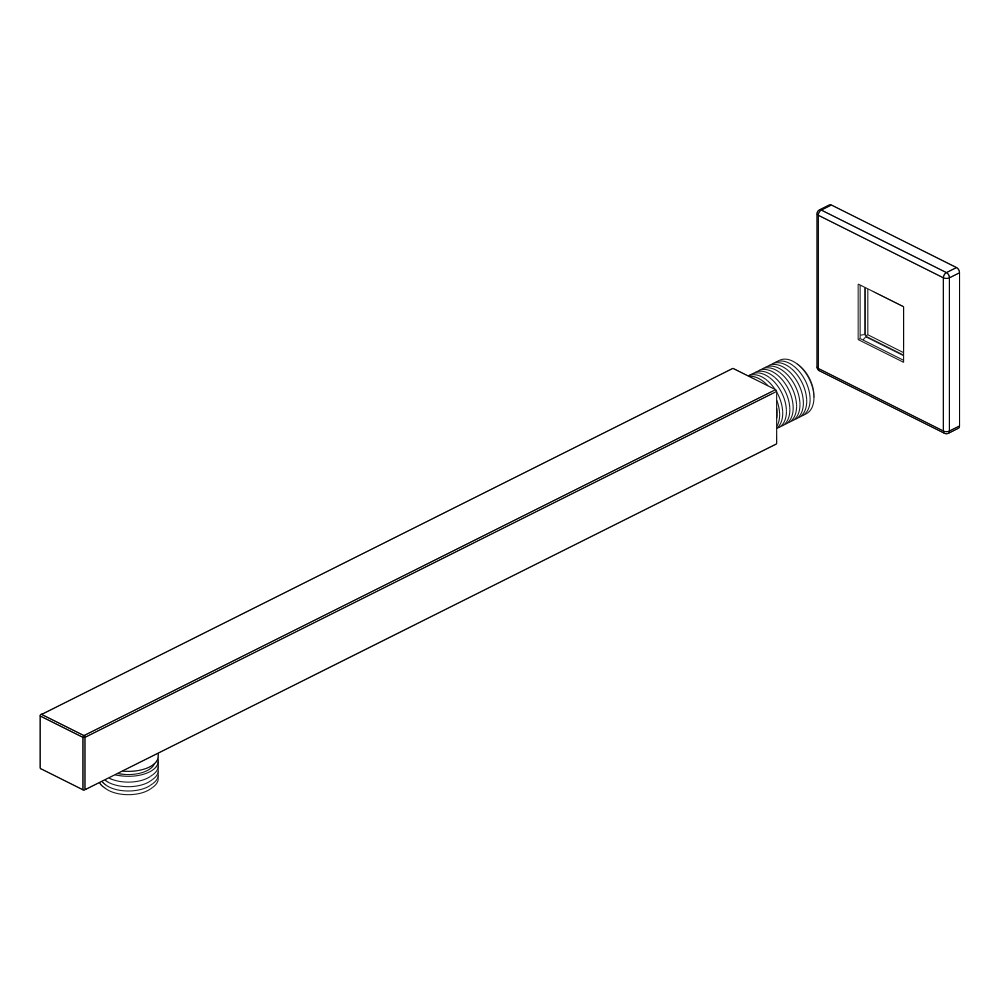
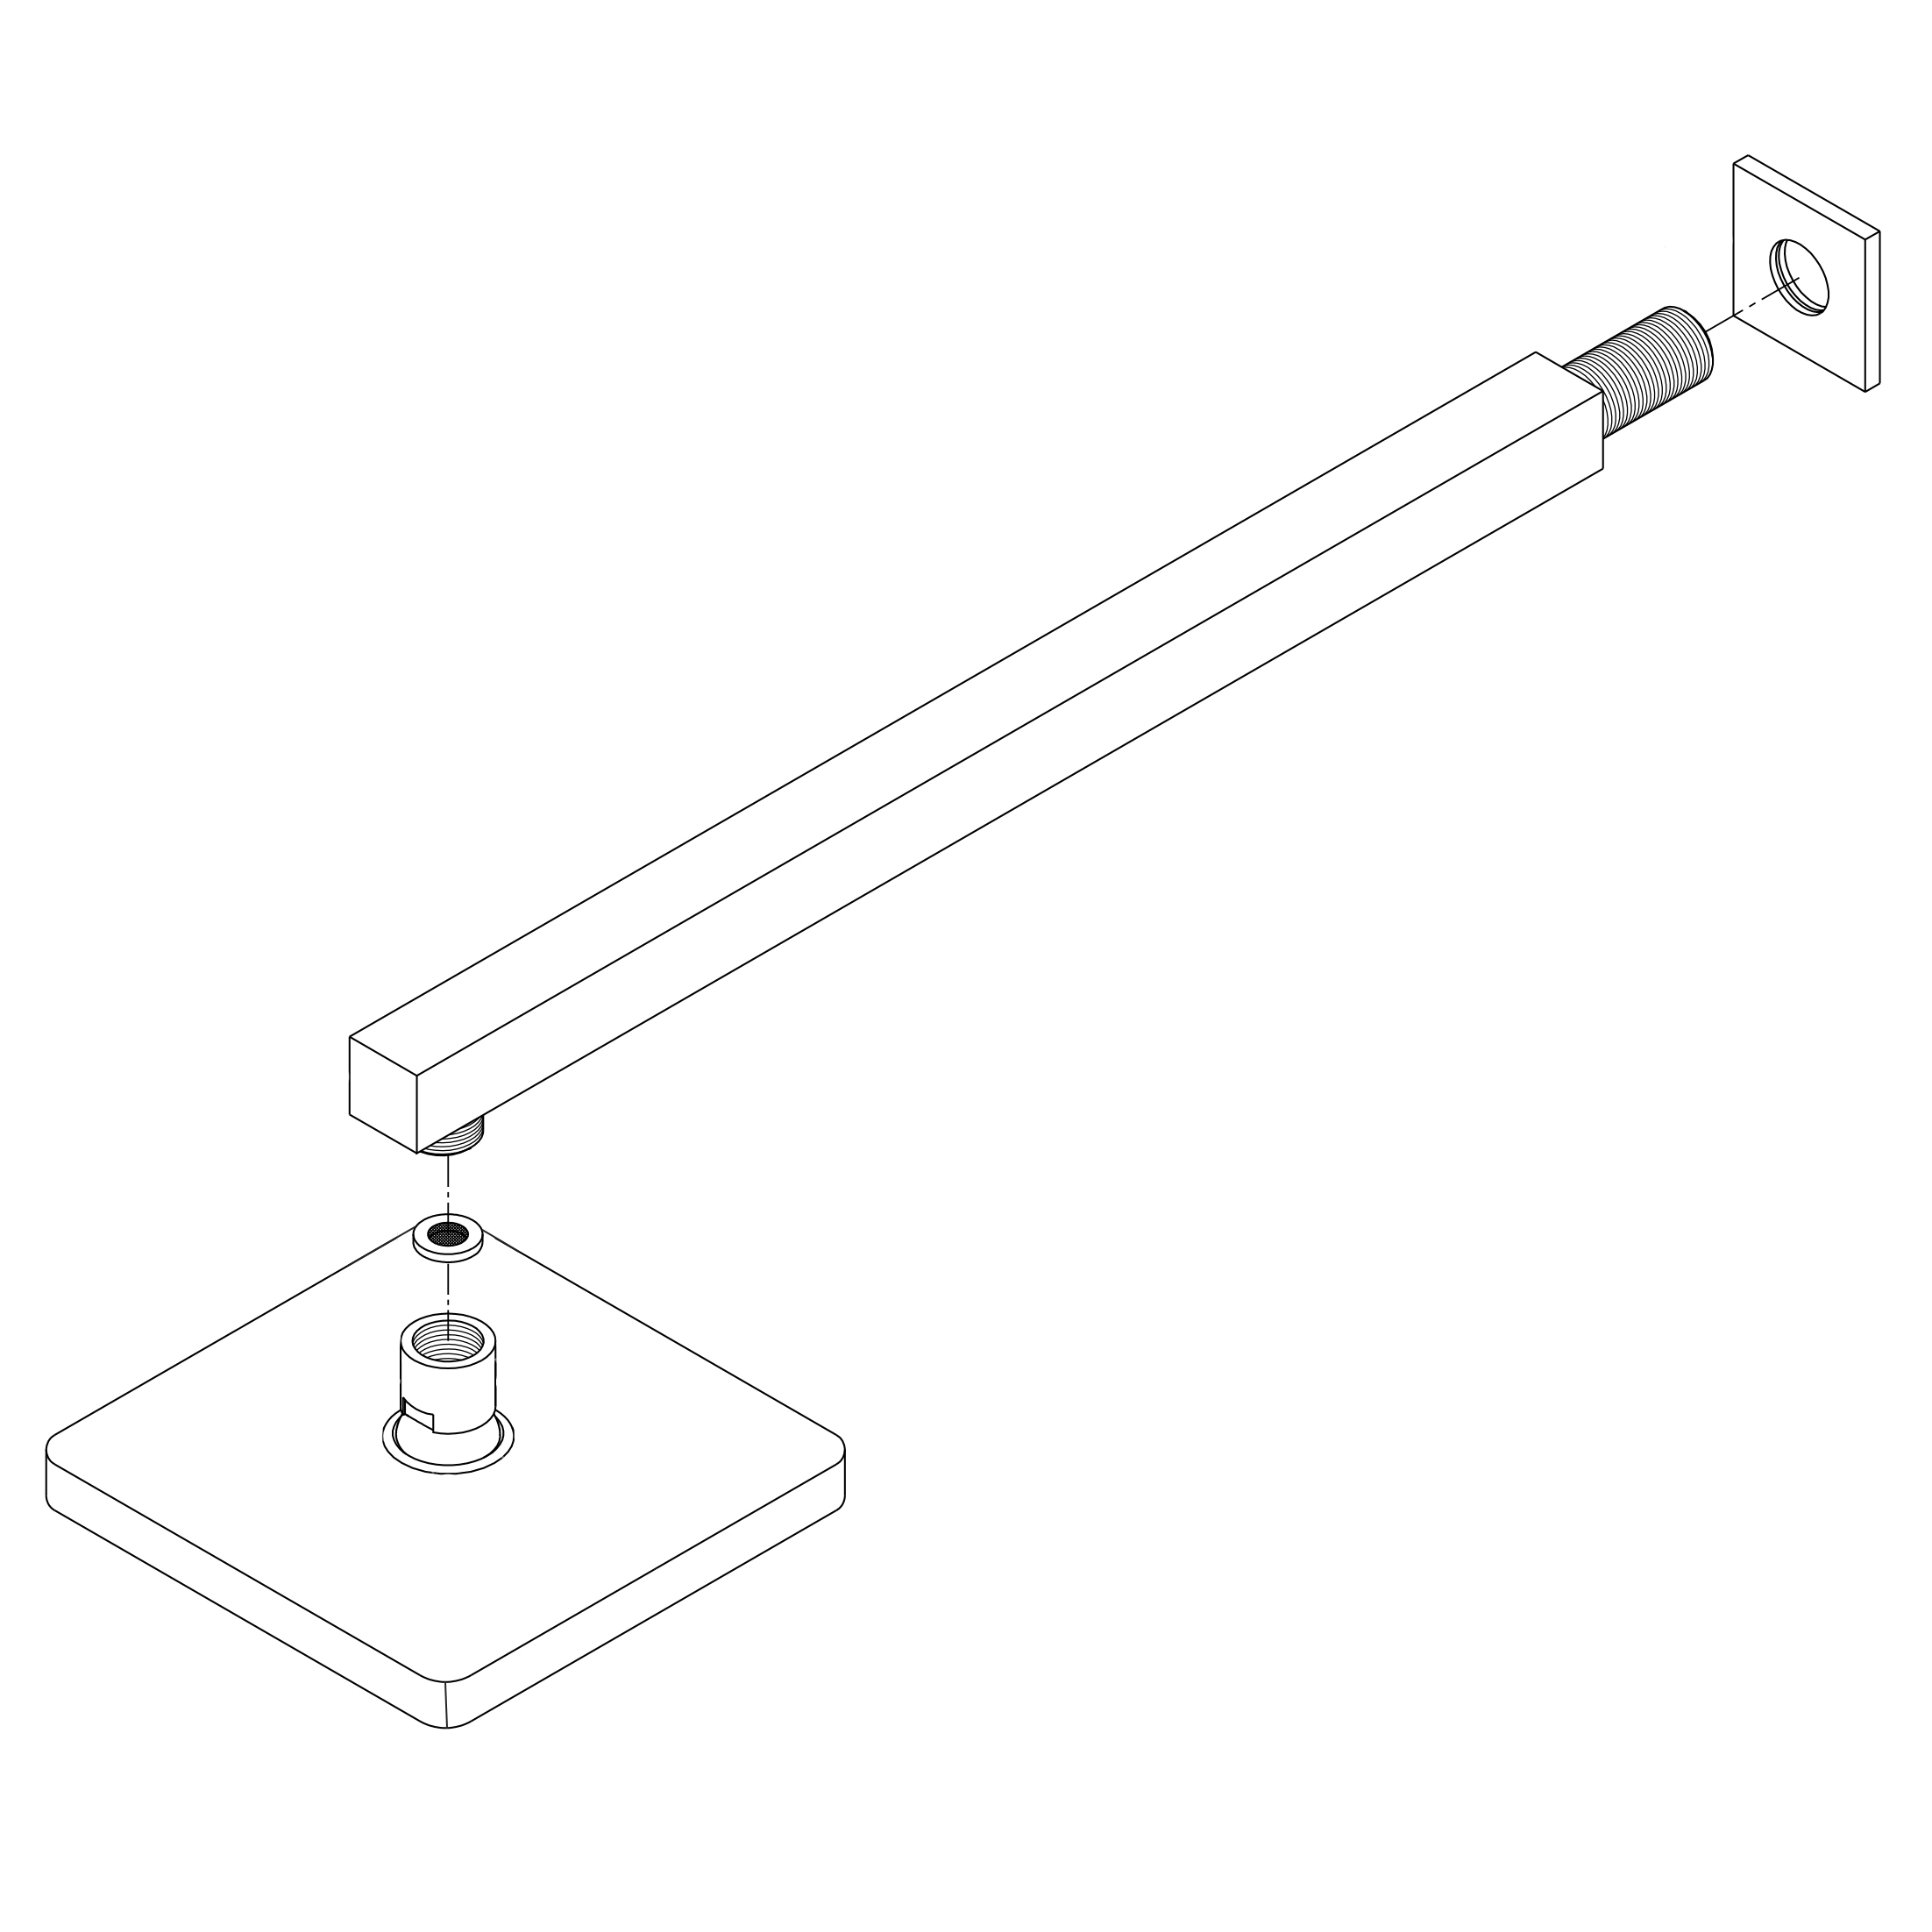
1. Apply plumber's tape to the threads on both ends of the shower arm and slide on the decorative escutcheon.
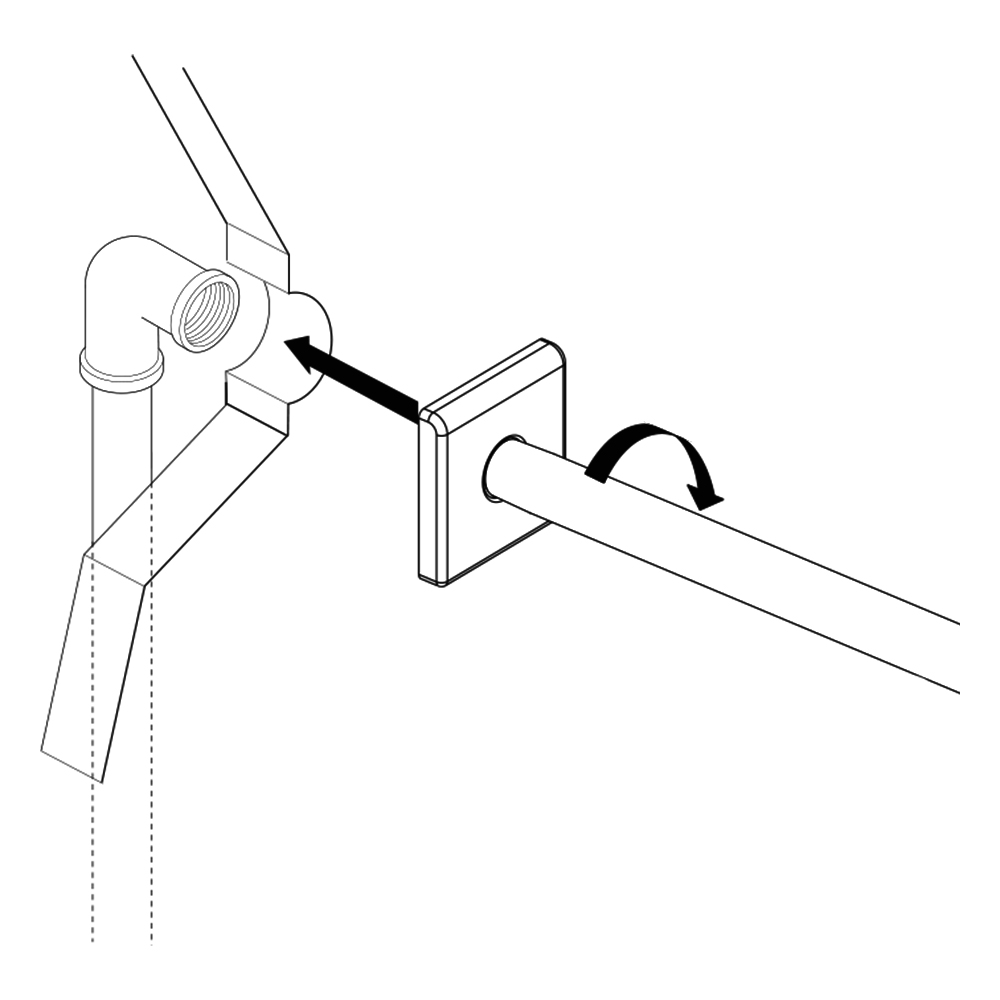
2. Insert the new arm into the fitting in the wall and twist to tighten. Finish tightening with your adjustable wrench. Wrap a dry cloth around the shower arm to protect the finish while tightening with an adjustable wrench.
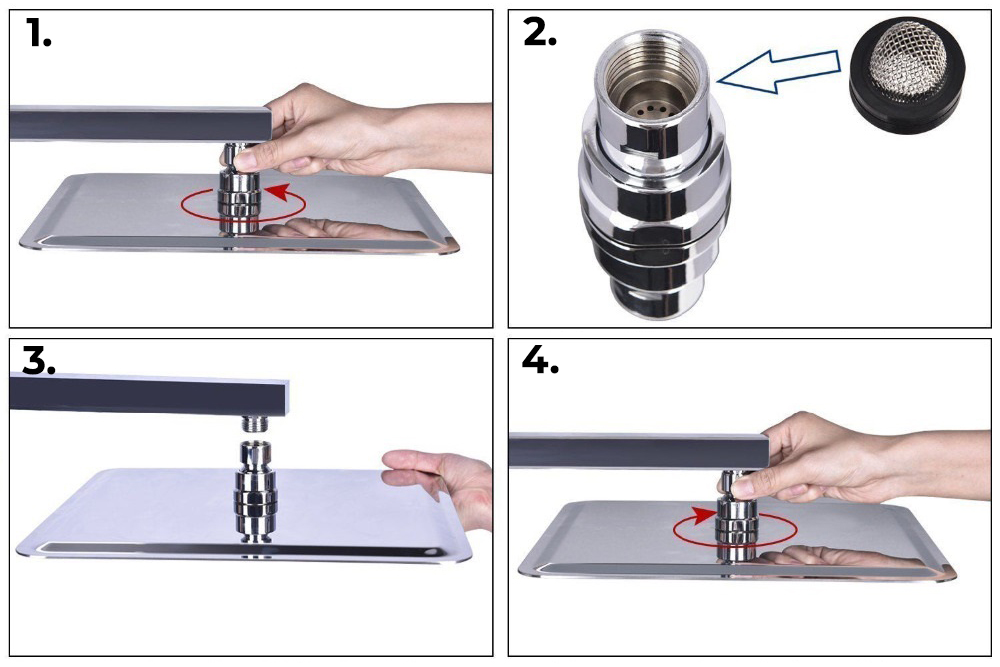
3. Thread the new shower head onto the arm and hand-tighten. Hold the shower arm in place with groove joint pliers and finish tightening the shower head with your adjustable wrench. Wrap both in a dry cloth to protect the finish.
4. Before securing the decorative escutcheon, turn on the water supply to make sure that all connections are tight and there is no leaking. If no leaks are detected, continue with the installation. If leakage does occur, use your adjustable wrench to tighten the connections as necessary.
5. Apply a bead if silicone sealant to the back of the escutcheon and press firmly into place against the installation surface. Wipe away any excess sealant with your damp cloth.
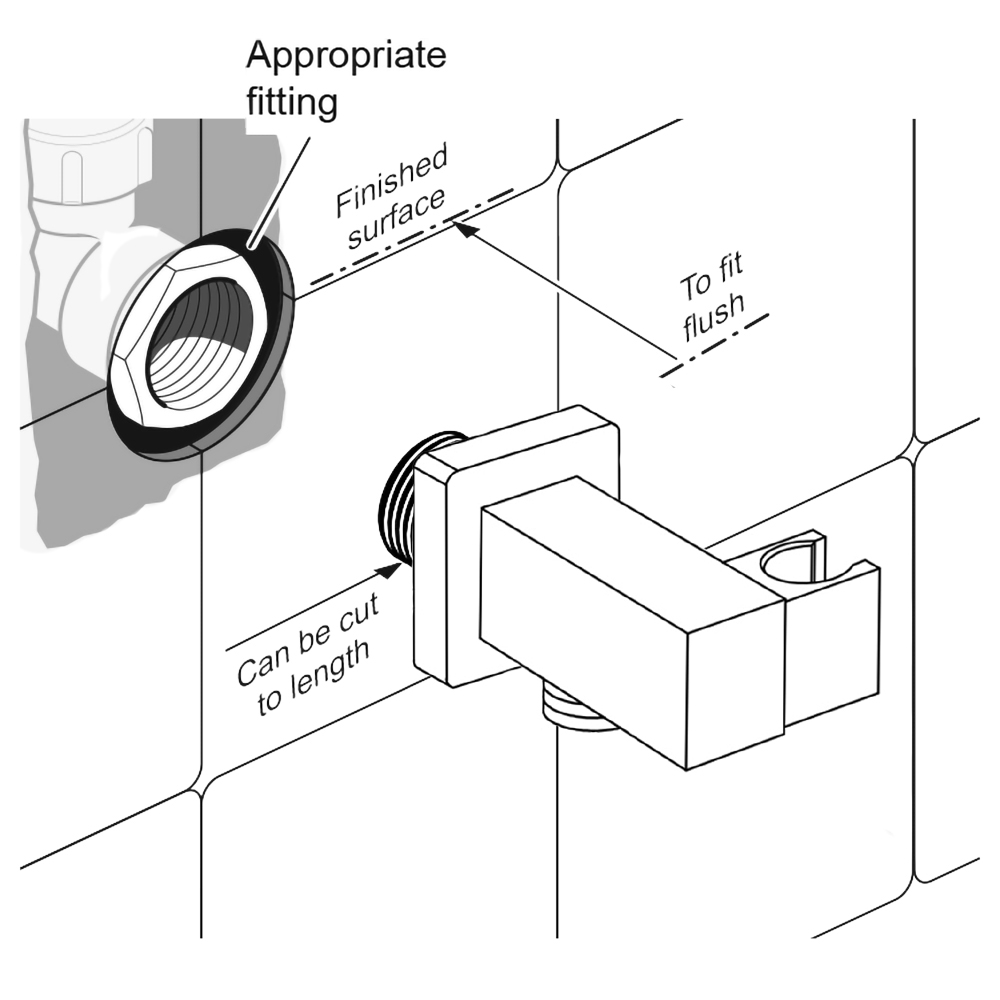
Hand Held Shower Installation Instructions
Step 1:
Step 2:
Hand Held Shower
Fontana Brushed Nickel Shower Installation
Plan the Thermostatic Rain Shower
Coordinate the wall-mounted rain shower, single-handle thermostatic valve, handheld outlet and concealed rough-in.
Measure from the finished wall surface and include waterproofing, tile and setting material when positioning the concealed valve.
Open Product Guide
Must hot and cold supplies enter the correct ports?
Yes. Confirm the marked inlet orientation and flush both supply lines before connecting the thermostatic valve.
View Valve Rough-In
When should temperature calibration be completed?
Calibrate the thermostatic control after flushing and leak testing. Confirm safe delivered temperature and correct outlet operation.
Review Mixer Installation
Where are related installation resources?
The main installation hub connects this guide with showerhead, mixer, handheld and rough-in resources.
Open Installation Hub
Find Out First
Get FontanaShowers emails of inspiration, new product releases, and more!