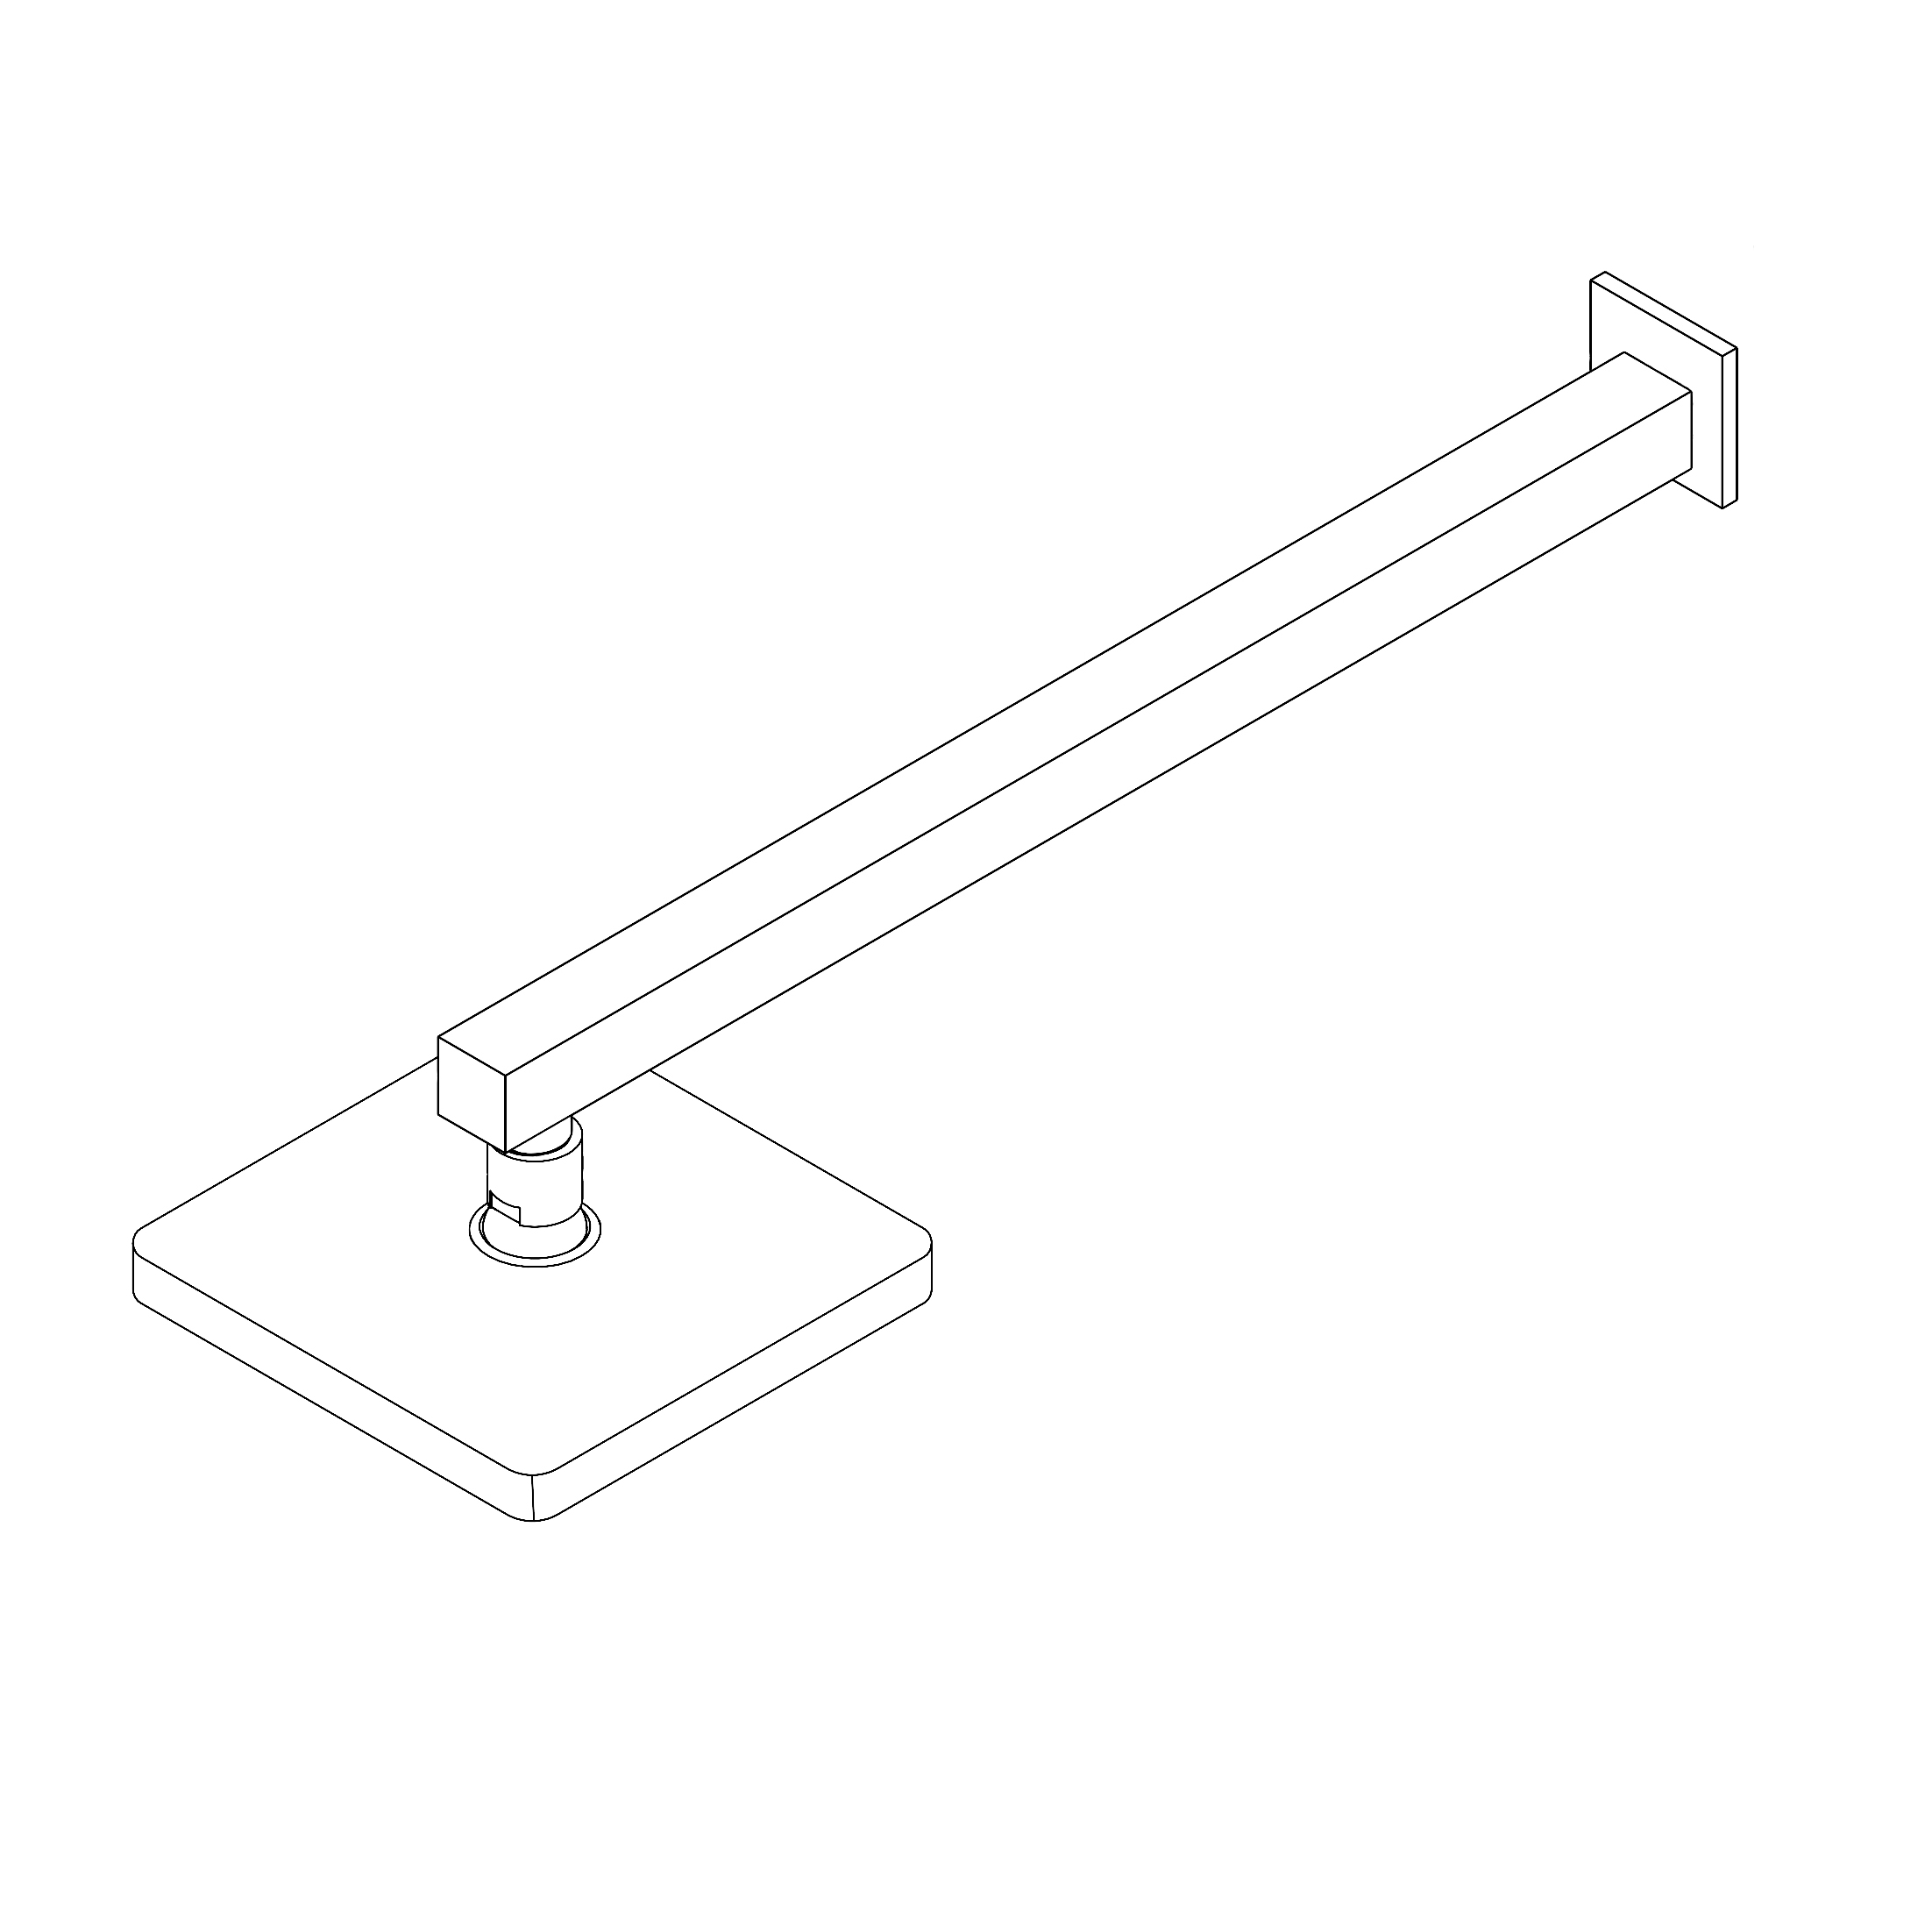
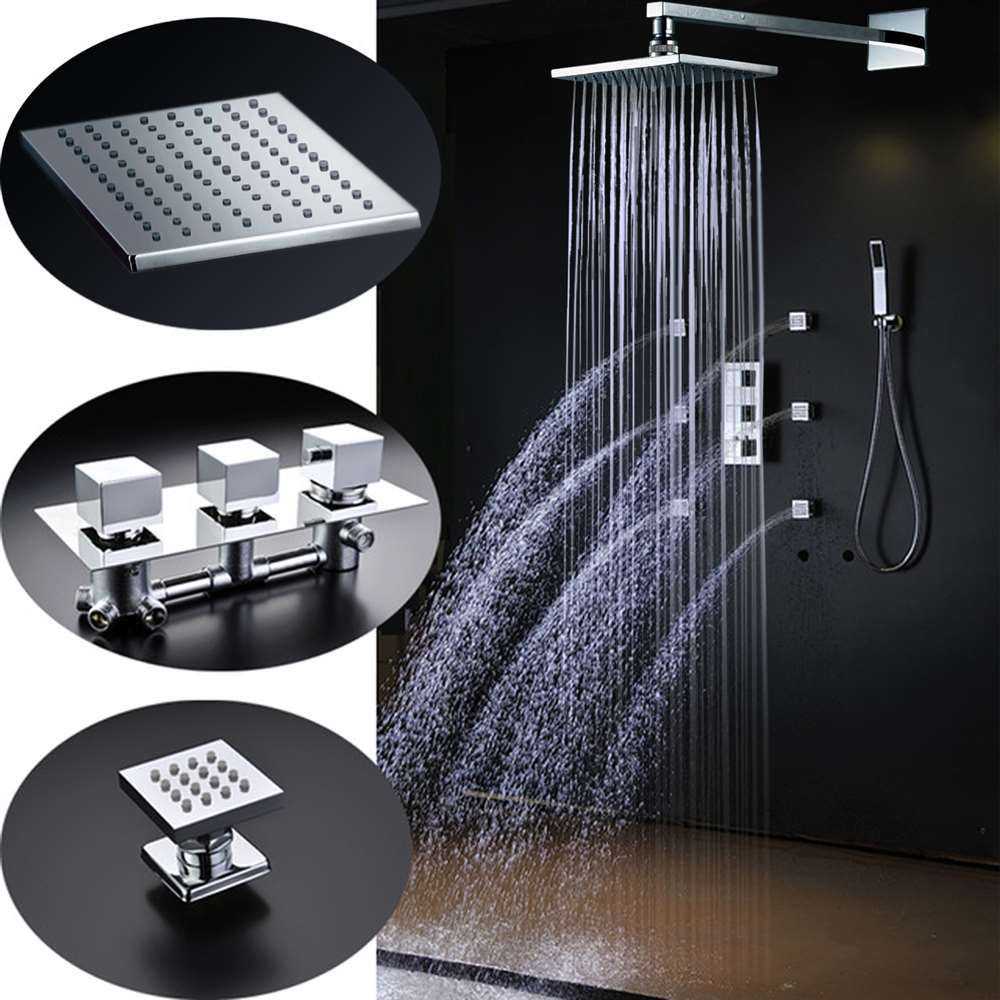
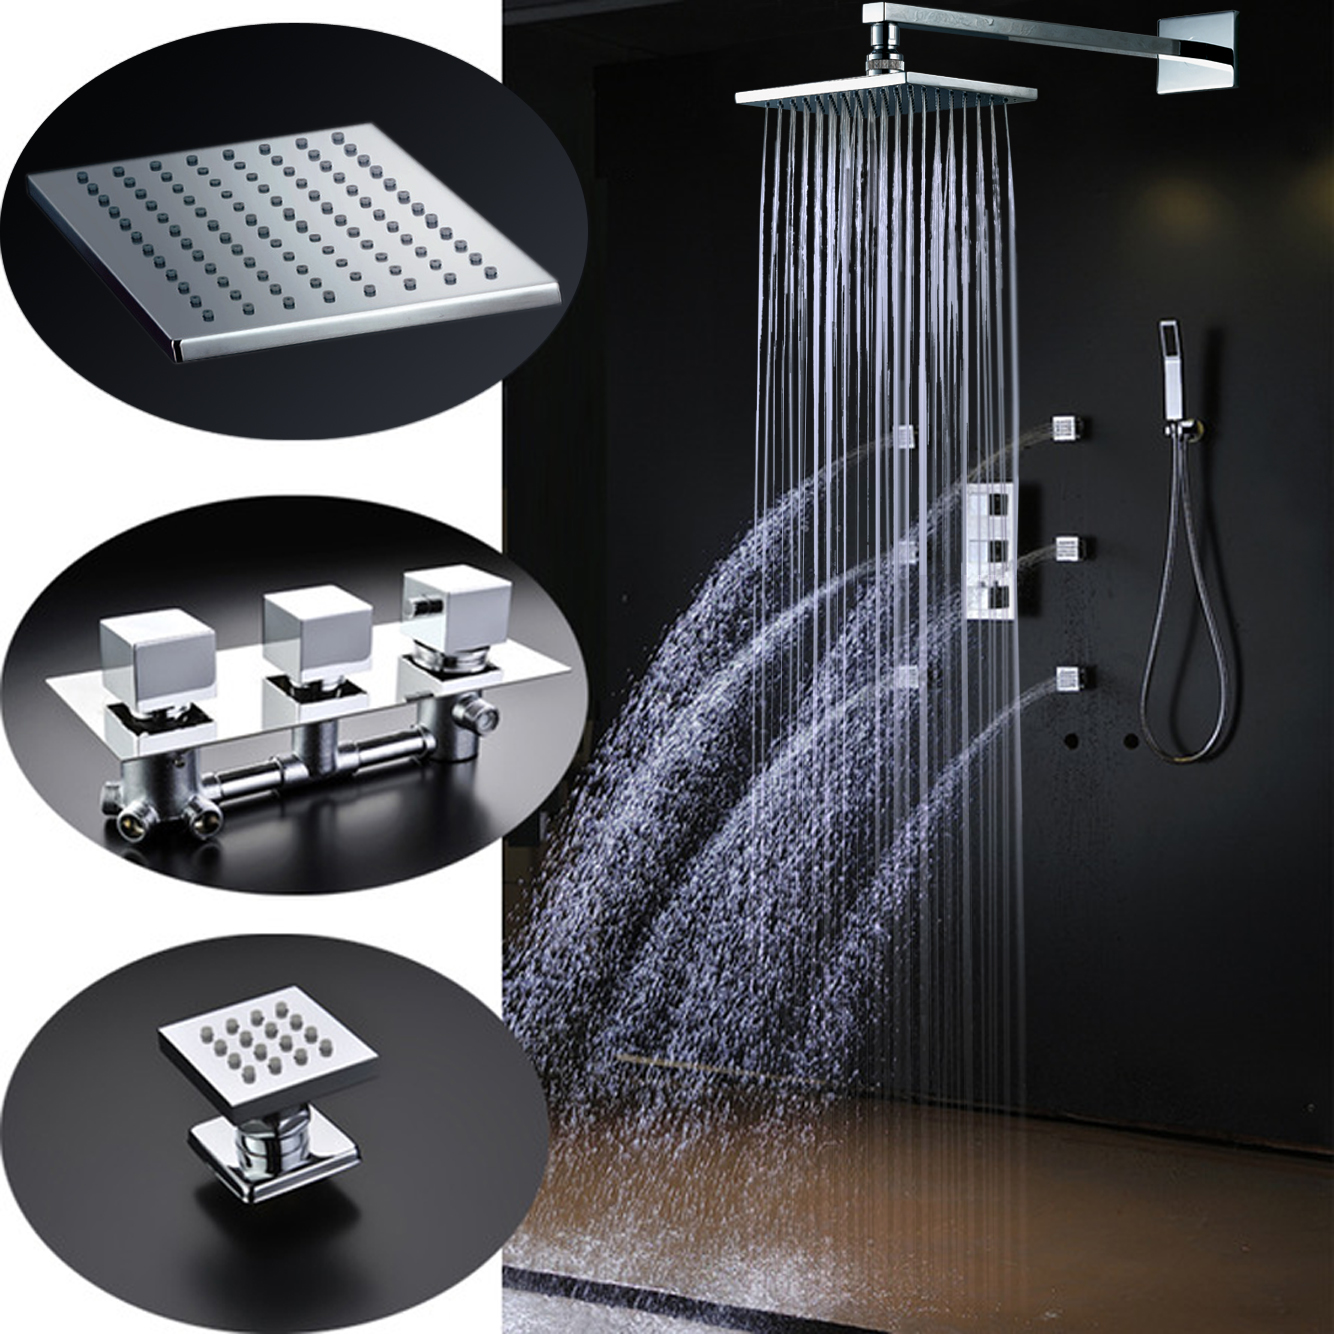
Fontana Lombardy Chrome Large Square Shower Head with Massage Jets
This solid brass, chrome finish showerhead comes with a handheld shower, six massage jets, and three handle mixer. Square rainfall showerhead is available in four sizes to best suit your shower size. The mixer provides water pressure, on/off and thermostatic valve to ensure you get the shower experience you want. Built-in hydro-powered device powers the LED lights, which provide visual shower temperature cues to reduce water waste. The lights will dim and brighten when you lower and raise the pressure so you can set the perfect mood, water, and lighting. When the water temperature is ≤89 °F (≤32 °C), the Blue color will show automatically. When the water temperature is between 97 to 107 °F (36-42 °C), the Green color will show automatically. When the water temperature is between 109 to 122 °F (43-50 °C), Red color will show automatically. When the water temperature is above 122 °F (>50 °C), Red color will flash immediately.
Fontana Lombardy Chrome Large Square Shower Head with Massage Jets Features:
Brand Name: FontanaShowers
Model Number: FS852POI
Surface Finish: Chrome
Massage Jets: 6 pieces
Surface Treatment: Polished
Bath & Shower Type: In-Wall
Number of Handle: Single Handle
Style: Contemporary
Valve Core Material: Ceramic
Air Pressure: 0.2-0.8Mpa (6-8bar)
Cartridge: Spain Seal (35mm)
Surface Treatment: Chrome Plated
Water Temperature: Less than 90-degree centigrade
The Flow Rate: 1.3 to 3 GPM
Installation: Wall Mount
|
|
FontanaShowers® Product Warranty Information 
- Before you begin, please read the installation instructions below. Observe all local building and safety codes.
- Unpack and inspect the product for any shipping damages. If you find damages, do not install.
- Please note all showers must be installed by a professional and certified plumber otherwise warranty might be voided.
|
shower
|
|
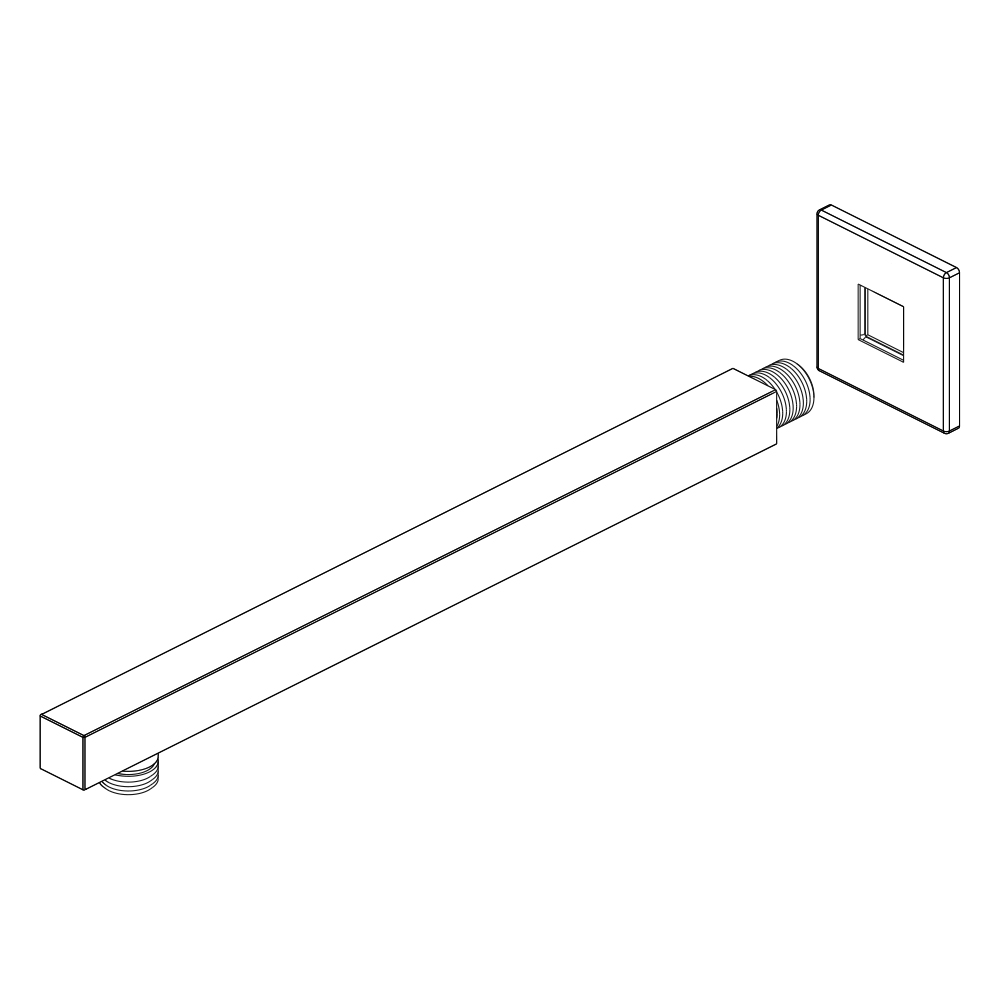
SHOWER HEAD INSTALLATION INSTRUCTIONS
|
|
|
|
|
|
|
|
Step 1:
|
shower
|
Step 2:
|
|
|
|
|
|
|

|
|
|
|
|
|
|
|
|
Shower Head Installation Instructions
|
|
|
|
|
|
Step 3:
|
|
Step 4:
|
|
|
|
|
|
|
|
|
|
|
|
|
|
|
|
Shower Head Installation Instructions
|
|
|
|
|
|
Step 5:
|
|
|
|
|
|
|
|
|
|
|
|
|
|
|
|
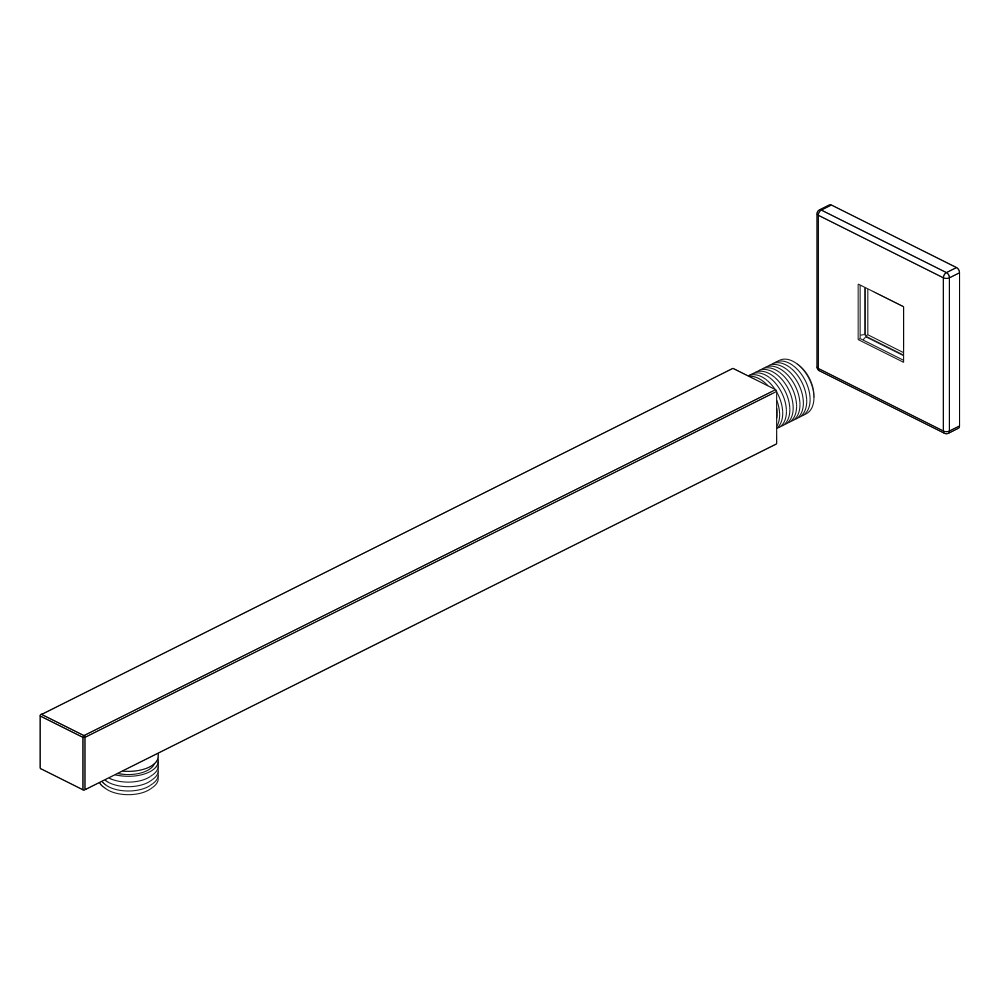
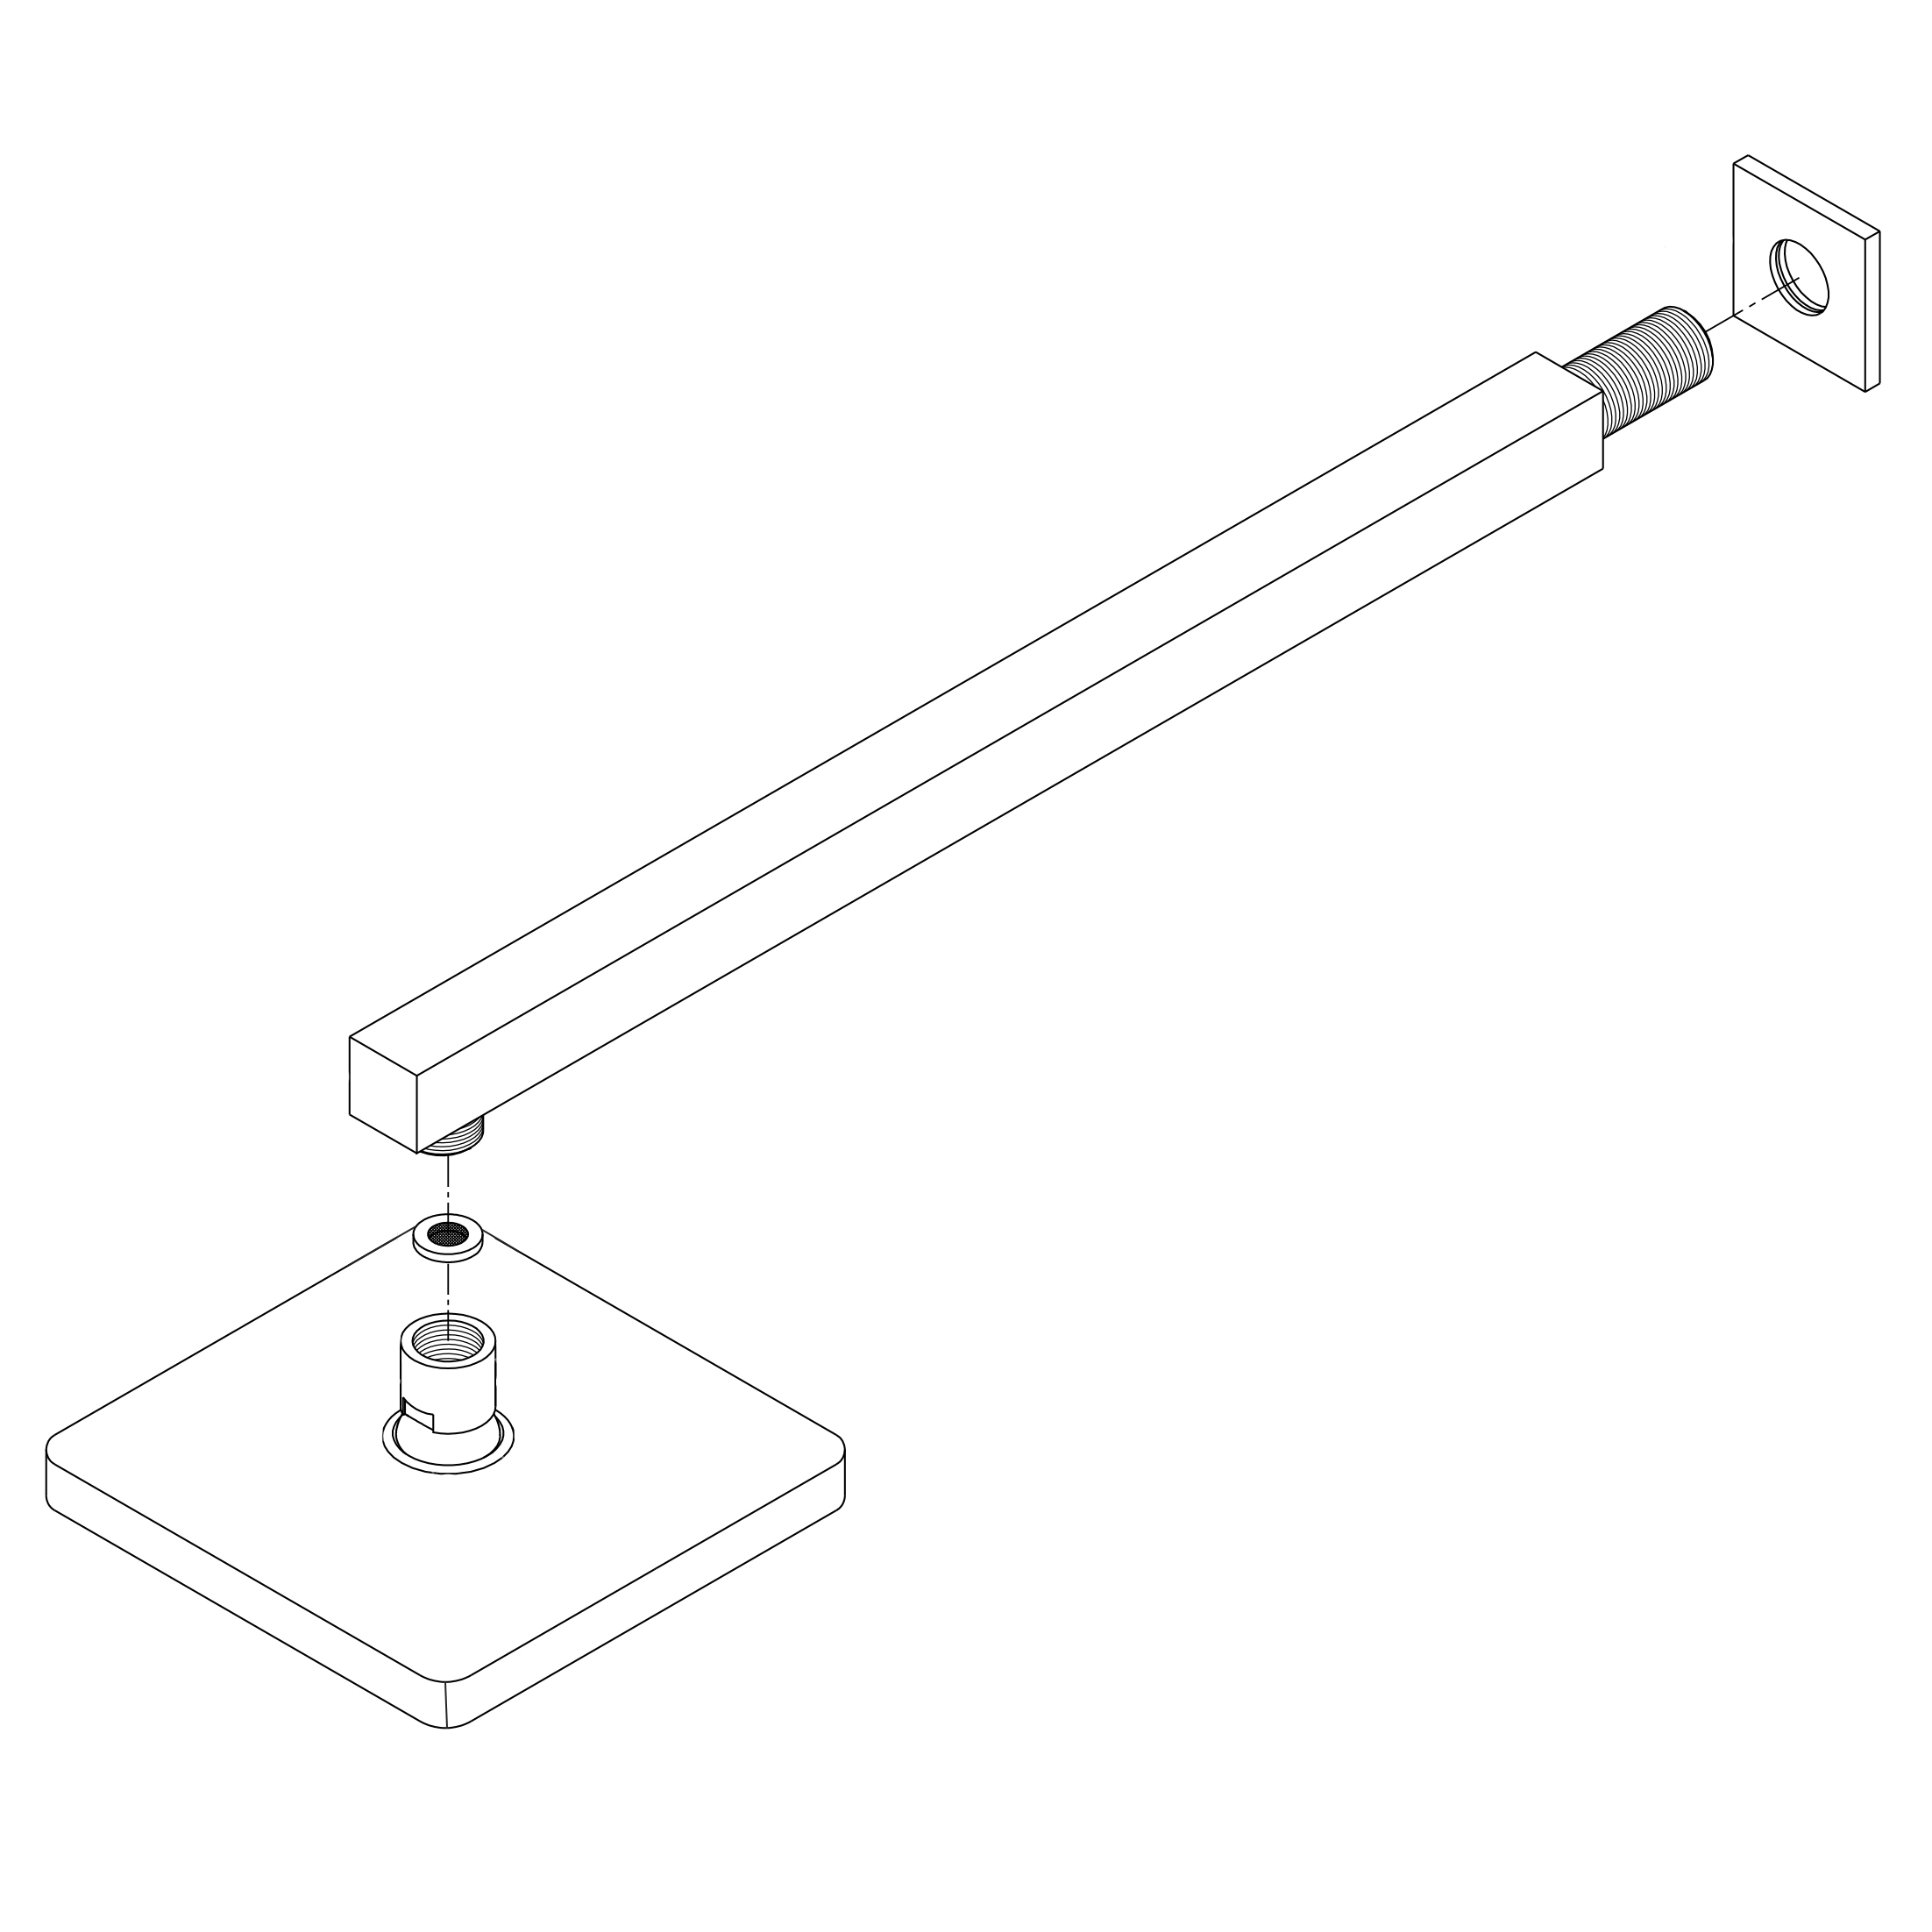
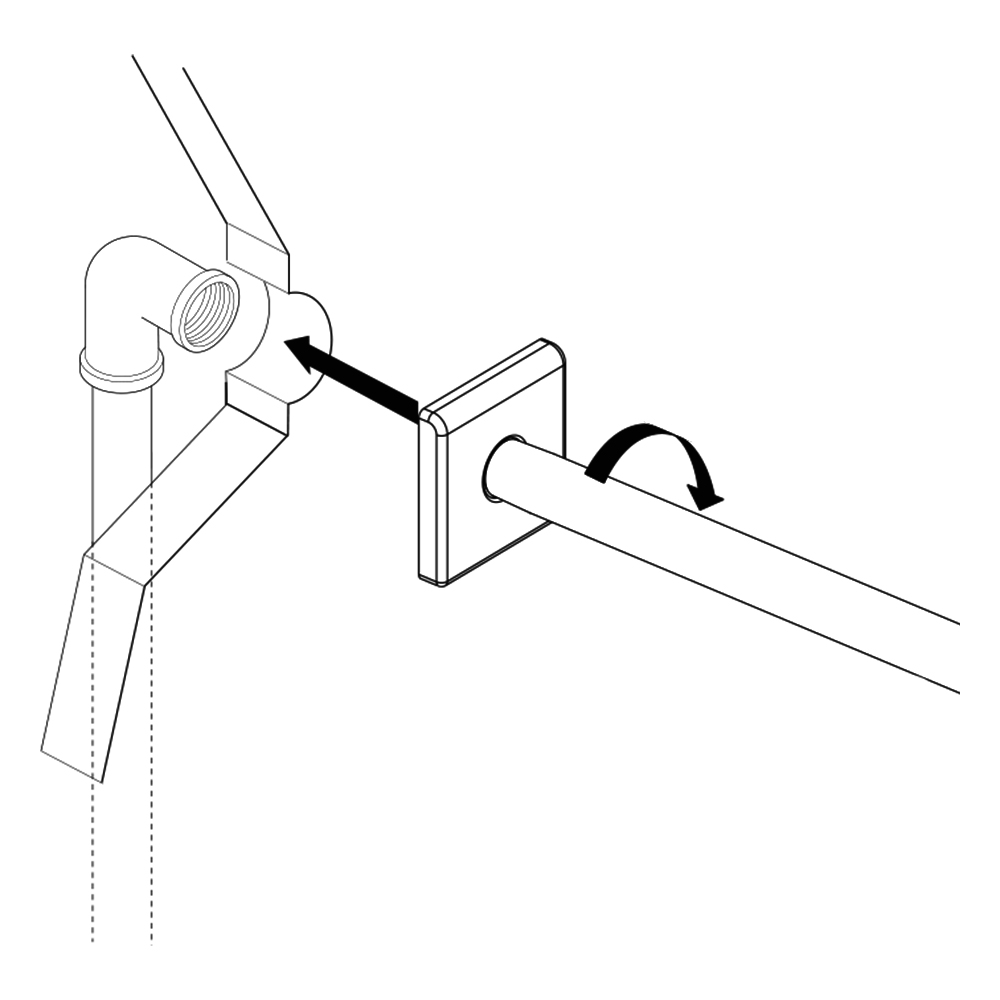
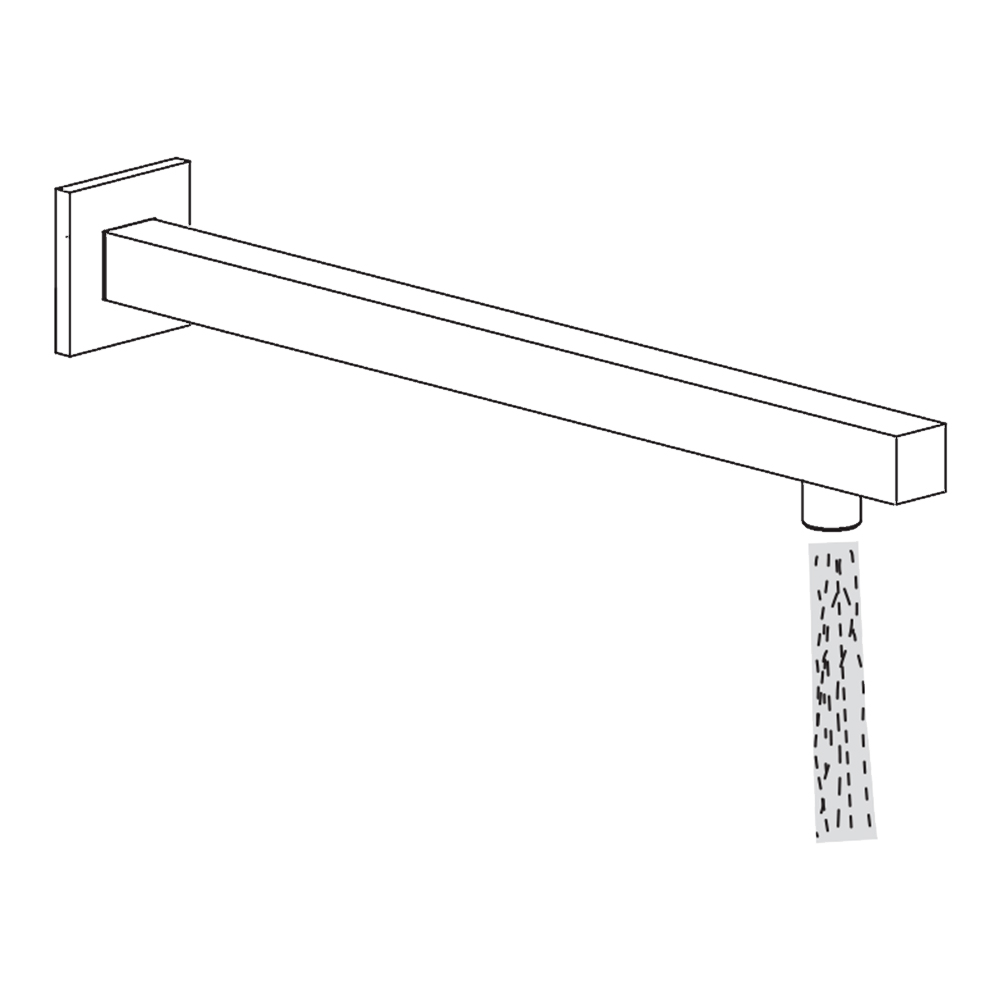
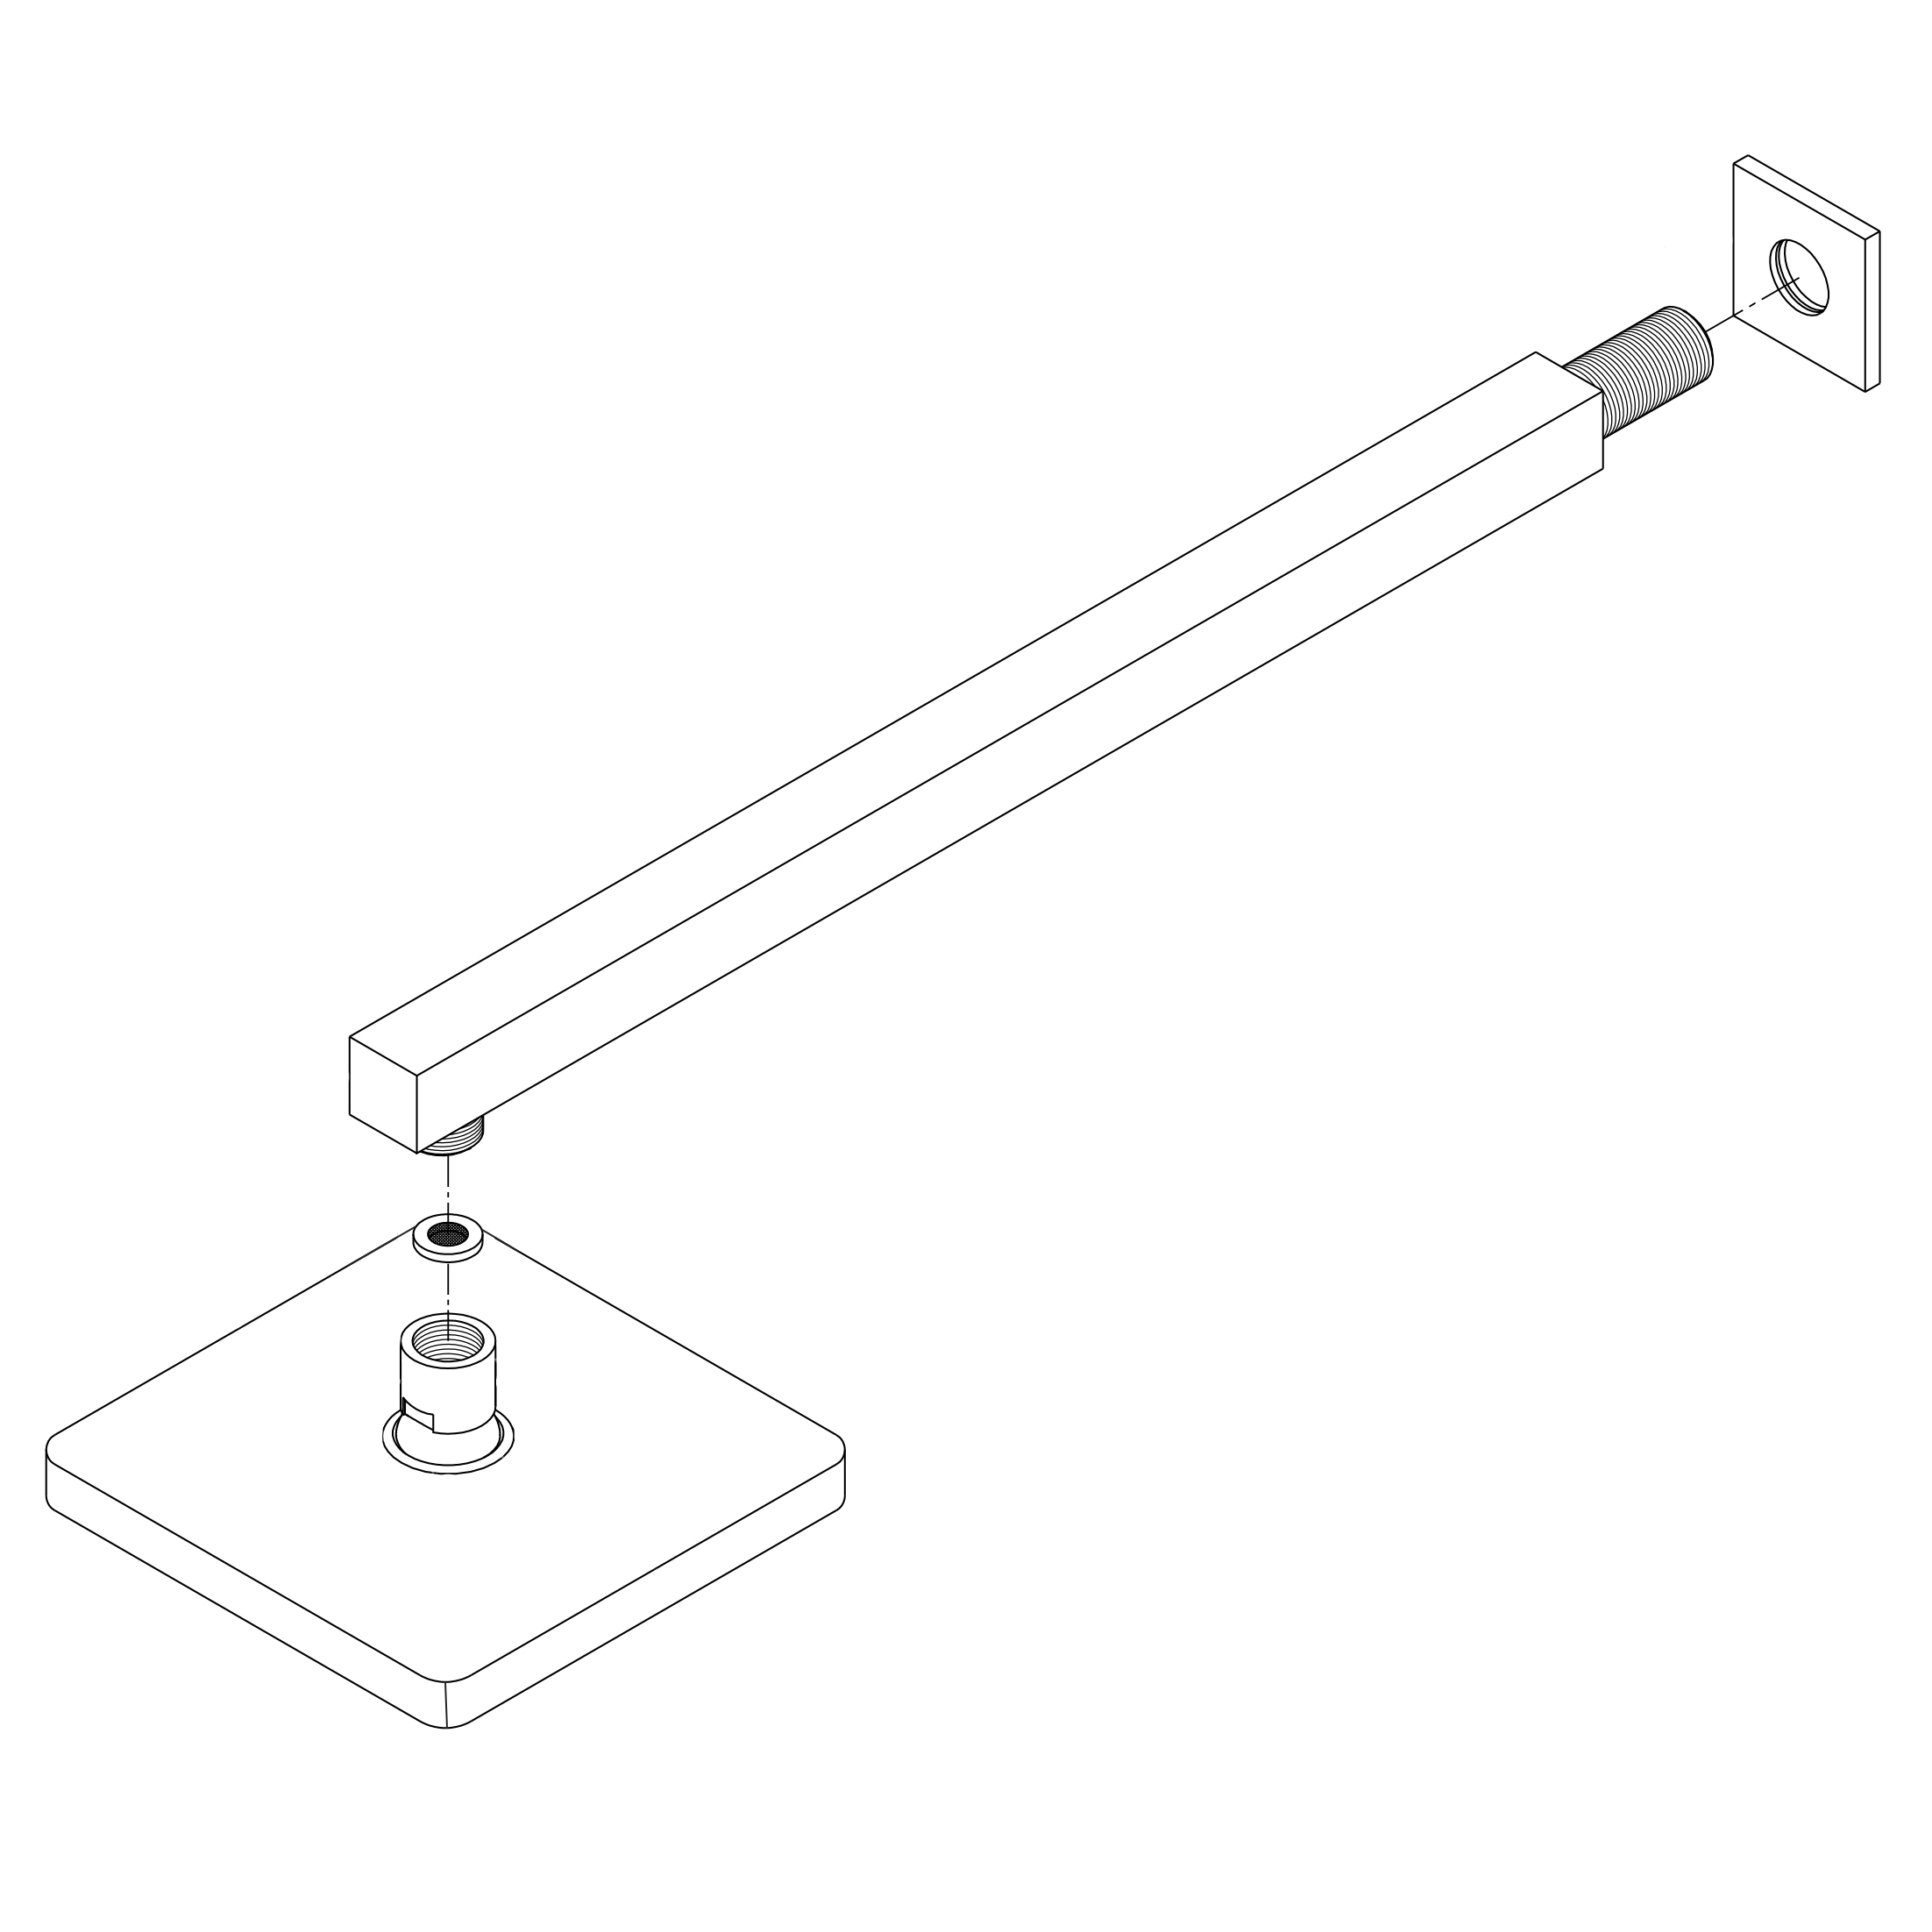
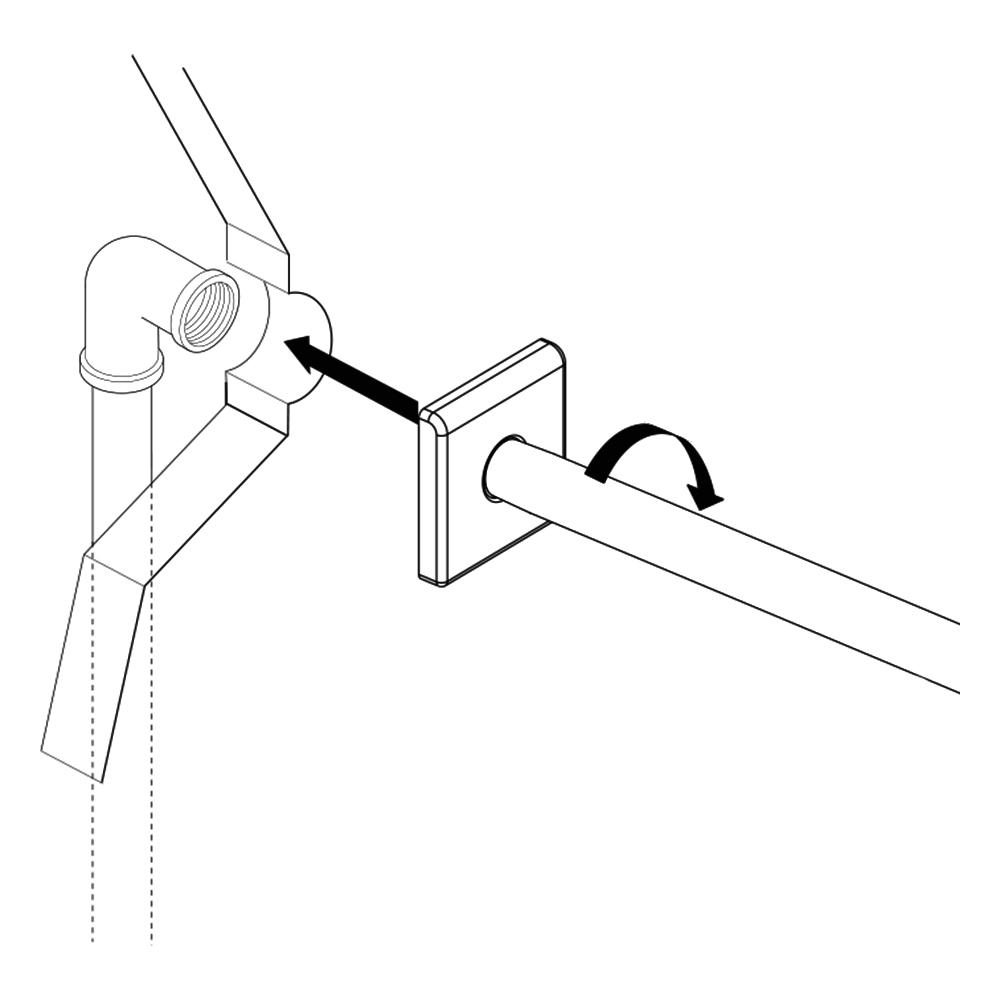
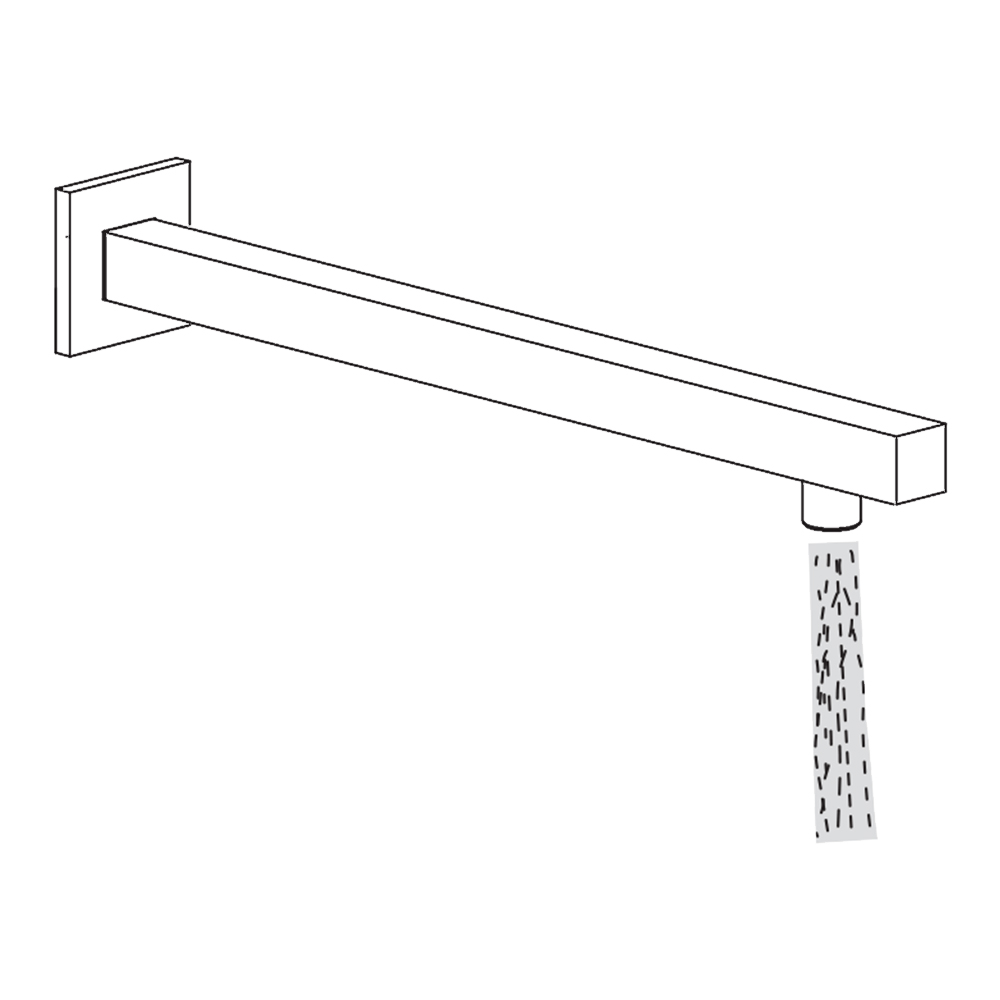
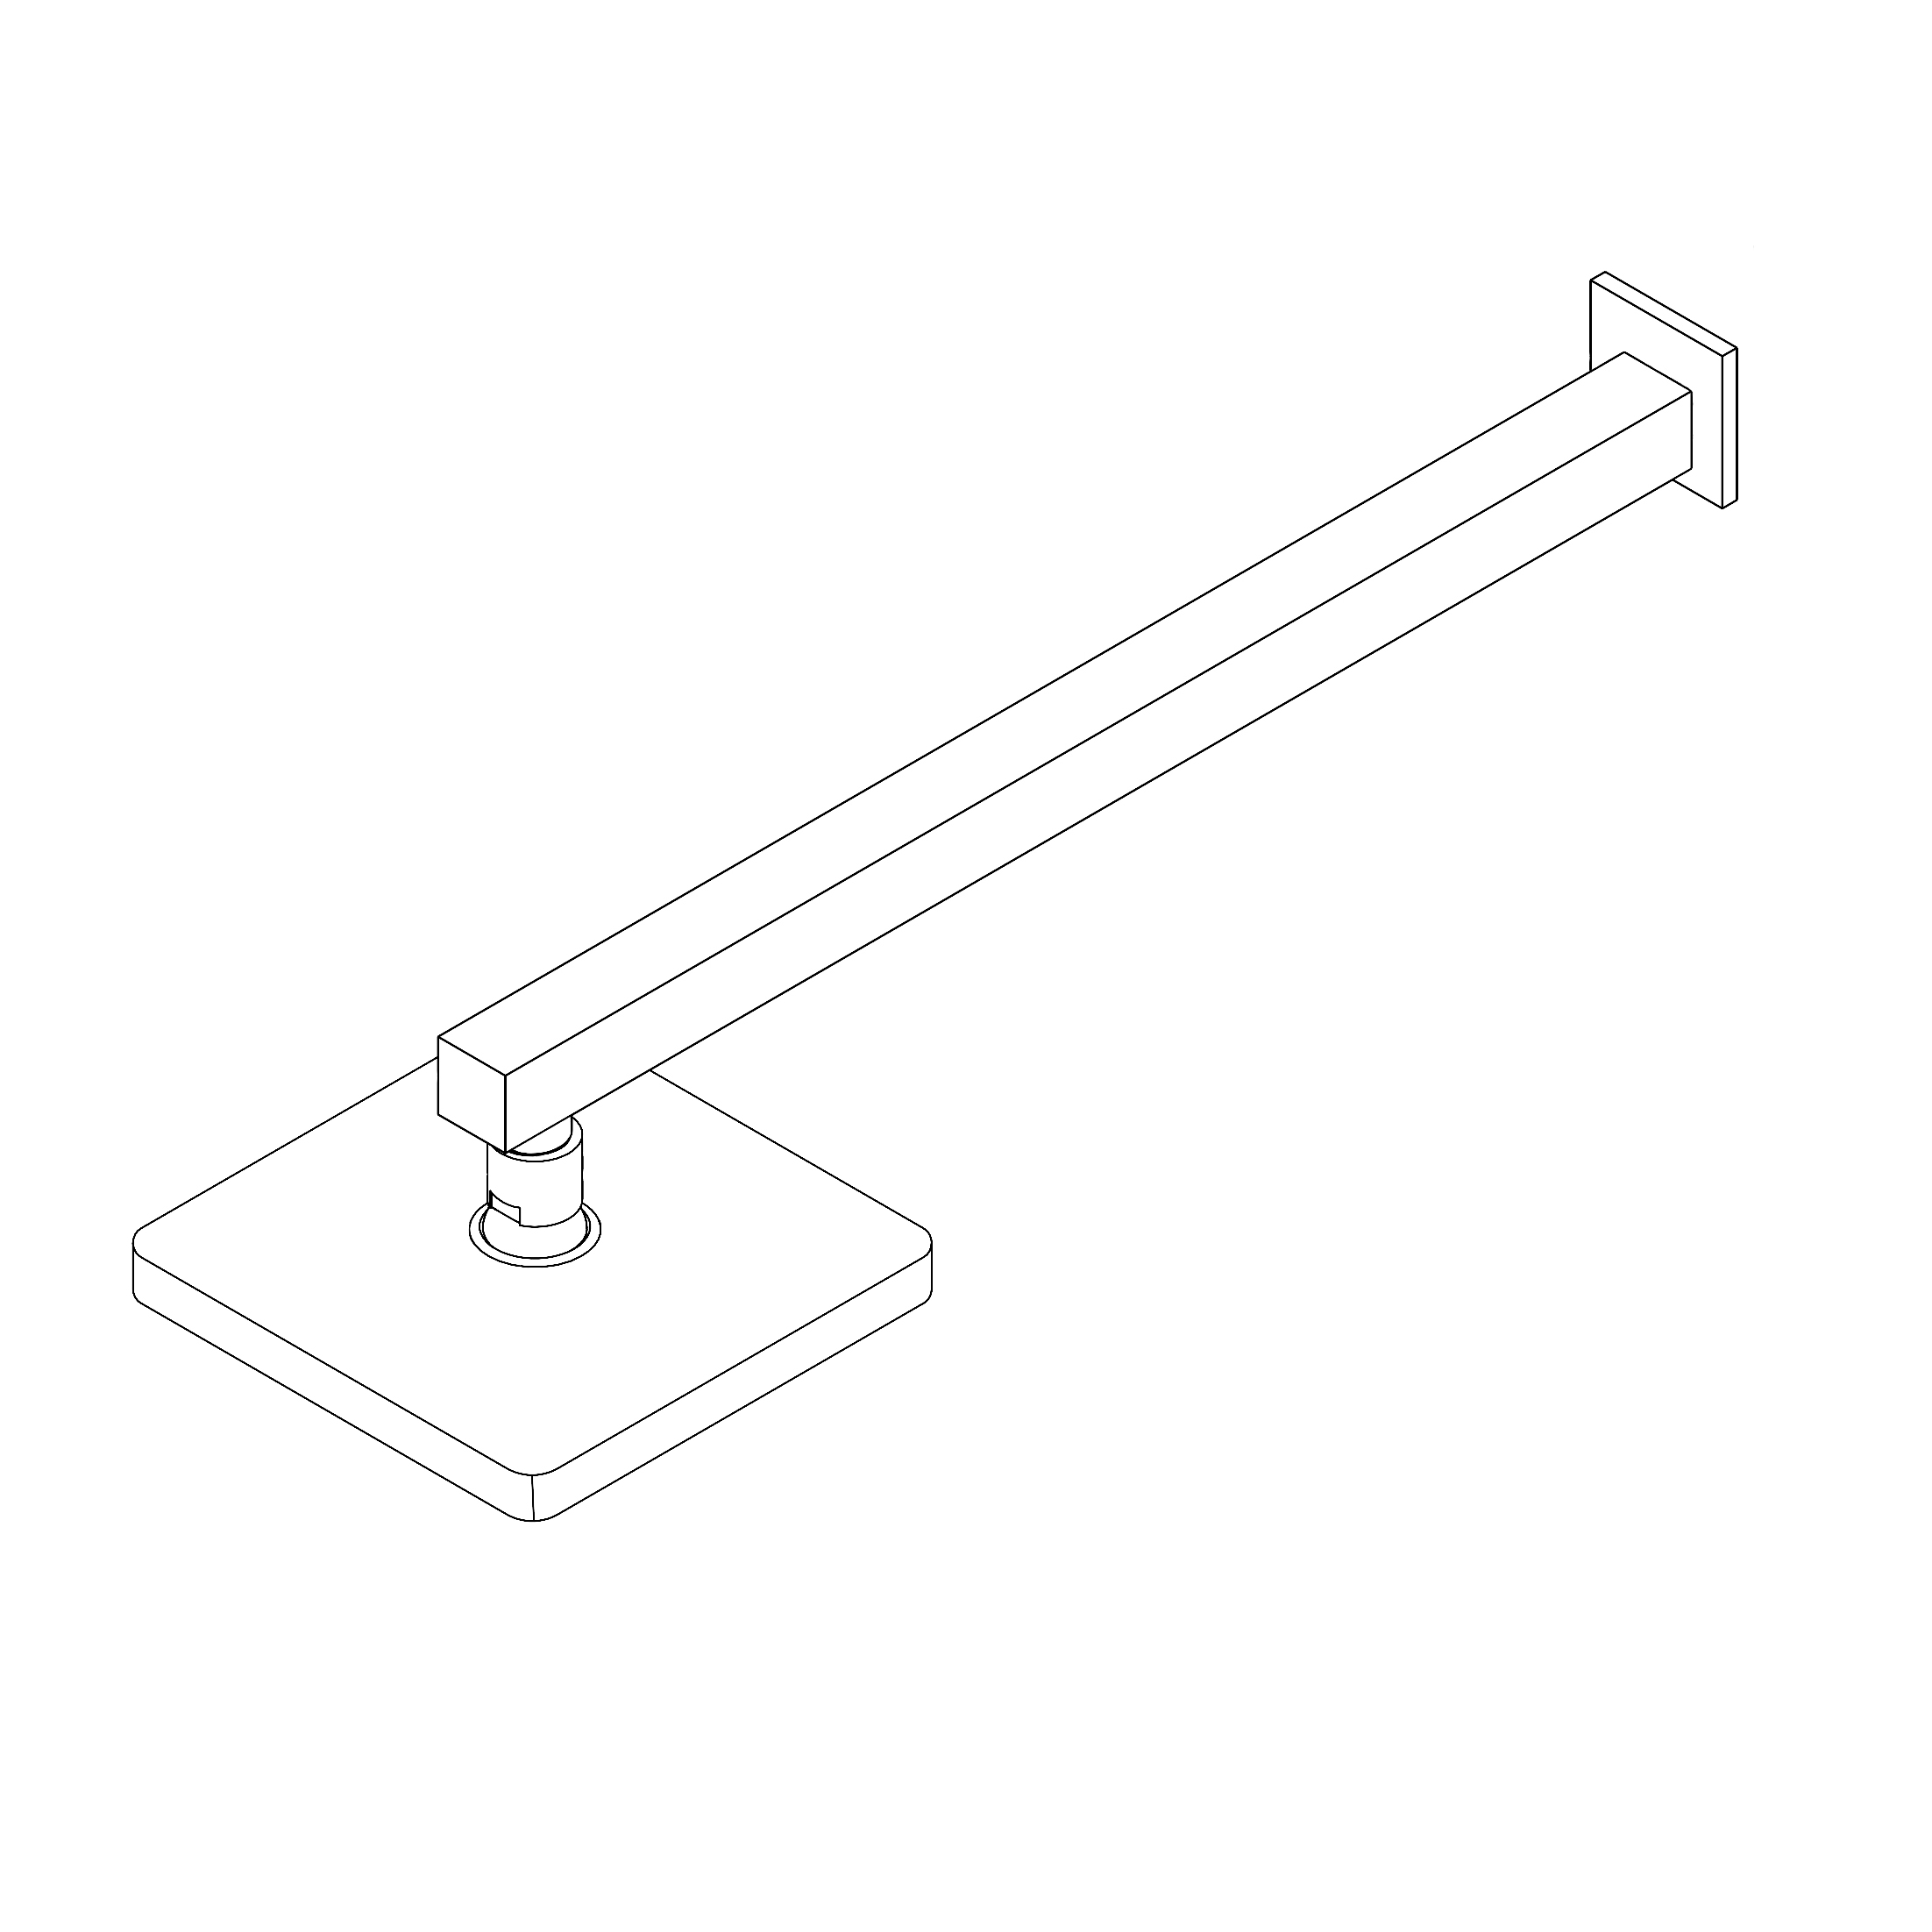
- Use your hands counter clockwise to unscrew the old showerhead and removed it.
- Take out the showerhead, make sure the shower filter is placed in the connector.
- Ensure the showerhead full horizontal alignment wall mounted shower arm thread.
- Use your hands clockwise to tighten showerhead.
|
|

|
|
Showerhead Installation Instructions
|
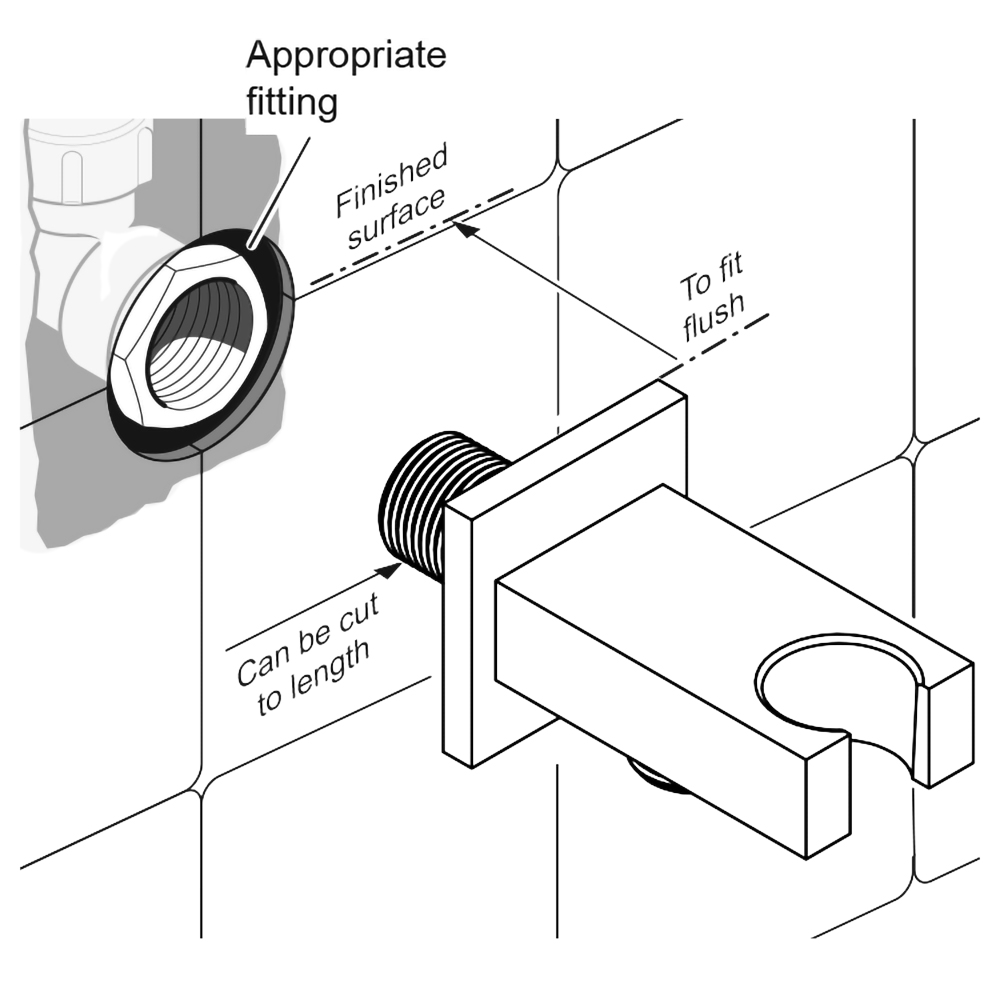
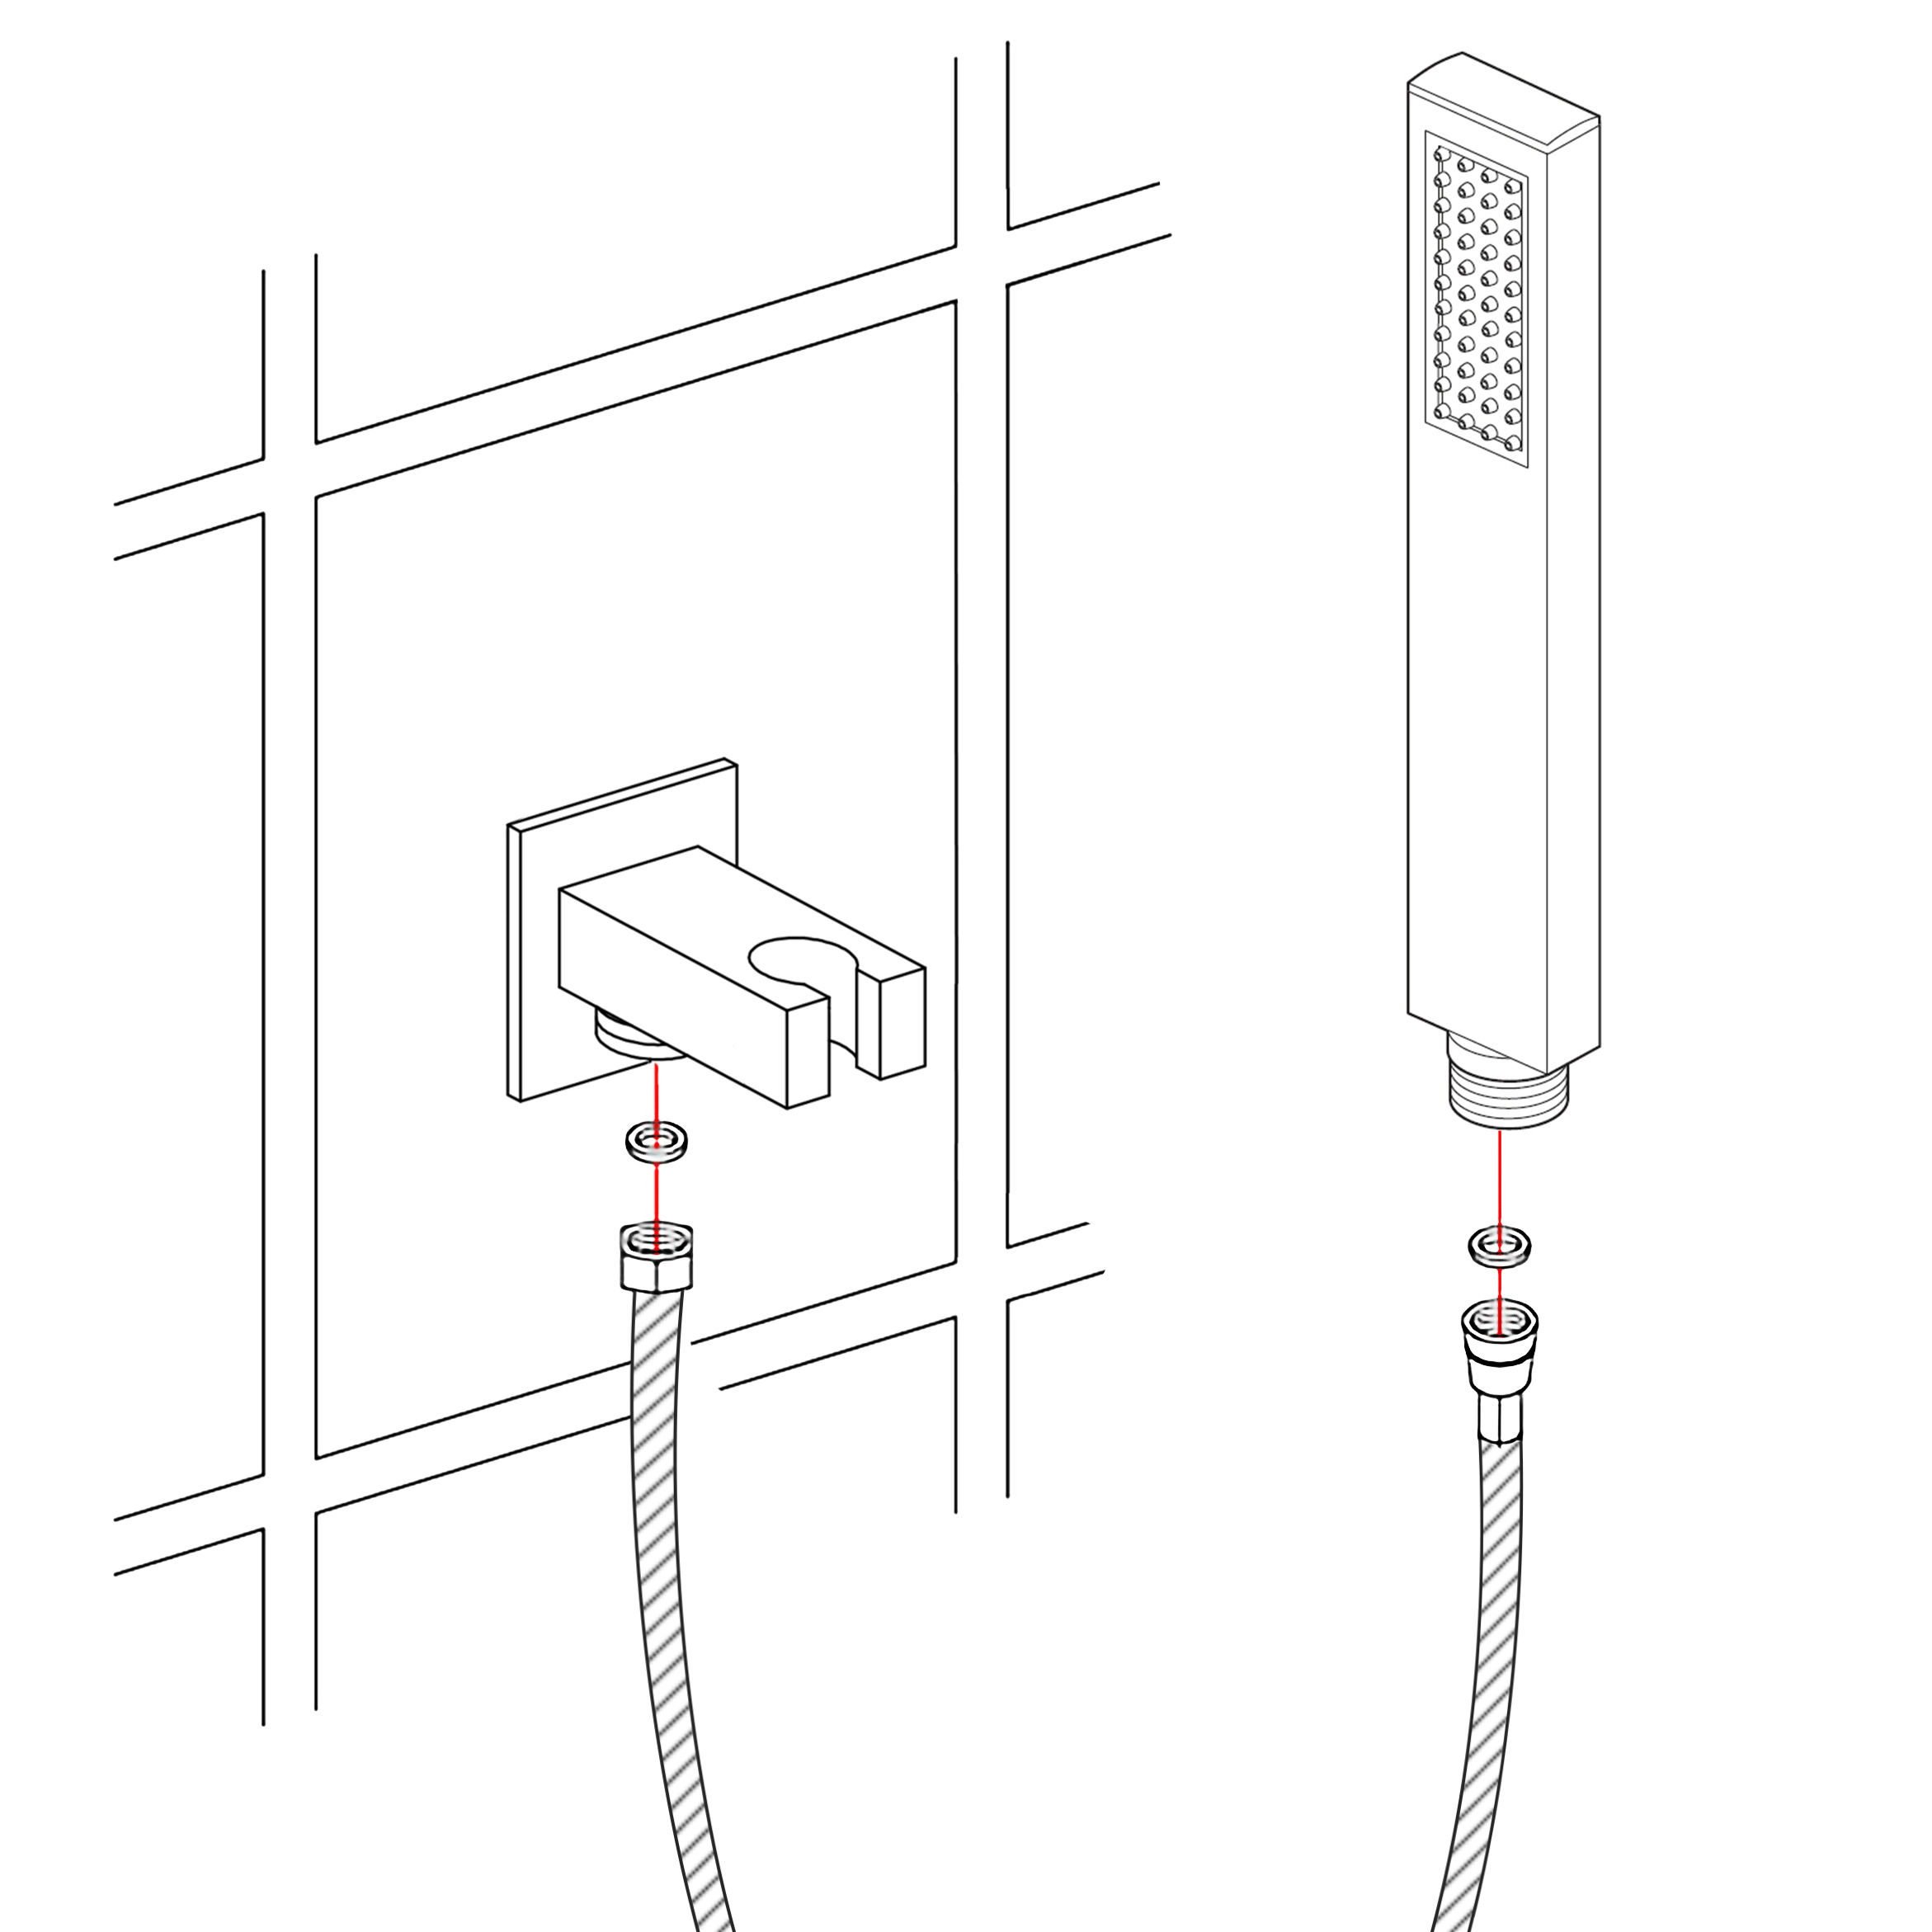
HAND-HELD SHOWER INSTALLATION INSTRUCTIONS
|
Step 1:
|
|
Step 2:
|
|
|
|
Hand
Held
Shower
|
|
Hand
Held
Shower
|
|
|
Handheld Shower
|
|
|
|
|
|
Step 3:
|
|
|
|
|
|
|
|
|
|
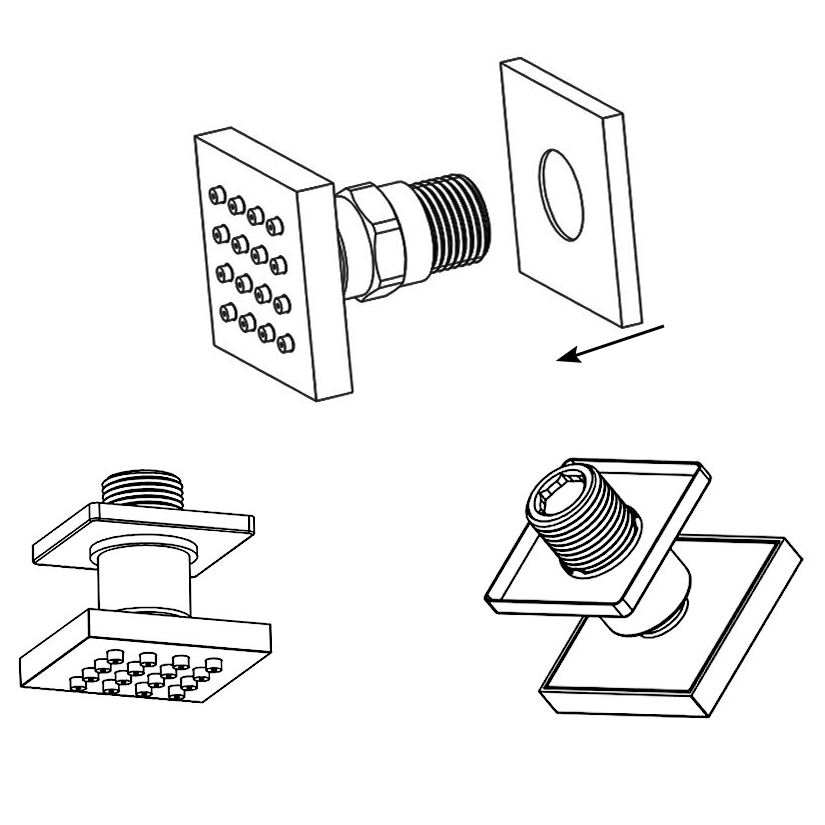
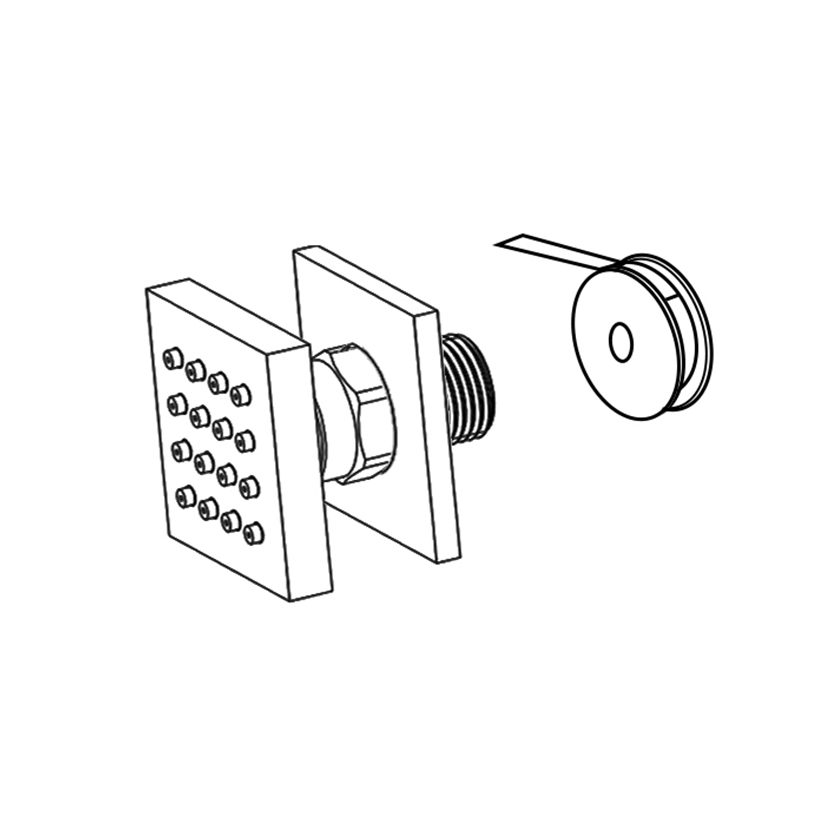
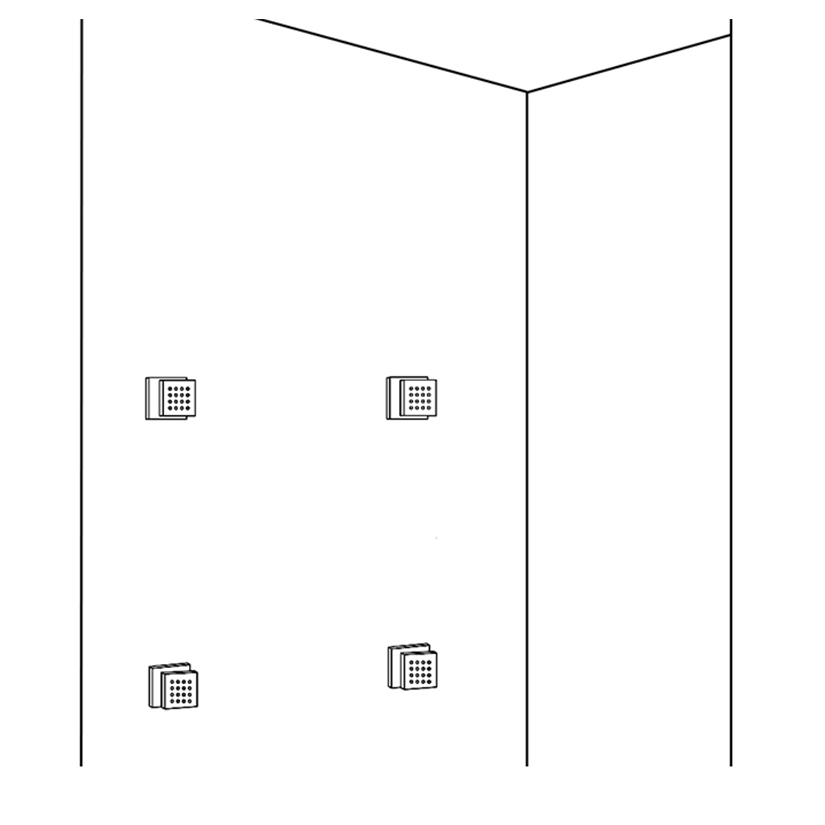
SHOWER BODY JETS INSTALLATION INSTRUCTIONS
Body Sprays Installation Instructions
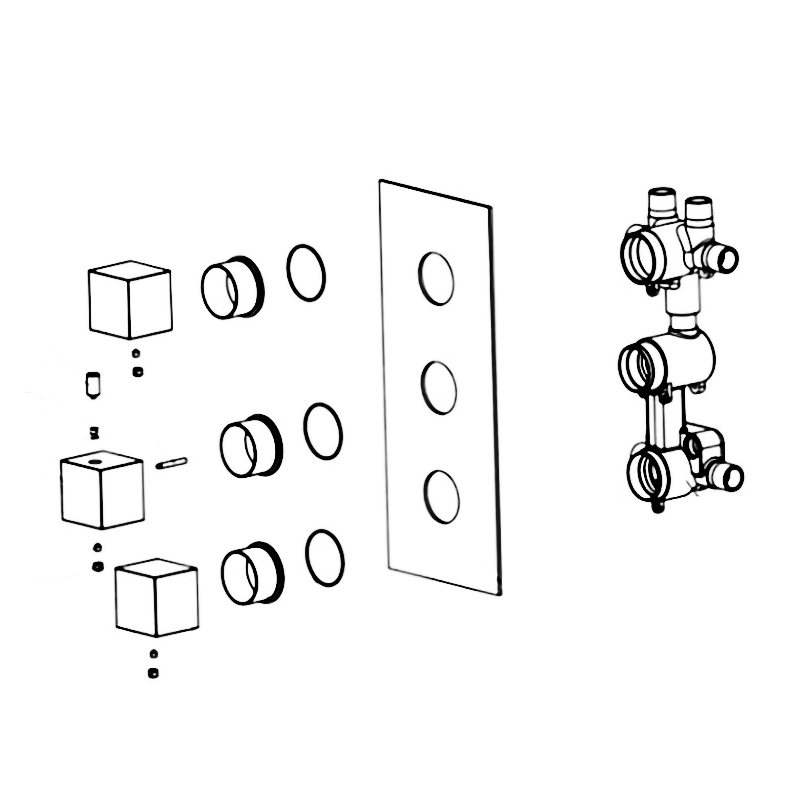
THERMOSTATIC MIXER INSTALLATION INSTRUCTIONS
Shower
Mixer
|
|
|
|
Shower
Mixer
|

|
Shower
Mixer
|
|
|
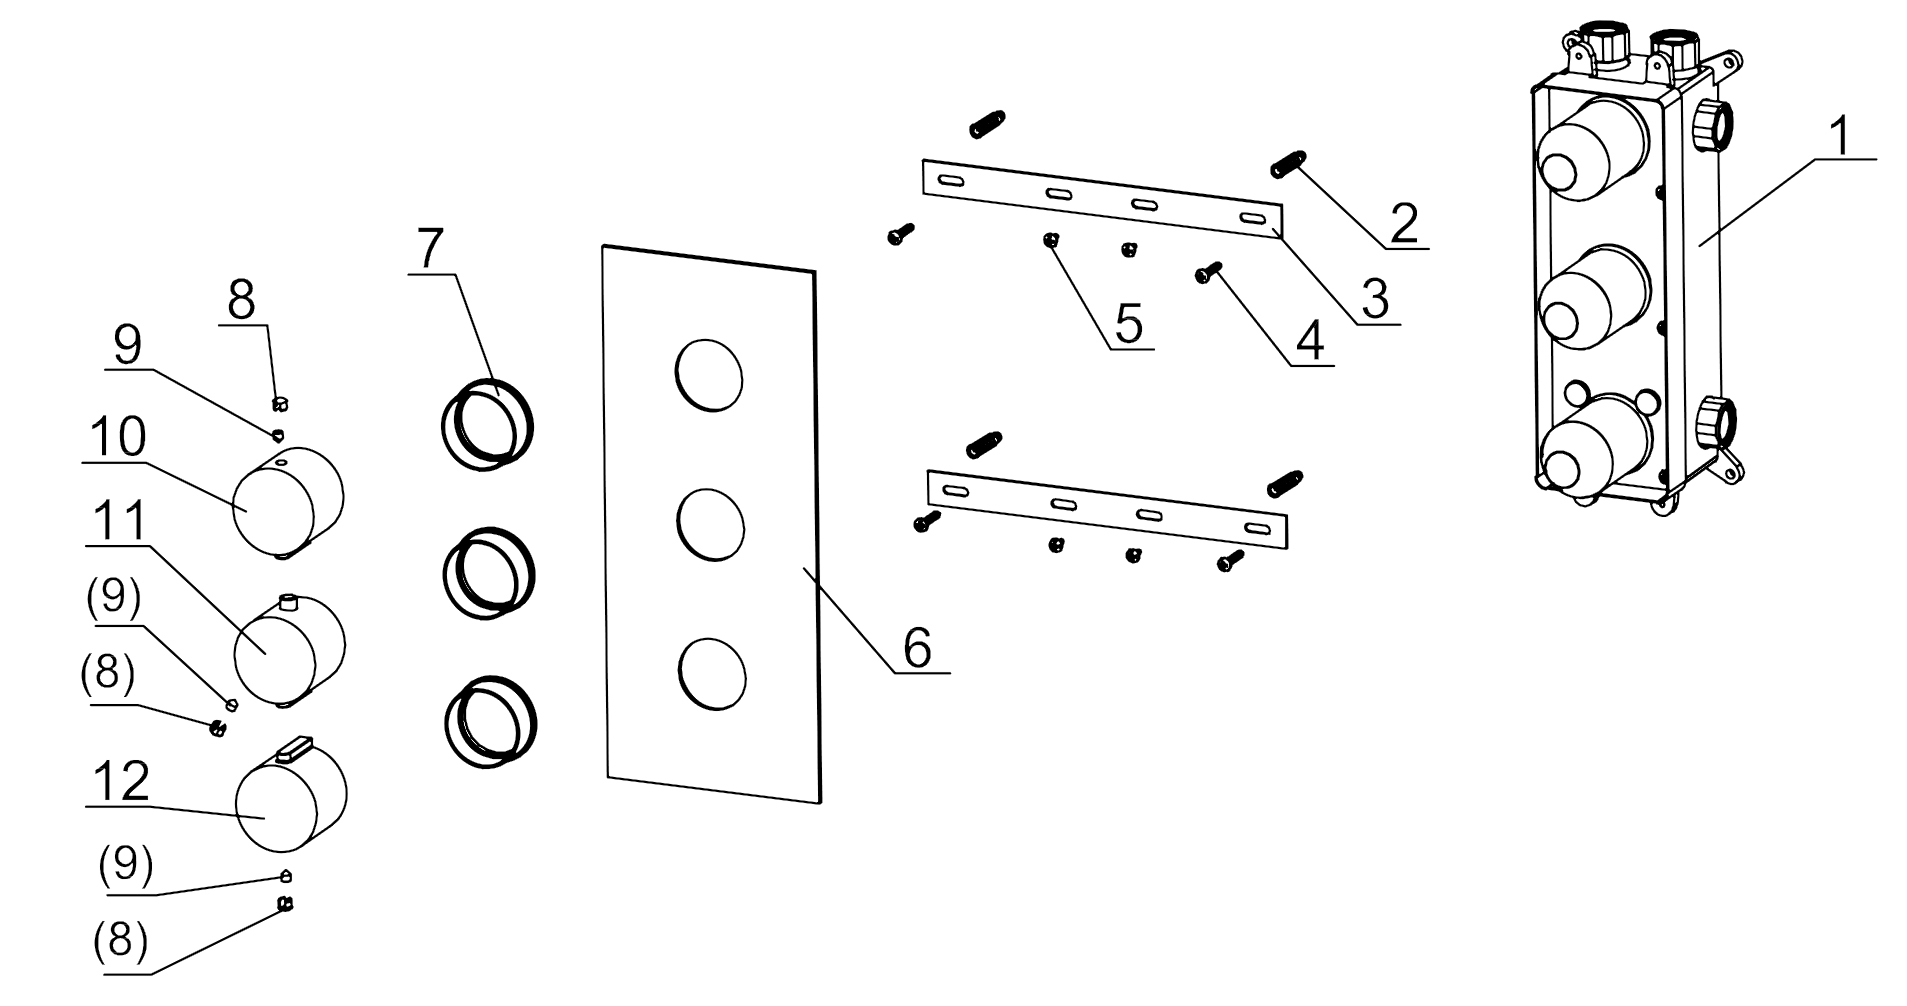
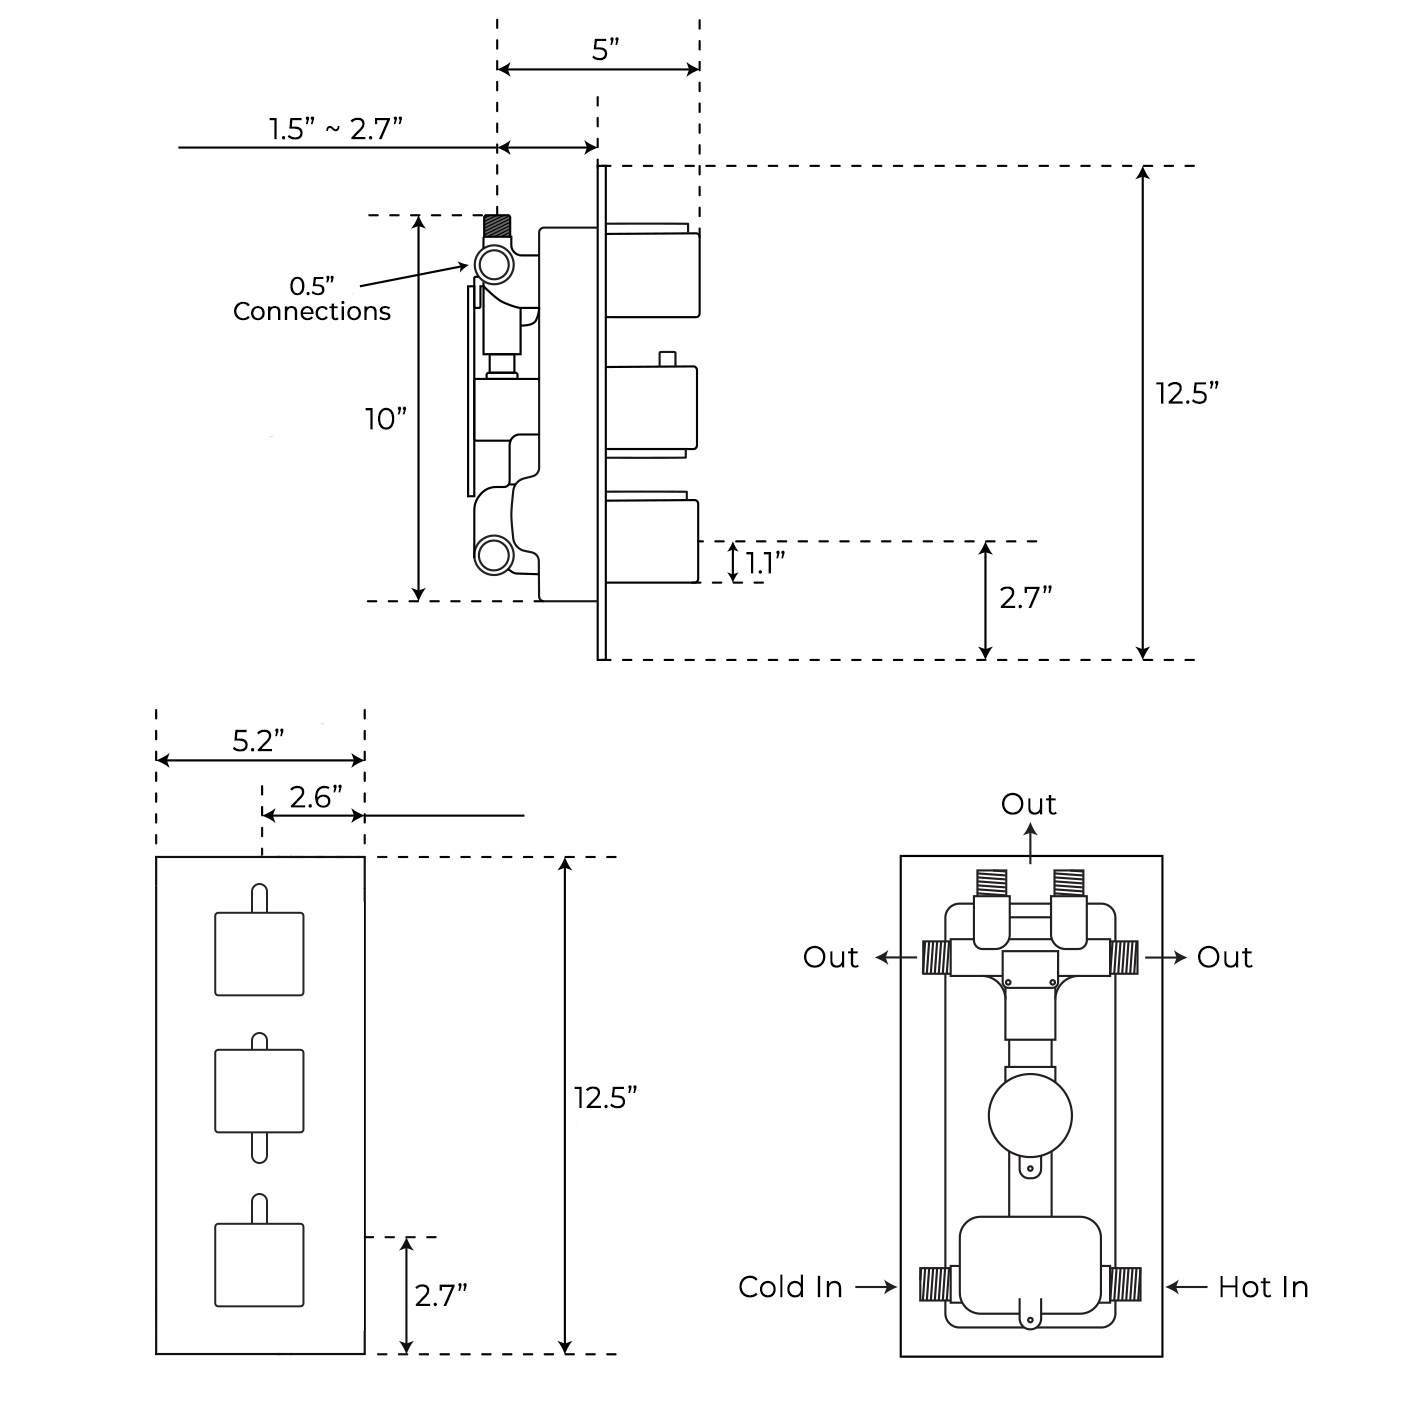
Parts:
1. Rough-In Body x1
2. Anchor x4
3. Positioning Bar x2
4. Tapping Screw 1 x4
5. Tapping Screw 2 x4
6. Plate x1
7. Cover x3
8. Button x3
9. Screw 1 x3
10.Diverter Handle x1
11. Temperature Handle x1
12. Volume Handle x1
|
Shower
Mixer
|
|
|
|
|
|
|
Step 1:
|
|
Step 2:
|
|
|
Shower
Mixer
|
|
|
|
|
|
|
|
Shower Valve Mixer Installation Instructions
|
|
|
|
|
Step 3:
|
|
Step 4:
|
|
|
|

|
|
|
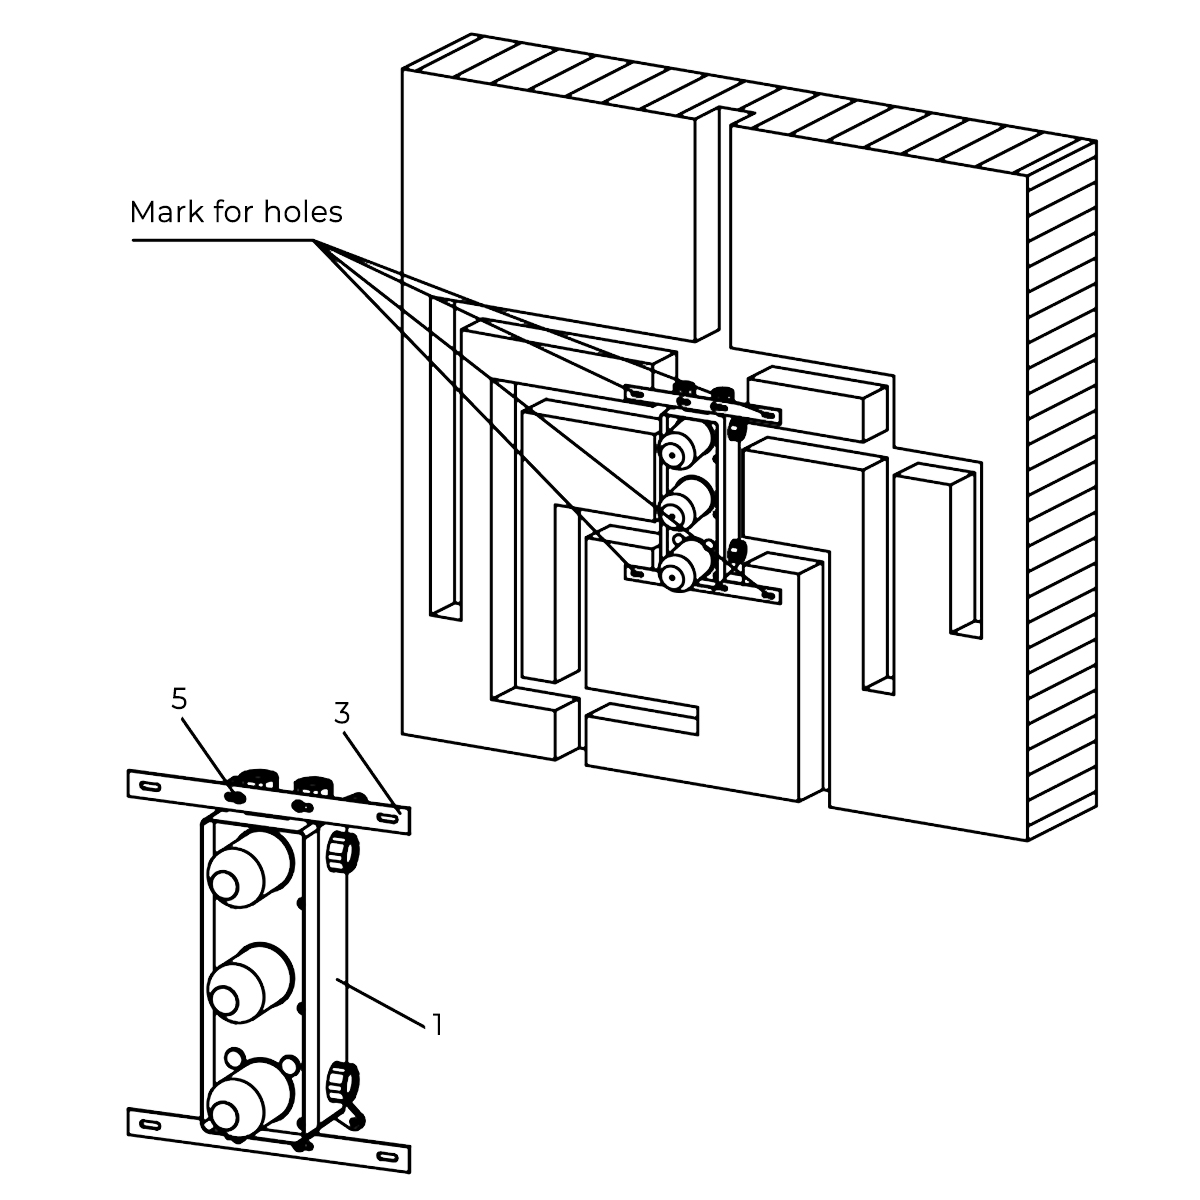
Attach the positioning bar to the rough-in body (4,5) with tapping screws. Mark the location of the mounting holes.
|
|
Remove the rough-in body and drill pilot holes at the locations marked in the previous step. Insert anchors.
|
|
|
Shower Valve Mixer Installation Instructions
|
|
|
|
|
Step 5:
|
|
Step 6:
|
|
|
|
|
|
|
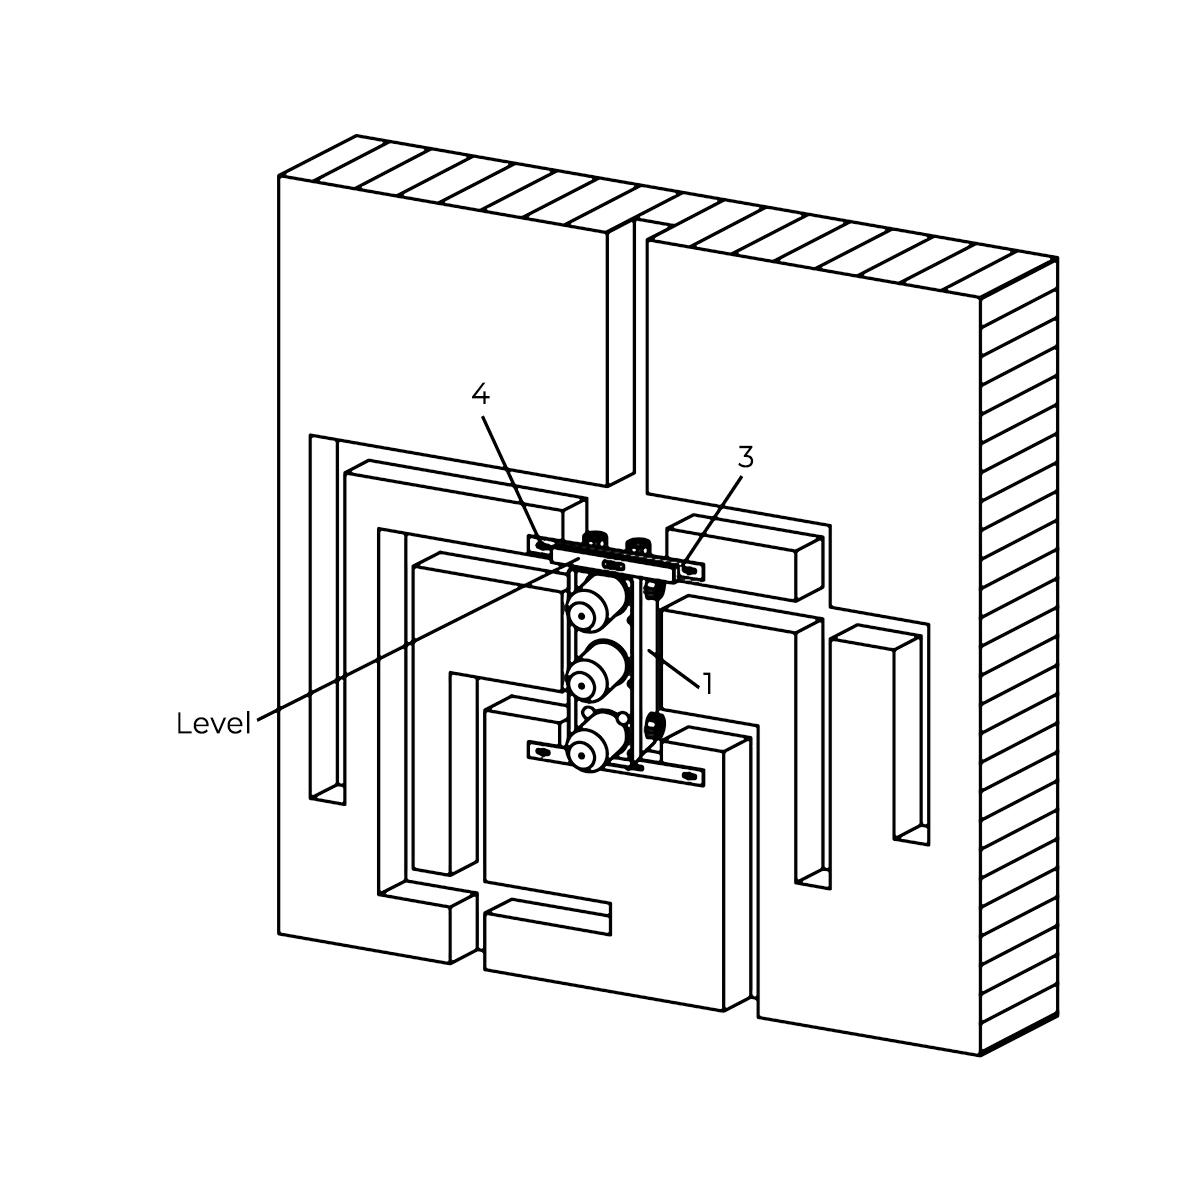
Attach the rough-in body to the wall.
|
|
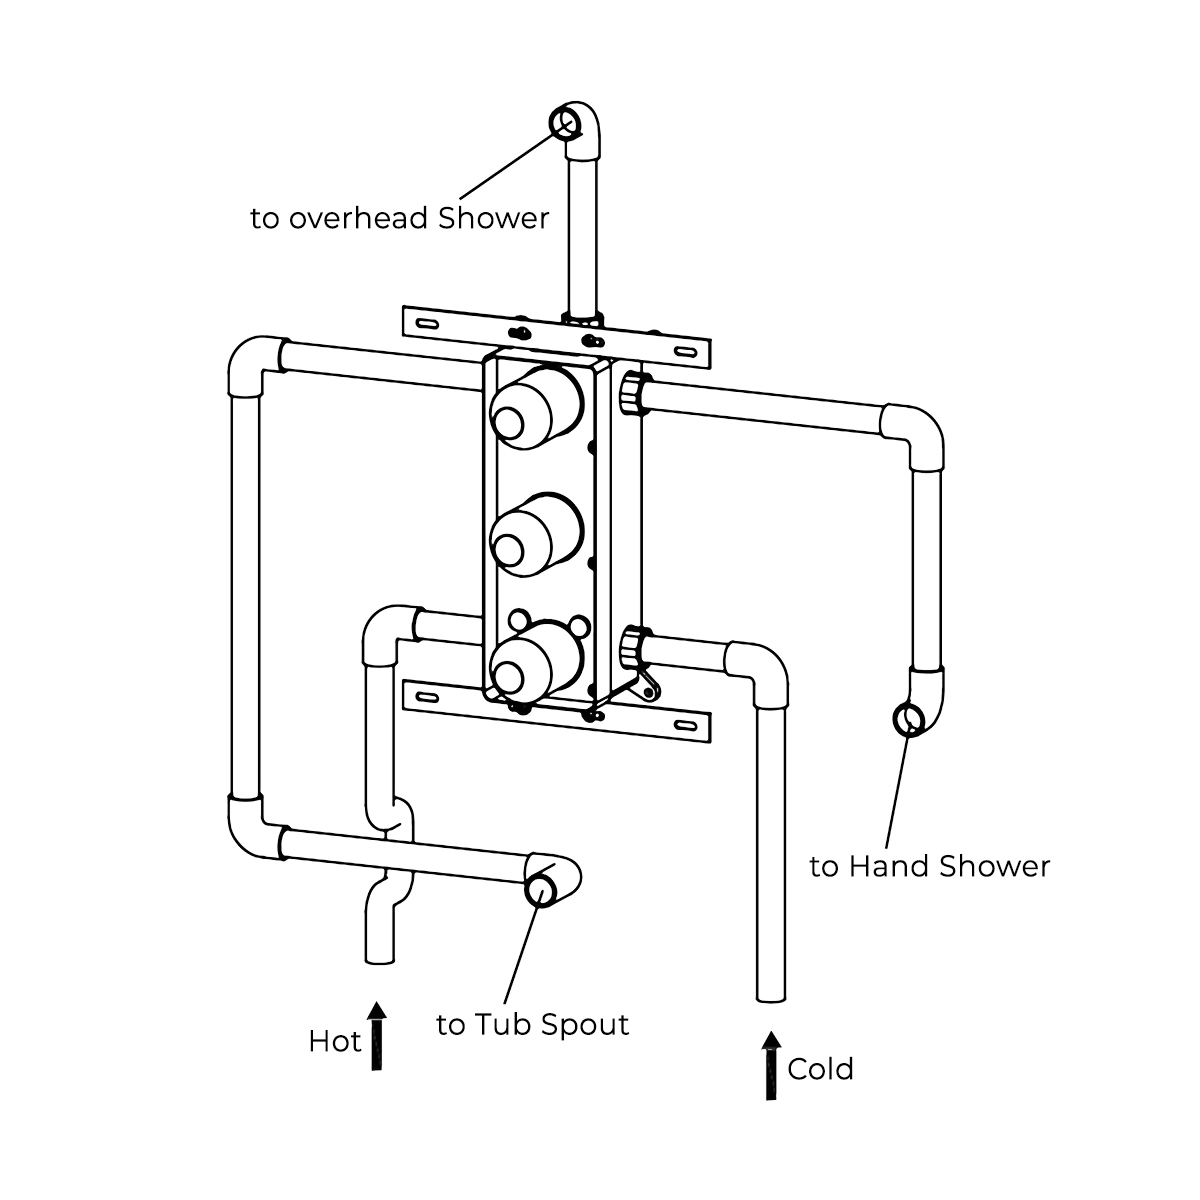
Connect the rough-in body to the water supply pipes according to the diagram.
|
|
|
Shower Valve Mixer Installation Instructions
|
|
|
|
|
Step 7:
|
|
Step 8:
|
|
|
|
|
|
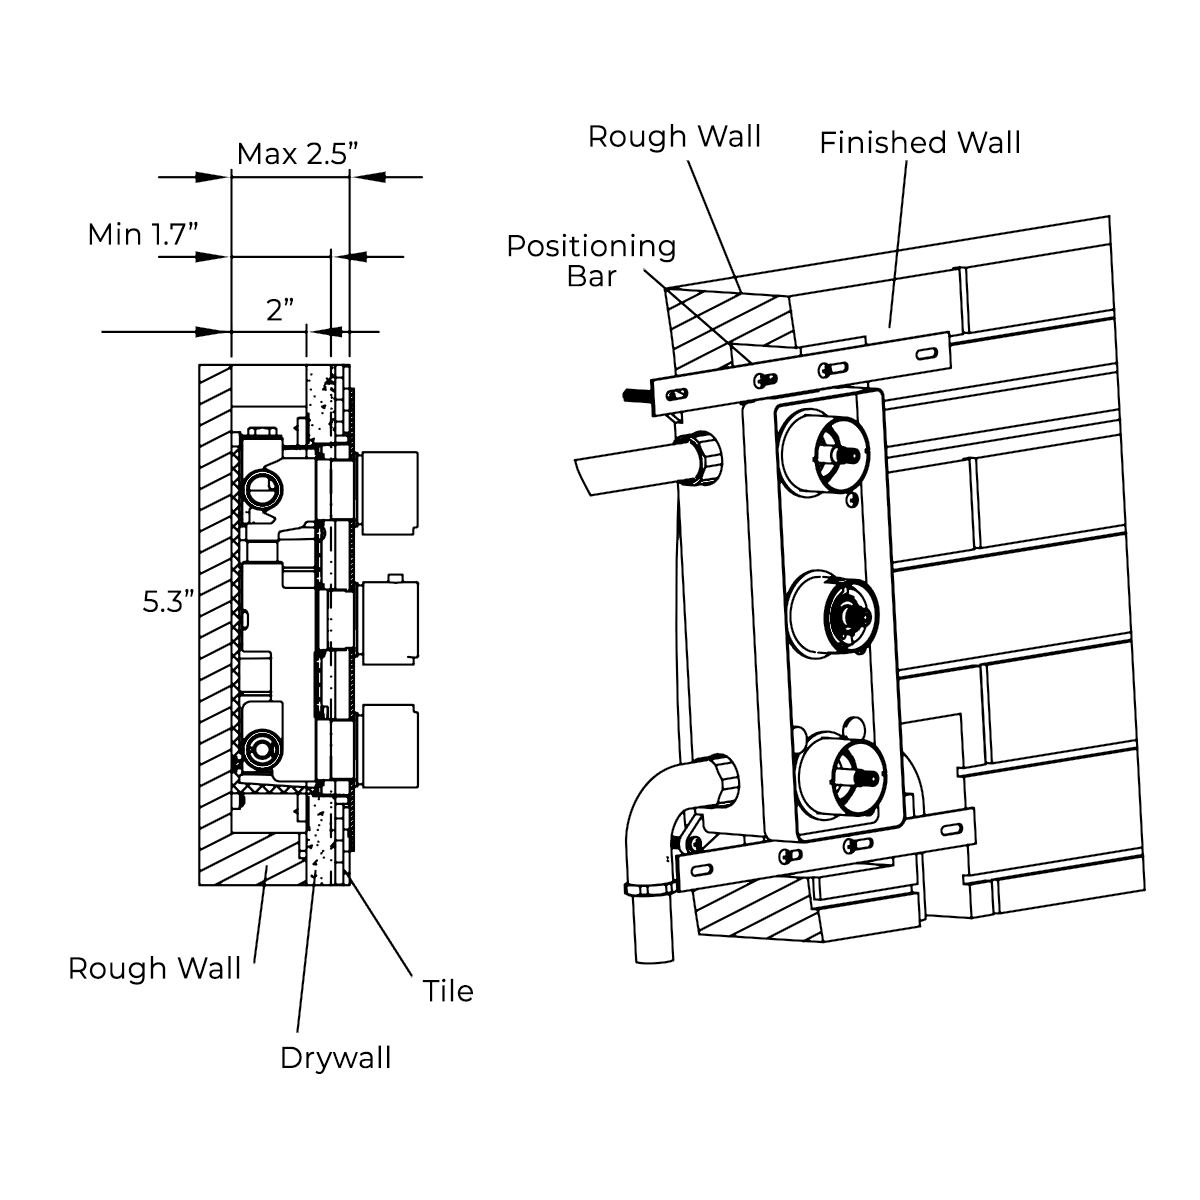
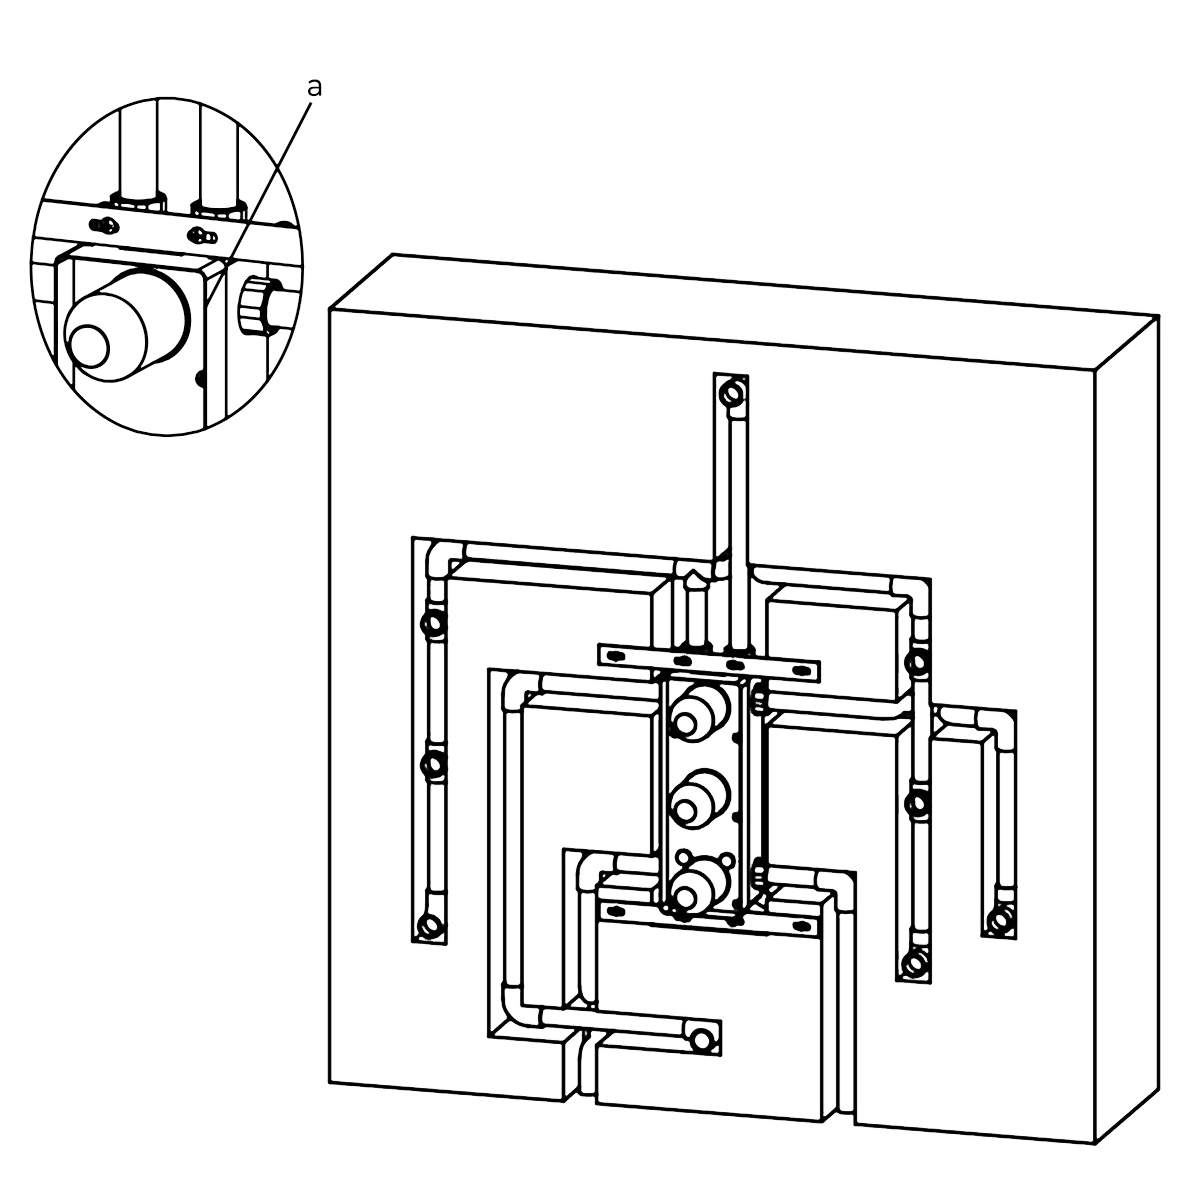
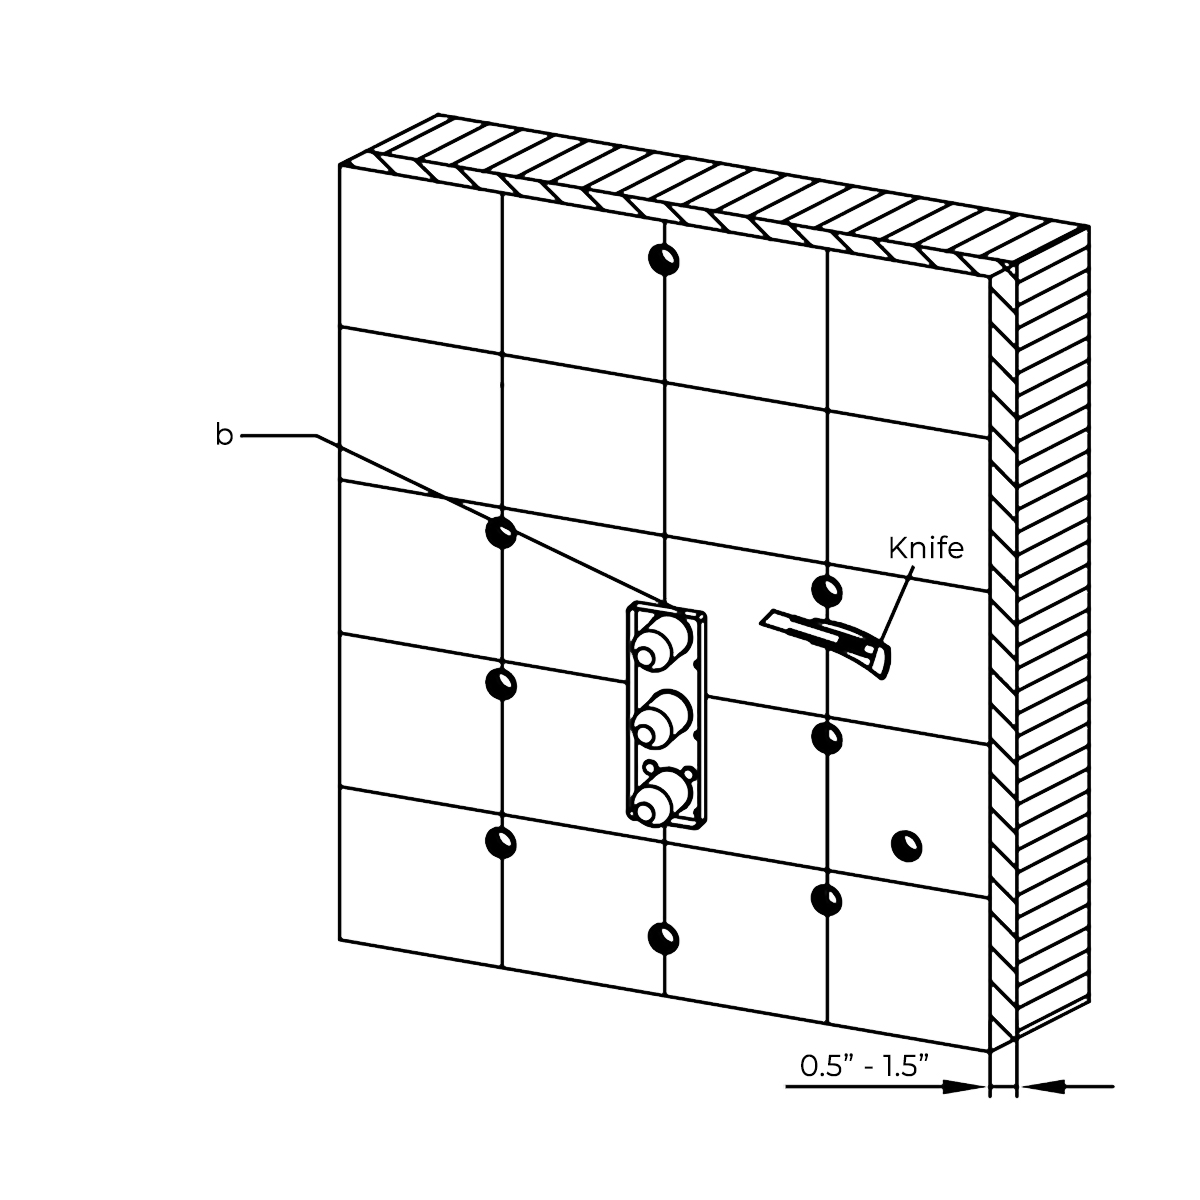
Finish the wall surrounding the shower with a thickness of 1/2"-1-1/2".
a) Finished wall surface should not exceed the upper edge of the installation box.
|
|
If the tile exceeds the edges of the installation box, trim the tile as necessary to install the trim plate.
b) Trim the tile around the installation box as necessary.
|
|
|
Shower Valve Mixer Installation Instructions
|
|
|
|
|
Step 9:
|
|
|
|
|
|
|
|
|
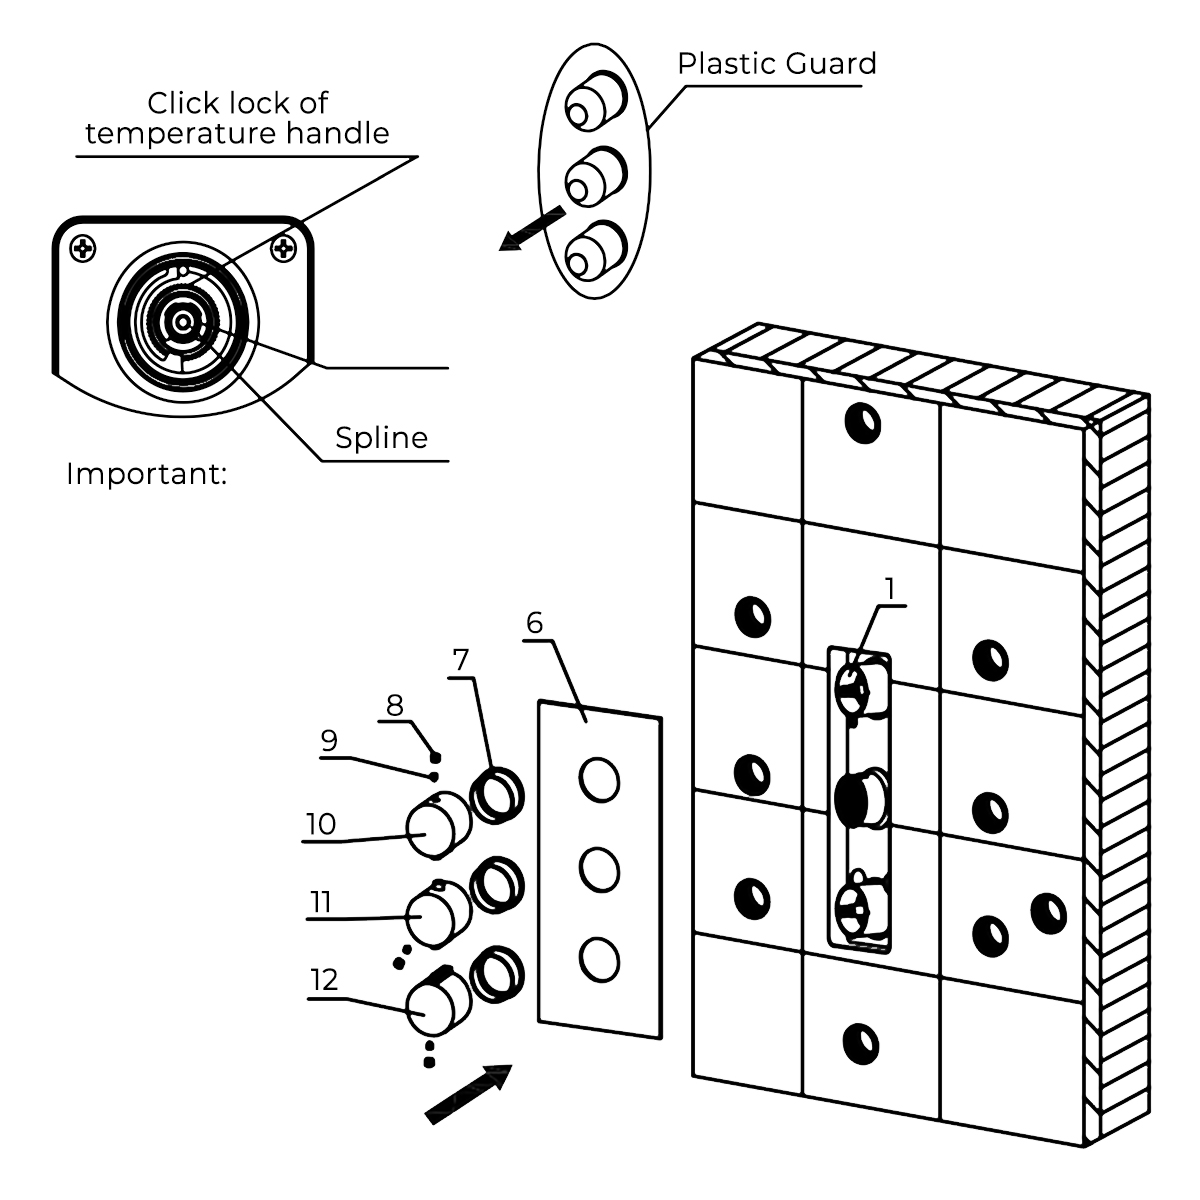
Remove the plastic guard and place the trim plate over the installation box. Install the screws covers, handles and buttons.
|
|
|
|
|
Shower Valve Mixer Installation
|
How to install the Shower Set with Wall Mount Showerhead, Hand Held Shower and Shower Mixer
.
|
|
Bravat G Set Installation Resources
Coordinate the Bravat G Shower Set
Review valve rough-in, outlet routing, wall preparation and commissioning resources for the Bravat G shower configuration.
Installation GuidesMixer & ValveWall PlanningAccessoriesProject FilesSupport
Bravat G Set Installation Questions
What information should be transferred to the wall before installation?Transfer the valve centerline, finished-wall depth, outlet positions and fixture heights from the exact product drawing before drilling or routing pipe. Why must the hot and cold supplies be identified?Reversed supplies can prevent thermostatic controls from regulating correctly. Mark and verify both feeds before connecting the concealed valve. When is waterproofing completed?Complete pressure testing first, then integrate penetrations and mounting points into the approved waterproofing system before installing exposed trim. Where can installers compare related shower details?The main shower-installation page connects valve, outlet and accessory guidance. Open Shower Details

|
|
|