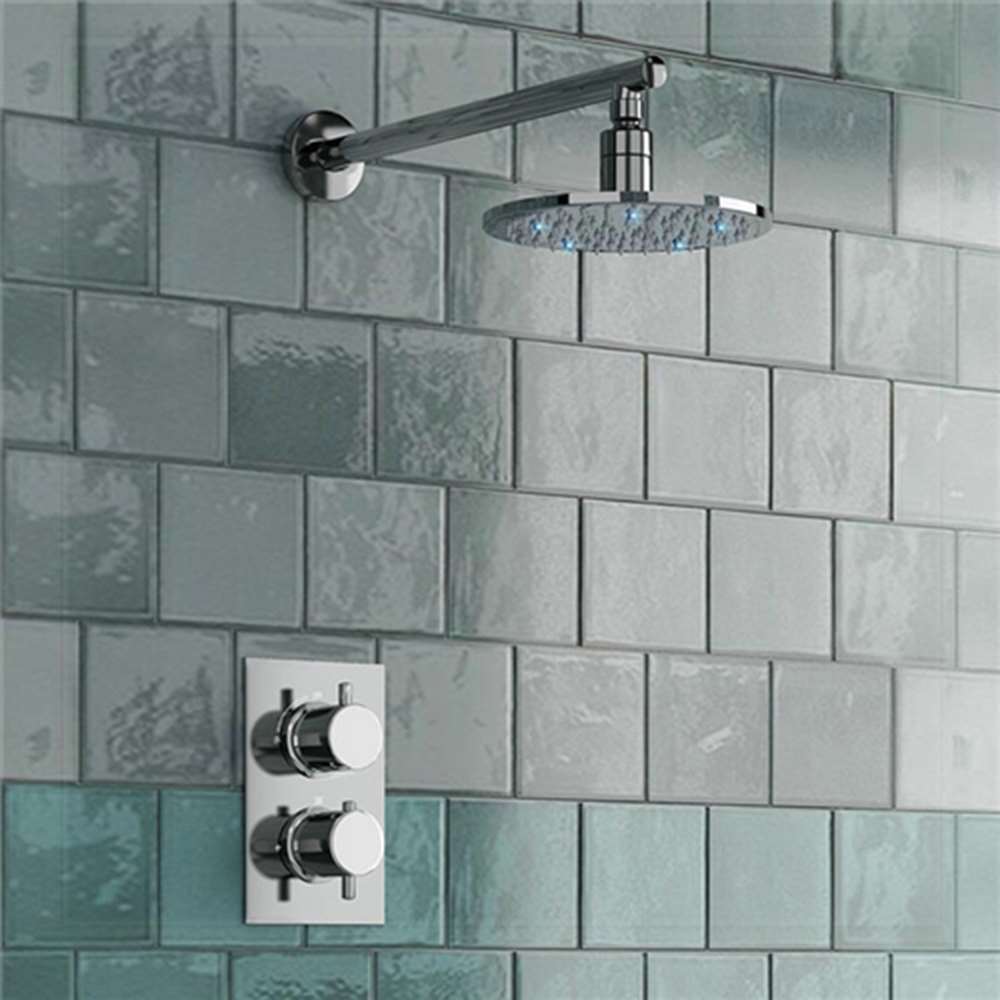
Shower Head Installation Instructions
|
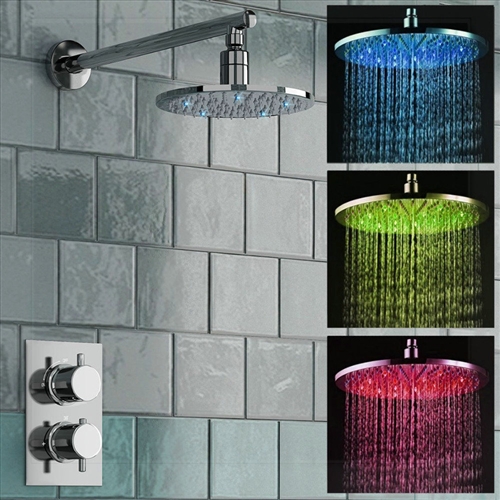
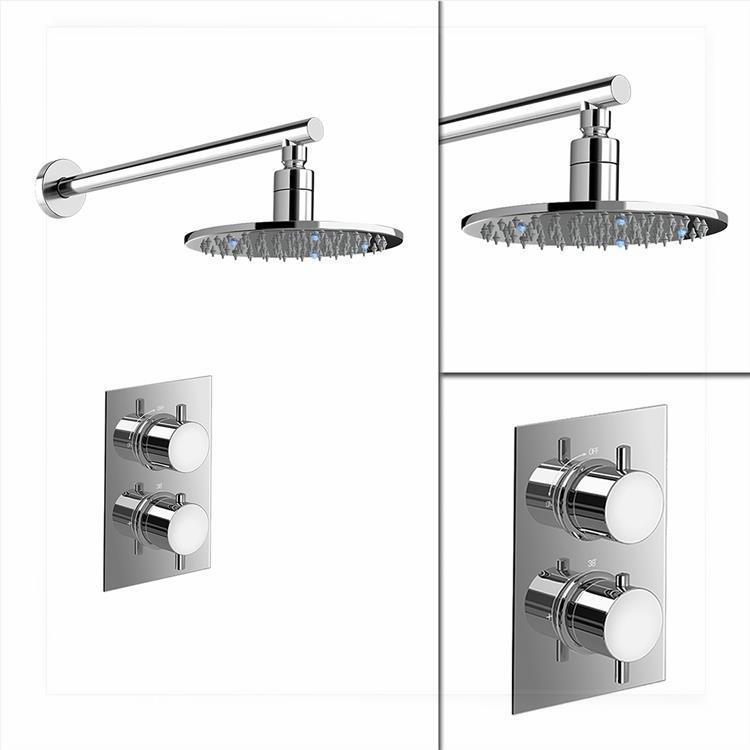
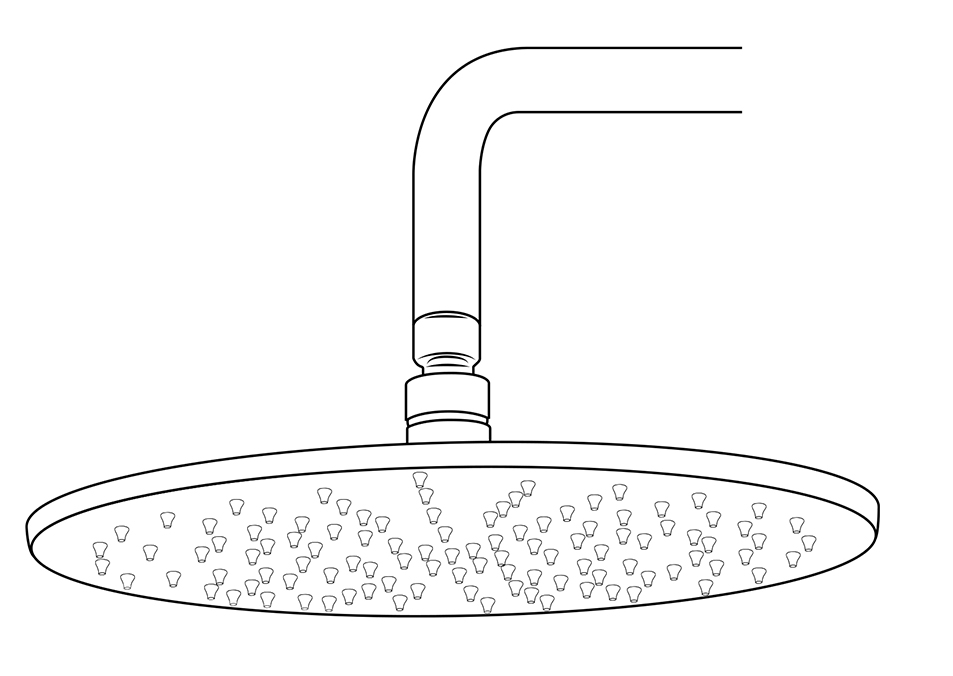
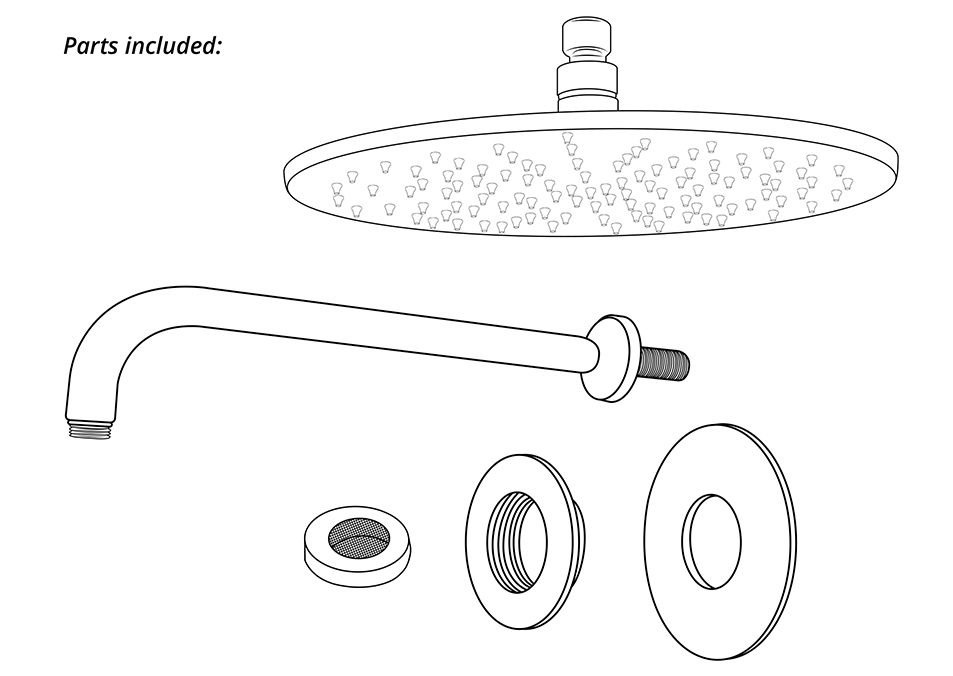
Shower Head Parts Included:
- Wall Mounting Arm
- Locking nut
- Wall trim
- Shower arm
- Showerhead Fixing screws
and wall plugs (not shown
|
|
|
|
|
|
|
Step 1:
|
|
Step 2:
|
|
Step 3:
|
|
|
Wall Mount Round Showerhead
|
Shower
|
|
Shower
|
|
|

|
|
|
|
|
|
|
Wall Mount Round Showerhead
|
|
|
|
|
|
|
Step 4:
|
|
Step 5:
|
|
Step 6:
|
|
|
Wall Mount Round Showerhead
|
|
|
|
|
|

|
|
|
|
|
|
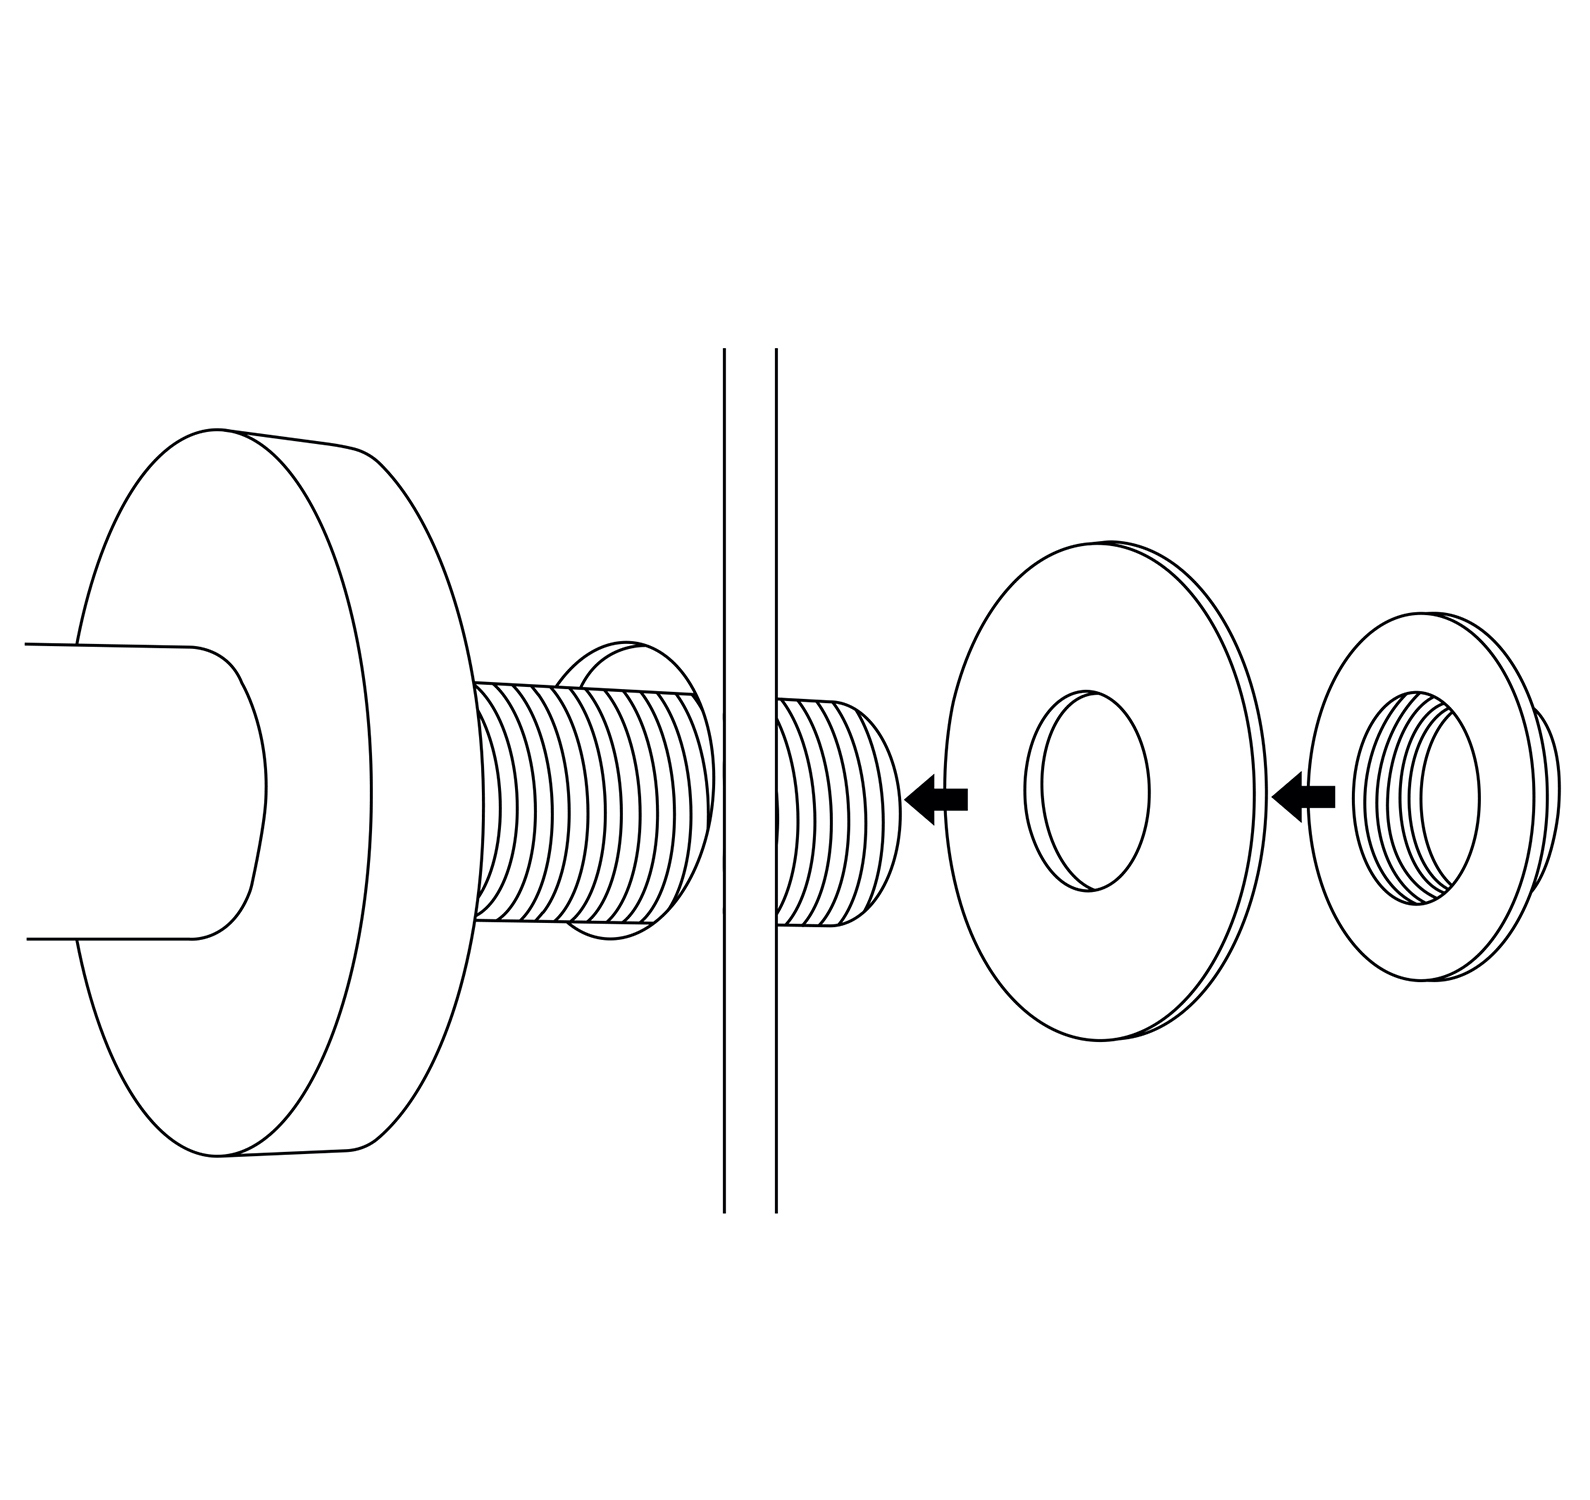
1. Remove the old shower head by using the channel lock pliers or monkey wrench. Be sure to turn the pliers counter-clockwise to loosen the old shower head. (Tip: Right is tight, left is loose.)
2. Remove the shower arm by turning it by hand counter-clockwise. Make sure you remember to apply putty or tape to the new arm. (Tip: Using teflon tape is less messy)
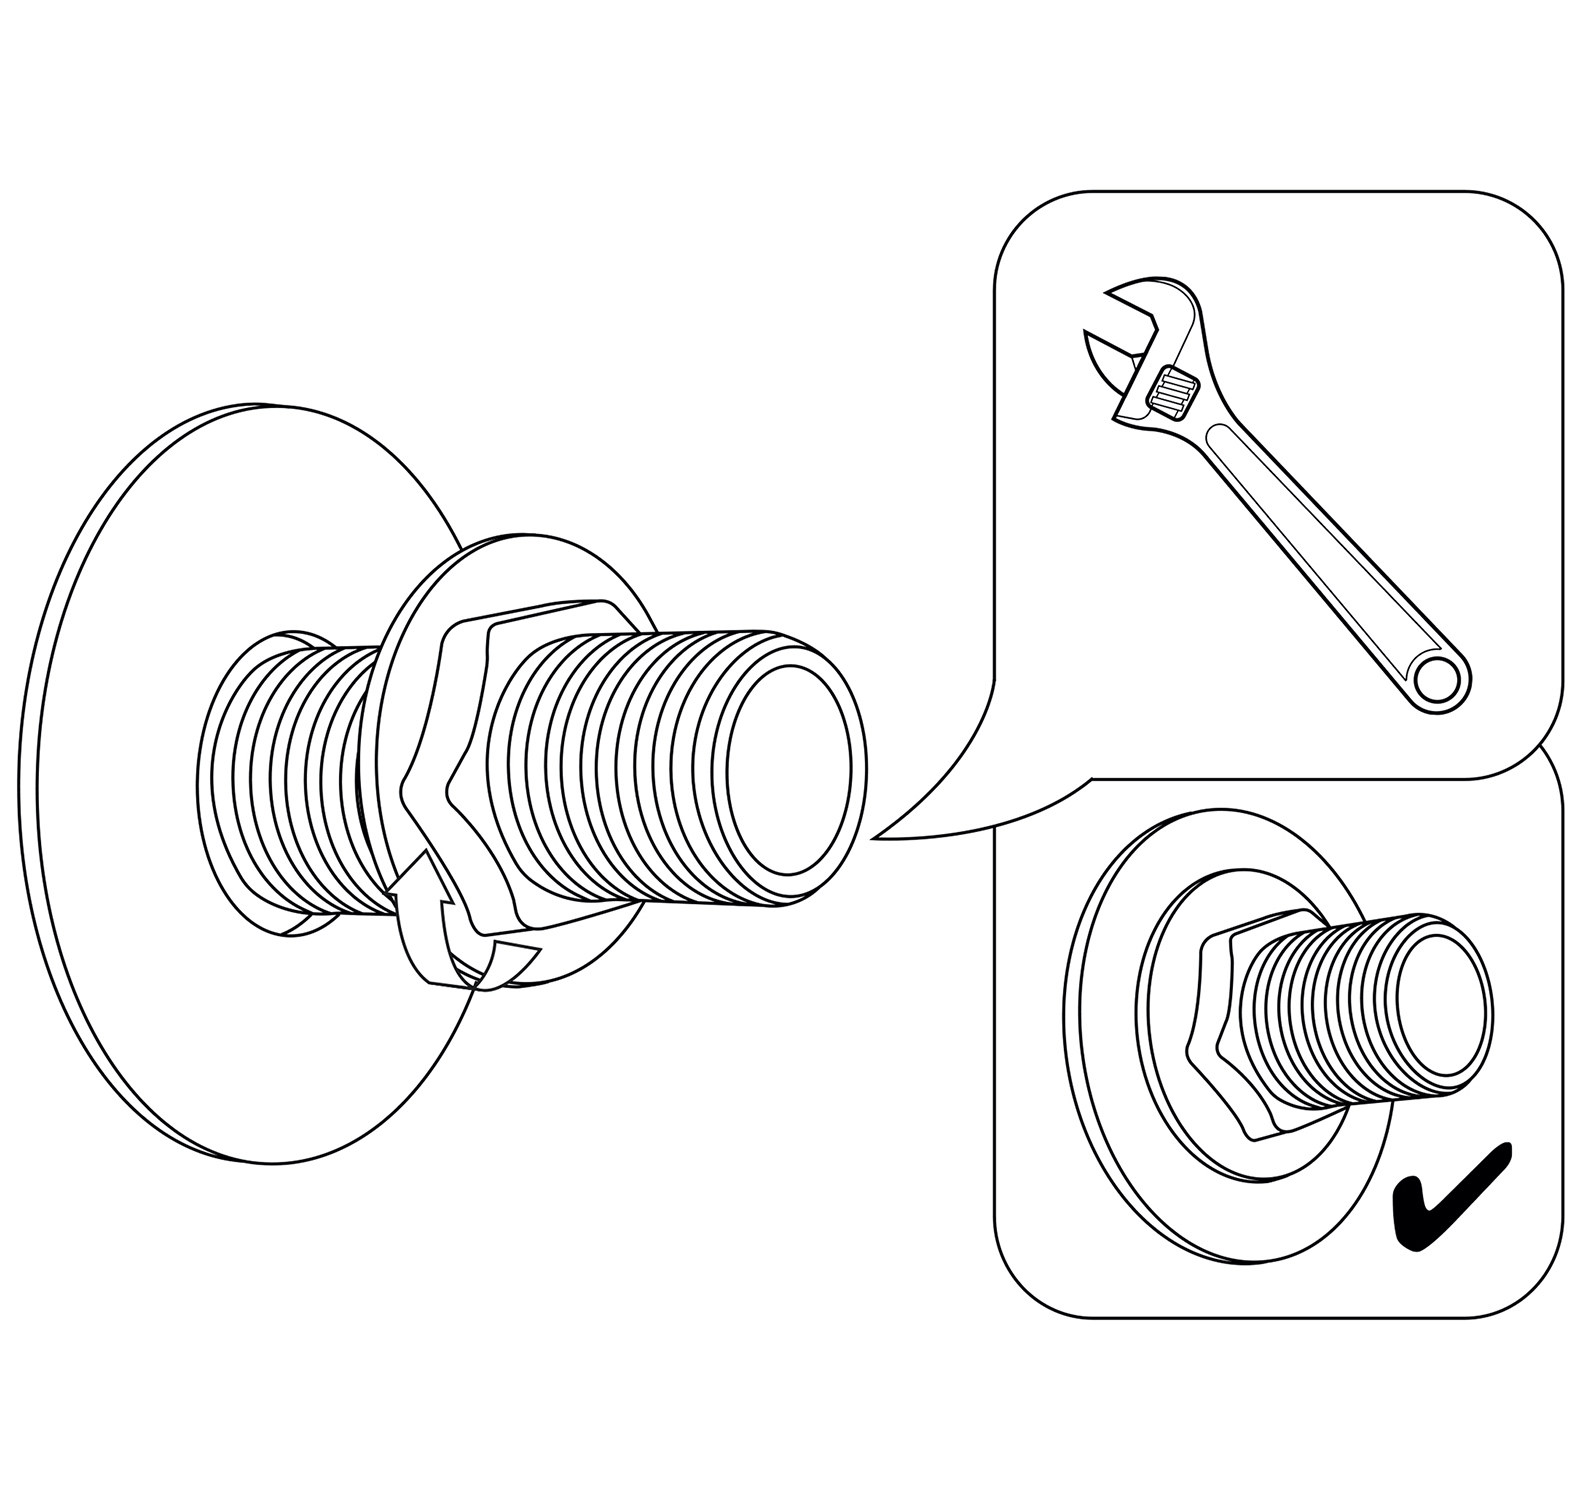
3. Apply teflon tape to the threading of the shower arm by wrapping it around the threads, go all the way around 3 or 4 times depending on the quality of the Teflon tape.
4. Install the new shower arm by going clockwise by hand until it is tight, then put painters tape around the arm and tighten the arm with the channel lock or monkey wrench.
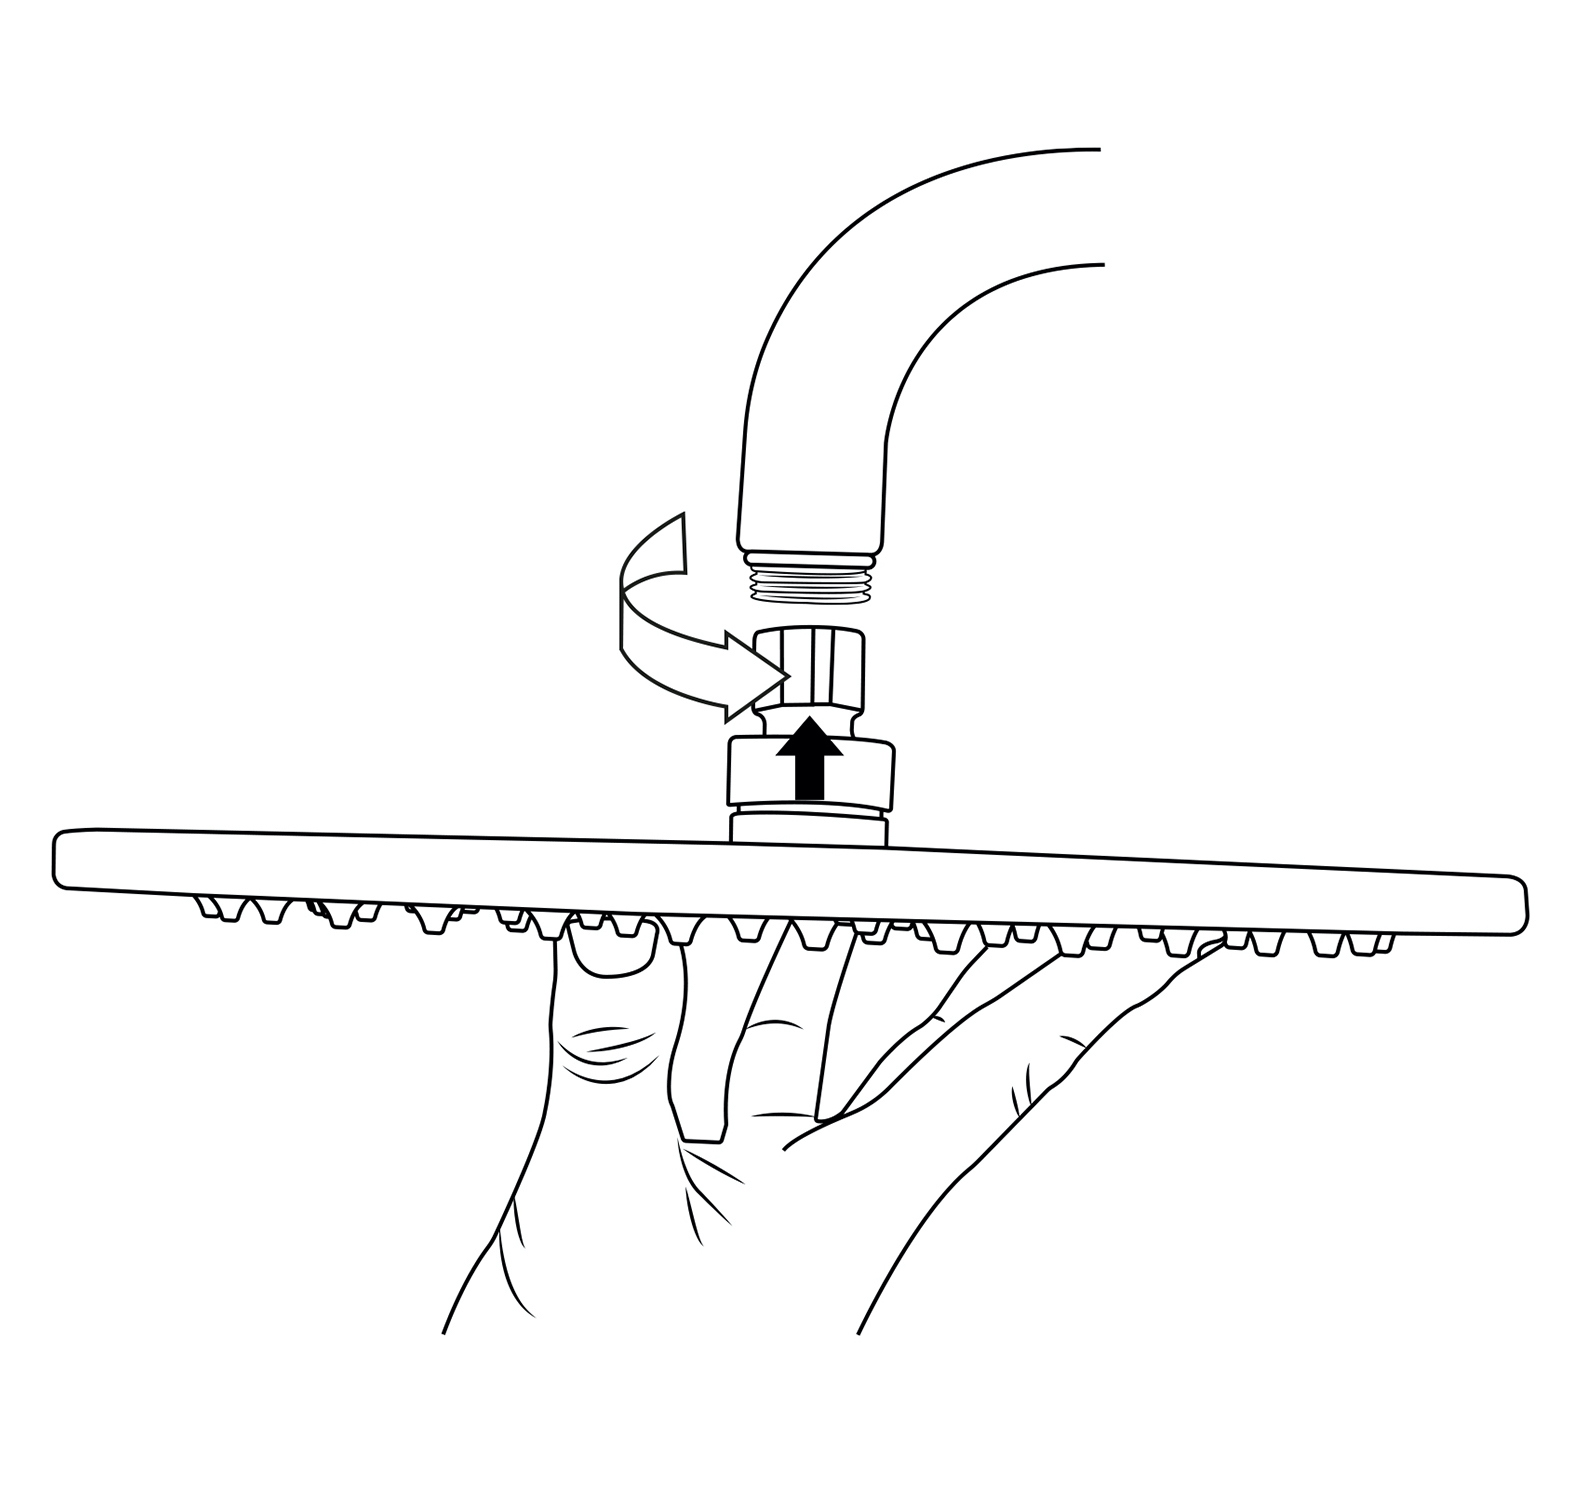
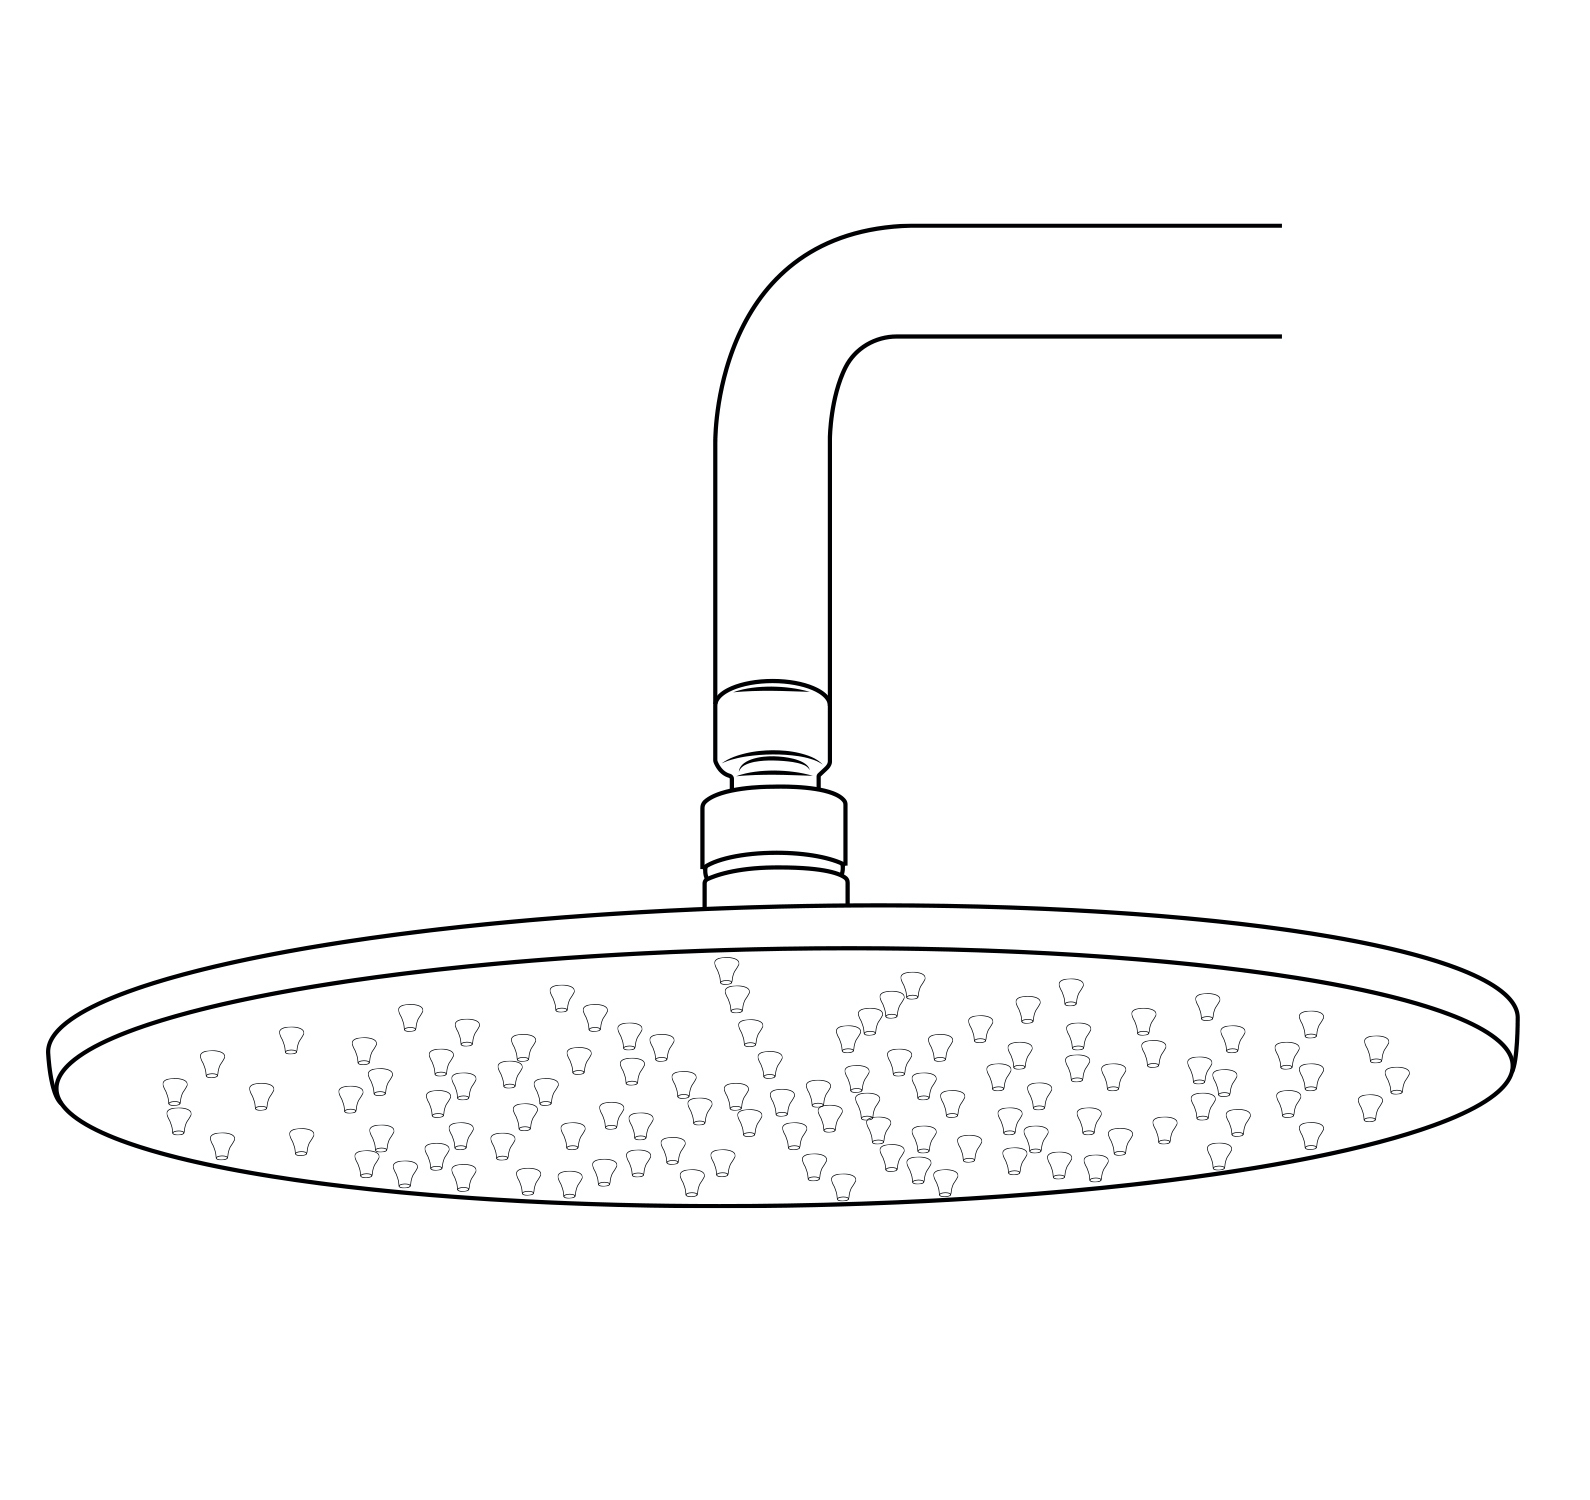
5. Place Teflon tape around the threads on the shower head and then place the shower head onto the shower arm by turning the shower head clockwise after the shower arm is already in the wall.
|
|

|
|
|
|
|
Thermostatic Mixer Installation Instructions
|
Step 1:
|
|
|
|
|

|
Mixer
|
Valve
|
|
|
|
|
|
|
|
Mixer Control Valve Installation Instructions
|
|
|
|
|
|
Step 2:
|
|
|
Step 3:
|
|
|
|
|
|
|
|
|
|
|
|
|
Mixer Control Valve Installation Instruction
|
|
|
|
|
|
Step 4:
|
|
|
Step 5:
|
|
|
|
|

|
|
|
|
|
|
|
|
|
|
|
|
|
|
|
Fontana Milan Thermostatic Shower Resources
Install the Milan Round Thermostatic Shower
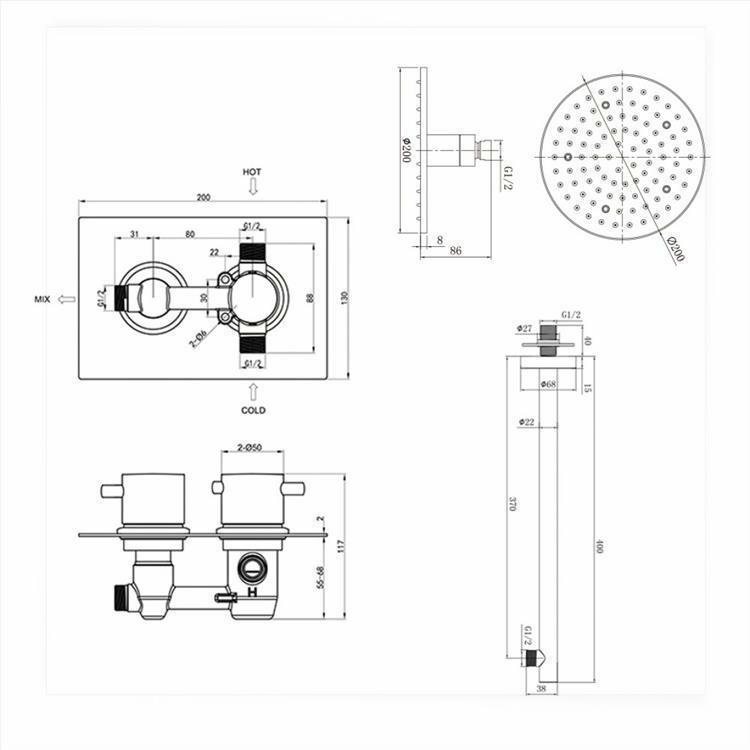
Plan the round mixer controls, optional LED lighting, shower outlets and temperature calibration.
Installation GuidesThermostatic SystemWall InstallationComponentsTechnical FilesProject Support
Milan Thermostatic Shower Installation Questions
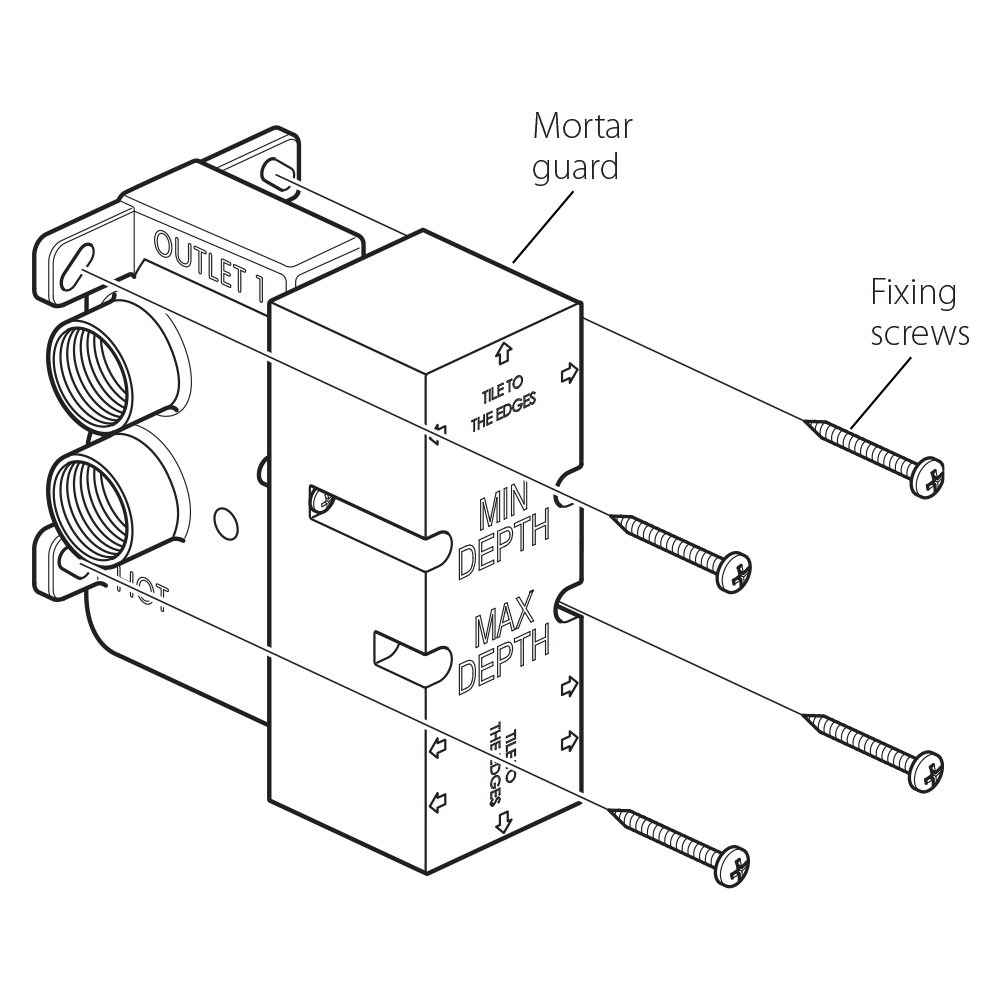
What determines the concealed mixer depth?The valve’s approved rough-in range and the complete finished-wall buildup determine whether the trim and round controls fit correctly. How should optional LED components be coordinated?Identify the exact lighting configuration and follow its supplied power, controller, routing and access requirements before wall closure. When should the temperature stop be calibrated?Calibrate it after normal hot and cold supplies are available, checking the delivered water with a reliable thermometer. Where can thermostatic rough-in guidance be reviewed?Use the dedicated valve resource while following the exact Milan model drawing. Review Valve Rough-In

|
|
|