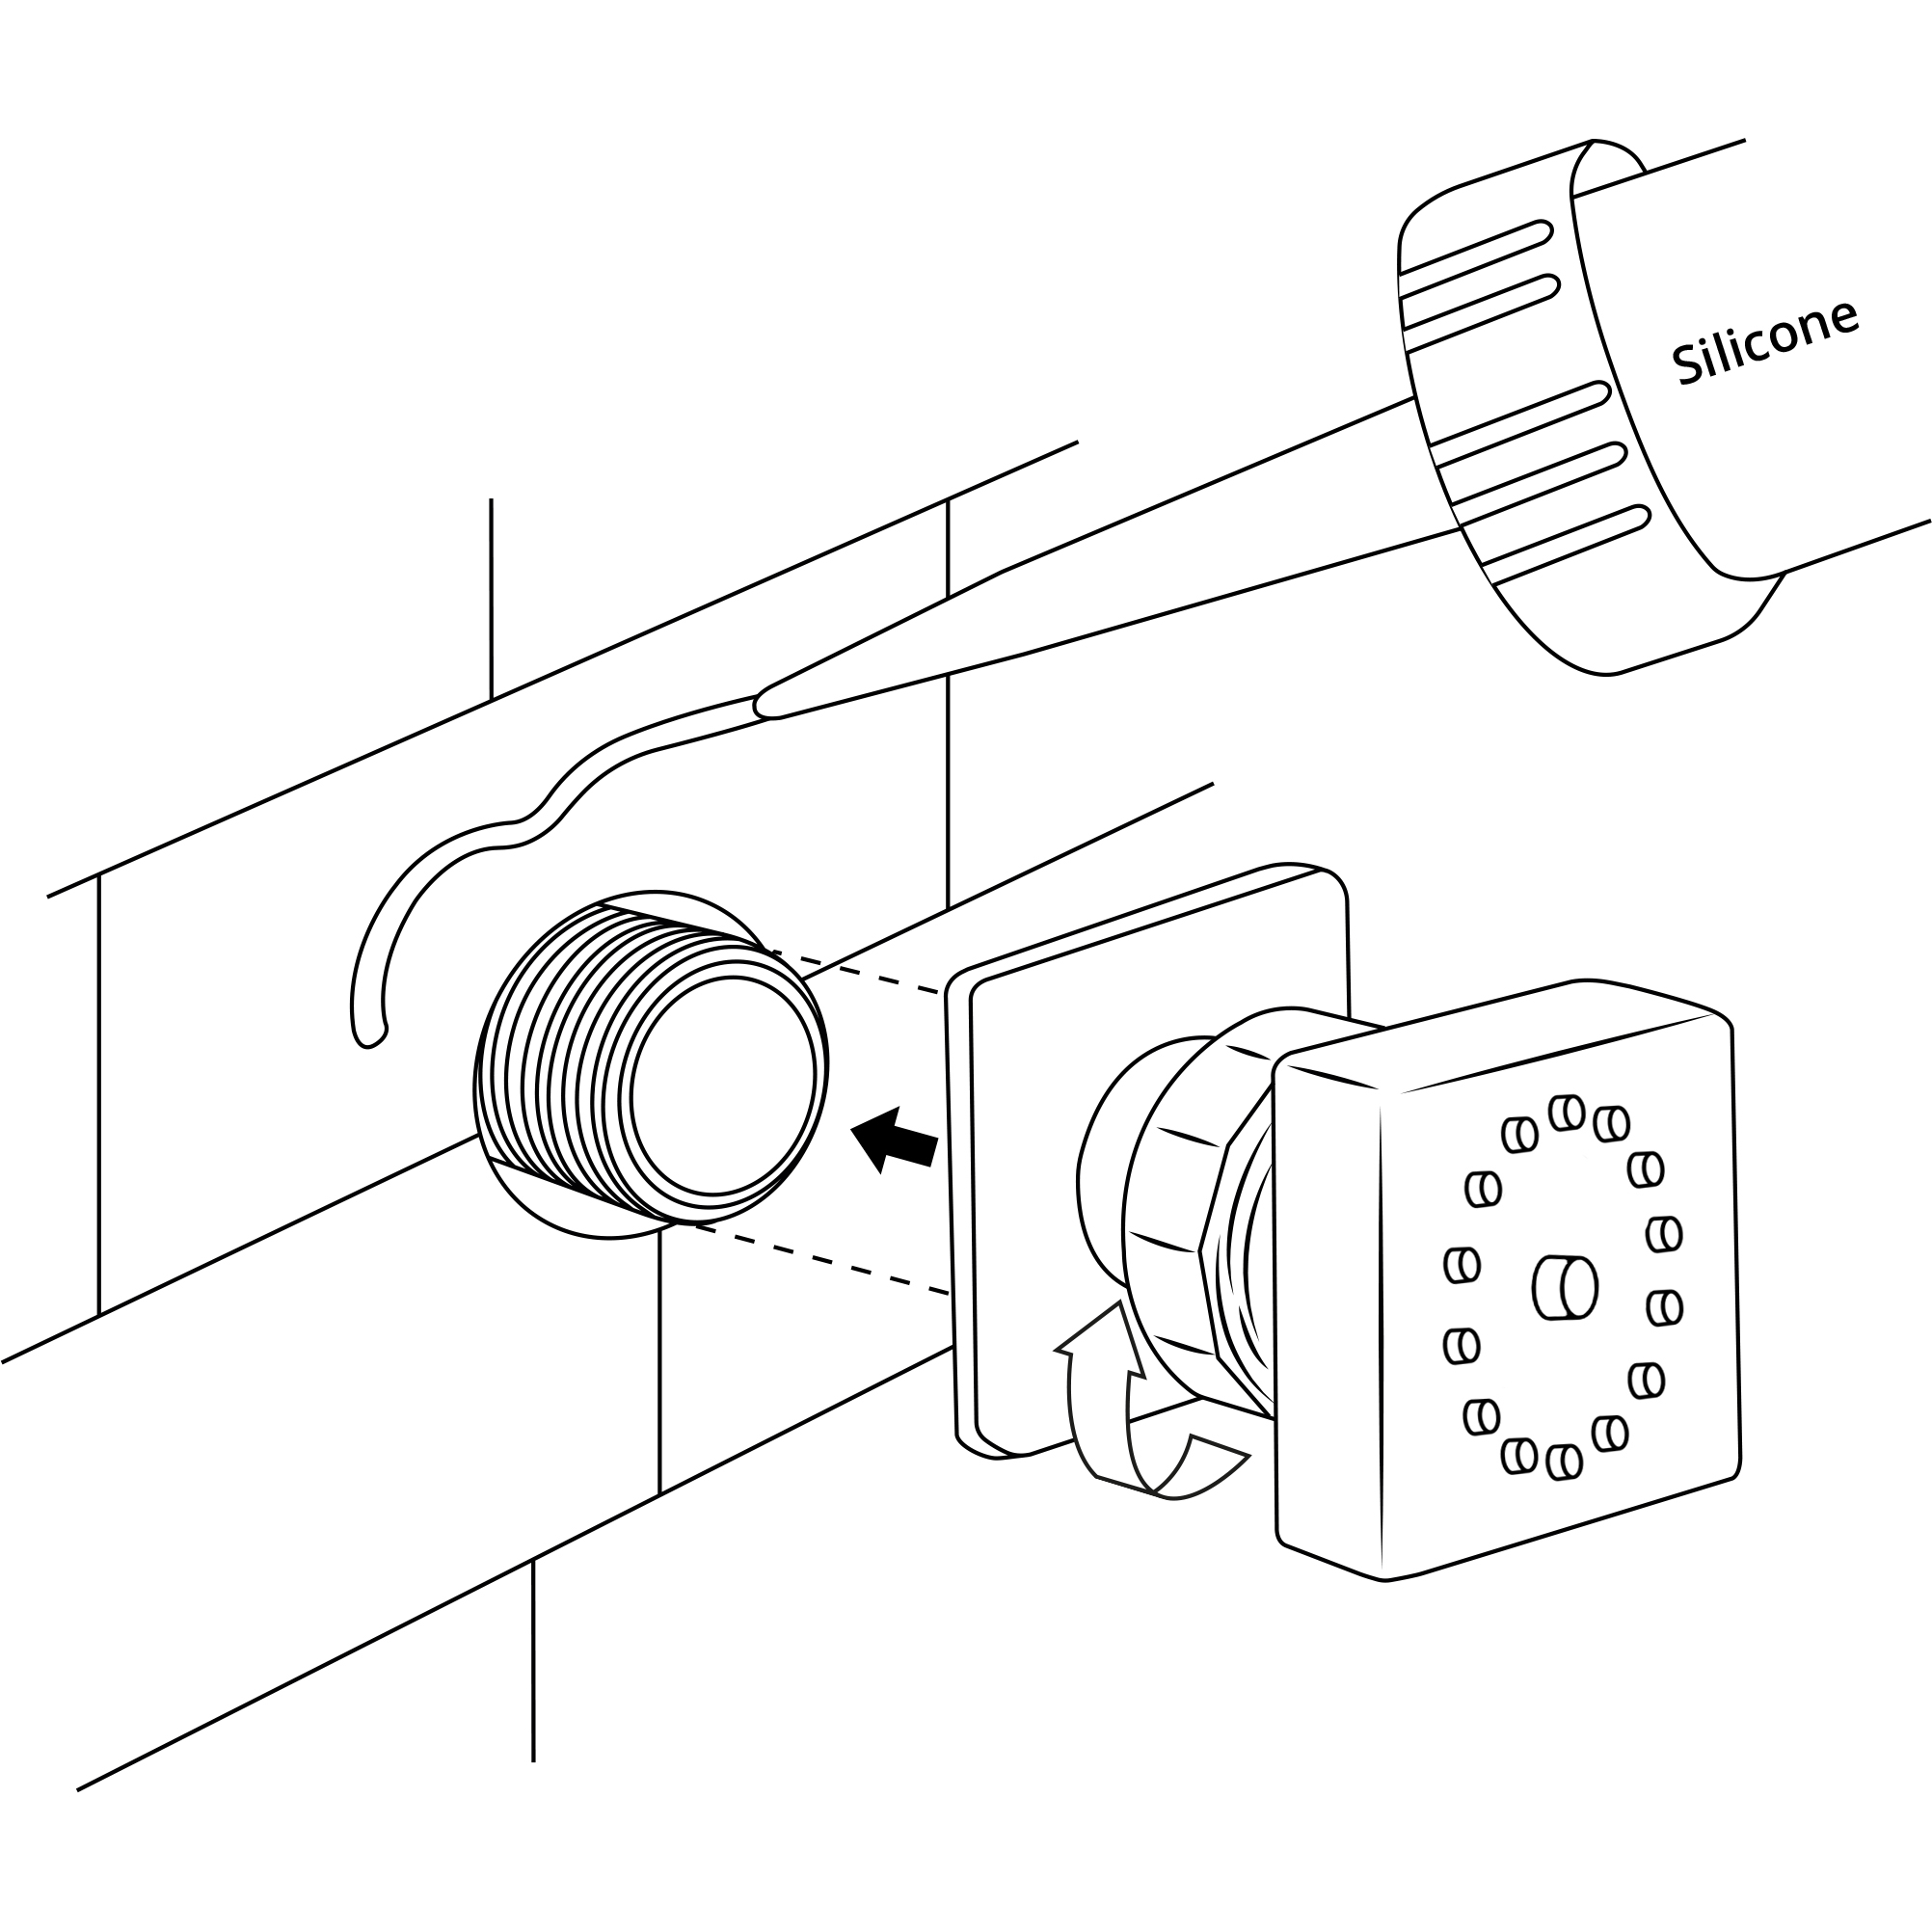
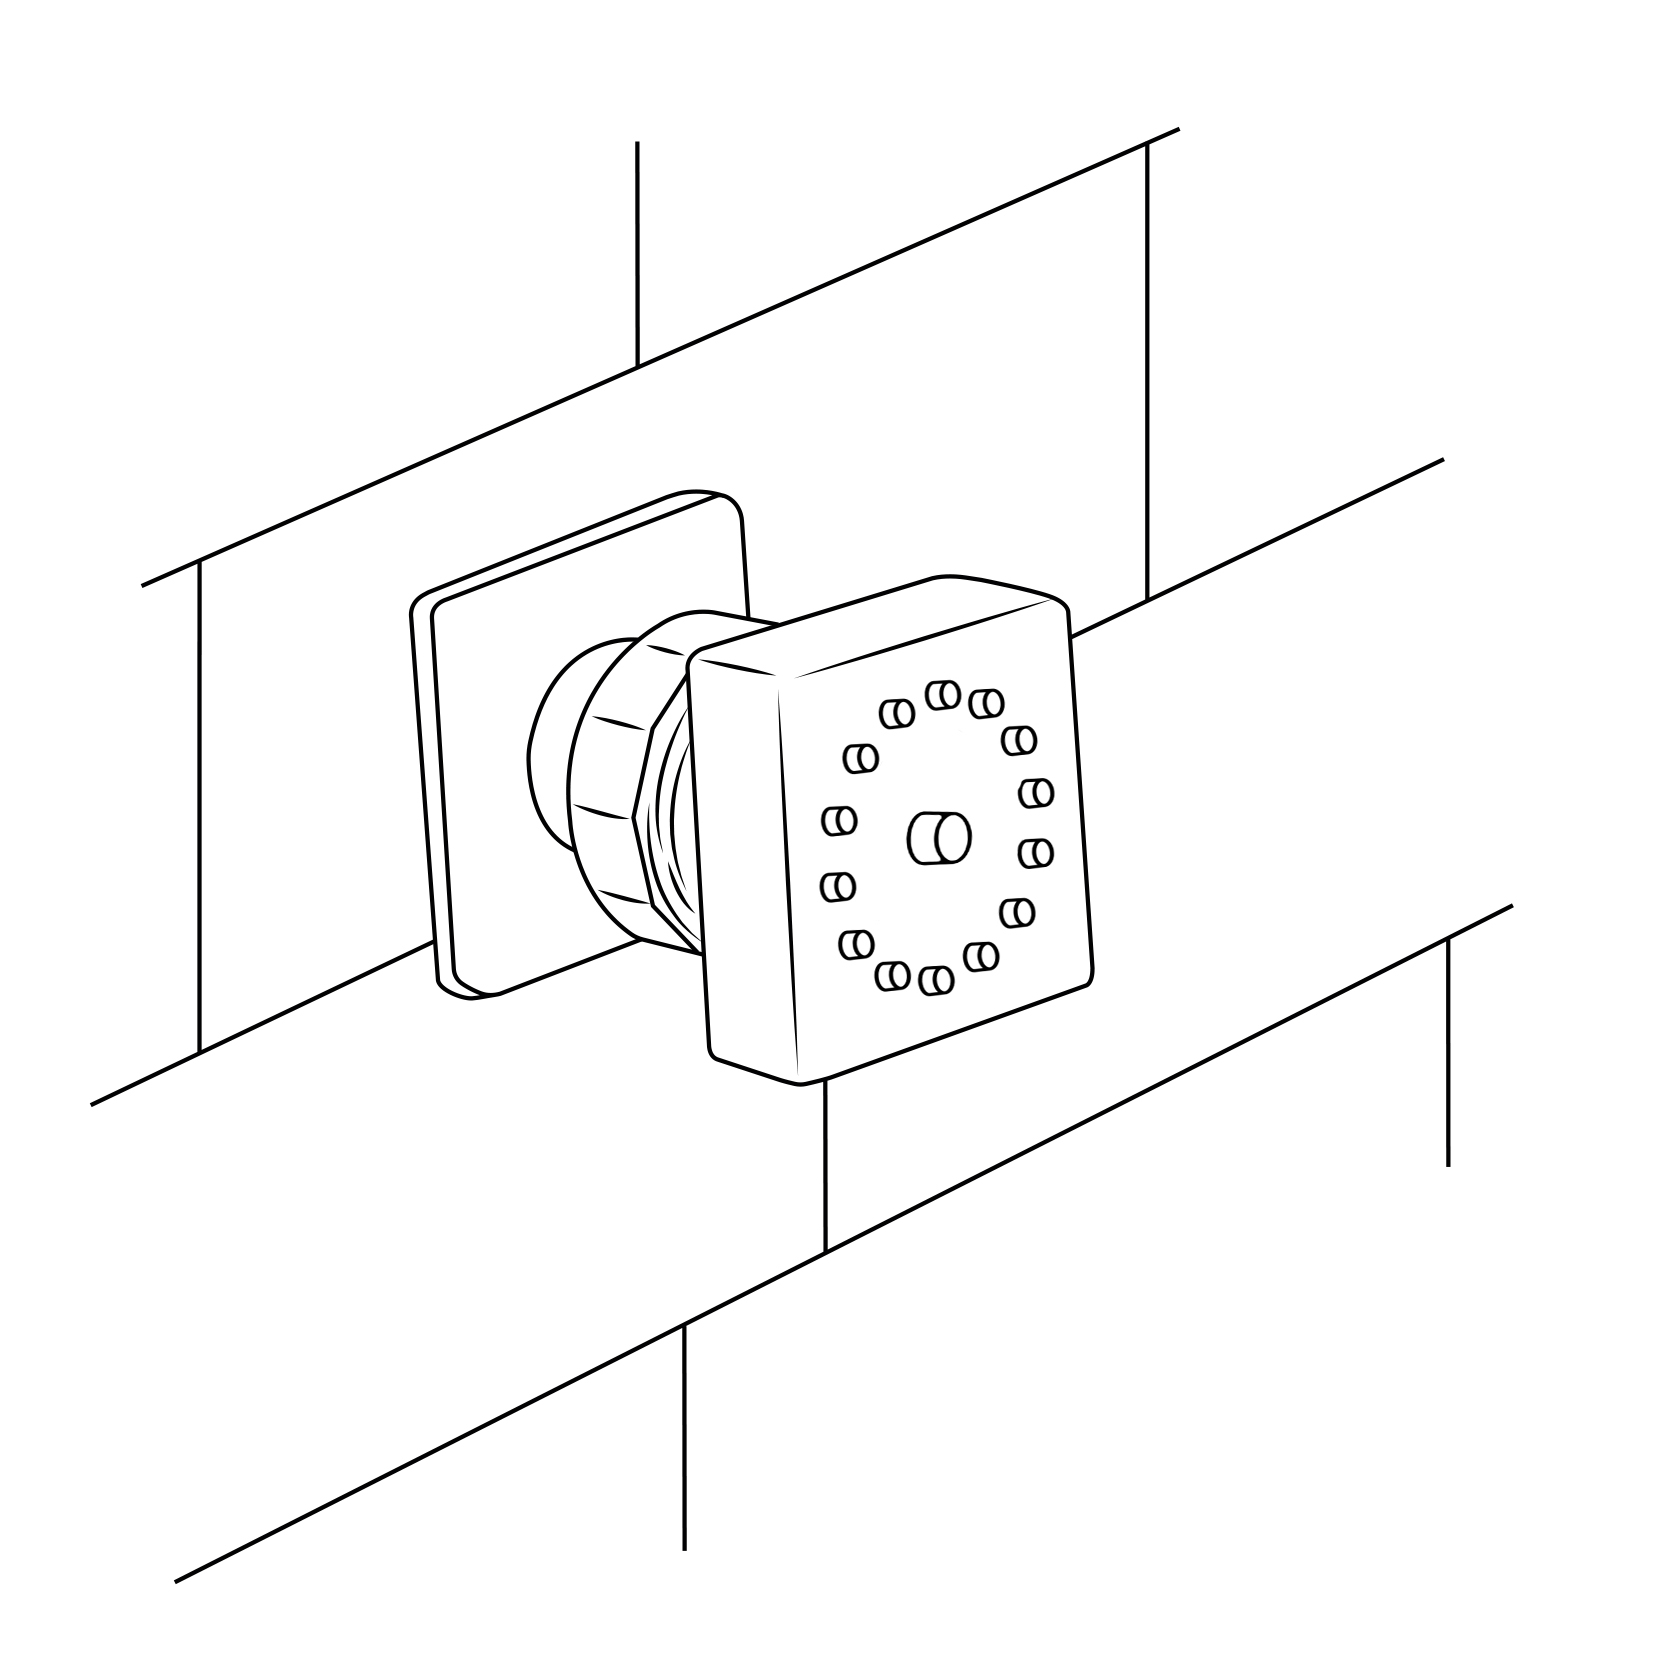
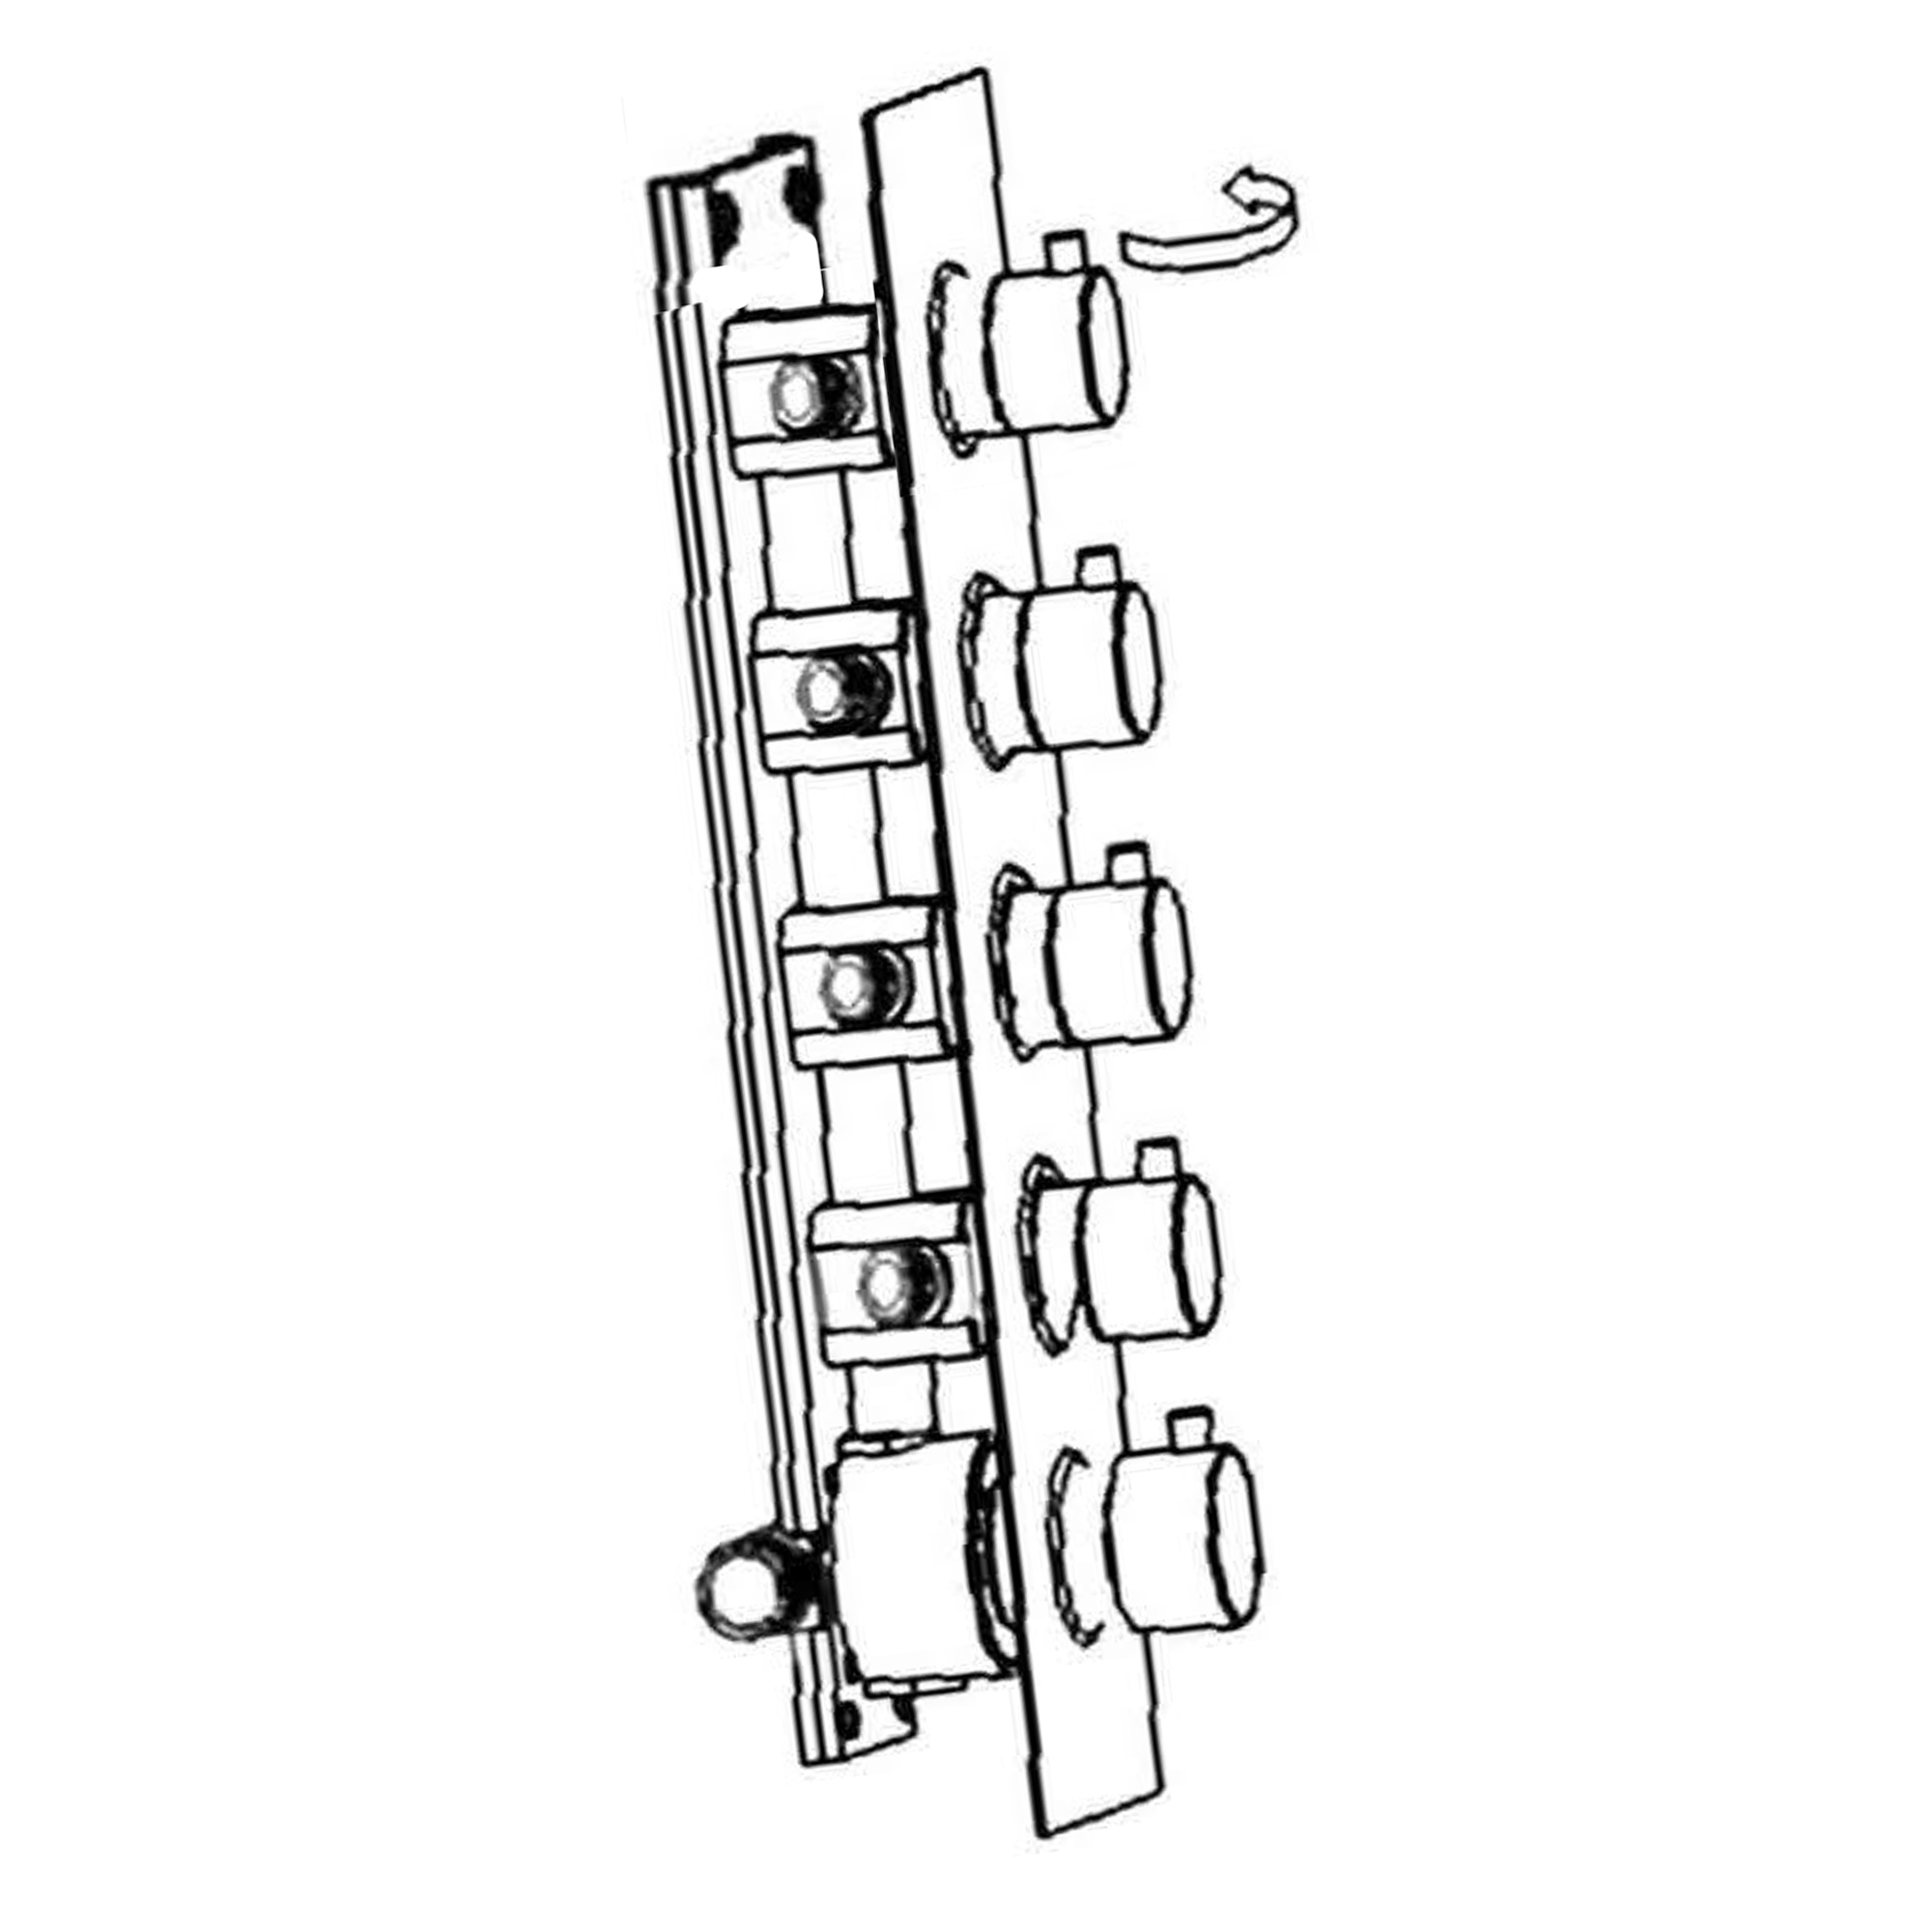
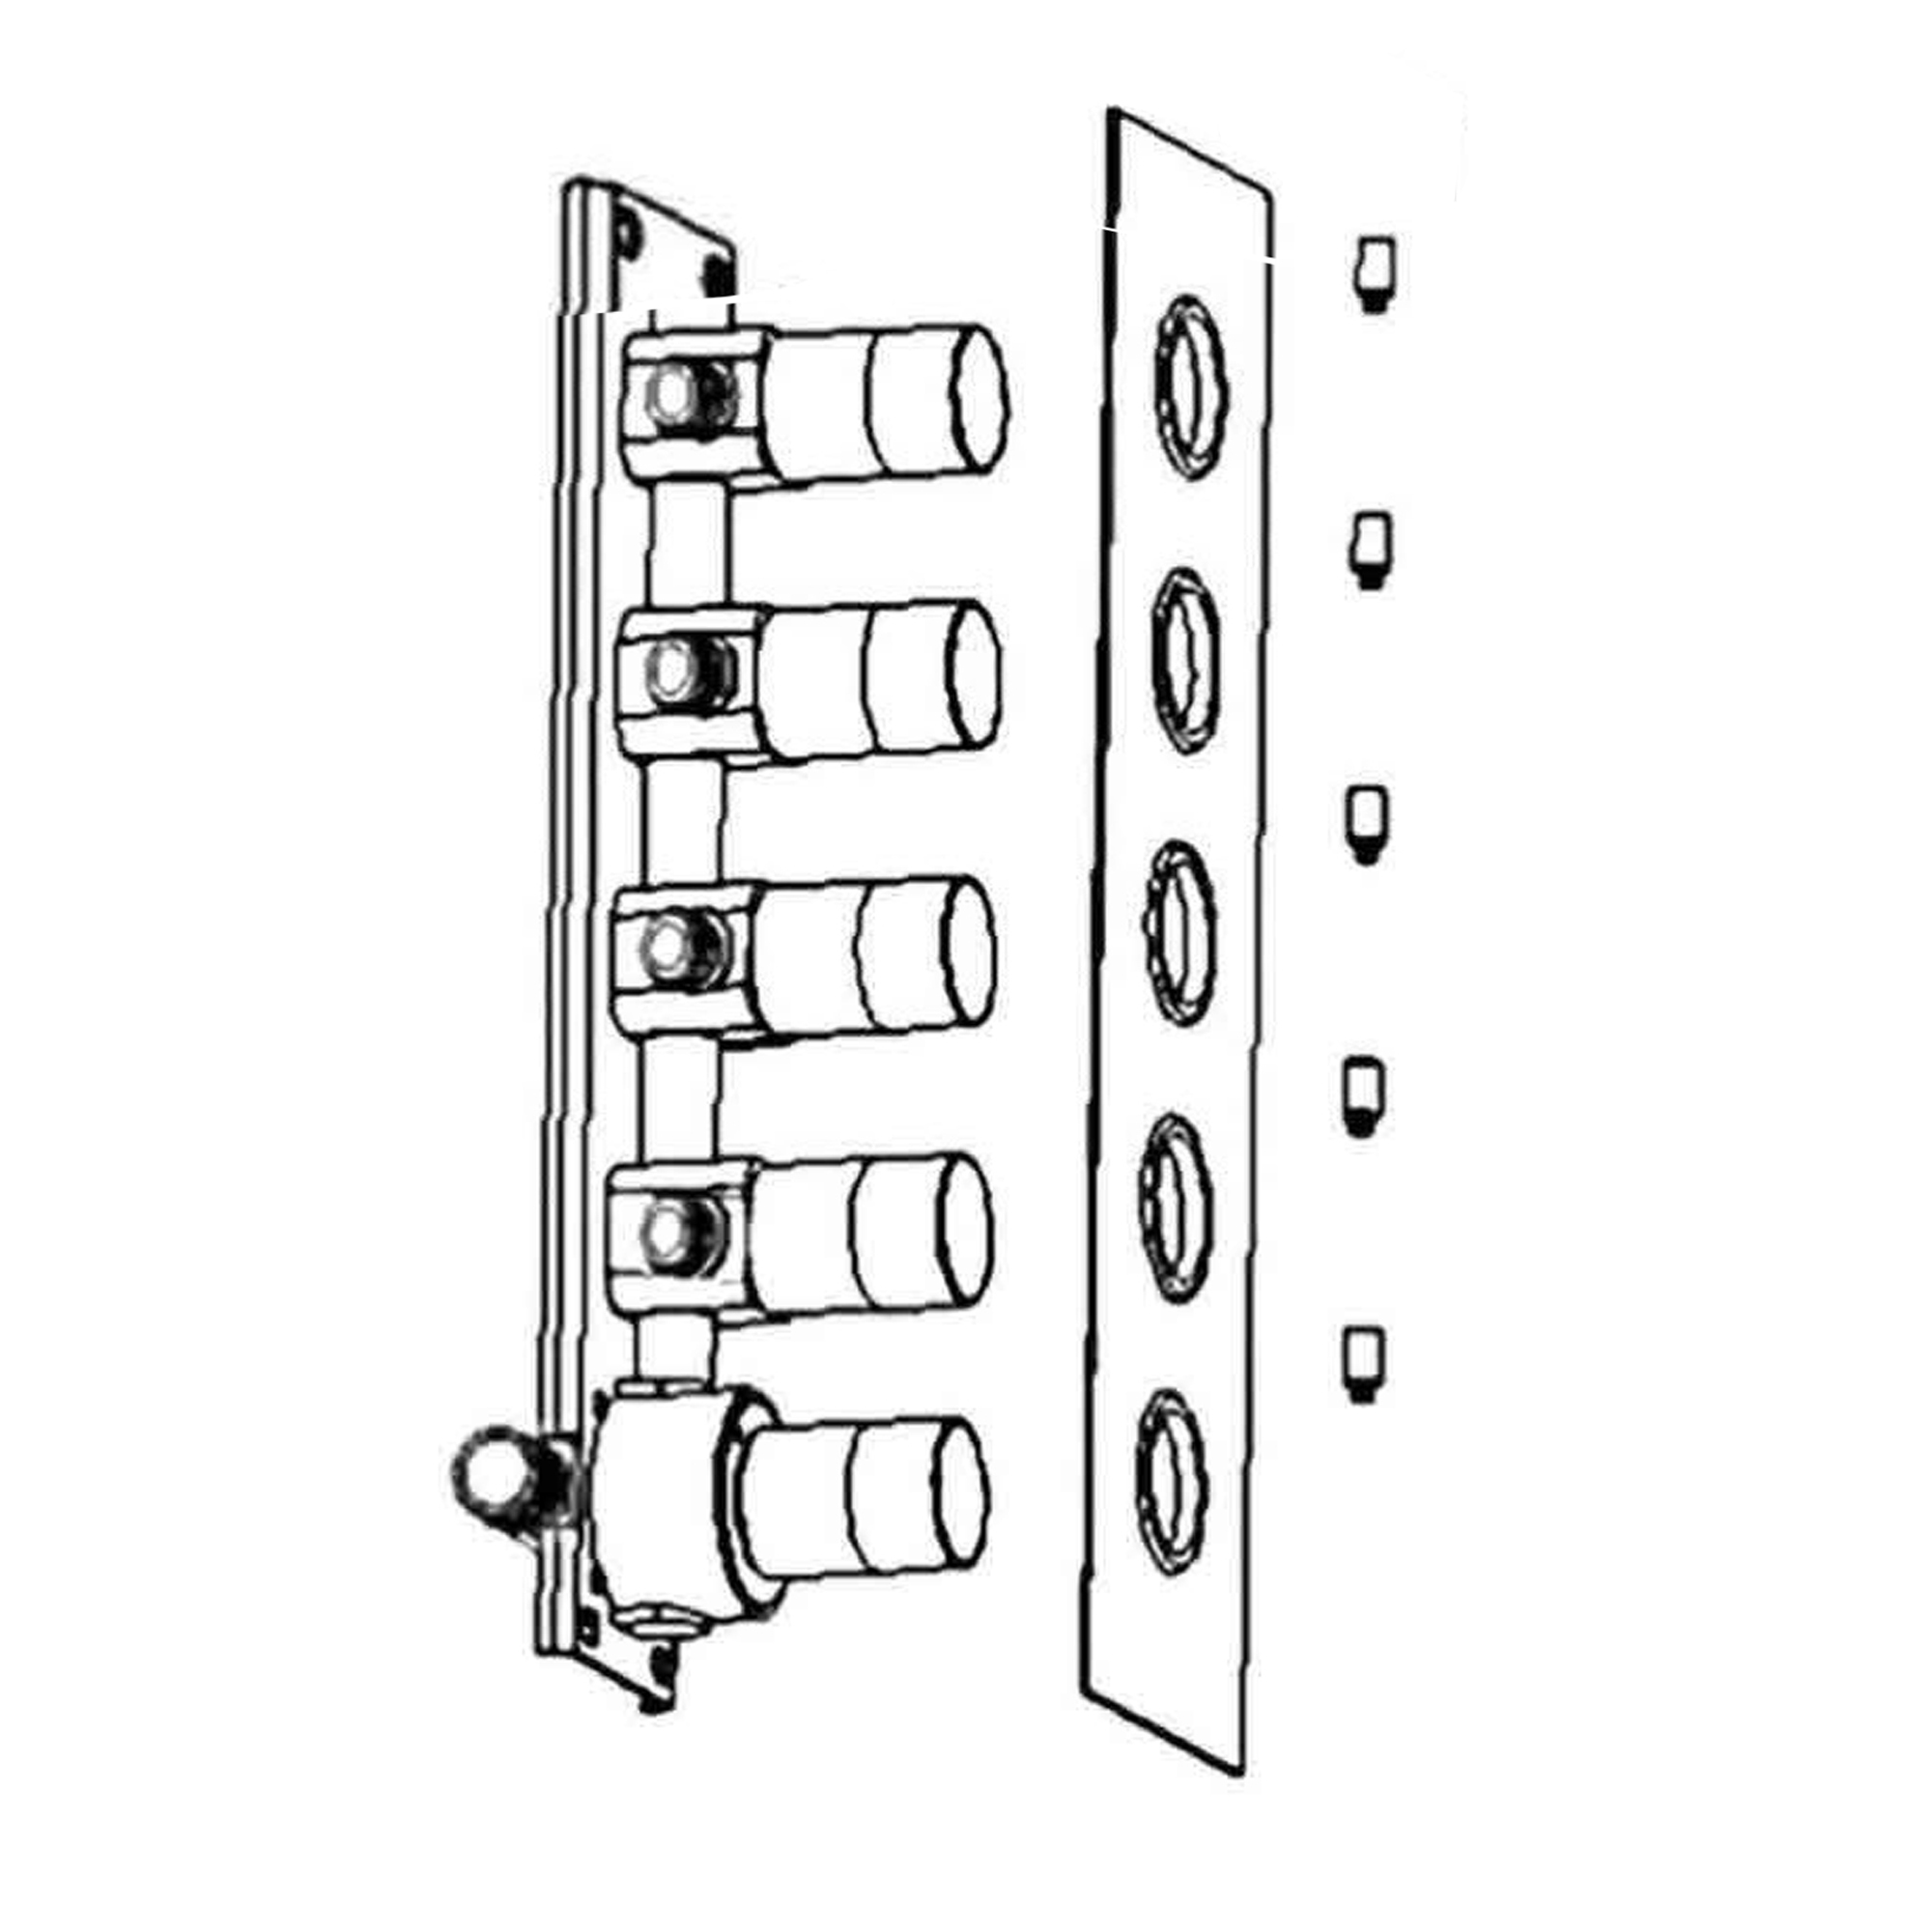
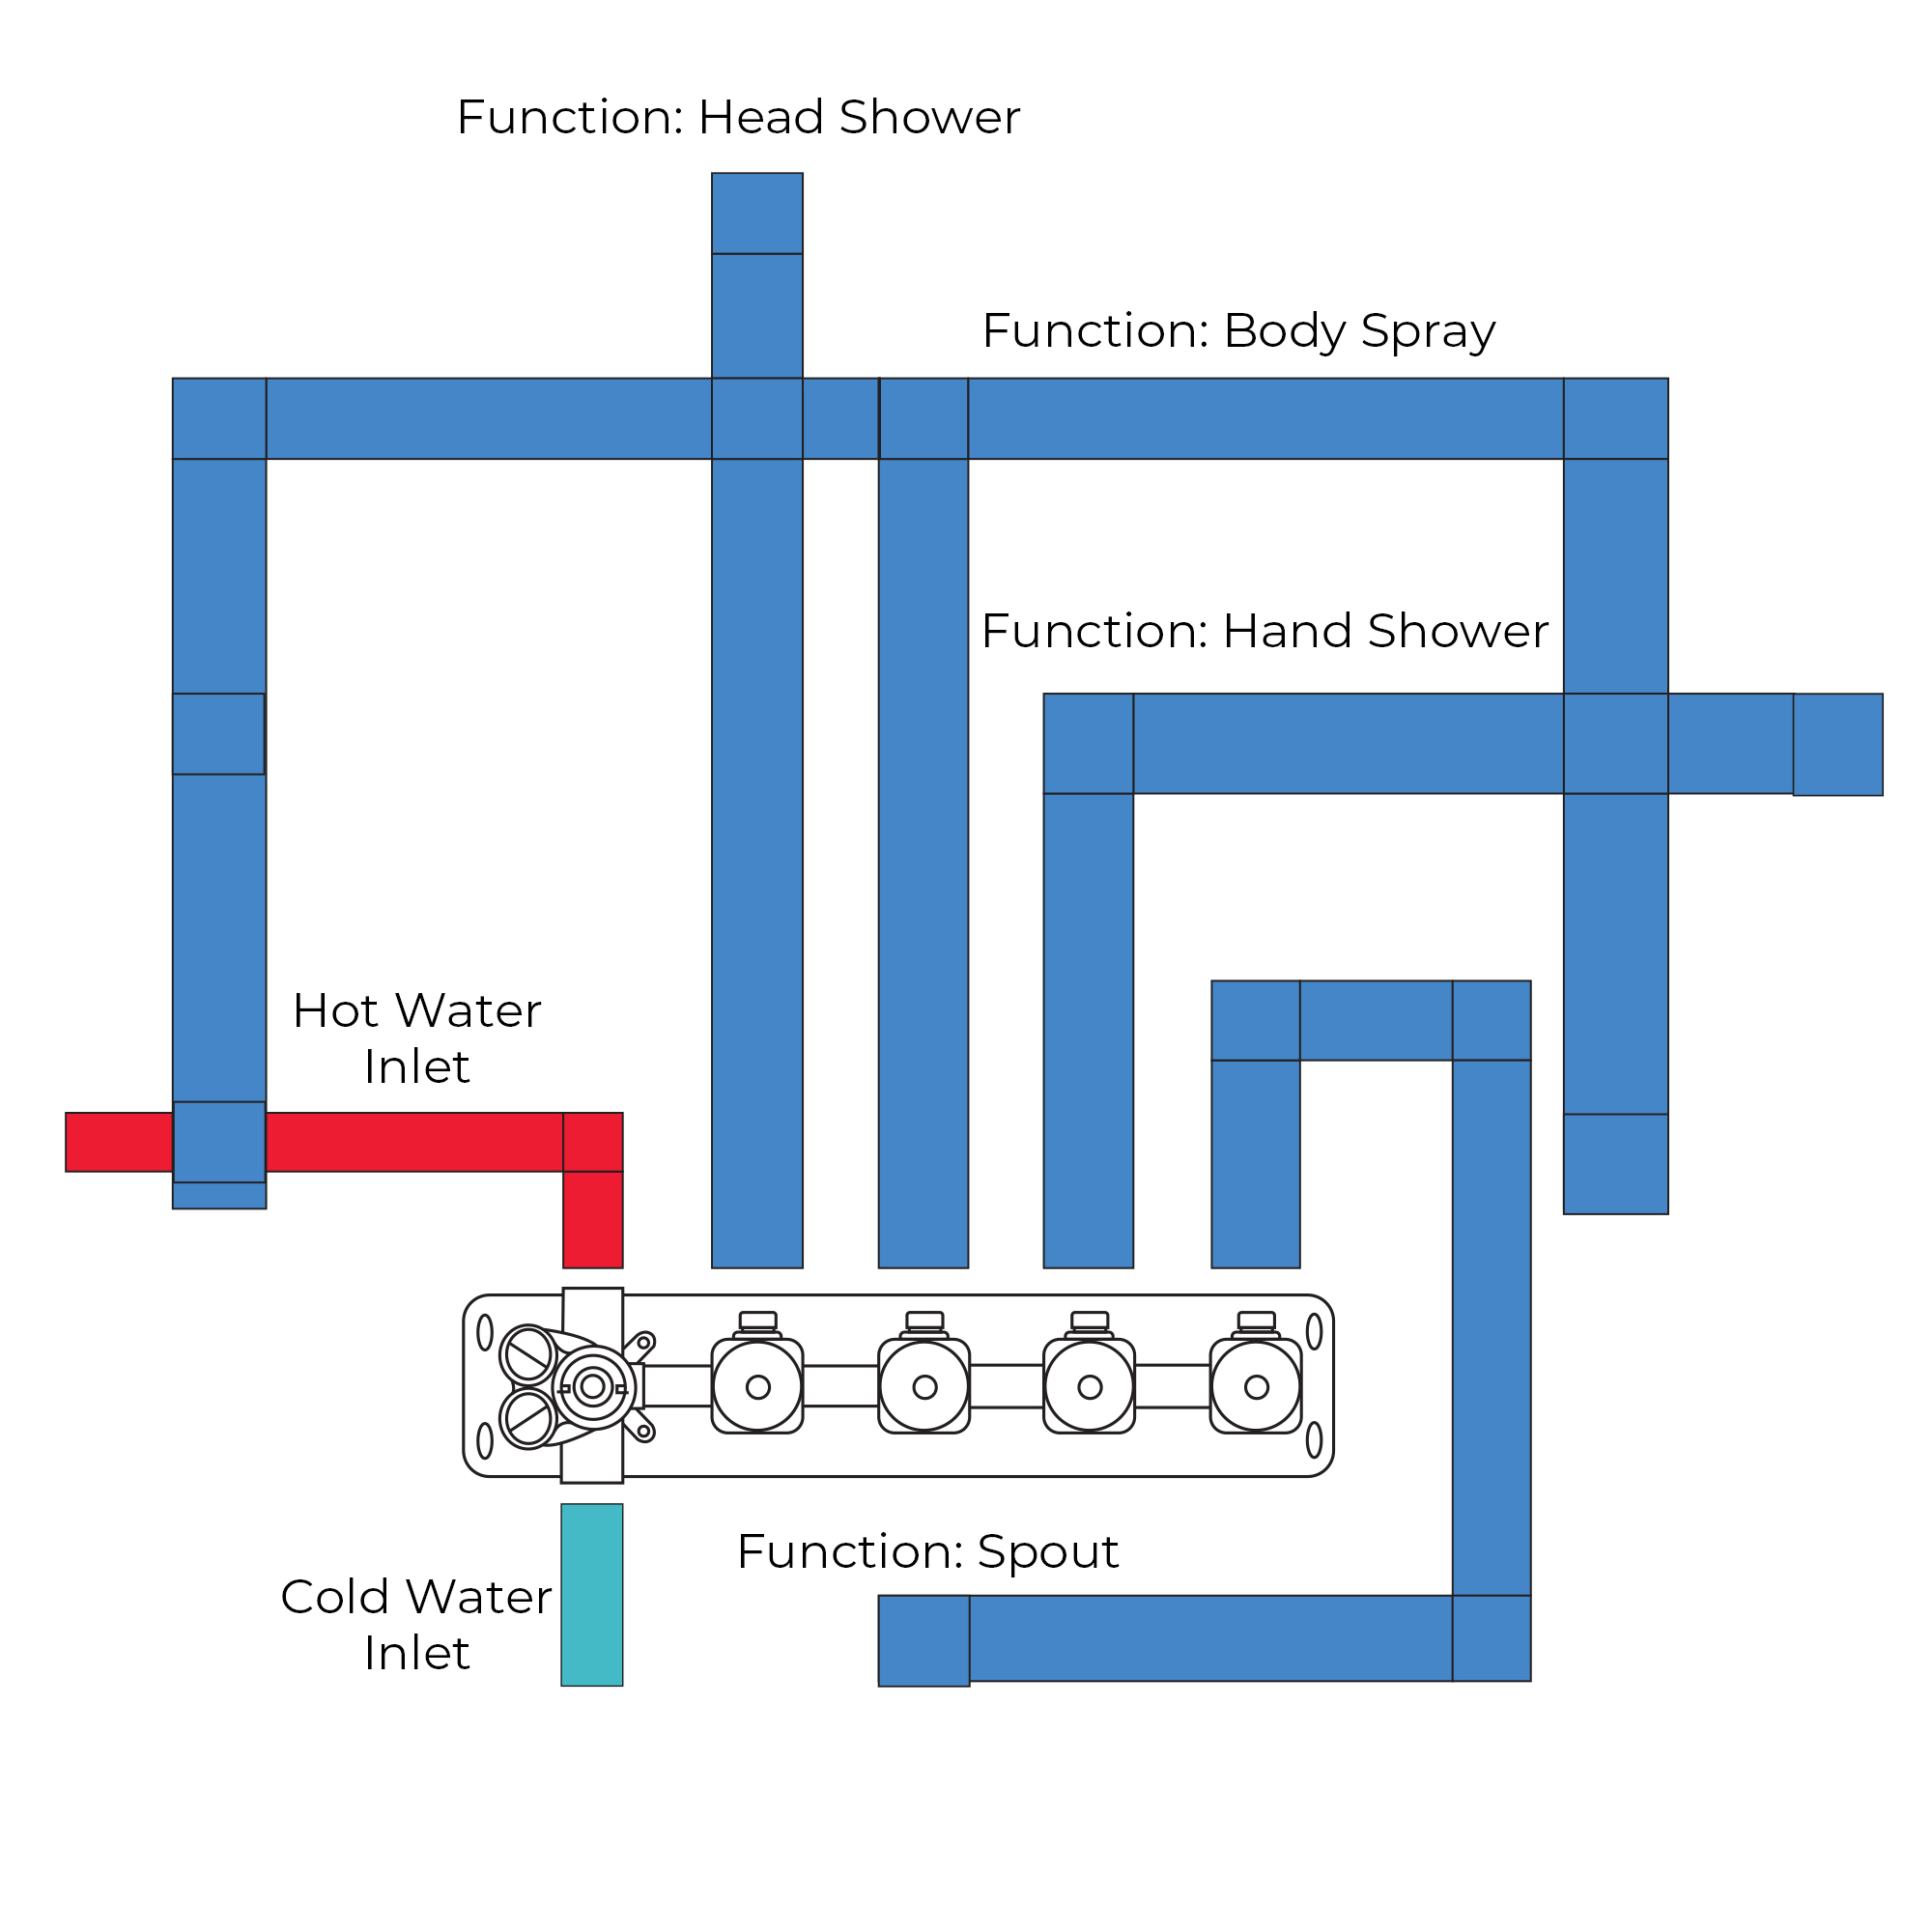
- This product comes with a thermostatic shower valve with scald prevention feature.
- Constructed from solid brass and 304 stainless steel (dual functional shower head) for durability and reliability.
- Finished in a high quality, corrosion resistant oil rubbed bronze.
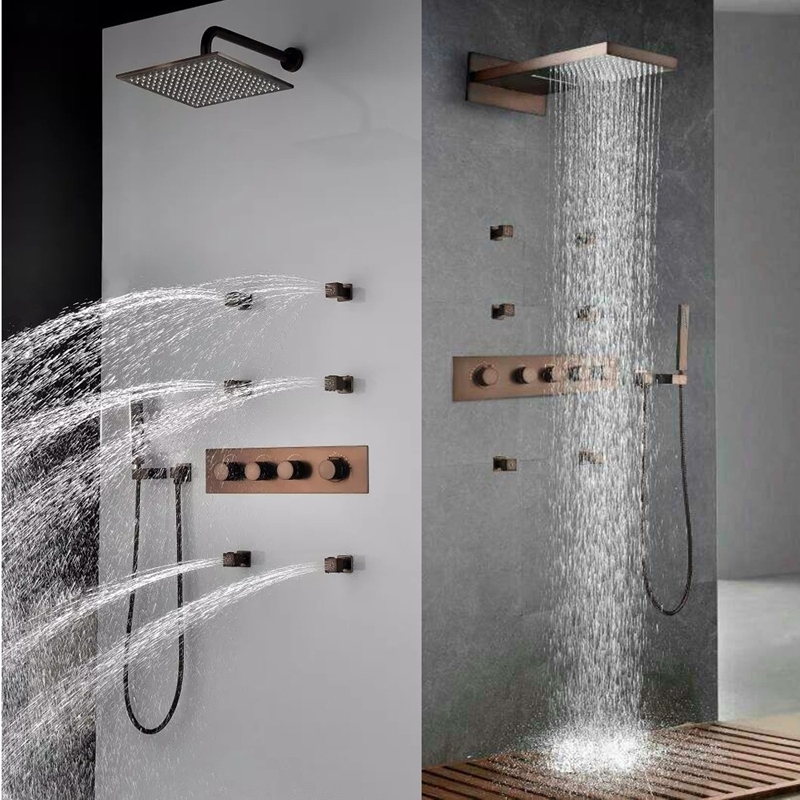
- Waterfall shower, rainfall shower, body spray jets and hand shower can work seperately or simultaneously.
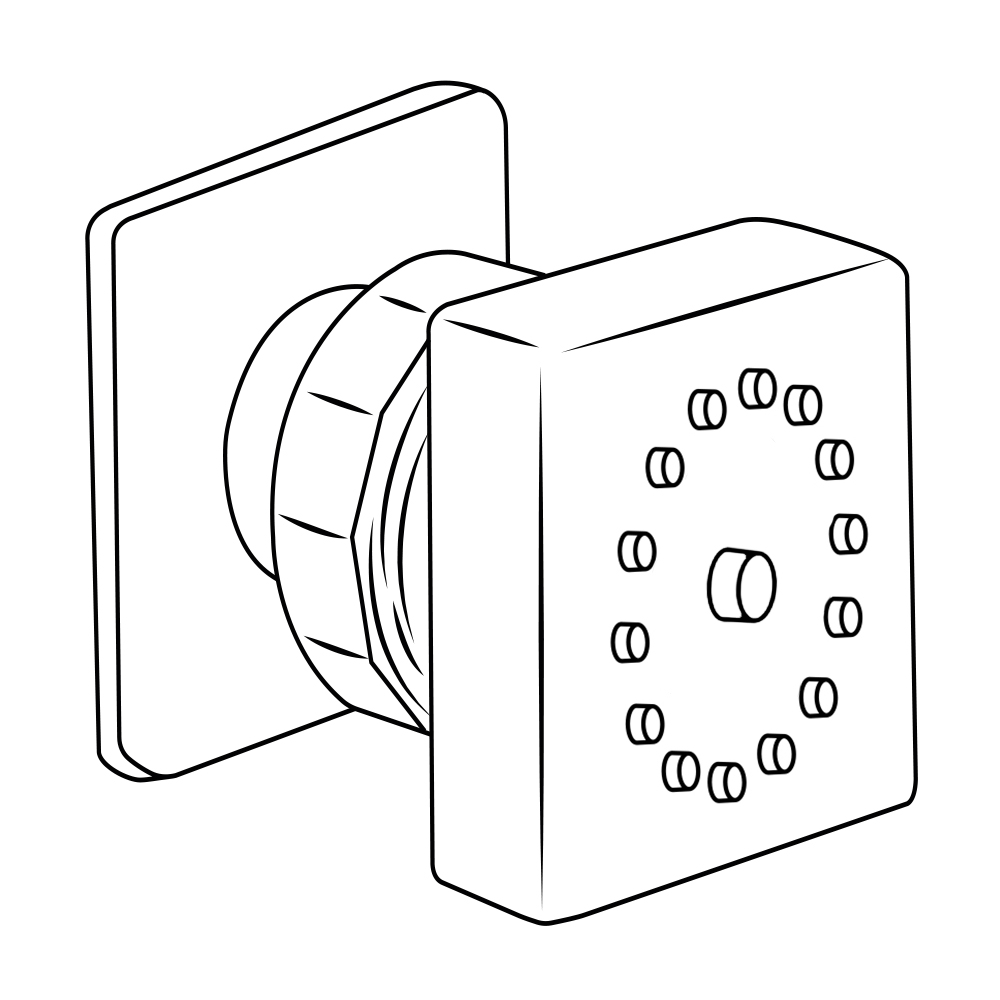
- Includes wall mounted waterfall rain shower head, 6 body sprays, hand shower parts and 4-function shower valve.
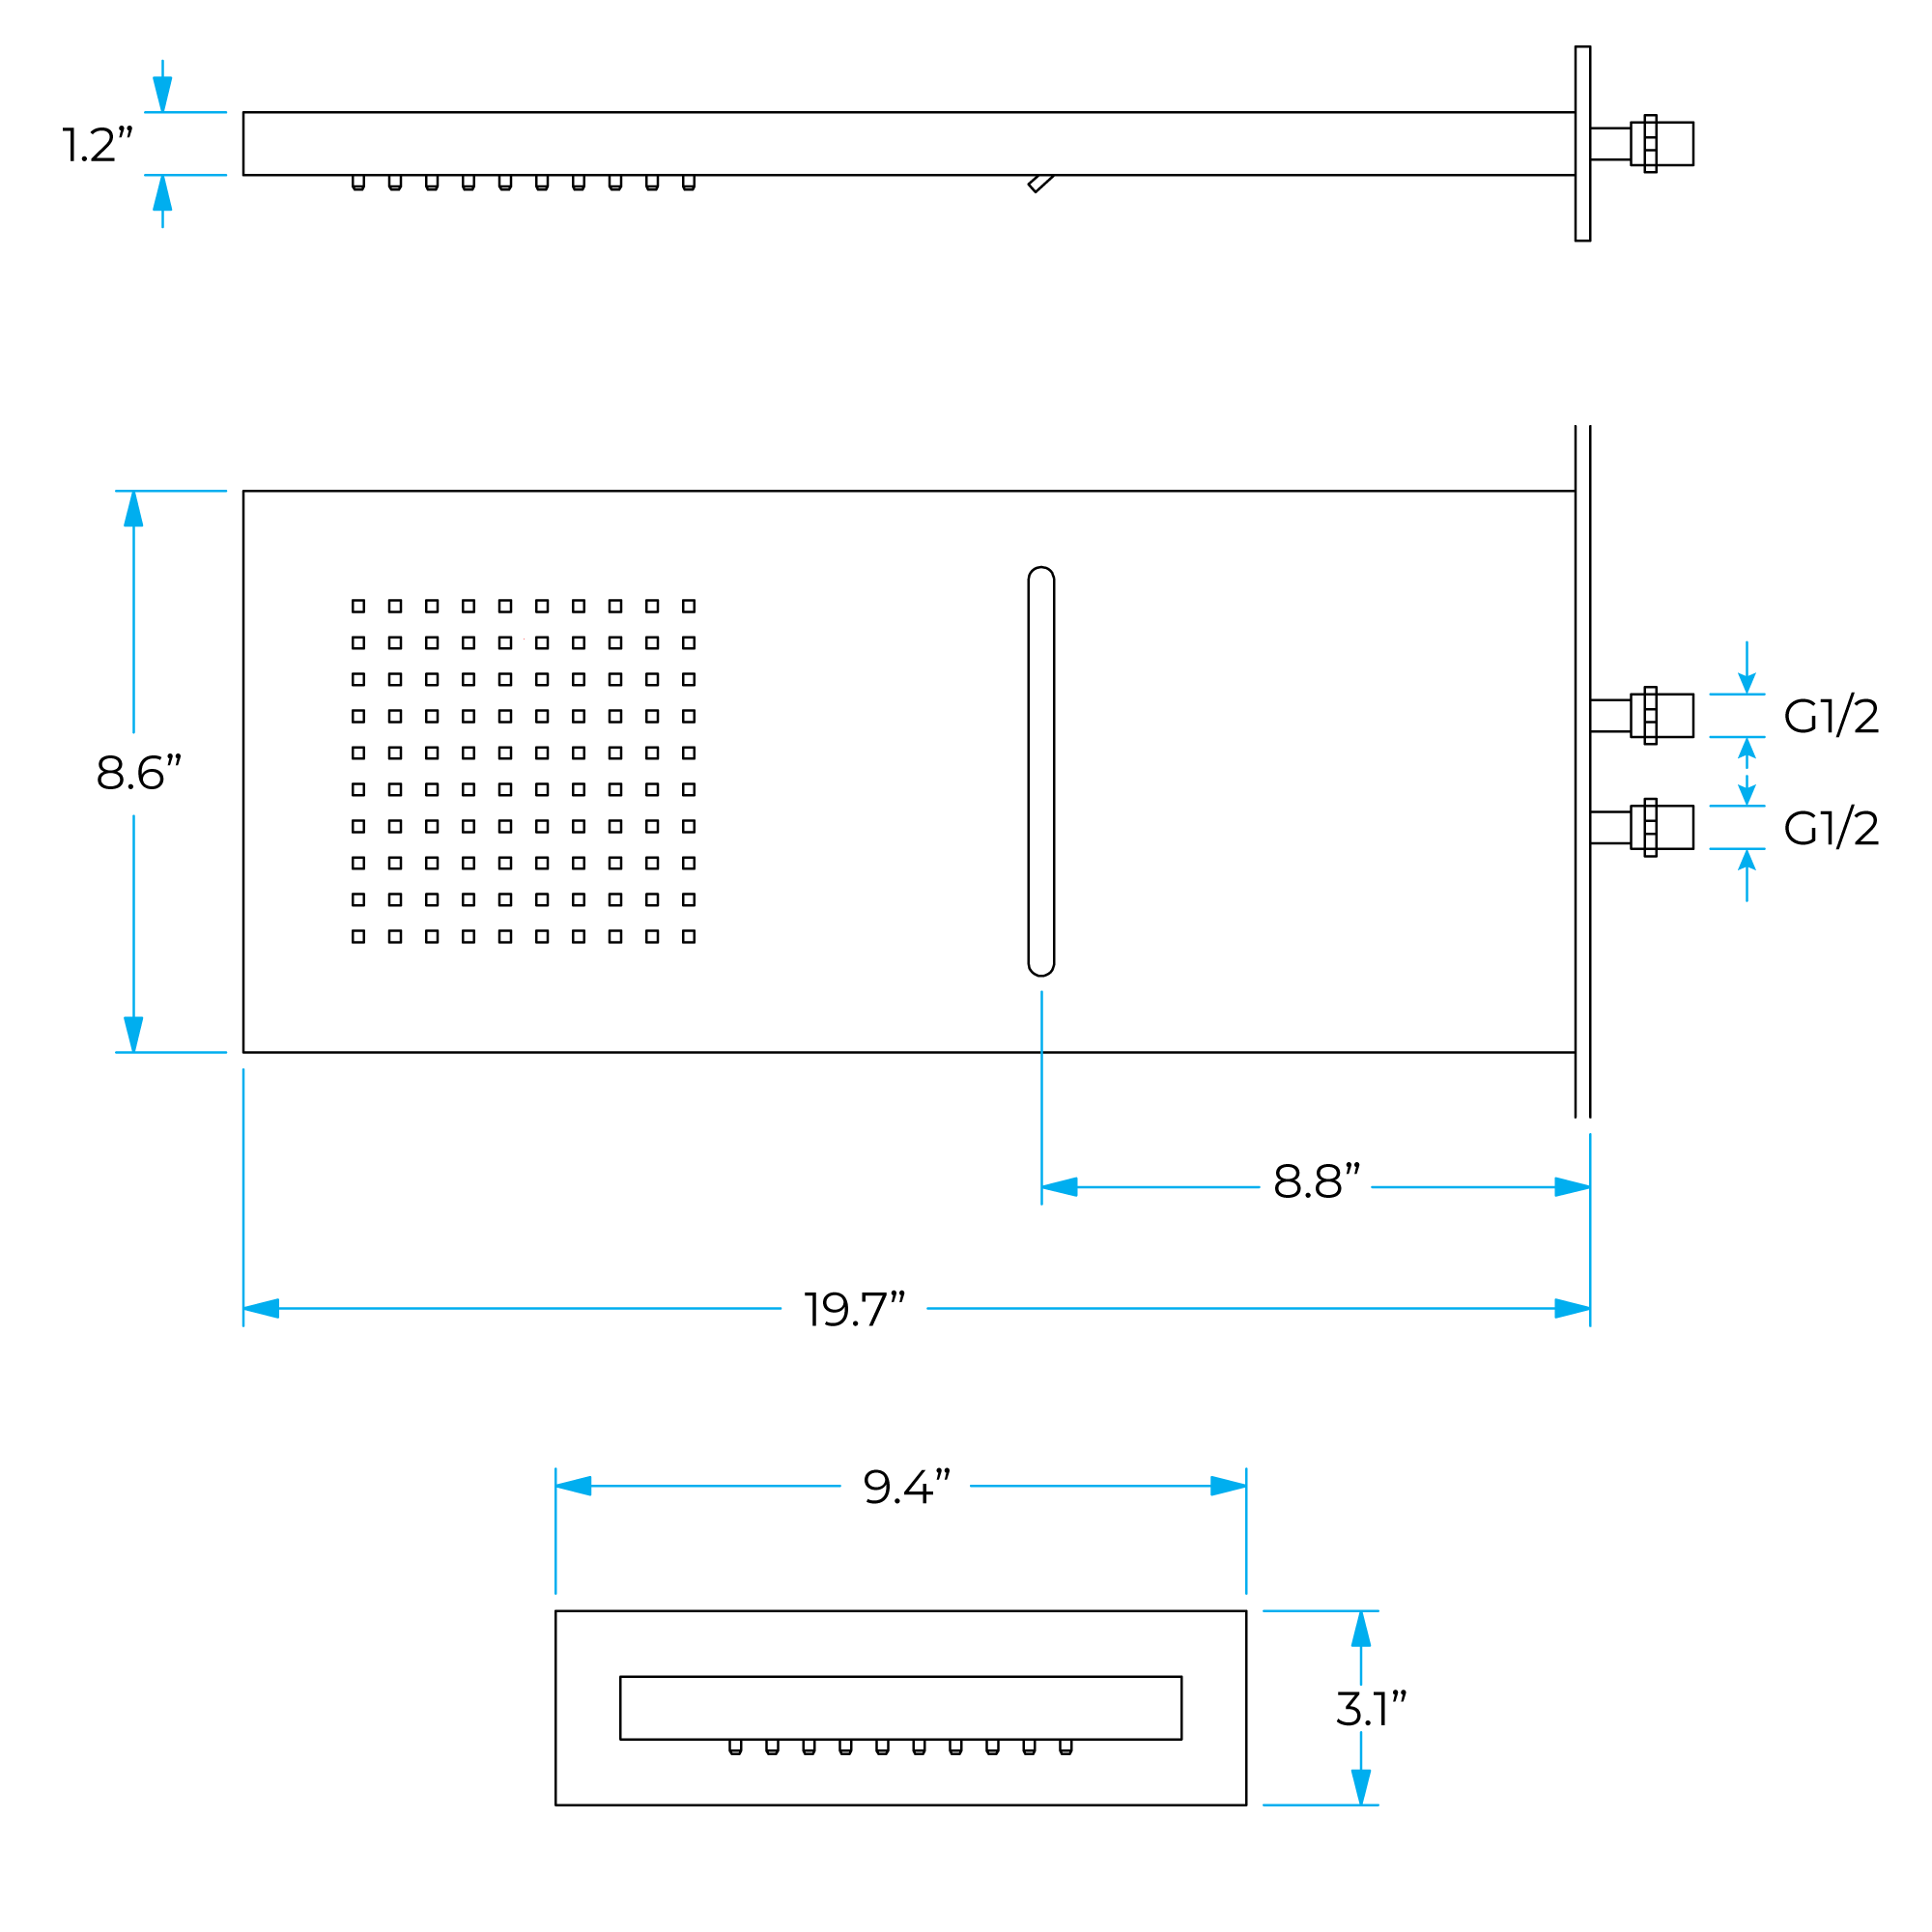
- Dual functional waterfall rain shower head comes in 22" x 9" x 1.2" (560mm x 230mm x 30mm).
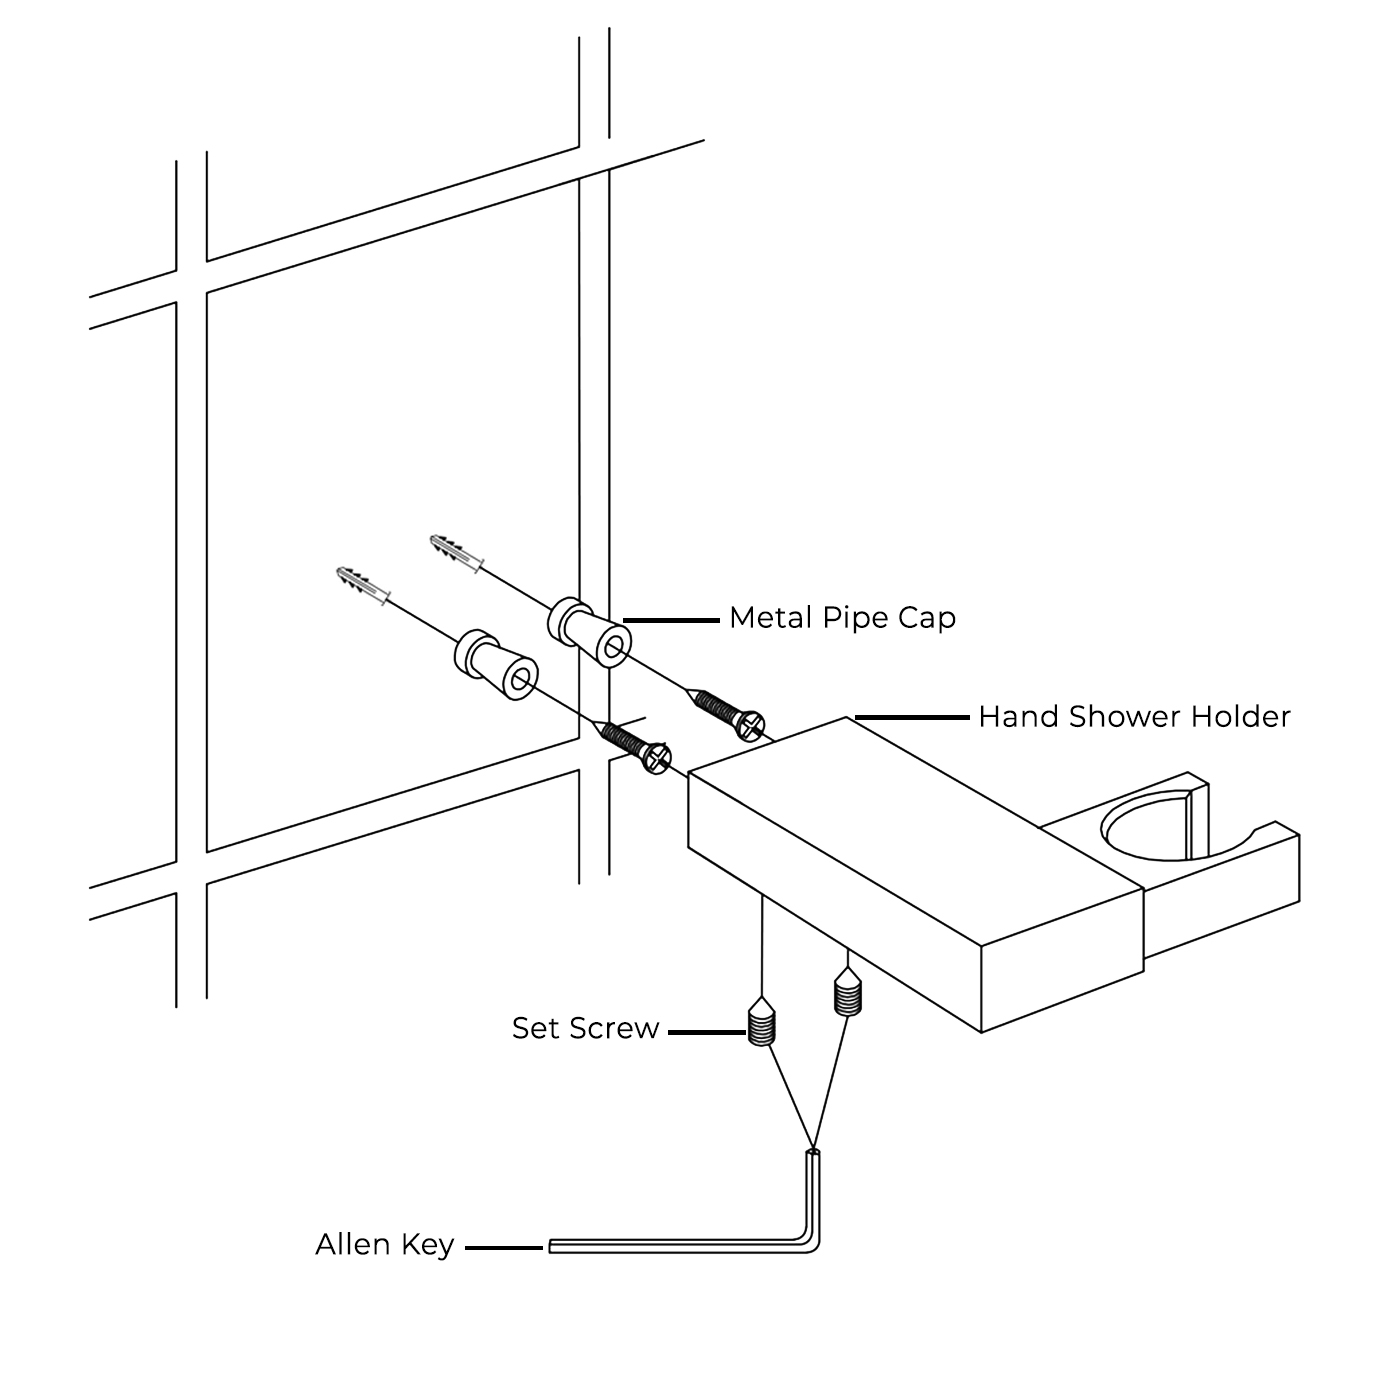
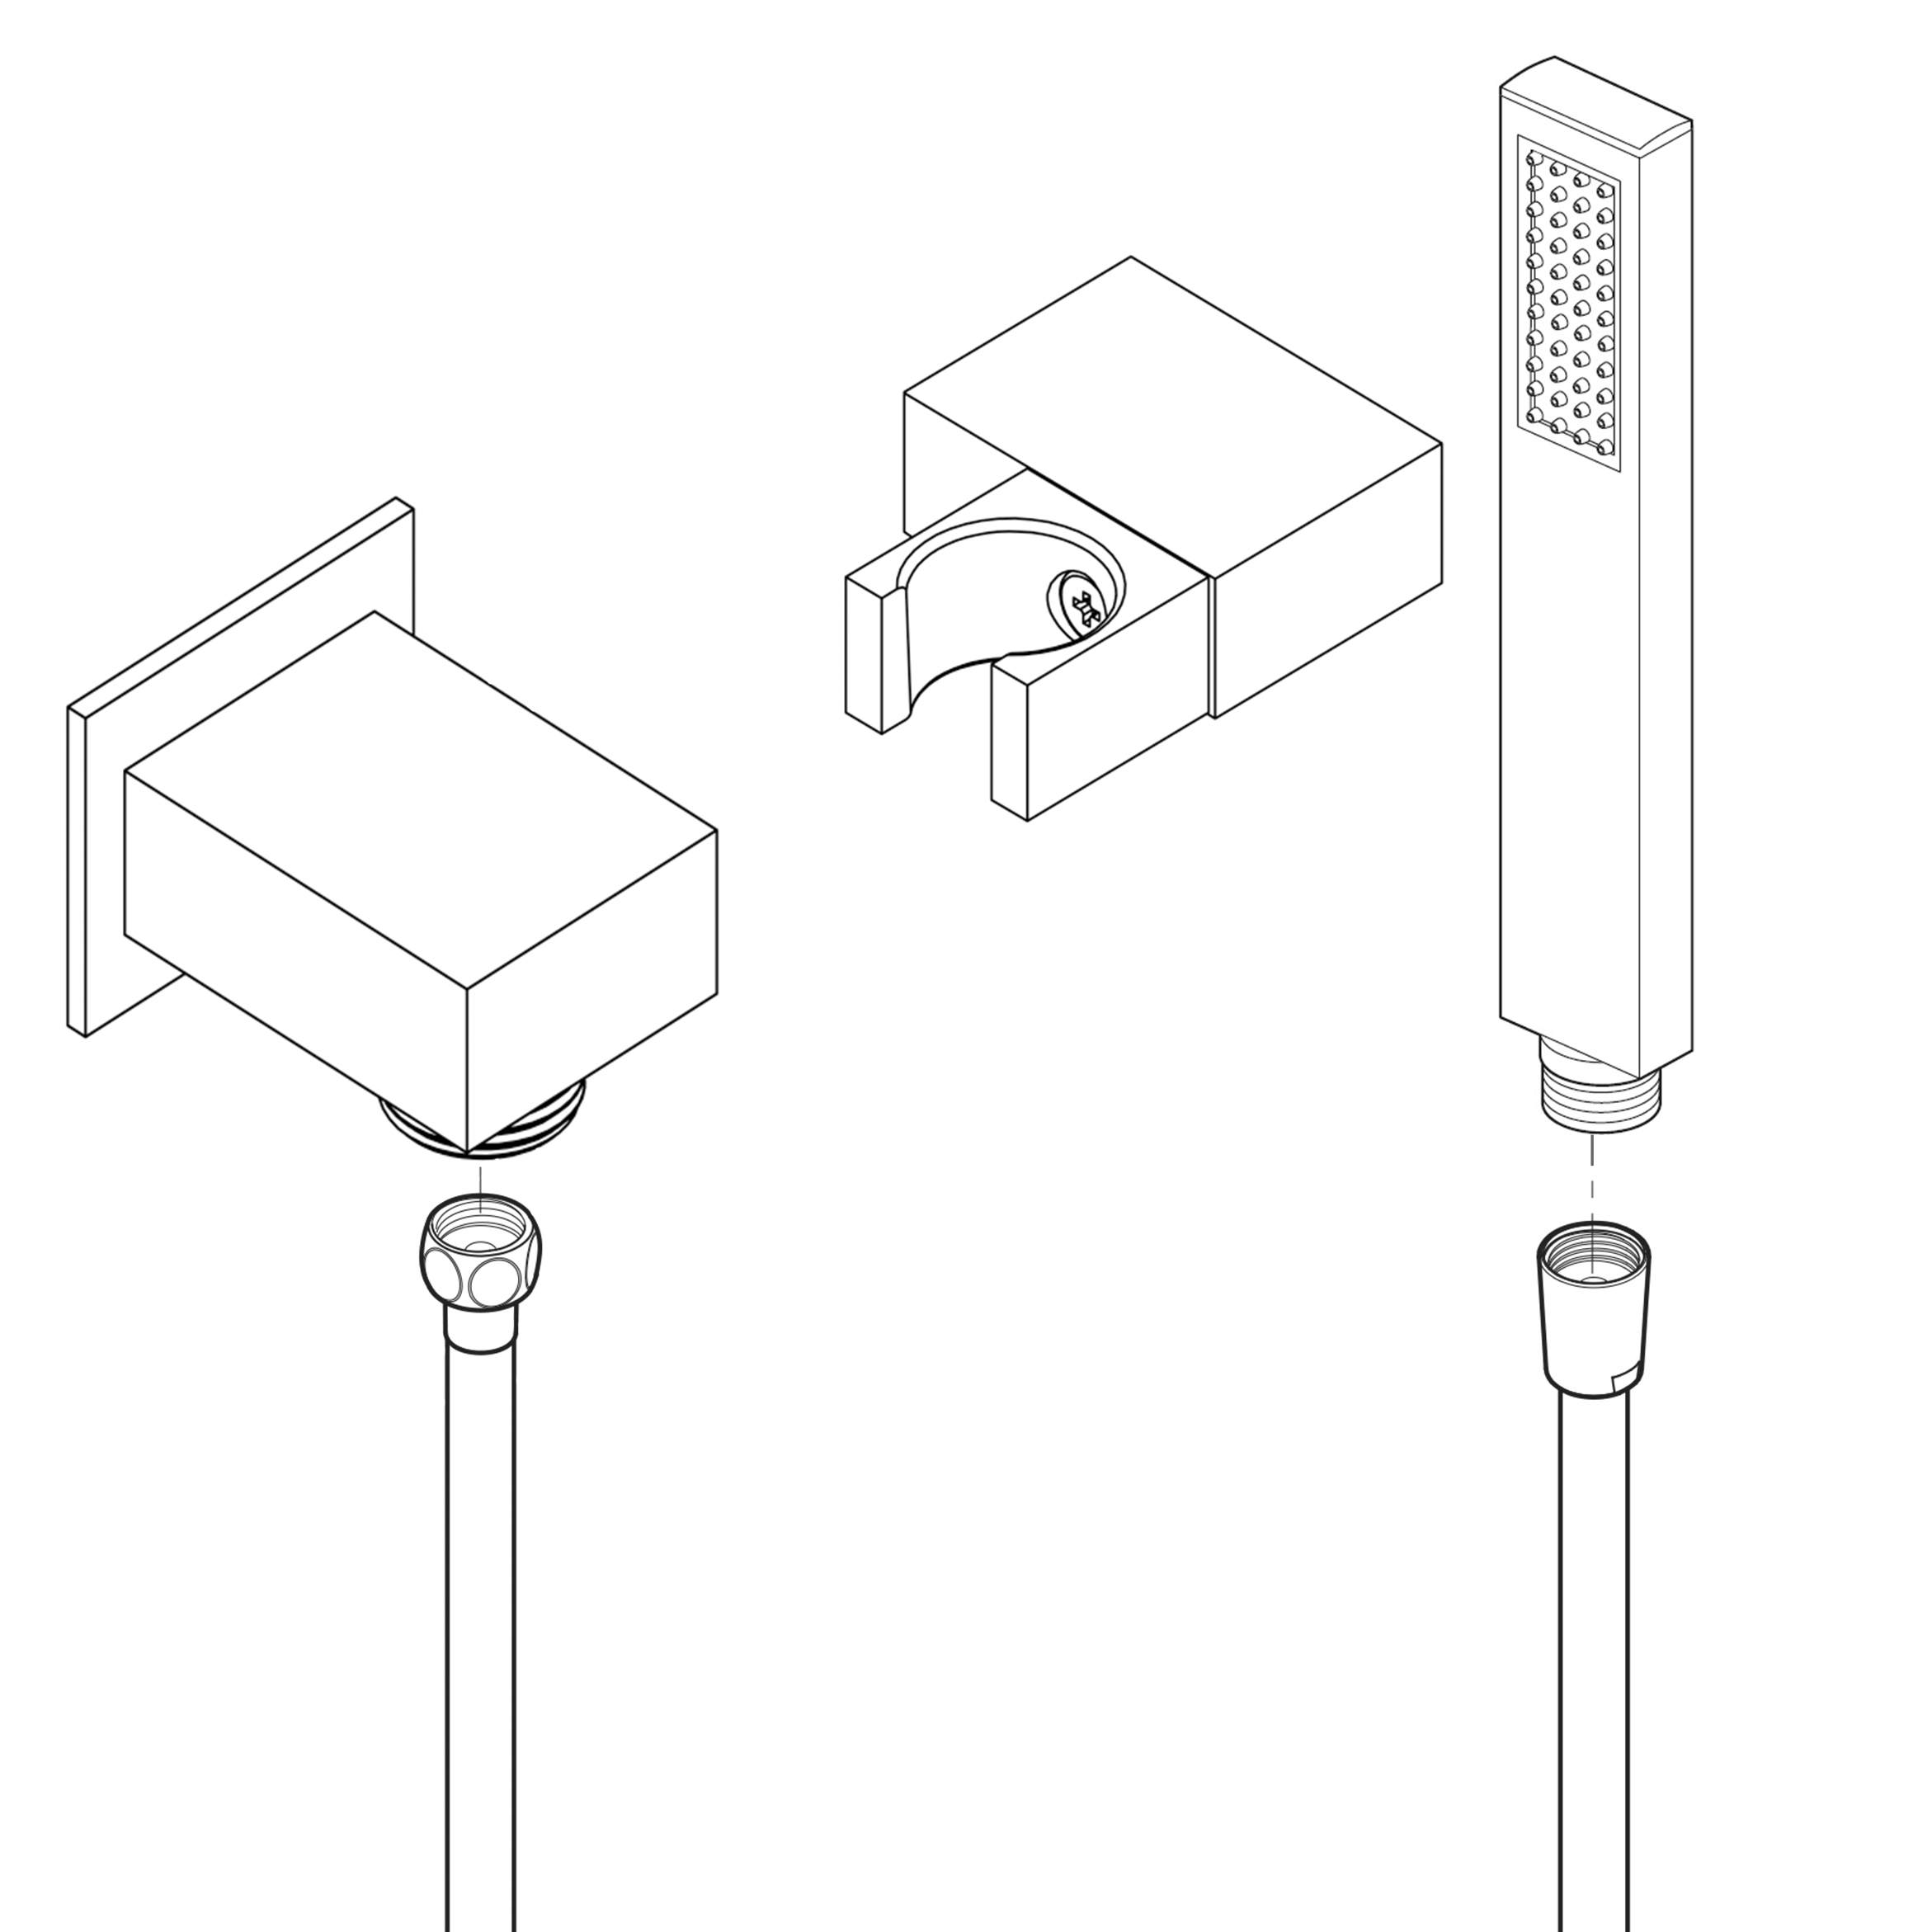
- Hand shower with 60" (1500mm) stainless steel hose included.
- Not suitable for low pressure. Recommended water pressure is 0.3~0.6 MPa (3~6 bar).
Flow Rate - 2.5 GPM / 9.5 LPM (Shower Head); 2.5 GPM / 9.5 LPM (Hand Shower); 1.5 GPM / 5.7 LPM (Each Bodyspray)