How to Install FontanaShowers Brushed Nickel Ceiling Mount Rainfall Shower Set With Thermostat Mixer Jet Spray And Handshower | FS1522
Installation Steps For Fontana Shower Set
- Before you begin, please read the installation instructions below. Observe all local building and safety codes.
- Unpack and inspect the product for any shipping damages. If you find damages, do not install.
- Please note all product must be installed by a professional and certified plumber otherwise warranty might be voided.
|
shower
|
|

|
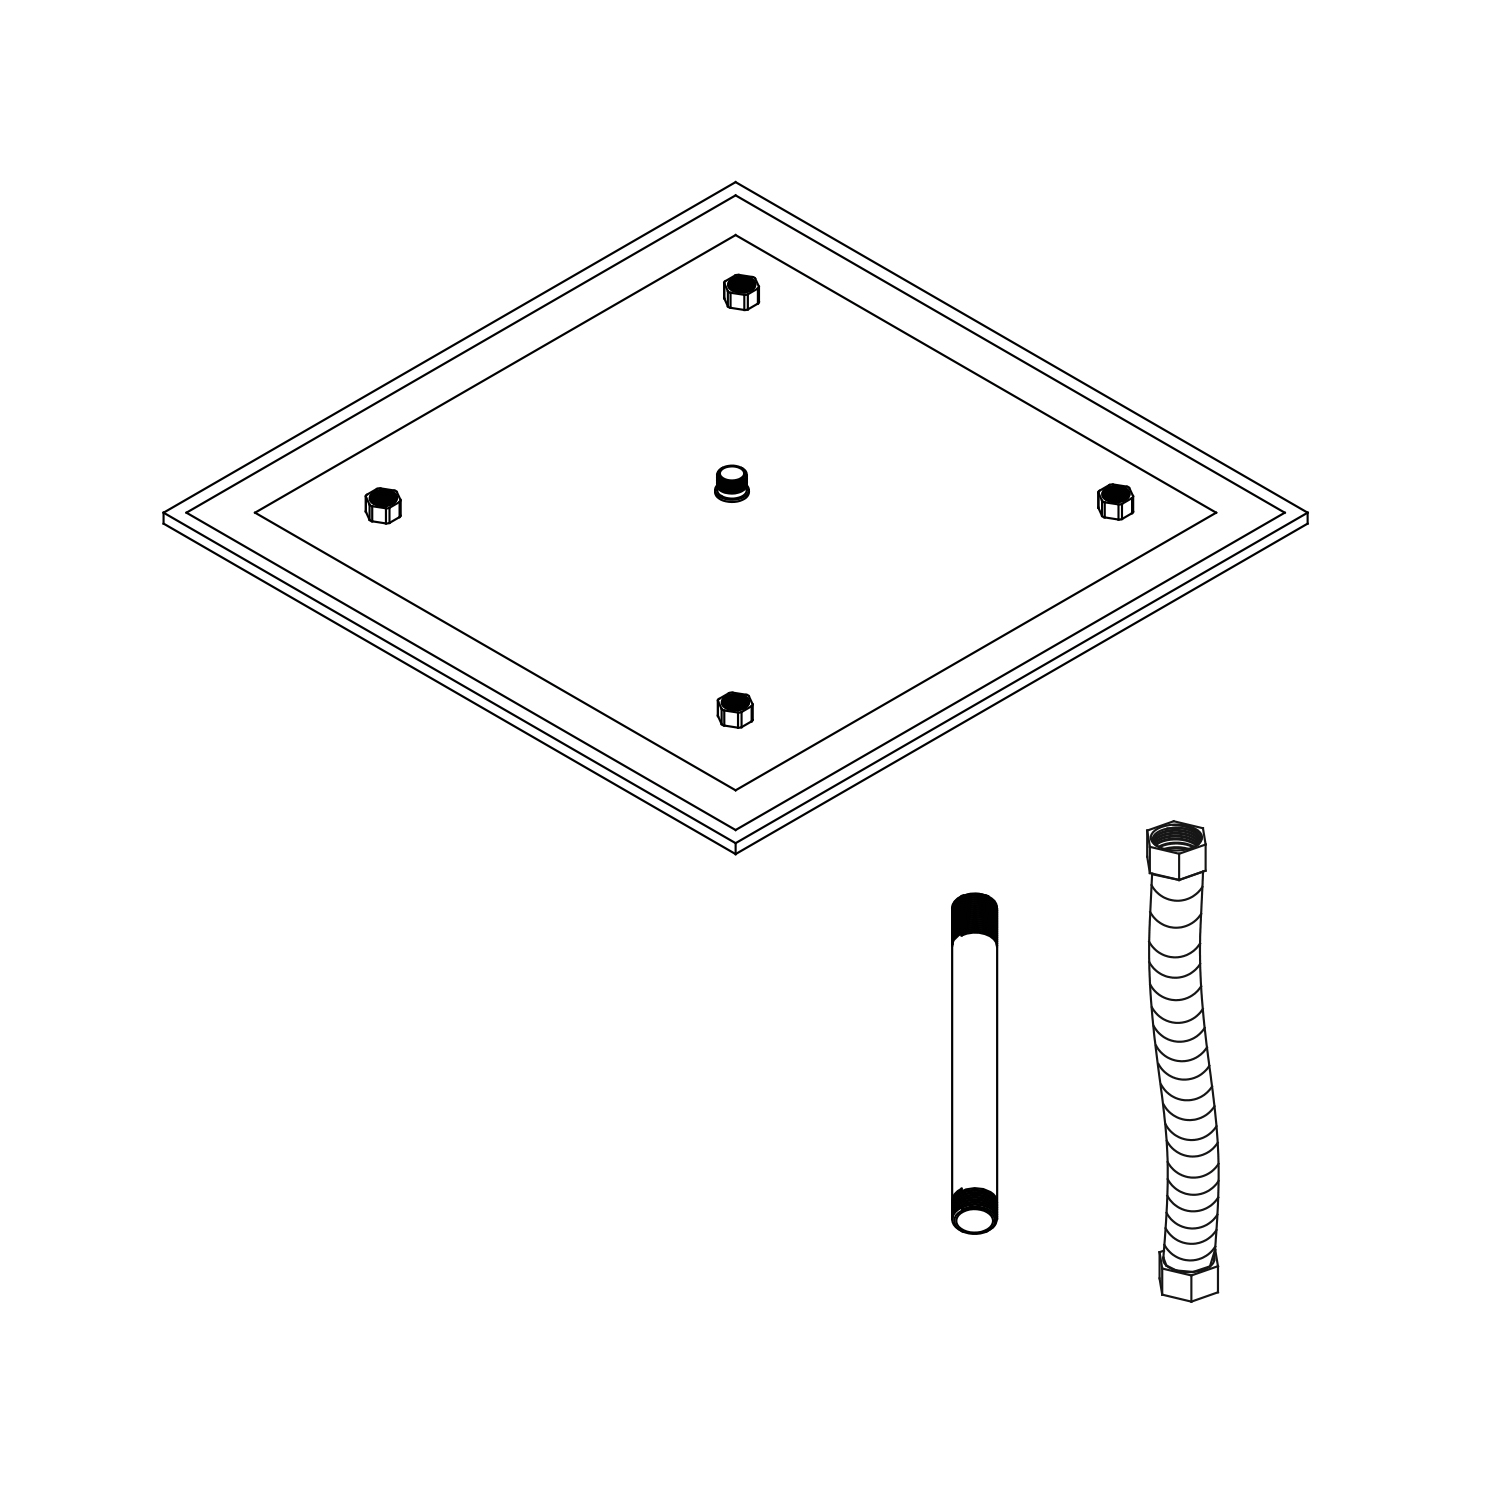
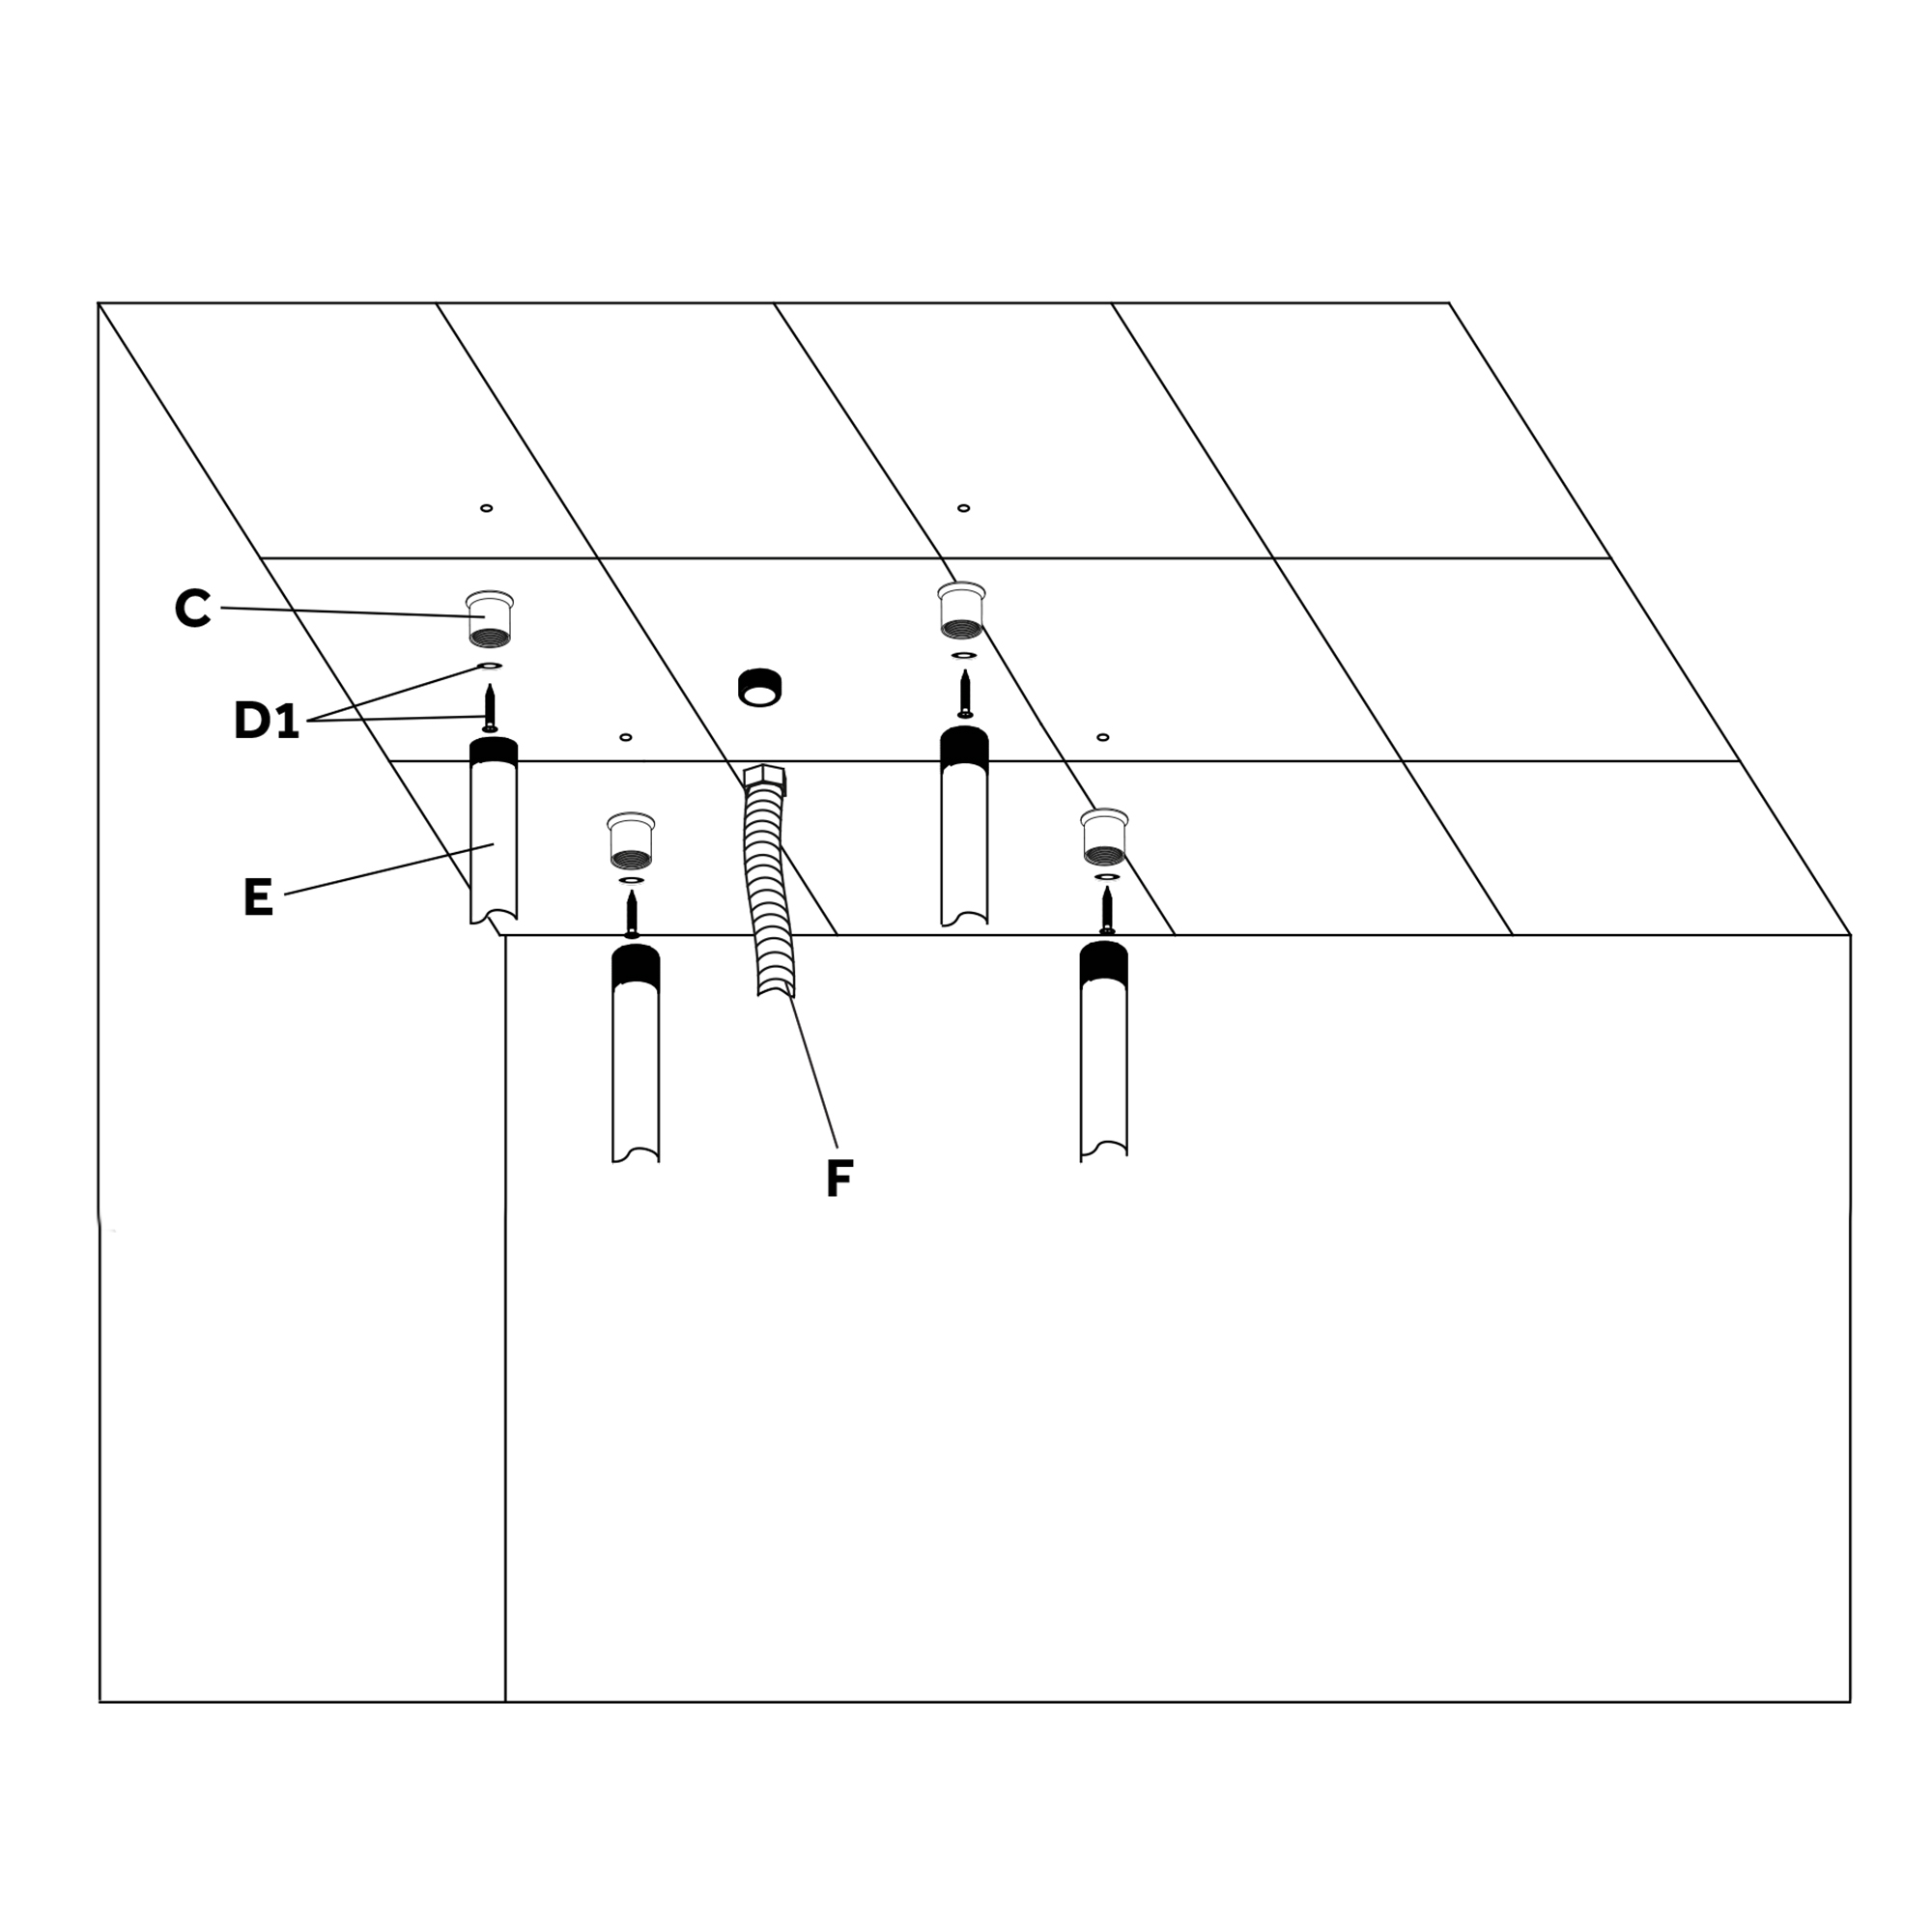
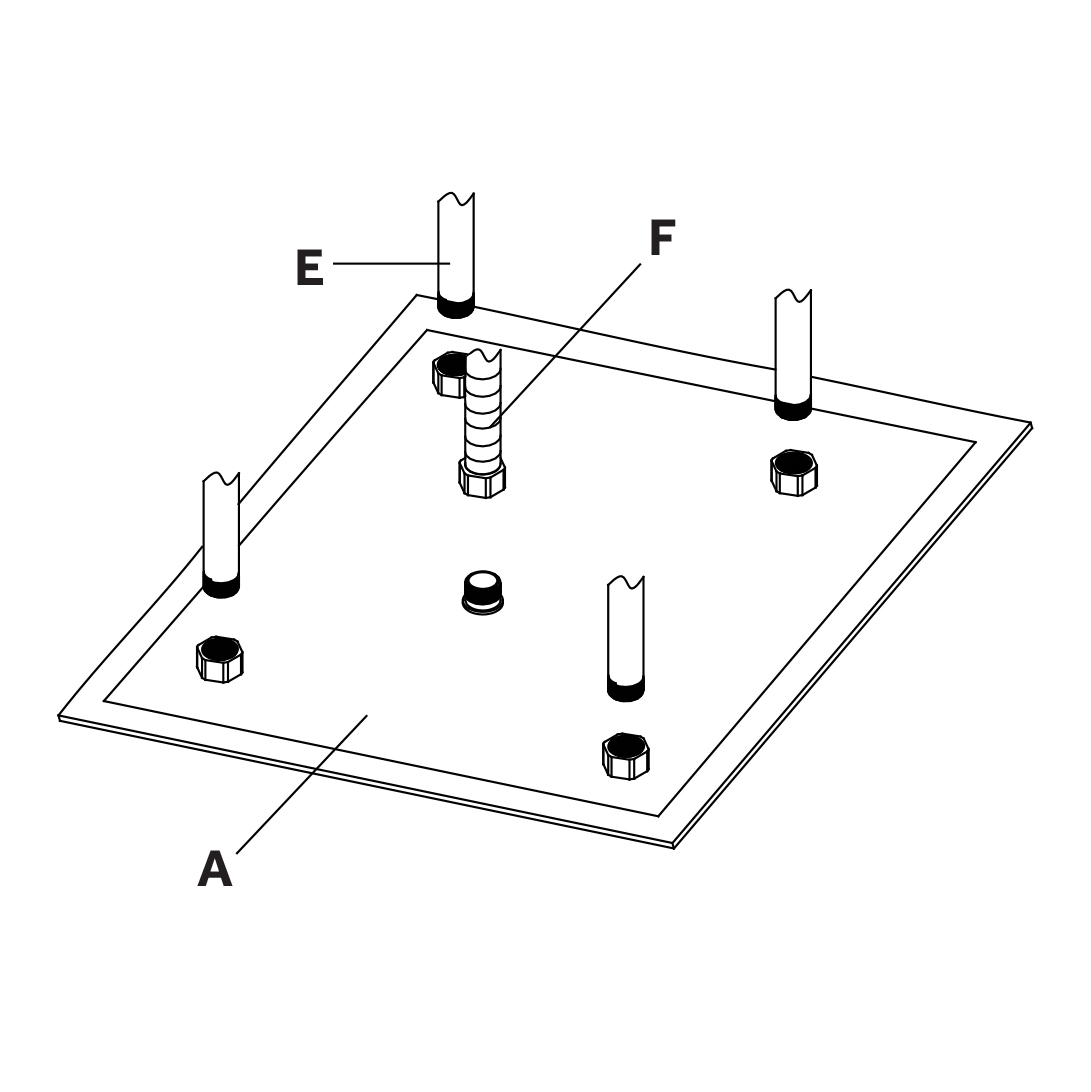
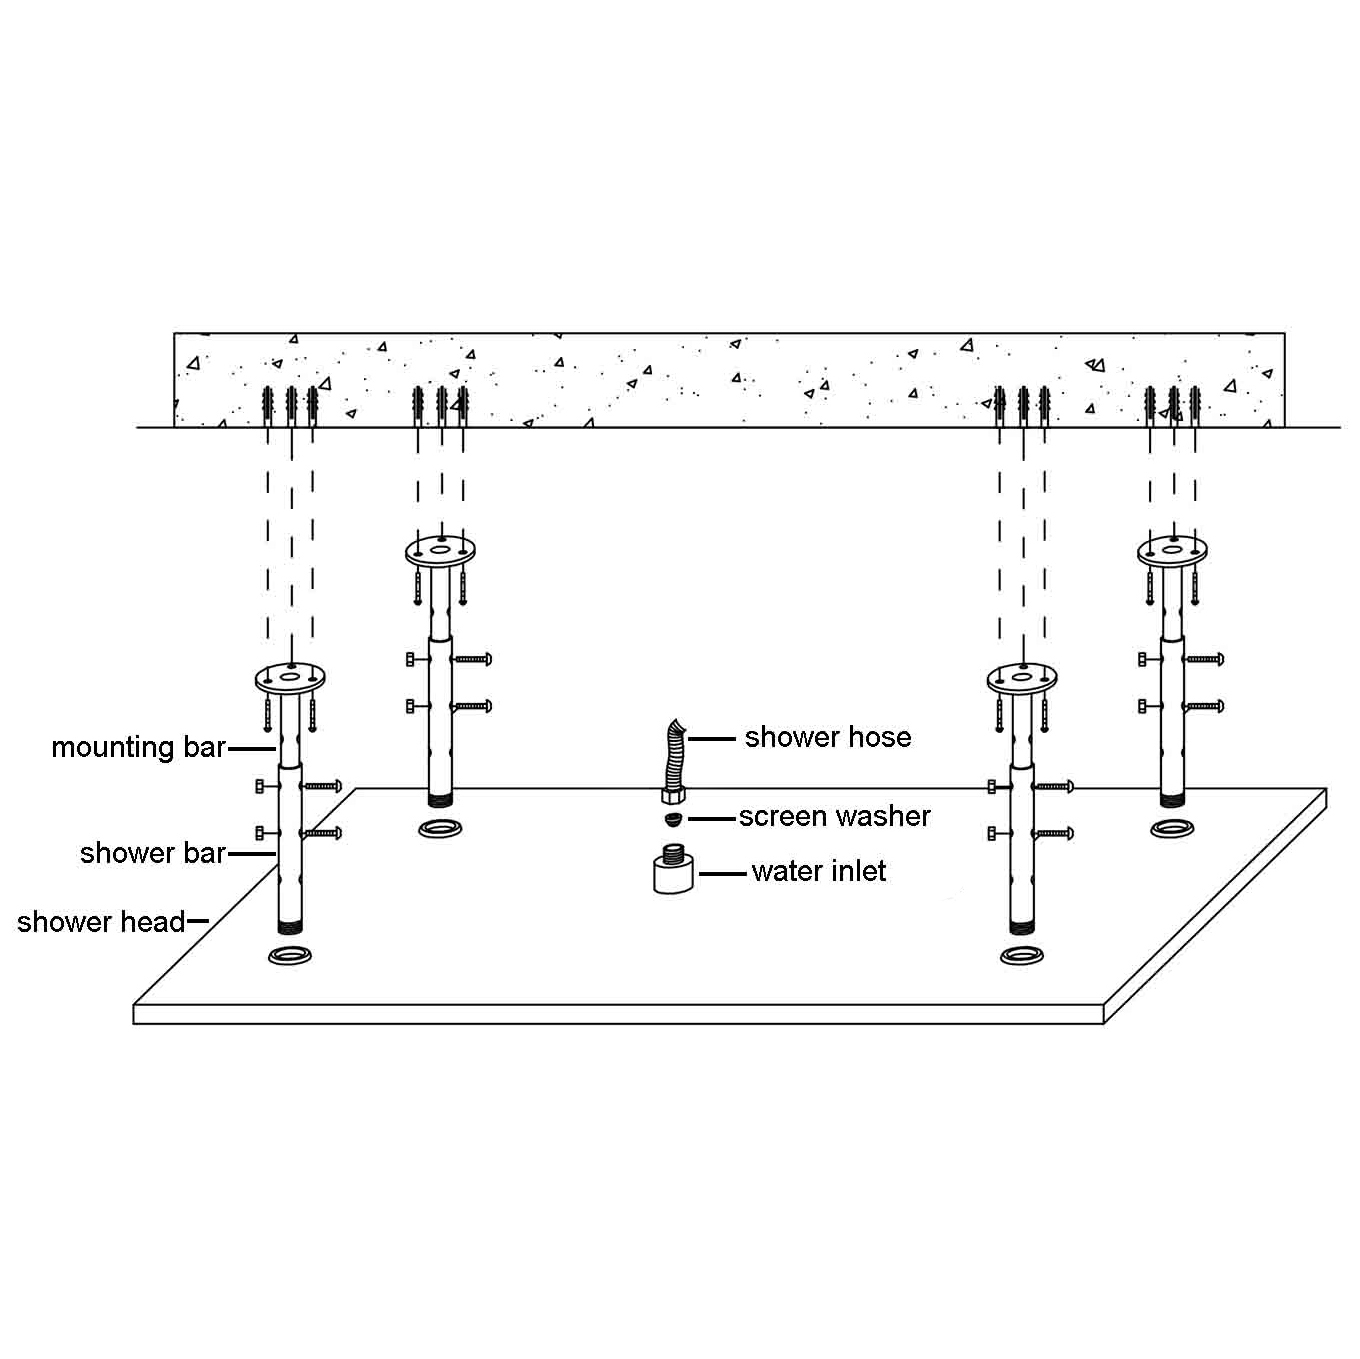
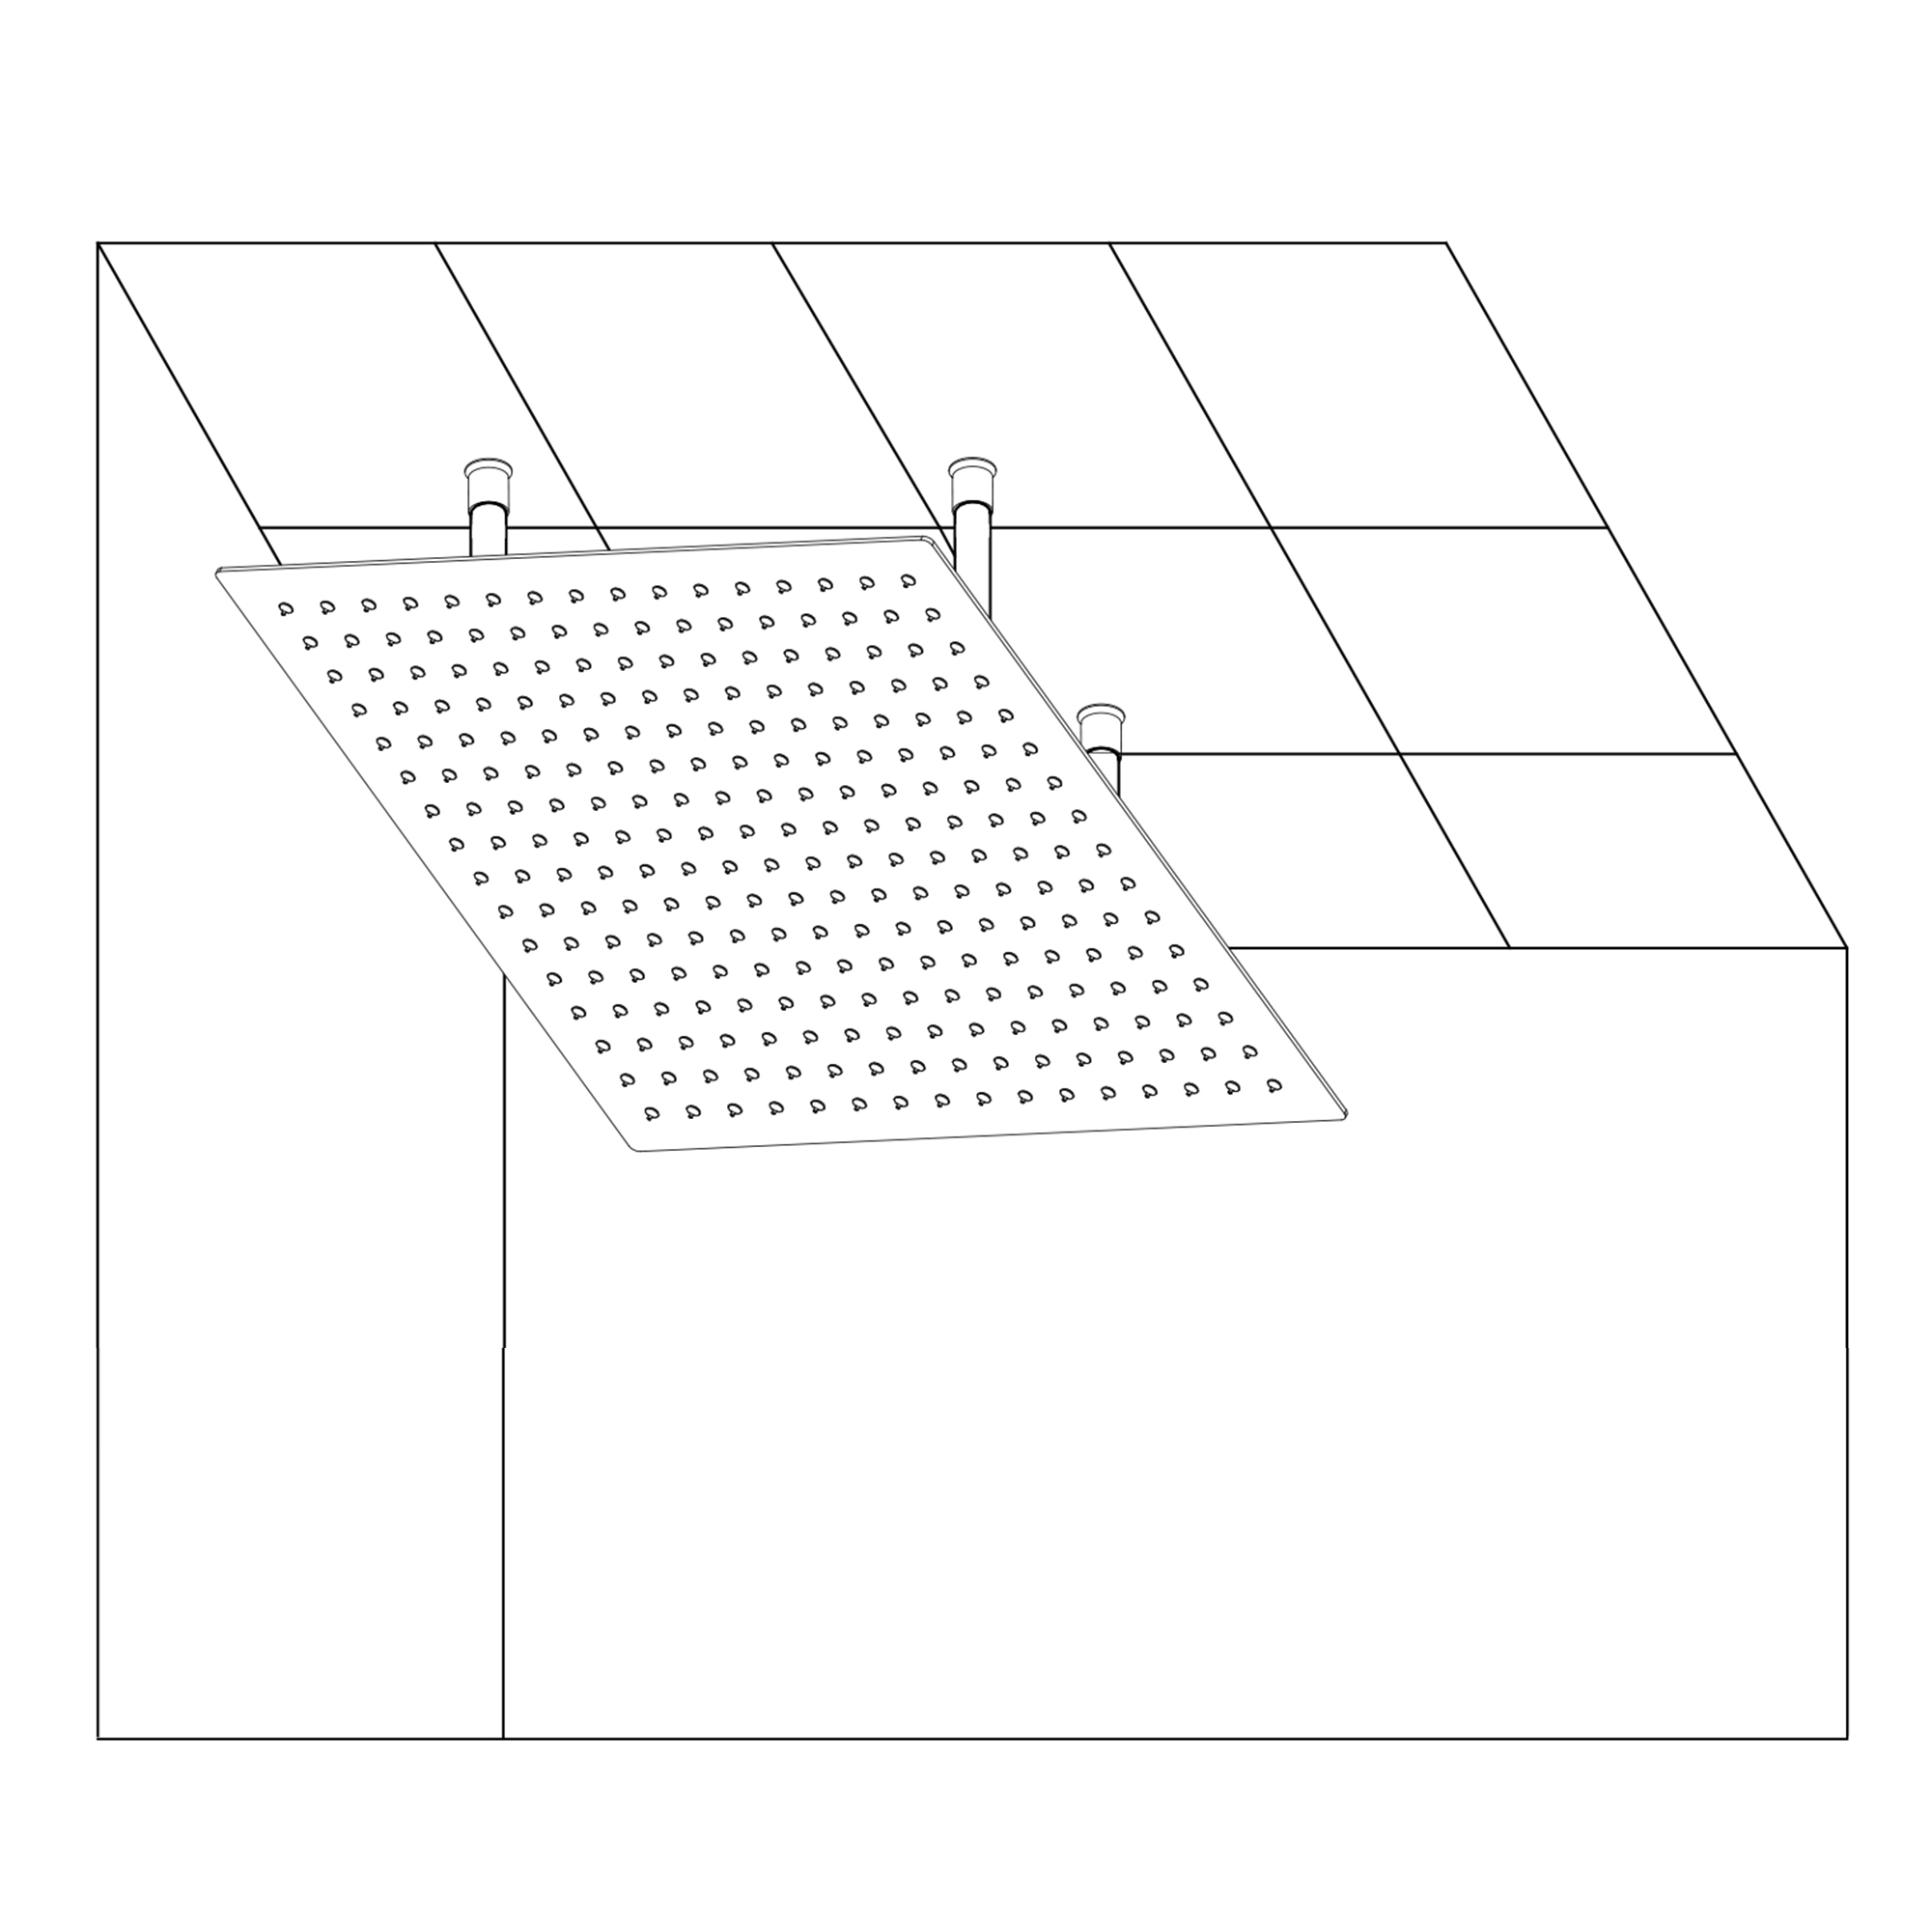
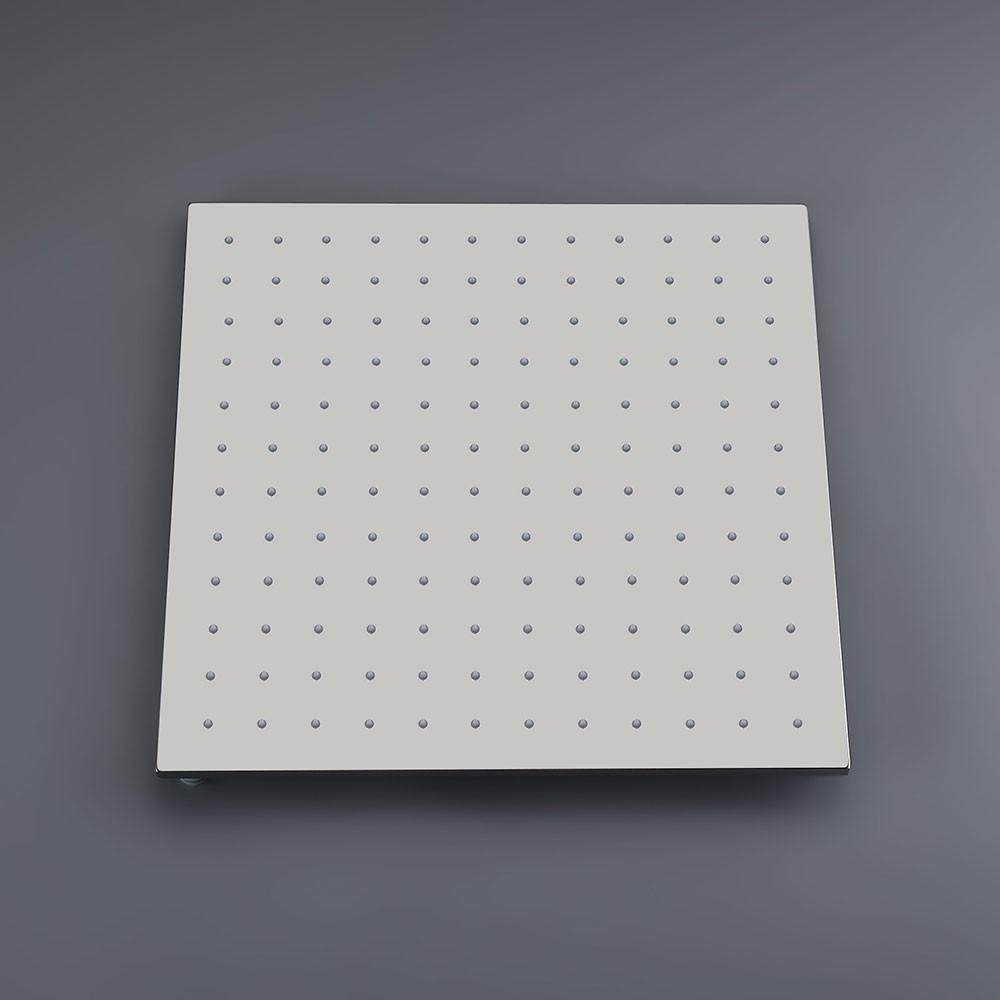
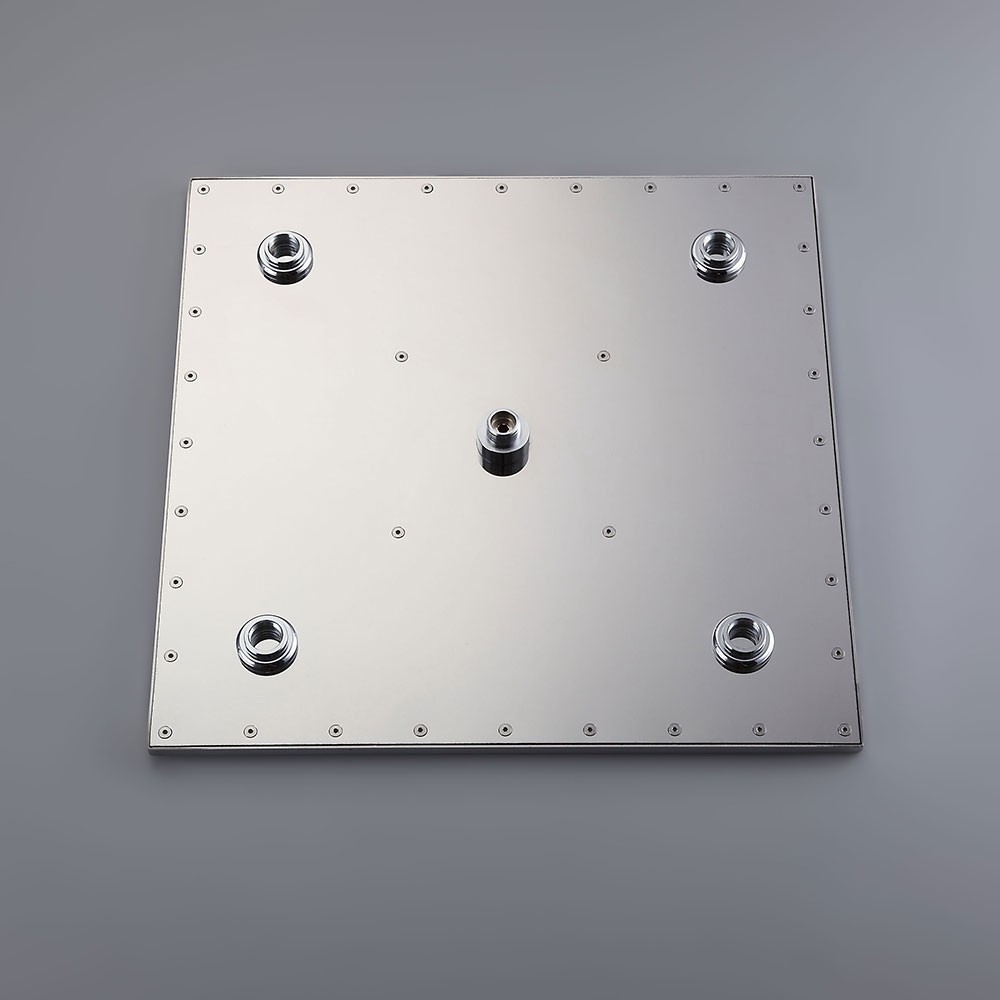
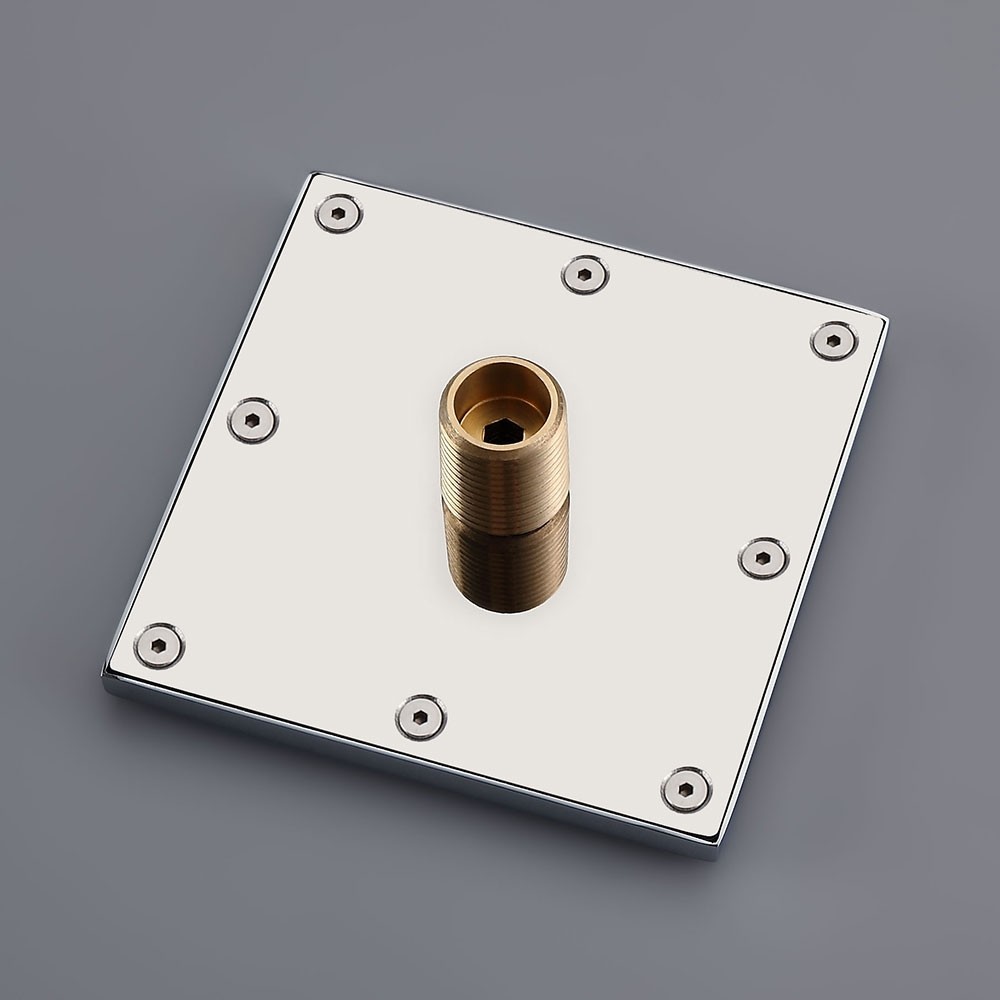
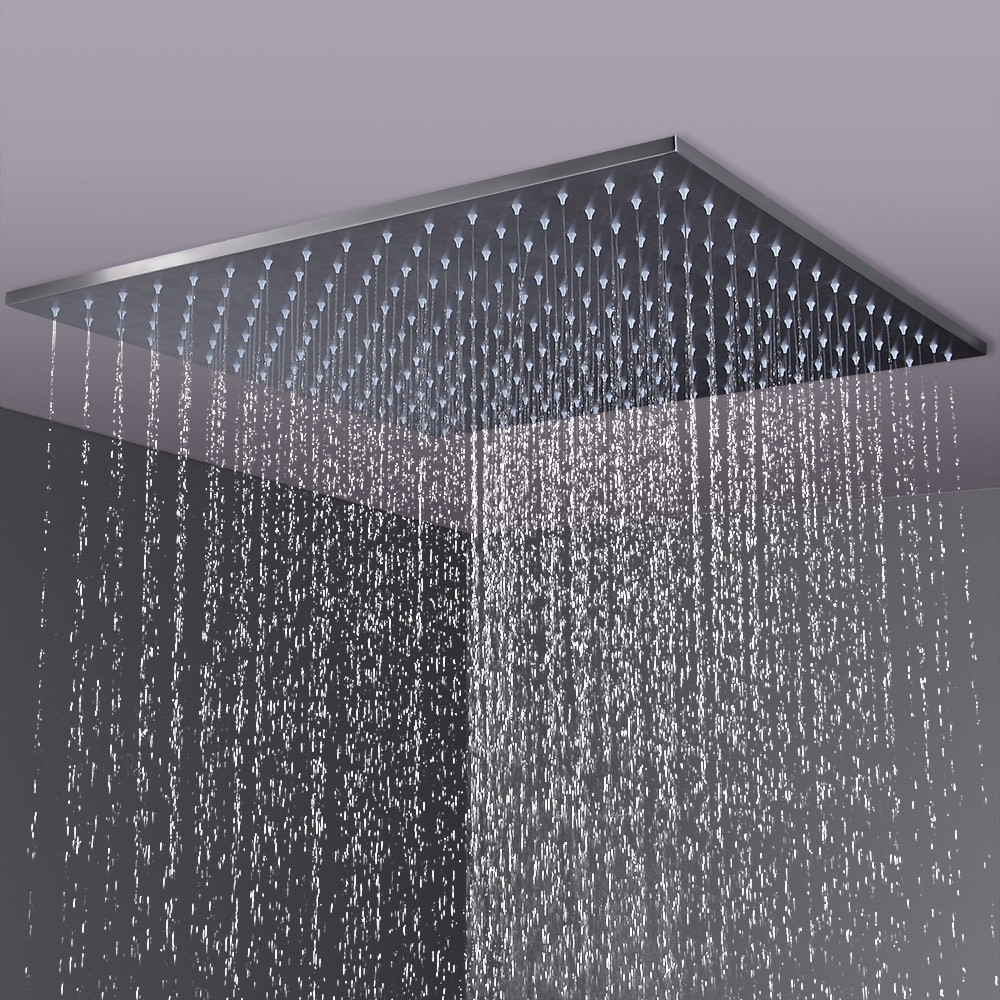
Shower Head Installation Instructions
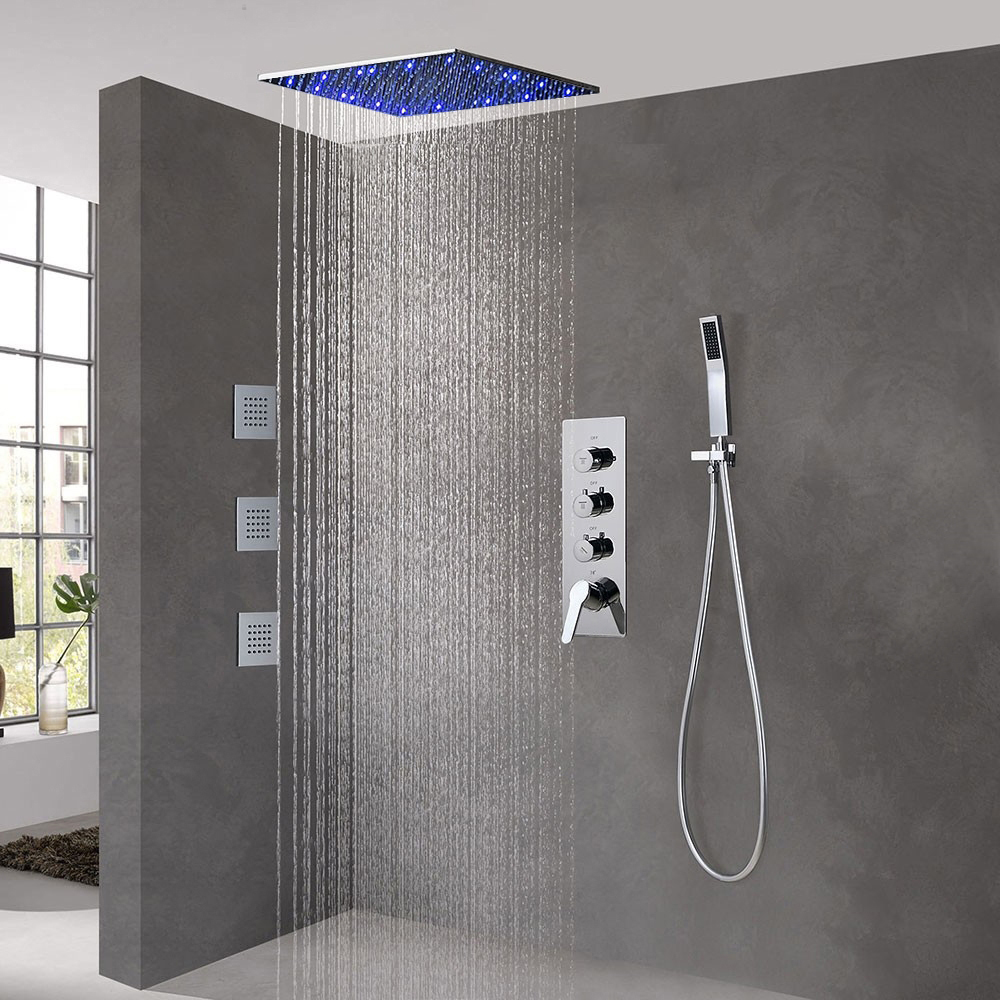
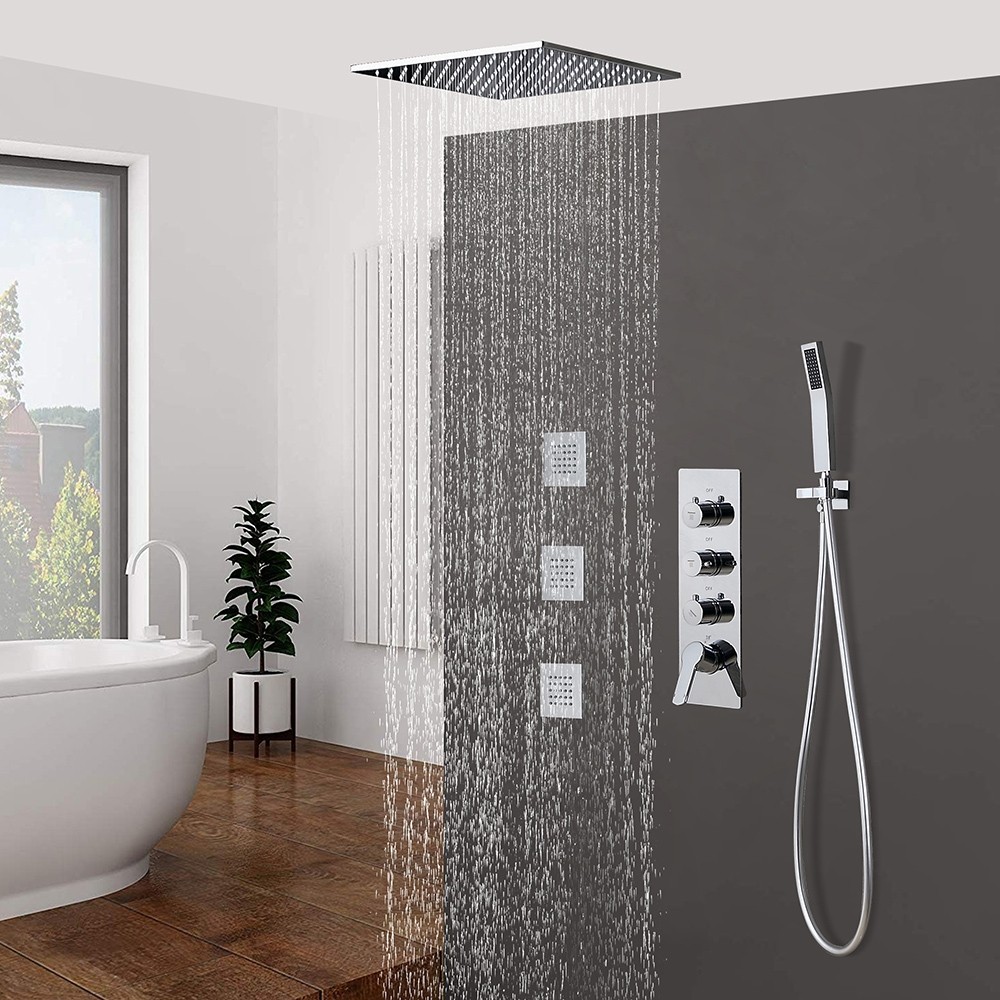
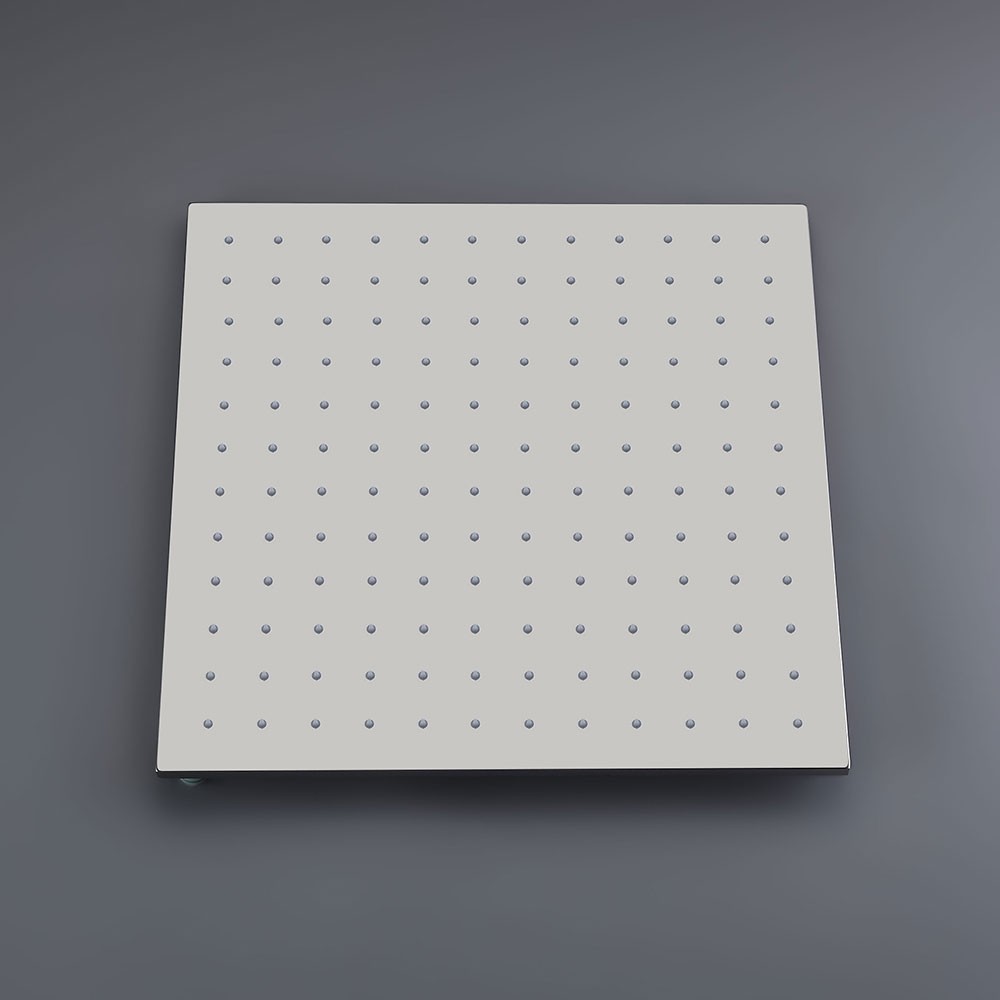
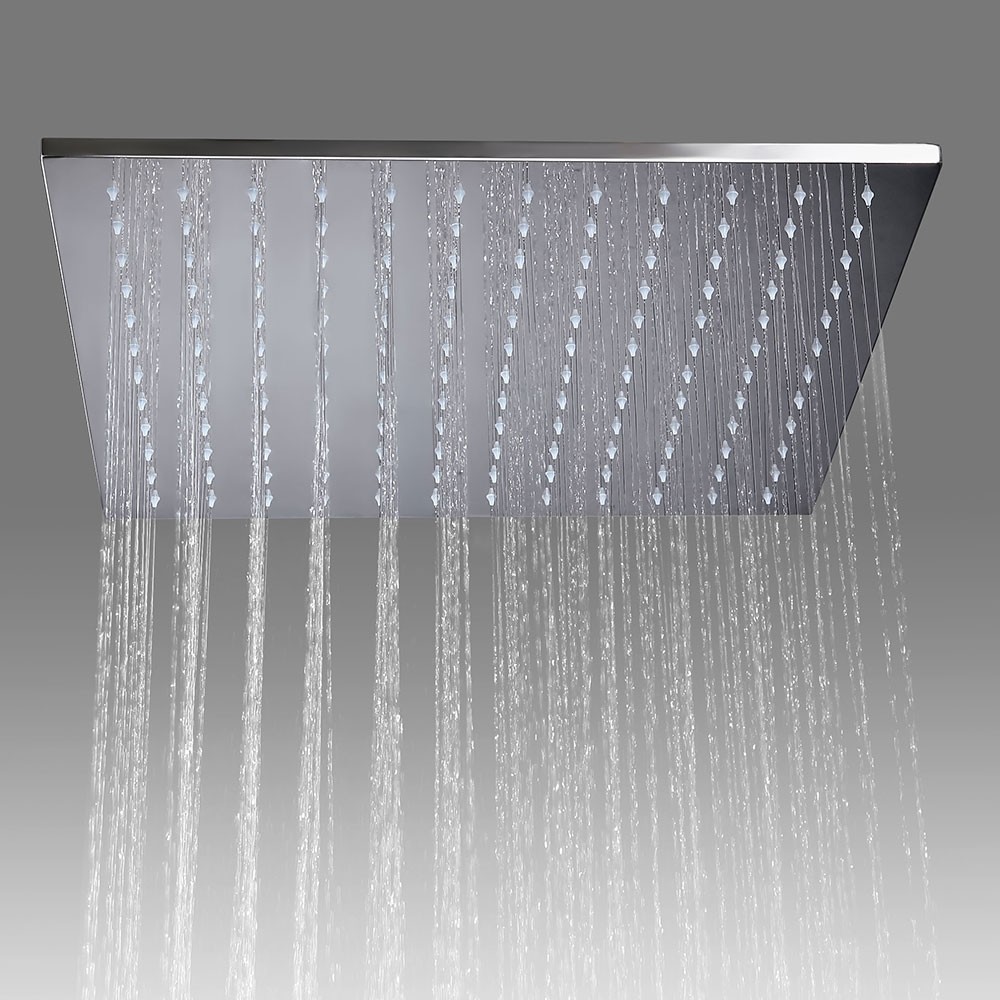
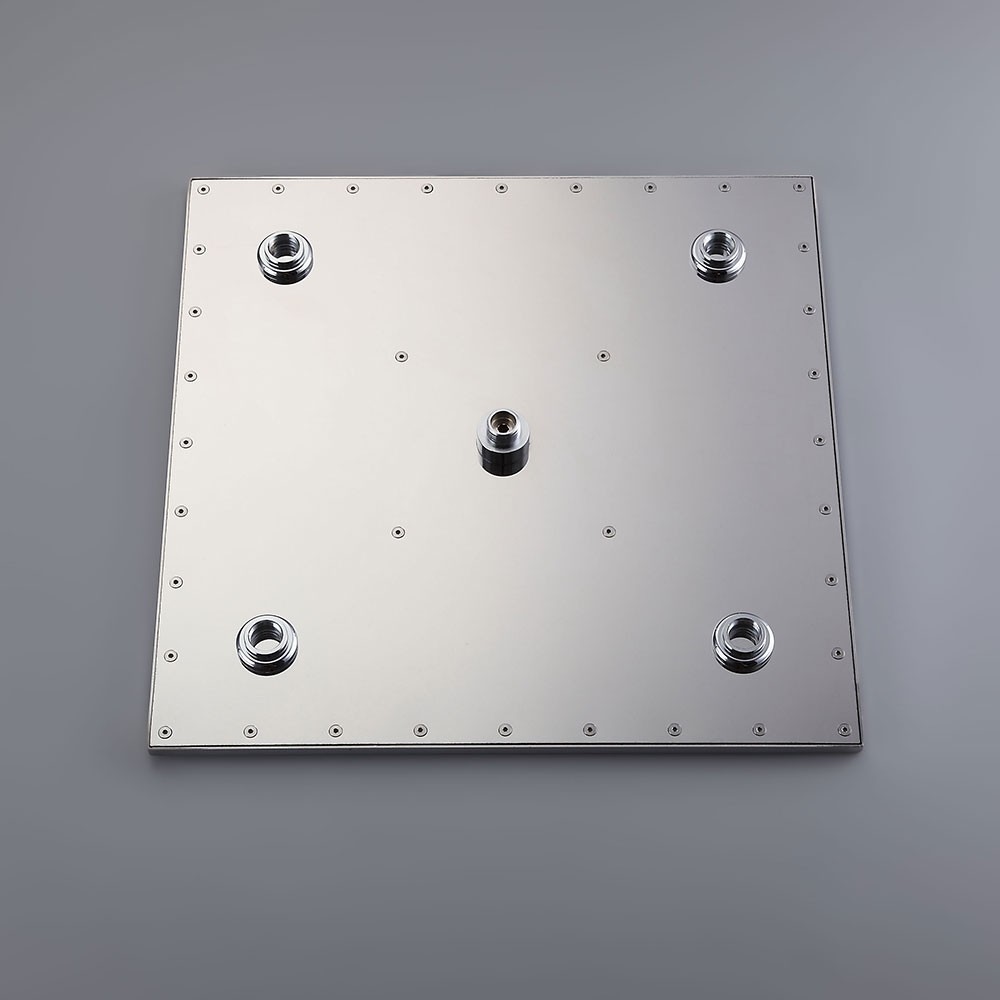
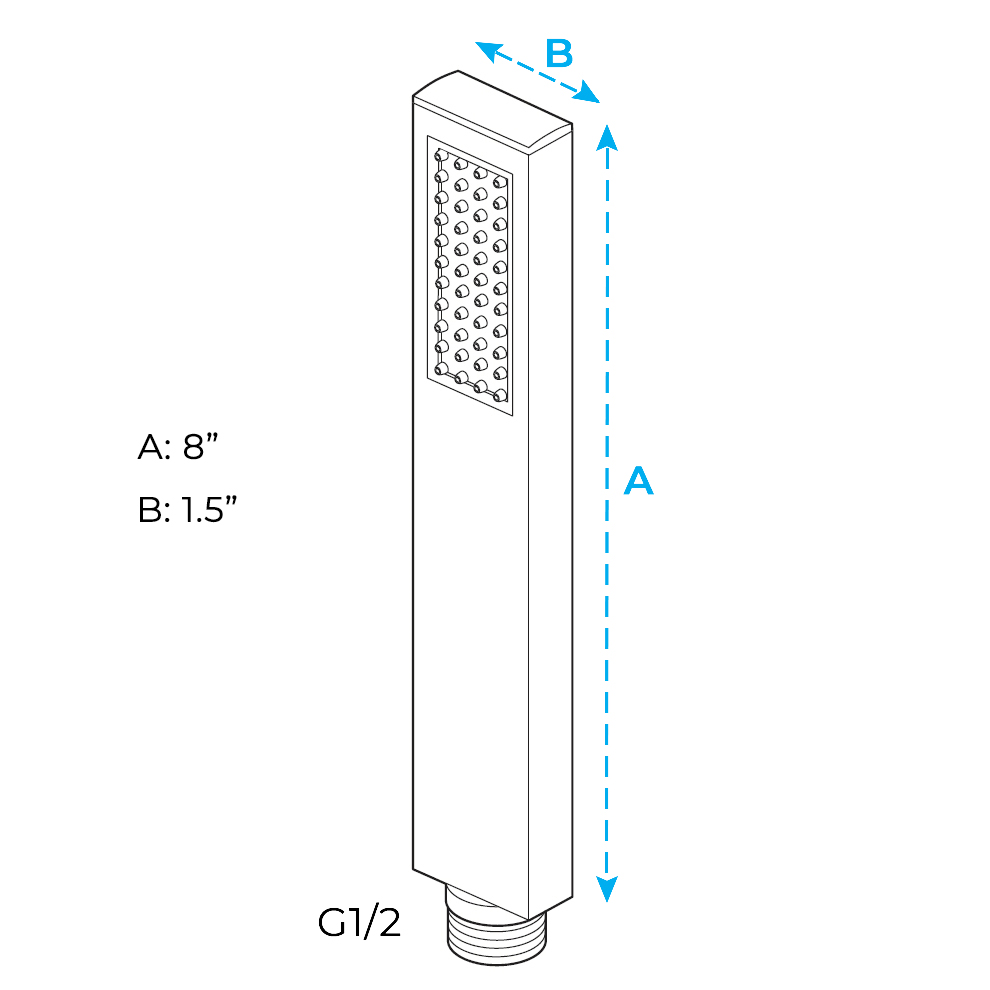
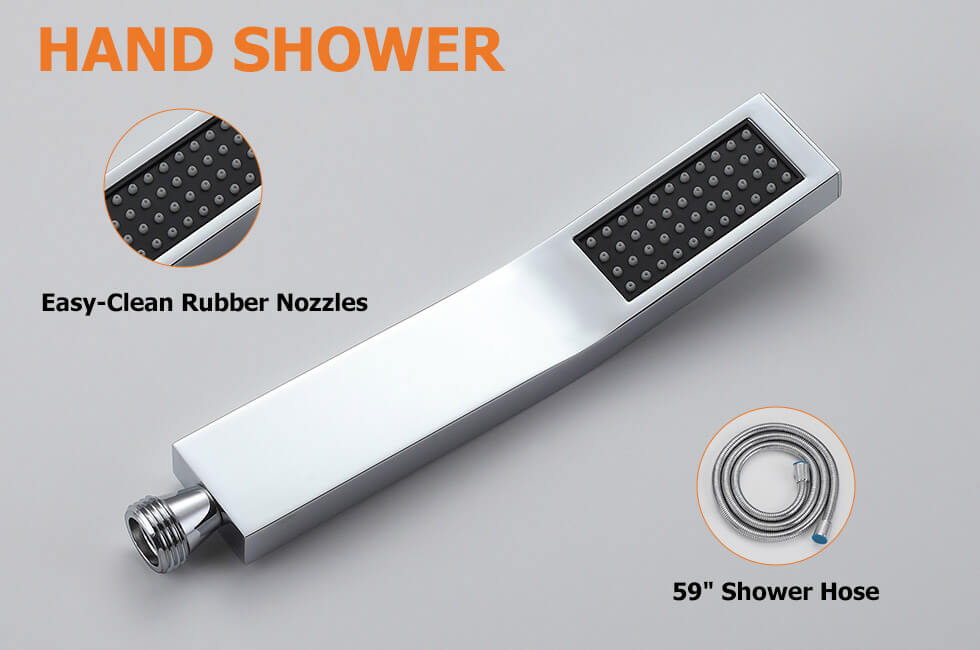
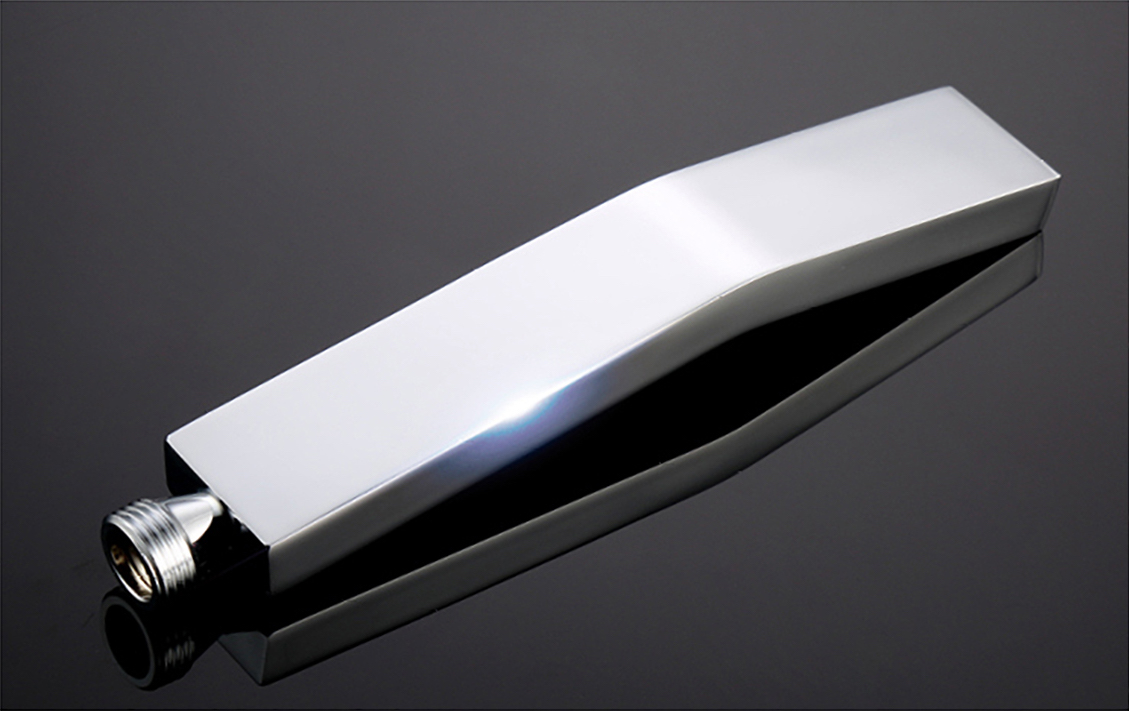
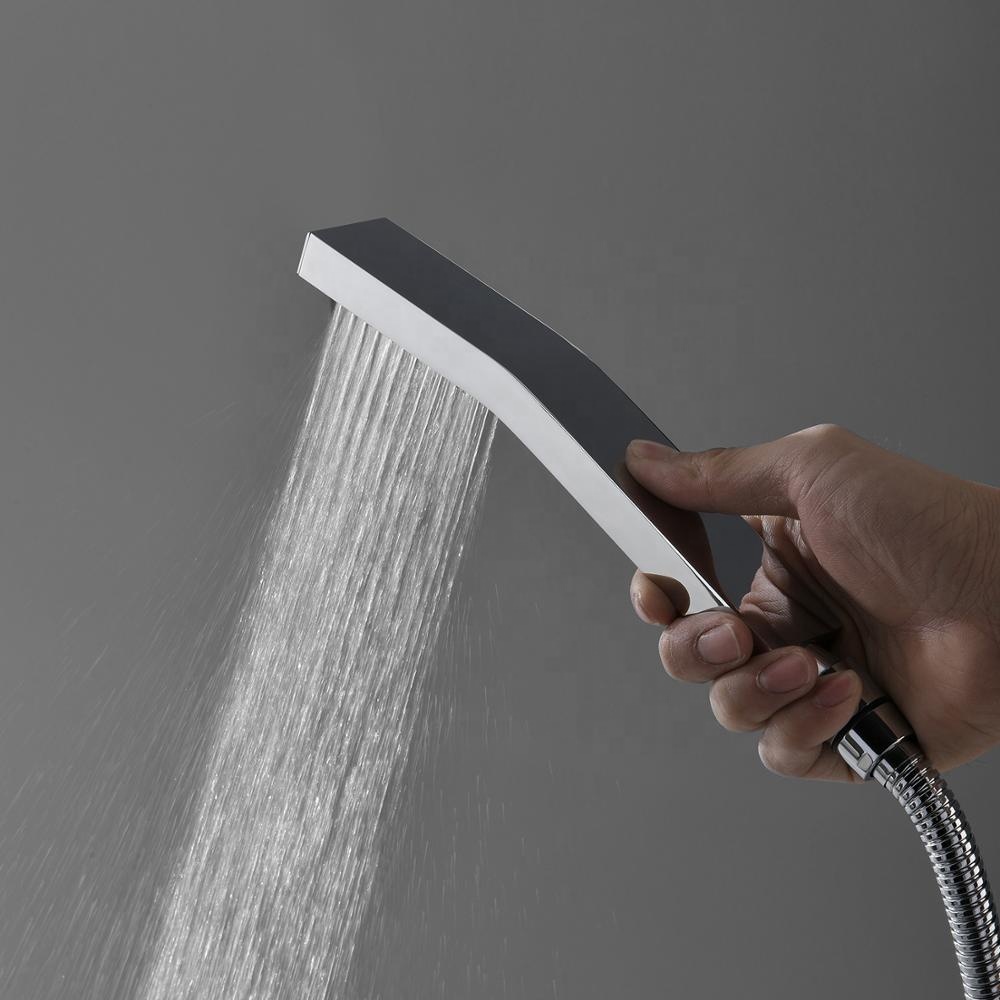
Hand Held Shower Installation Instructions
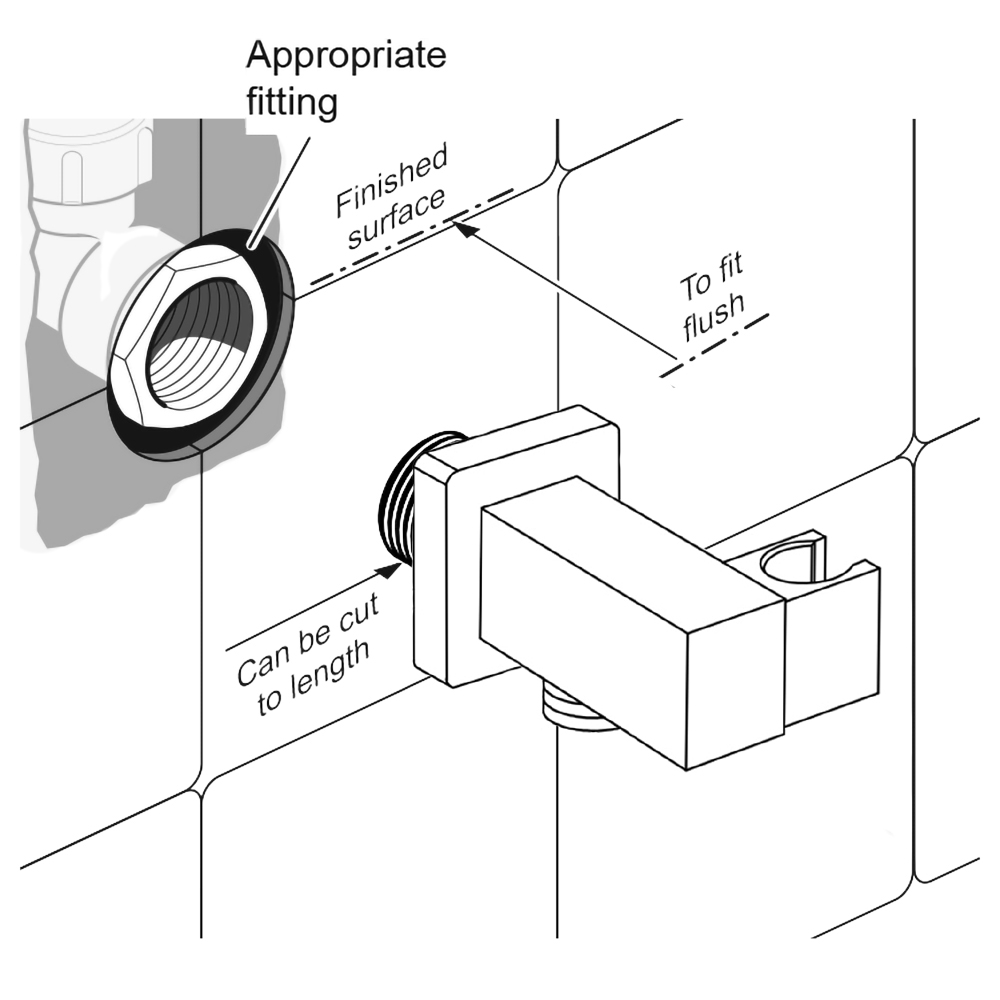
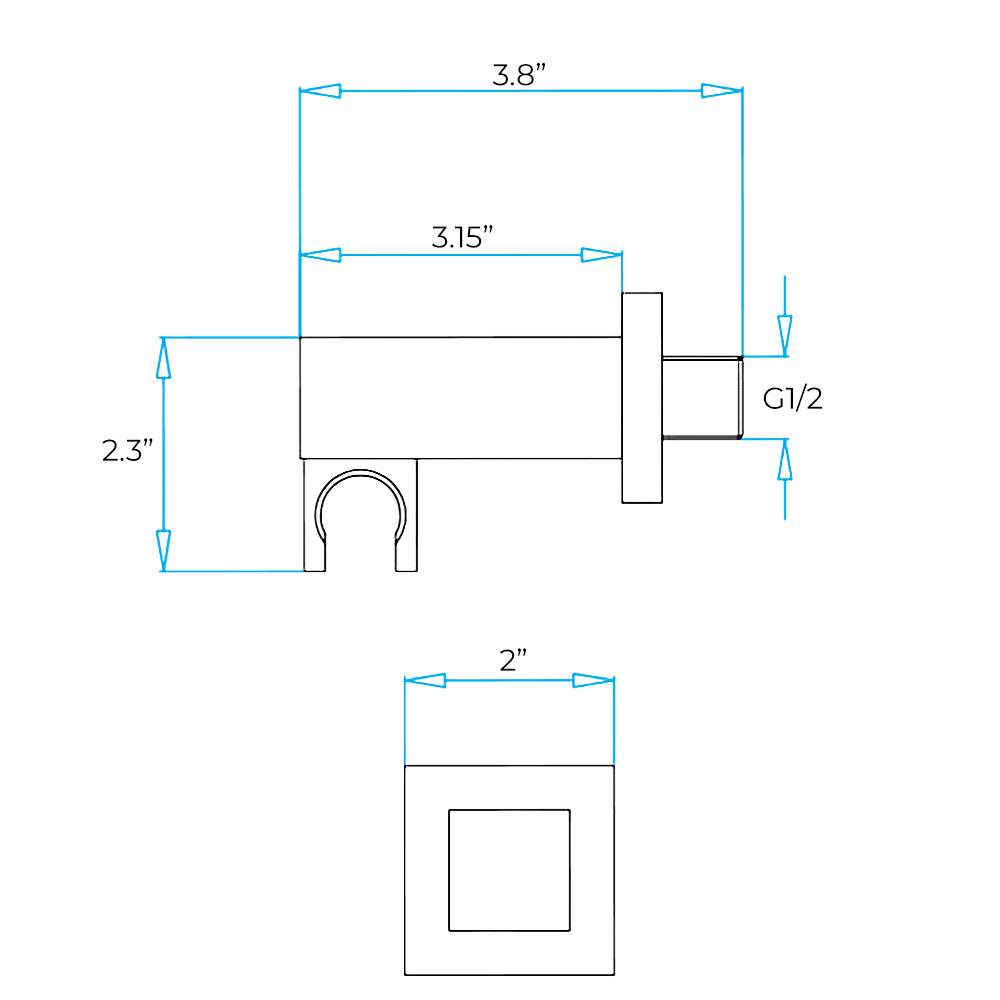
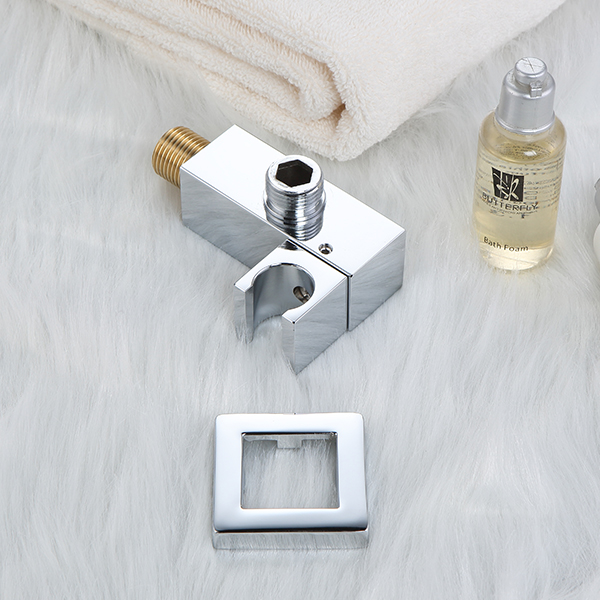
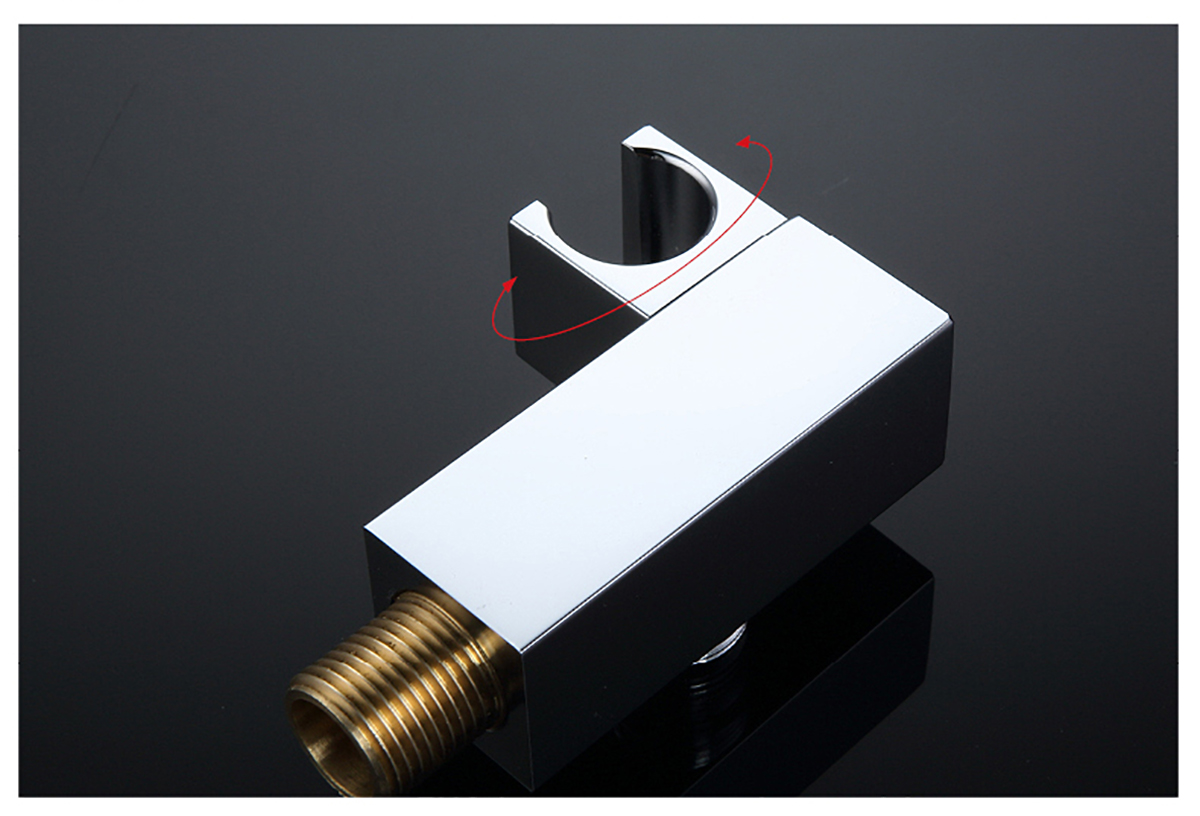
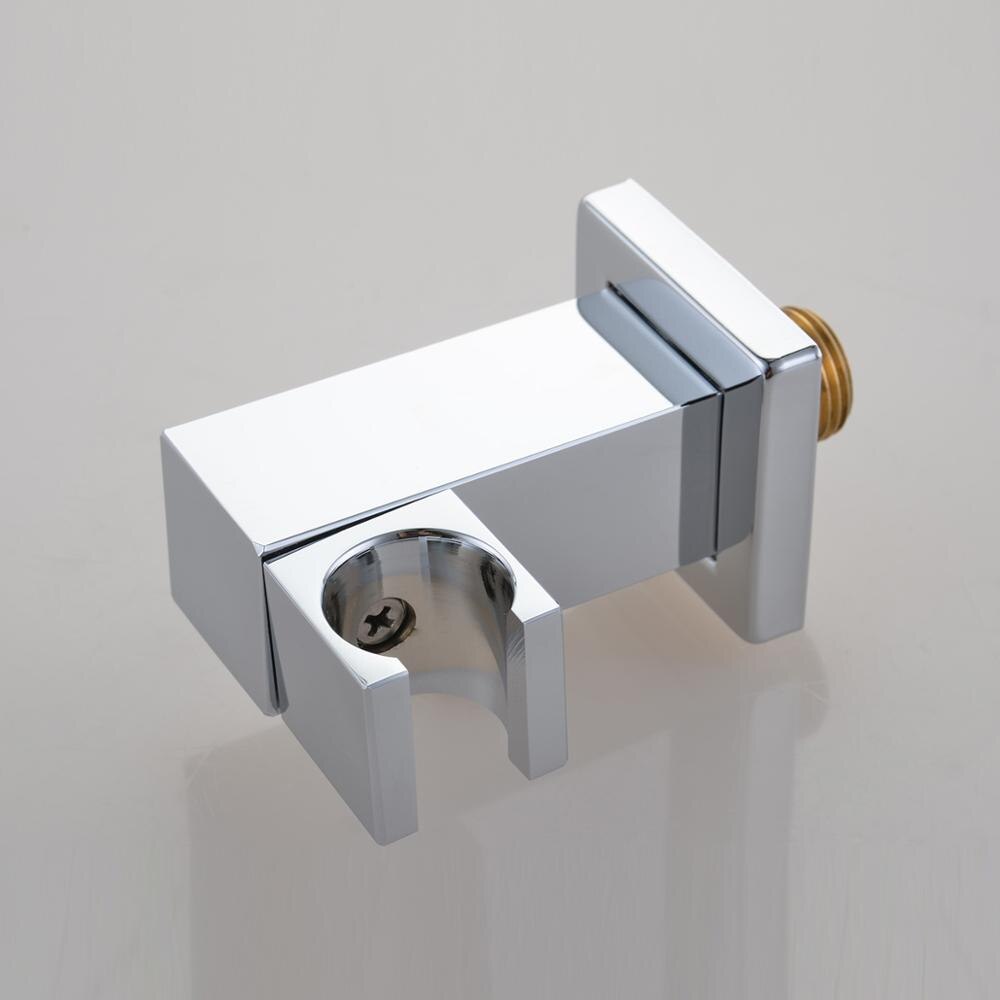
Hand Shower Outlet Installation
• Complete the outlet pipework ensuring it ends in an appropriate 15mm x 1/2" BSP female thread elbow.
Note:
This fitting is not supplied as variations in installations require the selection of a suitable solder or compression fitting.
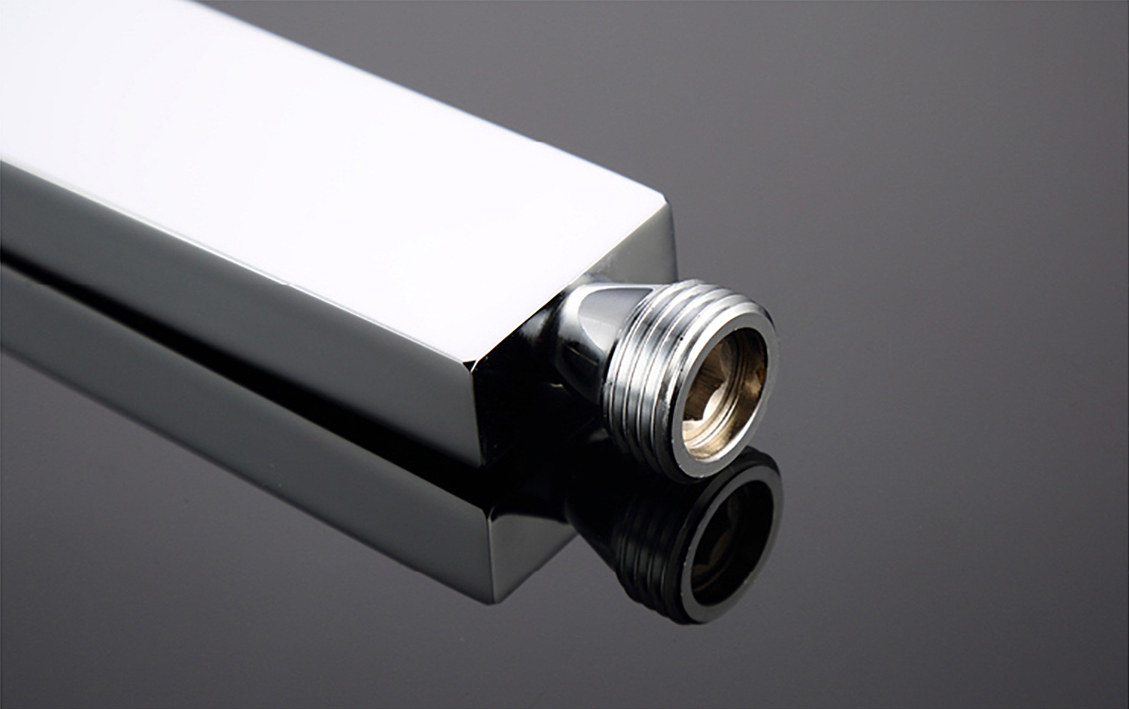
• Install the 'Wall Outlet', thread long male 1/2" BSP into the appropriate female fitting using PTFE tape to give a watertight joint.
Note: The thread can be cut to size if required. Make sure that all debris is removed from the connector and the section that has been cut is dressed correctly, before installation.
The minimum required water pressure is 0.05 MPa (0.5 bar).
Flow rate 2.5 GPM (9.5 LPM).
|
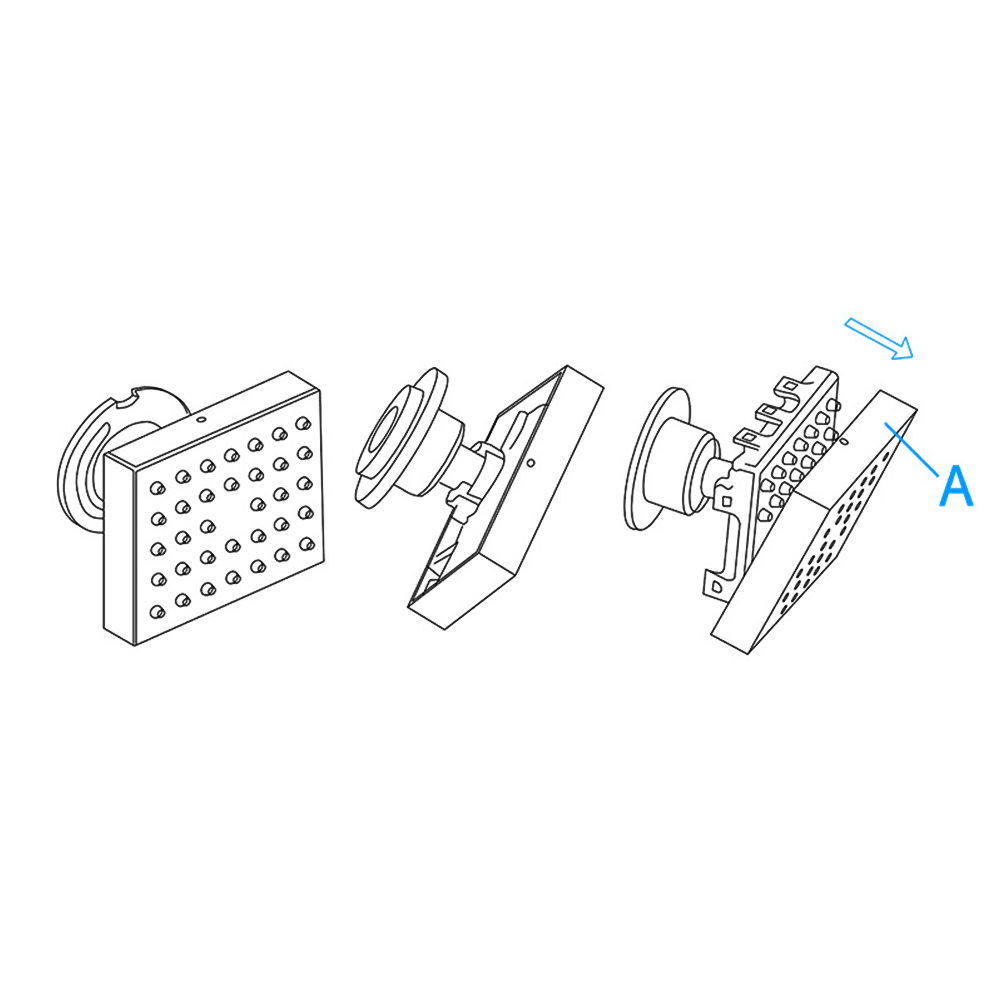
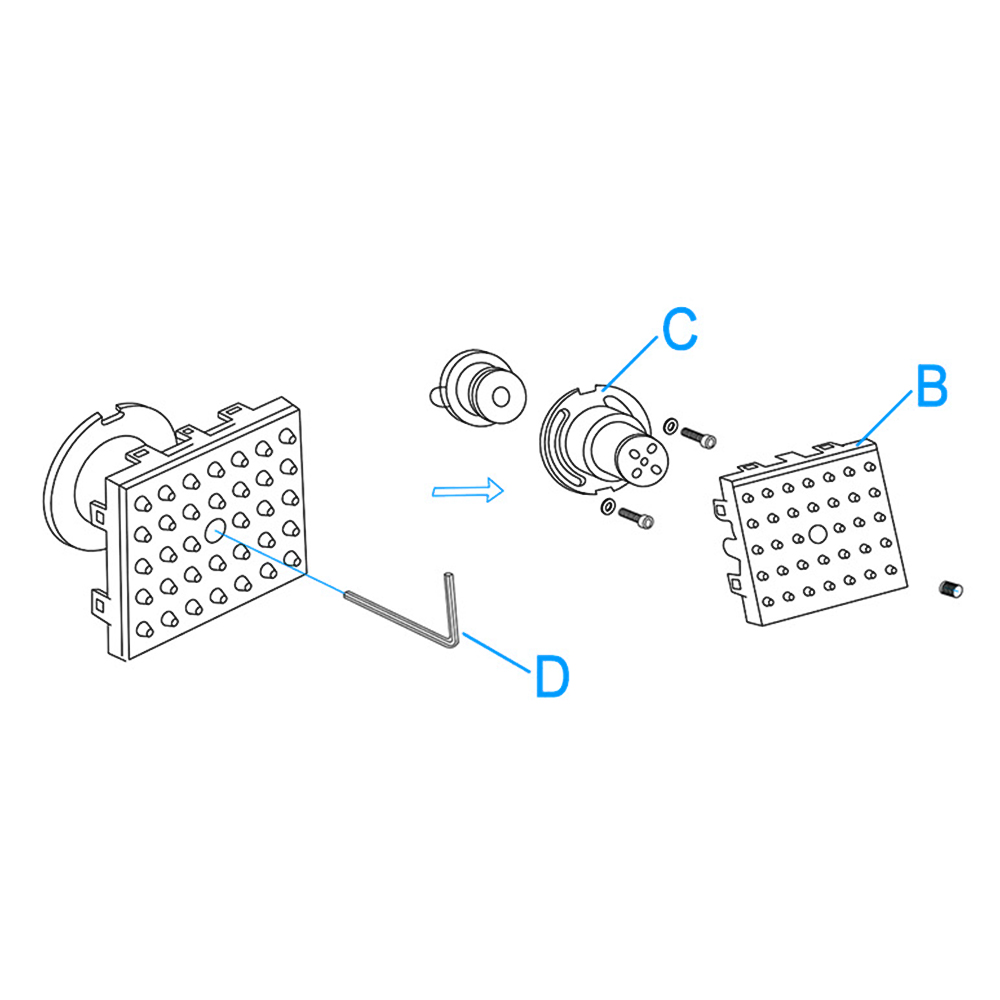
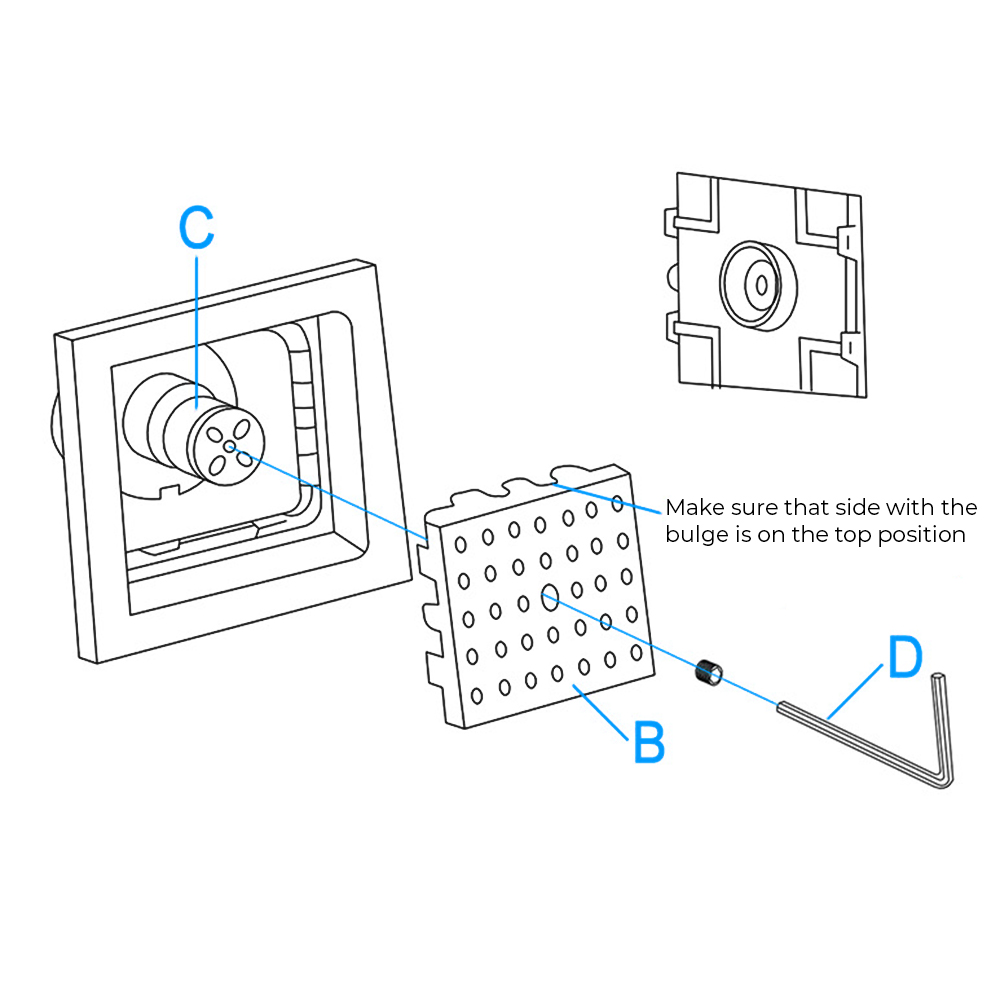
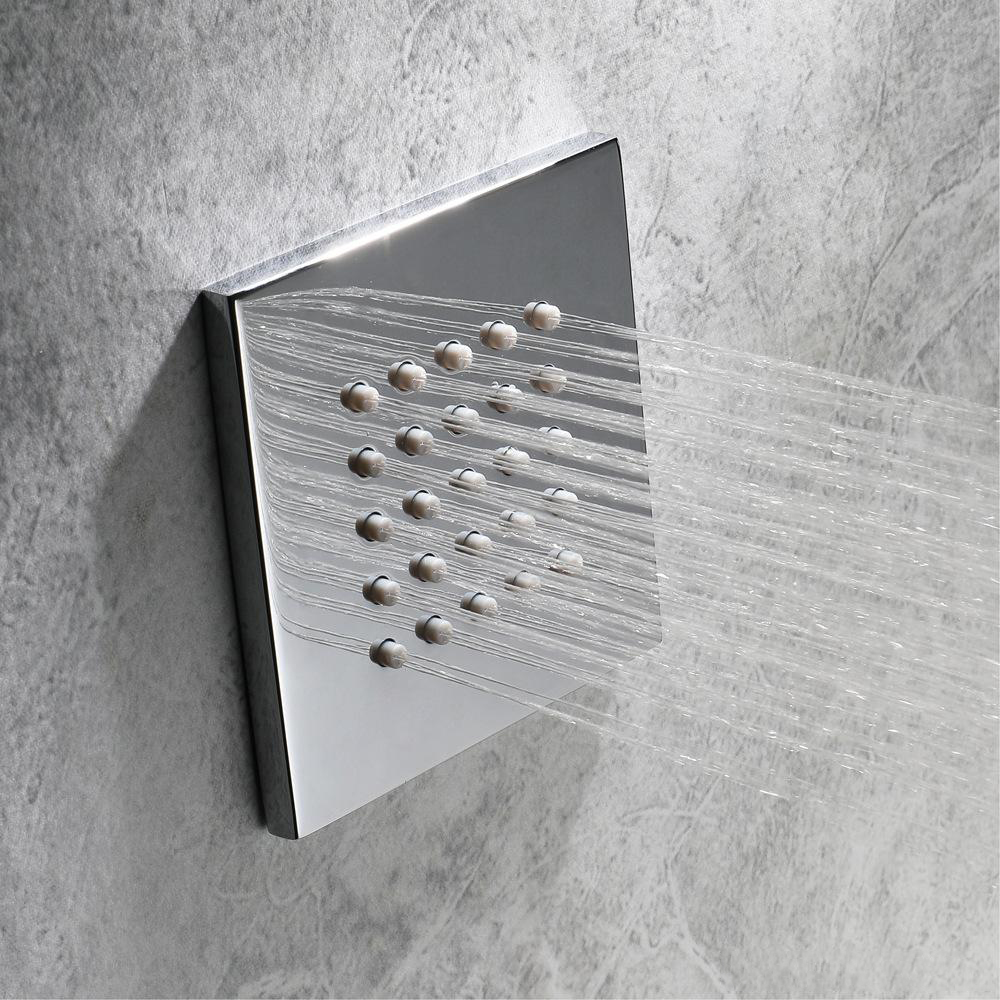
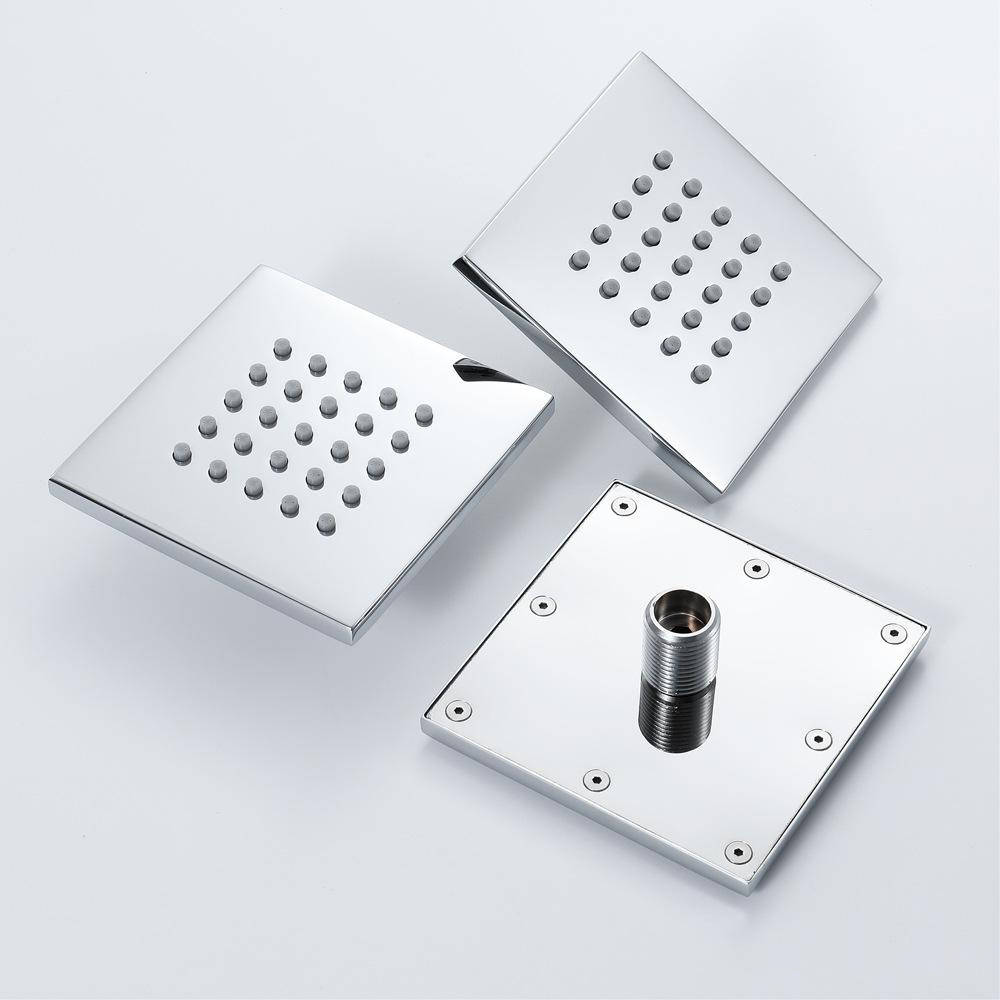
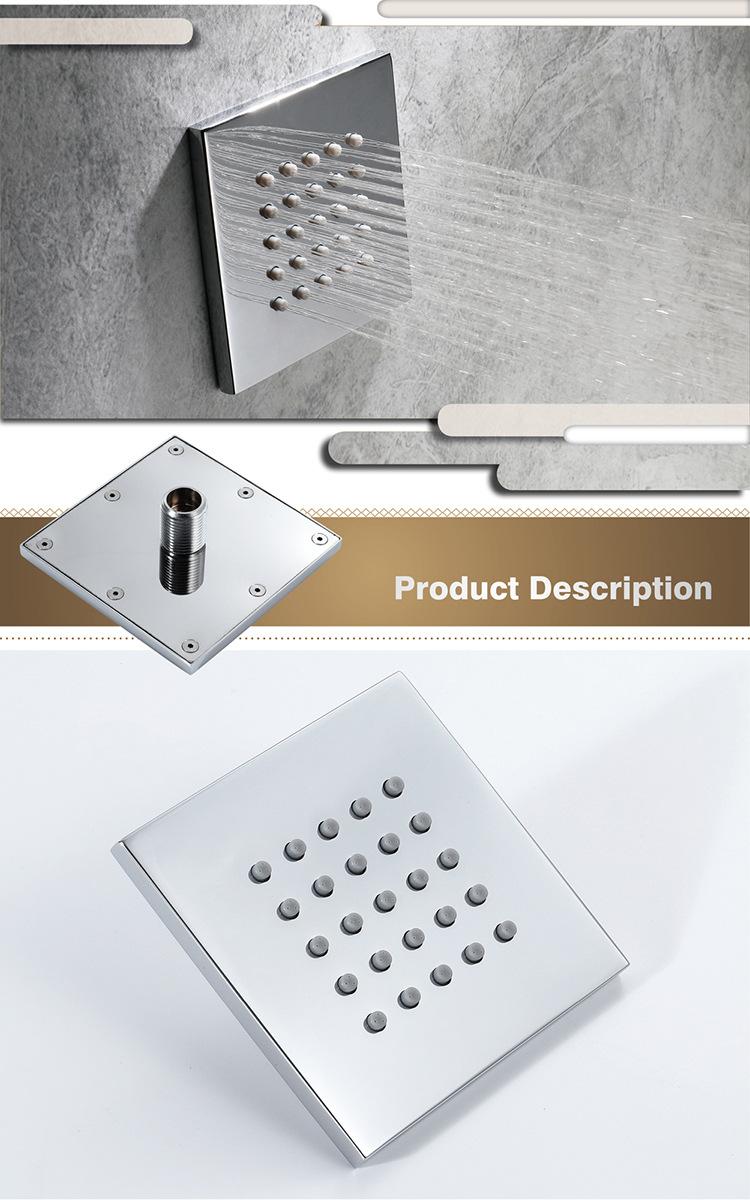
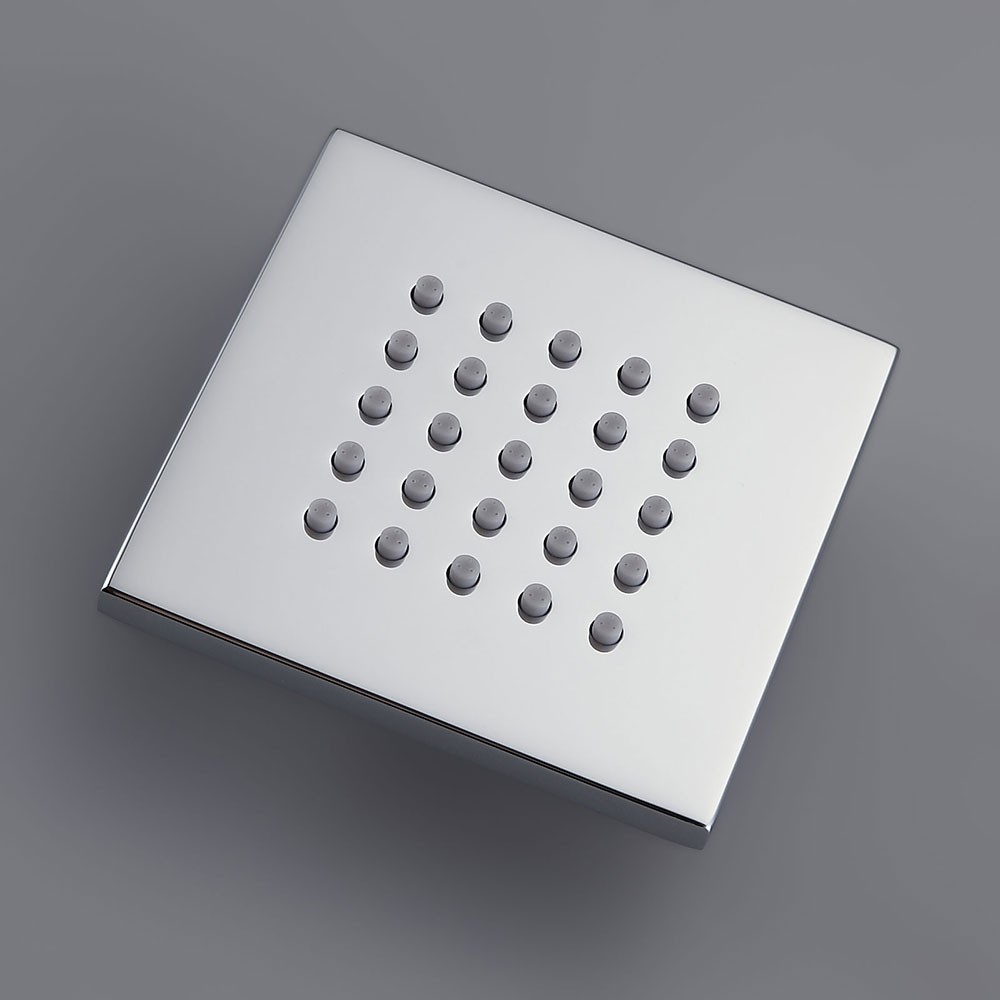
Shower Body Jets Installation Instructions
Rough-in Suggestion:
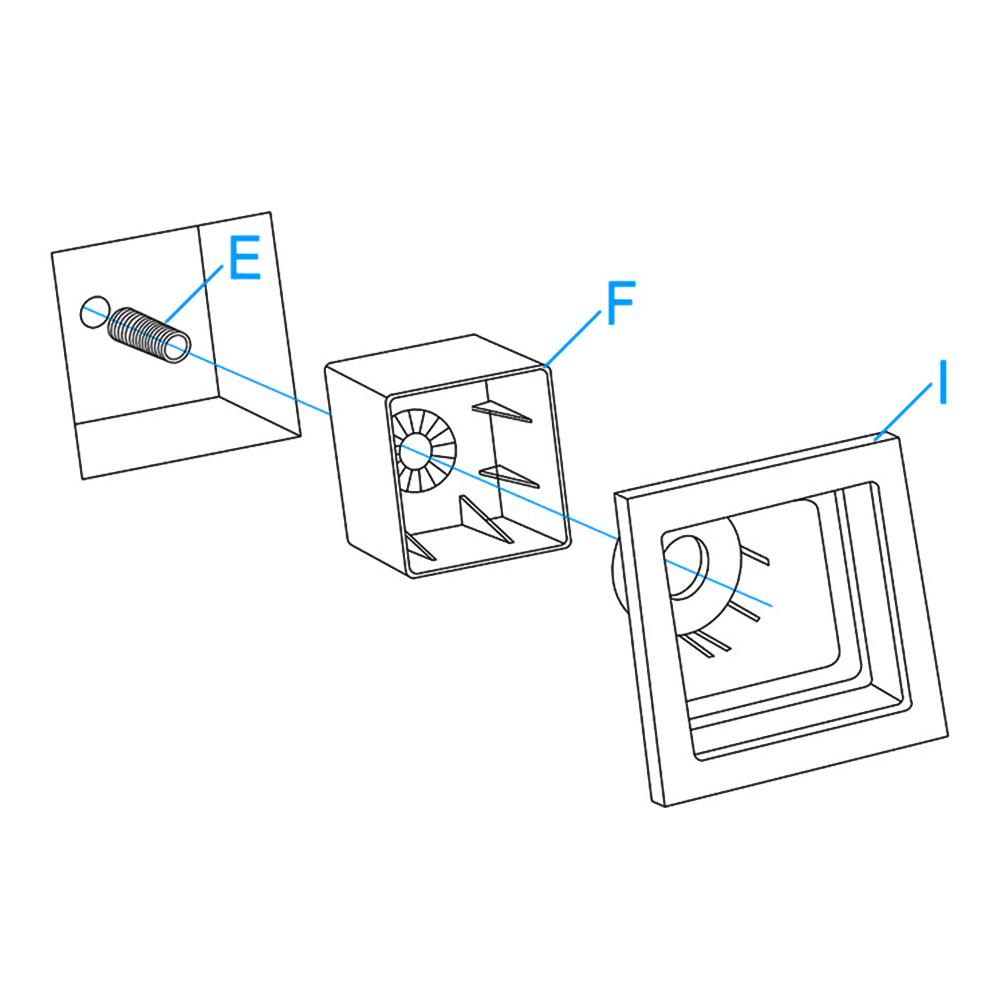
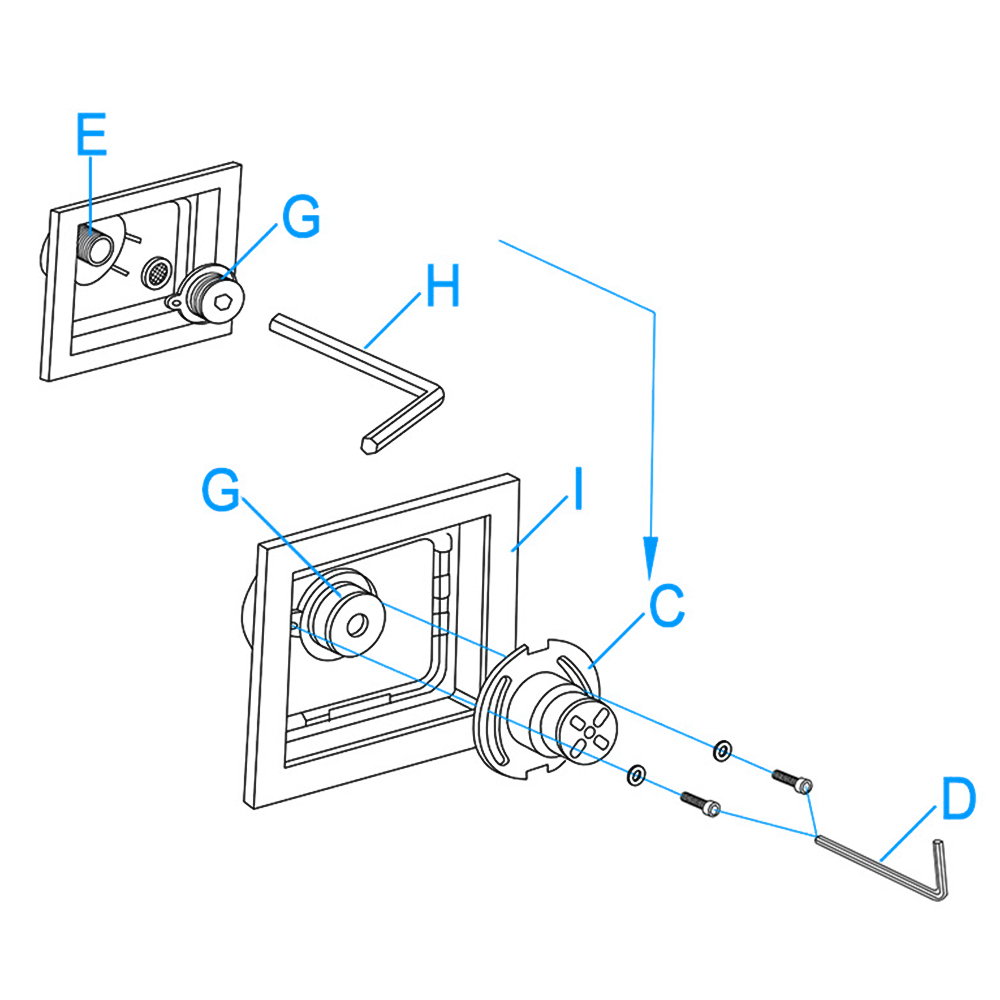
This installation requires a 1/2" male threaded pipe fitting to extend 1/4" beyond the finished surface. The plumber should install a properly anchored 1/2" female pipe fitting (i.e. a drop-ear ell) recessed into the wall, into which a brass pipe nipple of proper length can be fitted once the finished wall is complete.
Note: The hole size opening should be 1.5" max diameter.
Bodyspray placement:
Custom shower systems are sized to the user or users. Bodysprays are normally placed at the upper back, middle back, and upper thigh. Always position bodysprays according to the preferences of the user(s).
Pressure Balancing Loop:
If installing bodysprays in a bank of 3 or fewer, a pressure balancing loop is not necessary.
If installing bodysprays in a bank of 4 or greater, a pressure balancing loop must be used to keep the pressure even between the bodysprays.
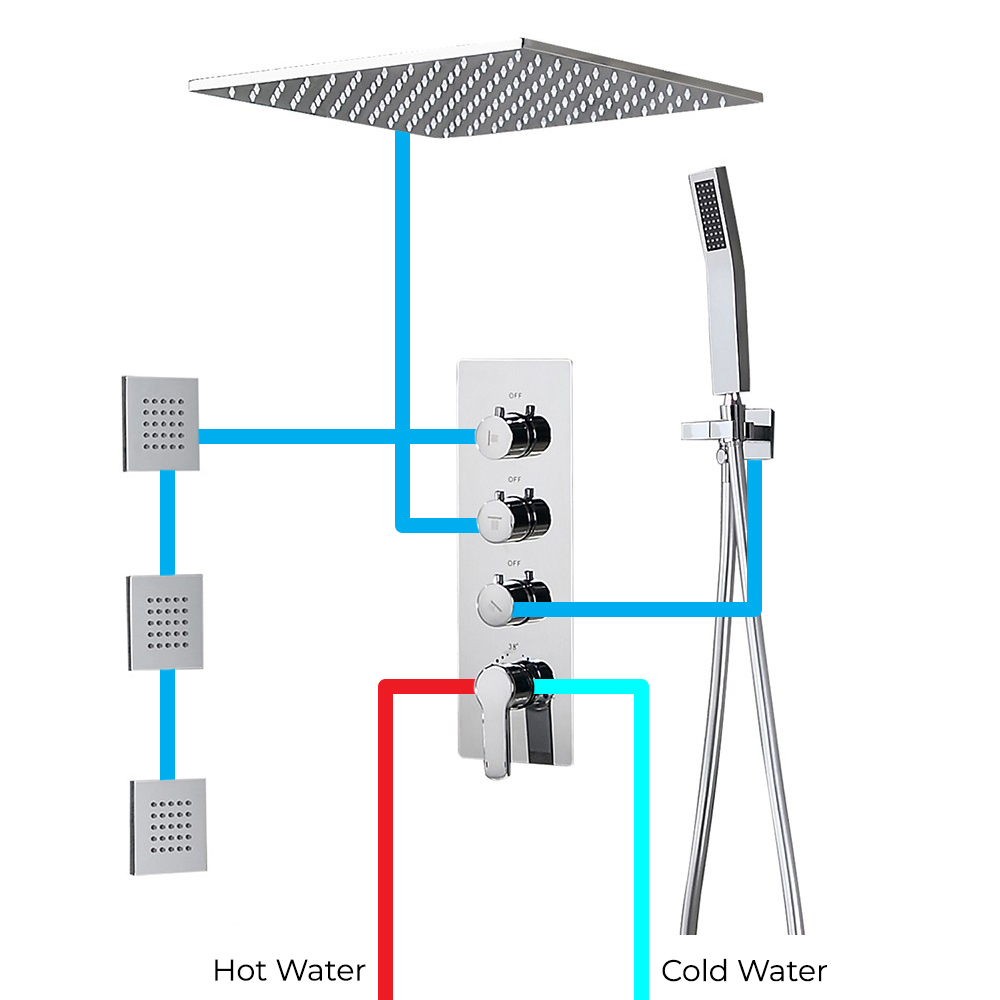
Thermostatic Mixer Installation Instructions
|
Step 1:
|
|
Step 2:
|
|
|
Shower
Mixer
|
|

|
|
|
|
|
|
Shower Valve Mixer Installation Instructions
|
|
|
|
|
Step 3:
|
|
Step 4:
|
|
|
|
|
|
|
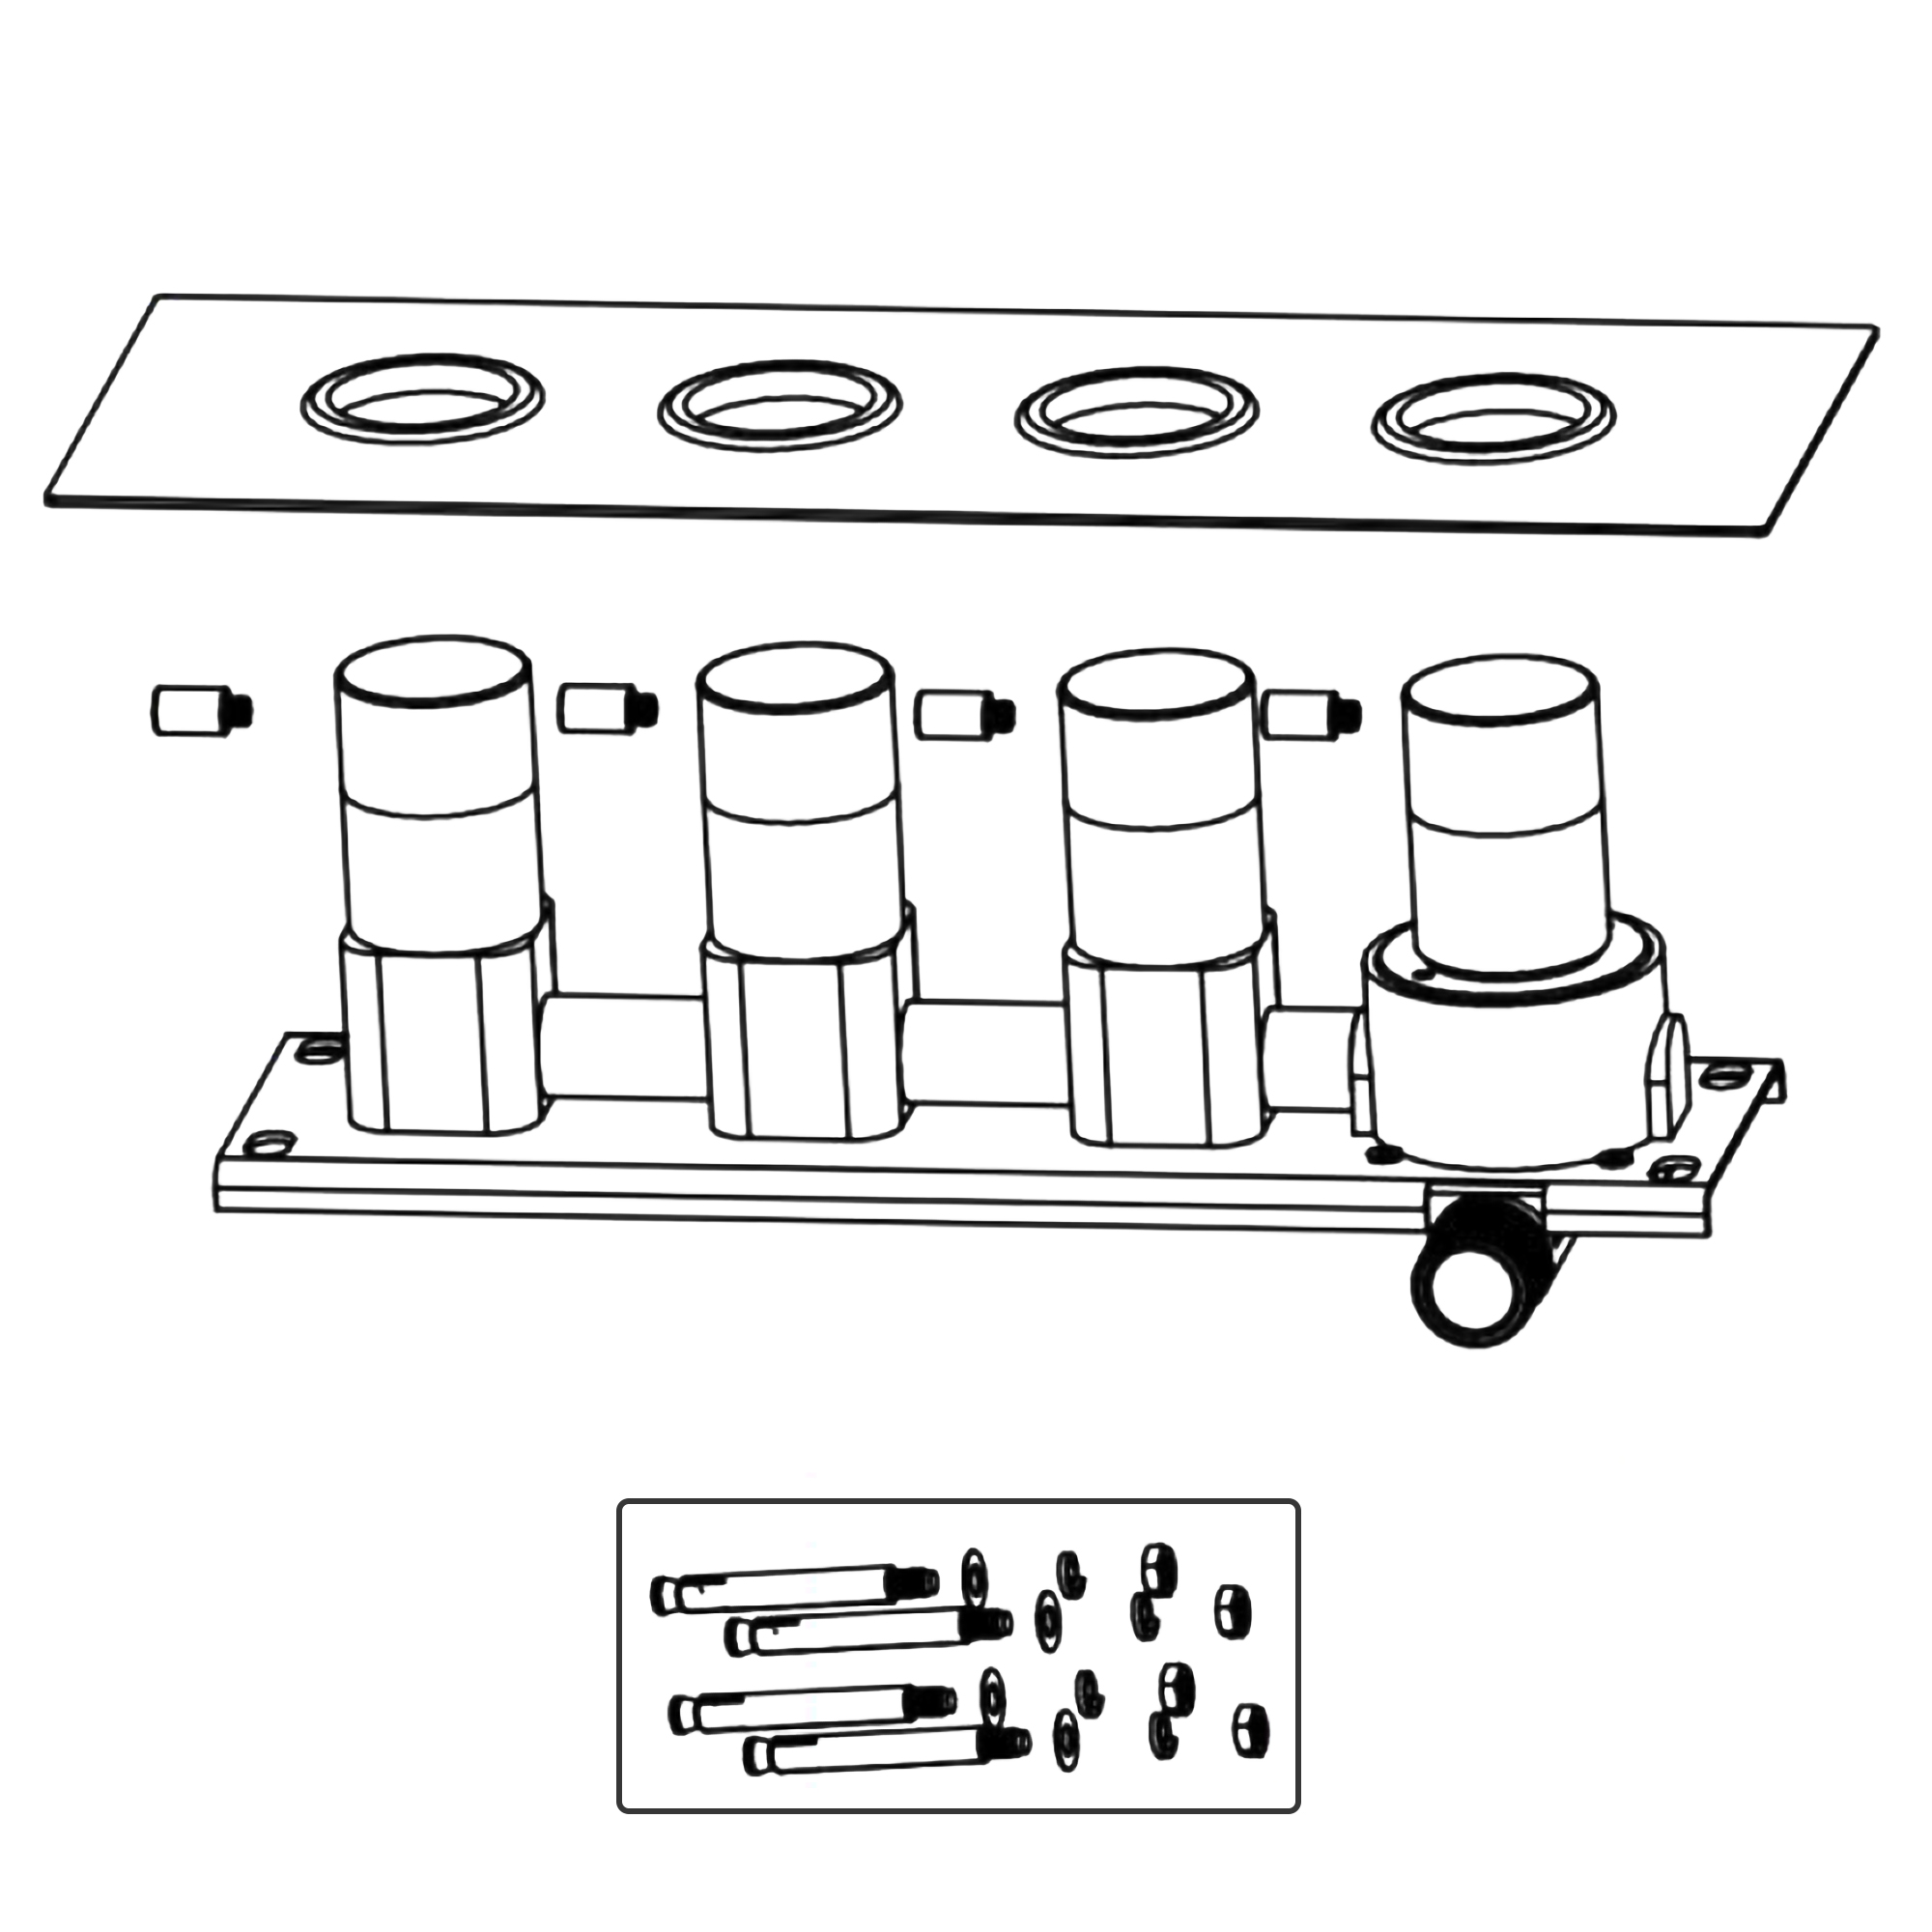
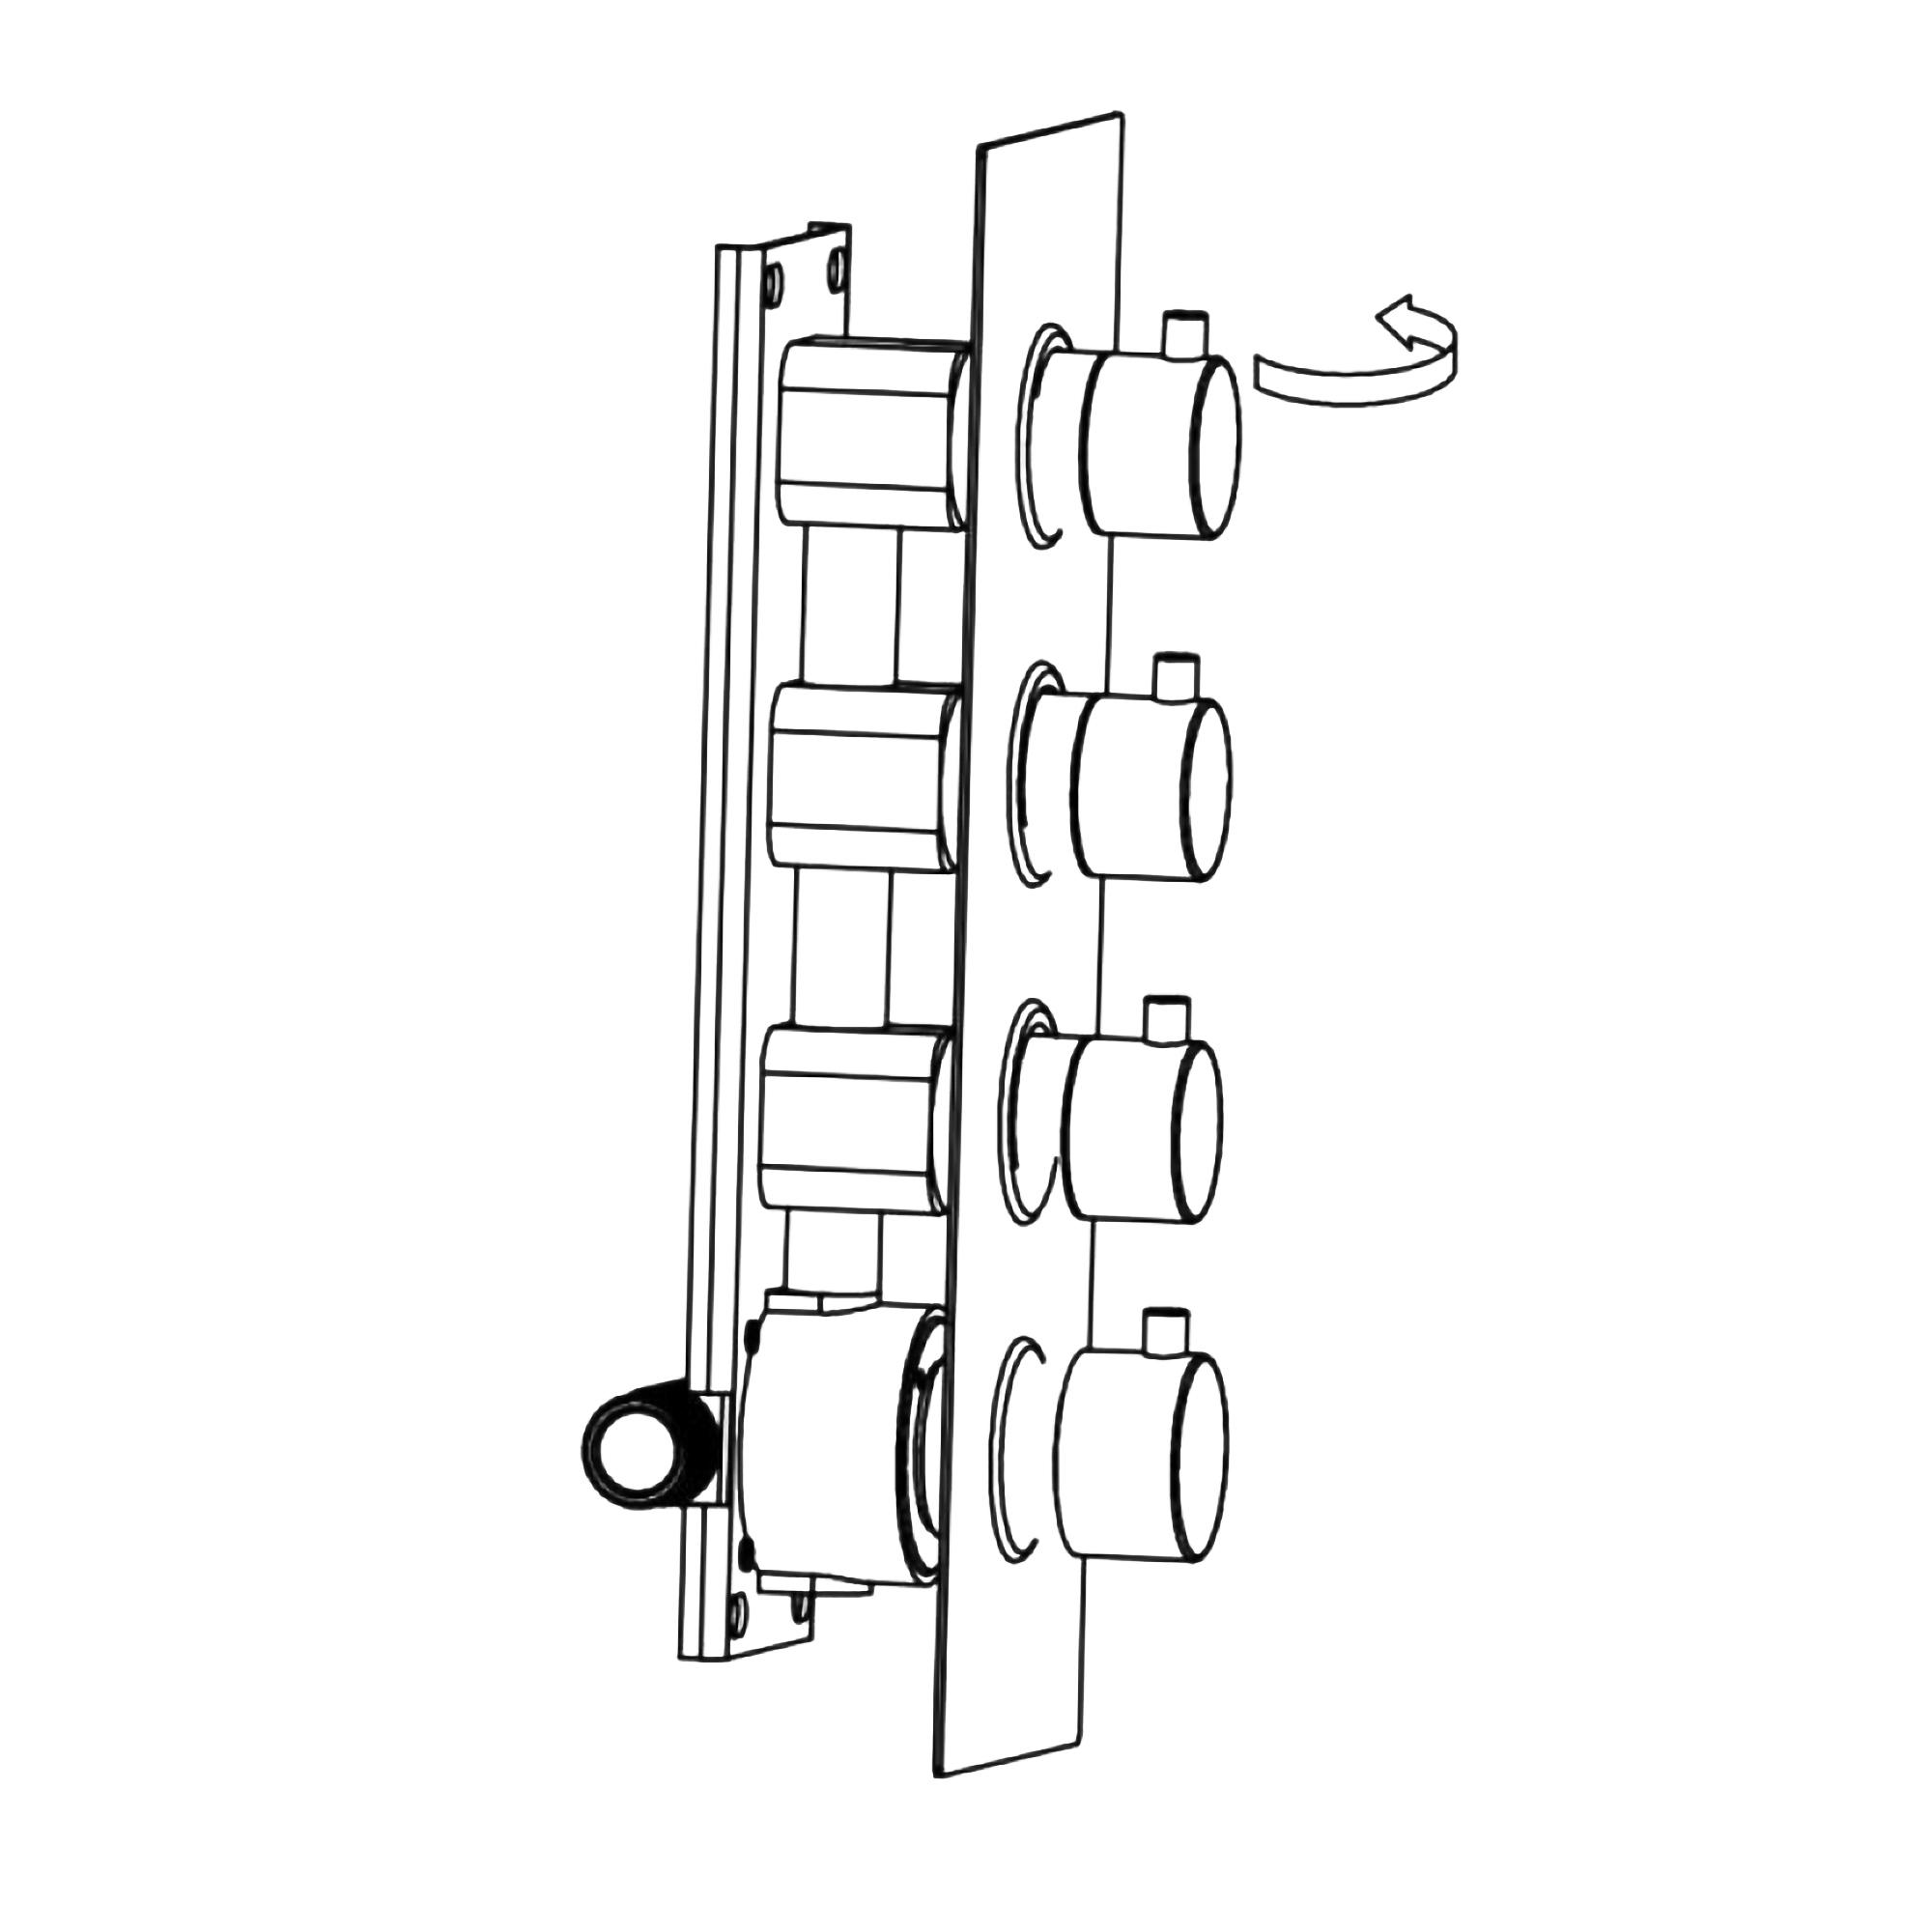
Please screw the handles out according to the above direction.
|
|
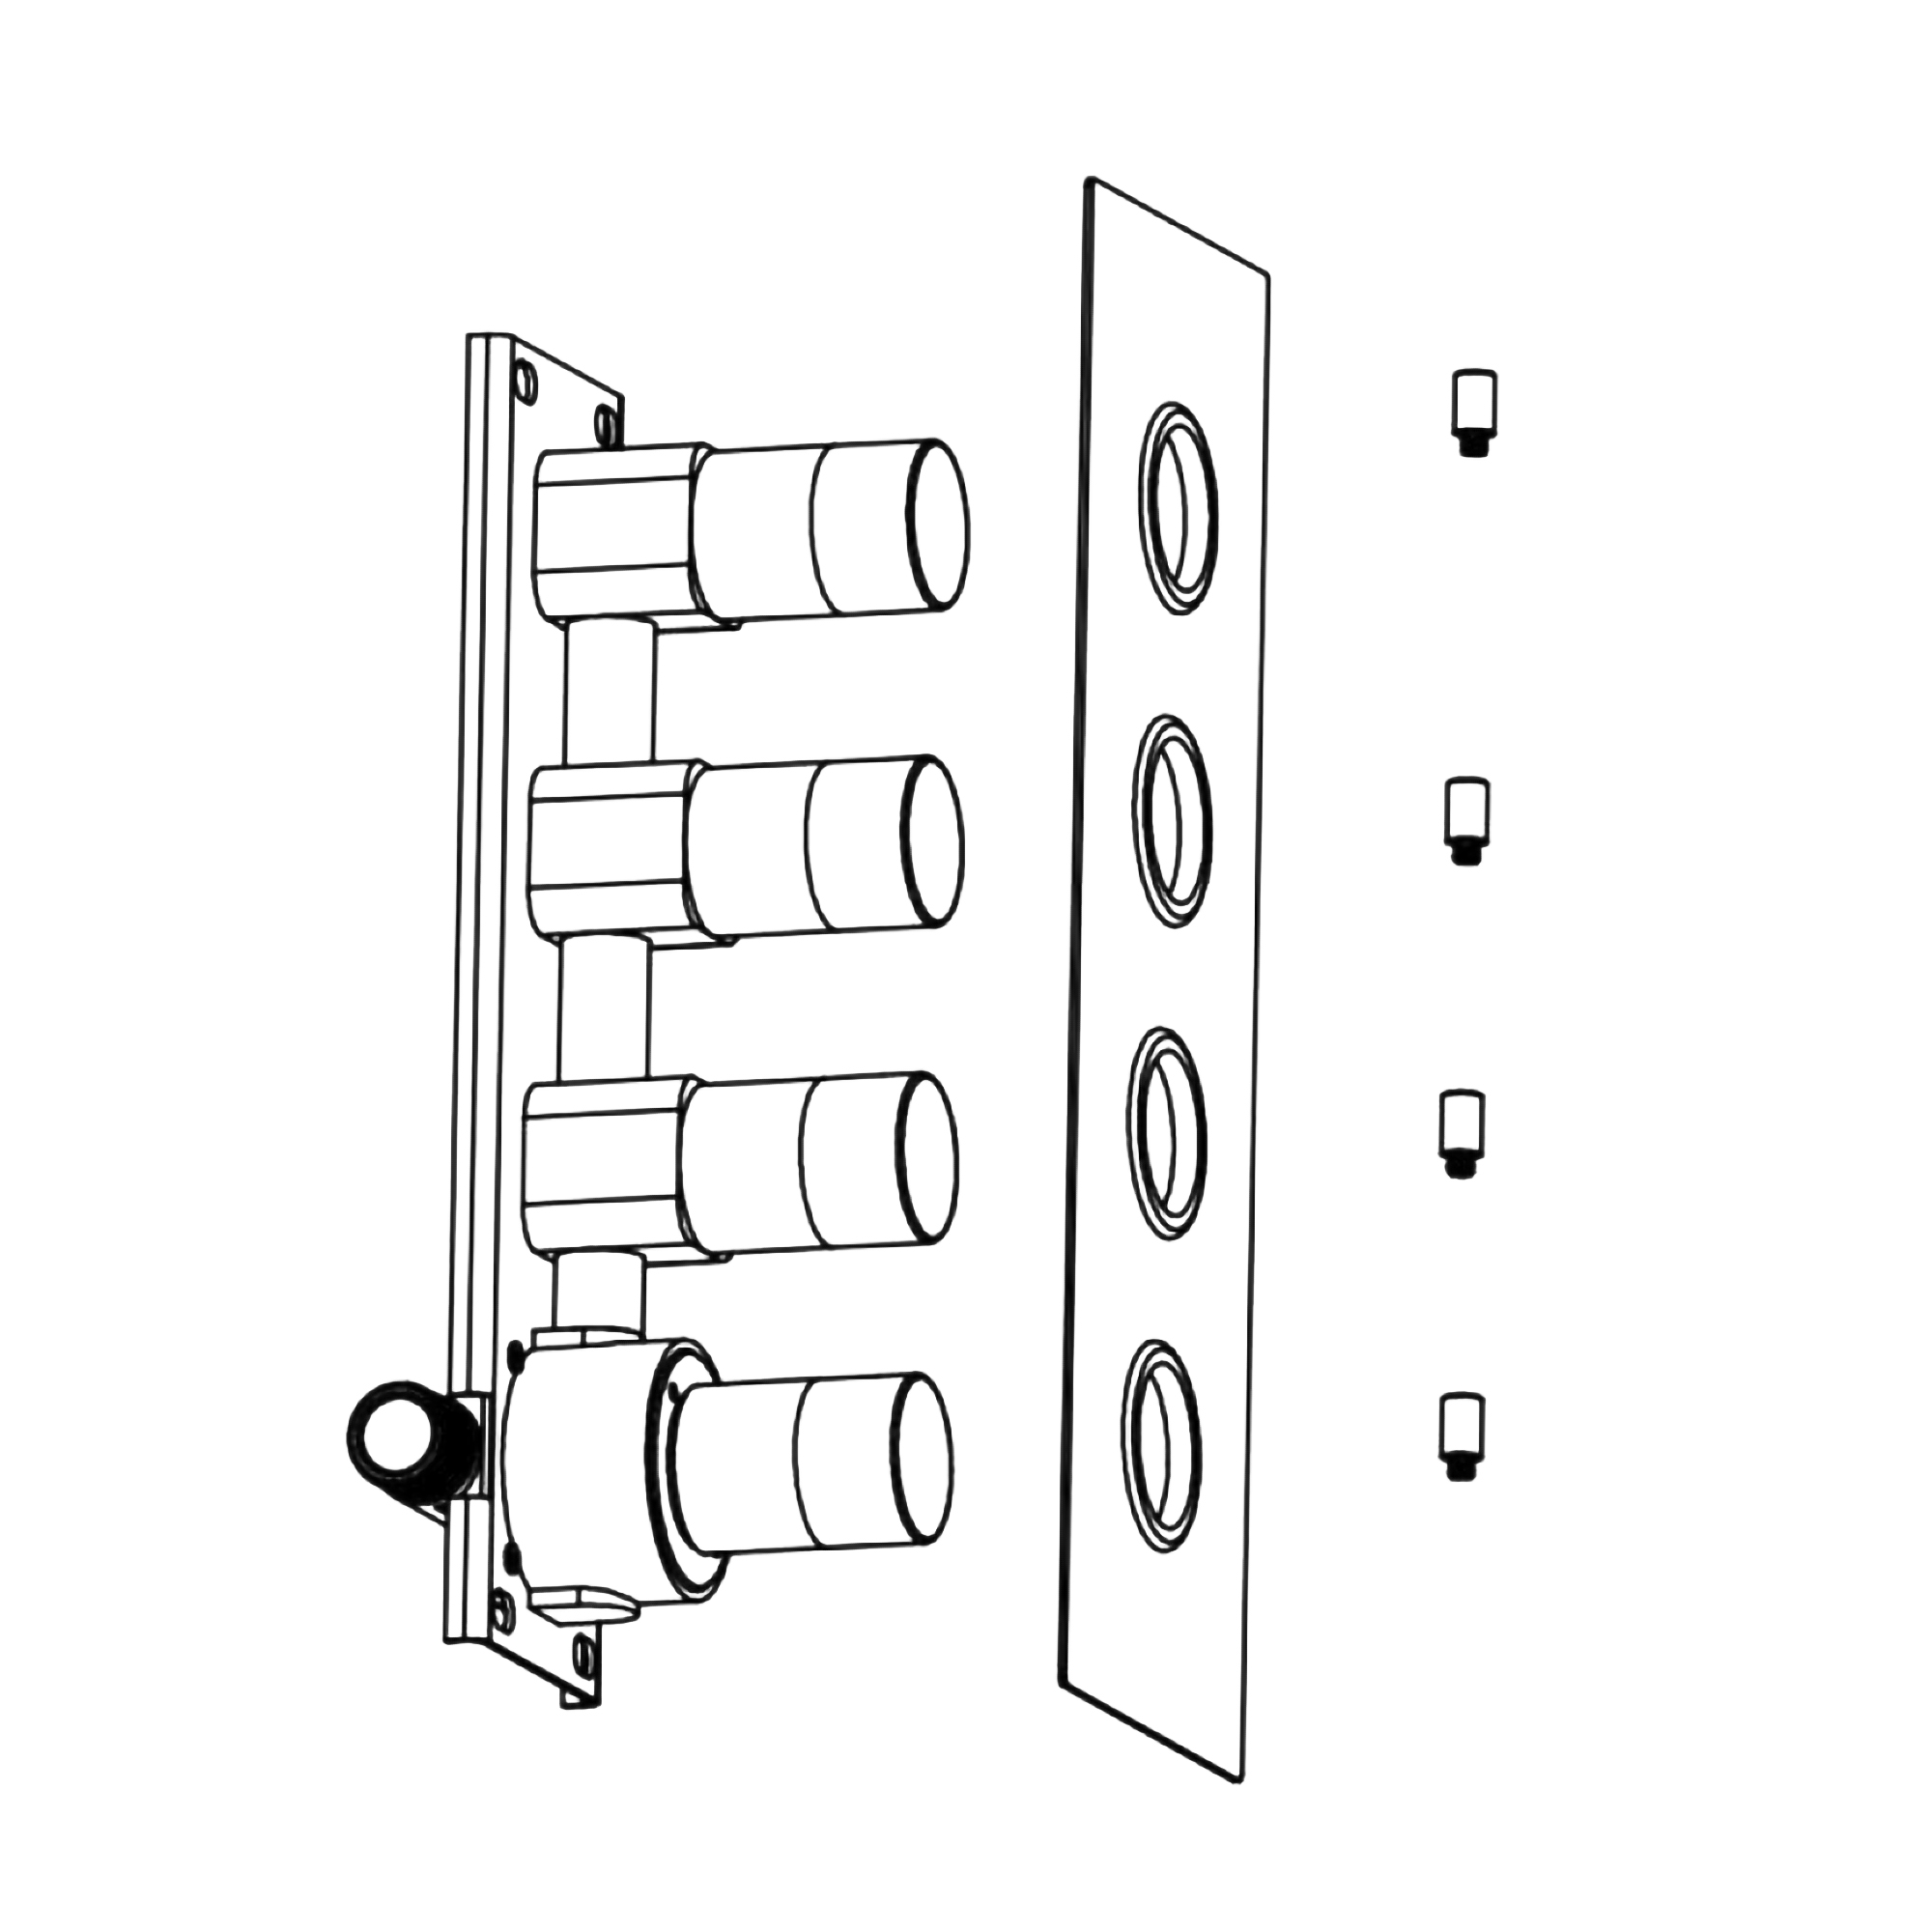
Take board and four handles out of the faucet body.
|
|
|
Shower Valve Mixer Installation Instructions
|
|
|
|
|
Step 5:
|
|
Step 6:
|
|
|
|
|
|
|
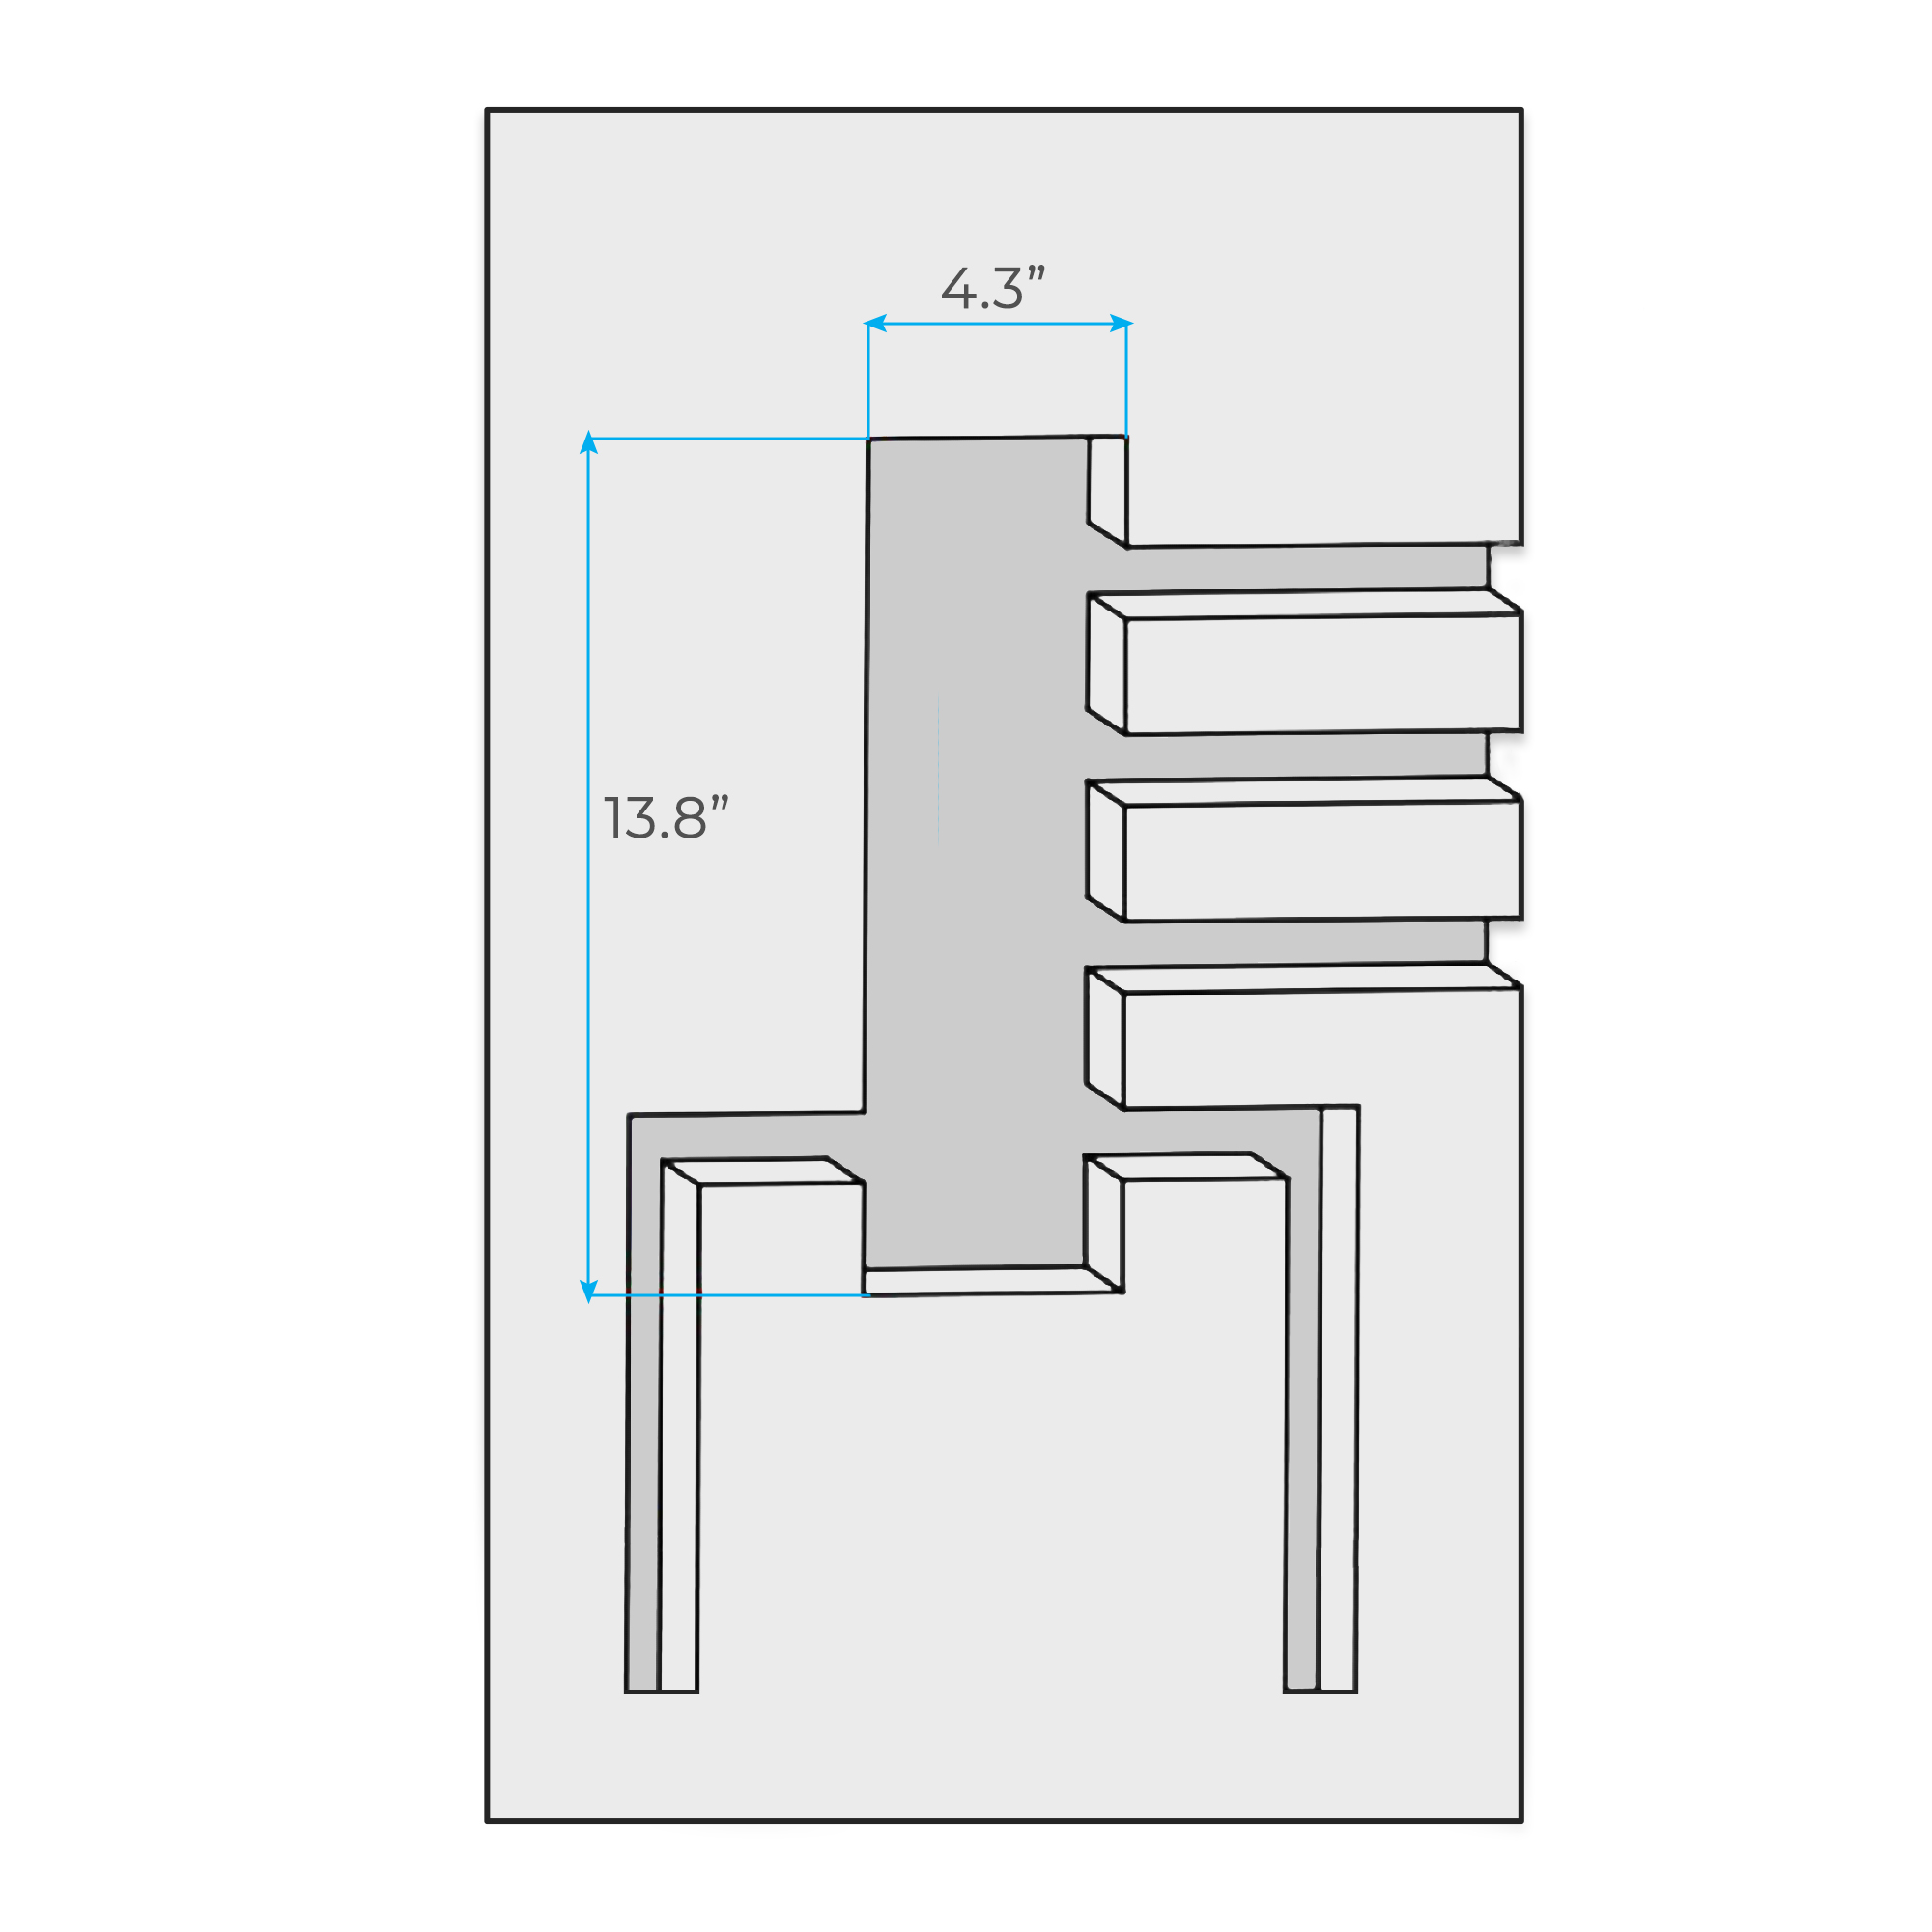
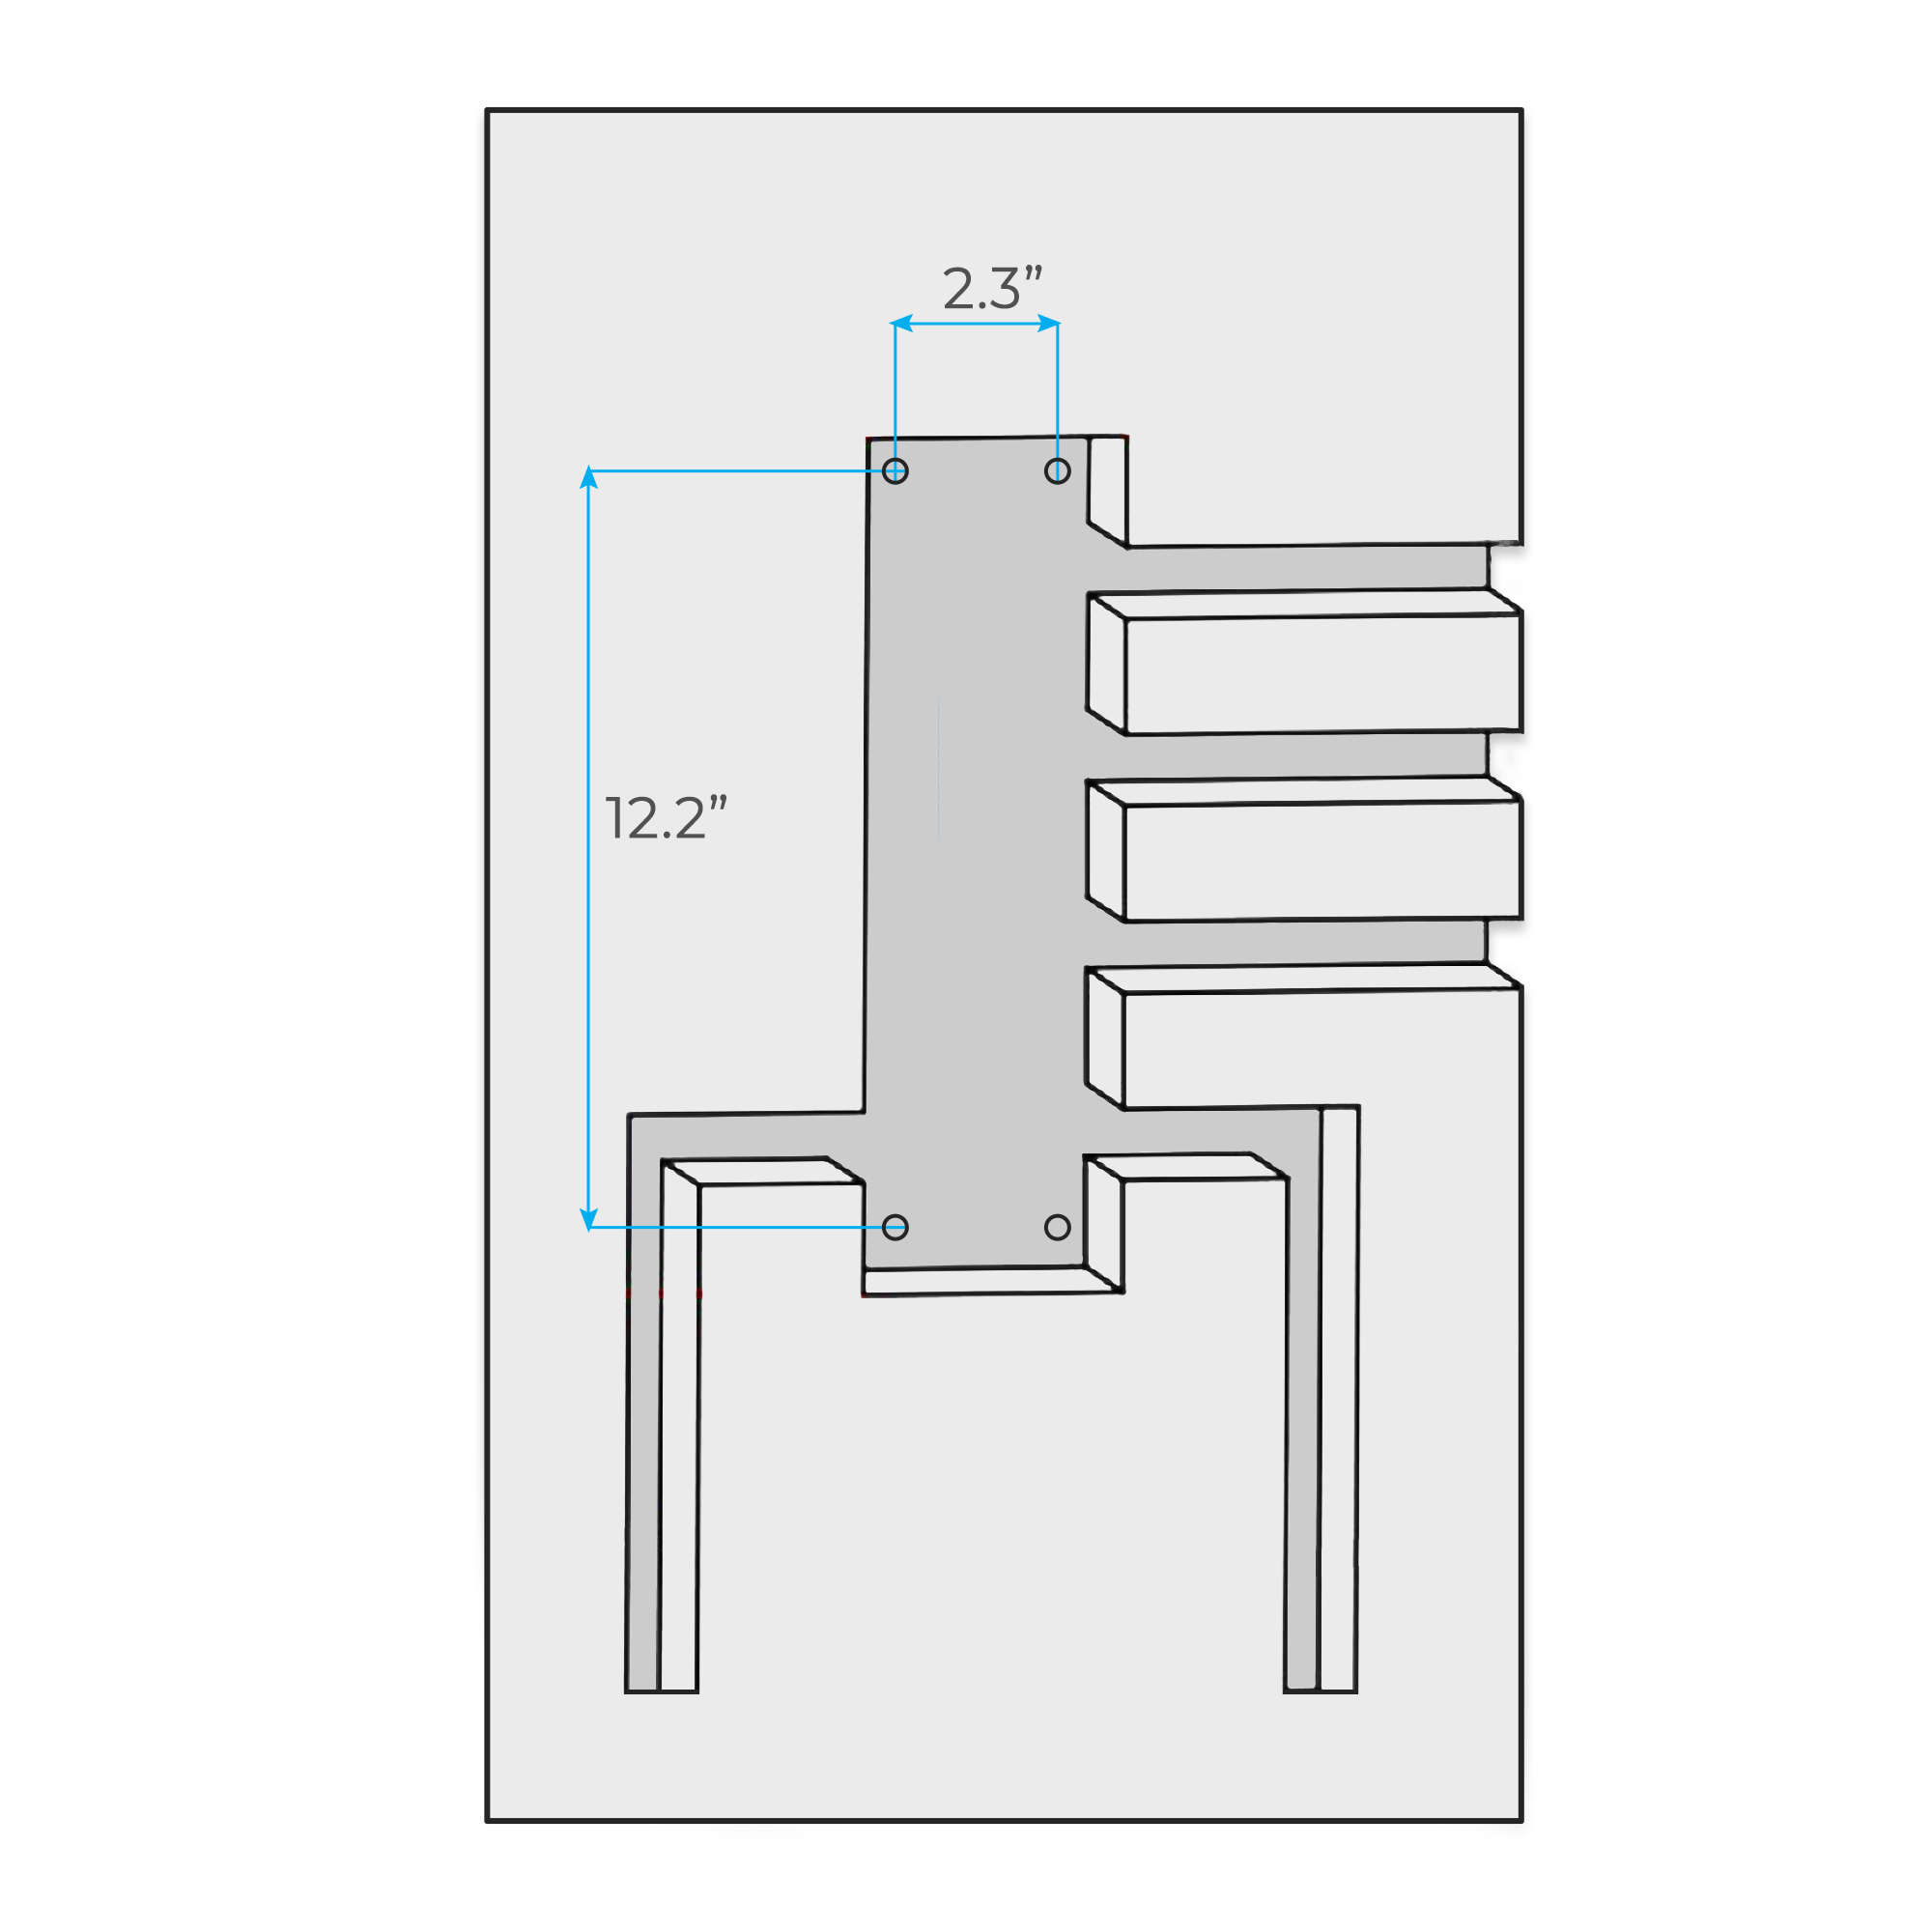
According to the actual size, get all pipe embedded mounts well ready.
|
|
According to the product basic size, dig four holes on the ideal place of the wall.
|
|
|
Shower Valve Mixer Installation Instructions
|
|
|
|
|
Step 7:
|
|
Step 8:
|
|
|
|

|
|
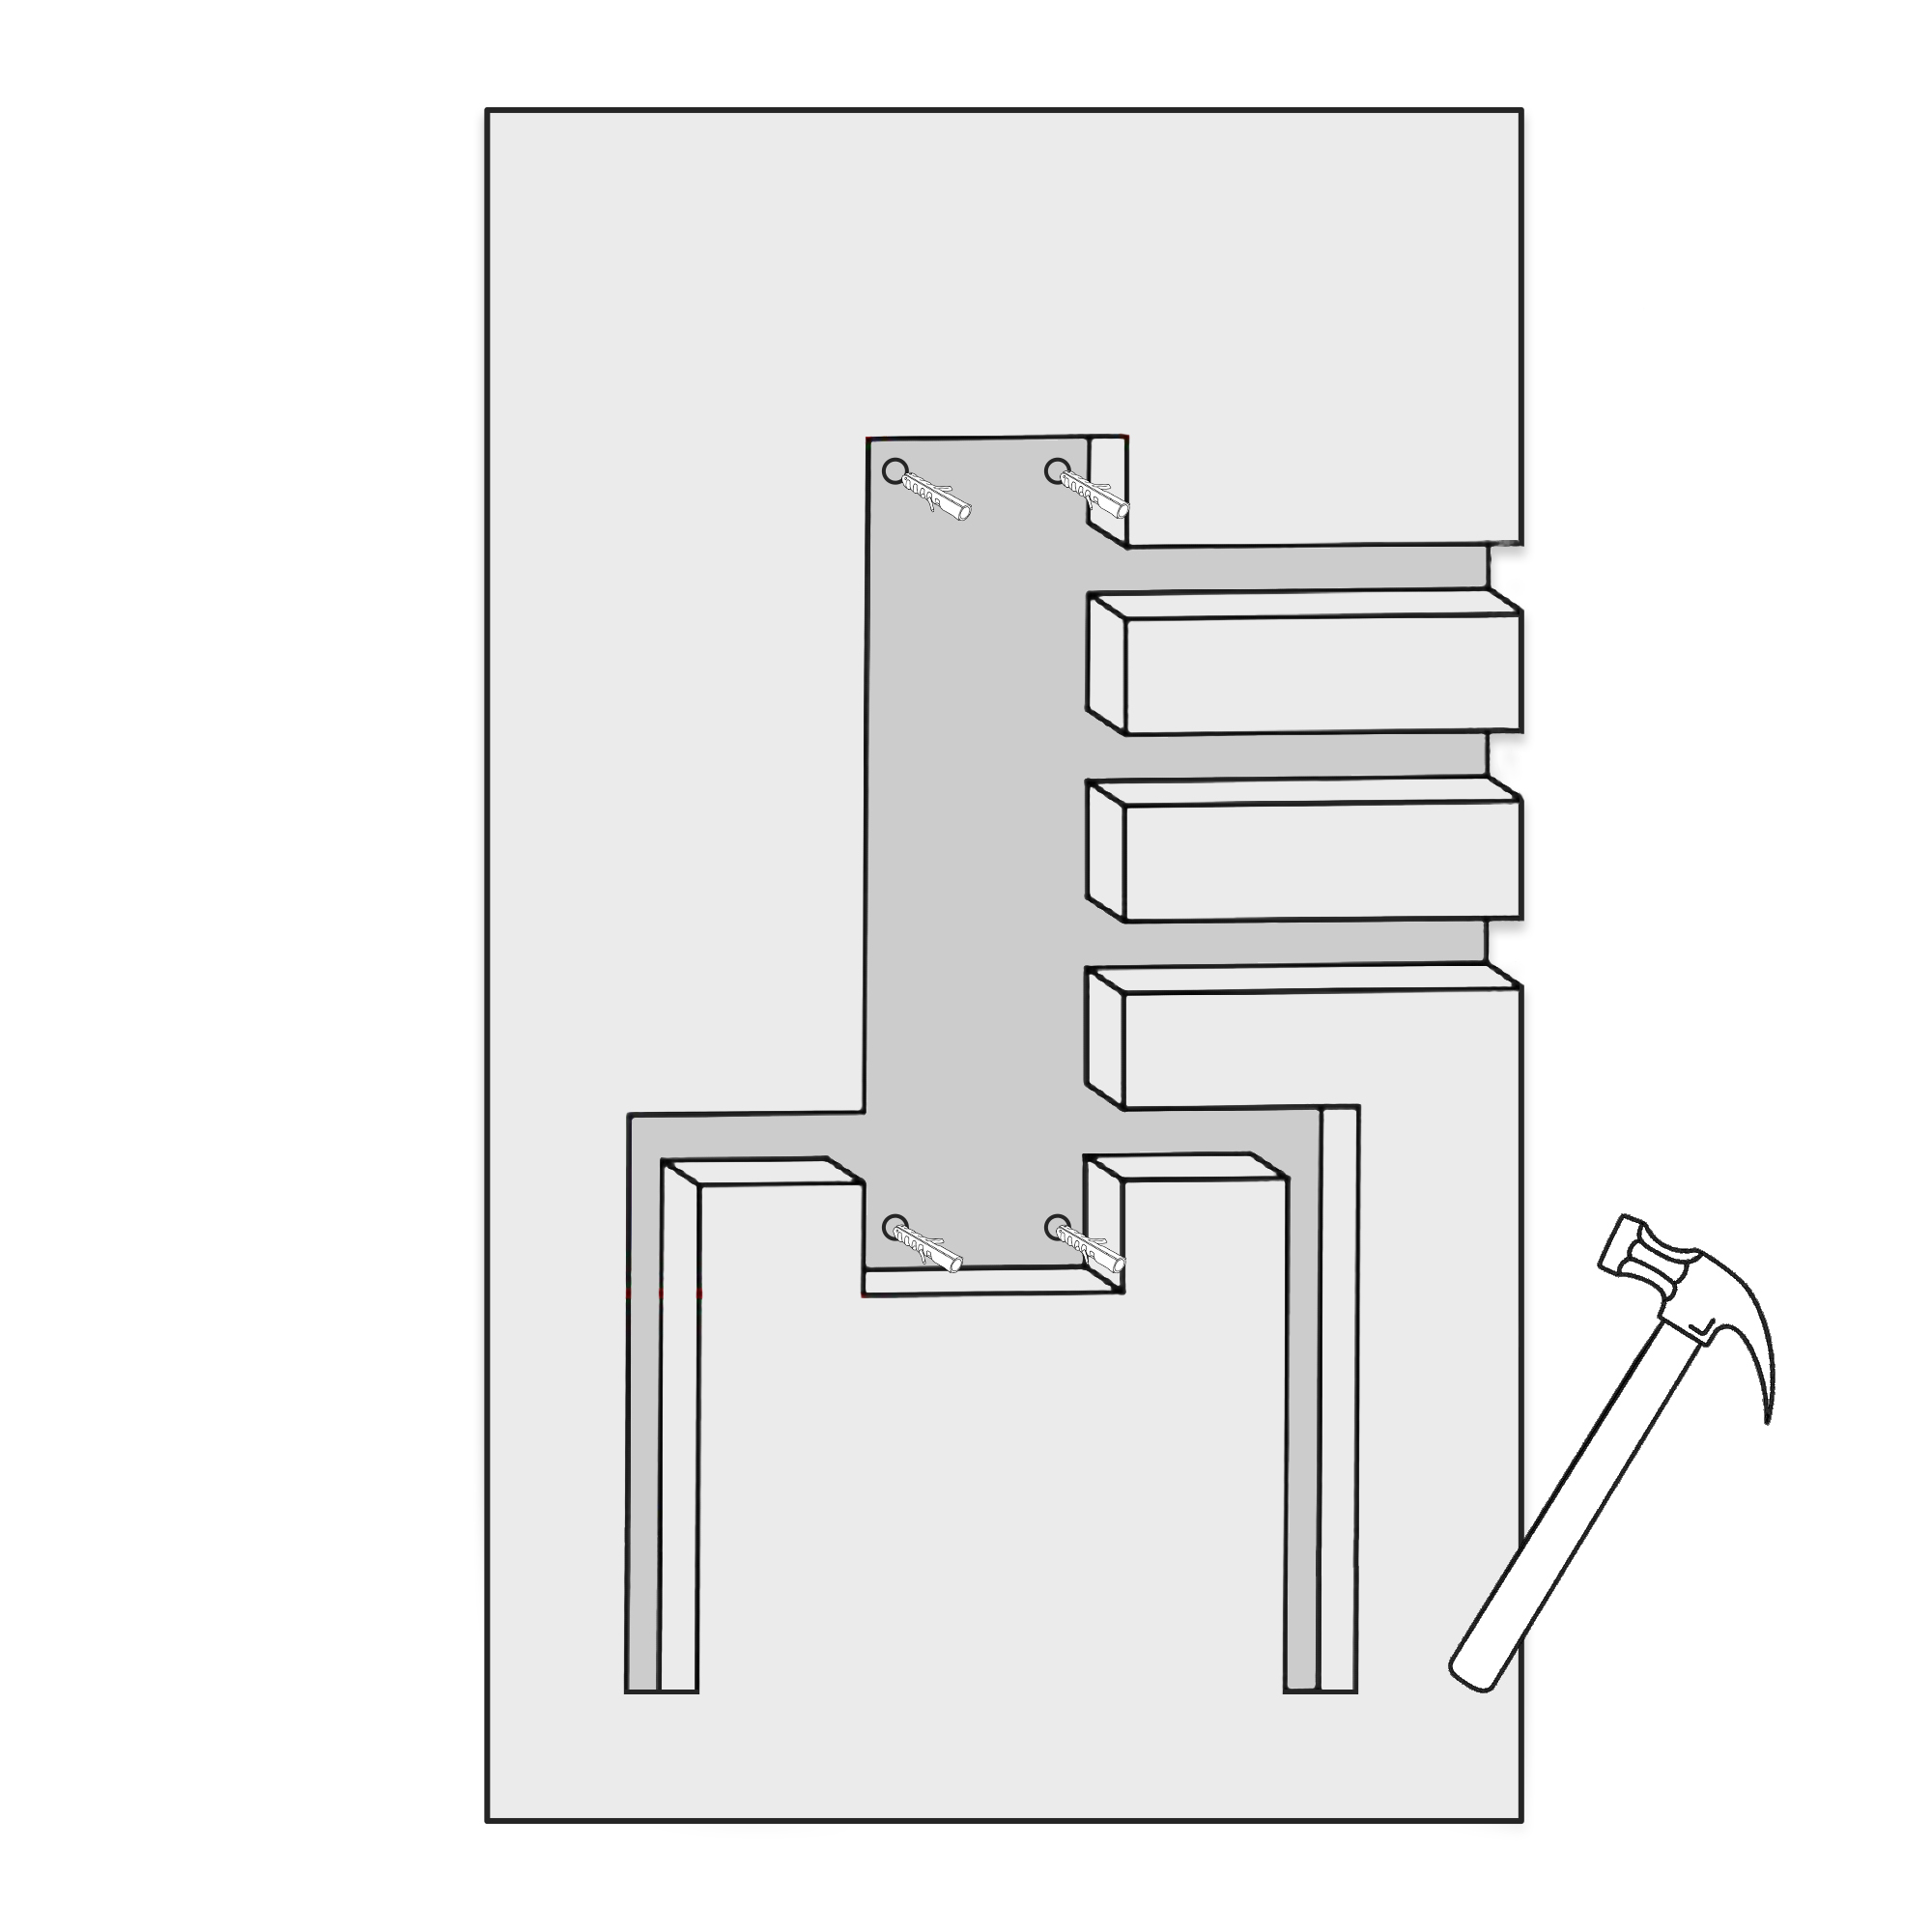
Place 4 tapping screws into the holes using a hammer.
|
|
Fix the faucet body by hand. And then take it into the four tapping screws.
|
|
|
Shower Valve Mixer Installation Instructions
|
|
|
|
|
Step 9:
|
|
Step 10:
|
|
|
|
|
|
|
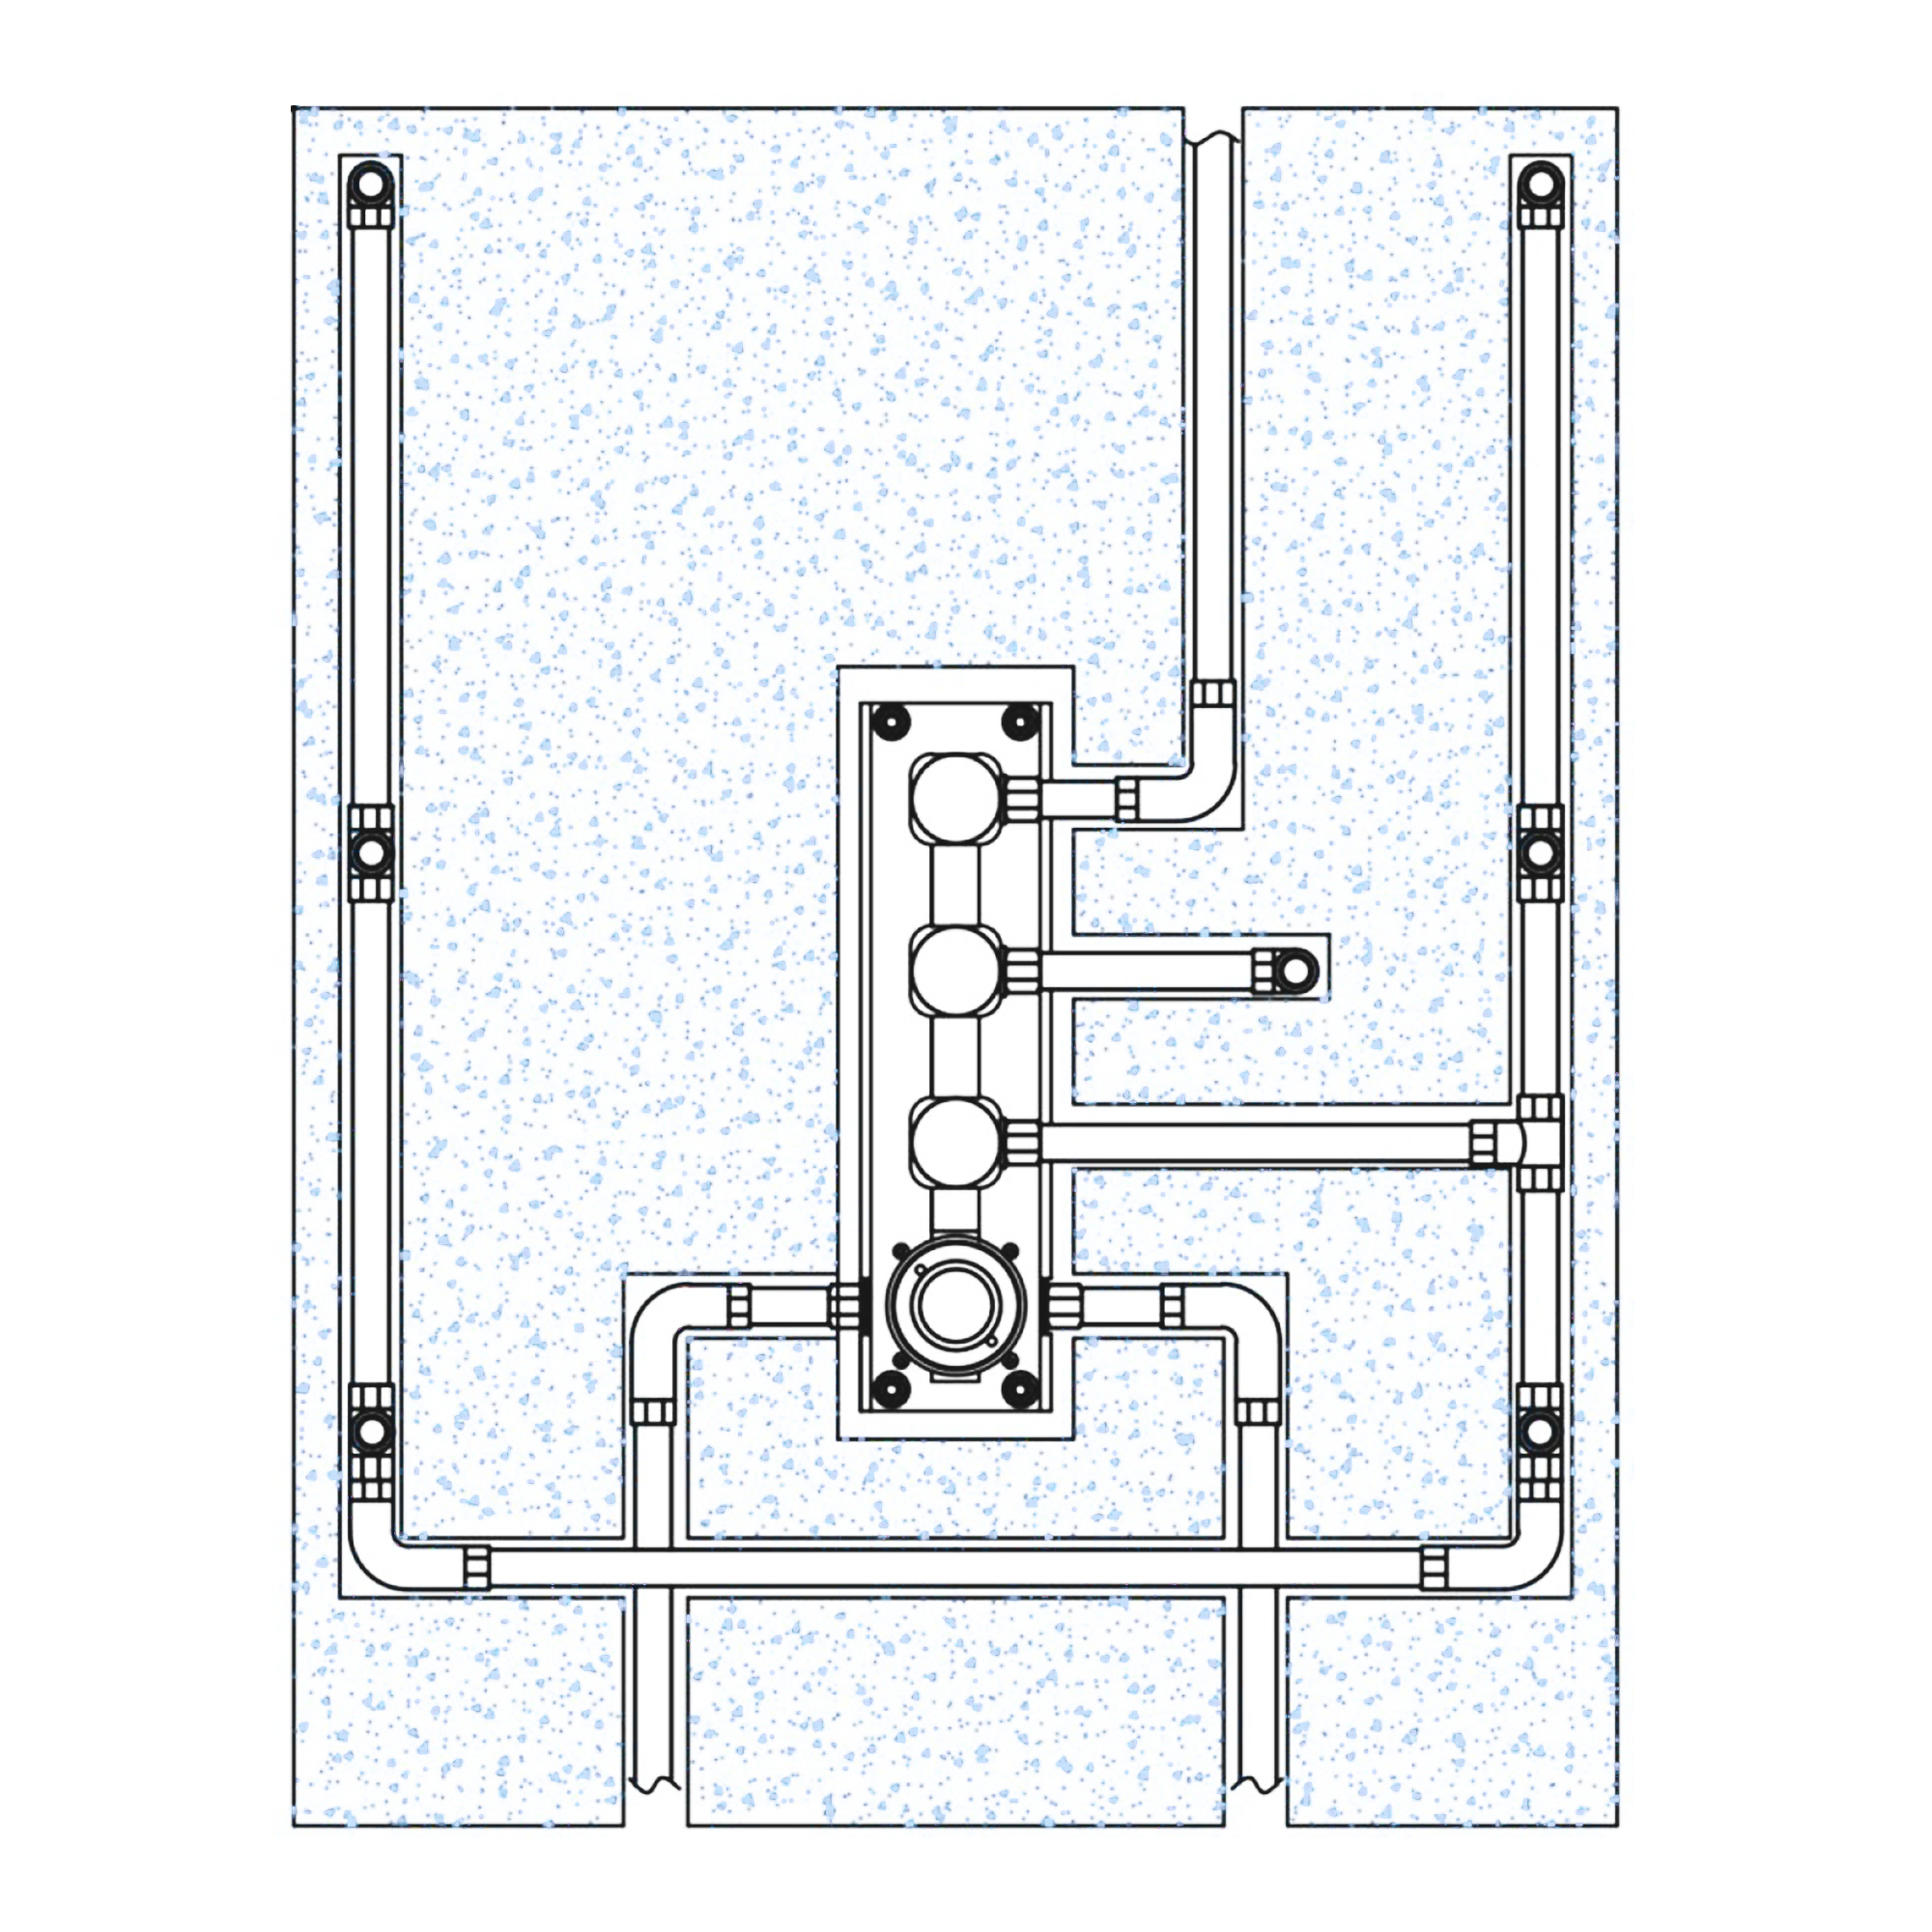
Connect hot & cold supply water pipes (not provided) and other water pipes. After that, open the water to test if all pipes have leakage or not. At last, seal the wall.
|
|
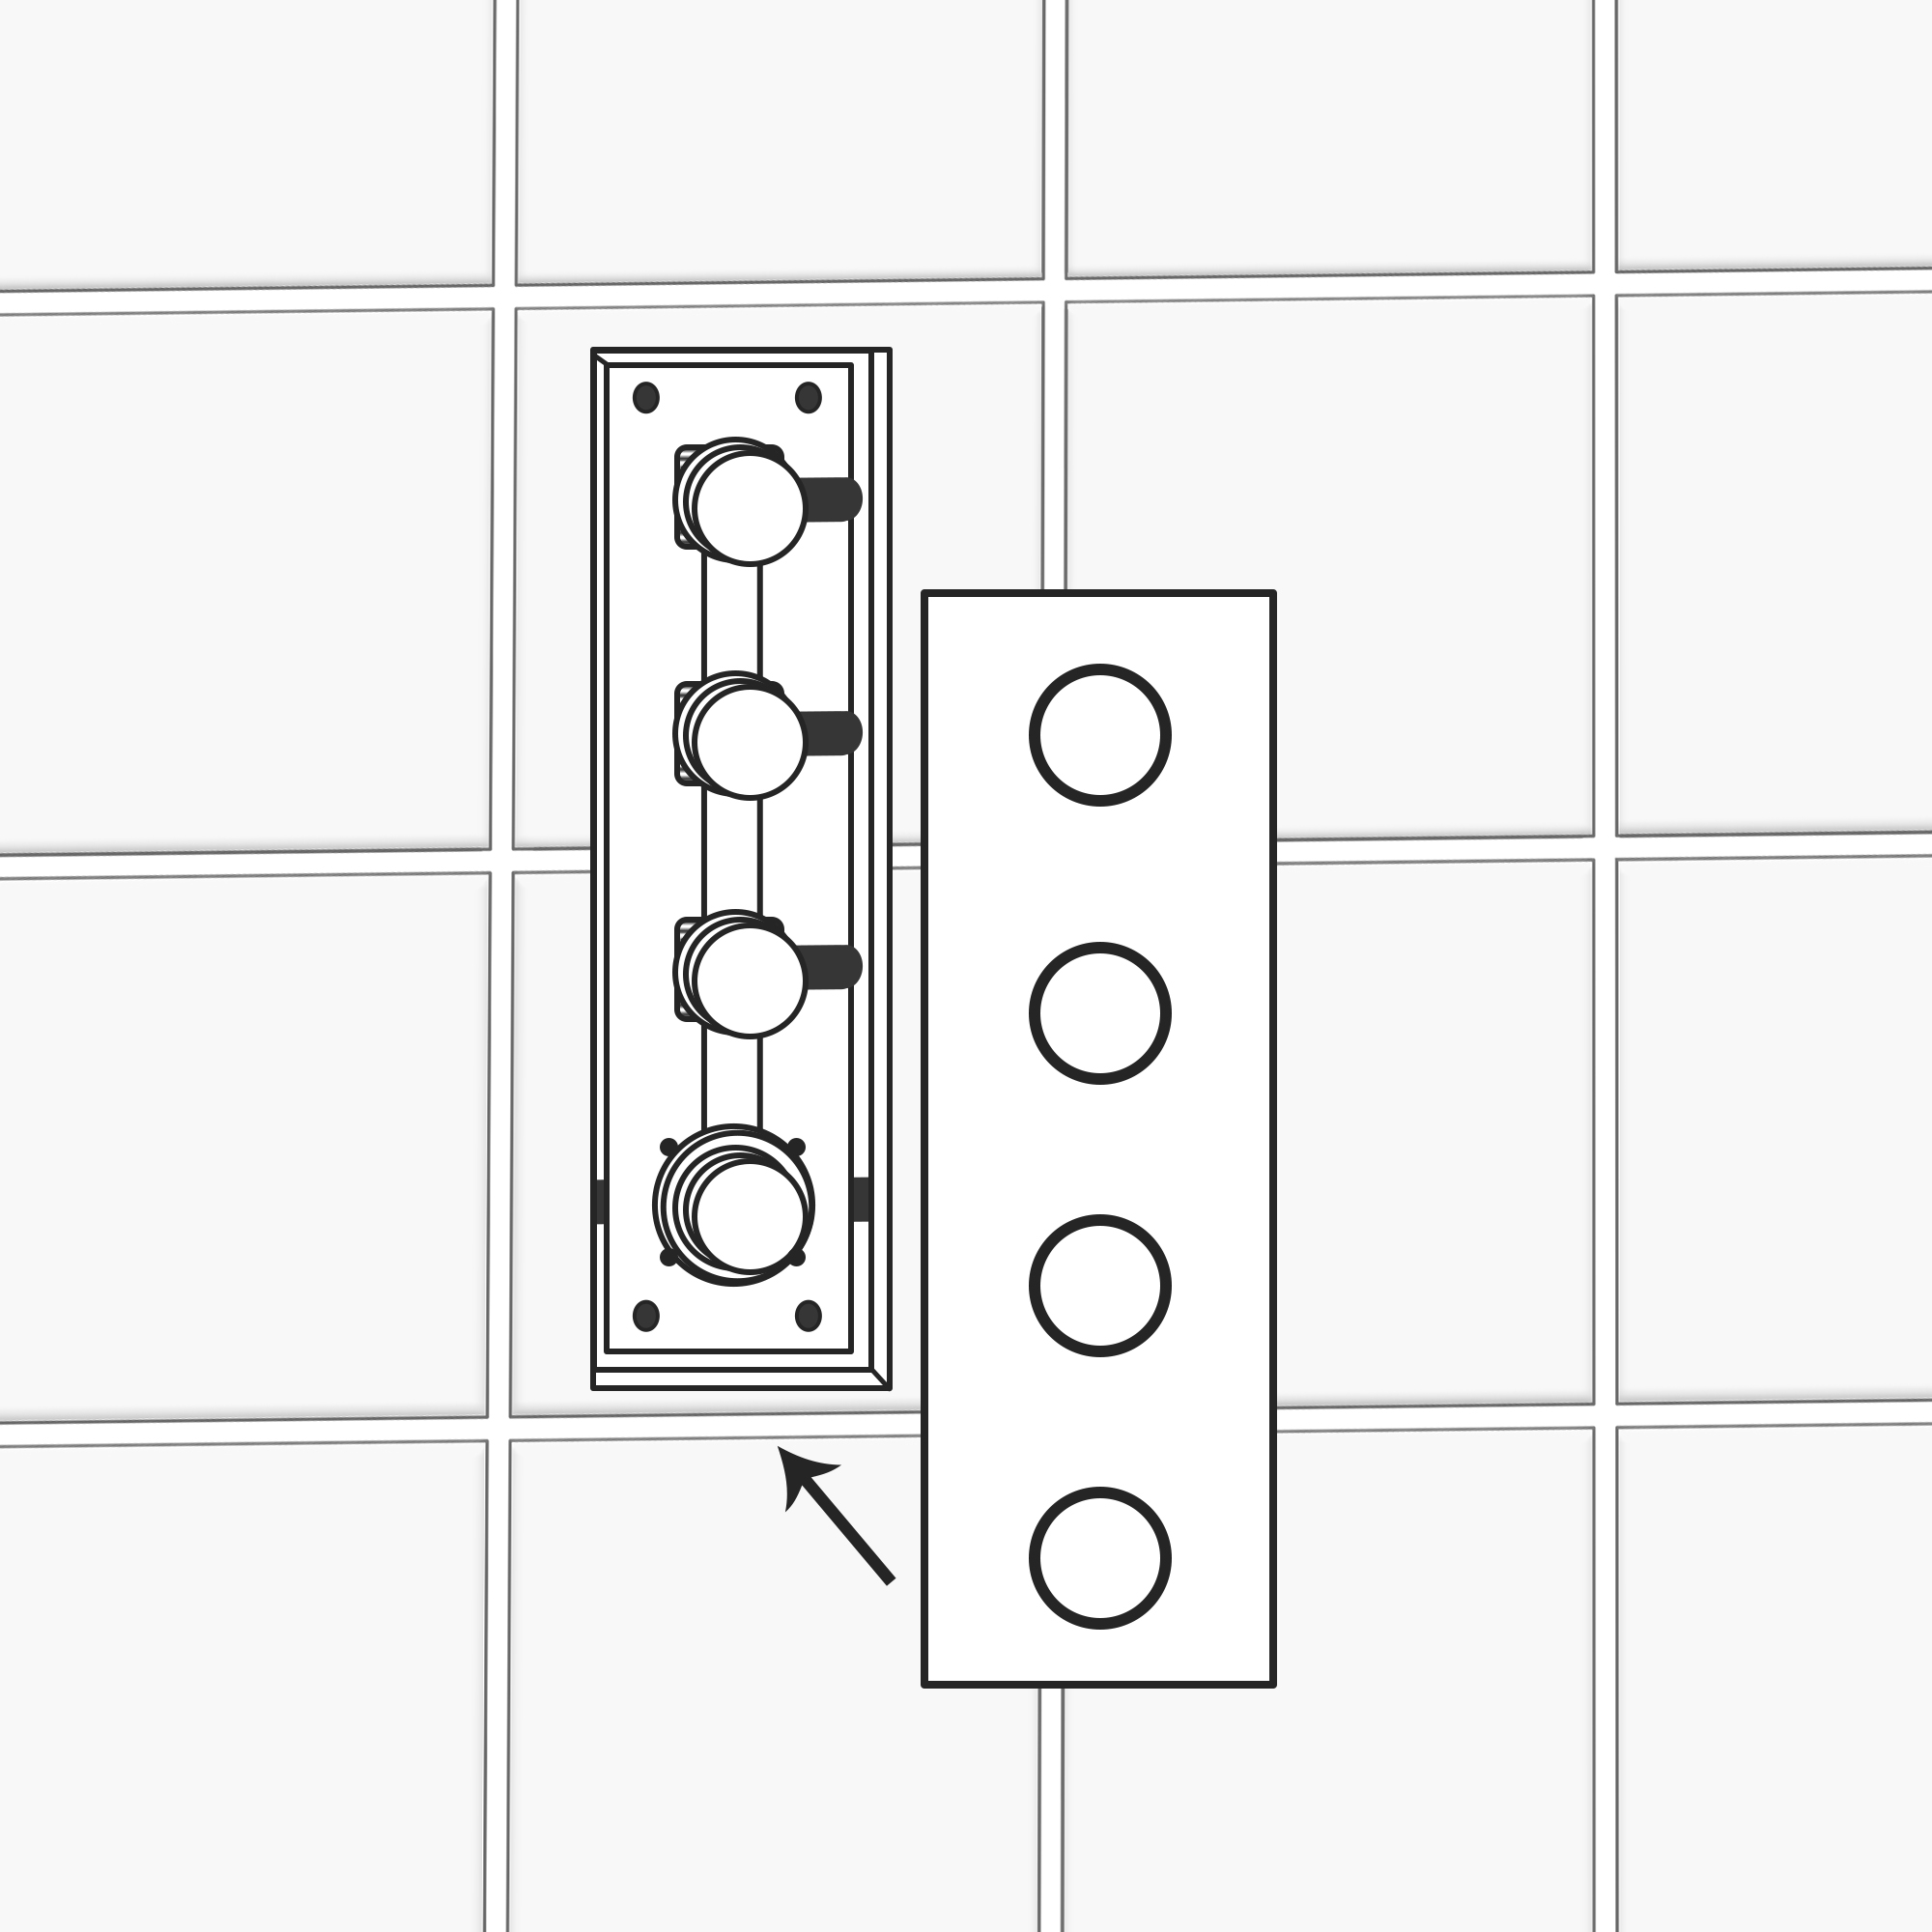
Take the board onto the faucet body.
|
|
Shower Valve Mixer Installation Instructions
|
|
|
|
|
Step 11:
|
|
Step 12:
|
|

|
|
|
|
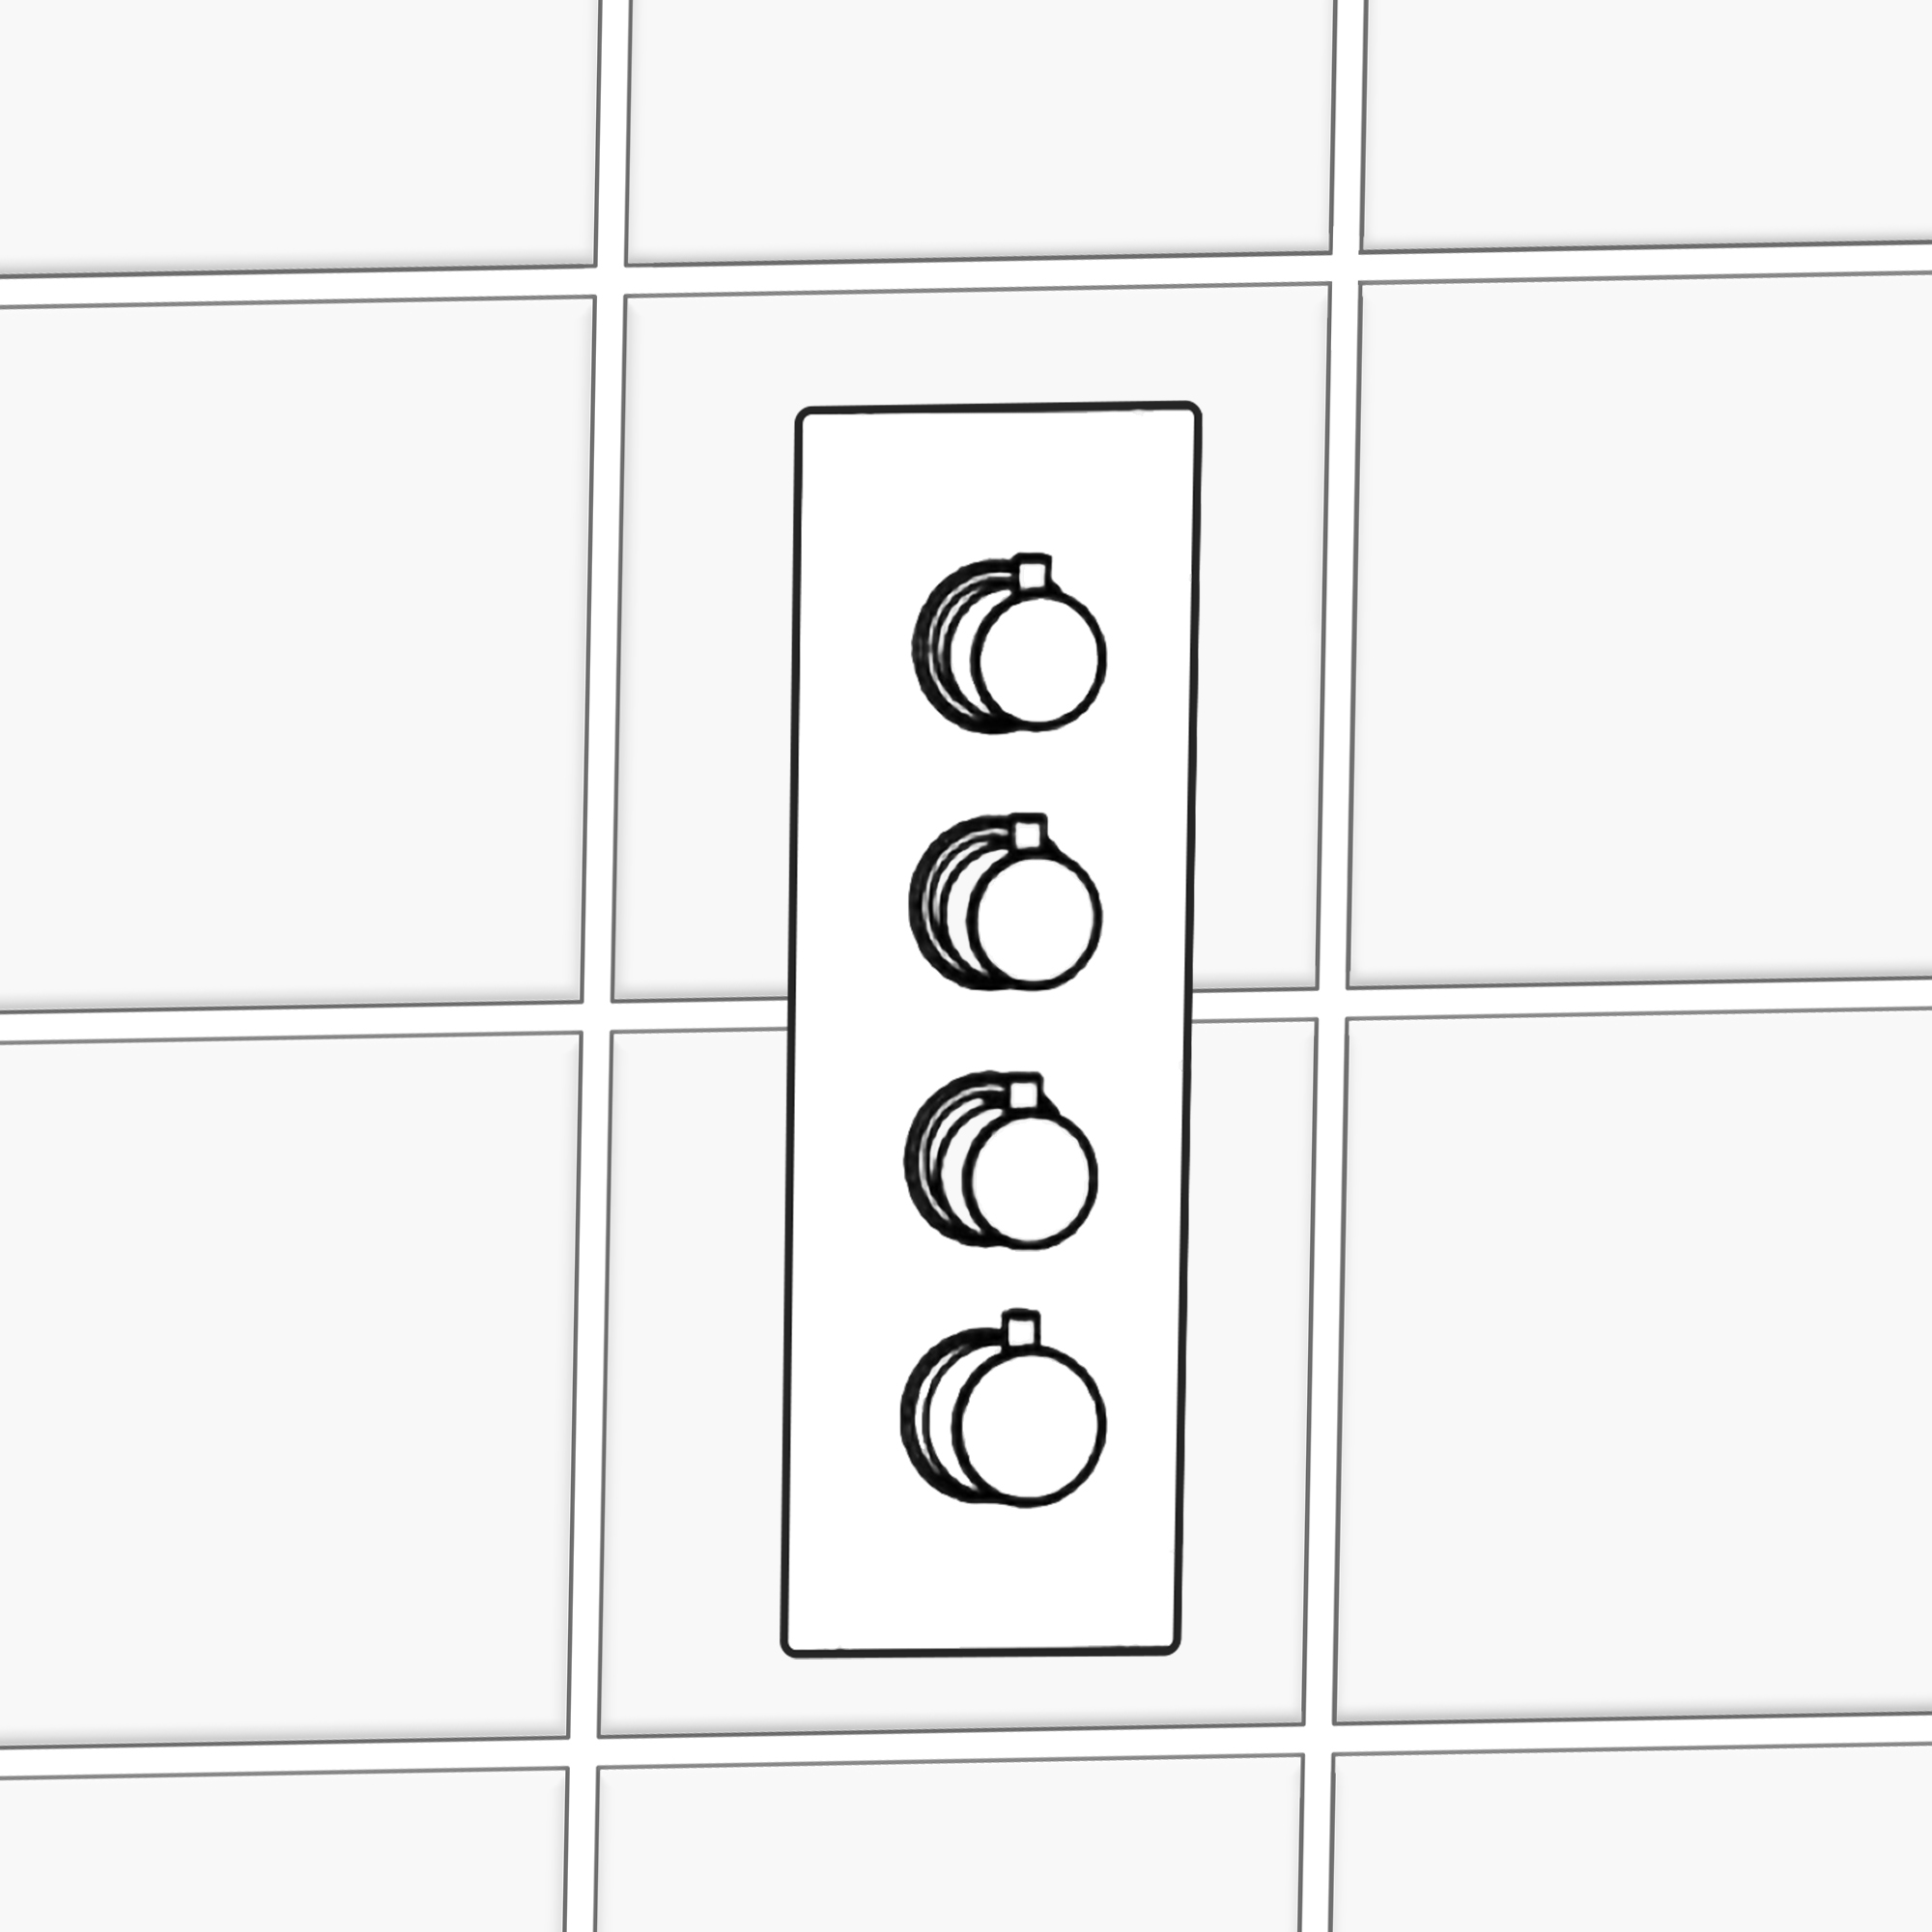
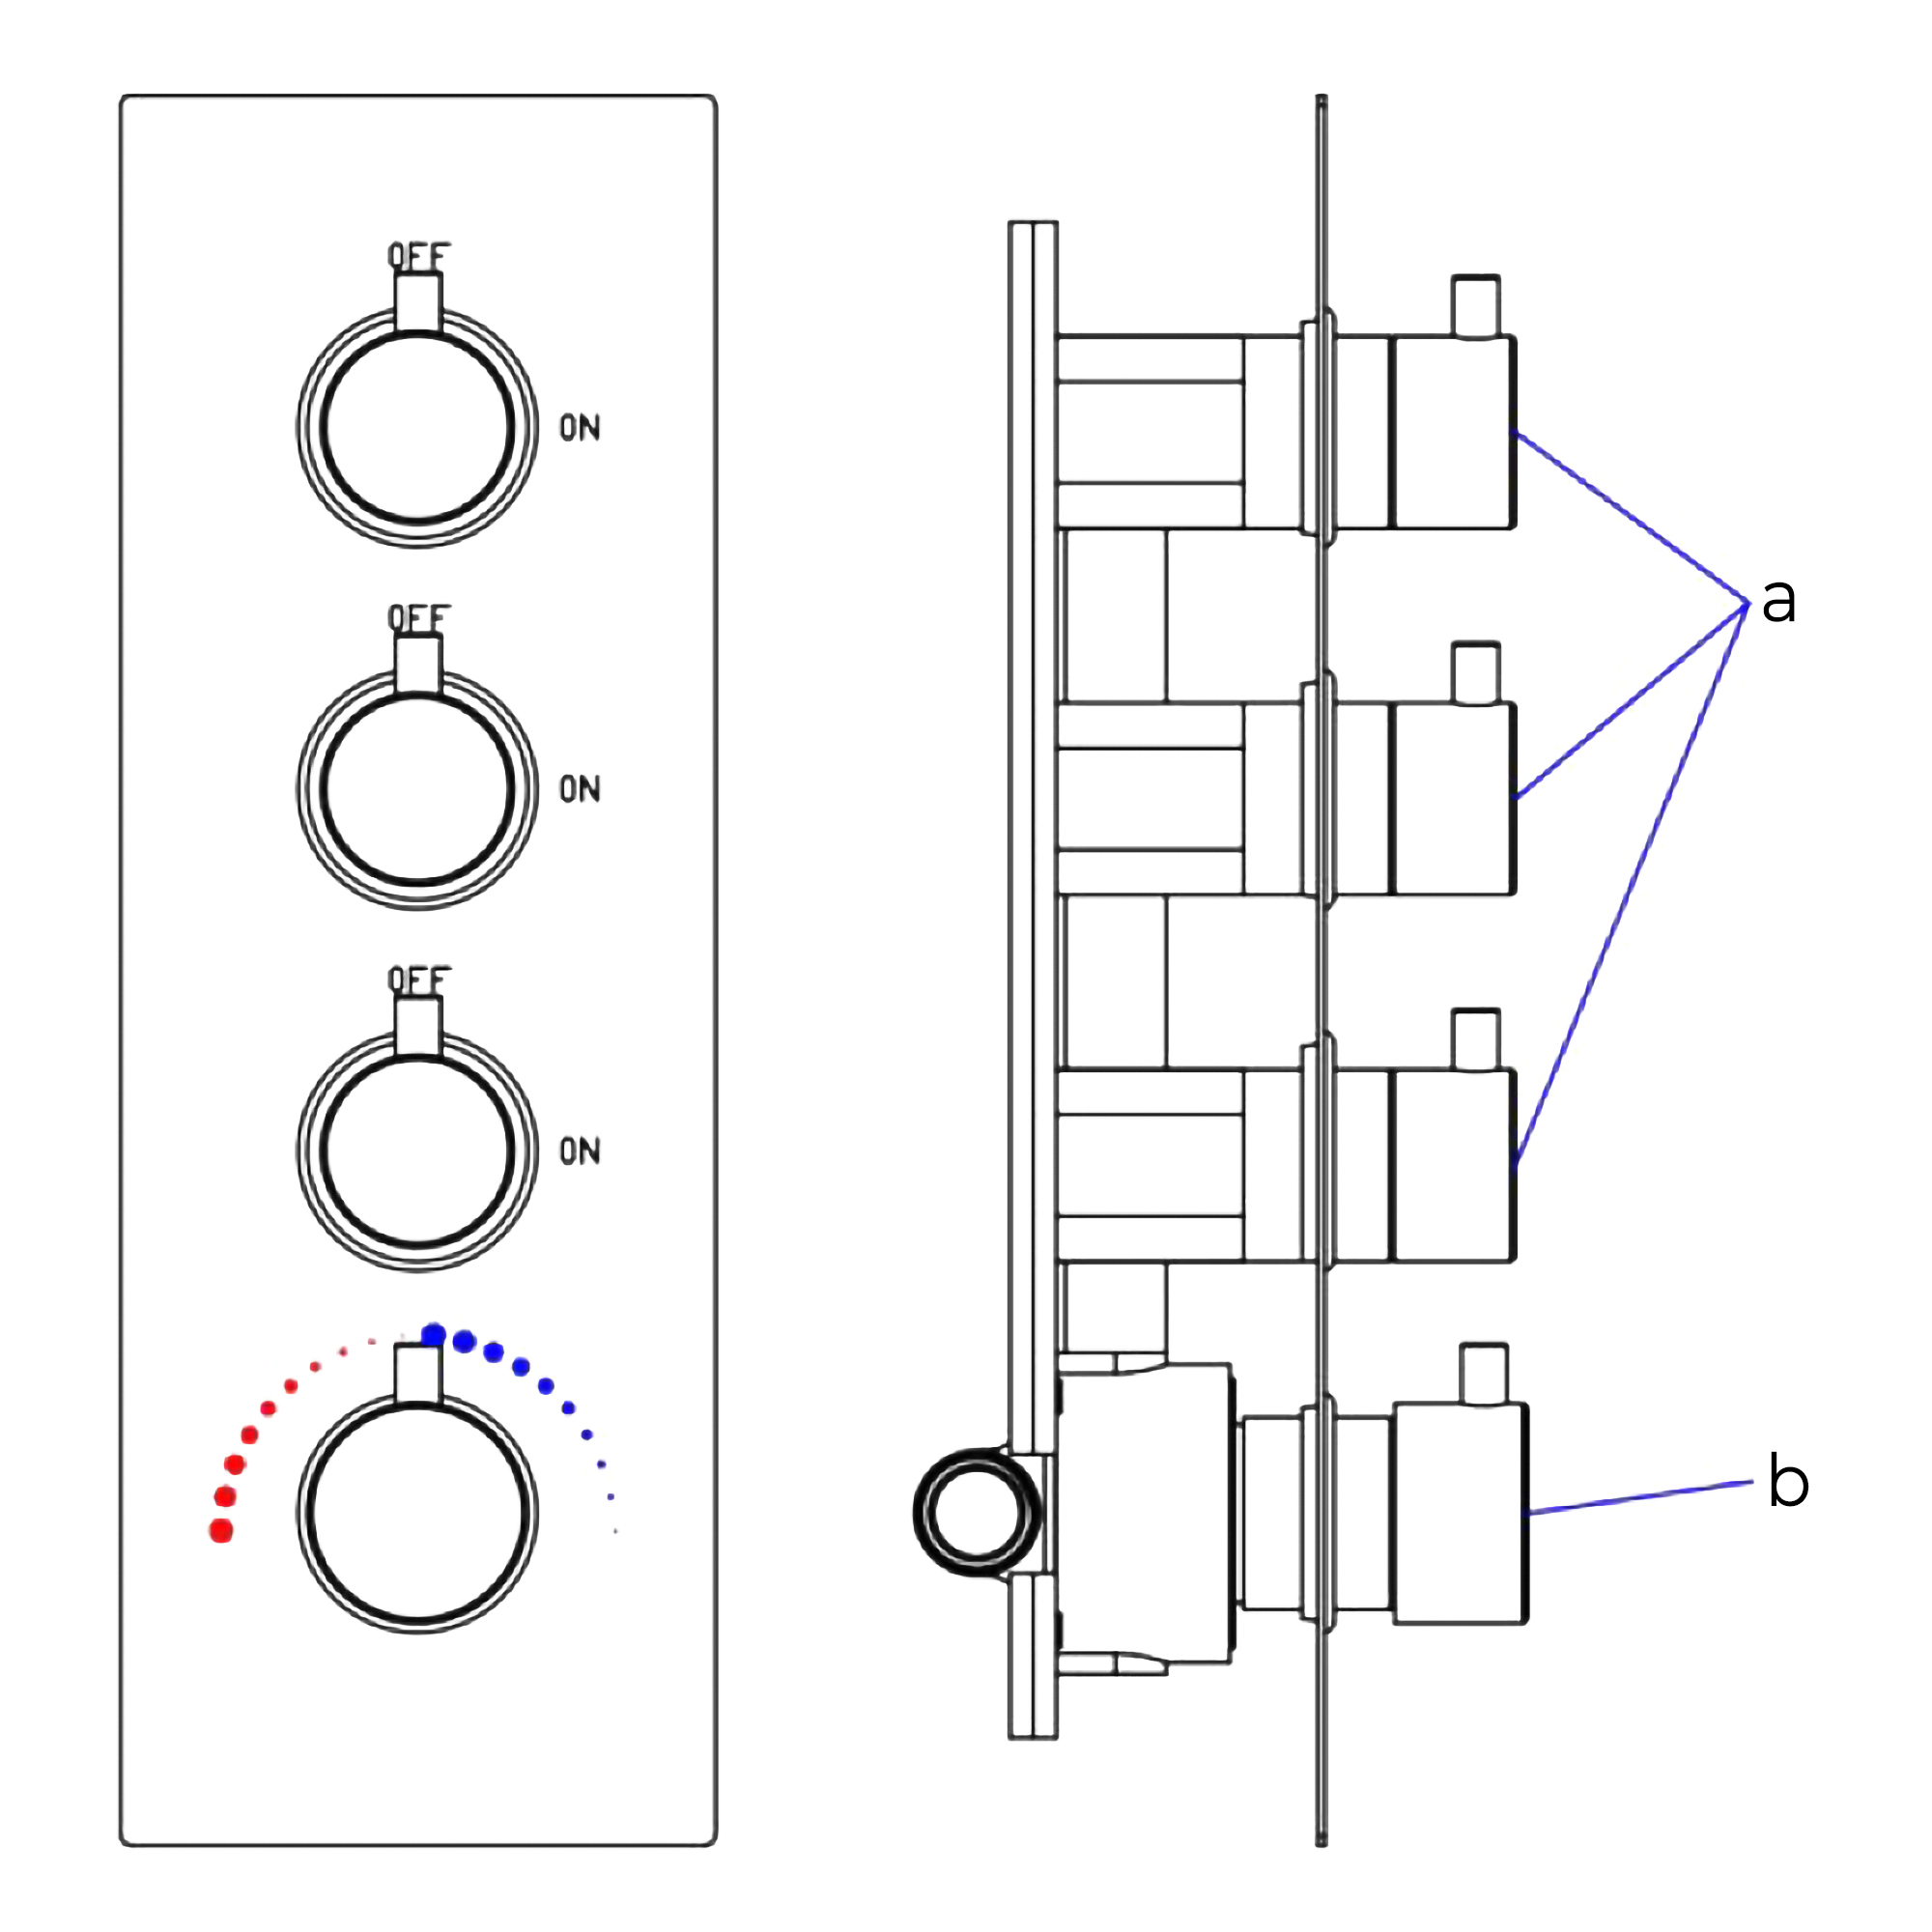
Screws the handles into the handwheels.
|
|
a. Each water function handwheel
b. Tempering handwheel
|
|
|
|
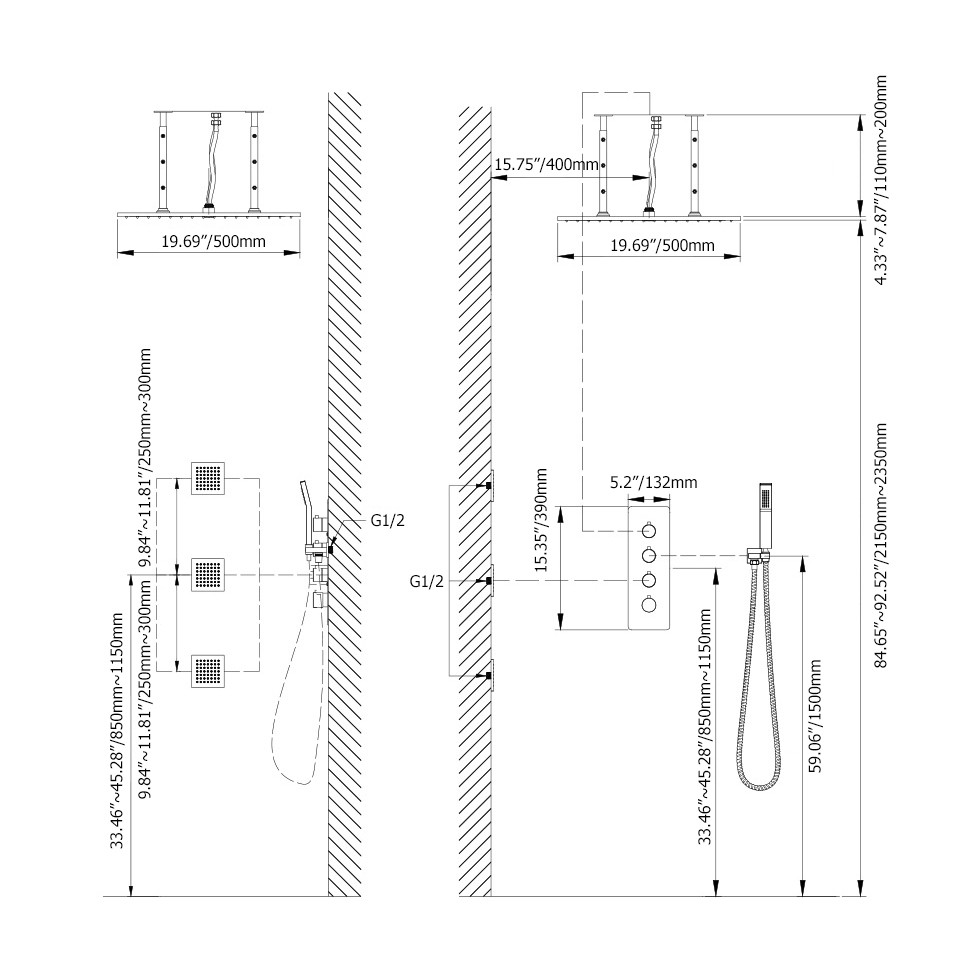
Installing a ceiling-mounted thermostatic rainfall shower system requires precise coordination of structural support, concealed water-supply routing, mixing-valve placement, and hydraulic distribution across the rainfall showerhead, handheld shower, and body sprays. Plumbing contractors should verify the available dynamic pressure, calculate simultaneous outlet demand, provide secure anchorage for overhead components, and pressure-test concealed connections before completing wall and ceiling finishes. For related installation configurations, FontanaShowers provides technical installation instructions for ceiling-mounted thermostatic shower systems covering overhead mounting, flow requirements, and multi-outlet plumbing. Contractors can also examine the Creteil thermostatic shower installation guide for concealed valve connections, body-jet rough-ins, and pressure-balancing considerations, while the thermostatic rainfall shower and handheld installation instructions provide additional guidance on mixing-valve integration, threaded connections, and final assembly. Coordinating these requirements before enclosure helps reduce installation conflicts, improve temperature stability, maintain balanced water delivery, and support long-term serviceability.
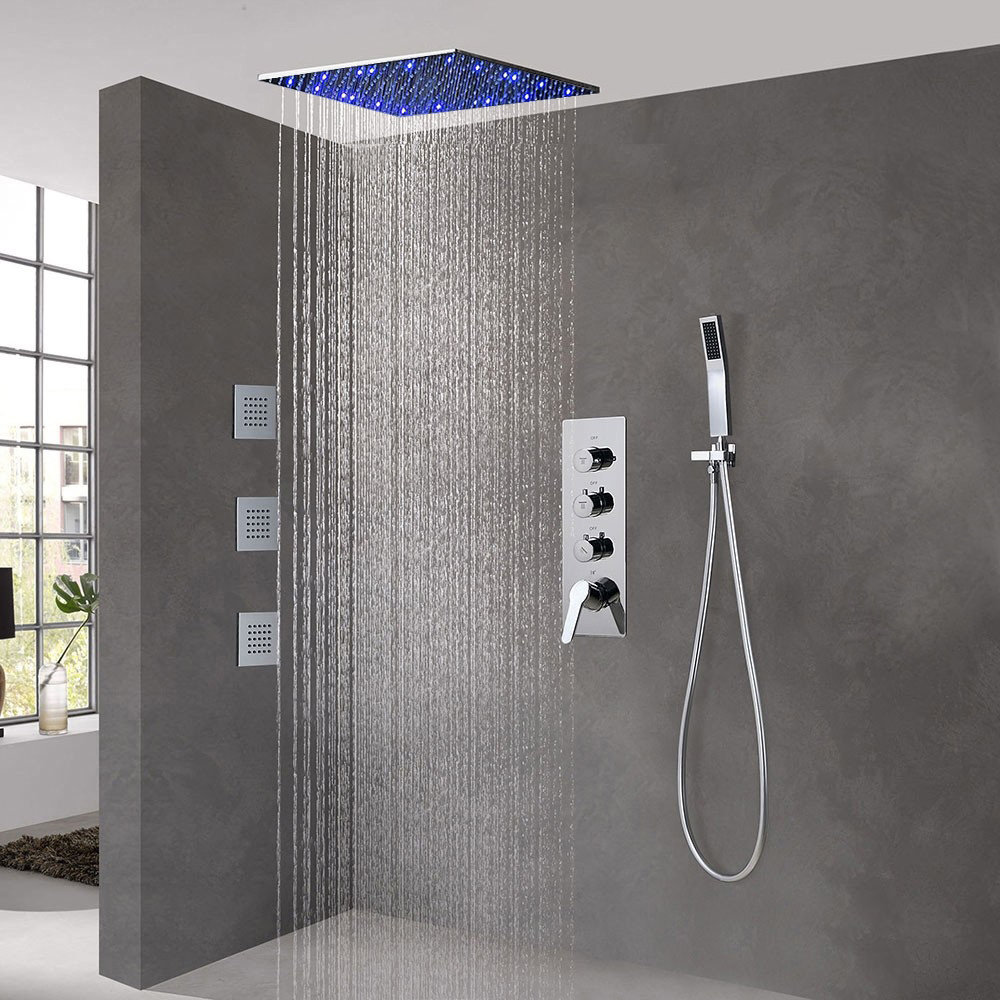
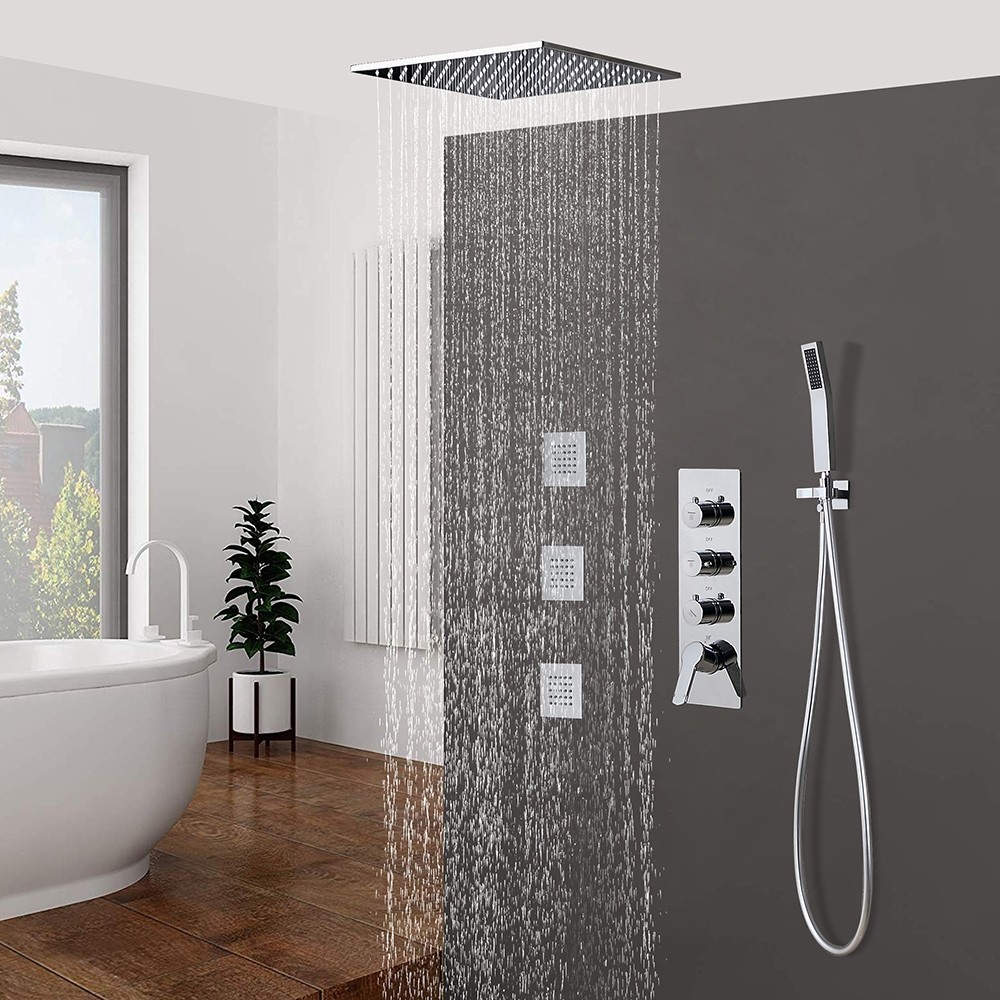
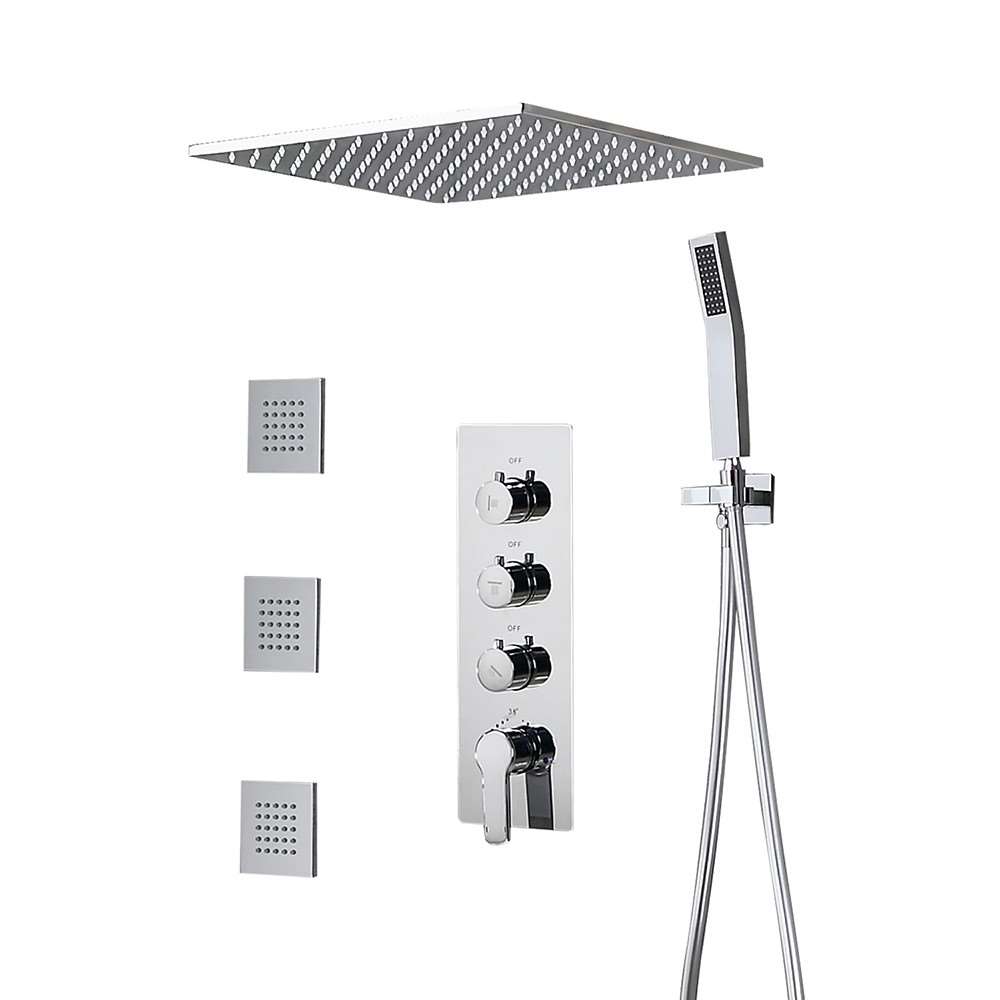
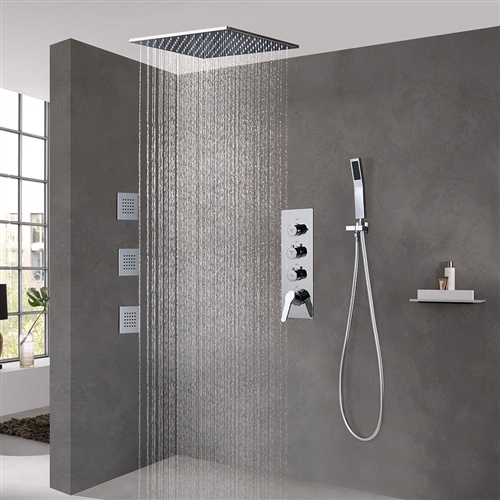
FontanaShowers Brushed Nickel Ceiling Mount Rainfall Shower Set With Thermostat Mixer Jet Spray And Handshower
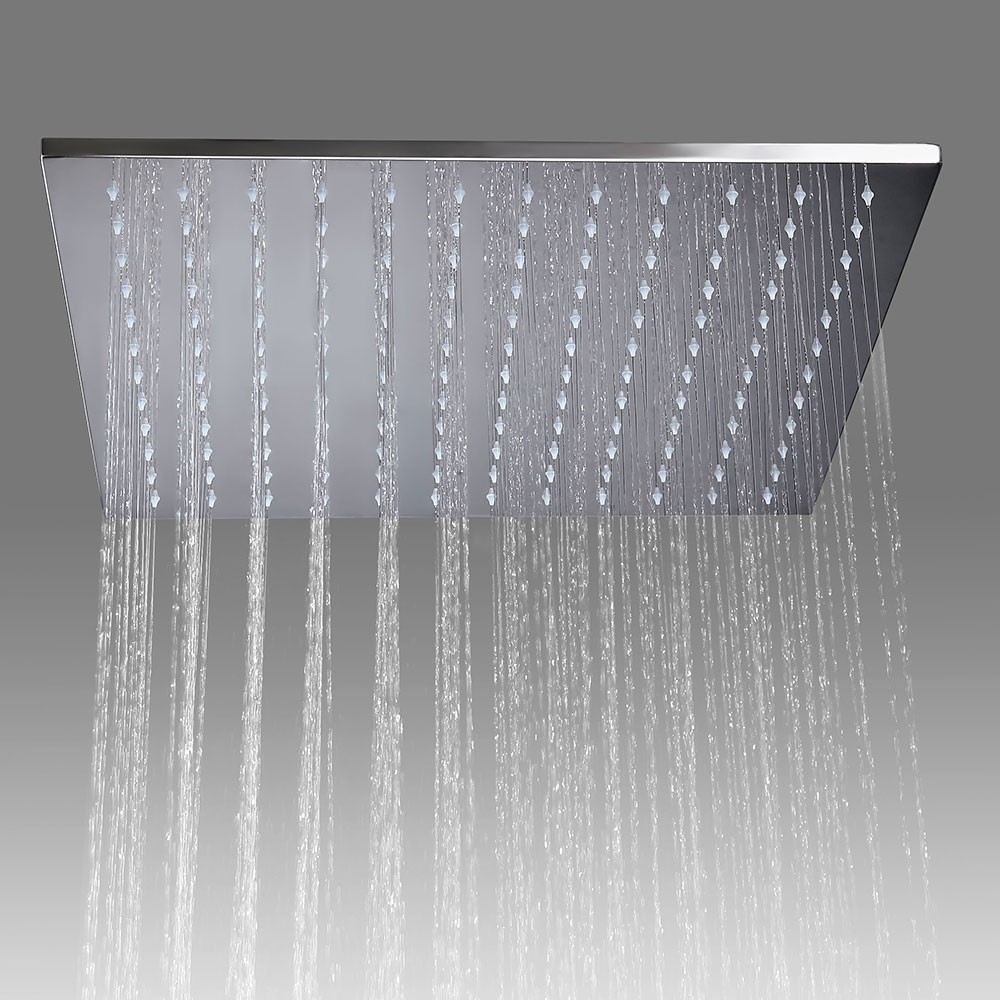
This Brushed Nickel Rainfall Shower Set is a ceiling mount shower with brushed nickel plated finish and comes with a handheld shower. When it comes to new bathroom upgrades, FontanaShowers is offering shape, finishes, and styles that you've been looking for. Give your bathroom an elegant glance with sink faucets and fixtures. This is one of the most trendiest finishes across decor styles in the bathroom. This has an elegant design and elevates the appeal of your decor made from the highest quality and for great tastes.
Features:
|
Brand Name: FontanaShowers
Model Number: FS1522
Type: Shower Set
Valve Core Material: Ceramic
Surface Treatment: Brushed
Surface Finish: Brushed Nickel
Shower Head Material: Brass
Installation Type: Ceiling Mount
Six Body Sprays
Handshower With Slide Bar
Shower Head Function: Rainfall with Thermostatic Mixer
Simultaneous use of shower head, handshower and jet sprays
Shower Arm Included : Yes
|
shower set
|

|
|
|
|
|
|