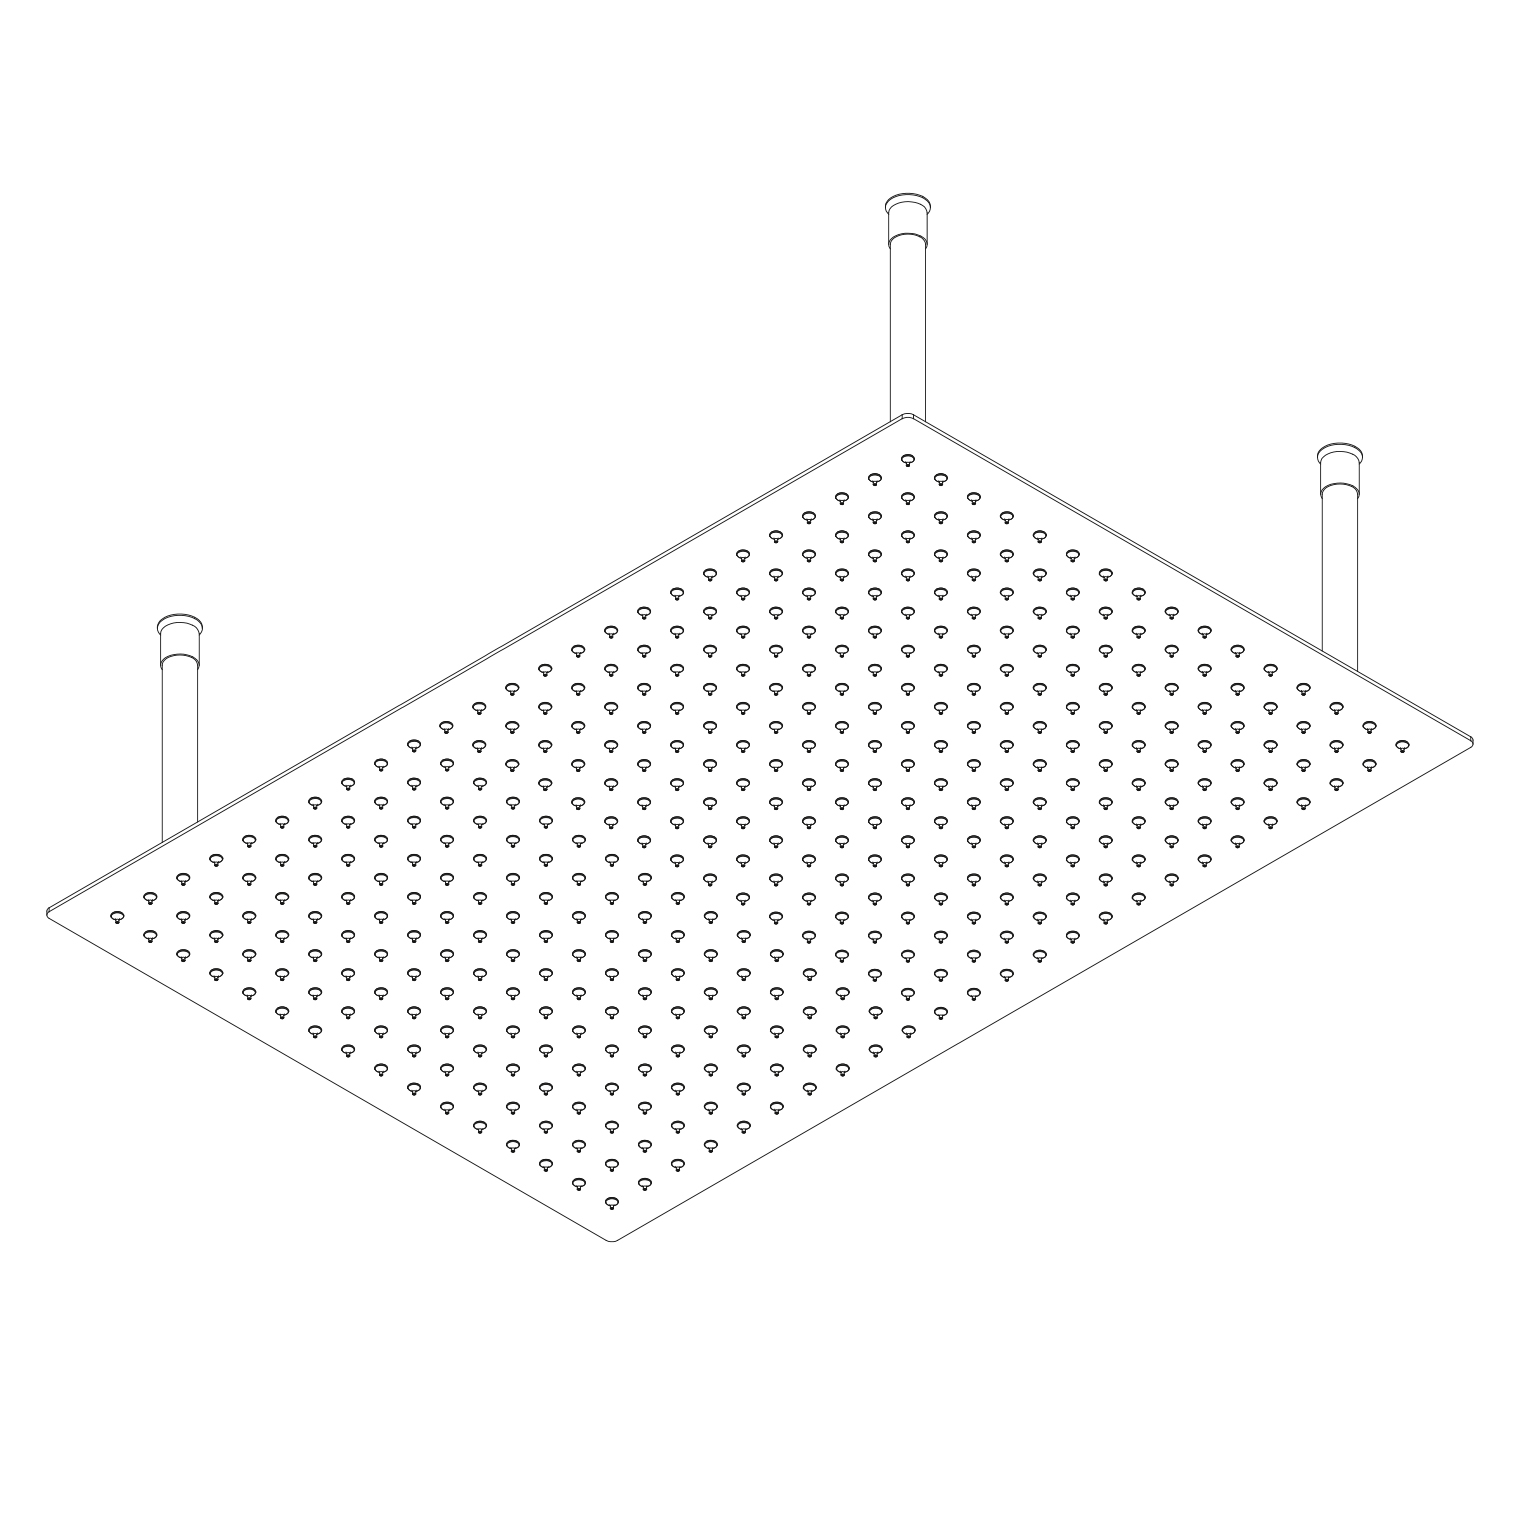
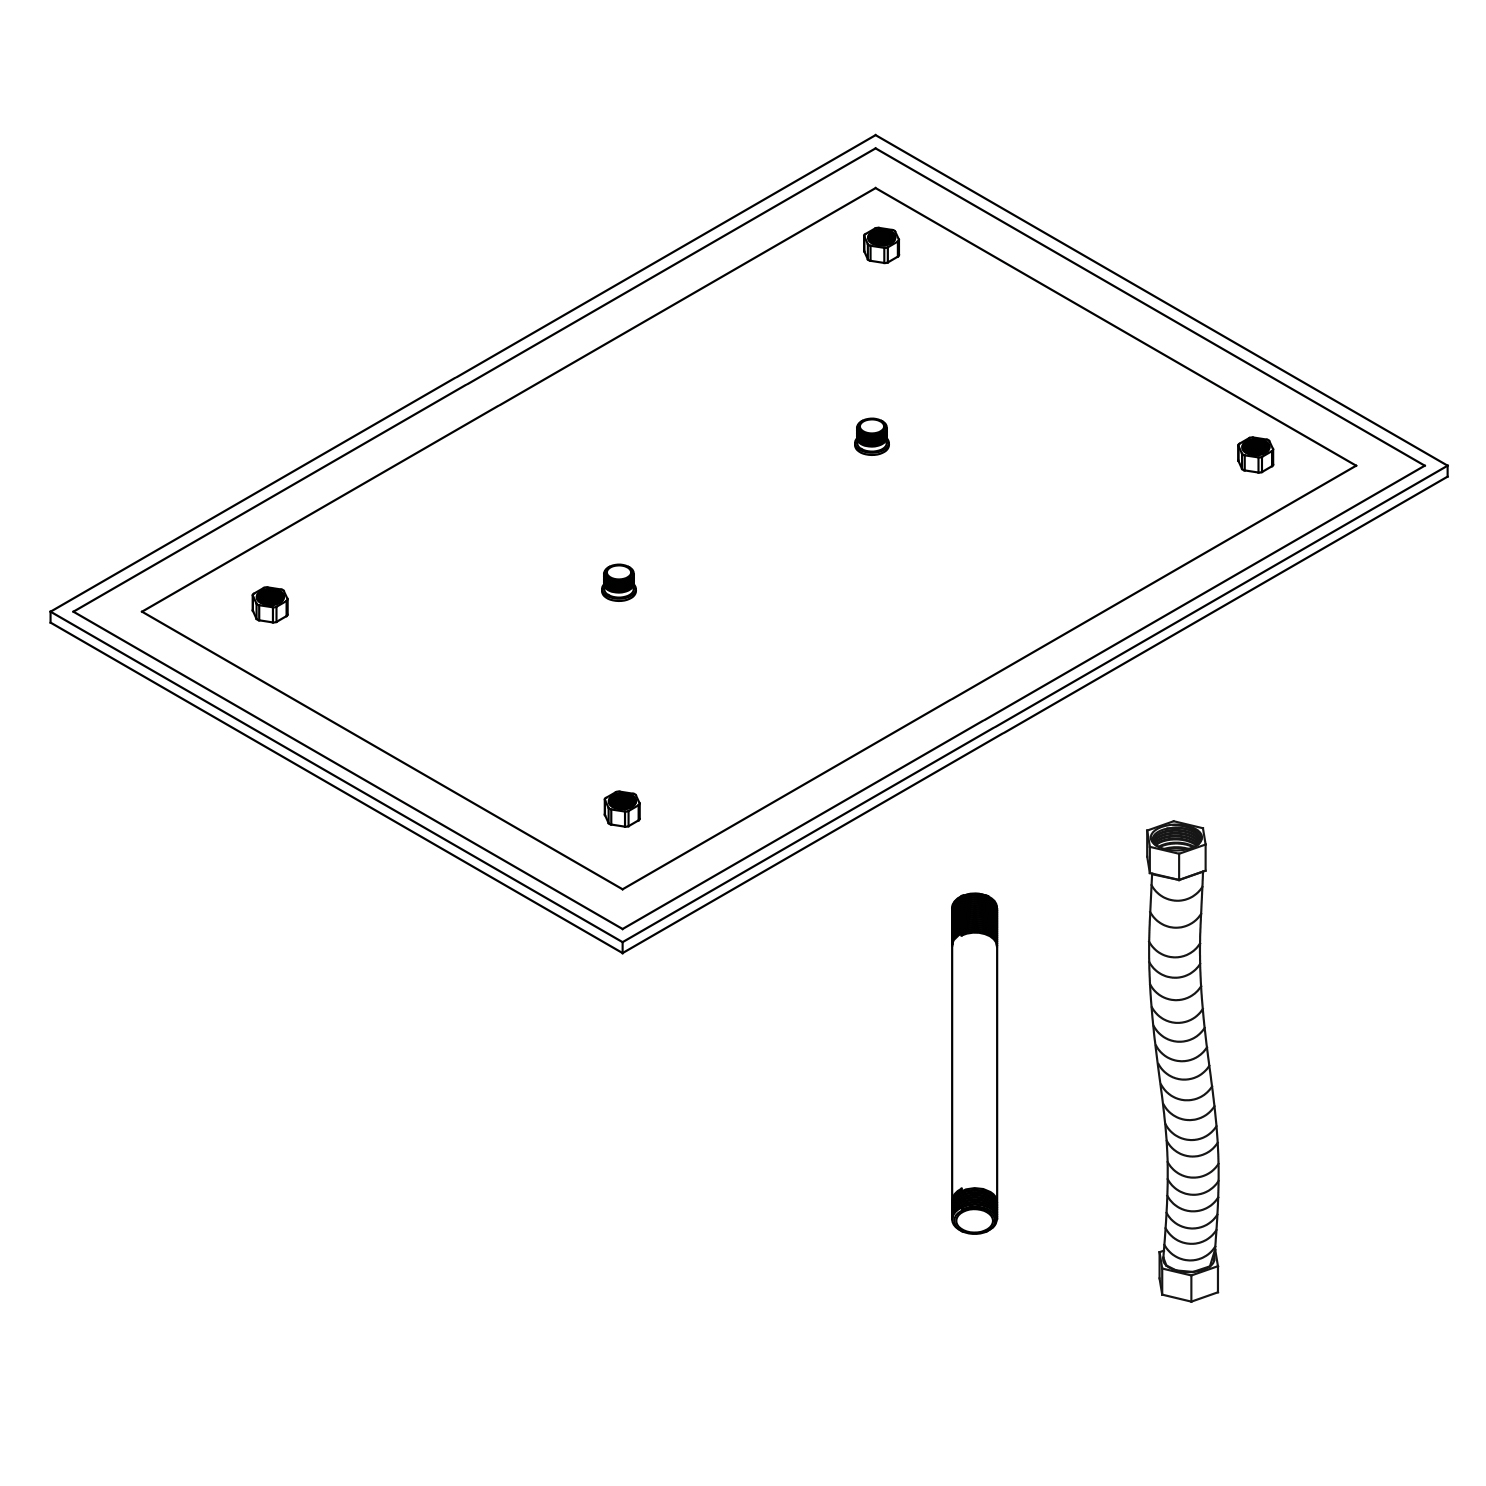
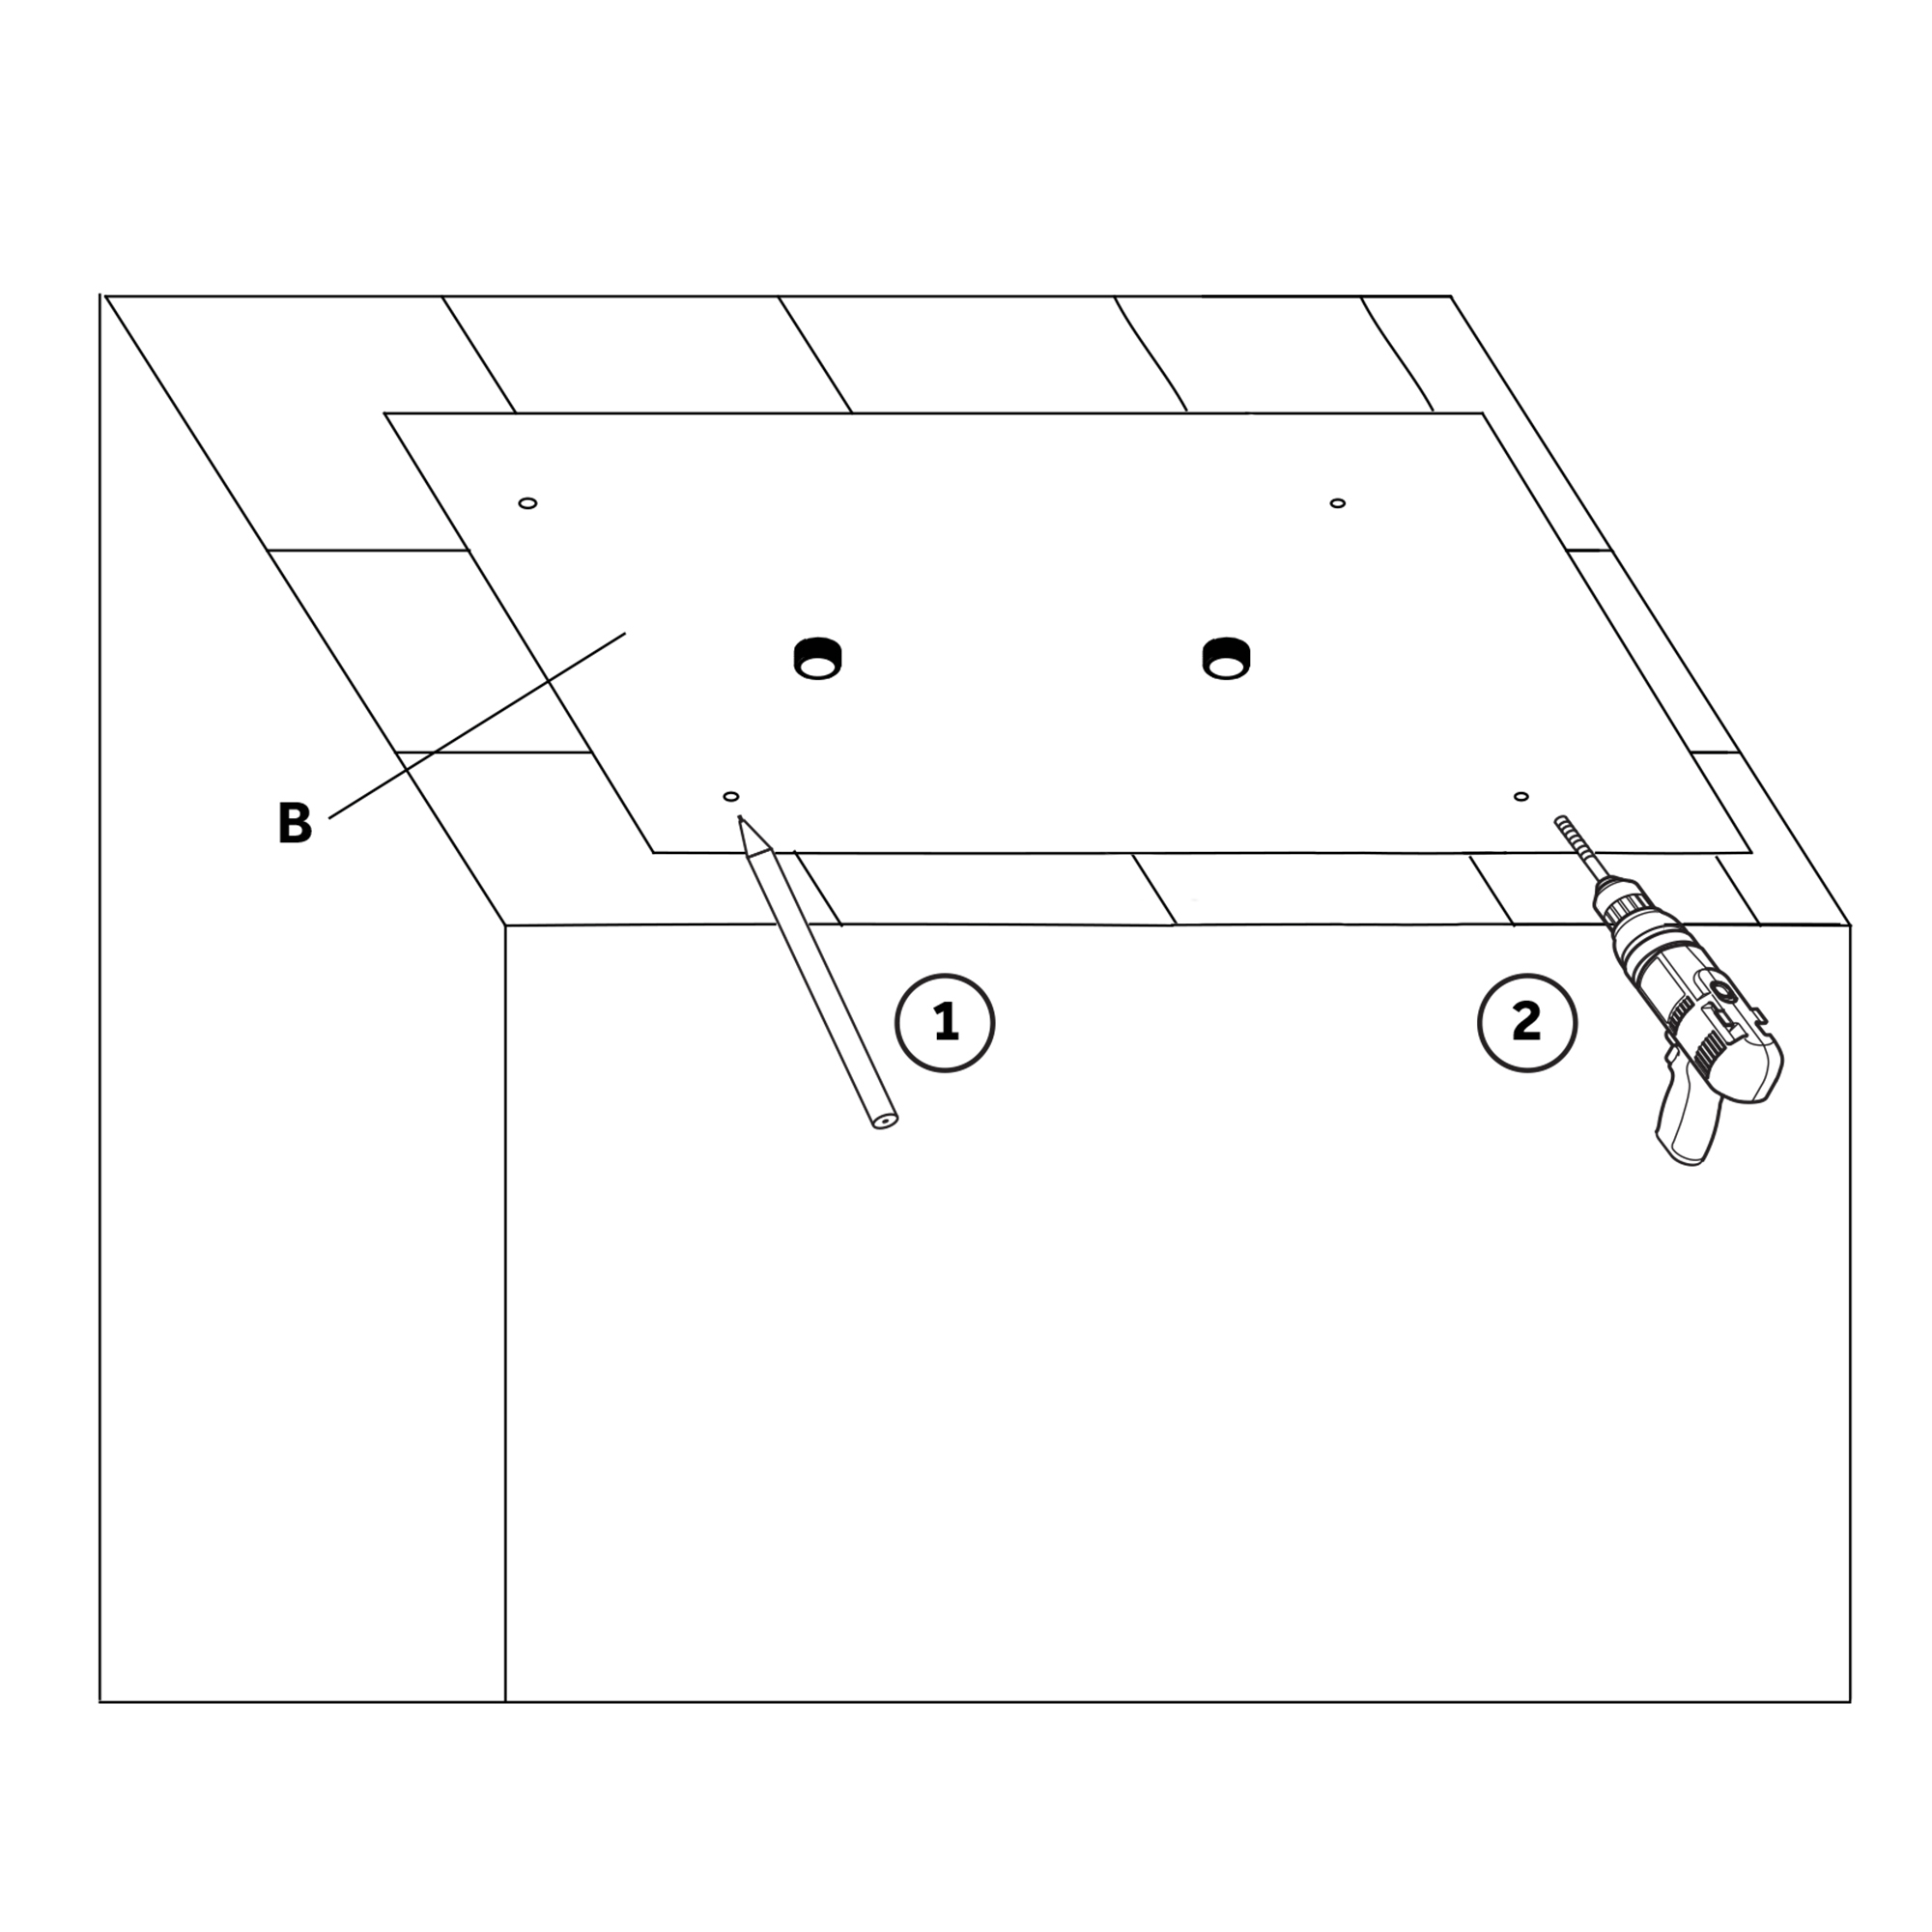
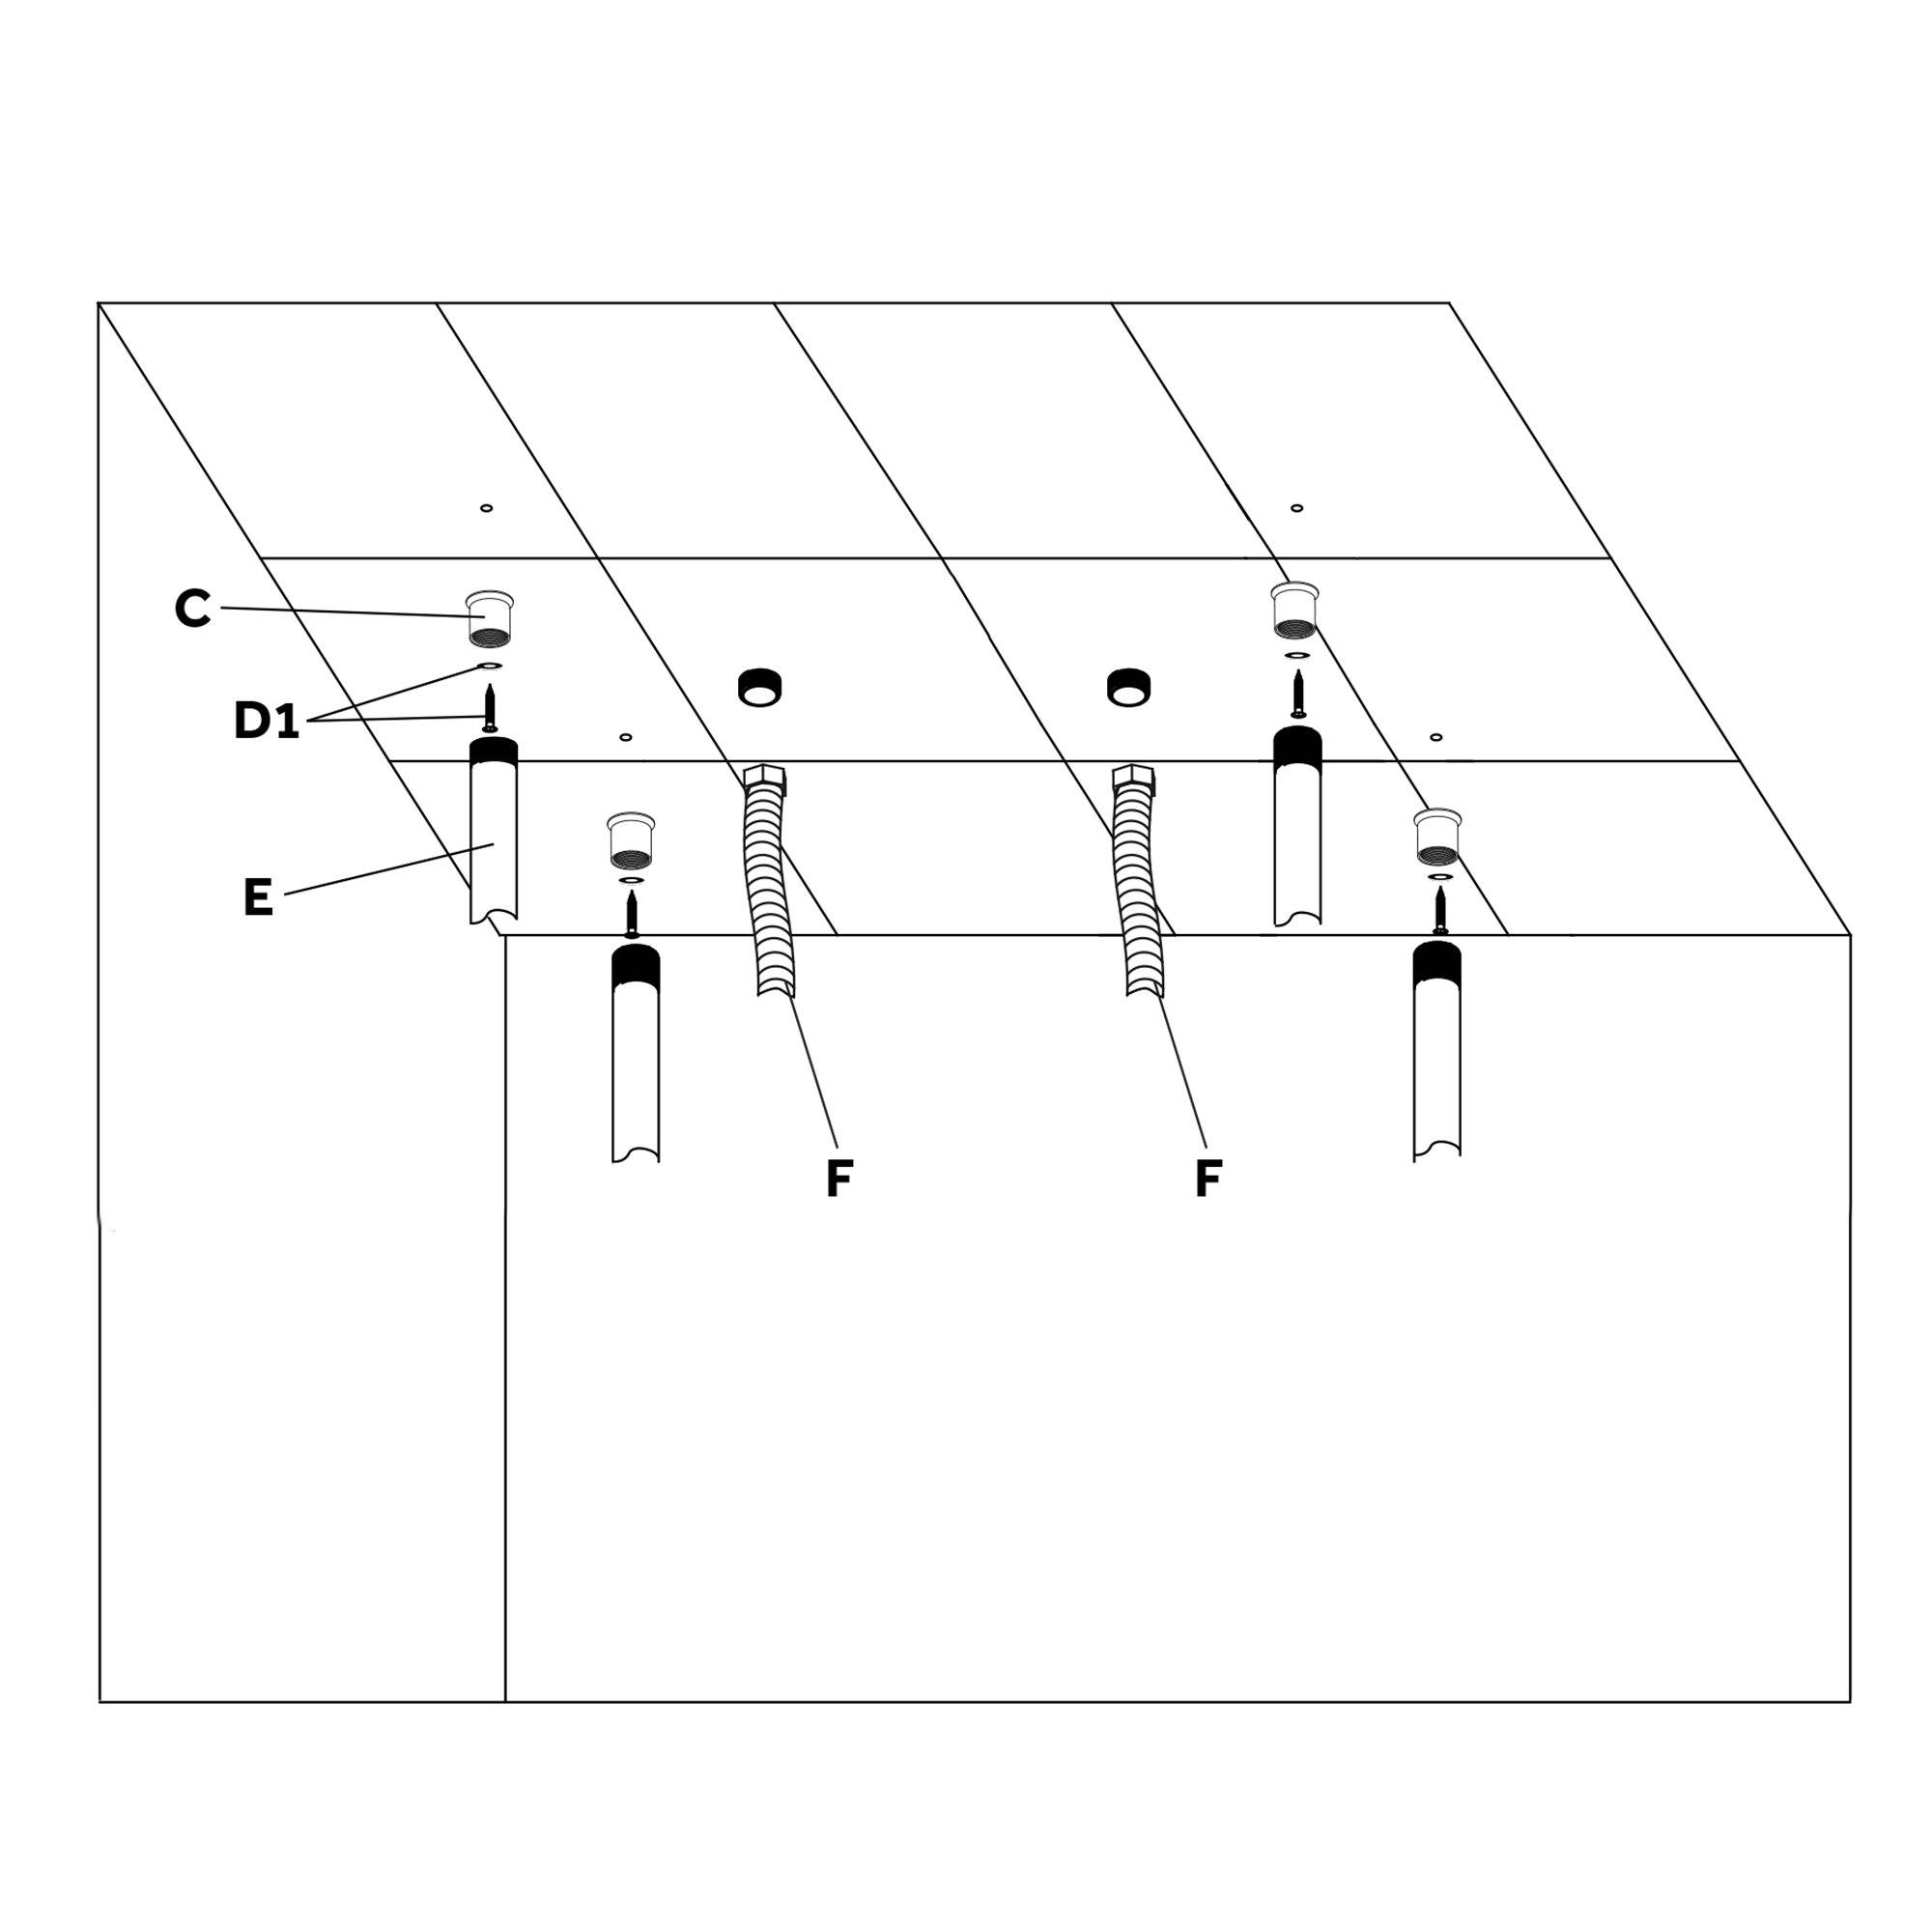
How to install Fontana Lima 20 Inch LED Chrome Shower Set | FS9593
|
Easy Step by Step Installation Instructions for Bathroom Shower Set
|
|
Visit Product Page 
|
|
- Before you begin, please read the installation instructions below. Observe all local building and safety codes.
- Unpack and inspect the product for any shipping damages. If you find damages, do not install.
- Please note all products must be installed by a professional and certified plumber otherwise warranty might be voided.
|
shower
|
|

|
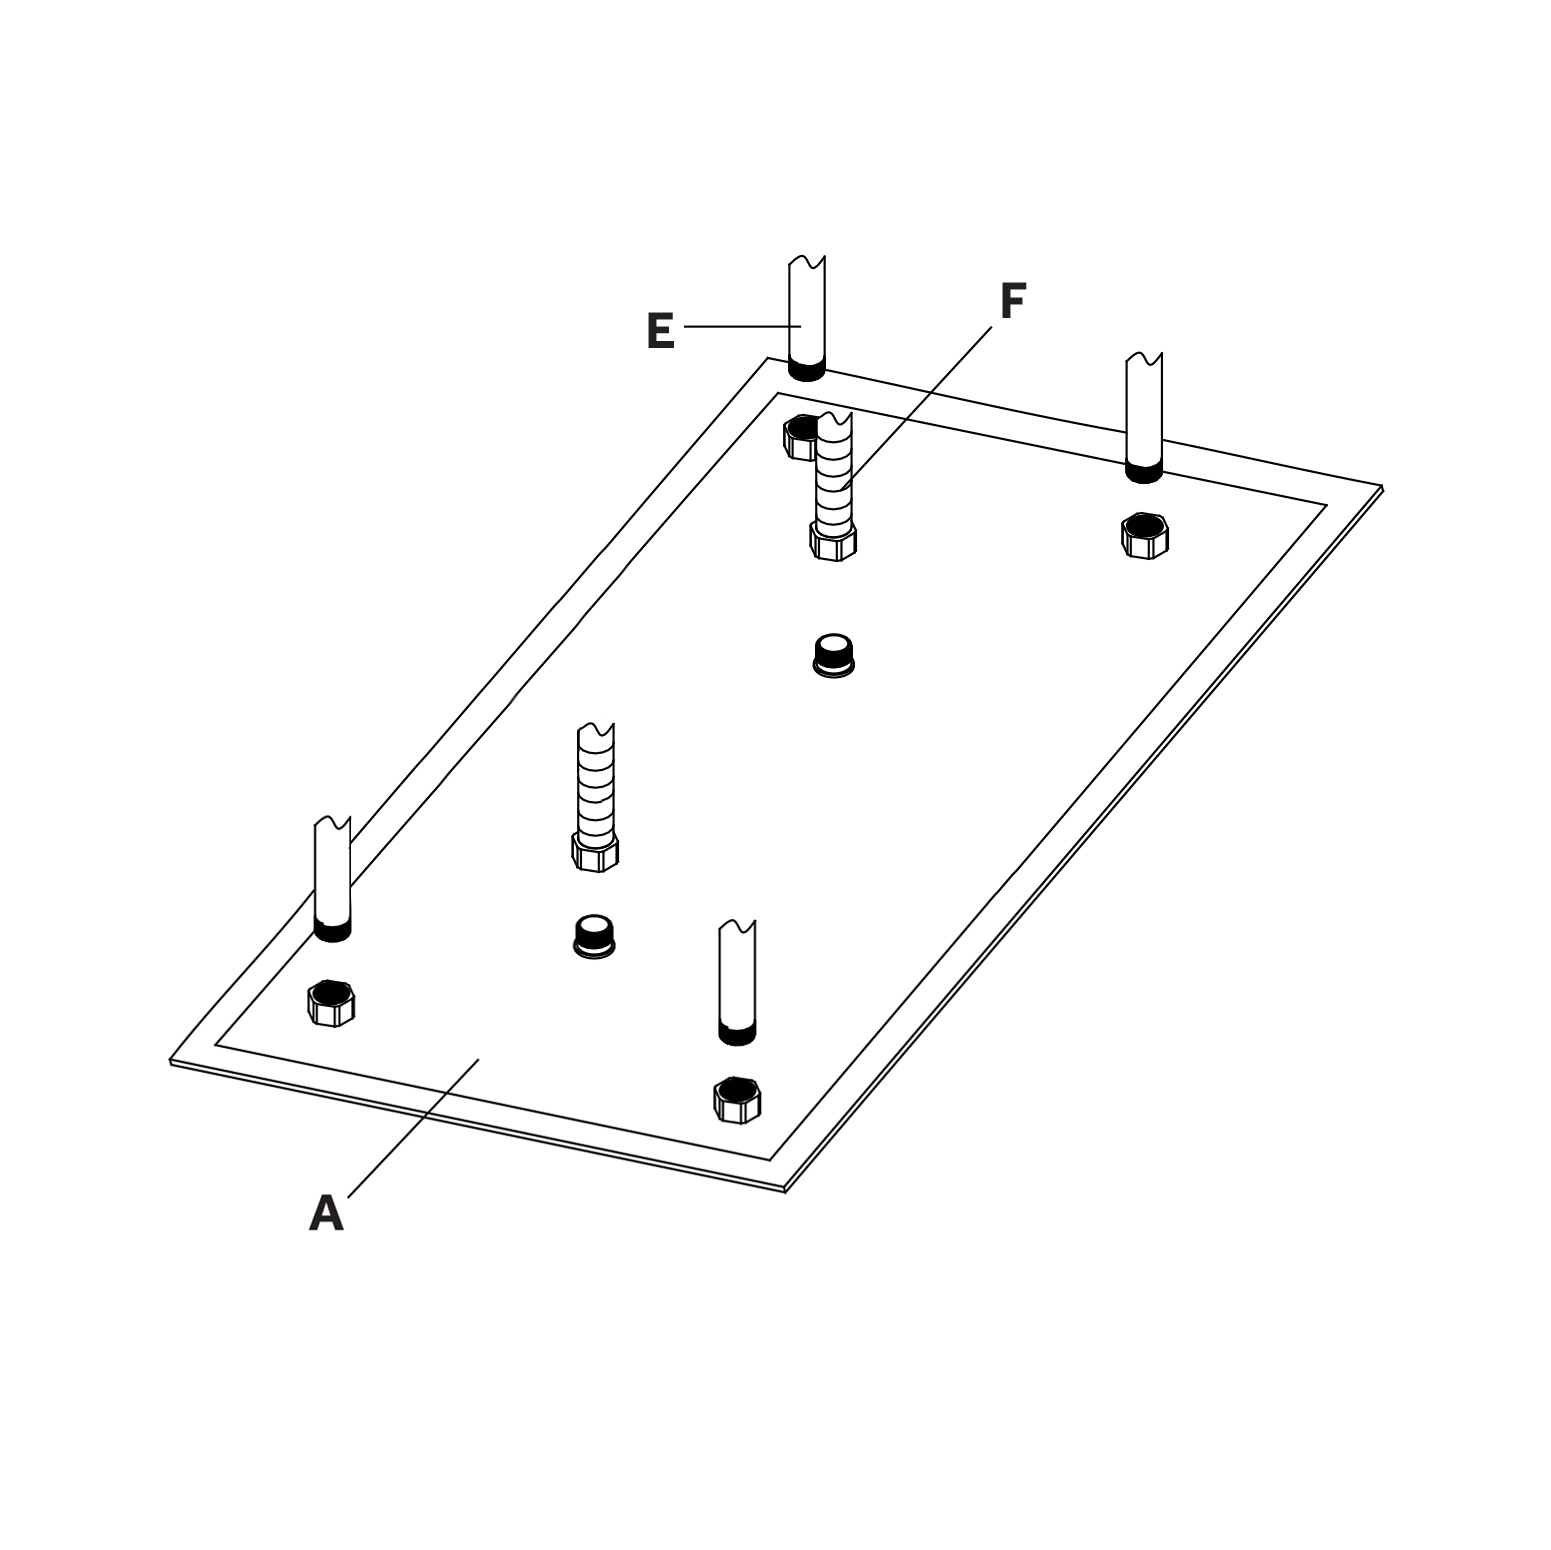
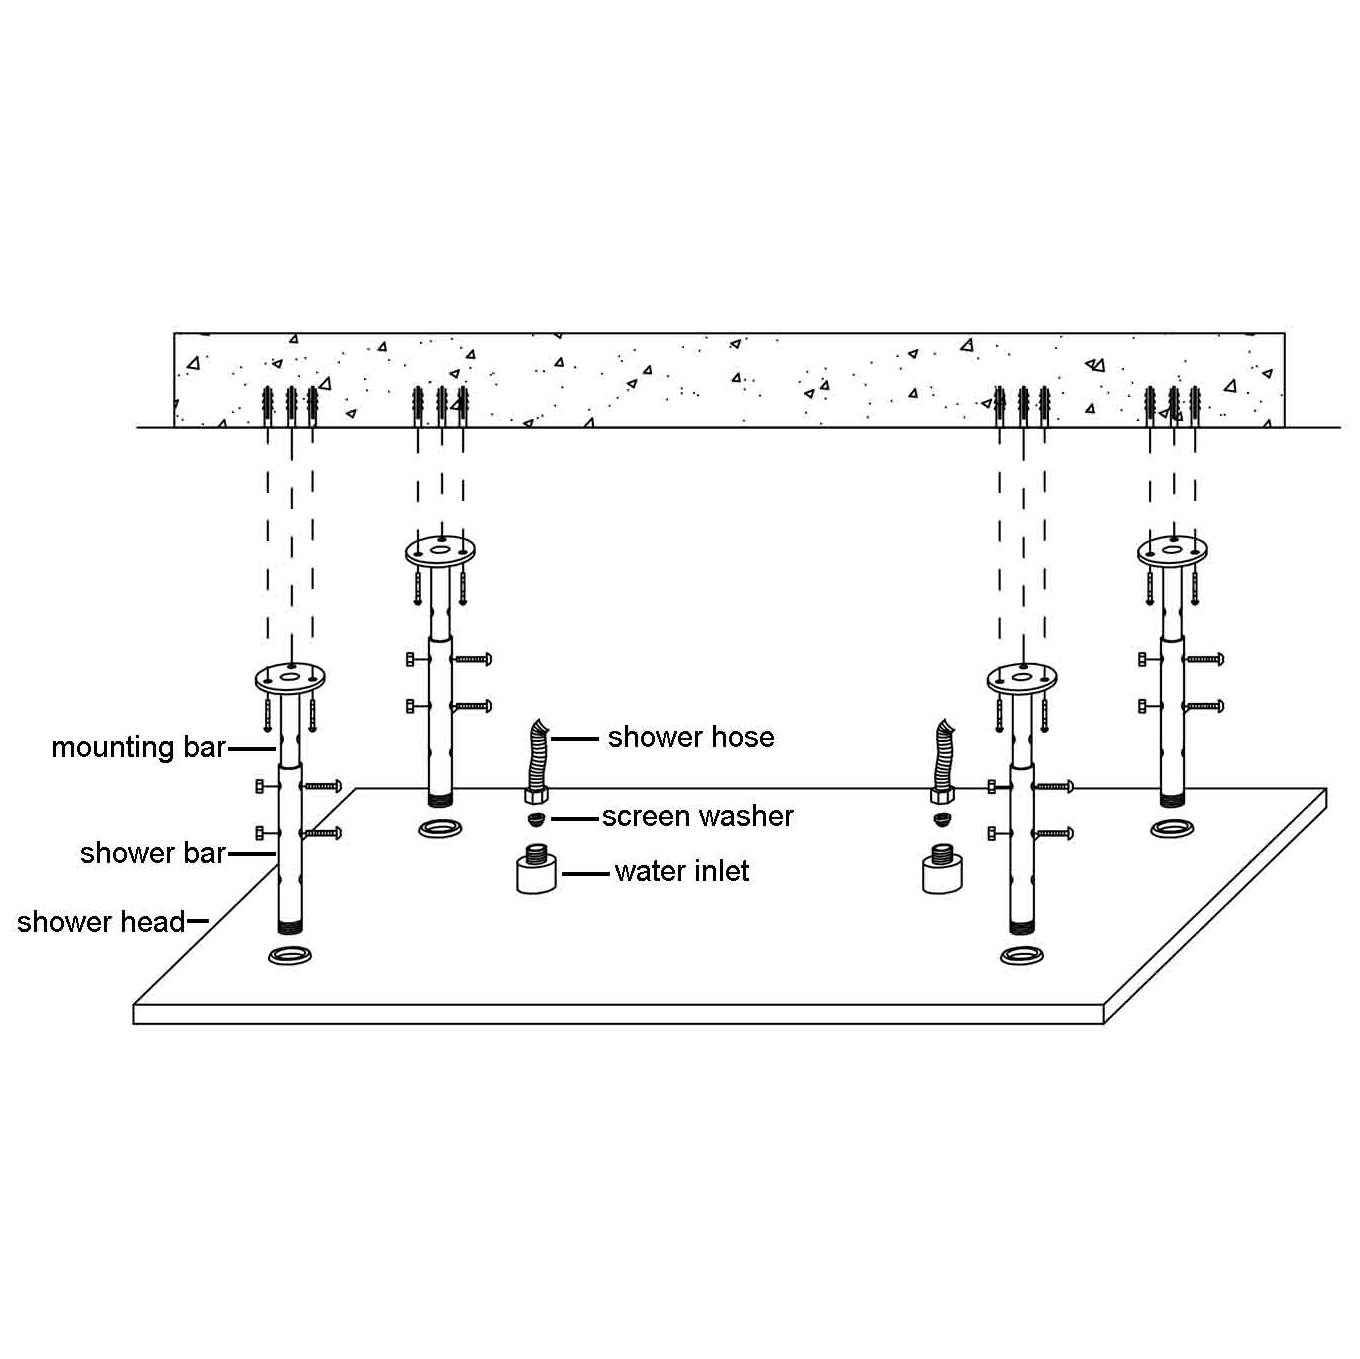
Shower Head Installation Instructions
|
|
|
|
|
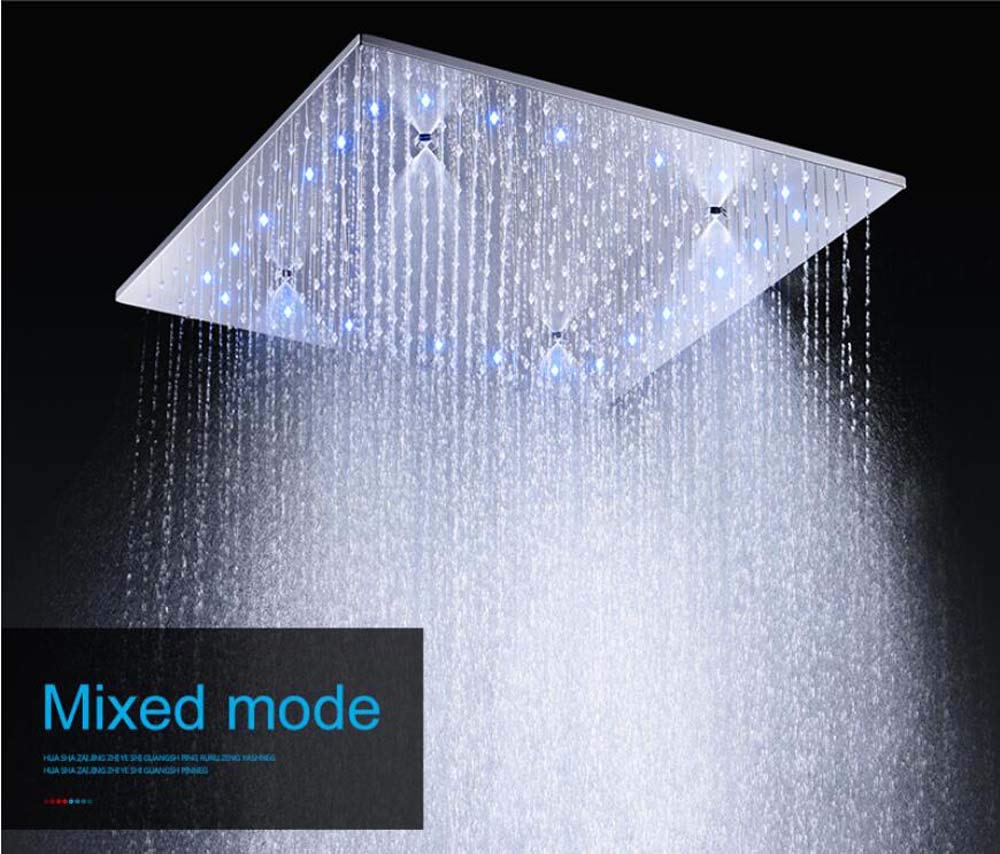
Type: Bath & Shower Faucets, LED Shower Head, Led Shower, Shower Set, LED Shower, Rainfall Shower
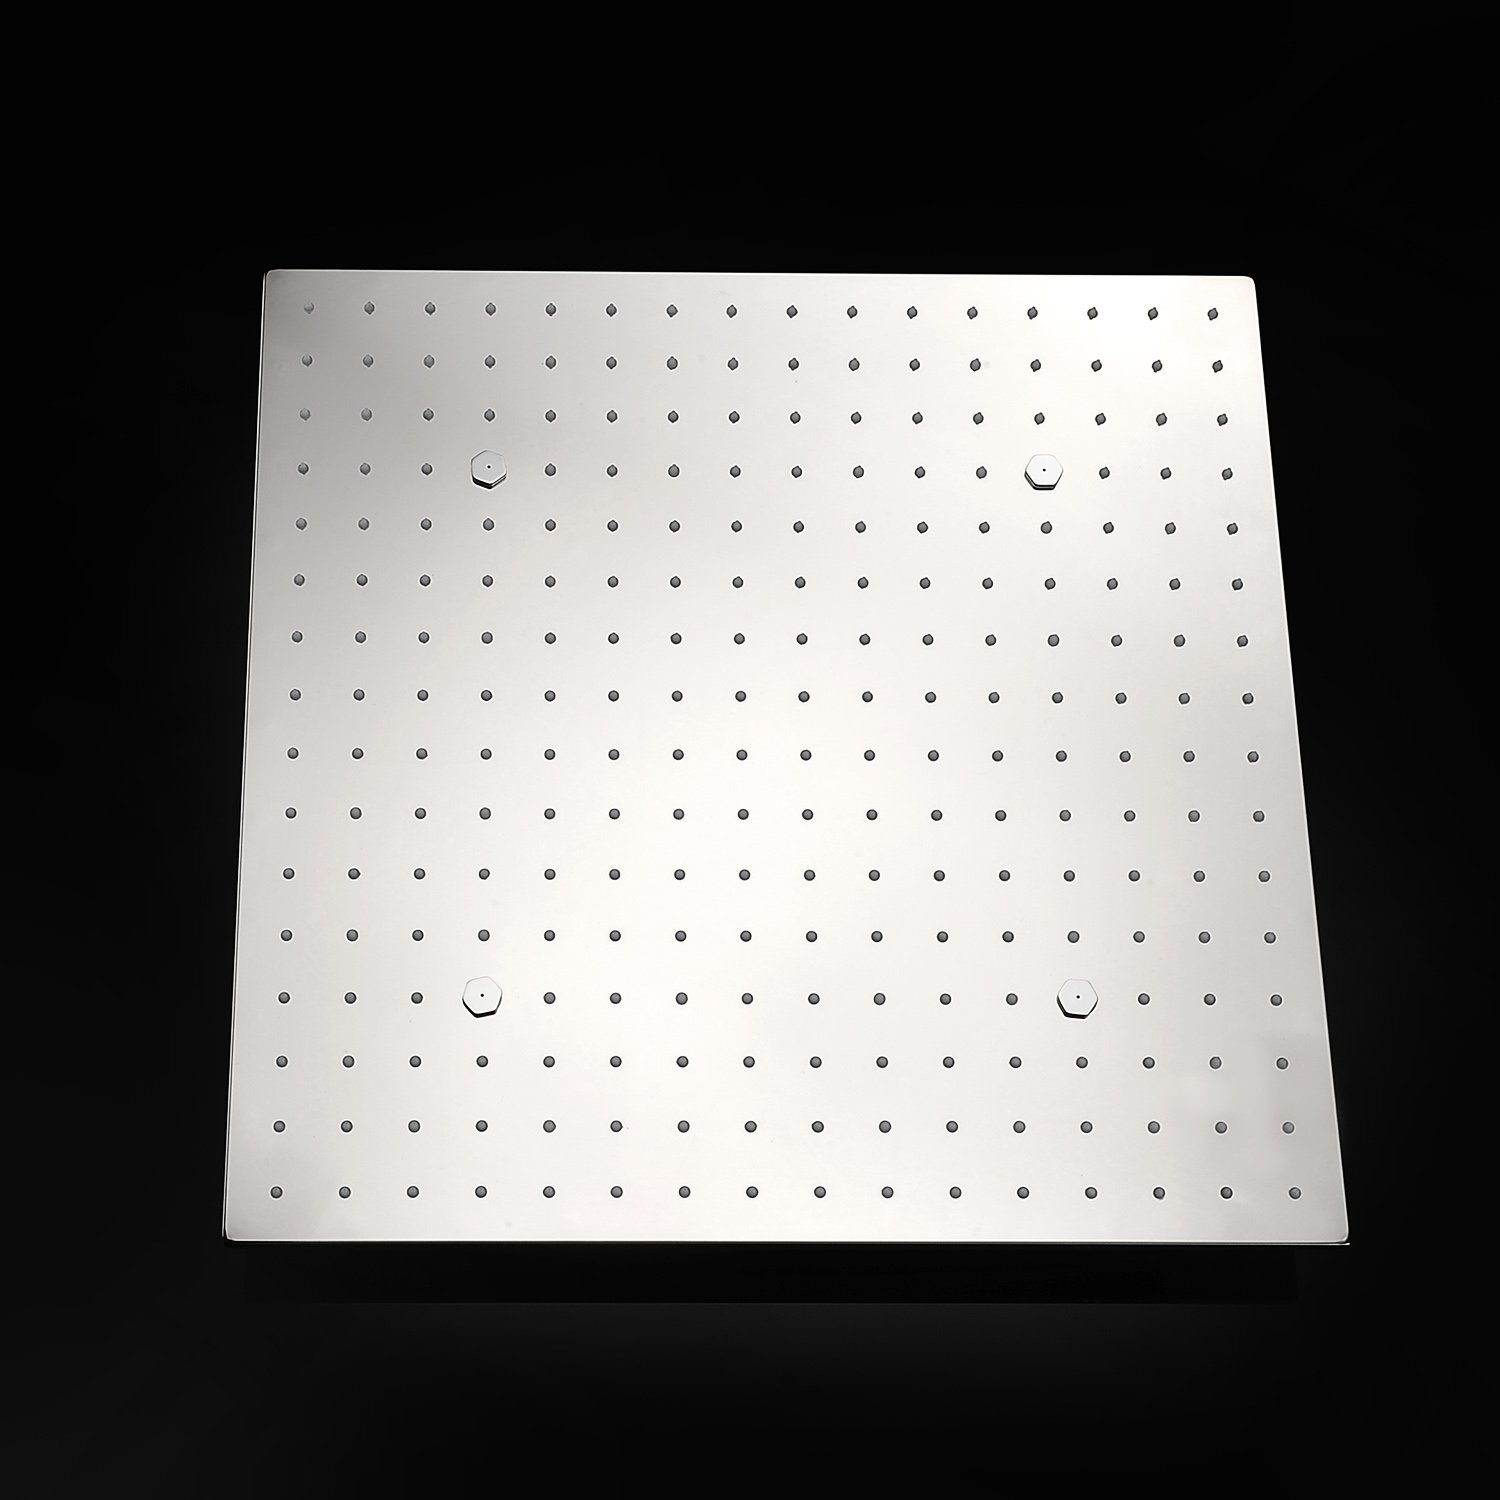
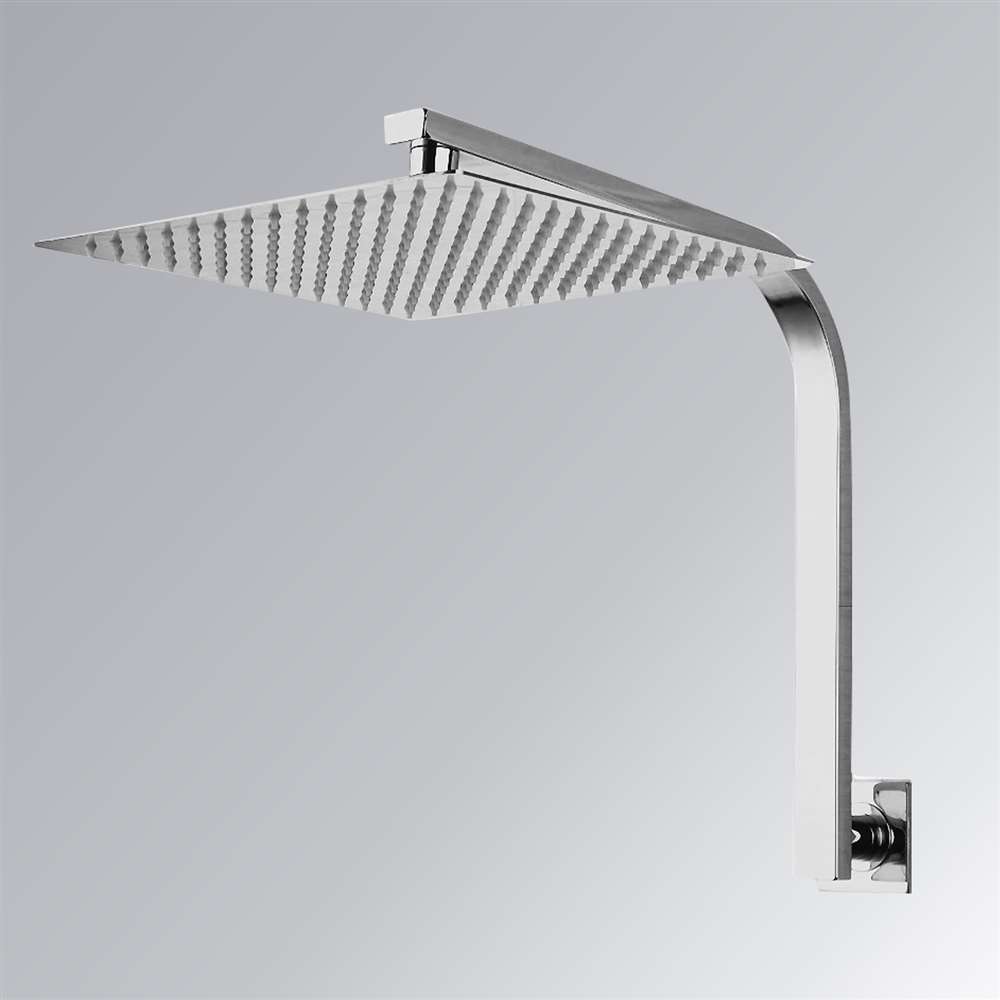
Shower shape: Square
Size: 20inch
Material: Brass
Surface Finishing: Chrome Plated
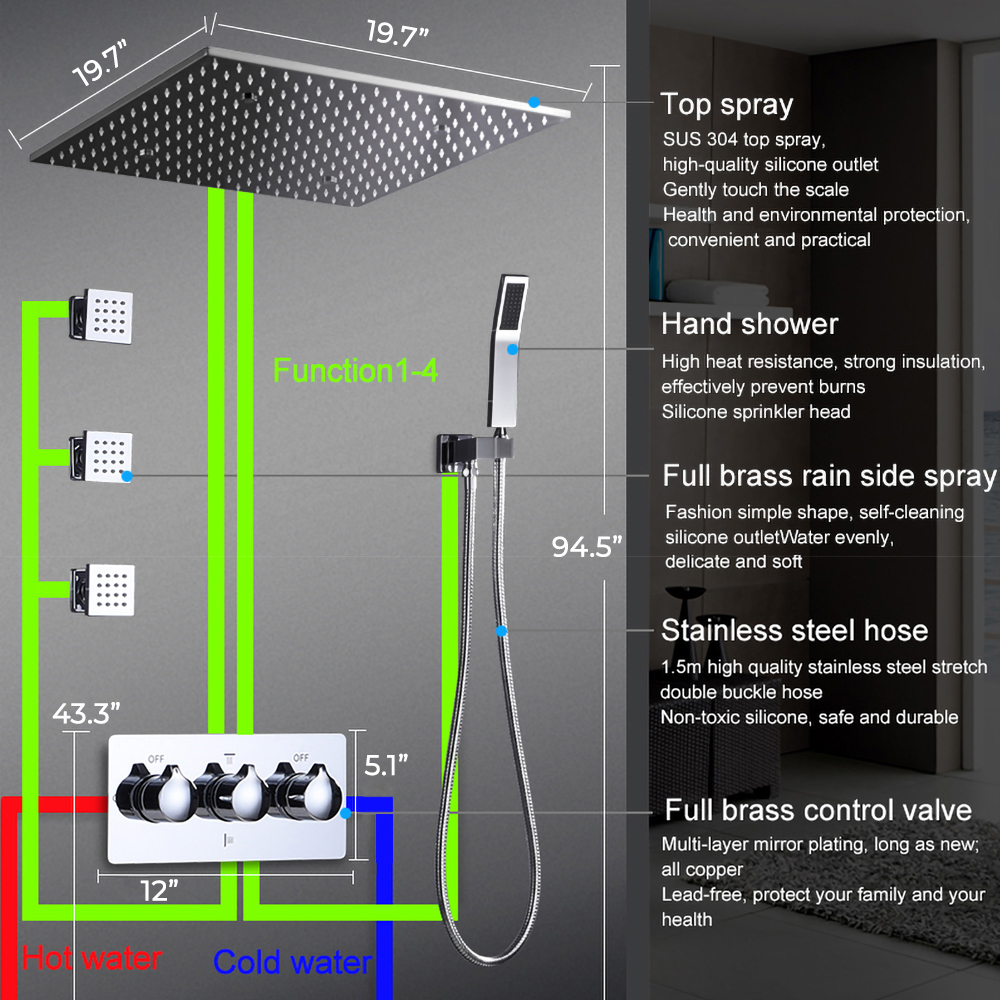
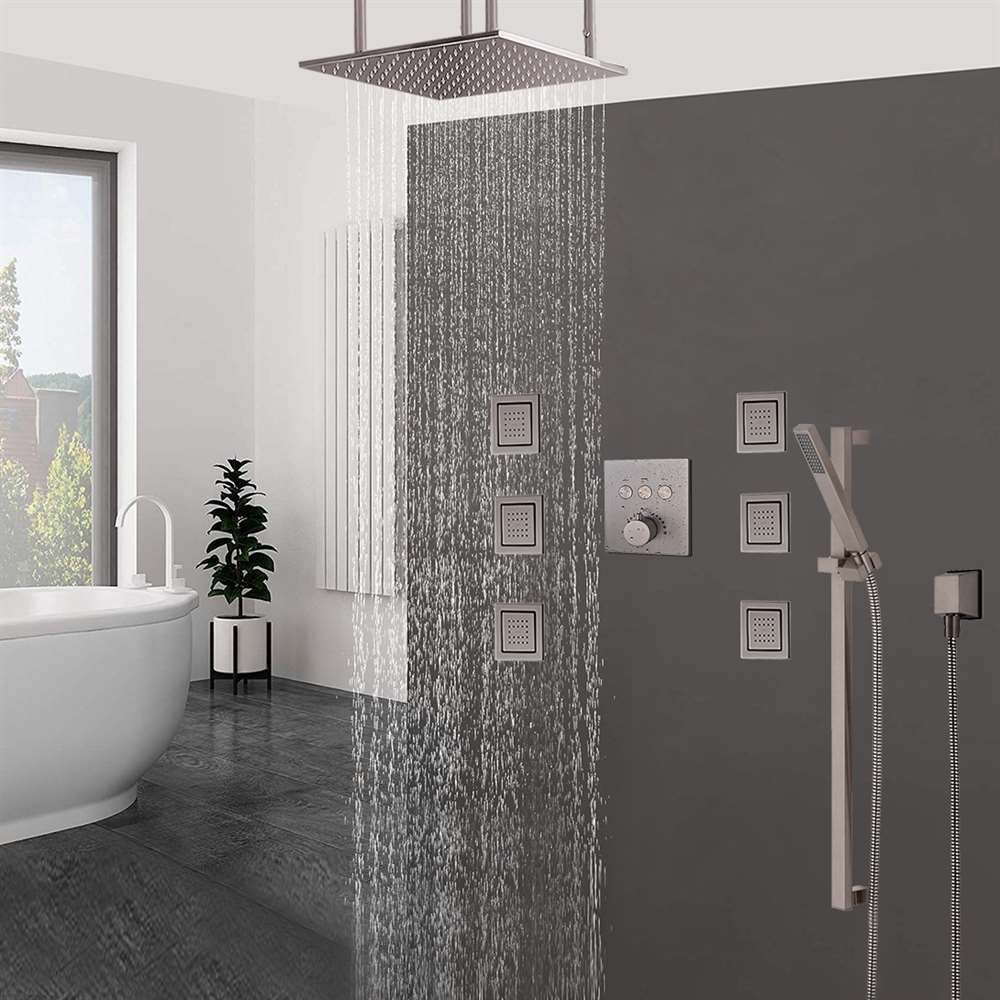
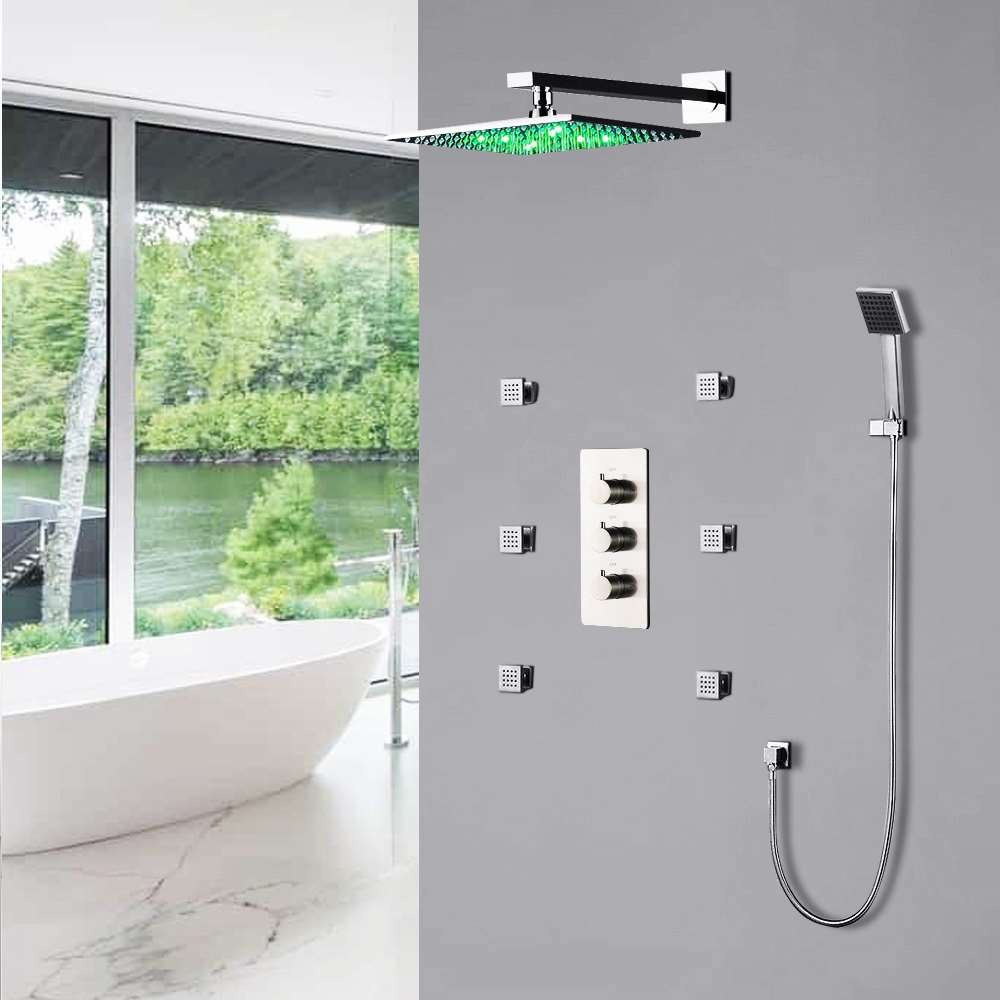
SPA LED Shower Set Function 1:: Rainfall Shower
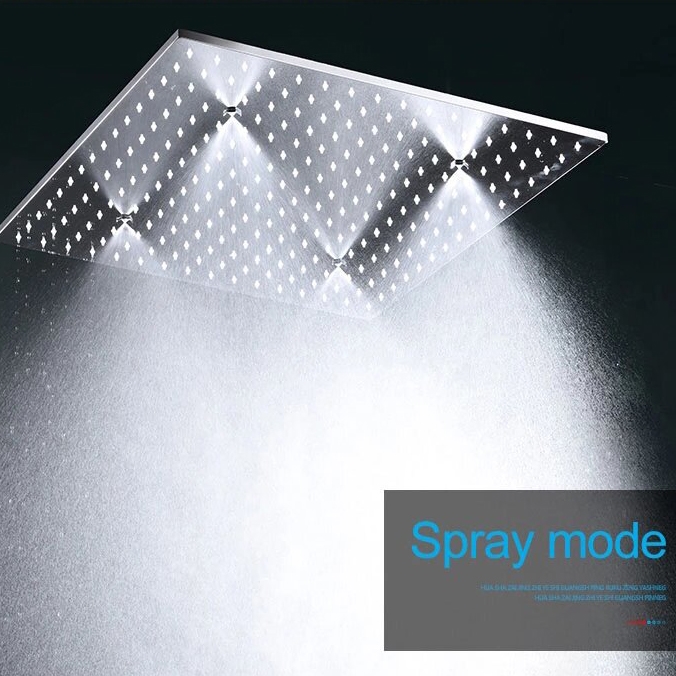
Thermostatic Shower Set Function 2: SPA Mist Shower
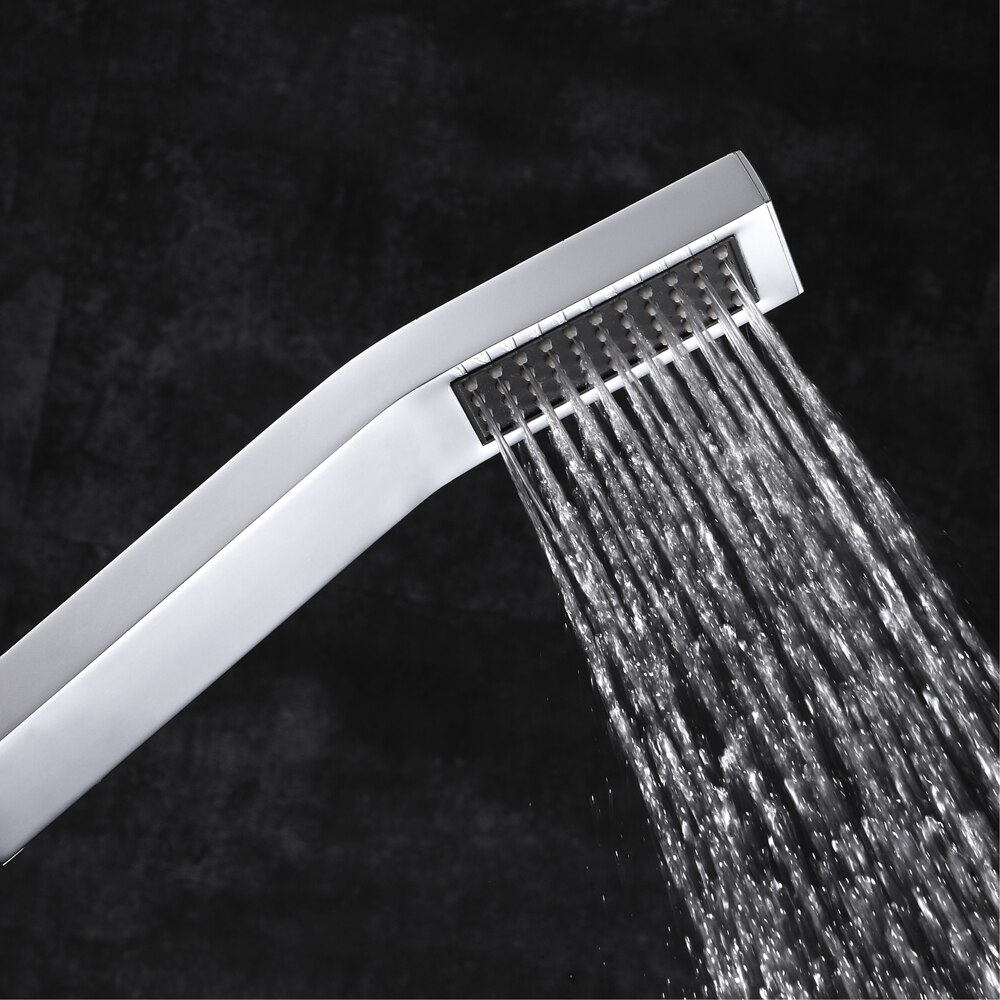
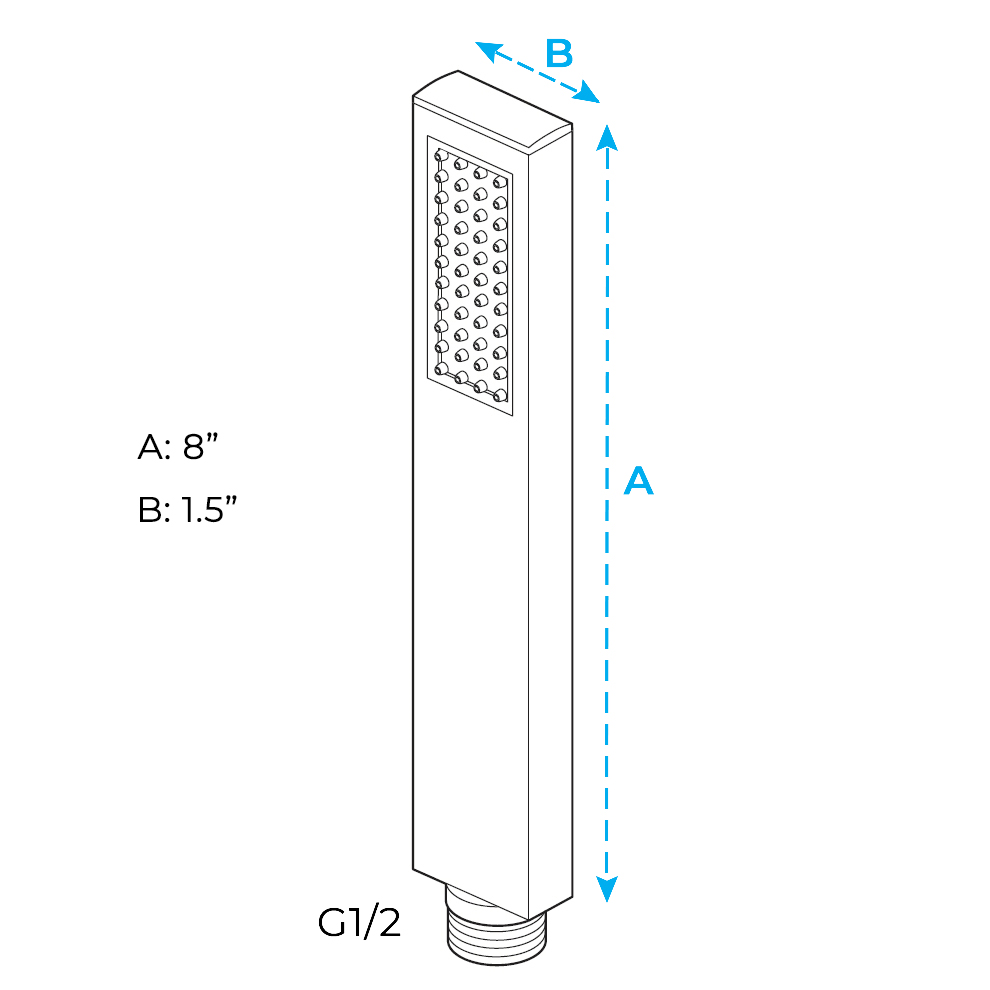
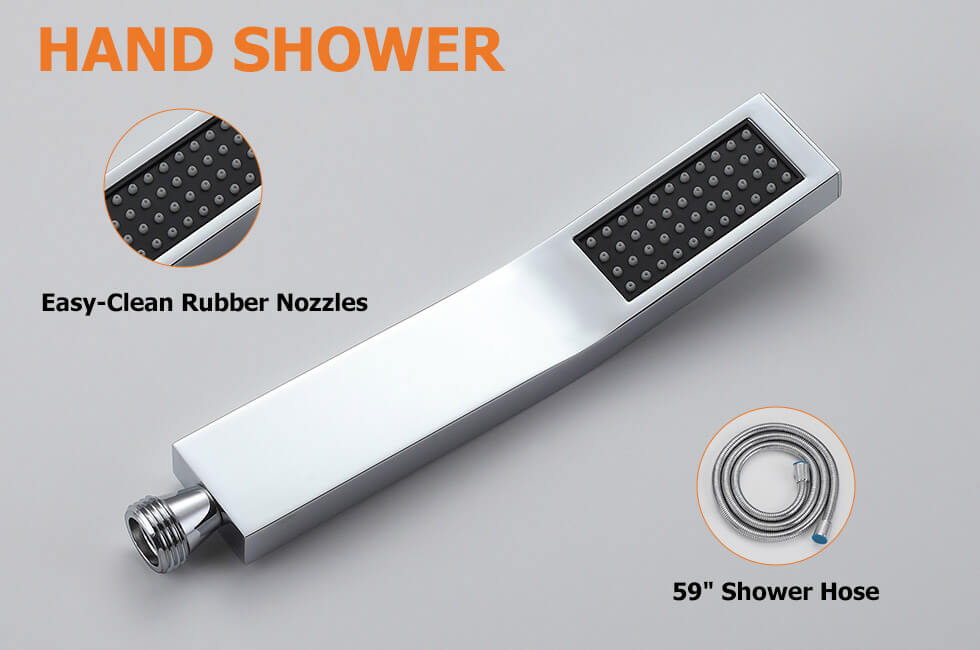
Shower Set Function 3:: Hand Shower Head
Shower Function 4: No Need Remove The Wall When Maintenance
LED Shower Head Function 5: Embedded Ceiling Shower Head
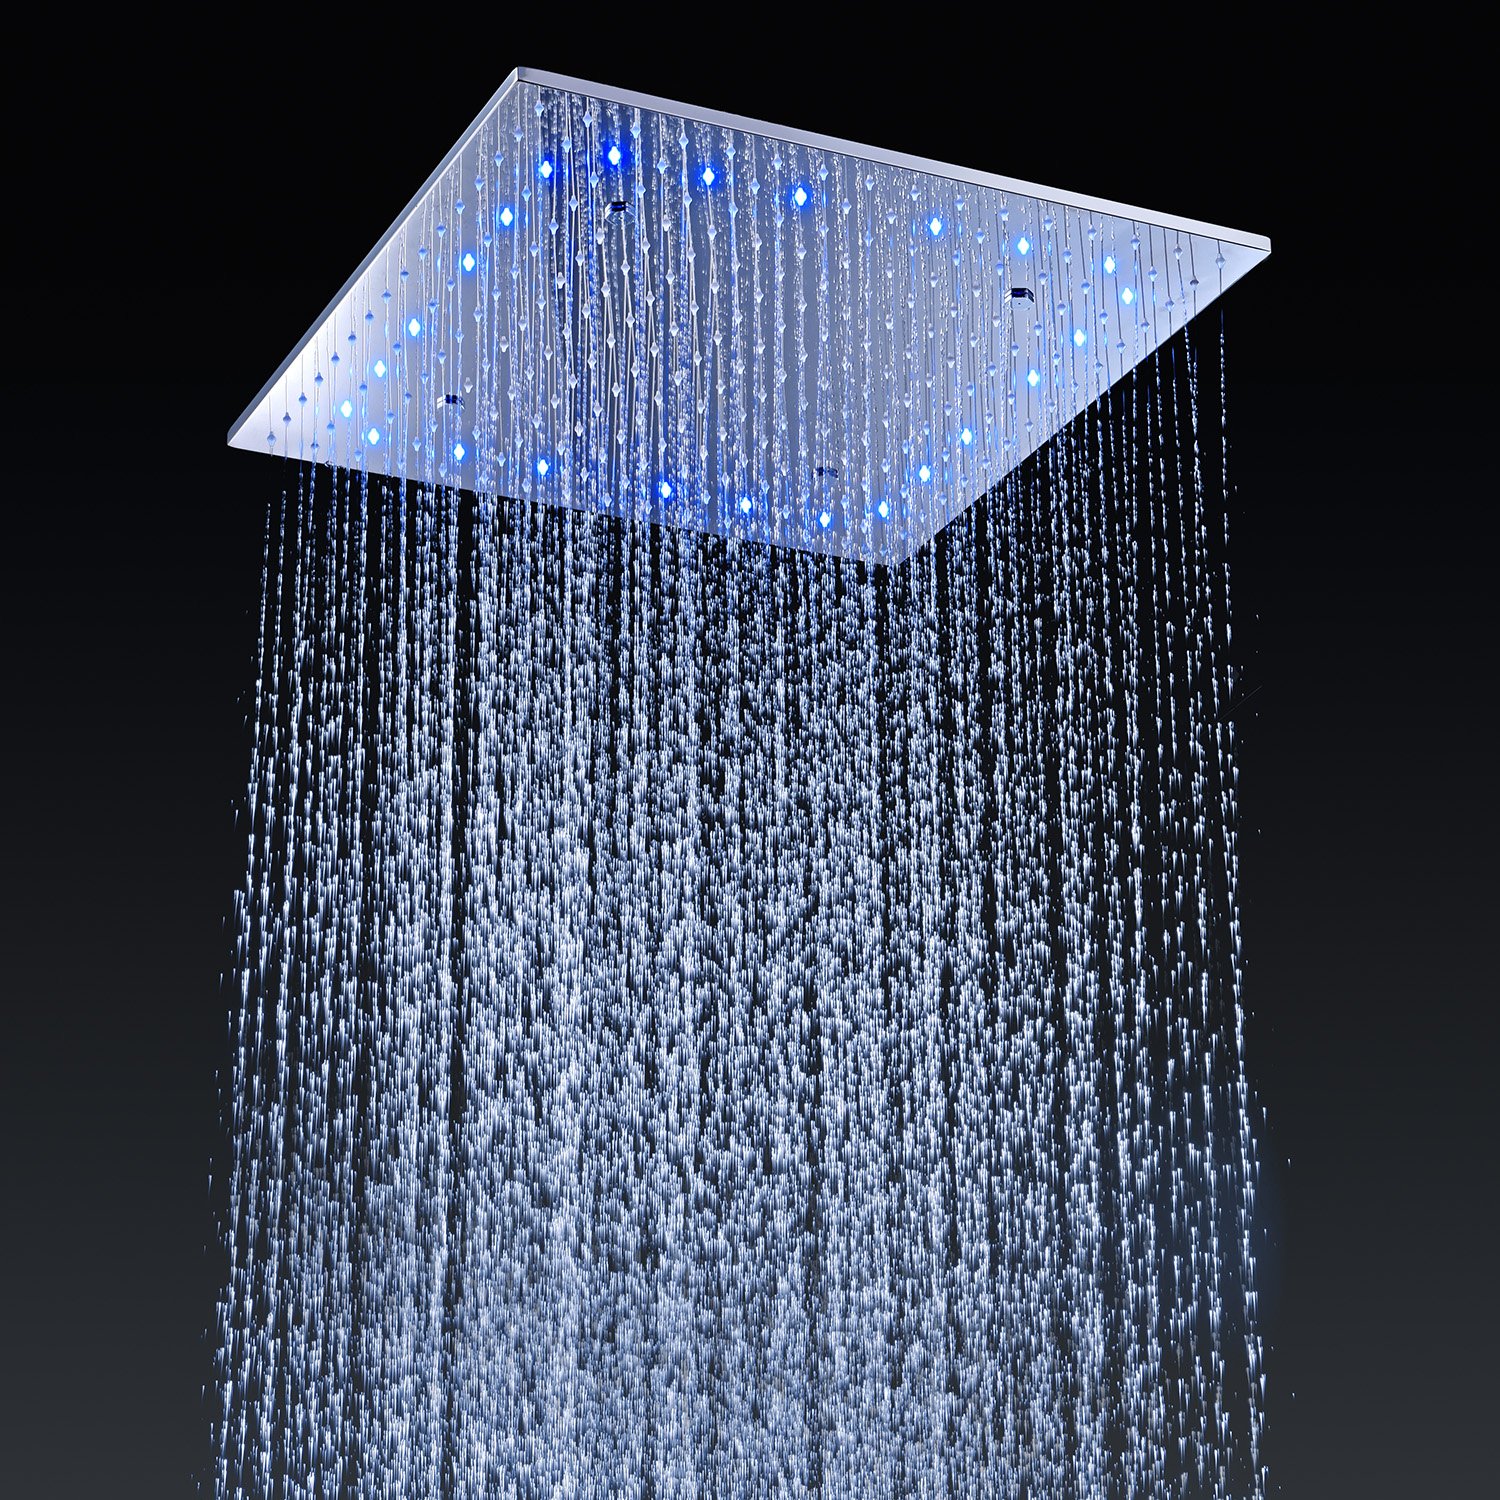
Bath & Shower Faucets Function 6: LED Chromotherapy
LED Shower Function 7: Water and Electricity Separation More Safe
Shower Head Color Change: Temperature Control
Bathroom Fixture Water Flow: 14-18 L/min
Additional Information:
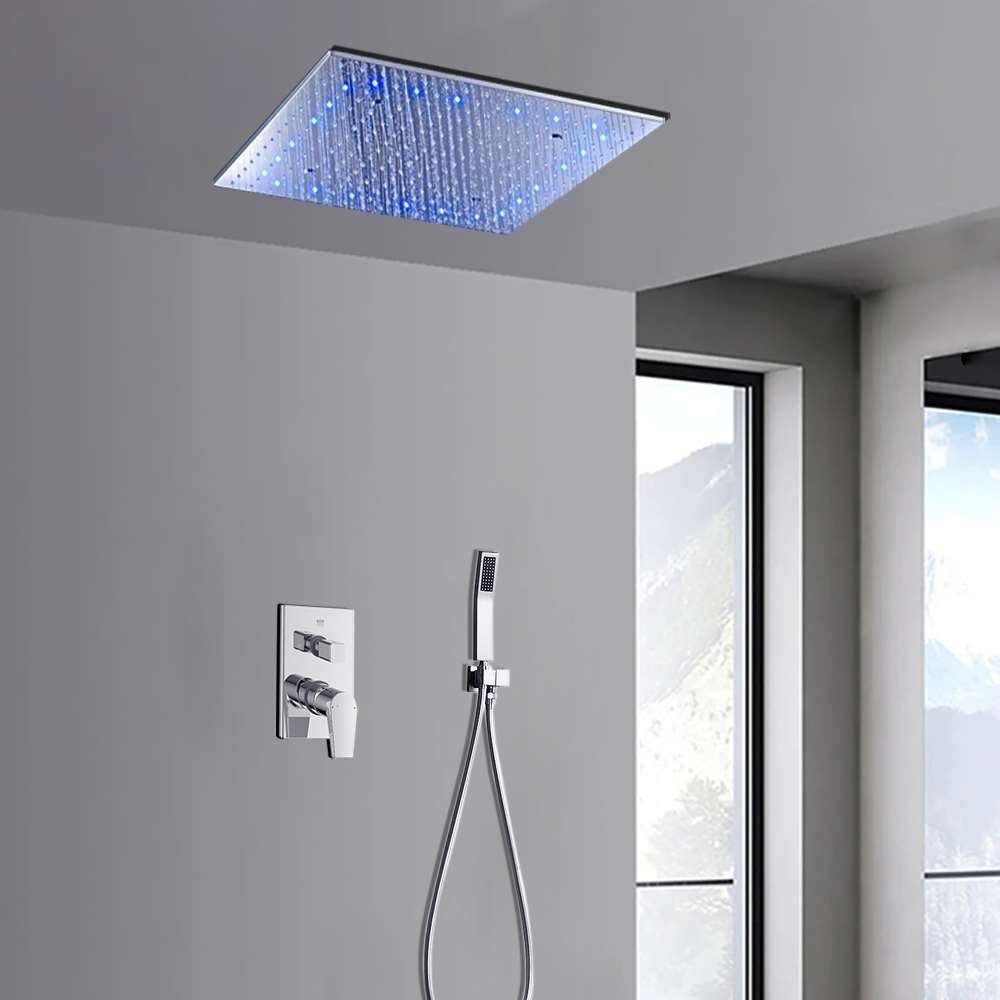
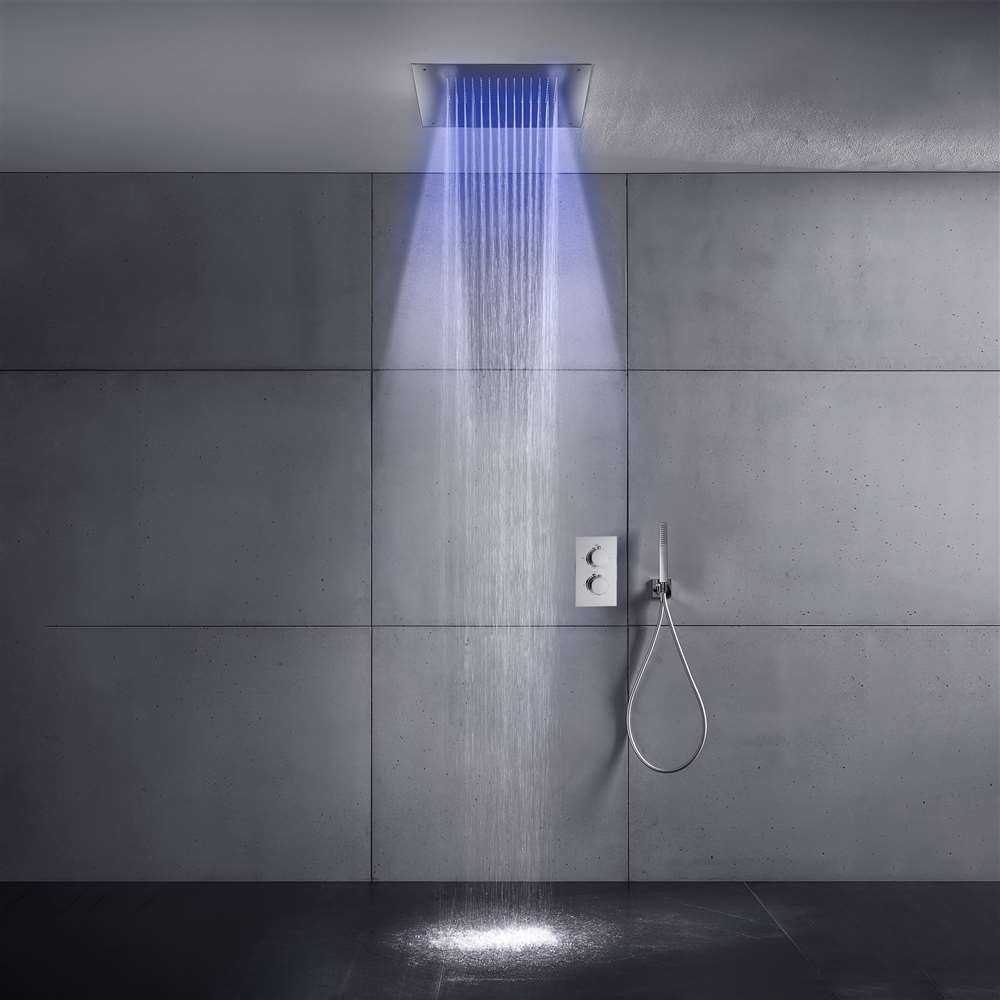
- The LED lights are powered by water flow and will be activated once the water is turned on.
- The LED light will change its color by detecting water temperature:
- 0-30 °C (32-86 °F): Blue LED
- 30-40 °C (86-104 °F): Green LED
- 40-50 °C (104-122 °F): Red LED
- 50-100 °C (122-212 °F): Flashing Red LED
|
|
|
|
|
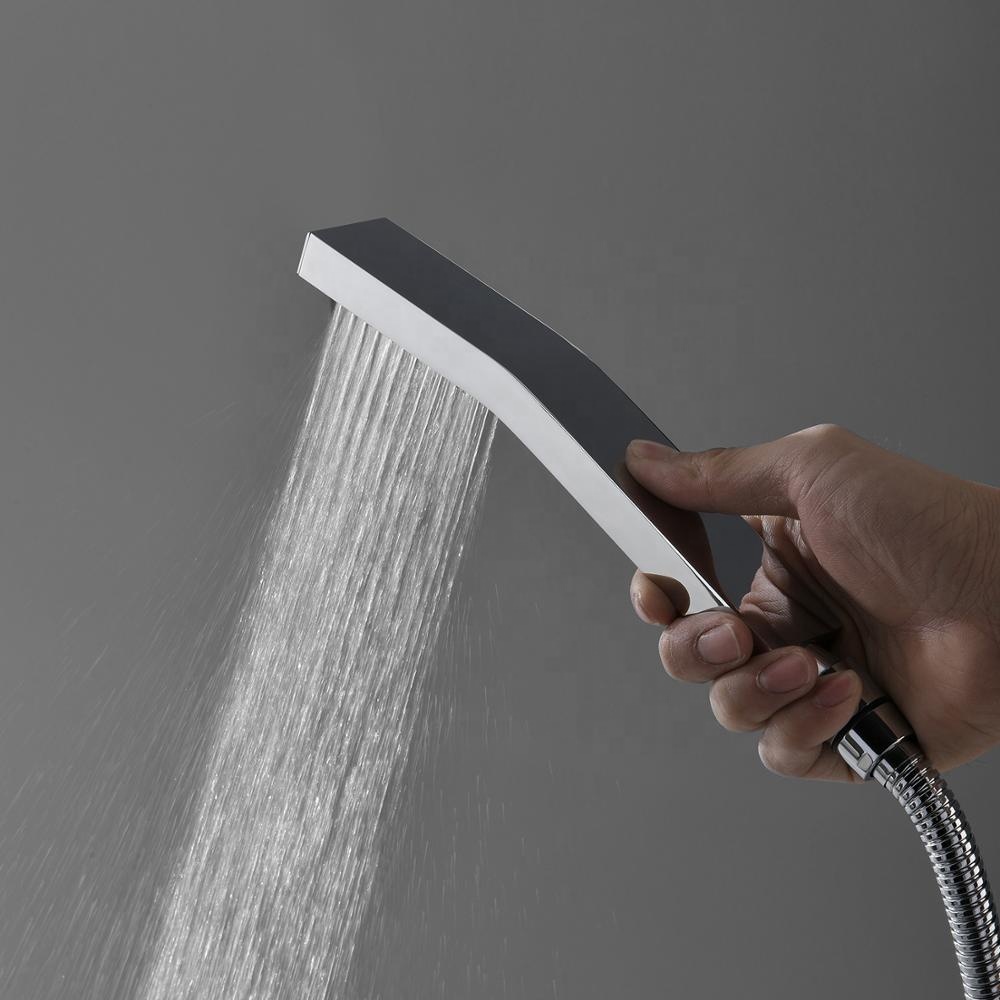
Hand Held Shower Installation Instructions
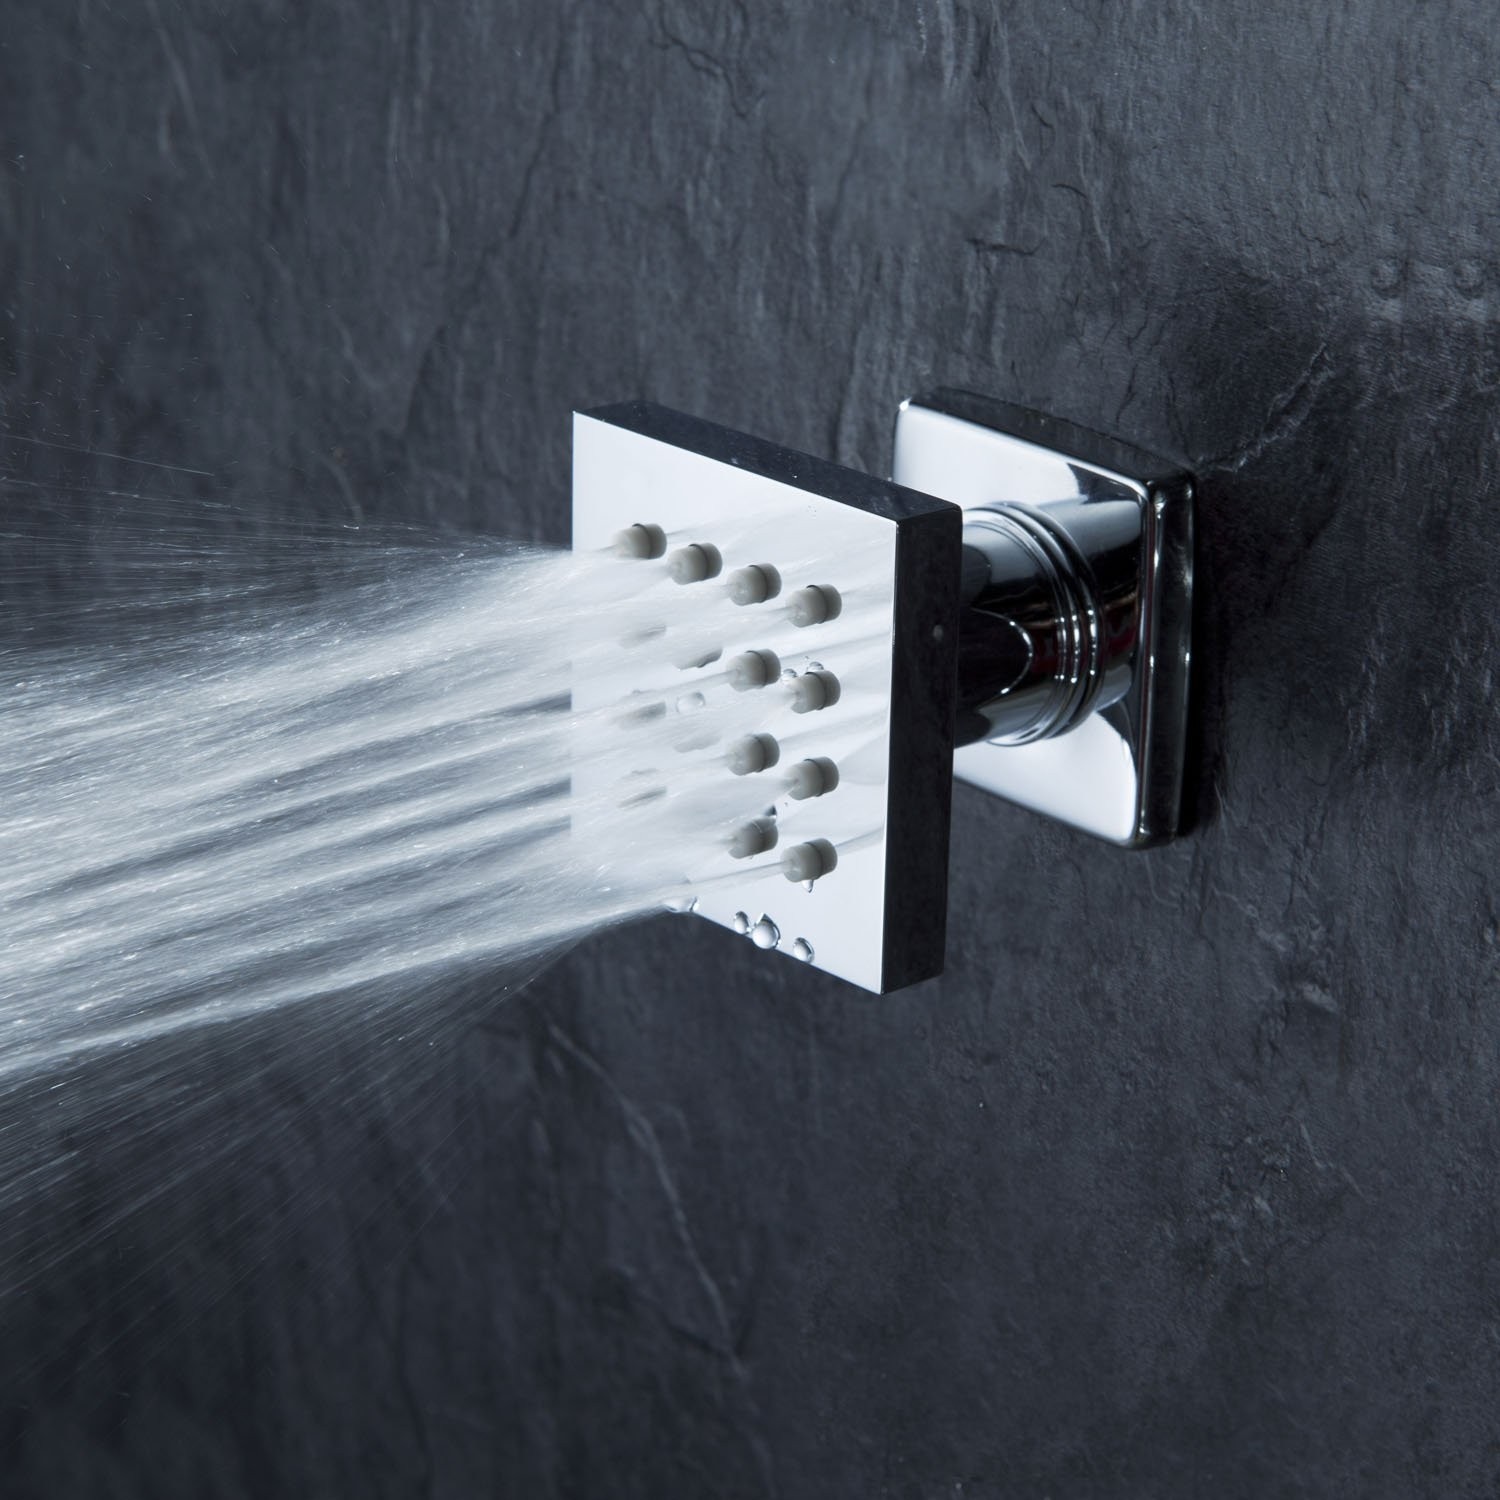
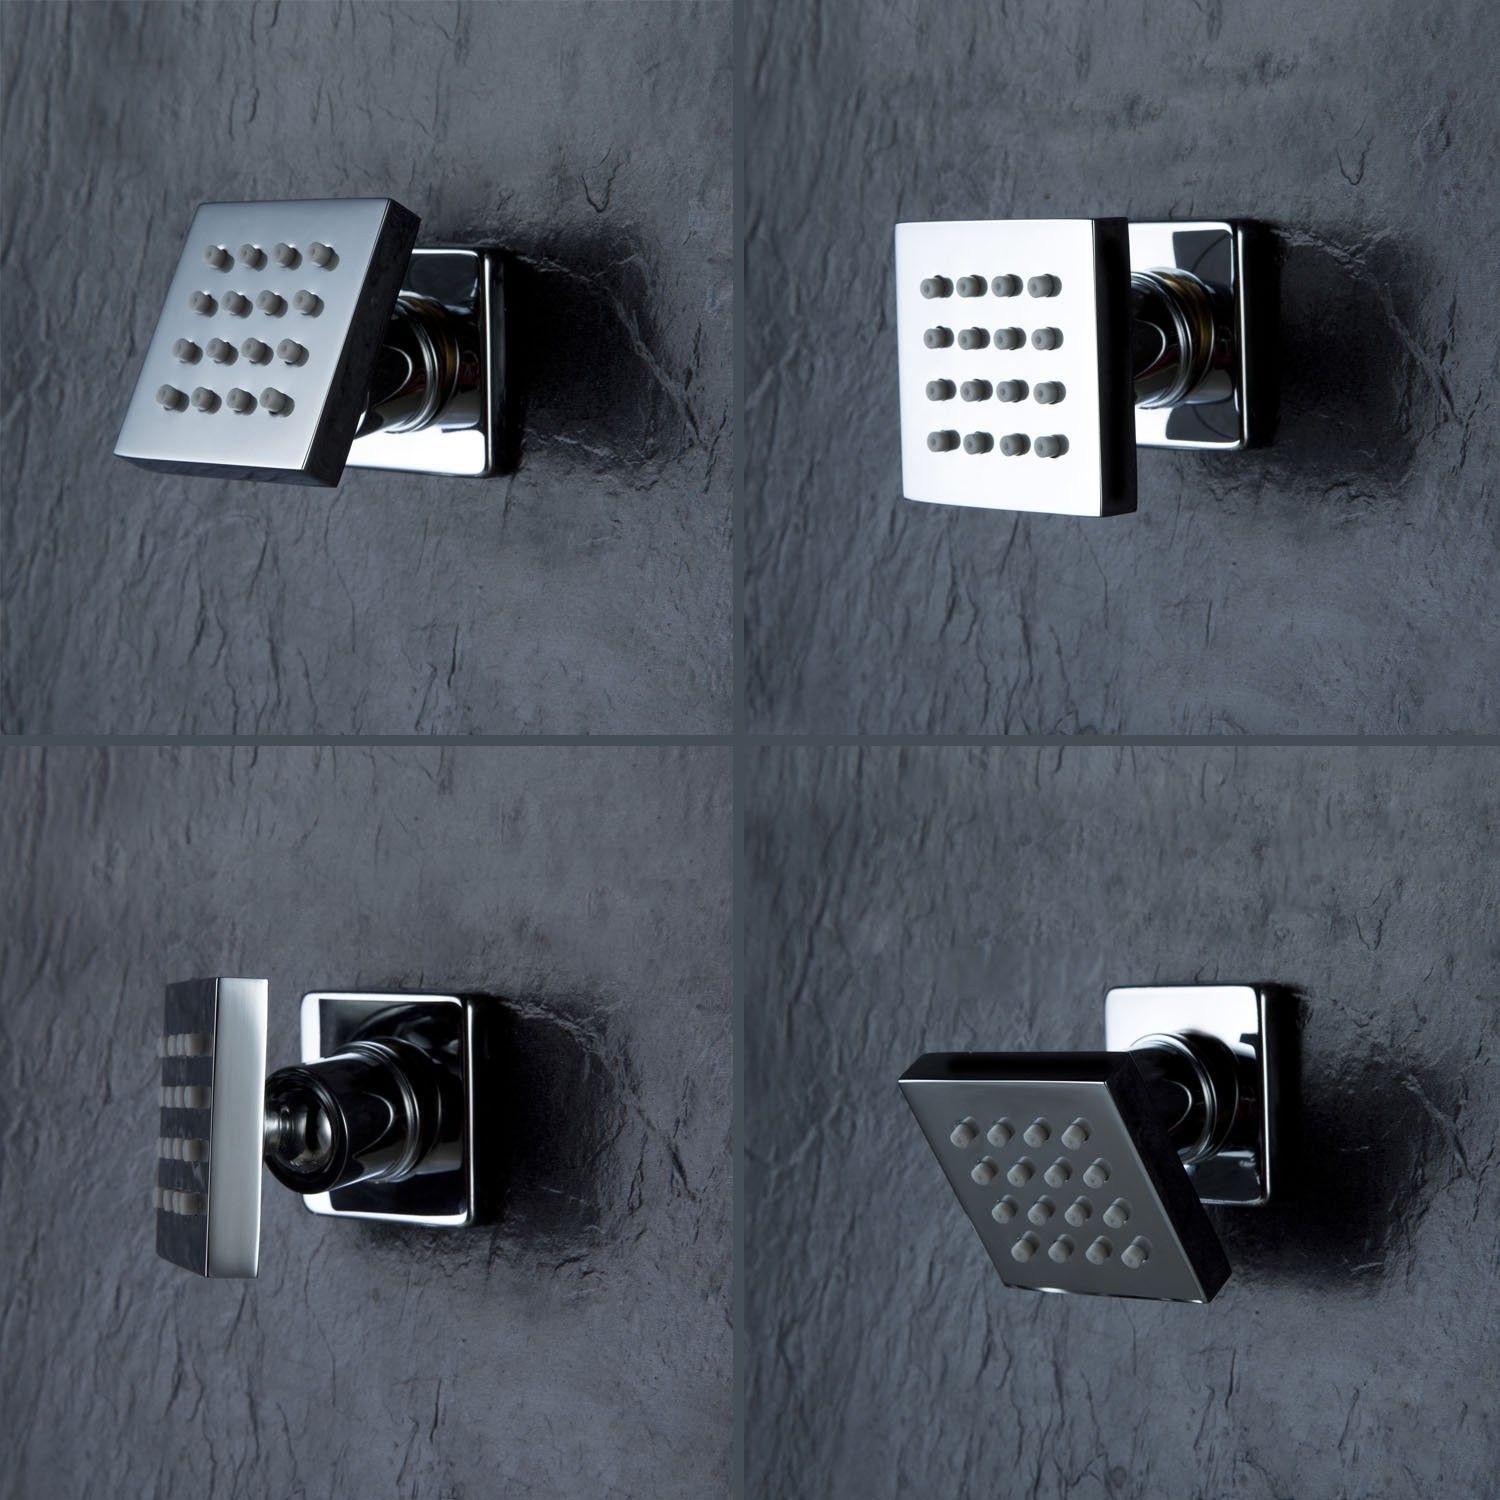
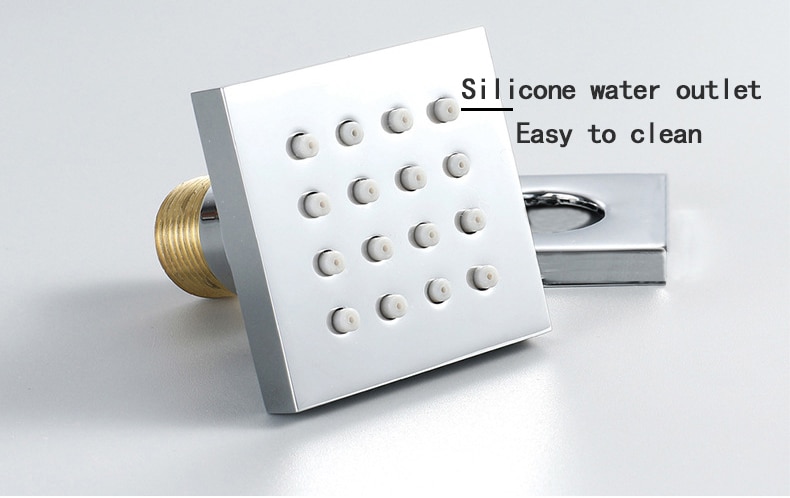
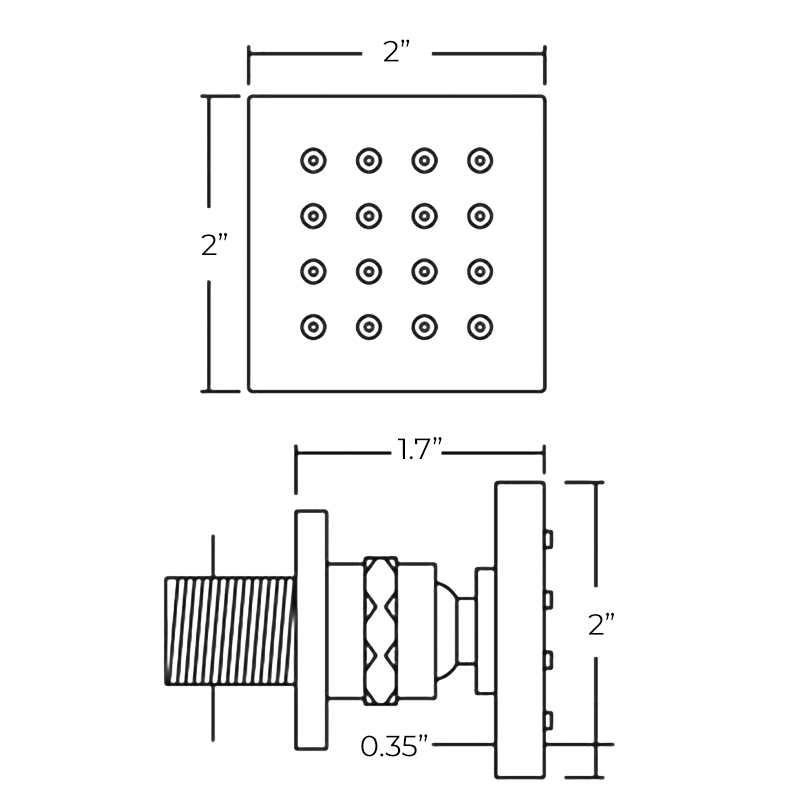
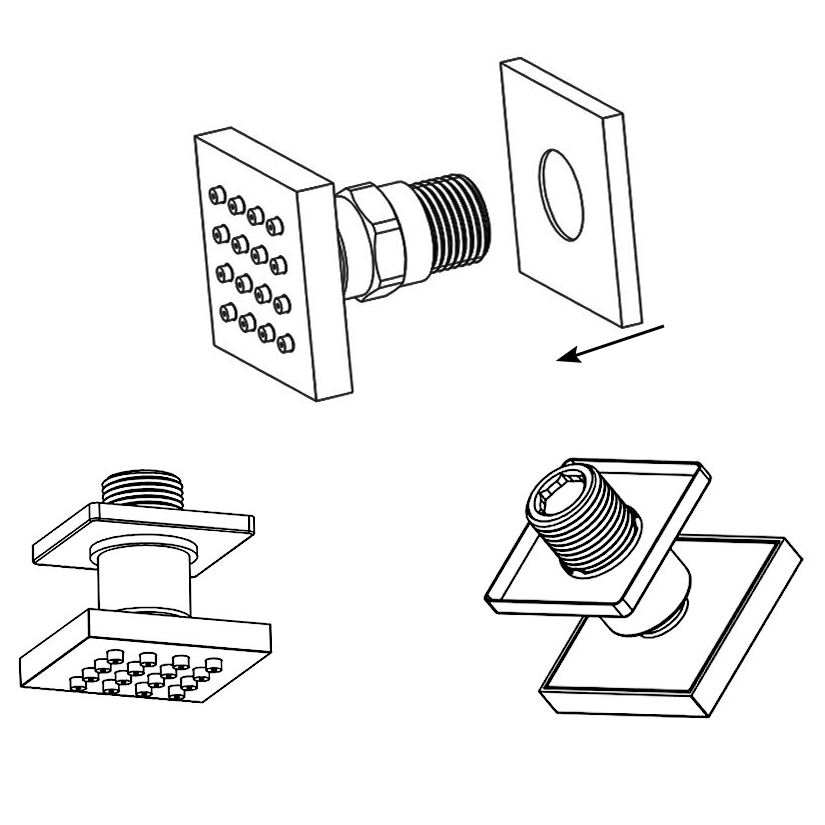
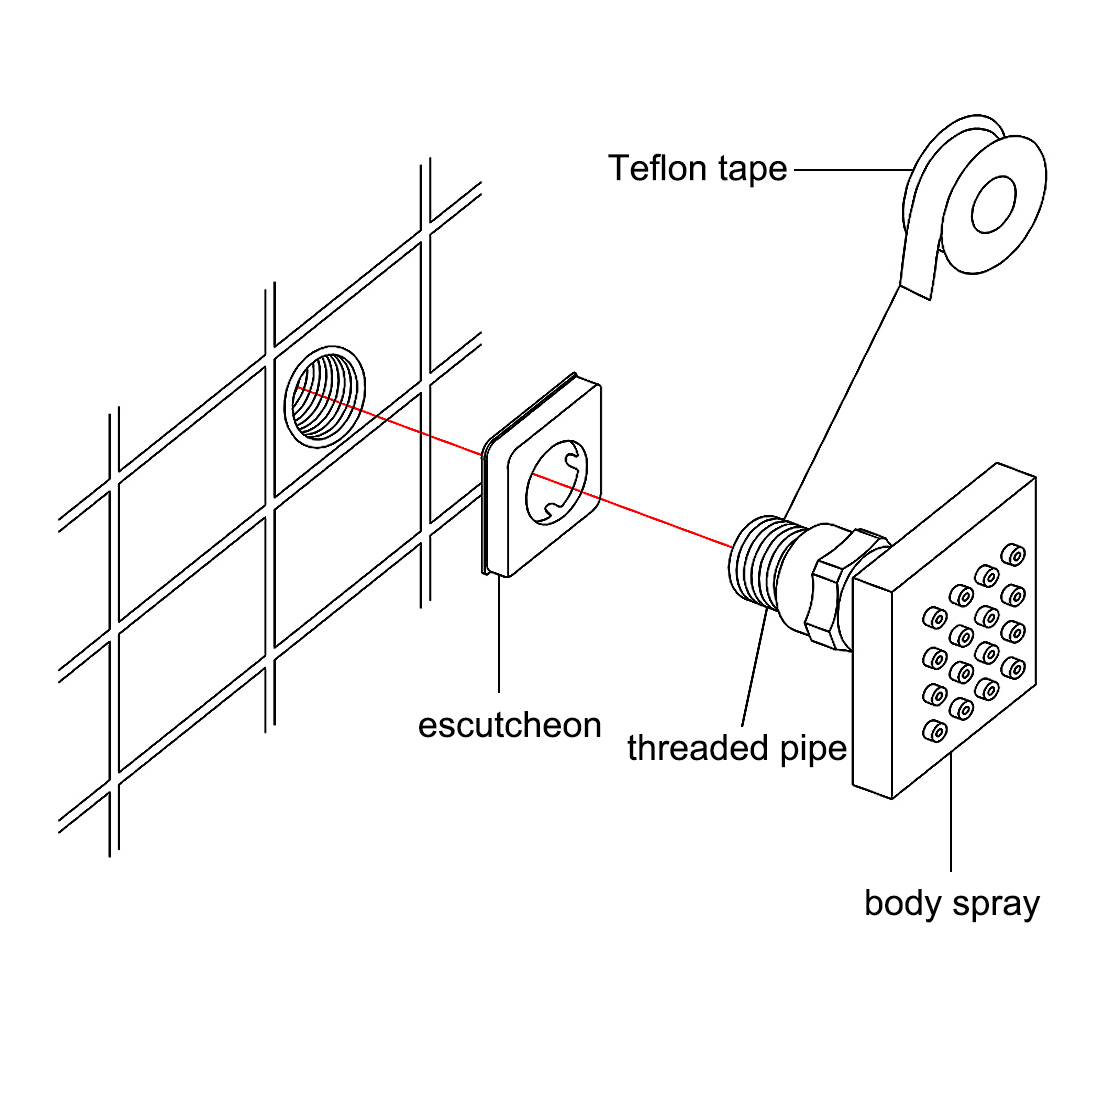
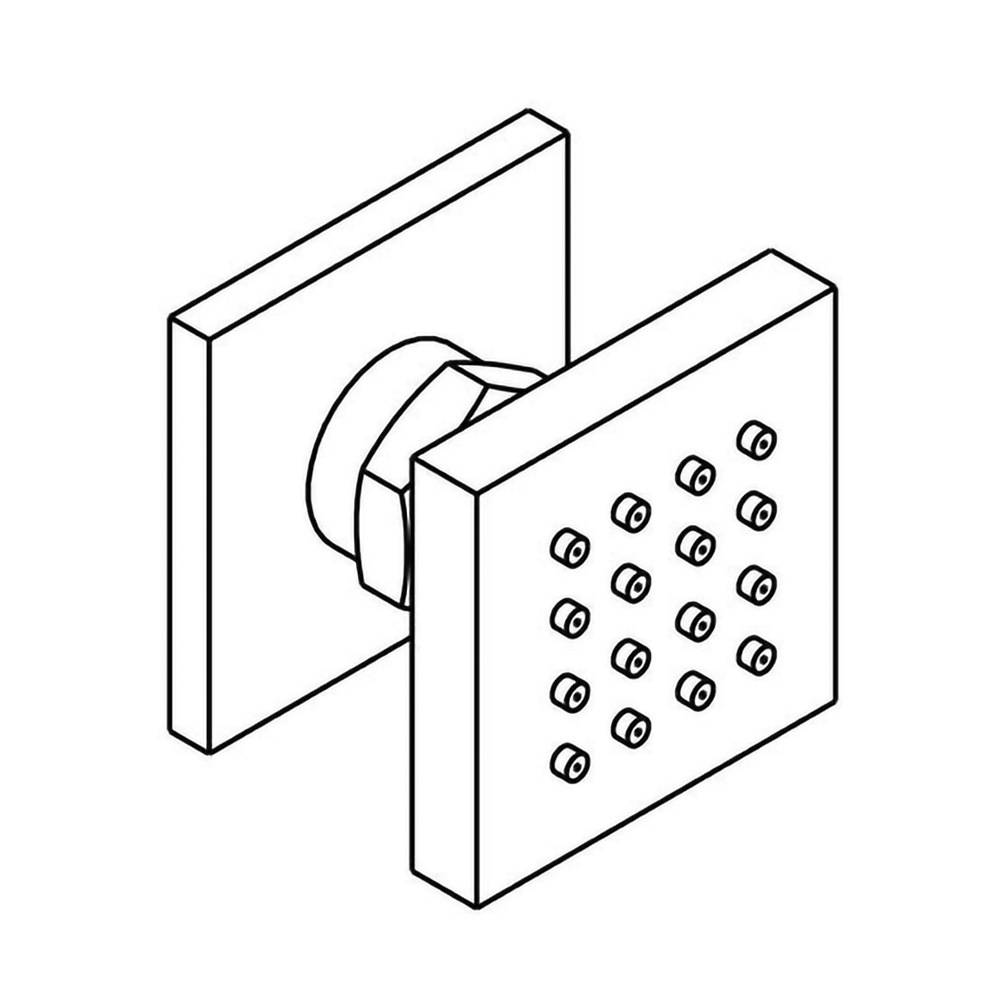
Shower Body Jets Installation Instructions
|
Step 1:
|
|
Step 2:
|
|
|
|
|
Body Sprays
installation
|
|
|
|
|
|
|
|
|
|
|
|
|
Step 3:
|
|
Step 4:
|
|
|
|
|
|
|
|
|
|
|
|
|
|
|
|
|
Step 5: (Pressure Balancing Loop)
|
|
|
|
|
|

|
|

|
|
|
|
|
|
|
|
|
|
|
|
|
|
|
|
Rough-in Suggestion:
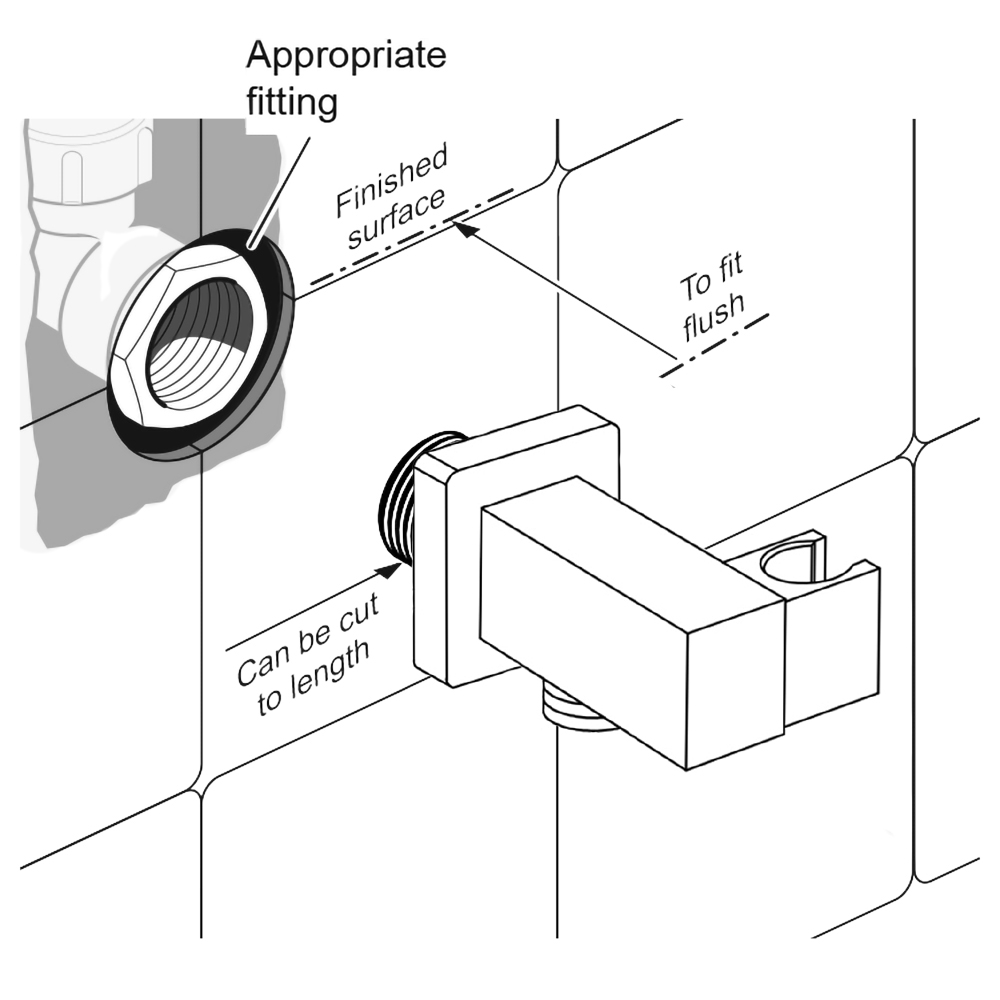
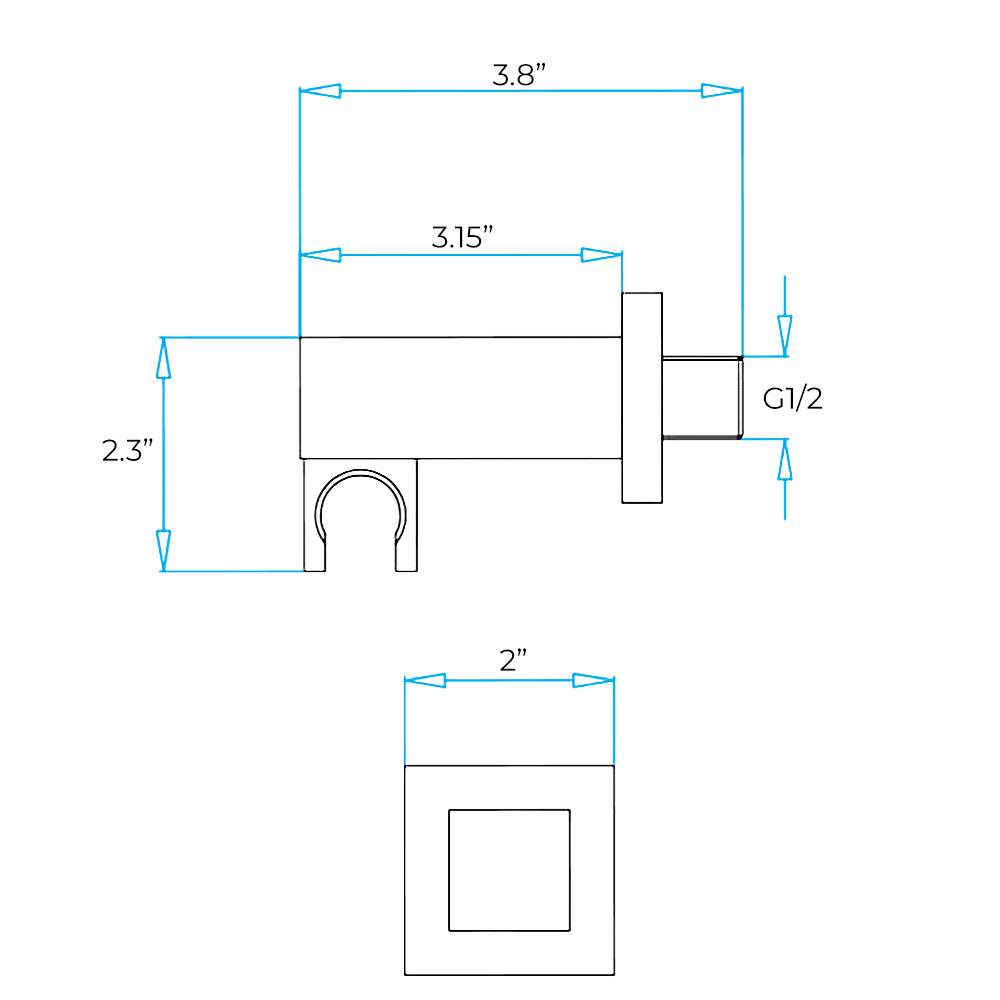
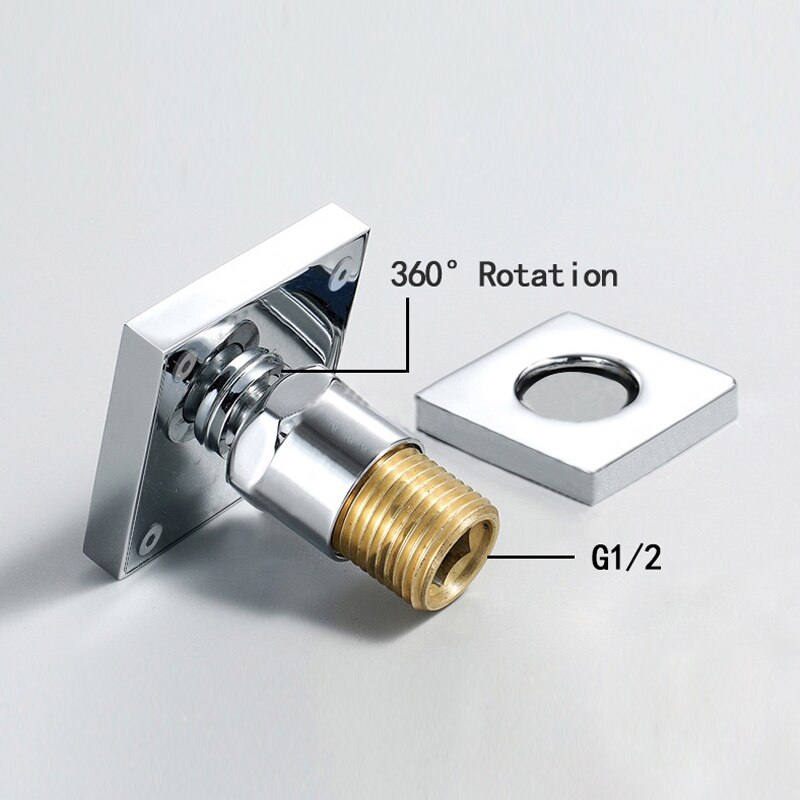
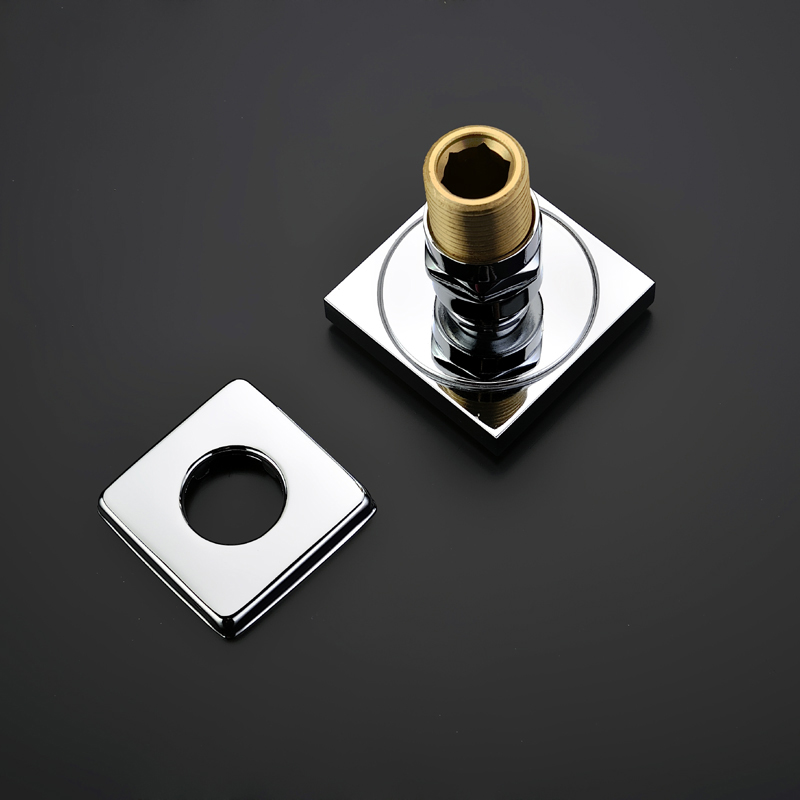
This installation requires a 1/2" male threaded pipe fitting to extend 1/4" beyond the finished surface. The plumber should install a properly anchored 1/2" female pipe fitting (i.e. a drop-ear ell) recessed into the wall, into which a brass pipe nipple of proper length can be fitted once the finished wall is complete.
Note: The hole size opening should be 1.5" max diameter.
Bodyspray placement:
Custom shower systems are sized to the user or users. Bodysprays are normally placed at the upper back, middle back, and upper thigh. Always position bodysprays according to the preferences of the user(s).
Pressure Balancing Loop:
If installing bodysprays in a bank of 3 or fewer, a pressure balancing loop is not necessary.
If installing bodysprays in a bank of 4 or greater, a pressure balancing loop must be used to keep the pressure even between the bodysprays.
|
|
|
|
|
|
|
|
Instructions
|
|
|
Body jets should be arranged in your system to provide the necessary spray outlets to suit the application.
1. Identify all components and check for completeness, particularly before arranging fitting.
2. Depending on the application the body jet can be panel mounted using a backnut (not supplied) or set into the wall on rigid pipe work. If panel mounting care should be taken to ensure connection can be made after securing with the backnut.
3. Connect body jet to pipe work using recommended ½” BSP connections (not provided) with thread sealing compound where necessary.
Note: - Before finishing wall turn on water supplies to check both correct system function and for leaking from joints/connections.
4. Complete wall finish.
|
|

|
|
|
|
|
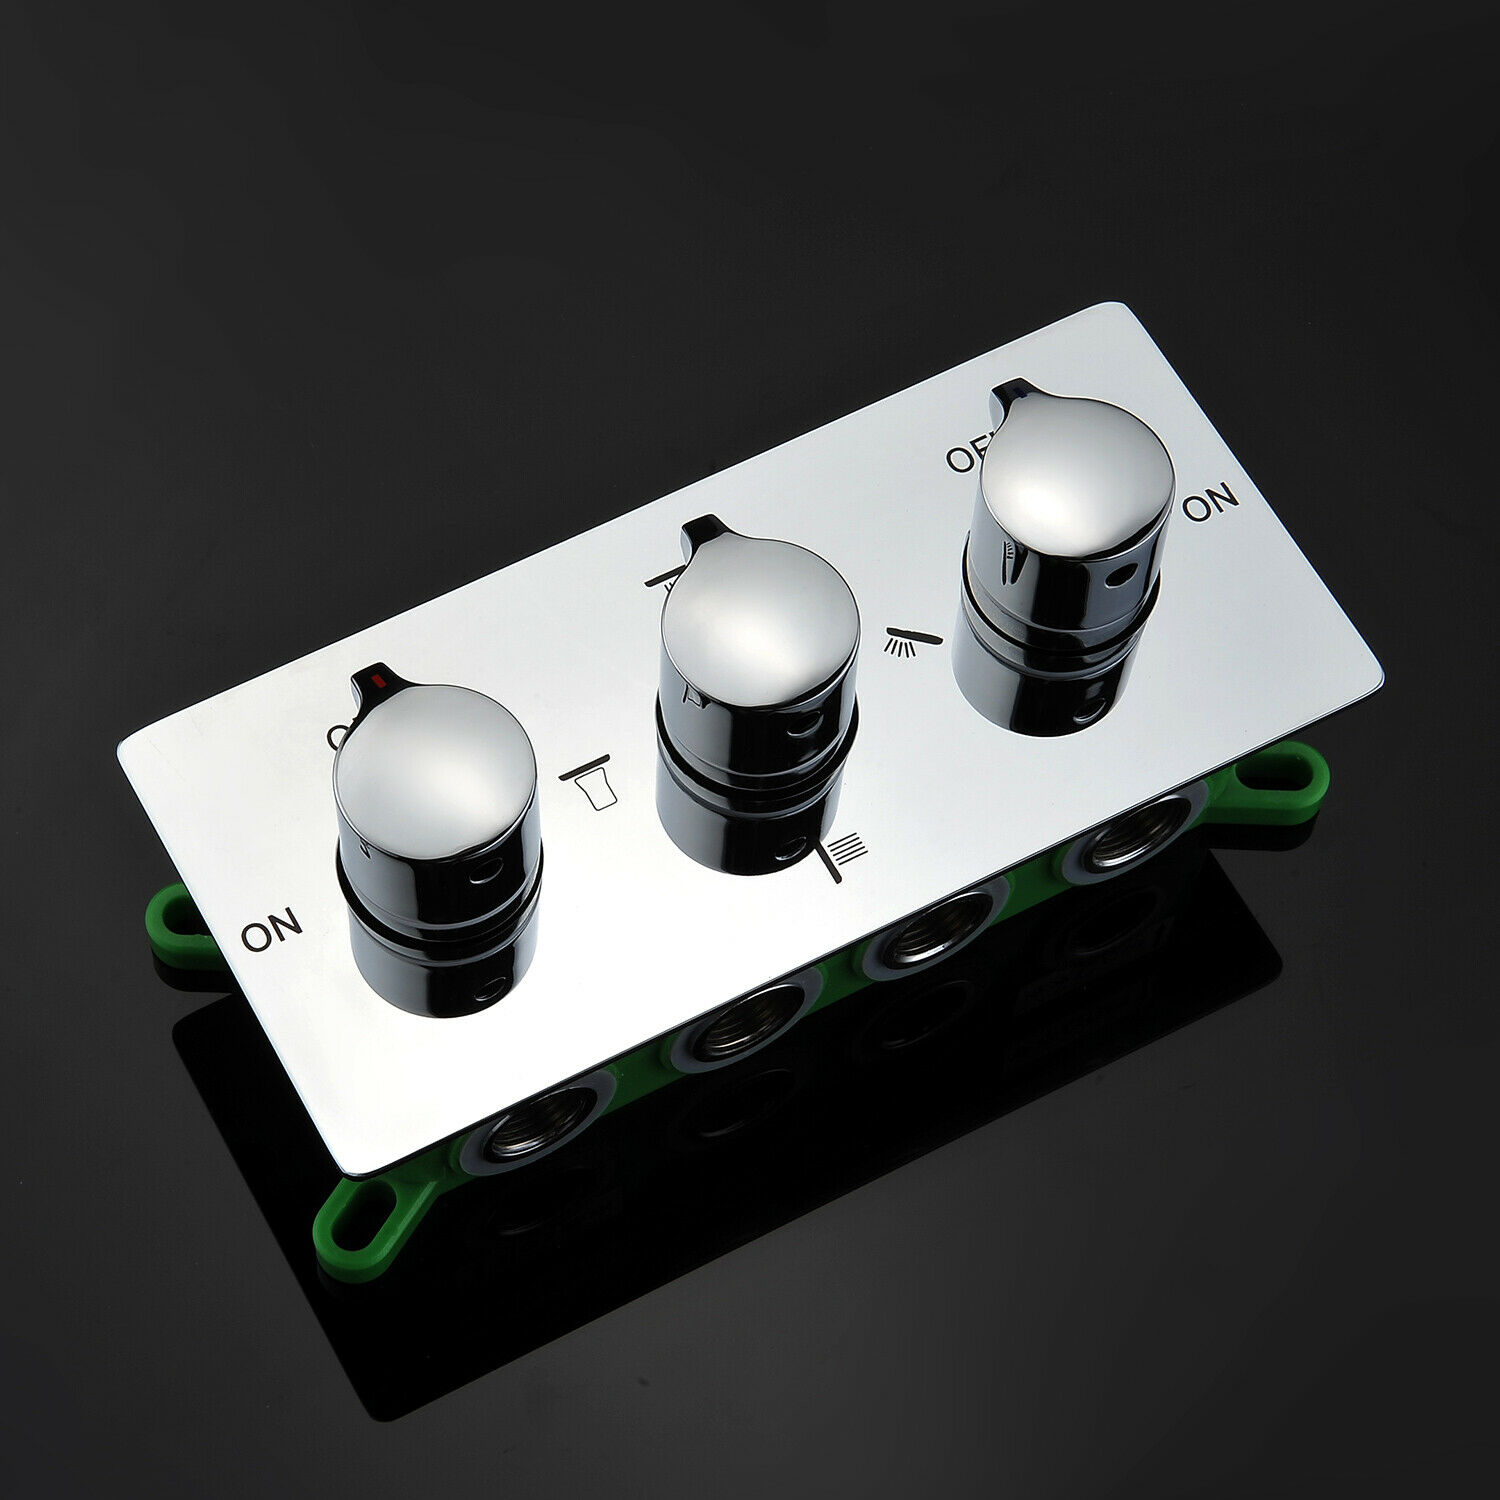
Shower Thermostatic Mixer Installation Instructions
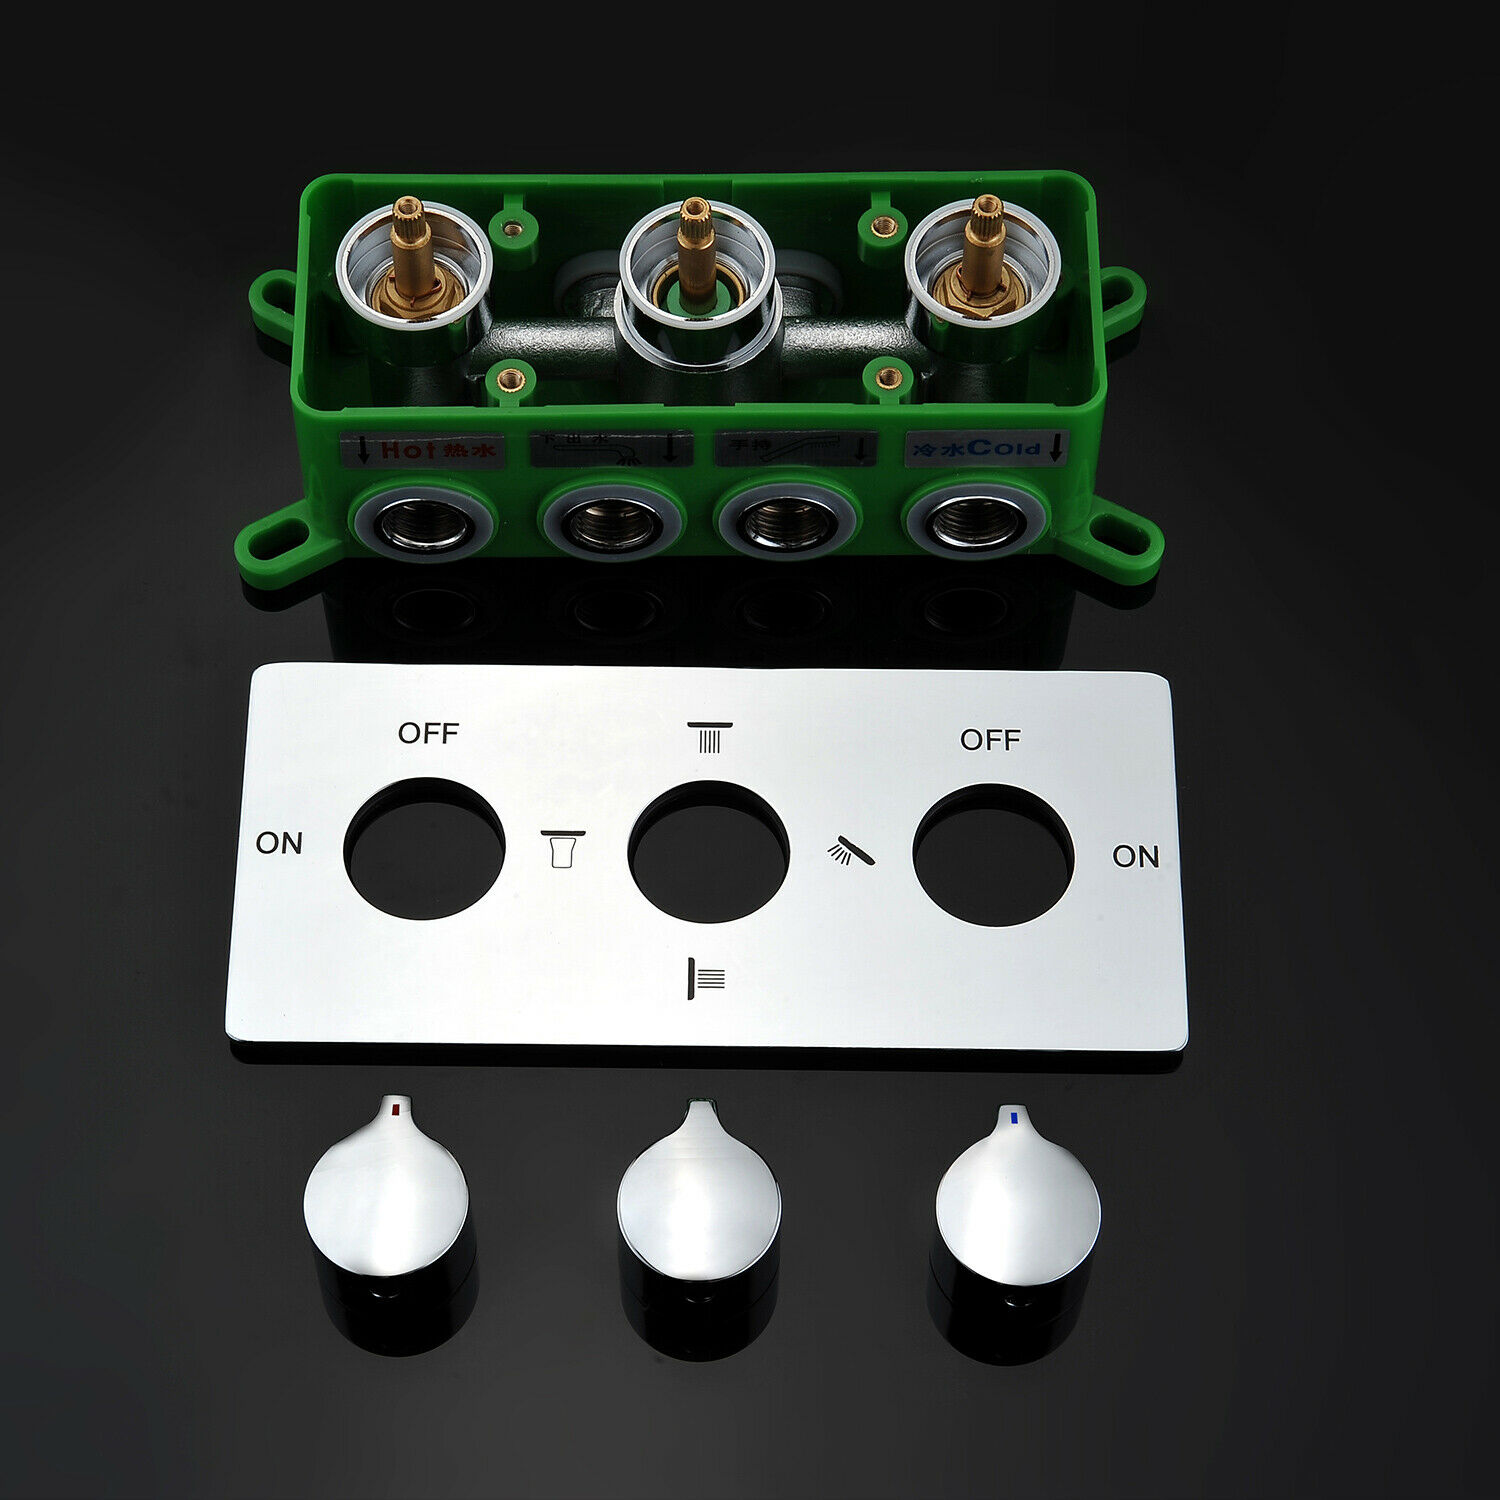
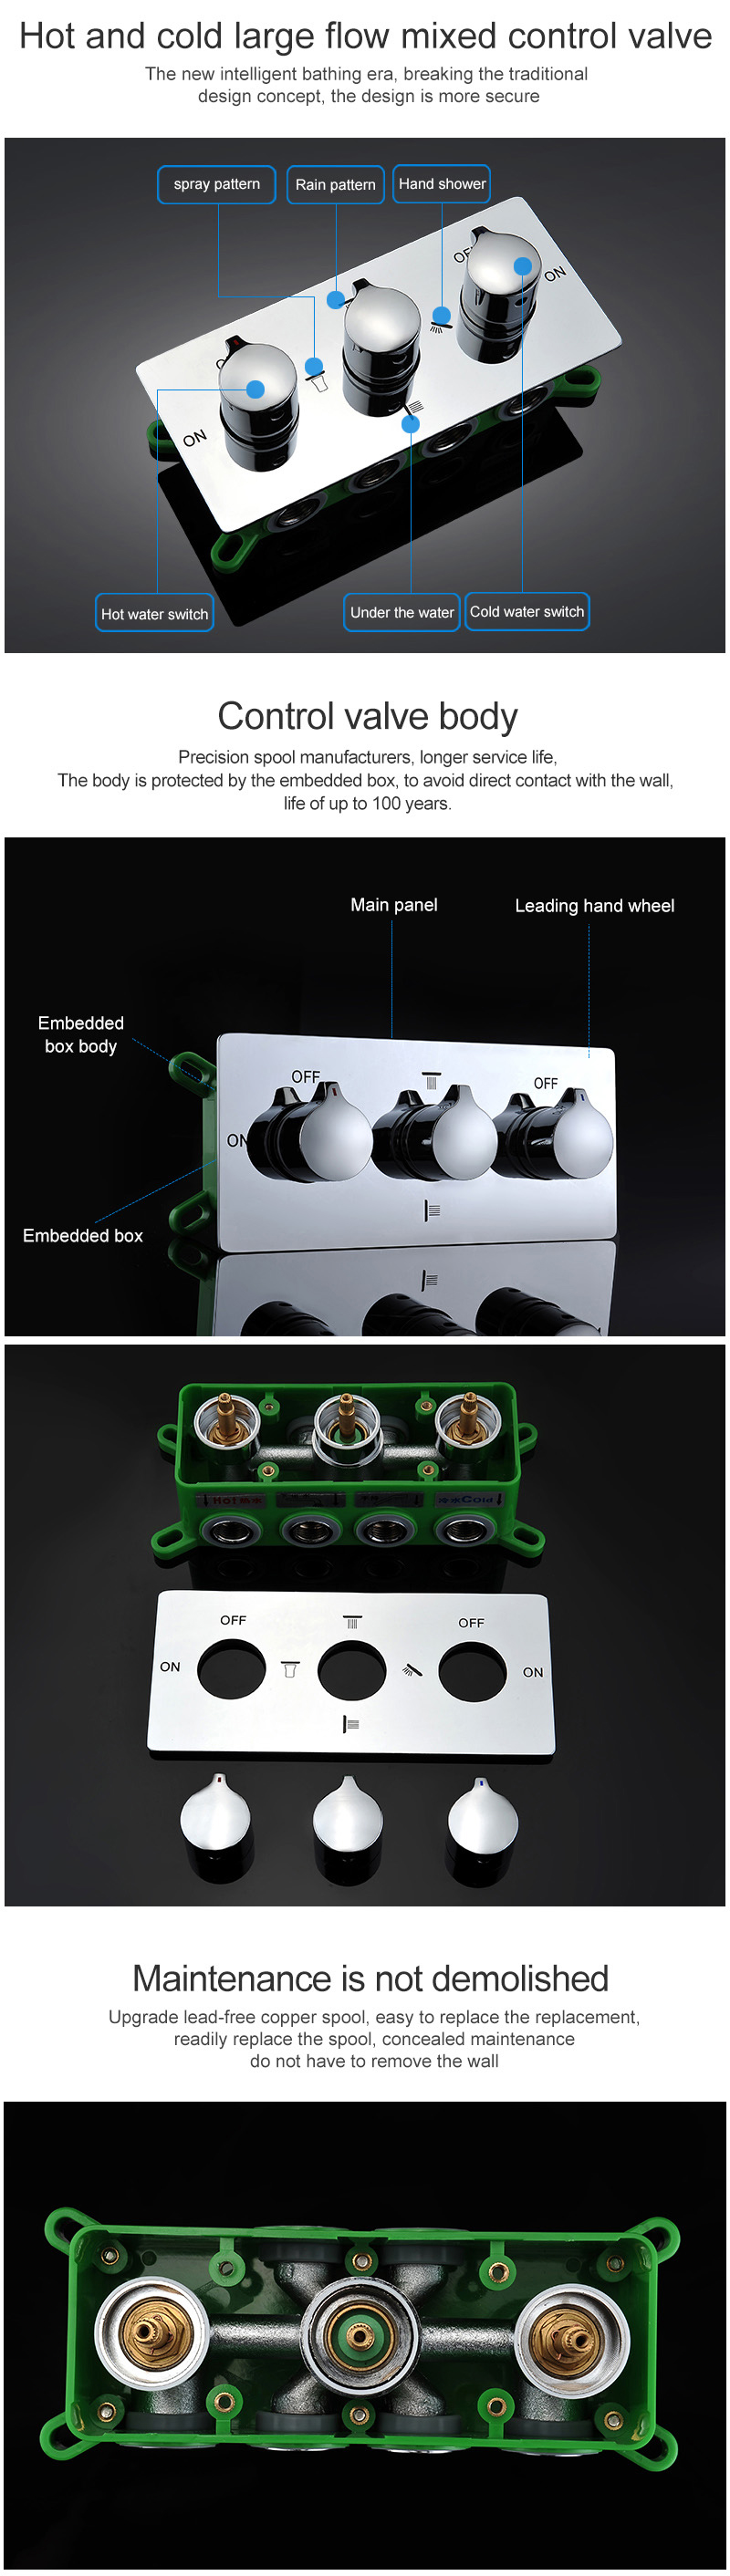
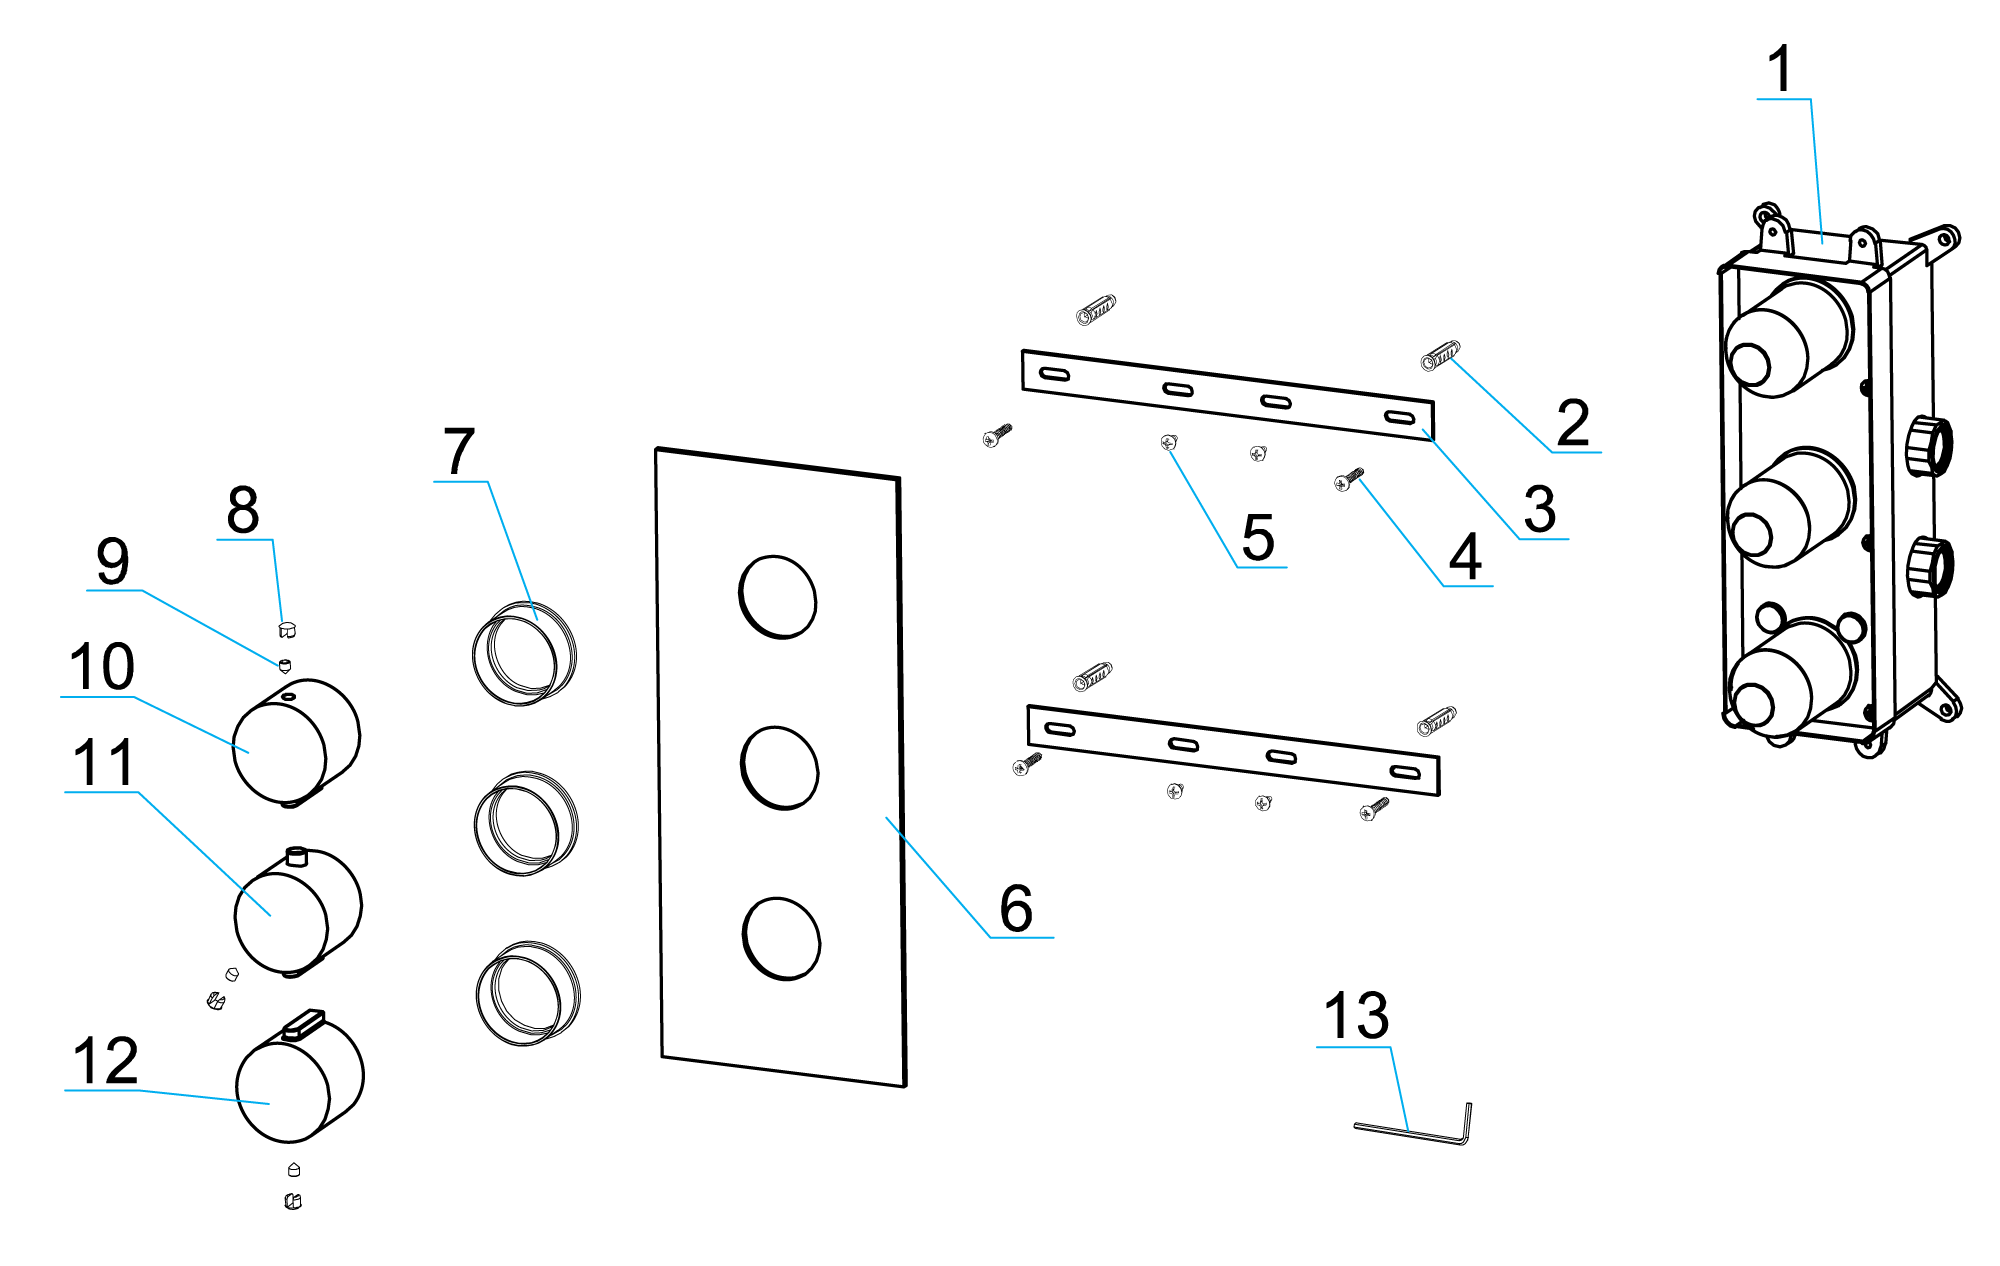
Parts:
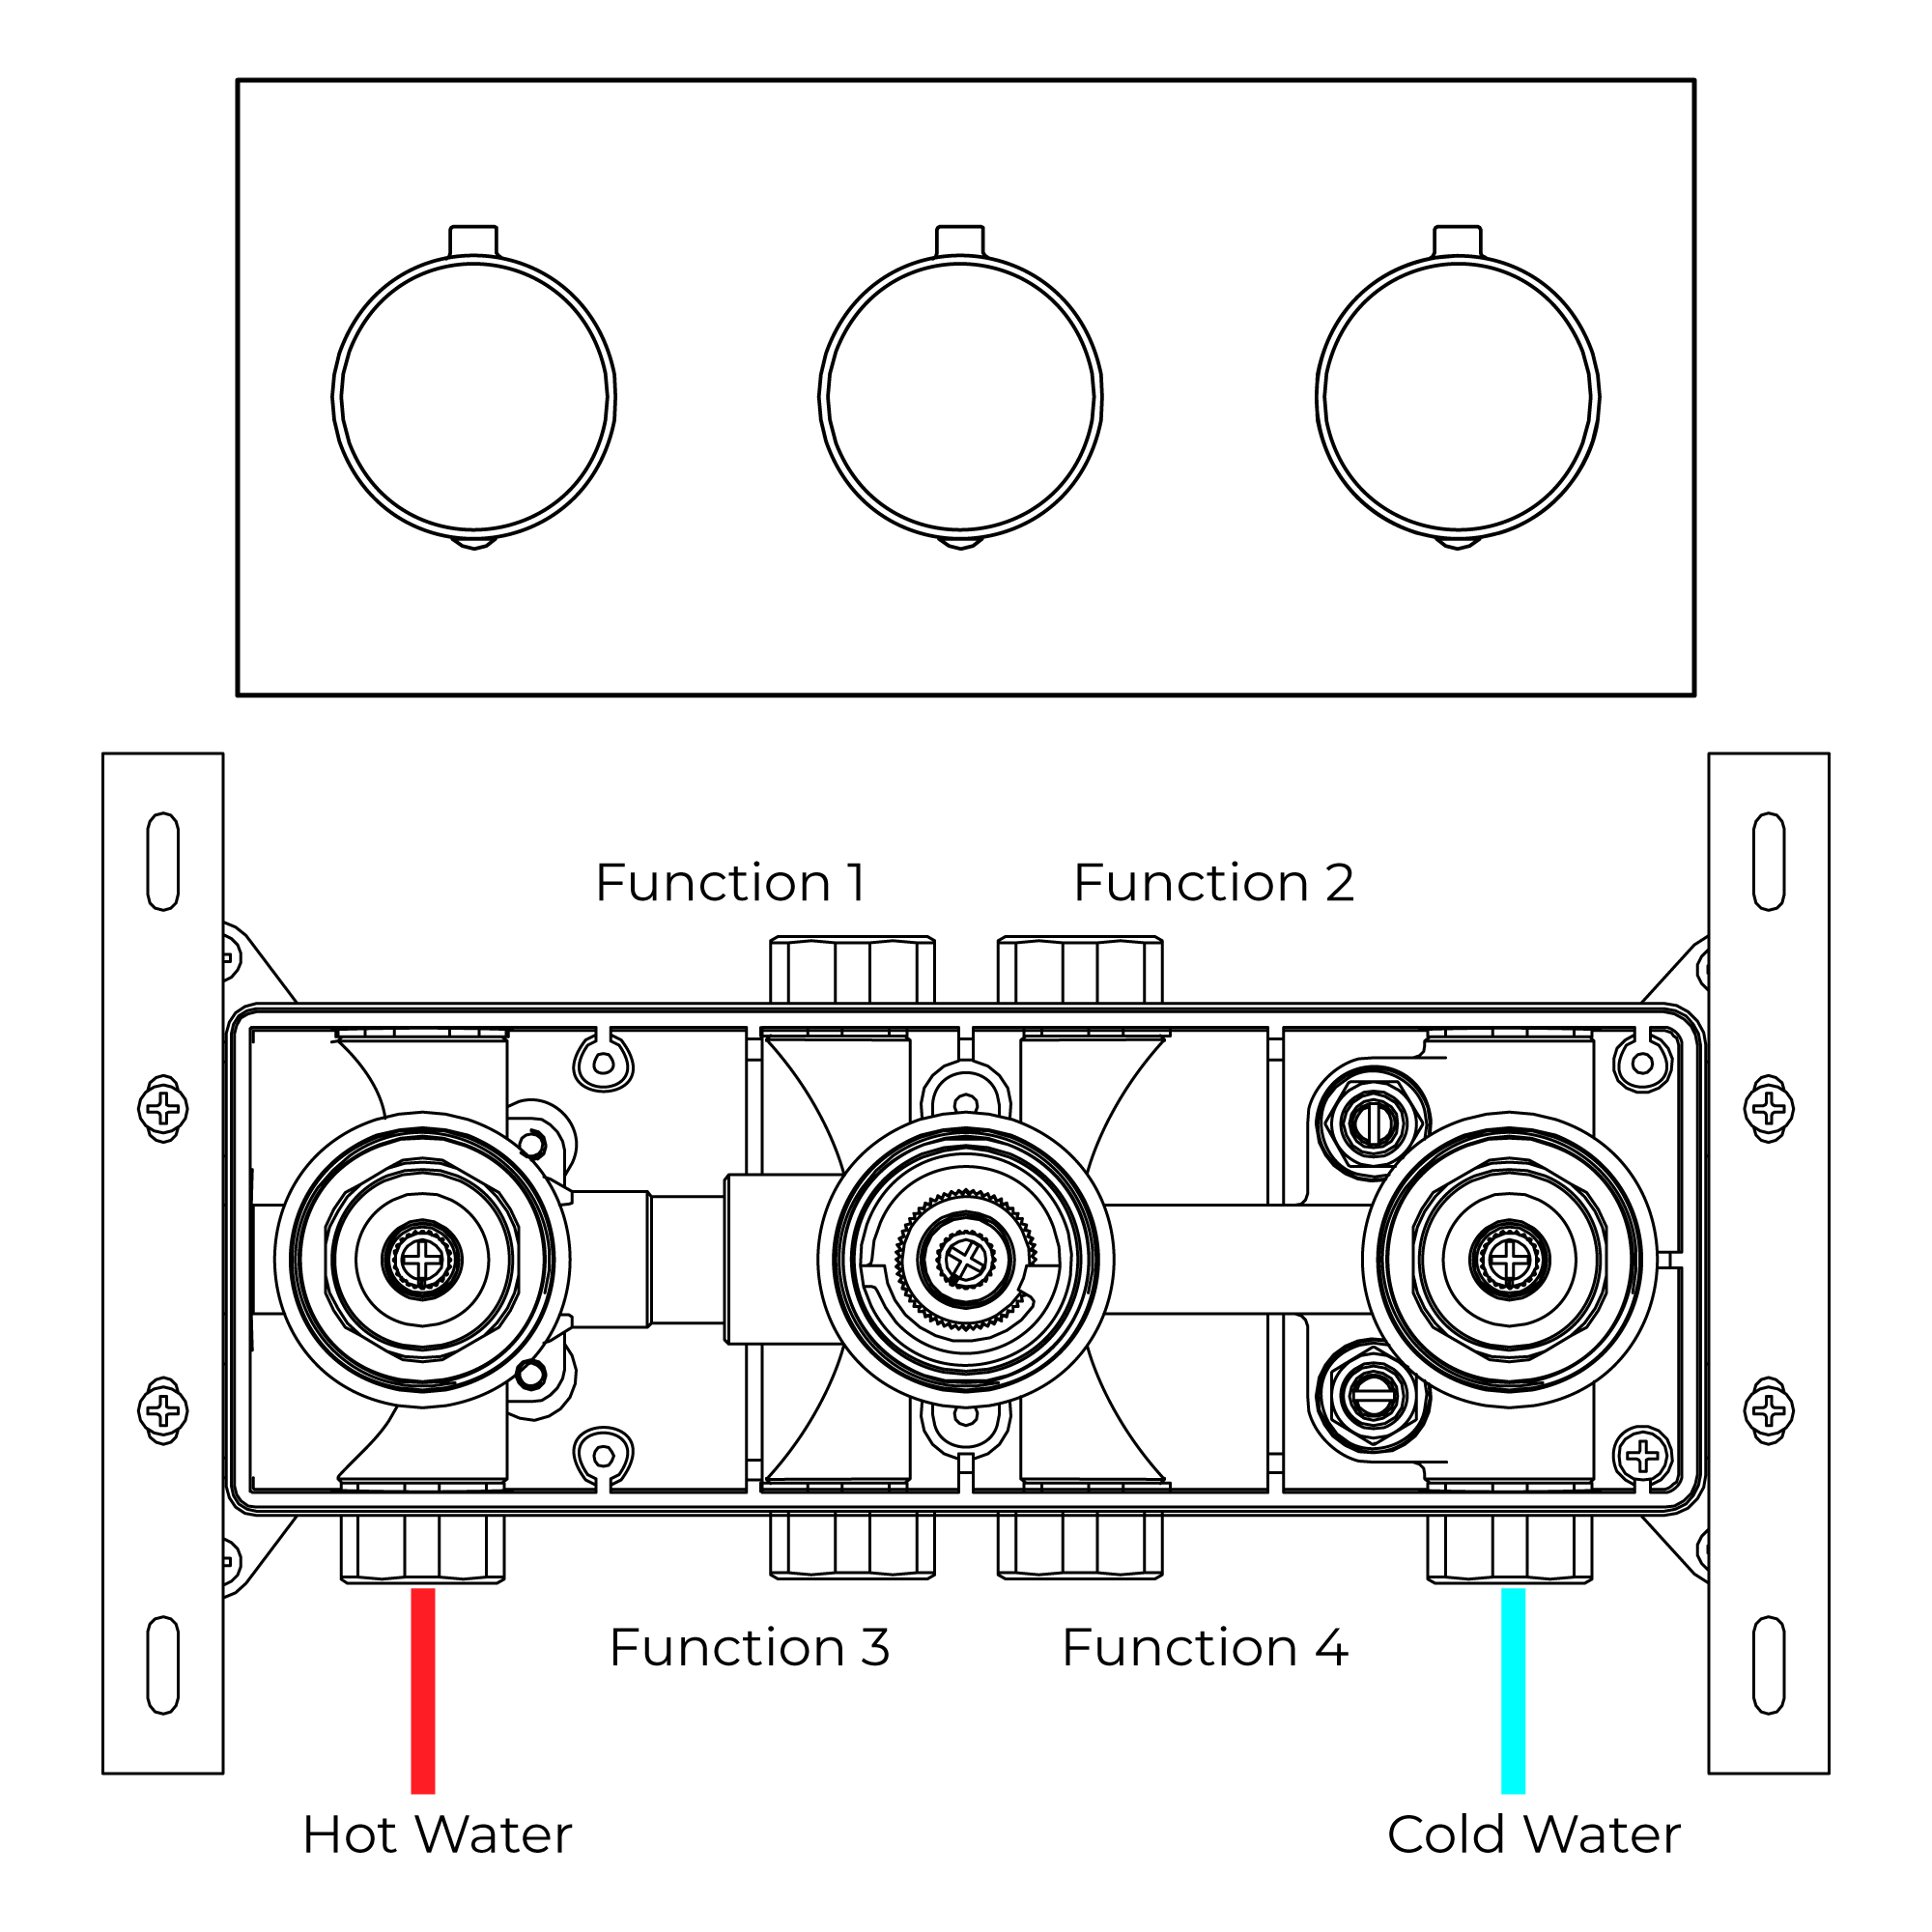
1. Rough-In Body x1
2. Anchor x4
3. Positioning Bar x2
4. Tapping Screw 1 x4
5. Tapping Screw 2 x4
6. Plate x1
7. Cover x3
8. Button x3
9. Screw 1 x3
10.Diverter Handle x1
11. Temperature Handle x1
12. Volume Handle x1
|
Shower
Mixer
|
|
|
|
|
|
|
Step 1:
|
shower mixer
|
Step 2:
|
|
|
|
|
|
|
|
Step 3:
|
|
|
|
|
|
|
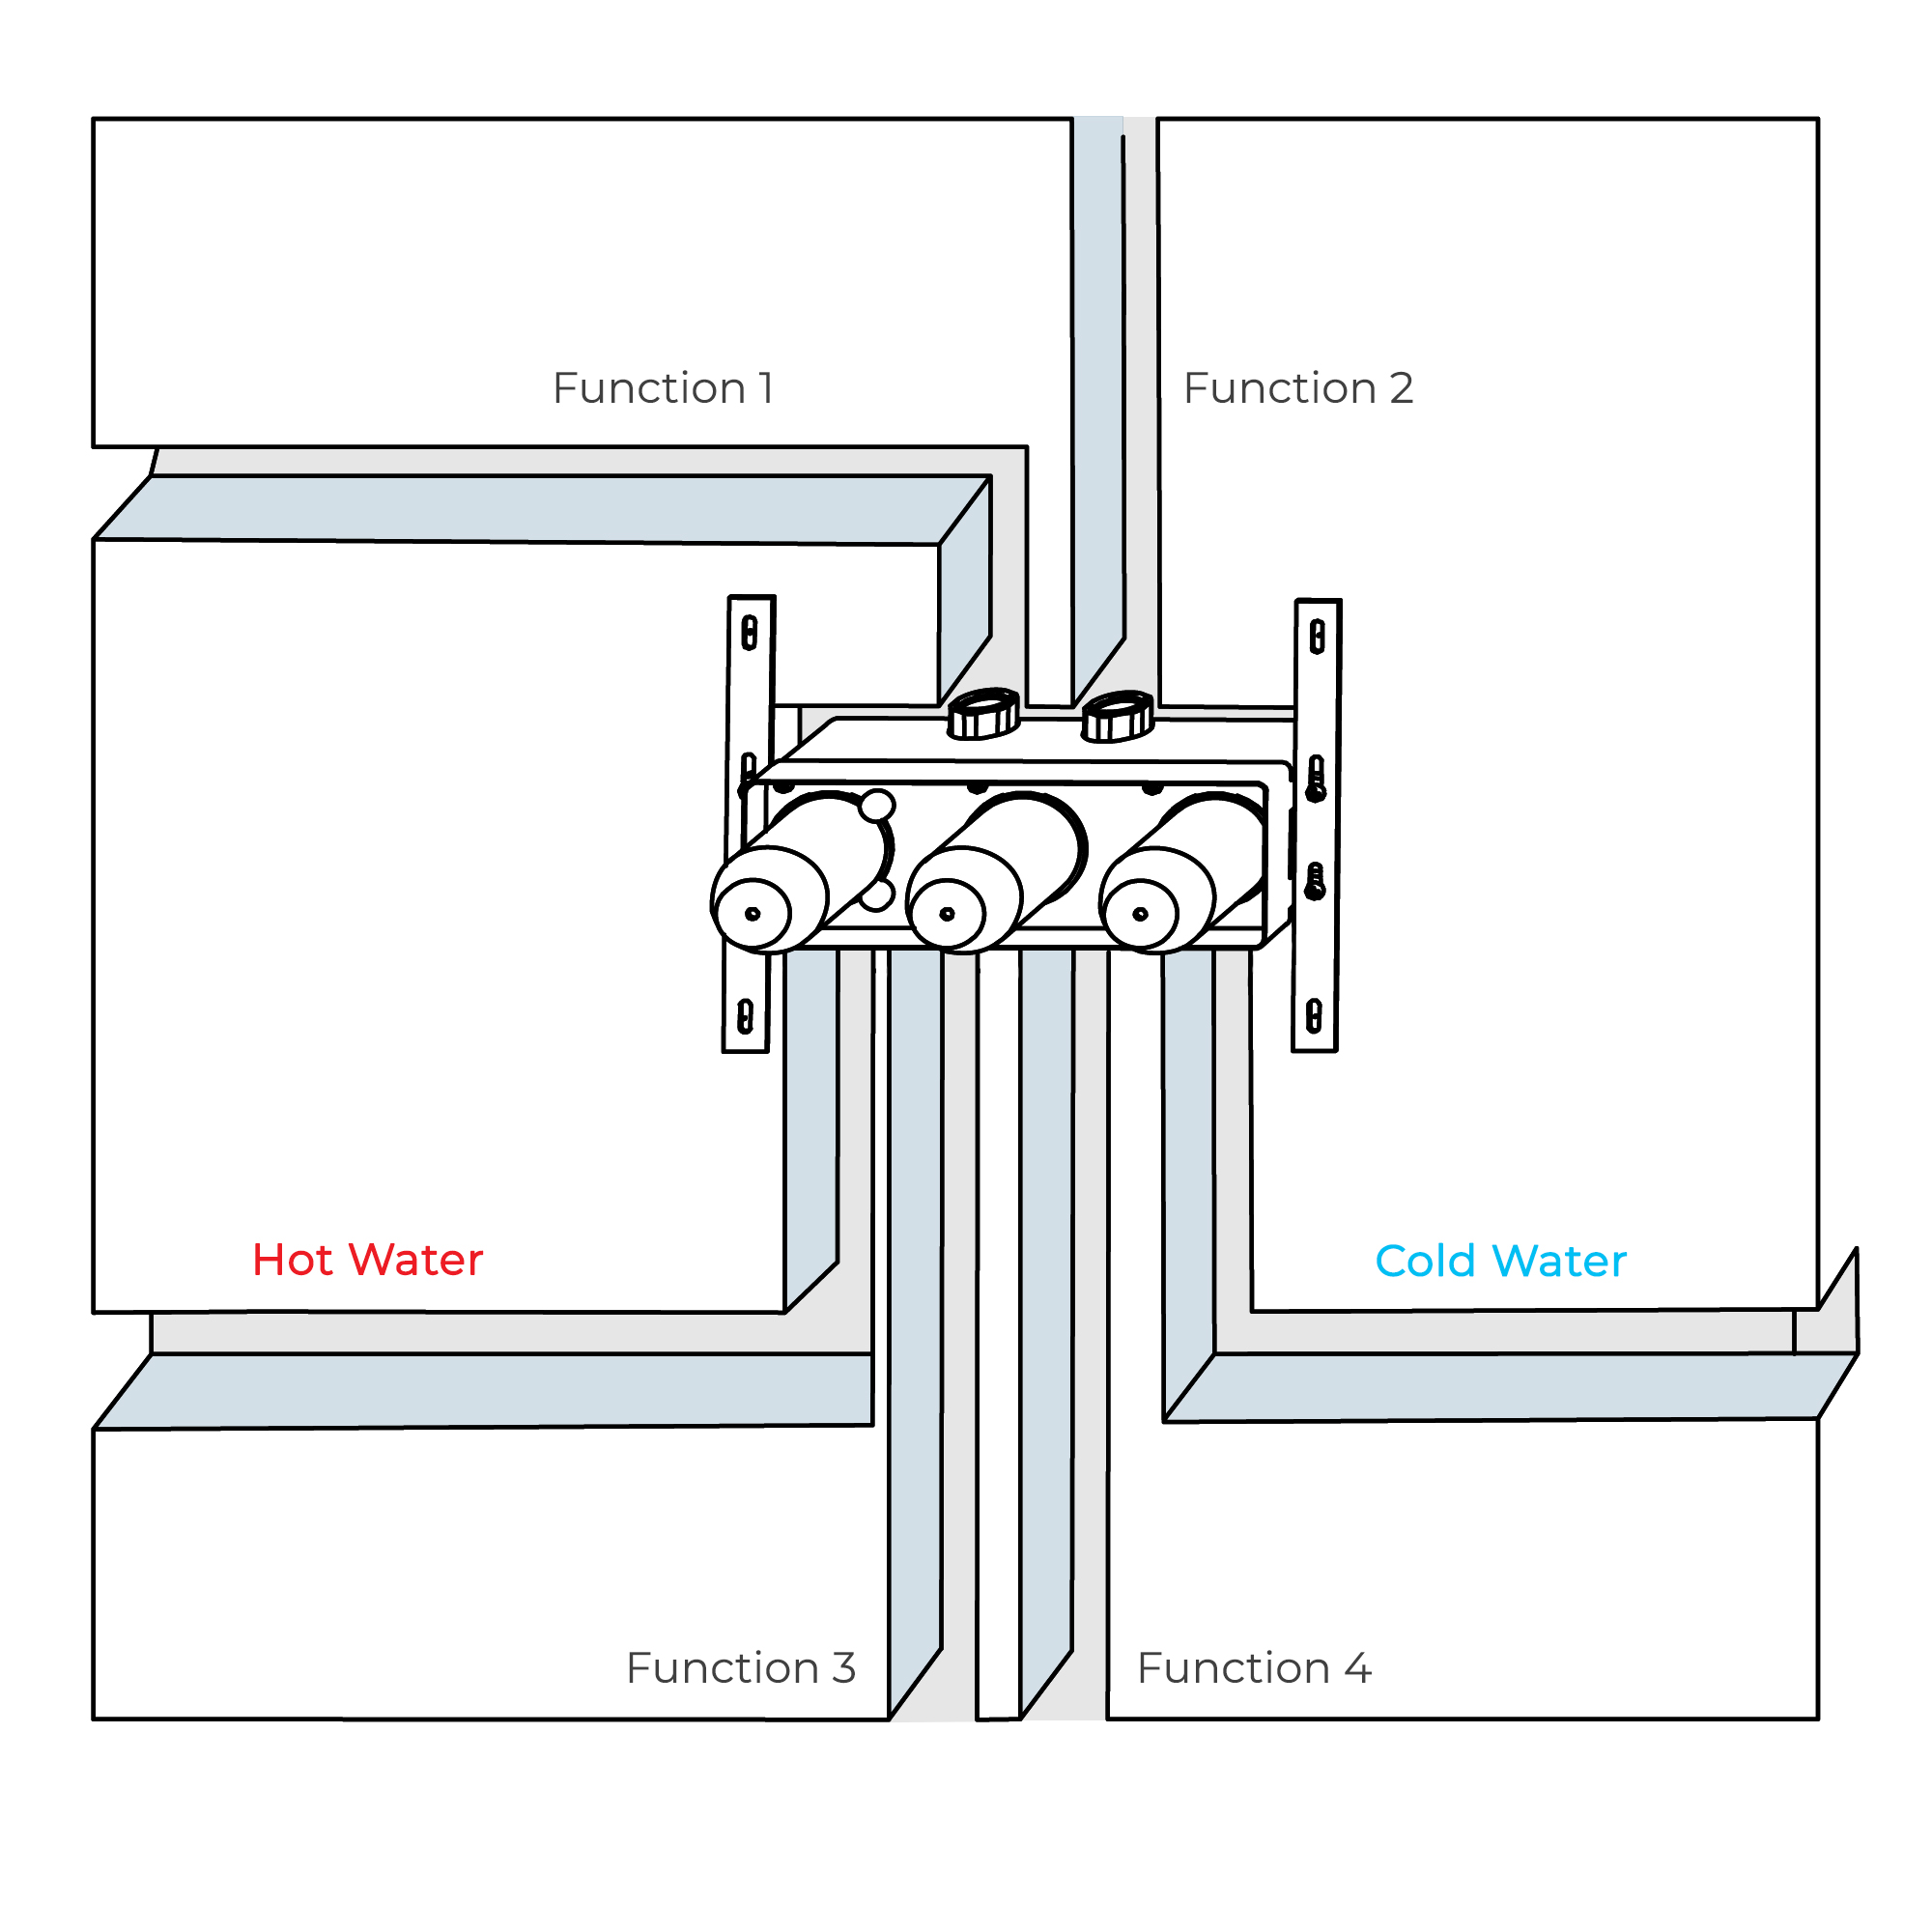
Make connections according to your shower system
|
|
|
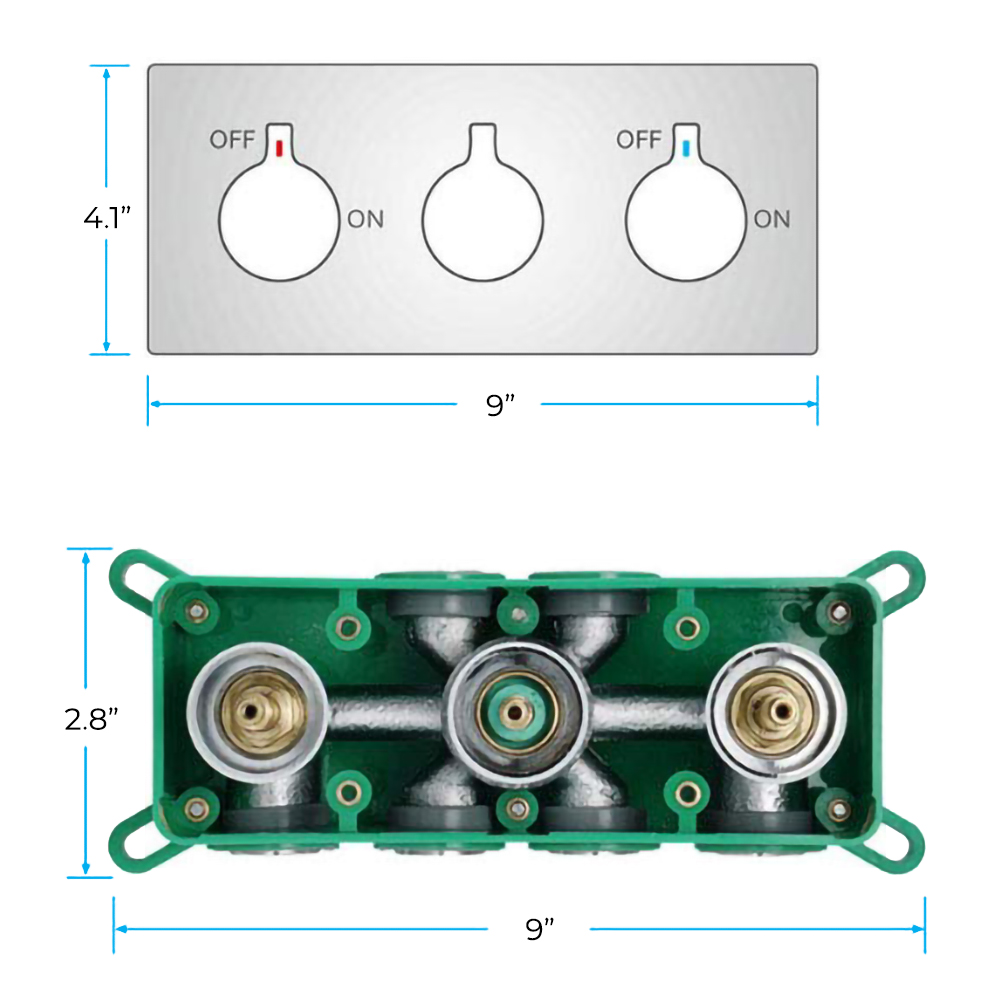
1. Attach the positioning bar to the rough-in body with tapping screws. Mark the location of the mounting holes.
2. Remove the rough-in body and drill pilot holes at the locations marked in the previous step. Insert anchors.
3. Attach the rough-in body to the wall.
4. Connect the rough-in body to the water supply pipes.
5. Finish the wall surrounding the mixer with a thickness of 1/2"-1-1/2".
a) The finished wall surface should not exceed the upper edge of the installation box.
6. If the tile exceeds the edges of the installation box, trim the tile as necessary to install the trim plate.
b) Trim the tile around the installation box as necessary.
7. Remove the plastic guard and place the trim plate over the installation box.
8. Install the screws covers, handles and buttons.
|
|
|
|
|
|
|
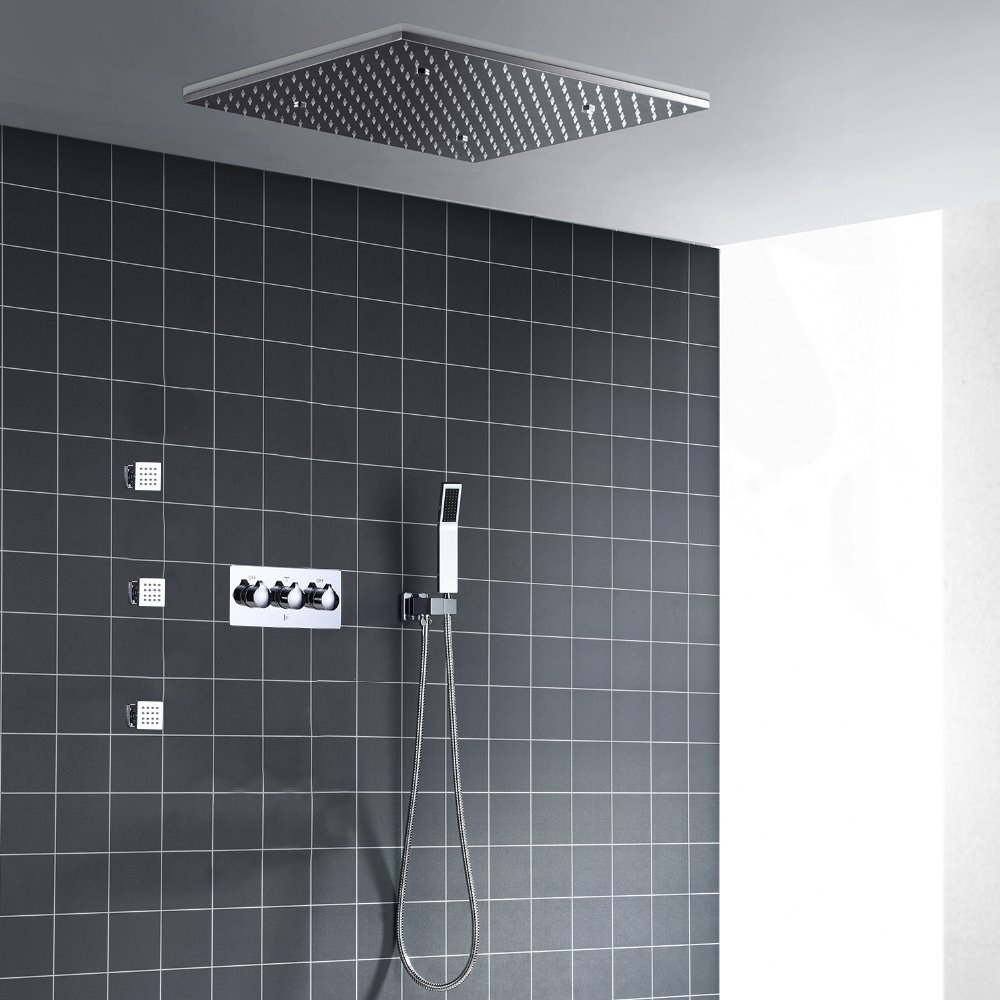
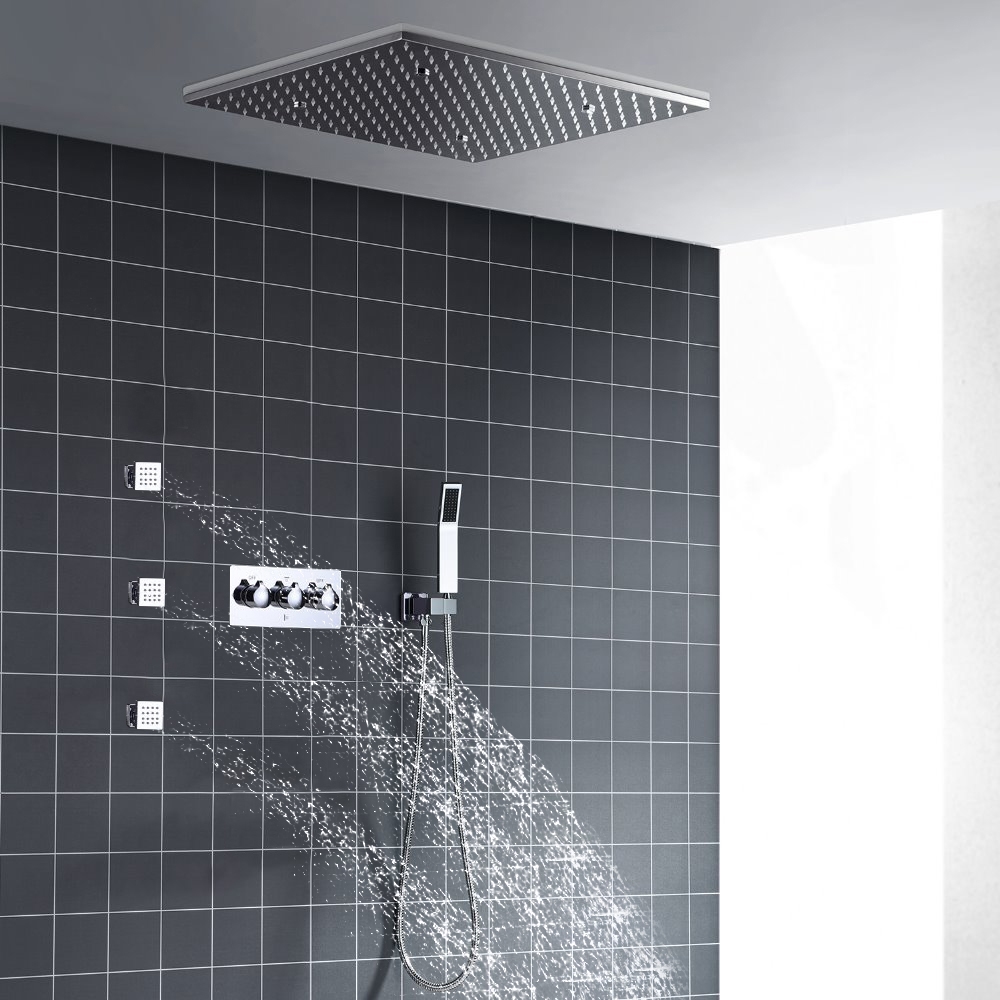
Fontana Lima 20 Inch LED Chrome Shower Set
|
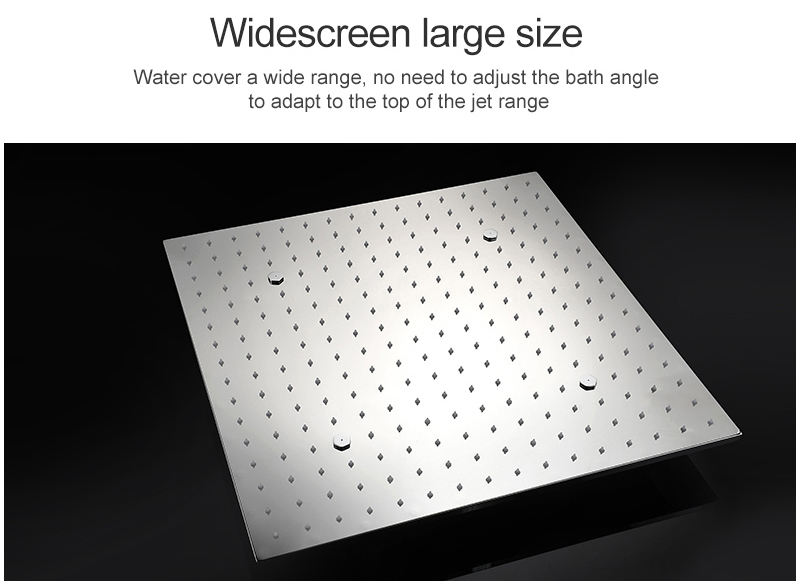
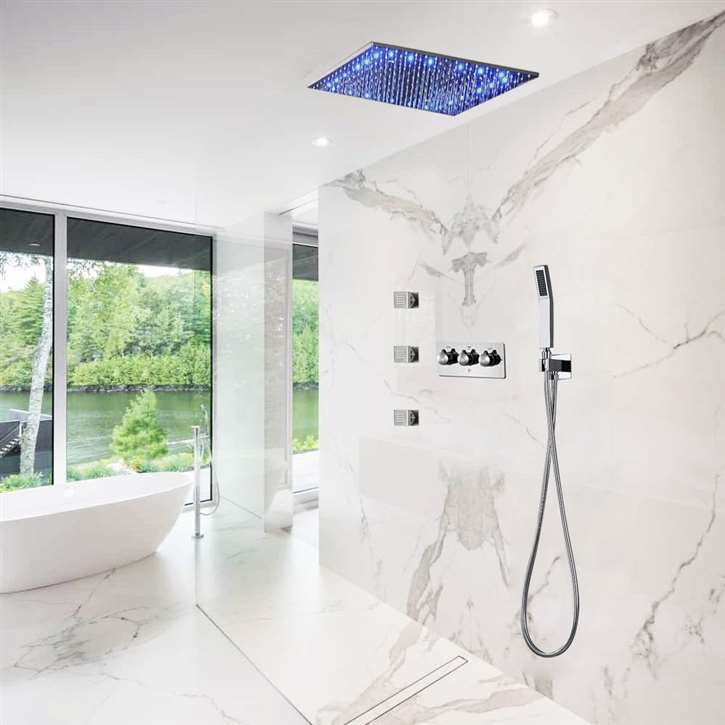
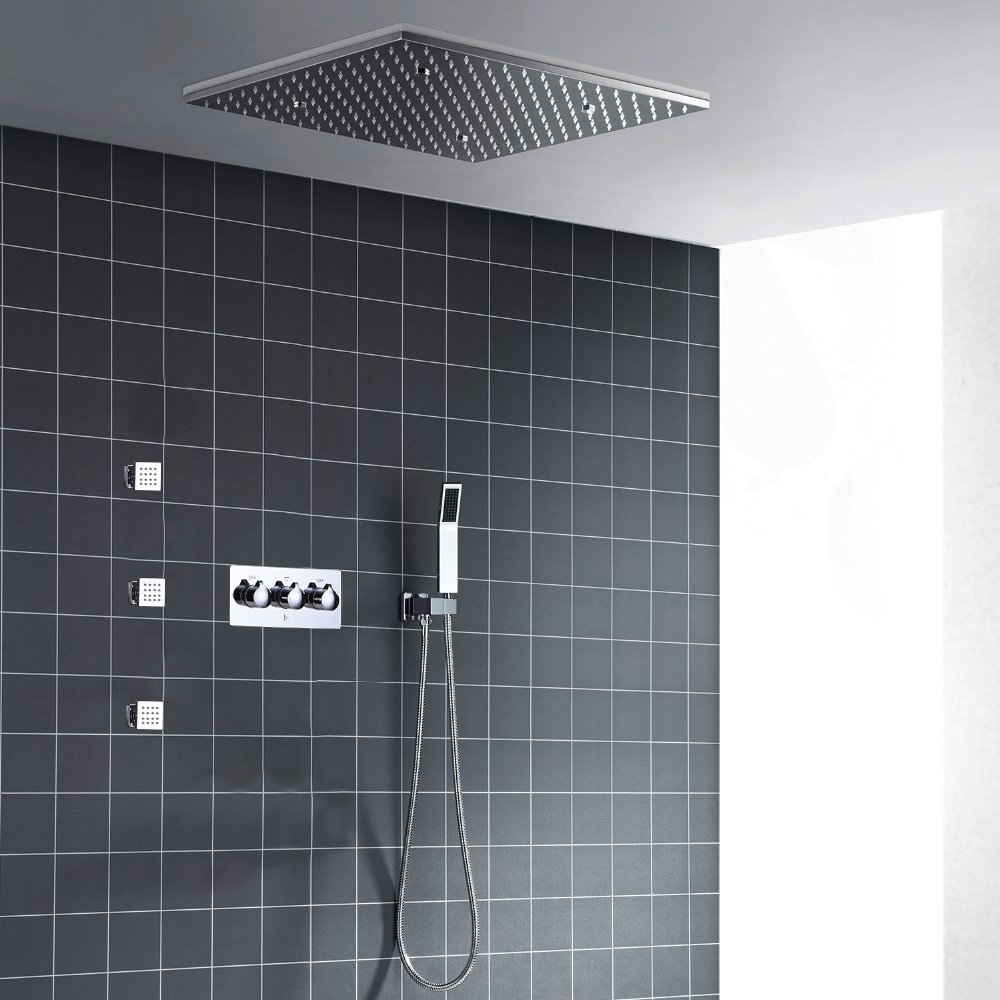
This Fontana Lima 20 Inch LED Chrome Shower Set luxury waterfall shower head shower room faucet provides a luxurious showering experience and is the perfect complement to any modern bathroom. The modern design shower set, and an easy-to-use mixer valve, both made from high-quality solid brass. The Fontana Lima 20 Inch LED Chrome Shower Set a modern design of smooth details and sharp edges. The warm, drenching water coverage is the result of a denser water pattern and larger droplets that retain their heat longer to soothe and revitalize. Be sure, when it comes to the new bathroom shower set, FontanaShowers is offering shape, finish and styles you're looking for.
|
|
|
|
|
|
|
Brand: FontanaShowers
Product Code: FS9593
Surface Treatment: Polished
Style: Contemporary
LED Lights: Water Temperature Control Blue, Green, Red
Shower Valve: Shower Valve with Embedded box
Installation Height: 94.4 inches
Material Of Showerhead: SUS 304, Polished
Inlet/Outlet: G1/2
Surface Finish: Chrome
Number Of Handles: Triple Handle
Valve Core Material: Brass
Type: Bath & Shower Set
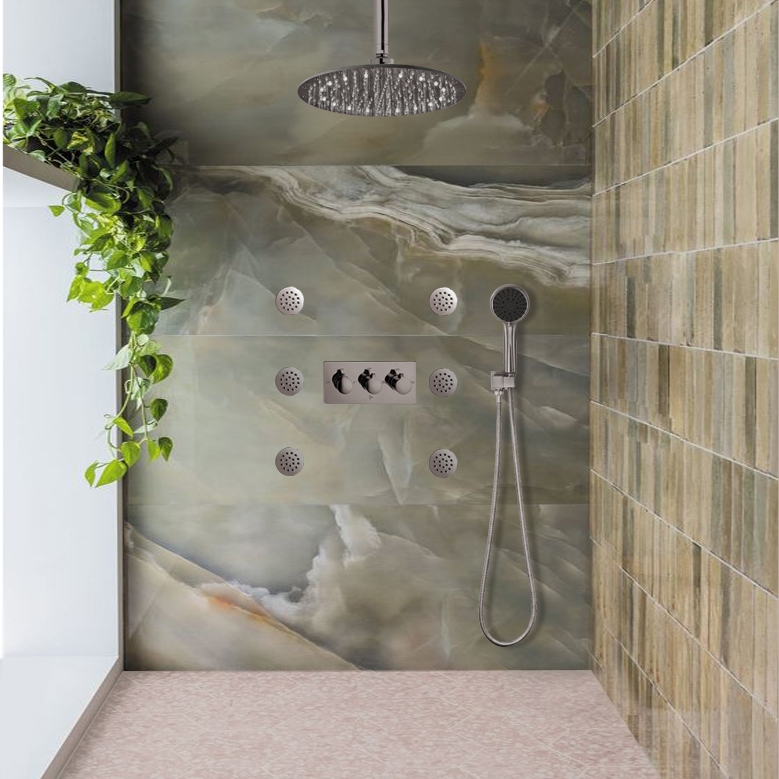
Enjoy Modes: Mist , Lateral Jet , Rain And Hand Shower Modes
Switch Size: 11.9*5.1 inches
Shower Size: 19.6*19.6 inches
Switch Material: Brass
|
|
|
|
Fontana Lima LED Chrome Shower Resources
Plan the Lima 20-Inch LED Shower Installation
Coordinate the large shower head, mixer rough-in, LED operation and chrome trim for a clean, serviceable installation.
Installation GuidesLarge Shower HeadMixerComponentsTechnical FilesCare
Lima LED Chrome Shower Installation Questions
What support does a 20-inch shower head require?Use rigid structural backing and the specified mounting hardware. The finished wall surface should not serve as the primary support. How is satisfactory rainfall coverage achieved?Confirm available pressure, supply sizing and the head’s intended position before installation. Review Rain-Shower Requirements How should the chrome finish be cleaned after installation?Remove construction residue promptly with a soft cloth and a compatible mild cleaner. Avoid abrasive pads, harsh chemicals and metal tools. What should the final test include?Confirm leakage-free connections, stable temperature, correct diverter operation, uniform spray and proper LED response under normal flow.
Related Shower Installation Guides

|
|
|