Fontana Touchless Systems™ Installation Guide
How to Install a
Touchless Faucet
A project-level sequence for preparing, mounting, connecting, powering, testing and documenting a Fontana automatic bathroom faucet.
Guide Scope
Use the sequence—then verify the exact model
This guide explains the typical coordination sequence for a commercial automatic faucet. The supplied components, mounting hardware, valve arrangement, connections, power source and sensor procedure can differ by SKU.
Do not fabricate countertops, close walls or finalize electrical work until the approved product documentation has been checked against the selected faucet.
Installation Sequence
From product verification to project handover
01
Confirm the faucet and installation conditionsVerify the product code, mounting type, supplied components, basin or countertop, required openings, water arrangement, specified power source and accessible service location. Inspect all components before installation. 02
Coordinate the faucet with the basinCheck spout reach, outlet position, water-stream landing, basin depth, surrounding reflective surfaces and user hand position. Wall-mounted fixtures require particular attention before the finished wall is completed. 03
Mount the fixture and service componentsInstall the faucet, mounting hardware and concealed components in the orientation shown for the model. Keep filters, valves, controllers, batteries or power modules accessible for inspection and replacement. 04
Flush and complete water connectionsFlush the supply lines as required before final operation. Connect the water path, filters, valve or solenoid and any specified mixing components without twisting hoses or obstructing service access. Inspect all connections for leakage. 05
Connect the specified power and controlsUse only the power configuration and connection sequence identified for the selected faucet. Protect cables and connectors from water exposure, strain, sharp edges and locations that would make future servicing difficult. 06
Commission, verify and documentFollow the model-specific startup procedure. Test activation and shutoff, confirm the water stream lands correctly, inspect for leakage and record the installed model, power arrangement and service documentation for the facility team.
Mounting Configuration
Select the correct installation detail
Deck Mounted Countertop InstallationCoordinate the faucet opening, mounting surface, basin position and accessible equipment beneath the counter. Deck Detail →
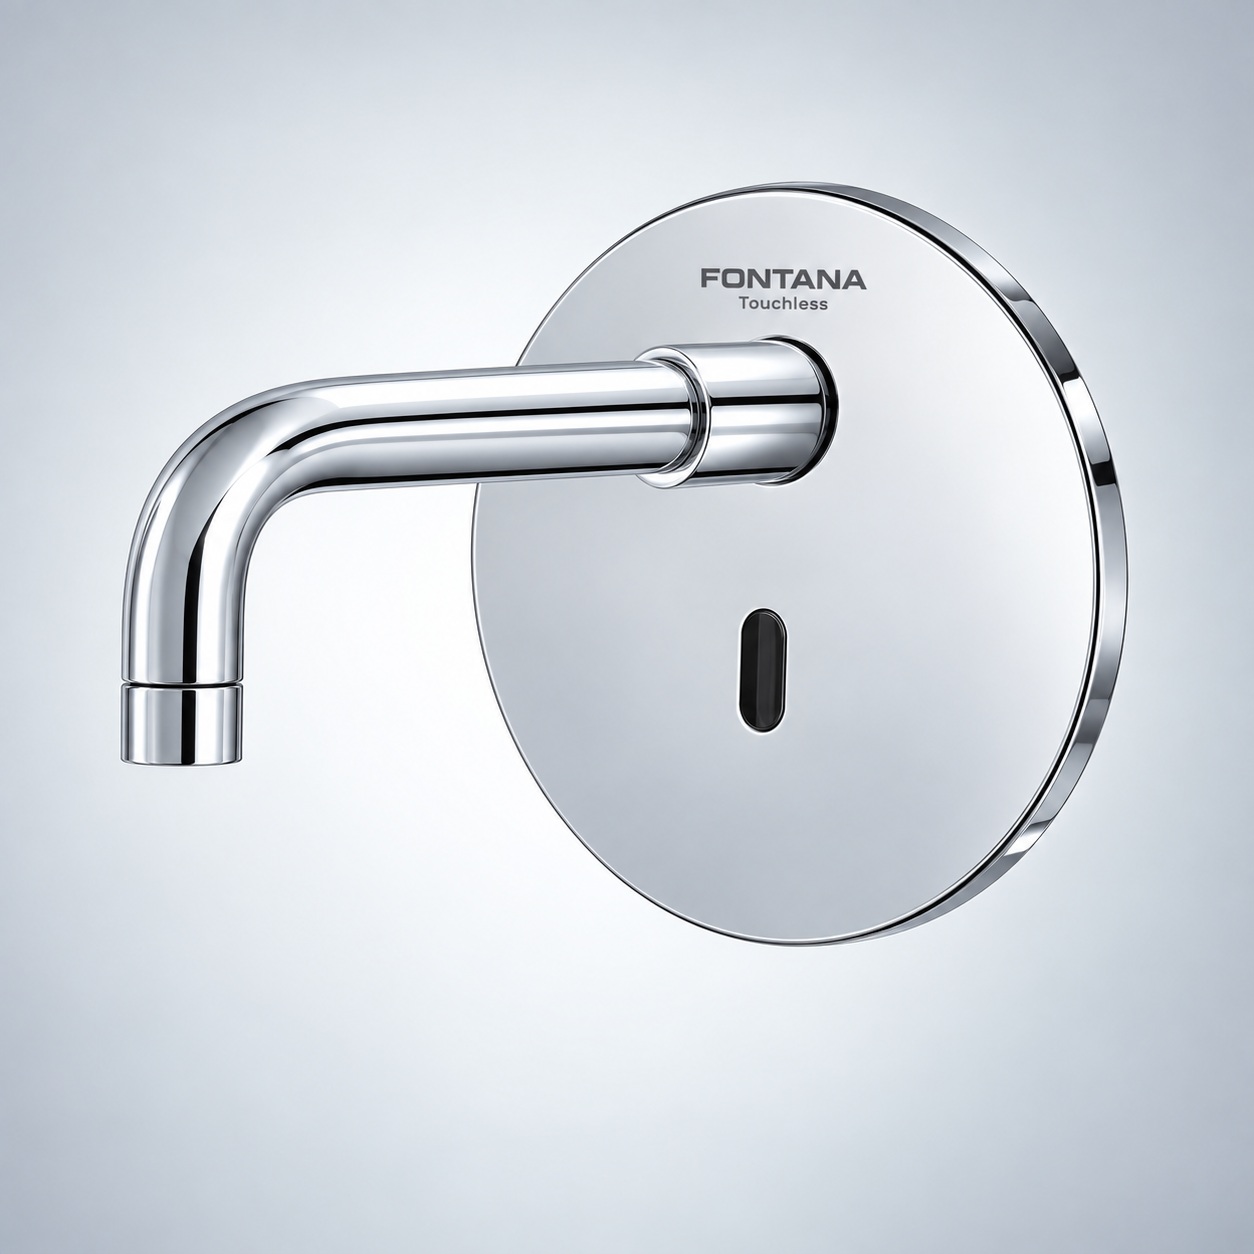
Wall Mounted Wall InstallationCoordinate the finished-wall reference, structural support, in-wall components, spout elevation and basin reach. Wall Detail →
Coordinated Set Faucet & Soap LayoutPlan fixture separation, countertop penetrations, concealed components and shared maintenance access. Set Detail →
Coordination Check Avoid preventable installation conflictsMost field problems are reduced when the fixture, basin, concealed equipment and service requirements are coordinated before permanent construction is completed.
Do not drill before confirming the exact mounting template.
Do not place service components behind inaccessible finishes.
Do not energize unverified or incorrectly connected components.
Do not commission the sensor without checking stream and basin alignment.
Supporting Documents Continue with the required technical resource
Product-specific instructions control the installation
This page provides a general installation sequence. Follow the instructions supplied for the exact Fontana faucet and observe applicable plumbing, electrical, building and accessibility requirements. Installation should be completed by appropriately qualified professionals.
Installation Questions Before the faucet is handed over
Can one installation procedure be used for every touchless faucet?No. The overall sequence may be similar, but mounting hardware, controllers, valves, power, connections and setup procedures vary. Always use the approved document for the exact product code. Should the water lines be flushed before operation?Follow the product-specific flushing procedure before final operation so installation debris does not immediately obstruct filters, valves or flow-control components. Why is accessible service space necessary?Filters, valves, controllers, power components and connections may require inspection or replacement. Permanent finishes and fixed casework should not prevent reasonable access. What should be recorded after commissioning?Record the product code, power arrangement, relevant settings and service locations, and retain the installation and maintenance documents for the facility team.
Installation Resources
Browse the complete touchless installation library
Return to the touchless hub for faucet, soap-dispenser, combined-system, rough-in and engineering resources.
xxxxxxxxxxxxxxxxxxxxxxxx
 CHROME ELEGANCE
 SMART ELEGANCE
 GOLDEN ELEGANCE
 GOLDEN PRECISION
 STERILE SYMETRY
 TOUCHLESS PRECISION
 FUTURISTIC SERENITY
|
|
Fontana Touchless Faucet Installation Center
Plan a Touchless Faucet Installation
Navigate sensor-faucet setup guidance by mounting method, controls, power, commissioning and project documentation.
Start Here
Mounting
Fixture Type
Product Selection
Specifications
All Installation Help
Frequently Asked Questions
What should be confirmed before installing a touchless faucet?
Match the faucet, control box, power supply, hoses and mounting hardware to the exact SKU, then verify clearances and service access. OPEN TOUCHLESS INSTALLATION GUIDE
When should power and sensor testing occur?
Complete water connections and flushing first, then energize the unit and perform the product-specific sensor commissioning procedure.
Why is basin geometry important for sensor-faucet setup?
The spout position, basin depth and reflective surfaces can affect splash control and the intended activation zone. Confirm the specified mounting relationship before drilling.
Where can architects and contractors find project files?
Use the BIM and Revit library for available design files, then confirm current installation documents on the selected product page.
Fontana Touchless Installation Resources
Plan Your Touchless Faucet Installation
Explore mounting, rough-in, power, control-box, accessibility and project-documentation resources for commercial touchless faucet installations.
Installation Hubs
Mounting Type
Rough-In
System Components
System Configuration
Project Documents
Touchless Faucet Installation Questions
What should be confirmed before installing a touchless faucet?
Confirm the faucet model, mounting type, hole dimensions, spout position, supply connections, available power source and below-counter clearance. Always compare the general guidance with the installation sheet supplied for the exact fixture.
Review Installation Diagrams
How does wall-mount installation differ from deck-mount installation?
Deck-mount faucets pass through the countertop or sink deck and usually place service components below the basin. Wall-mount faucets require coordinated in-wall plumbing, mounting depth, spout height and basin reach before the finished wall is completed.
Open Wall-Mount Guide
Where should the solenoid, power supply and control components be positioned?
Position the components in an accessible, dry and serviceable location while following the model-specific cable, hose and connection requirements. Avoid locations where routine maintenance would require removing permanent finishes or fixed casework.
View Control-Box Layout
How should a touchless faucet be checked before project handover?
Flush the supply lines, inspect filters and connections, confirm the selected power source, test the activation zone and verify that the water stream lands correctly within the basin. Record the installed model and retain its service documents for future maintenance.
Open Engineering Sheet
Discover Our Touchless Faucet Collections
|
|
|














