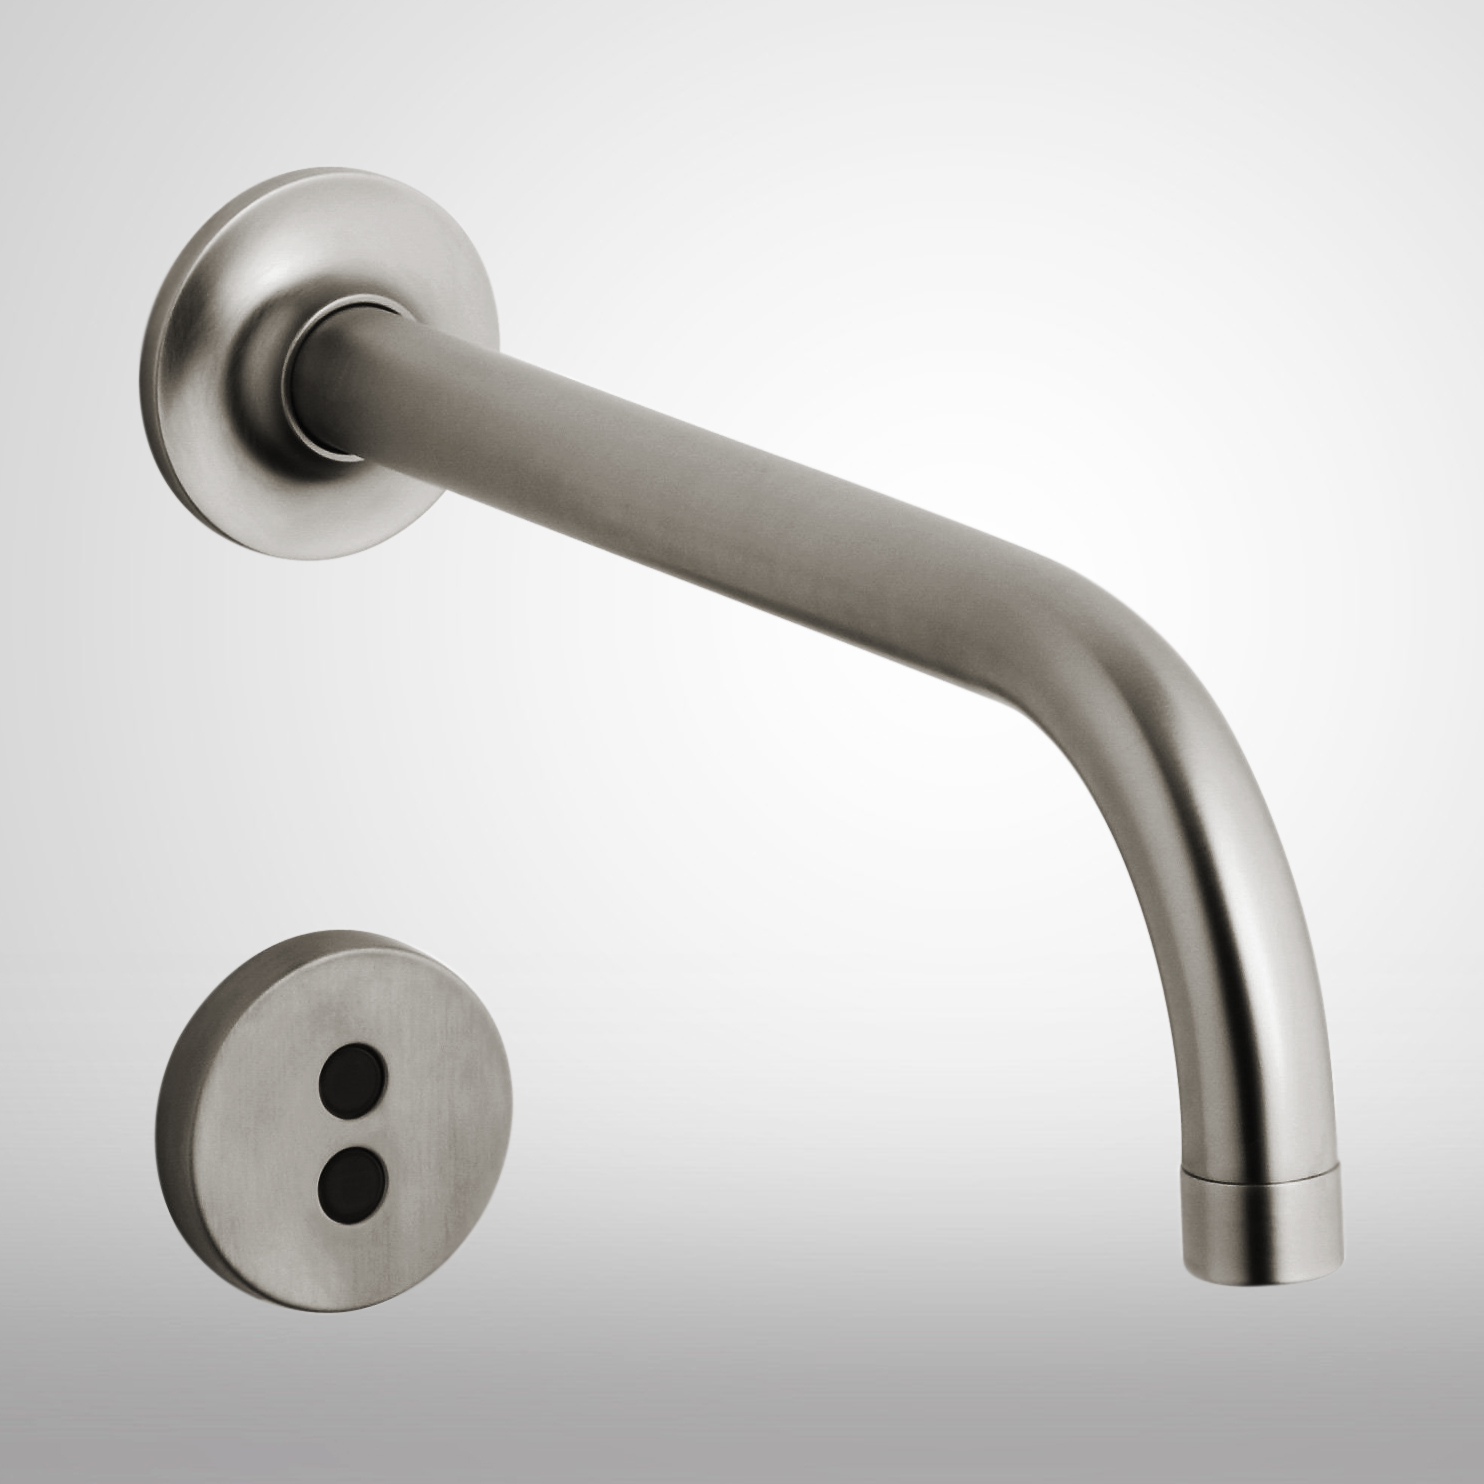
Fontana Brushed Nickel Wall Mount Commercial Touchless Bathroom Faucet With Insight Infrared Technology
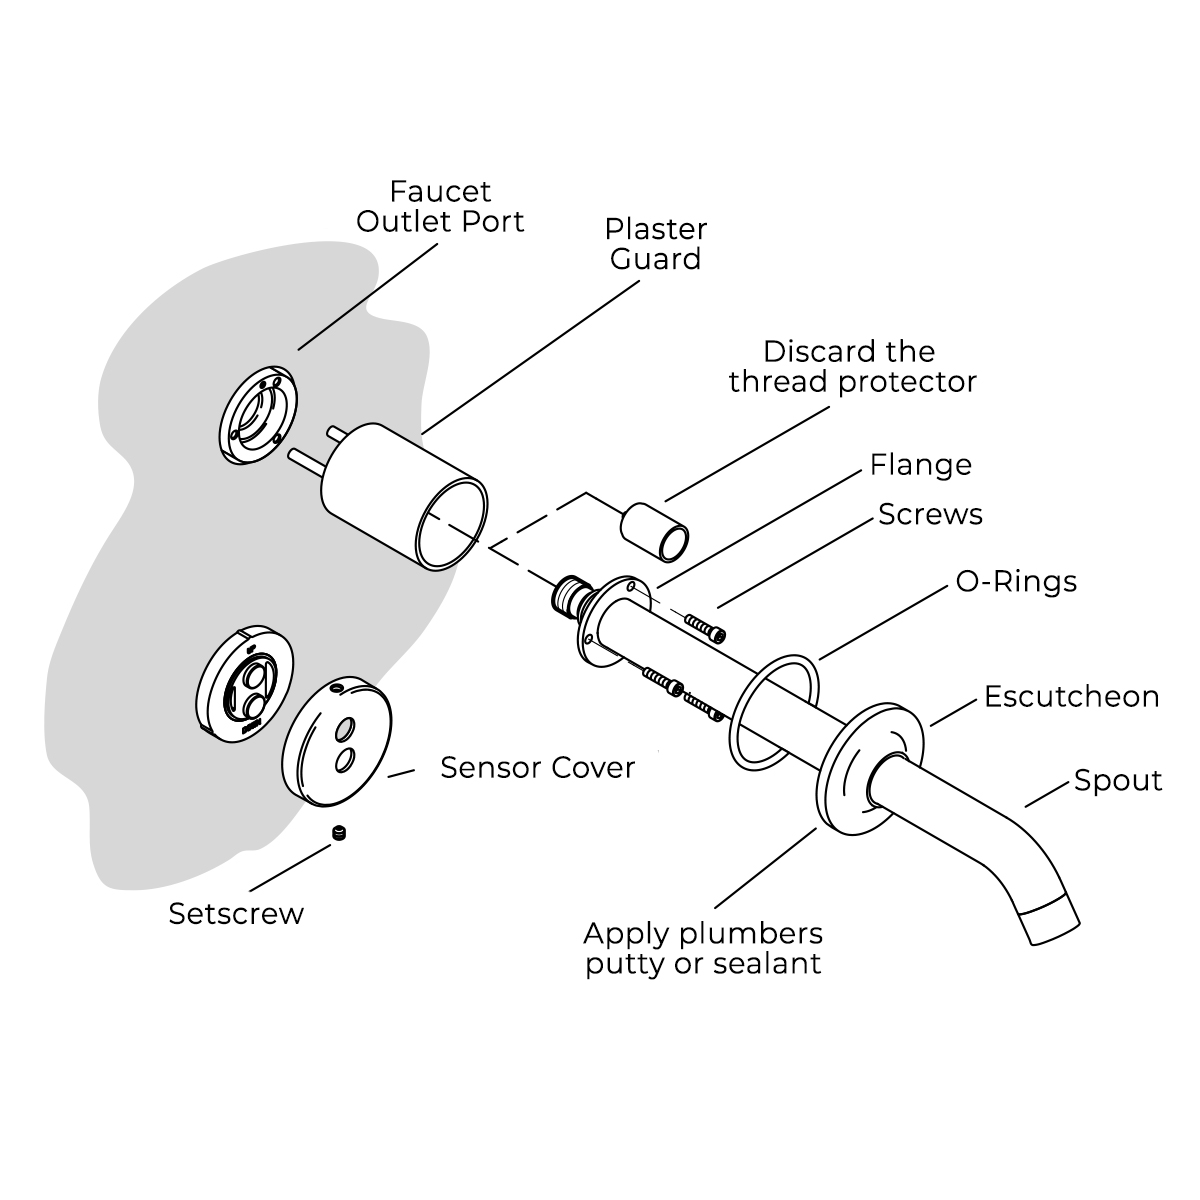
Minimize waste of water, by using this automatic wall mount Nickel faucet . The Sensor Faucet, an electronically controlled faucets that eliminate the need to touch or turn handles. Insight technology calibrates the sensor to filter false triggers and optimize the faucet's operation. Through the use of sensor beams the automatic faucet determines when an object is in front of it and automatically turns on the faucet. Since there is nothing to touch and nothing to reach for, an automatic faucet eliminates all of that cleaning and disinfecting that you do to try to maintain a hygienic surface. Brushed Nickel bathroom sensor faucets are anti-erosion, anti-abrasion and high strength. This is trim set only. It requires valve kit to complete the faucet. Safe Drinking Water Act (SDWA- Low Lead) compliant. On demand on and off. Valve kit is factory set to 30 second max. Continual run cycle if it is turned on continuously.
Fontana Brushed Nickel Wall Mount Commercial Touchless Bathroom Faucet With Insight Infrared Technology Features:
|
Brand Name: FontanaShowers
Model Number: FS1091
Type: Motion Sensor Sink Faucet
Finish: Brushed Nickel
Faucet Applications: Residential & Commercial
Auto Shutoff: 30-second (can be adjusted)
Water Flow Rate: 0.5 gal/min (1.9 l/min)
Aerator: Vandal-resistant aerator.
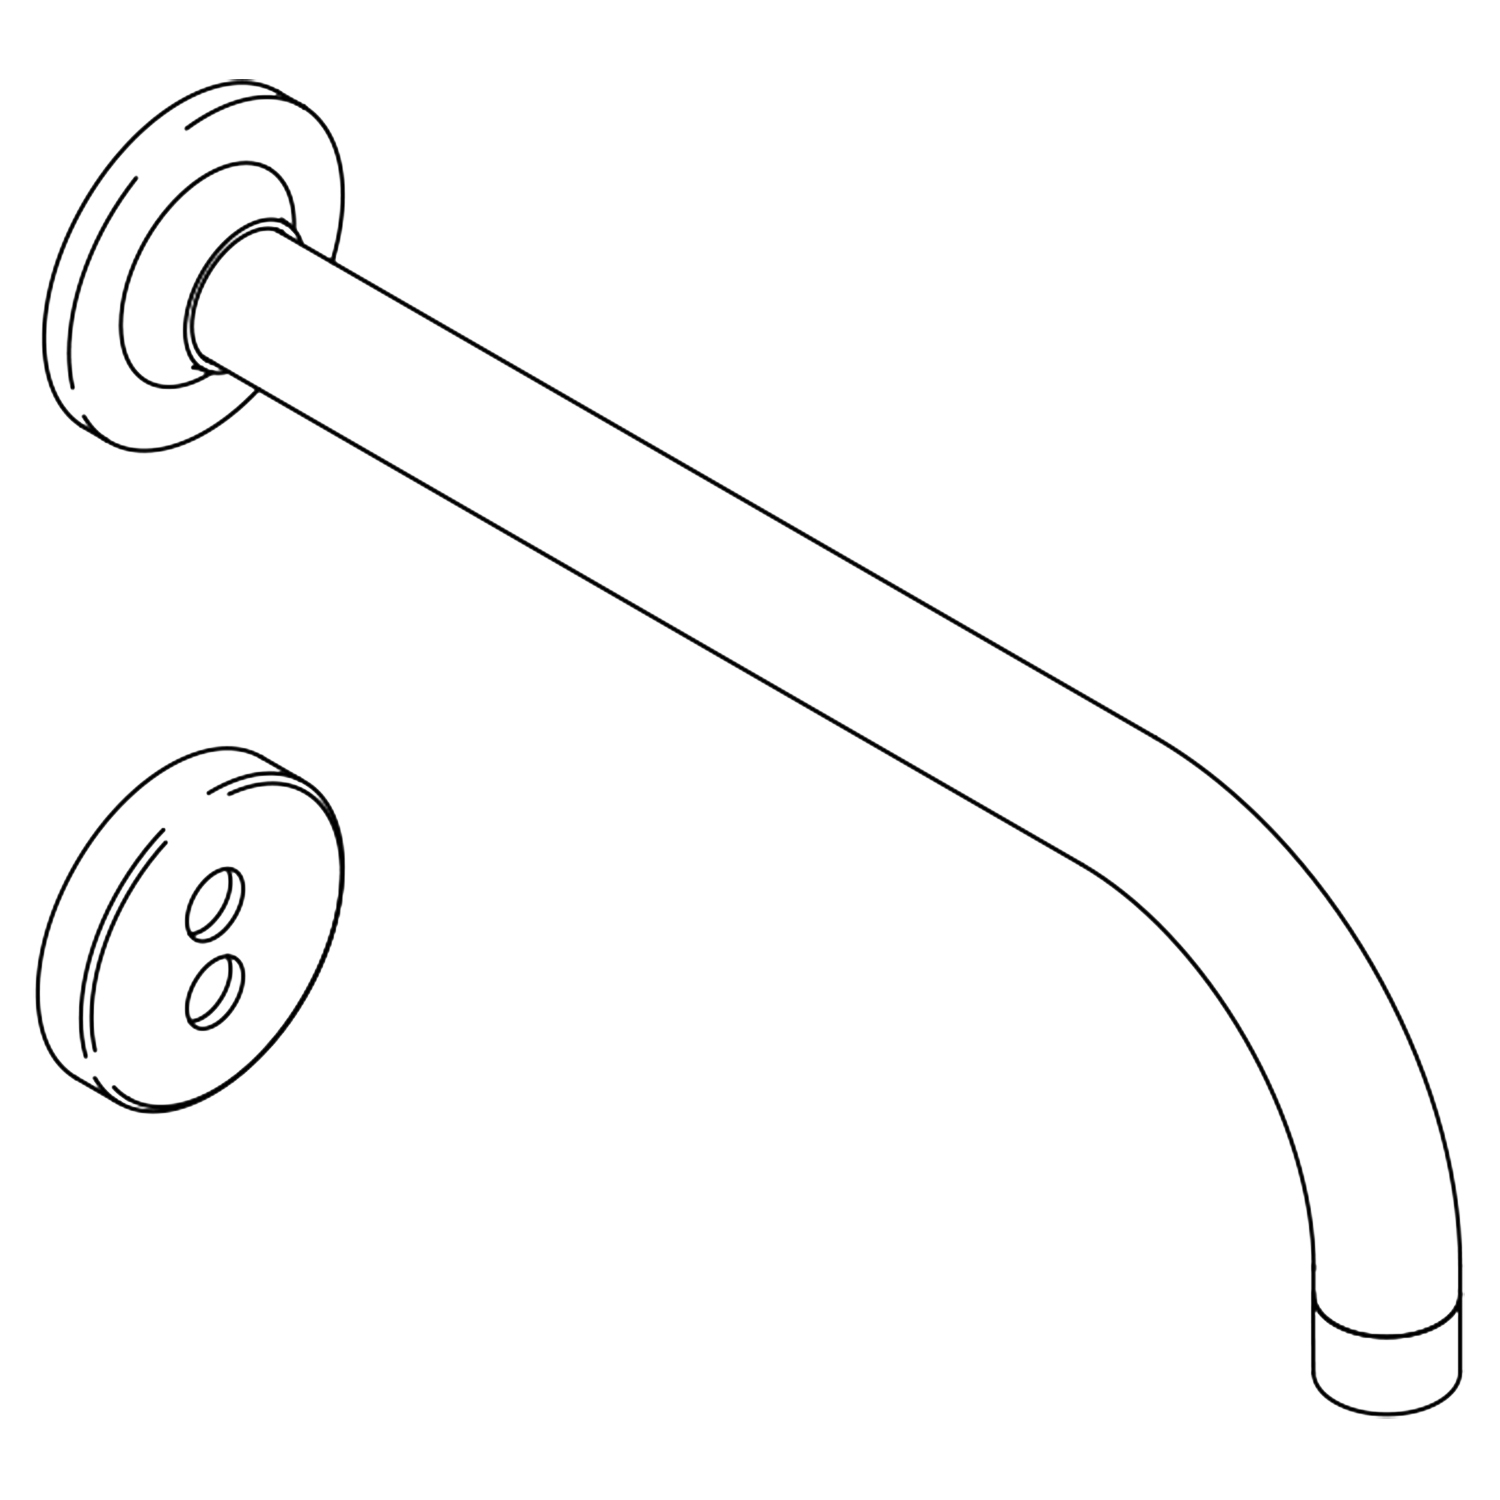
Spout Reach: 9" (229 mm)
Material: Brass construction
Usage: Commercial / Residential
Ideal for commercial use applications in public restrooms, restaurants, office building, public facilities, hospitals. Fits all standard US plumbing.
Technology: Valve kit has electronic Insight™ Sensor Technology for accurate and consistent activation.
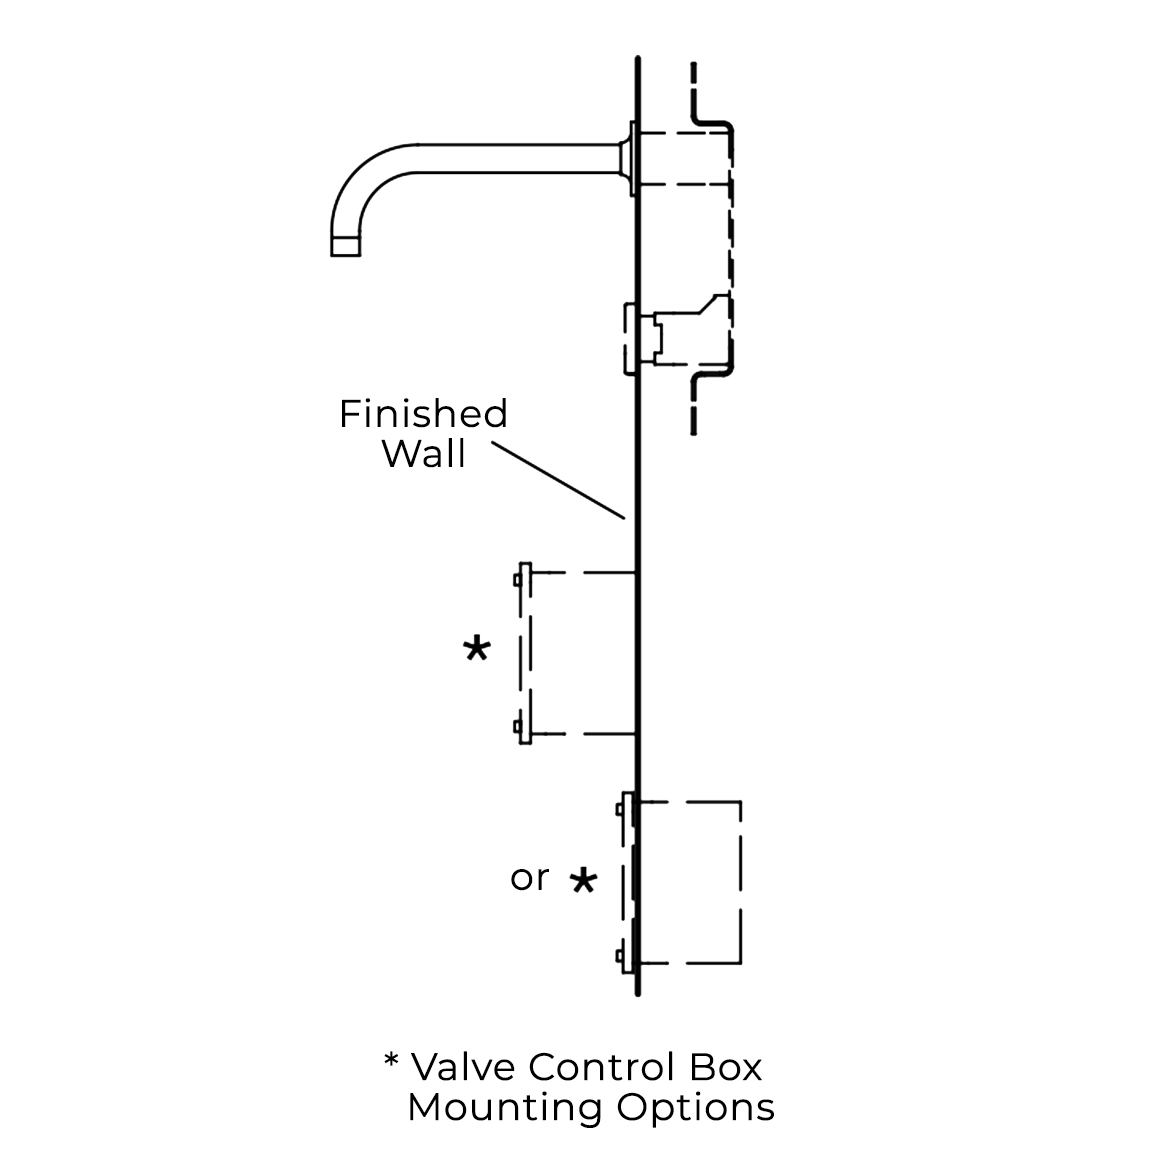
This trim set can be used with 11830-NA (Hybrid power) wall mount valve or 11843-NA (AC Power) wall mount valve.
Installation: Single-hole spout mounting. Please consider appropriate distance between spout and sensor.
Below the counter valve for easy installation and maintenance.
|
|
FontanaShowers®Product Warranty Information
Before you begin, please read the installation instructions below. Observe all local building and safety codes.
- Unpack and inspect the touchless faucet for any shipping damages for any shipping damages. If you find damages, do not install.
- Please note all showers must be installed by a professional and certified plumber otherwise warranty might be voided.
|
|
shower
|
|
|