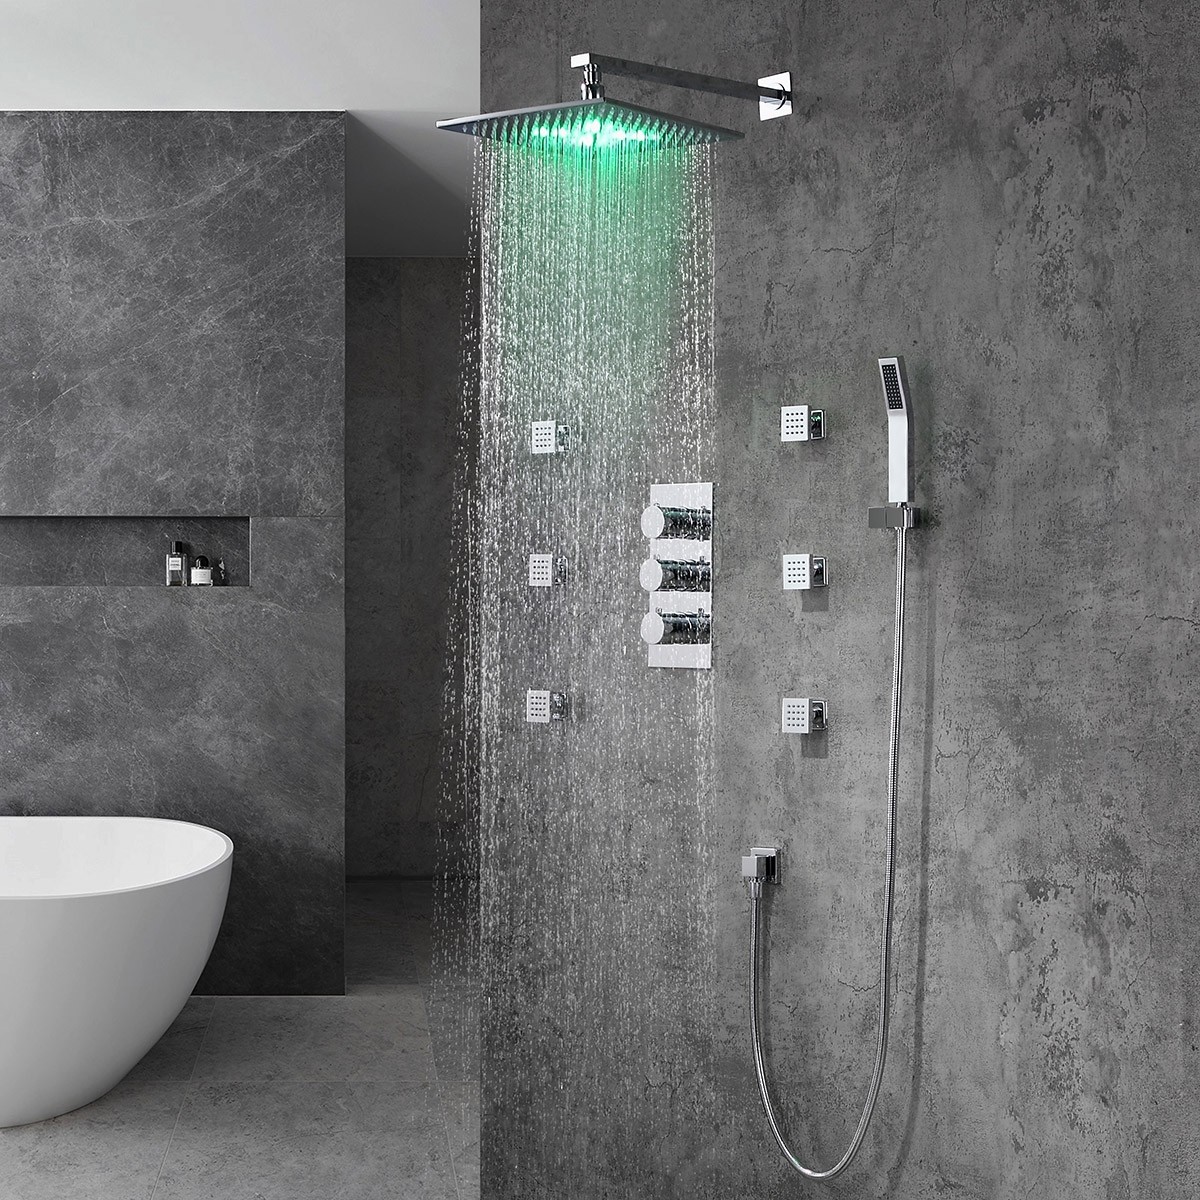
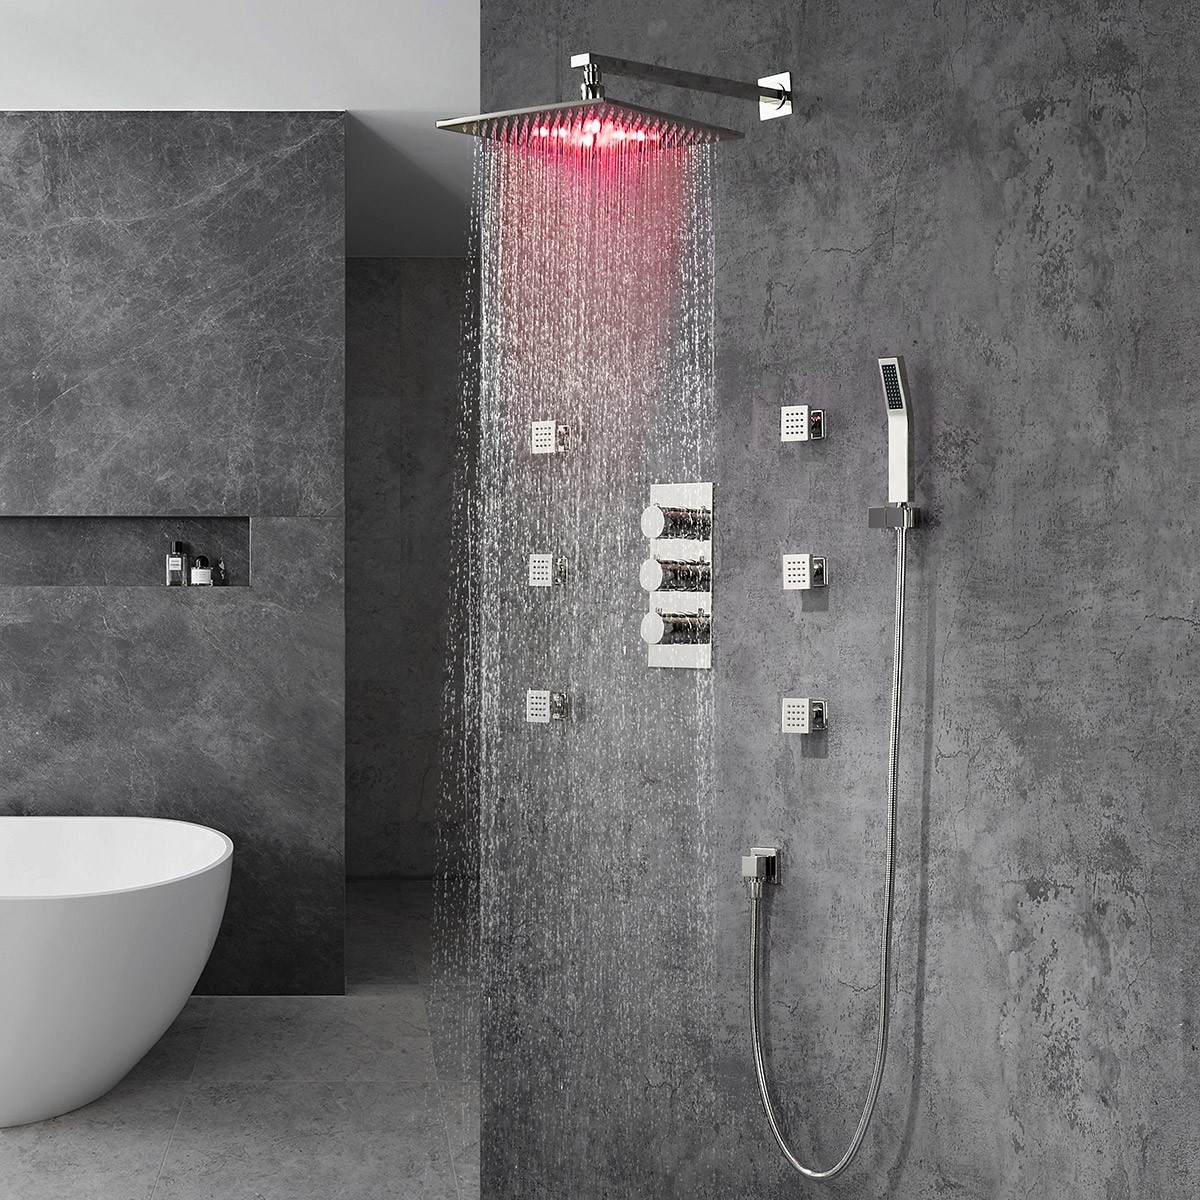
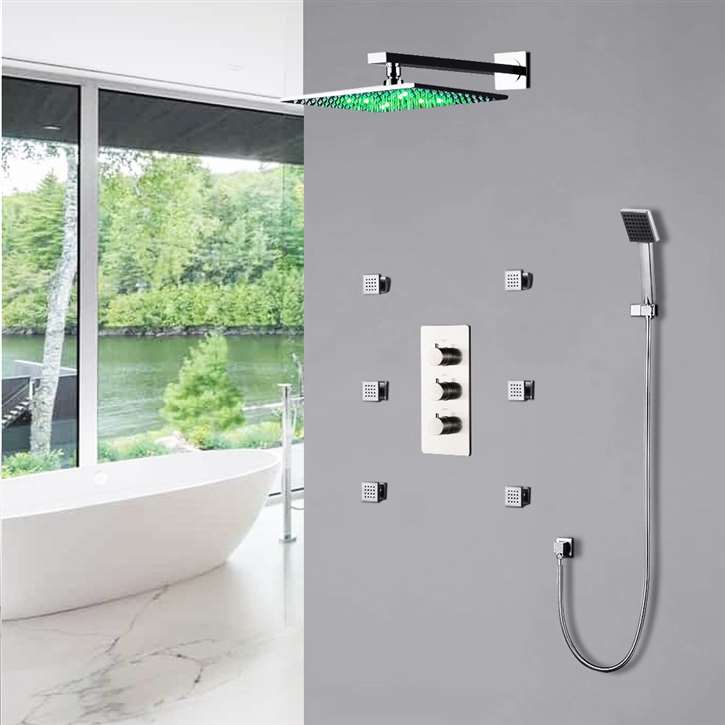
How to install Fontana Trialo Color Changing LED Shower Head With Adjustable Body Jets| LED-SHOWER-HEAD-0522GT
Easy step by step Installation Instructions for Fontana Trialo Color Changing LED Shower Head With Adjustable Body Jets
- Before you begin, please read the installation instructions below. Observe all local building and safety codes.
- Unpack and inspect the product for any shipping damages. If you find damages, do not install.
- Please note all products must be installed by a professional and certified plumber otherwise warranty might be voided.
| | sensor | 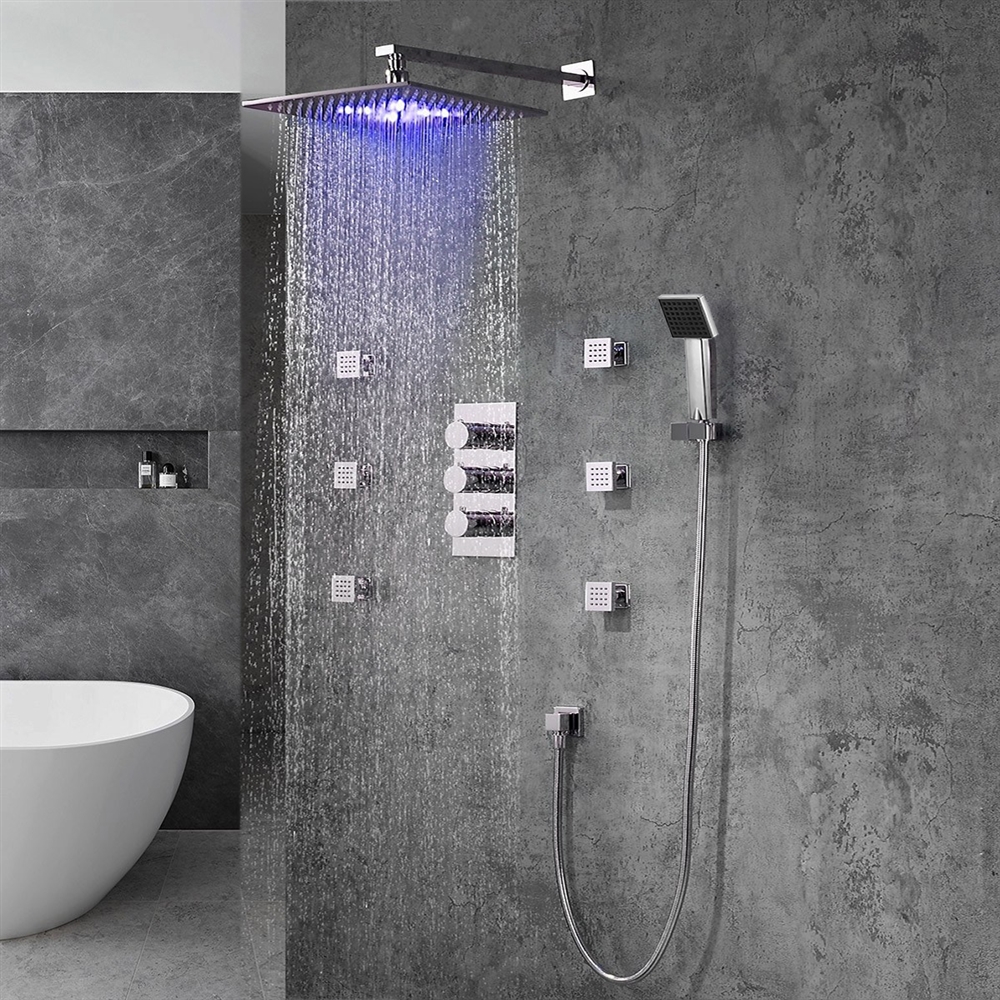
|
Wall Mount Shower Head Installation Instructions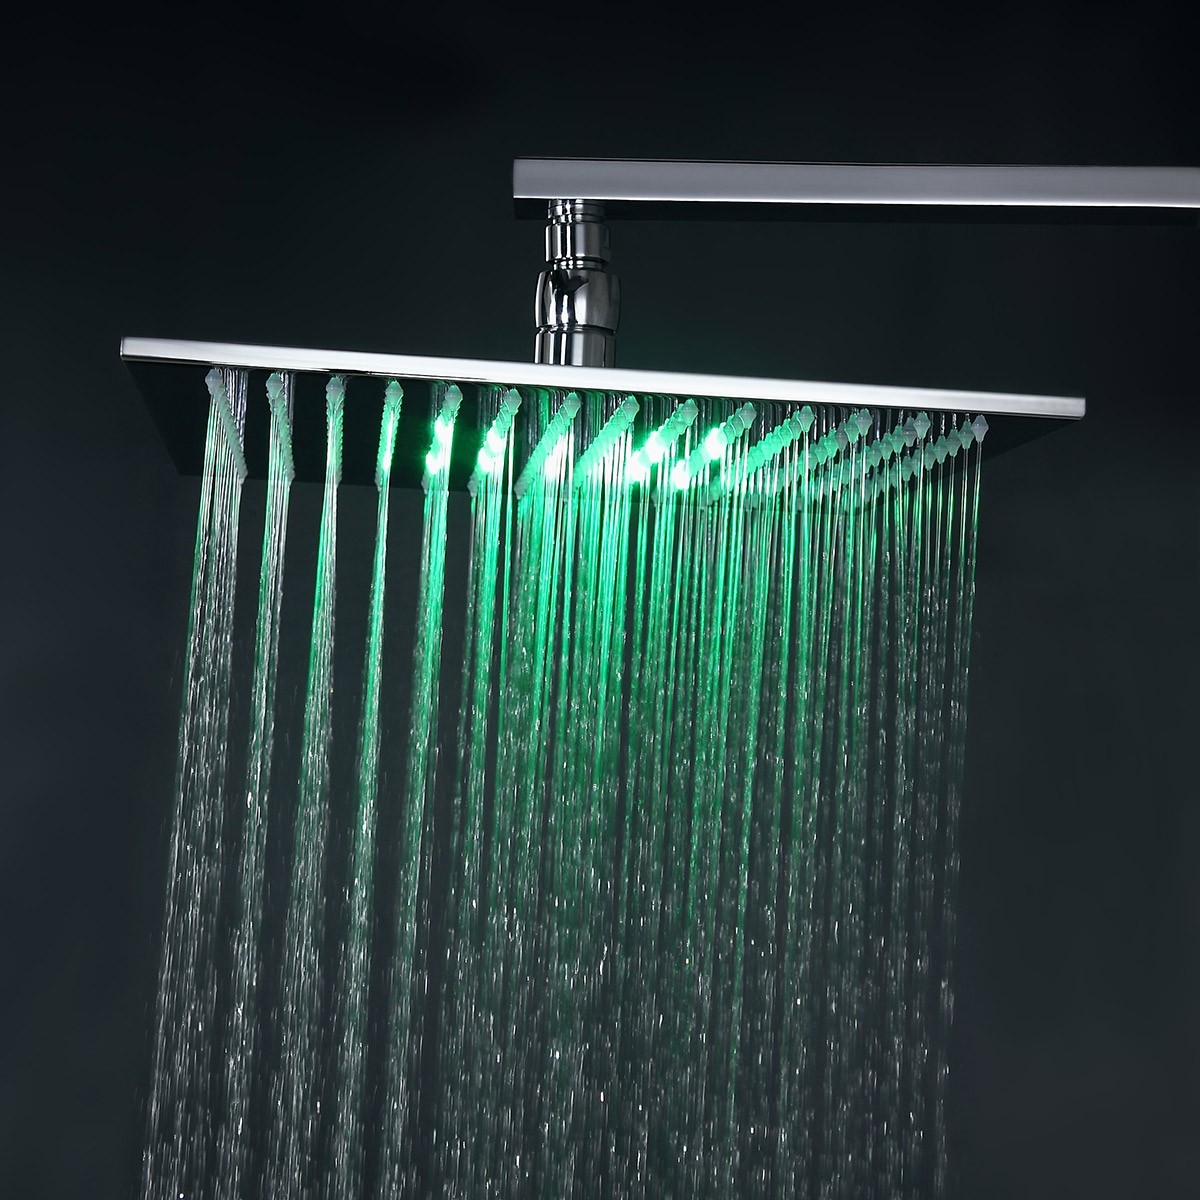
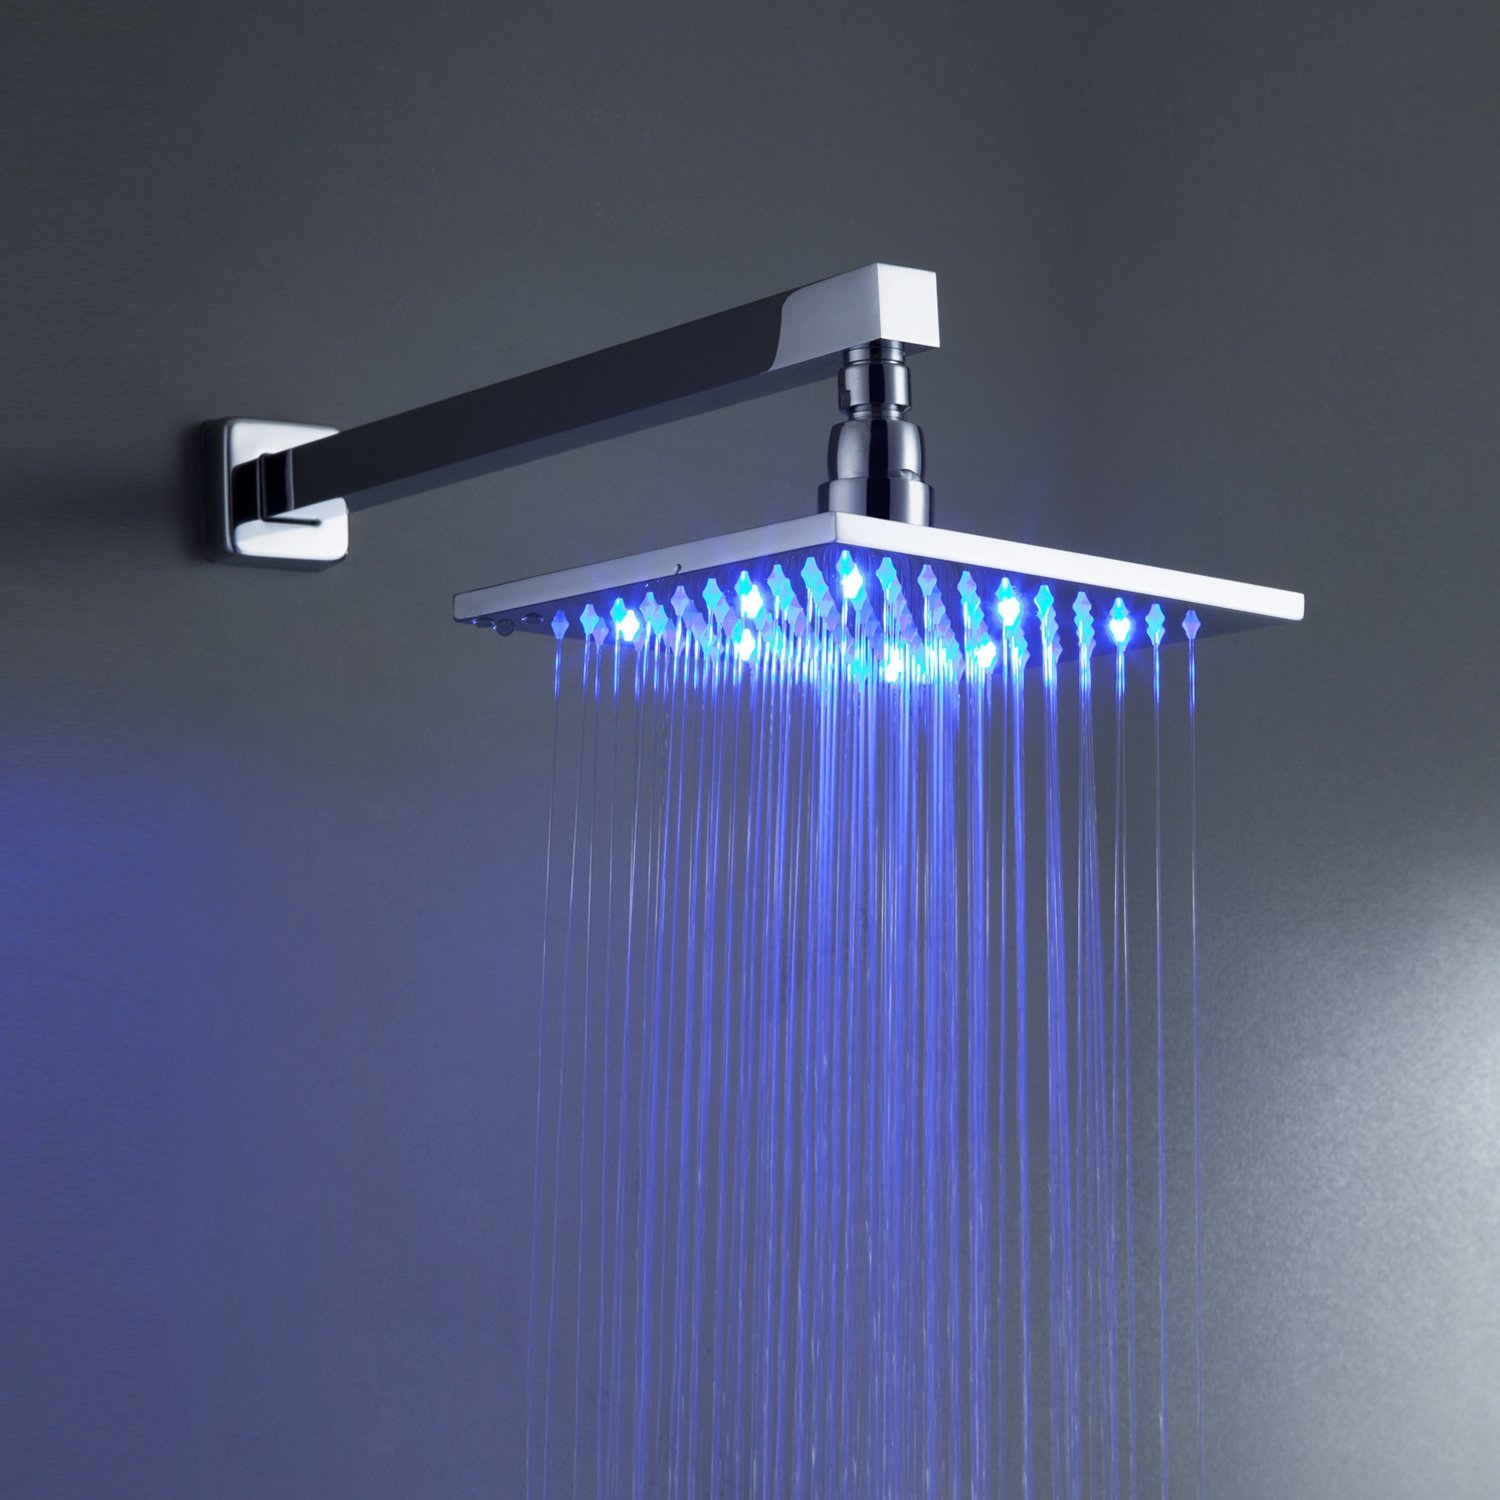
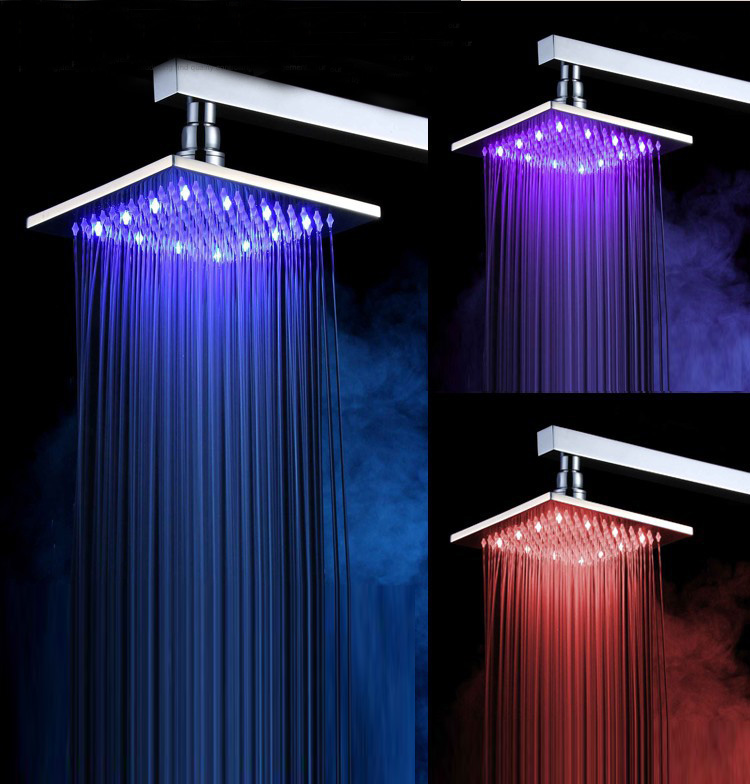
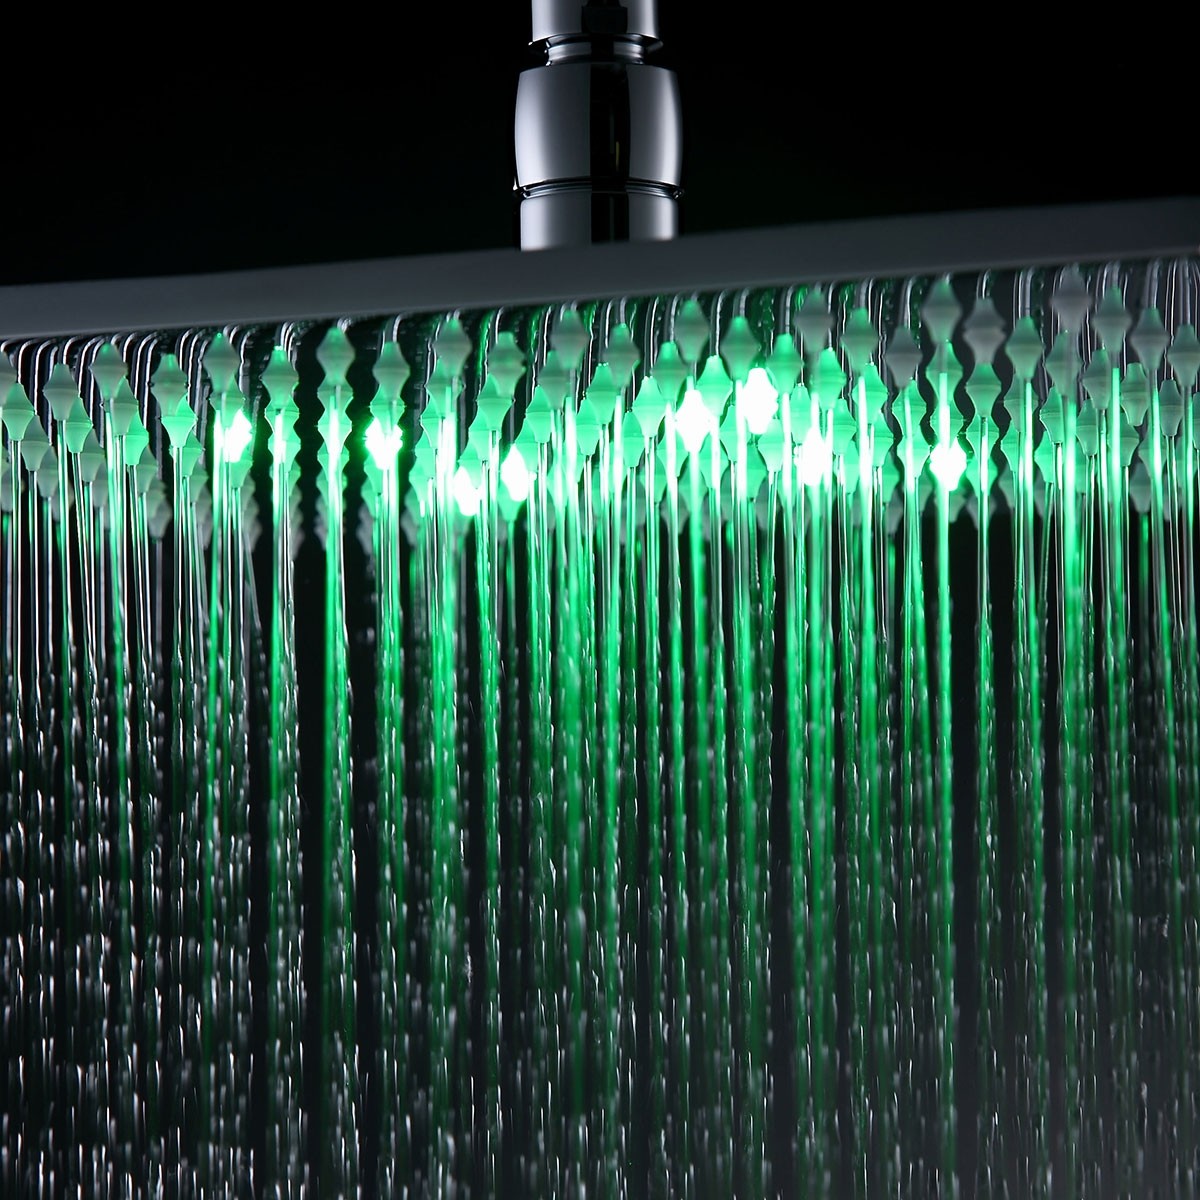
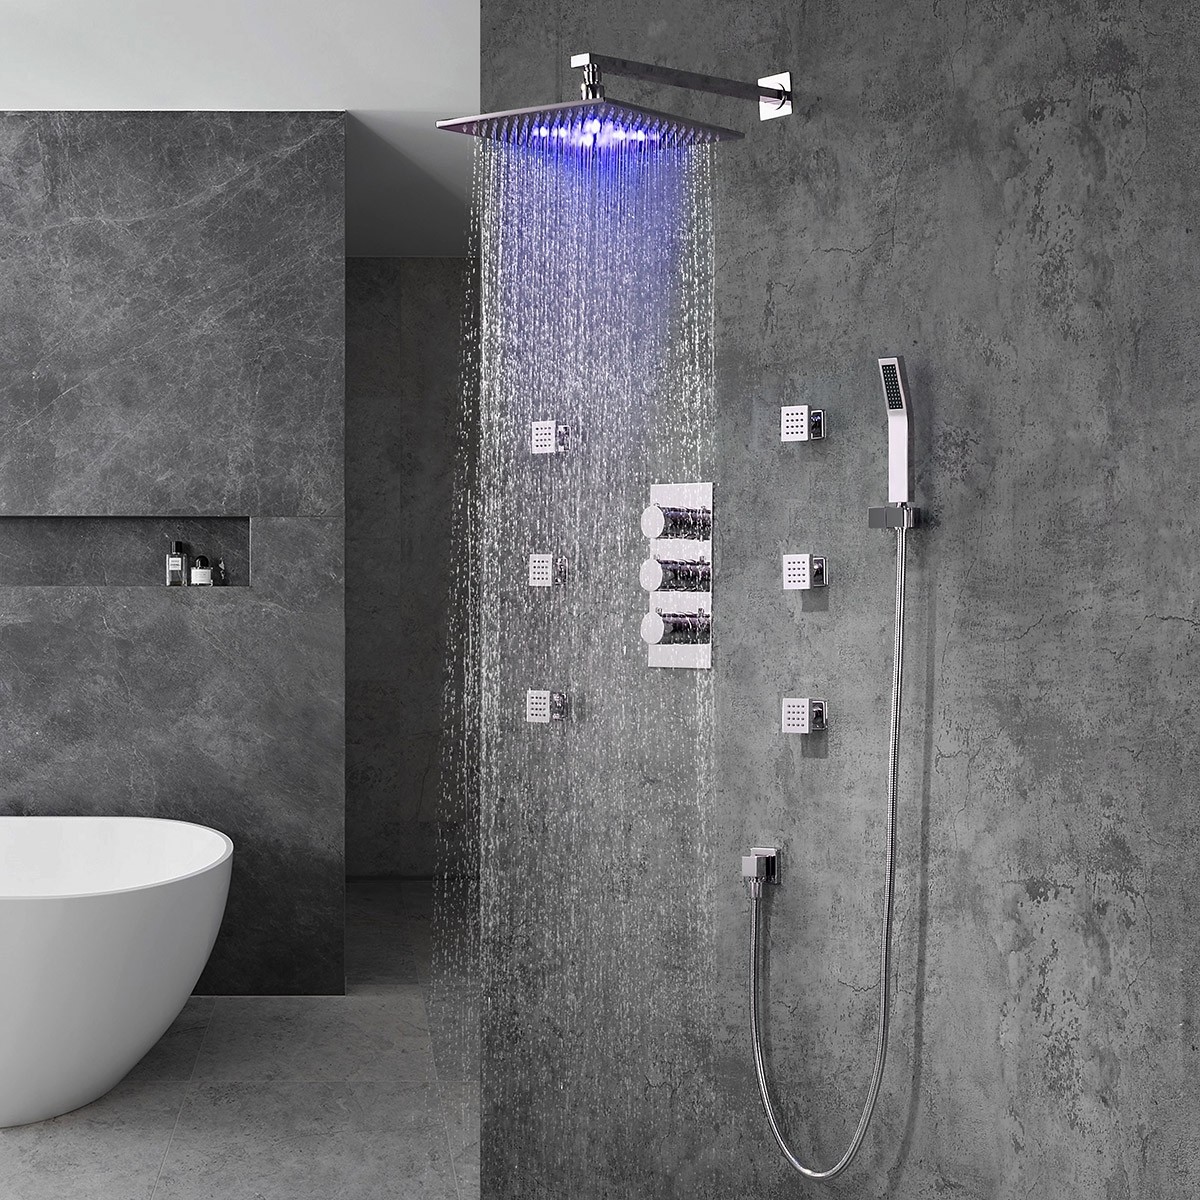
Additional Information:- The LED lights are powered by water flow and will be activated once the water is turned on.- The LED light will change its color by detecting water temperature:- 0-30 °C (32-86 °F): Blue LED- 30-40 °C (86-104 °F): Green LED- 40-50 °C (104-122 °F): Red LED- 50-100 °C (122-212 °F): Flashing Red LED
| | | | | | | | Step 1: | shower | Step 2: | | | | 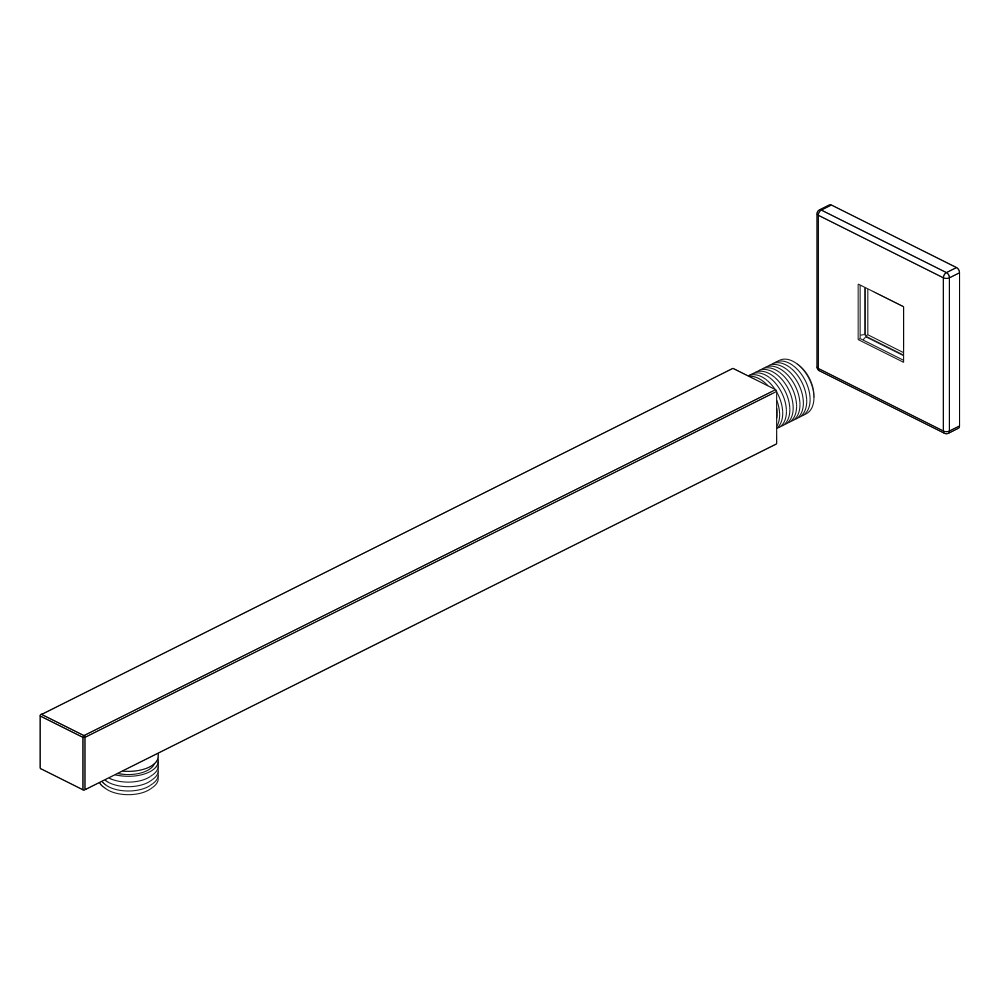 | | 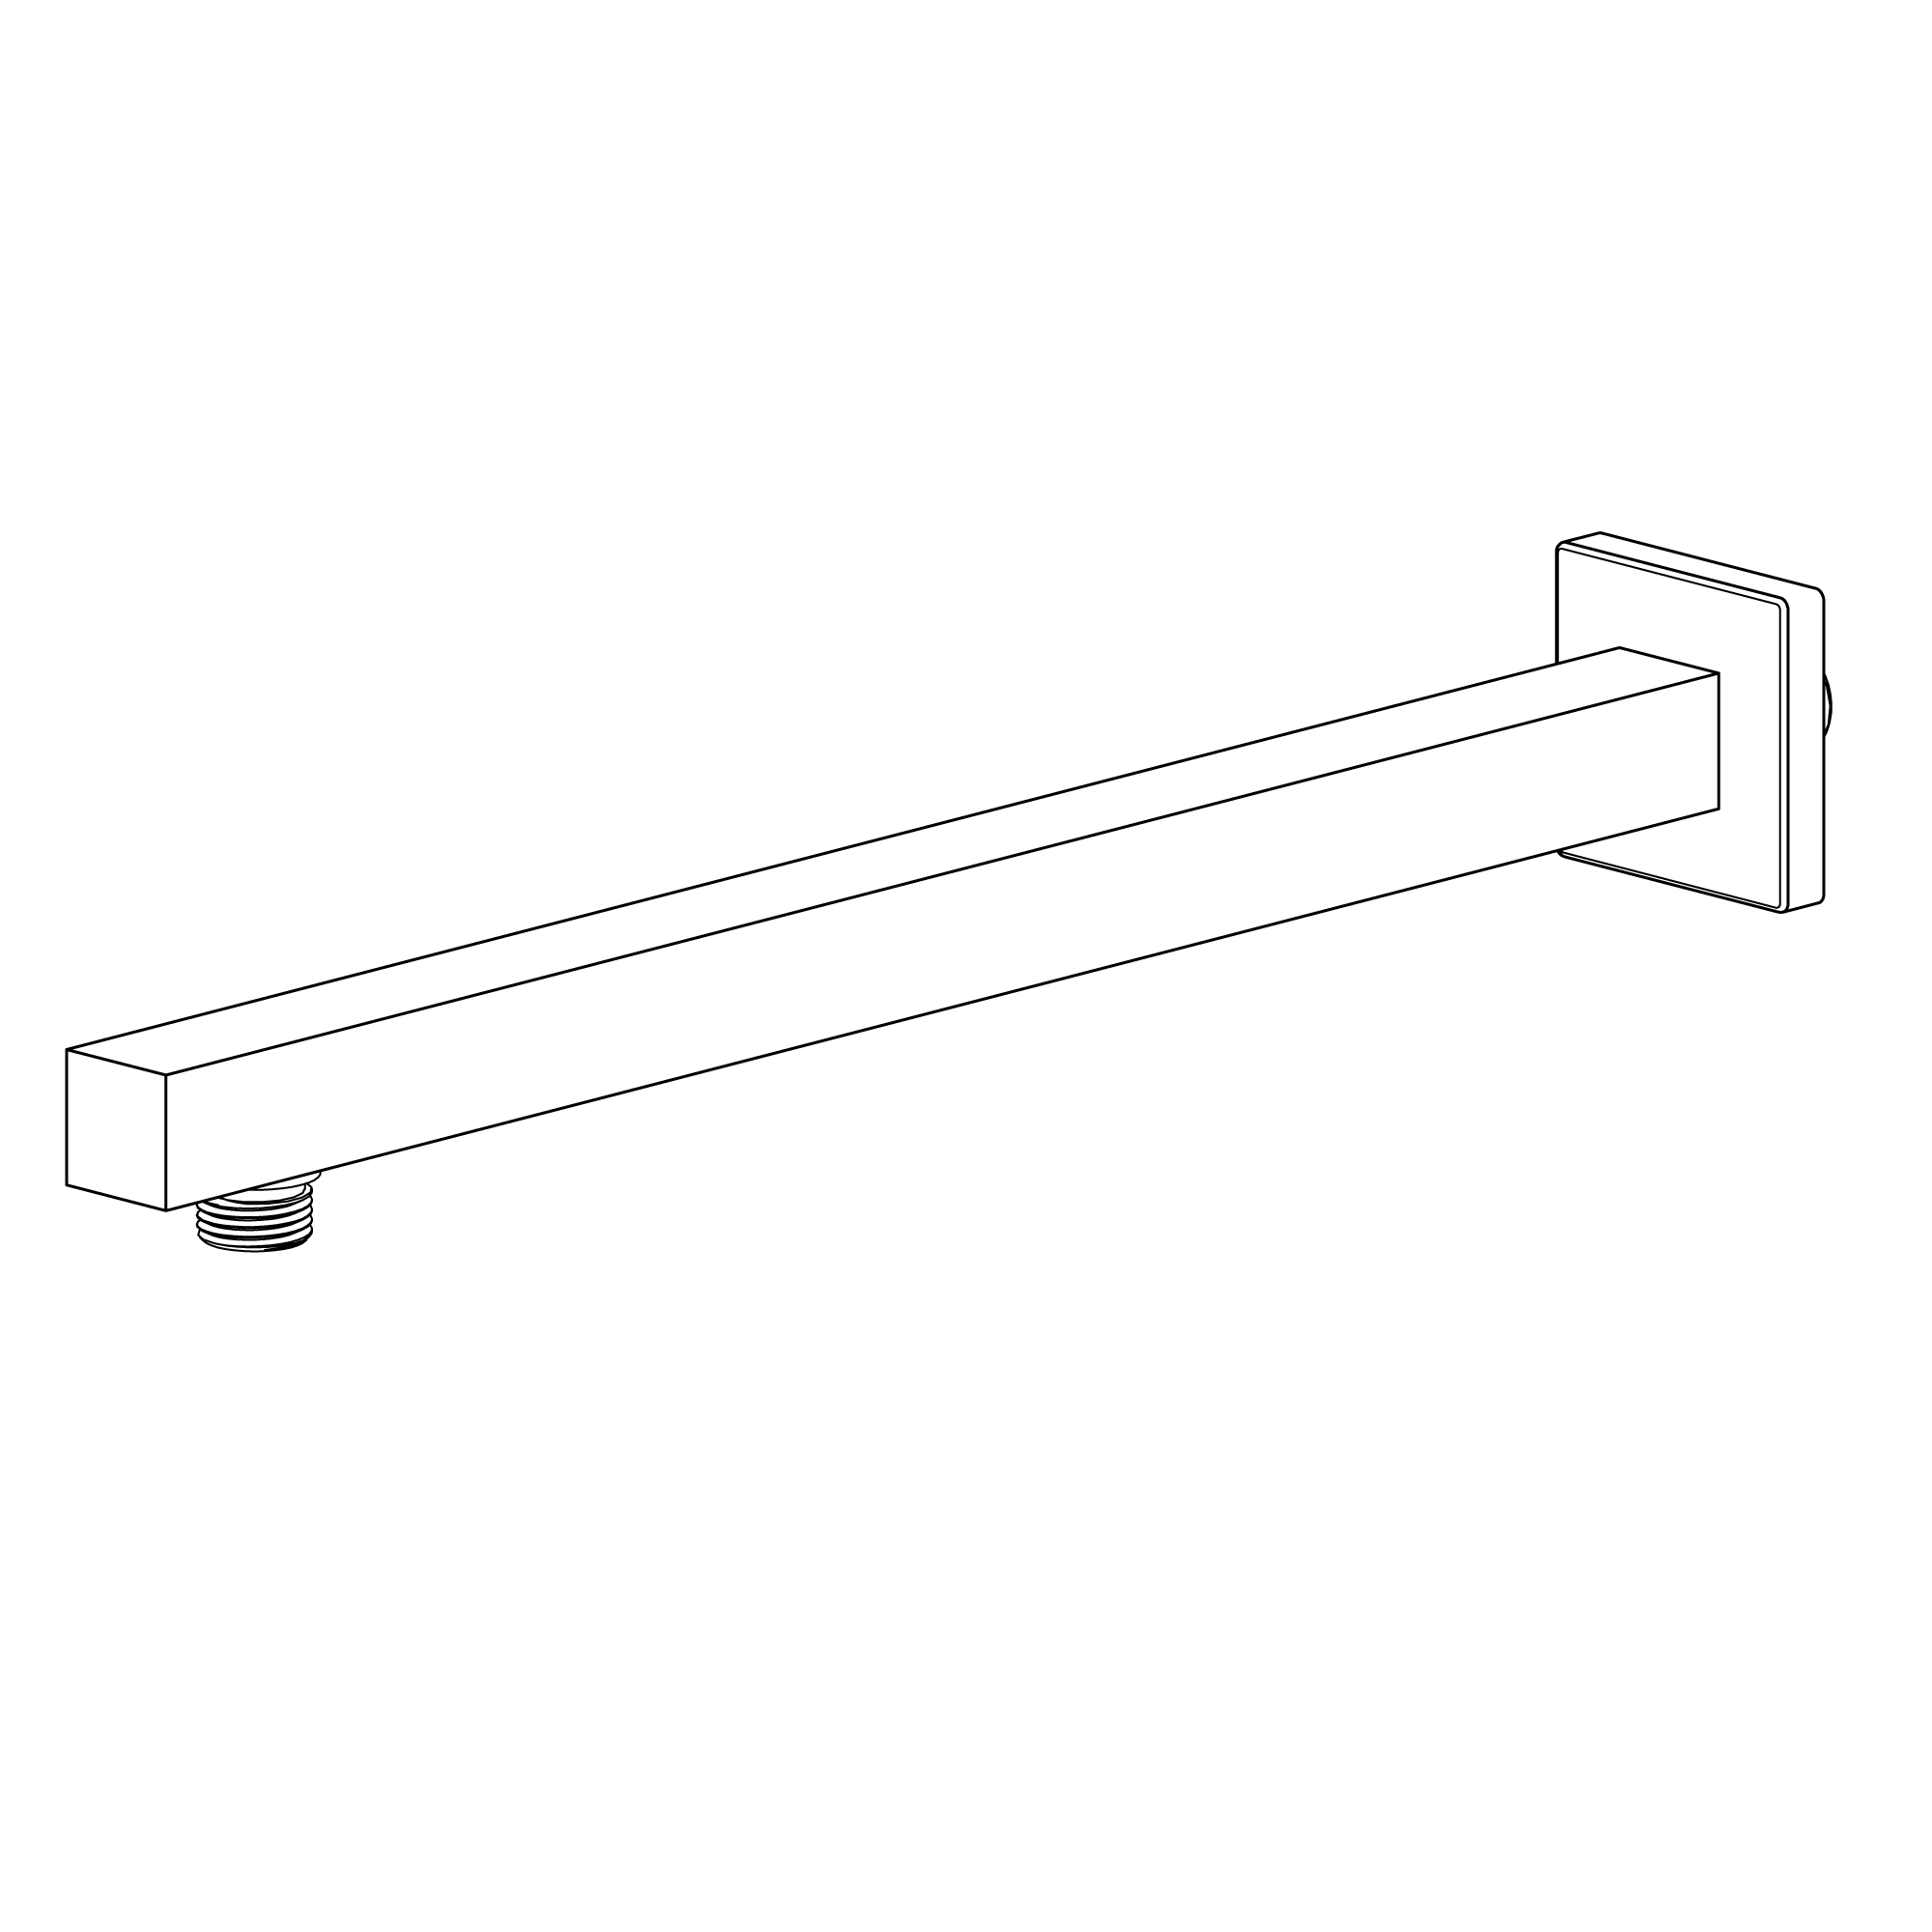 |  | | |
| | | | | | Step 3: | | Step 4: | | | |  | | 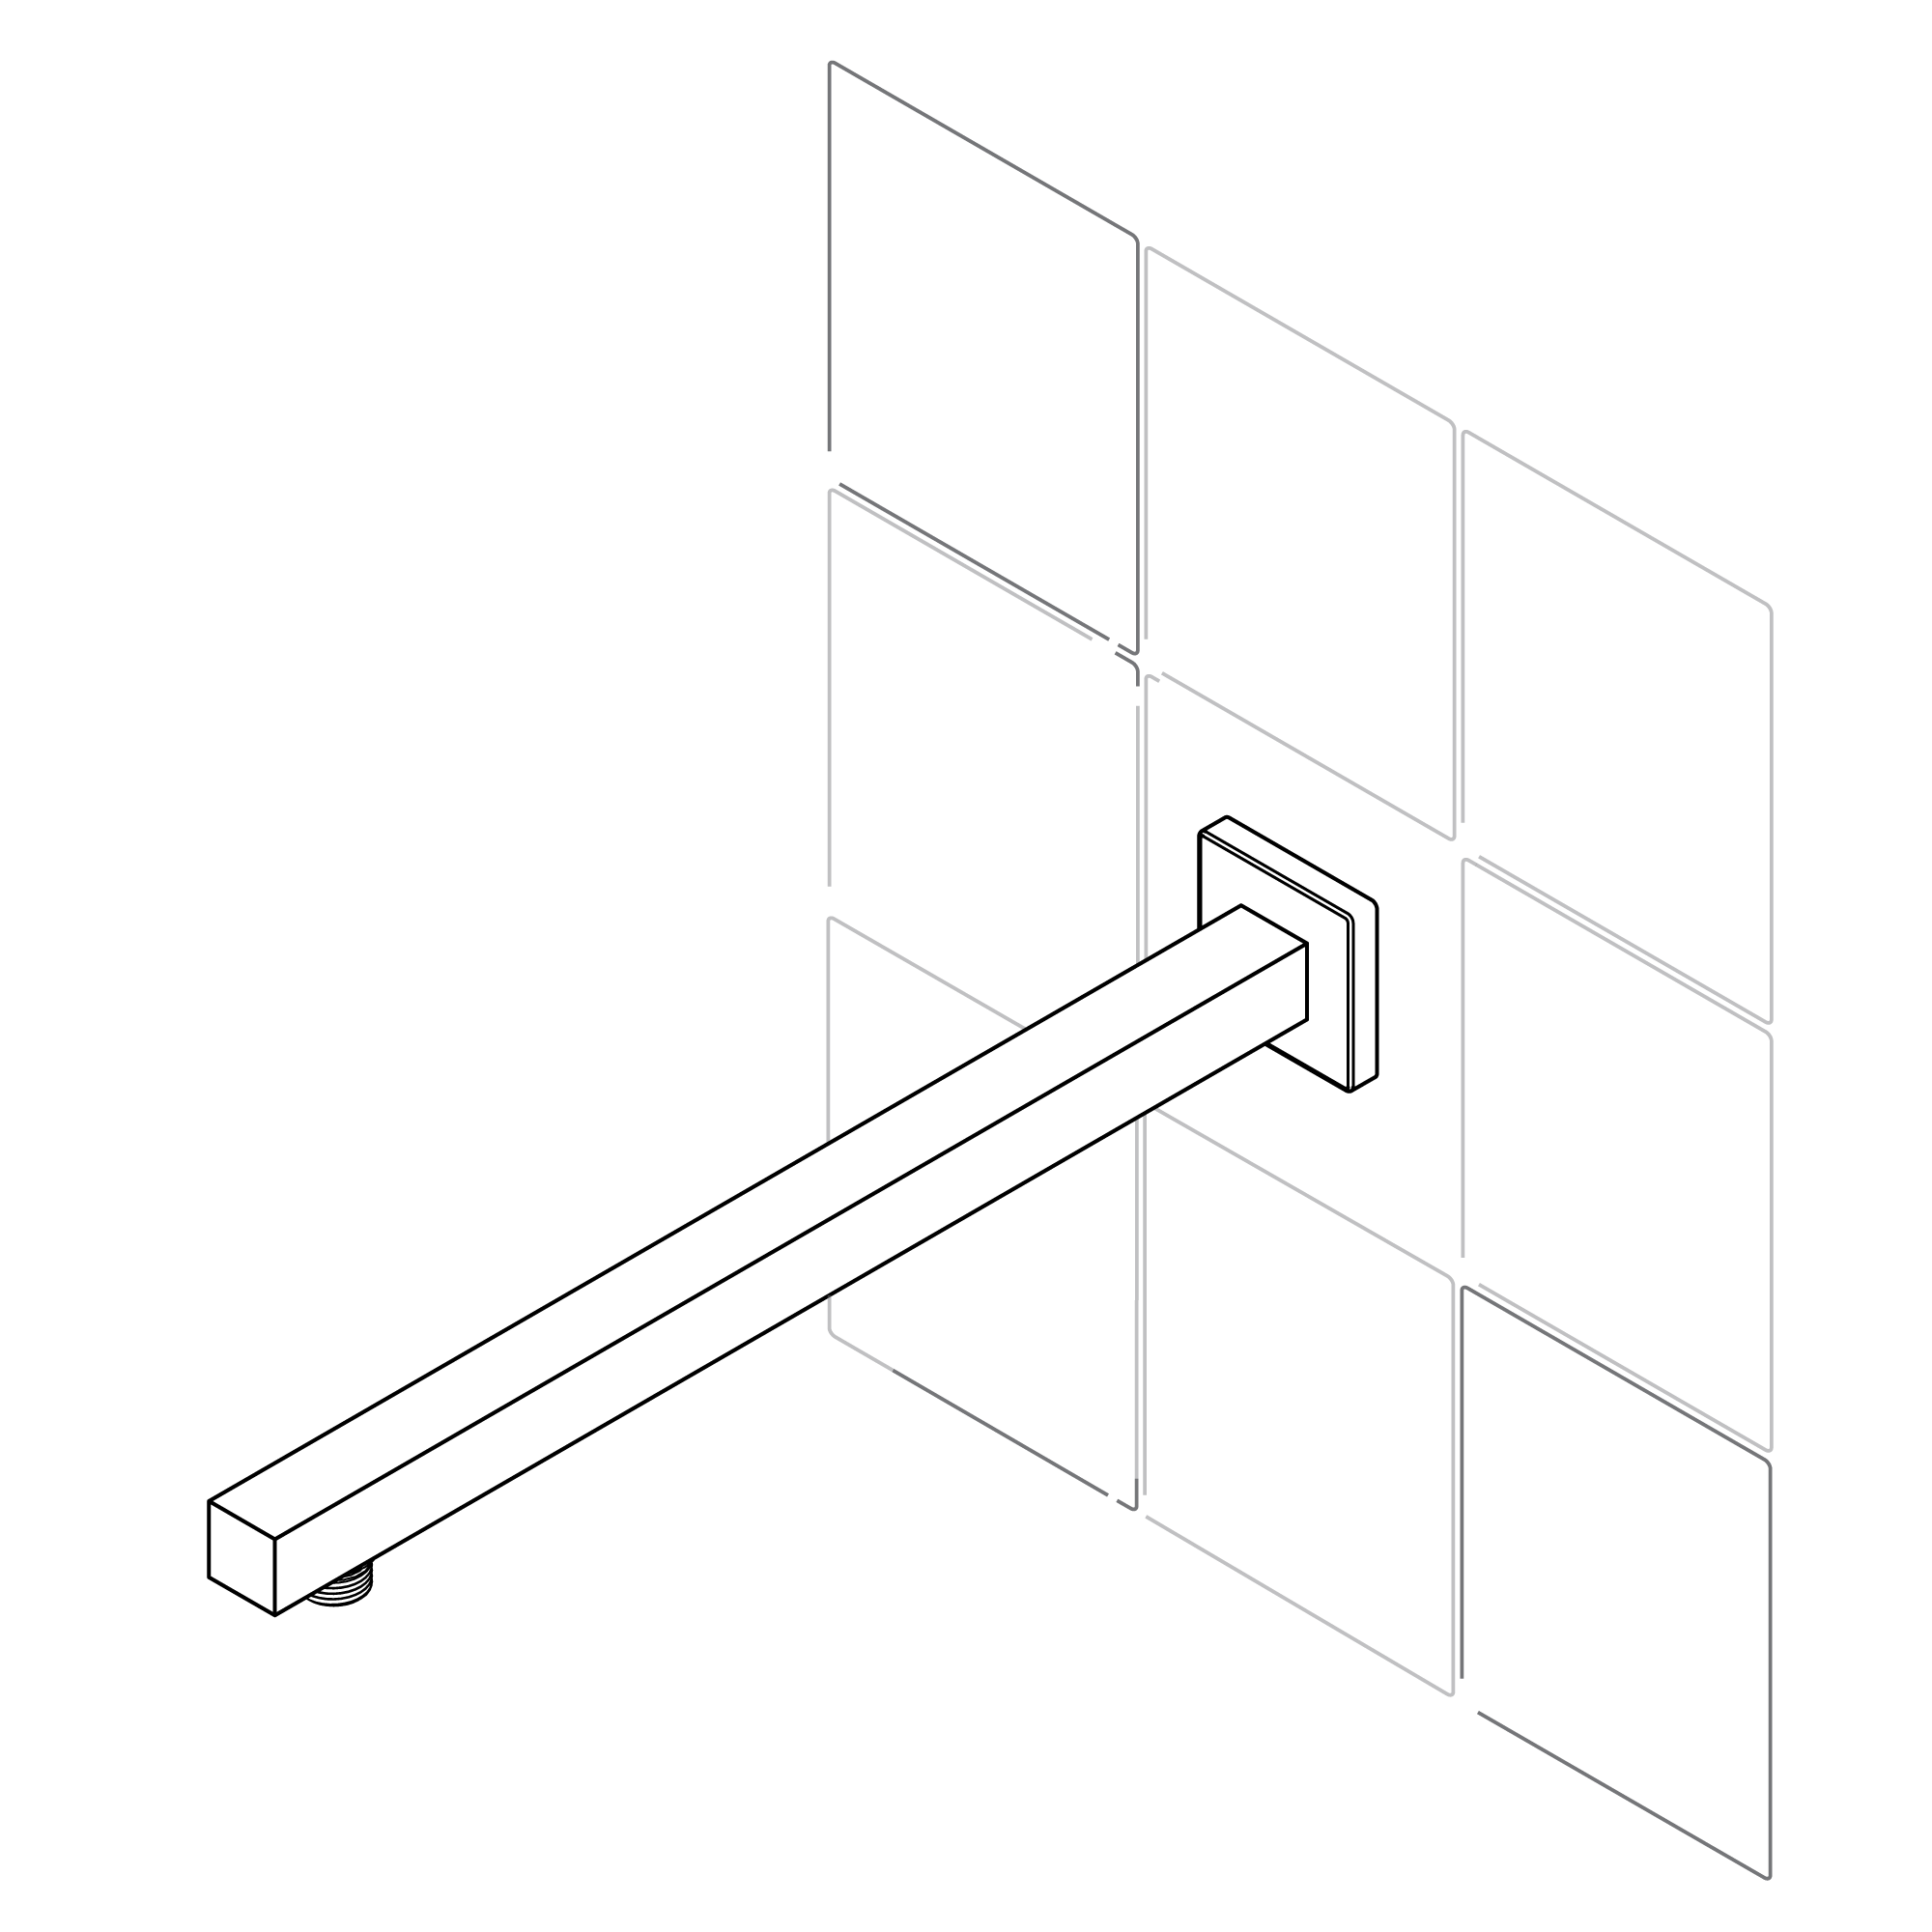 | | | | | | | | | | Step 5: | | Step 6: | | | | 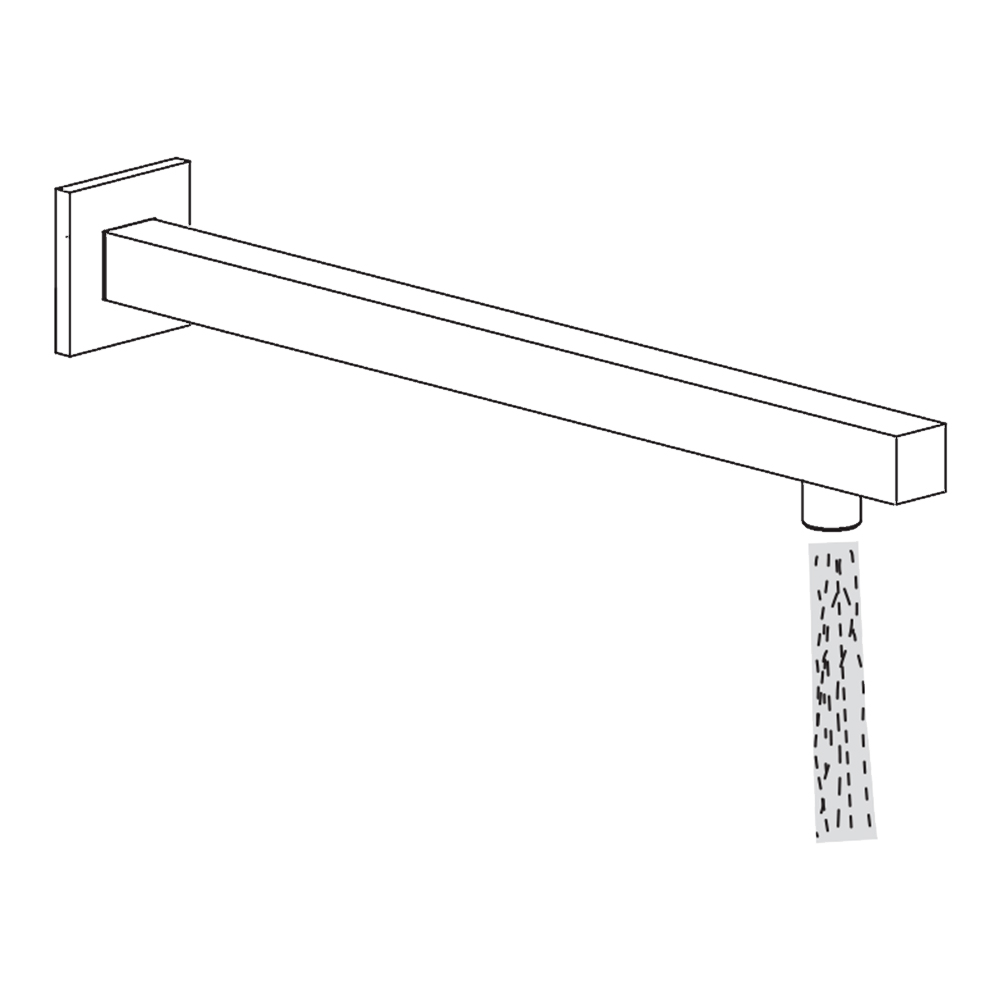 | | 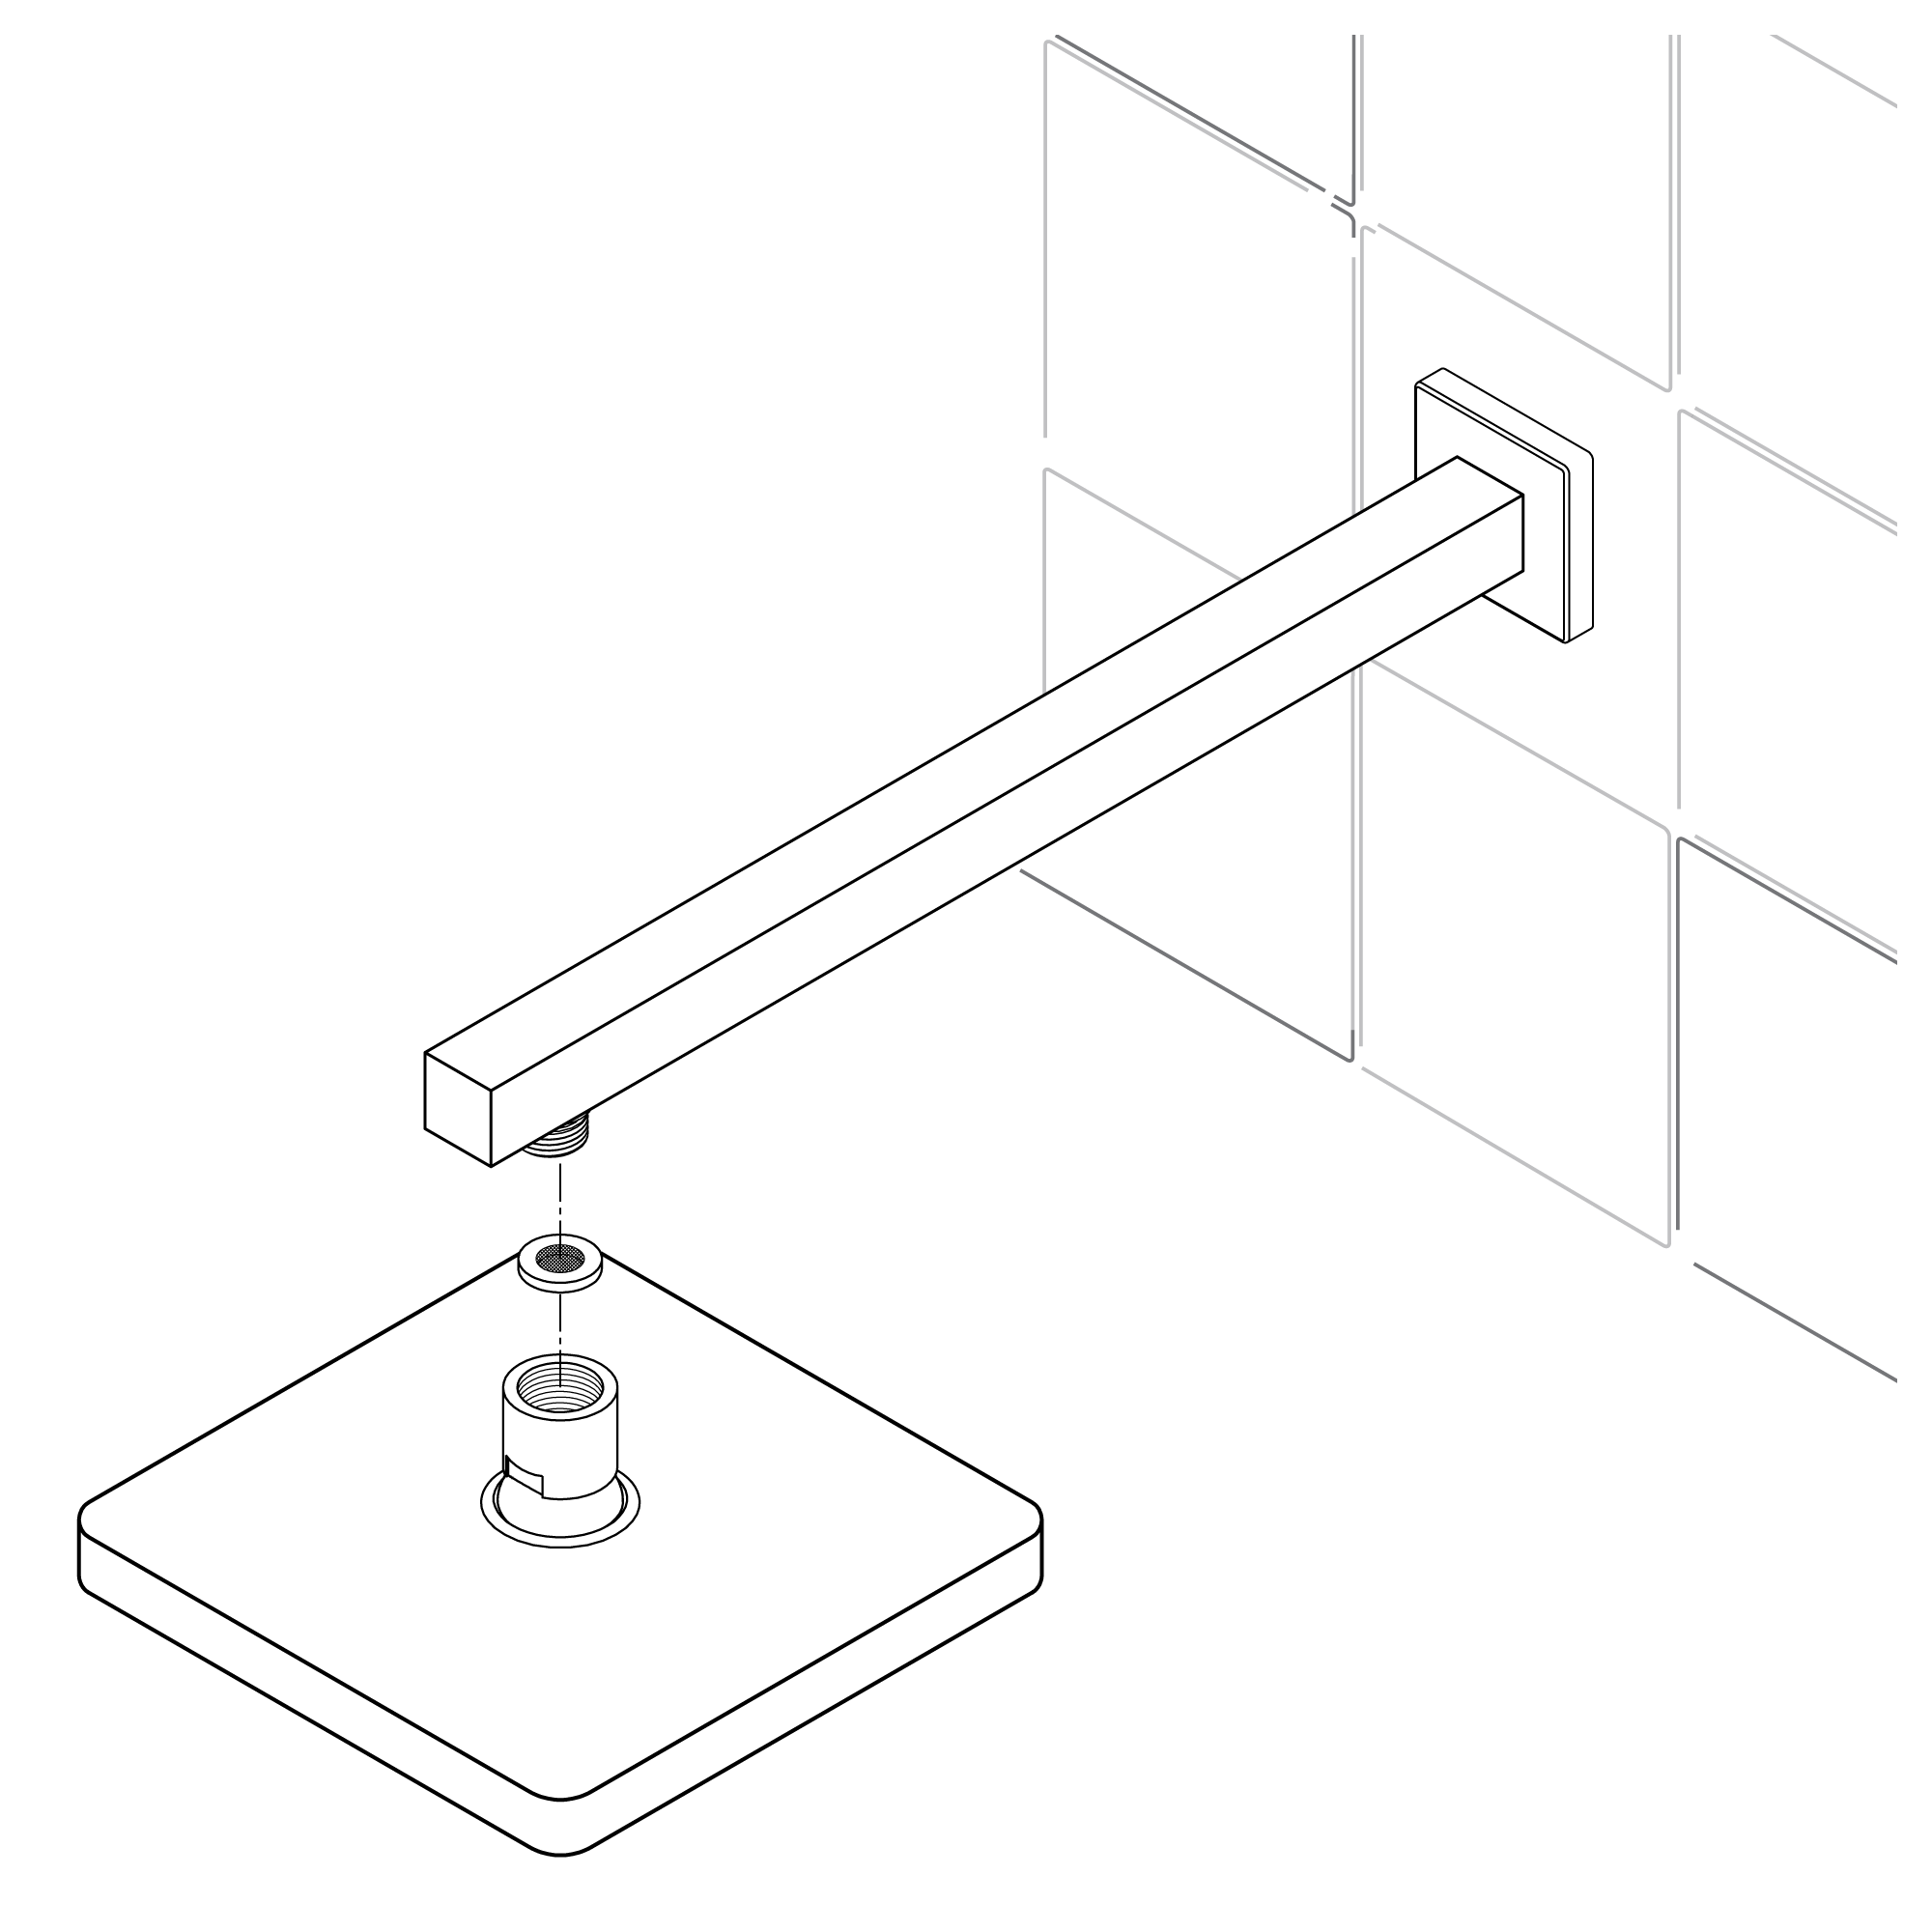 | | | | | | | | | | Step 7: | | Step 8: | | | | 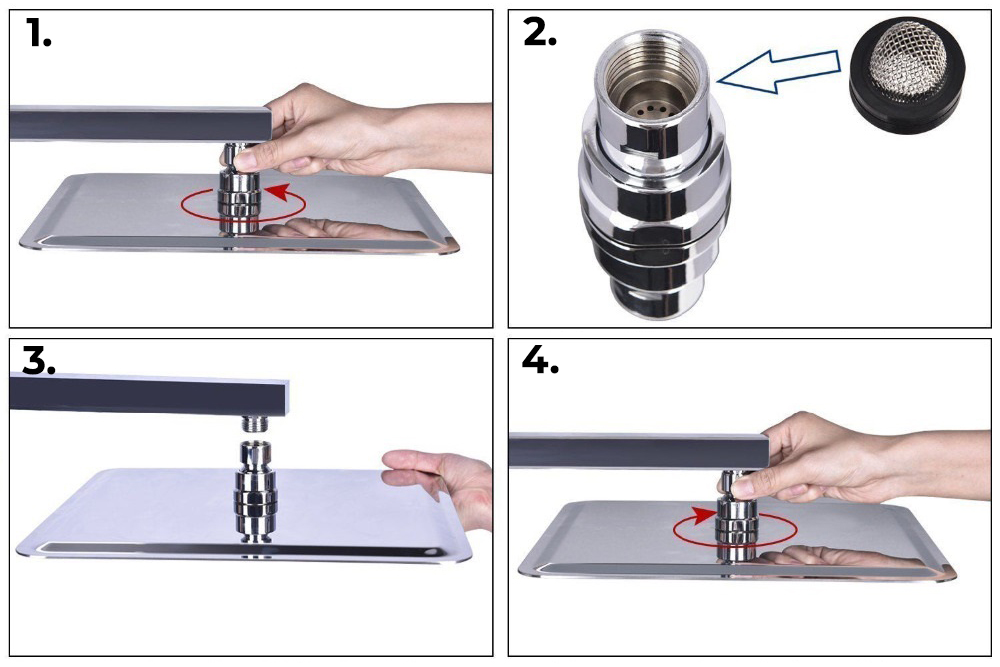 | | 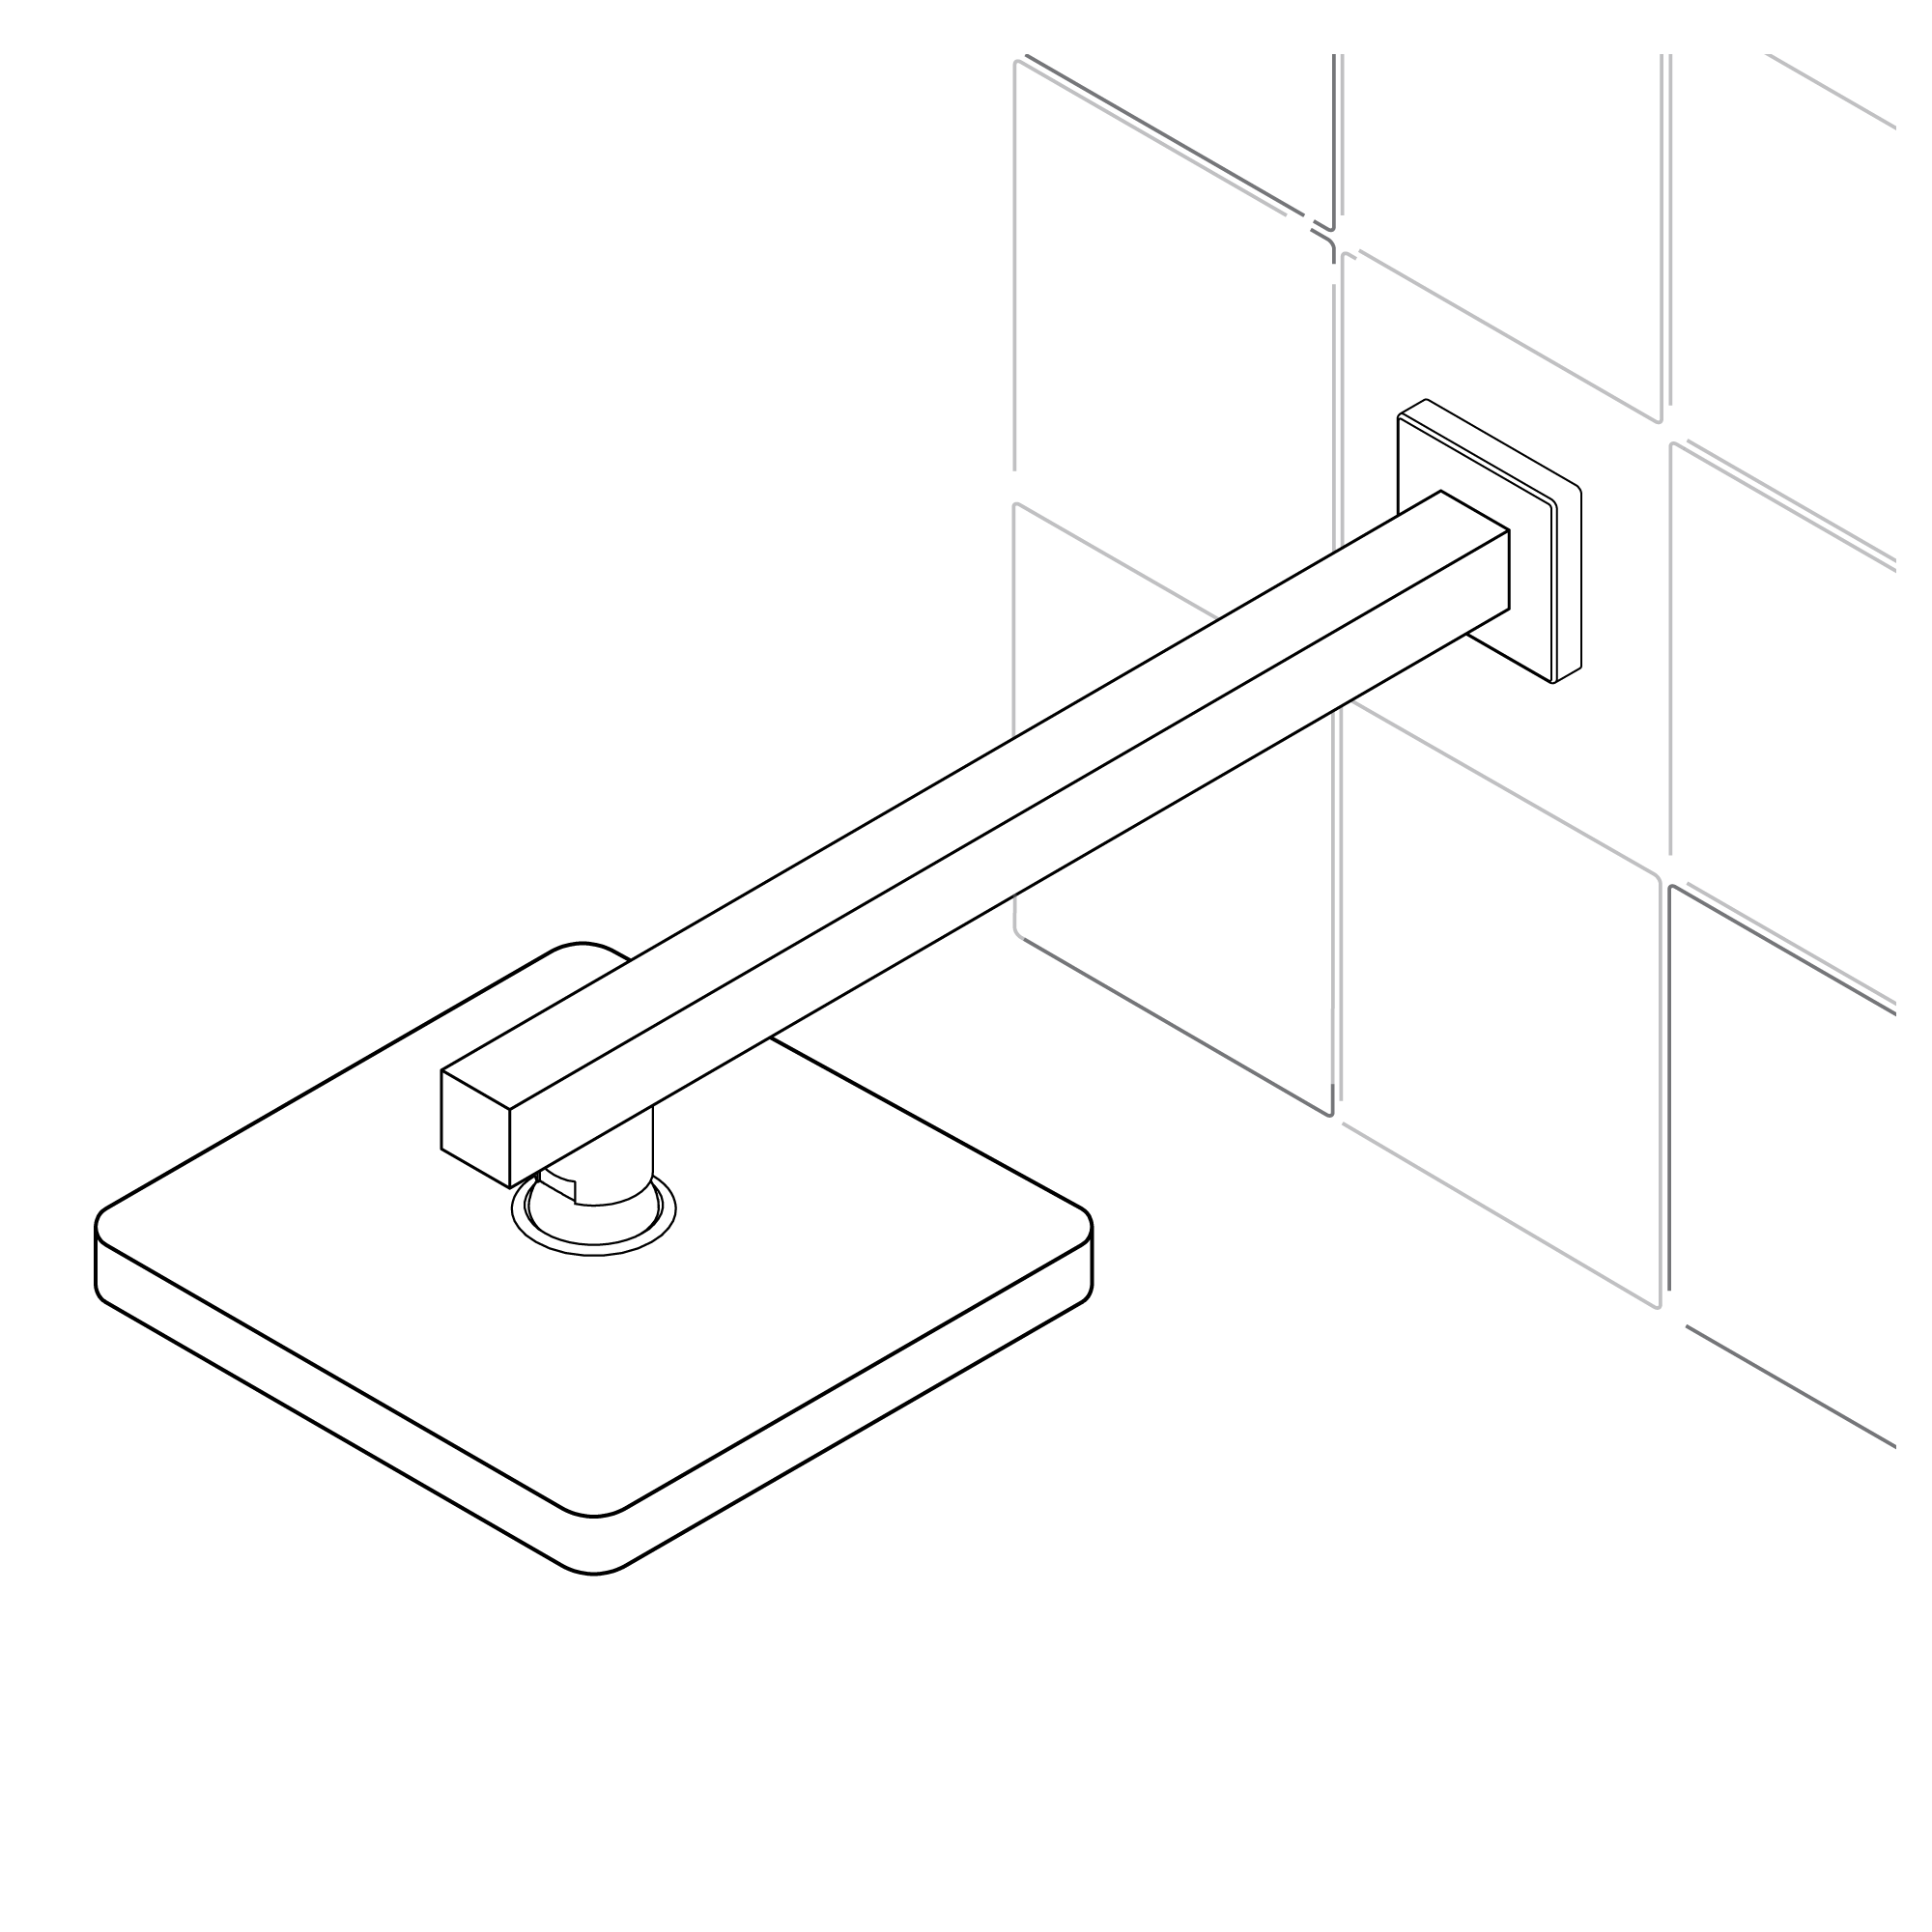 | |
| | | | | |
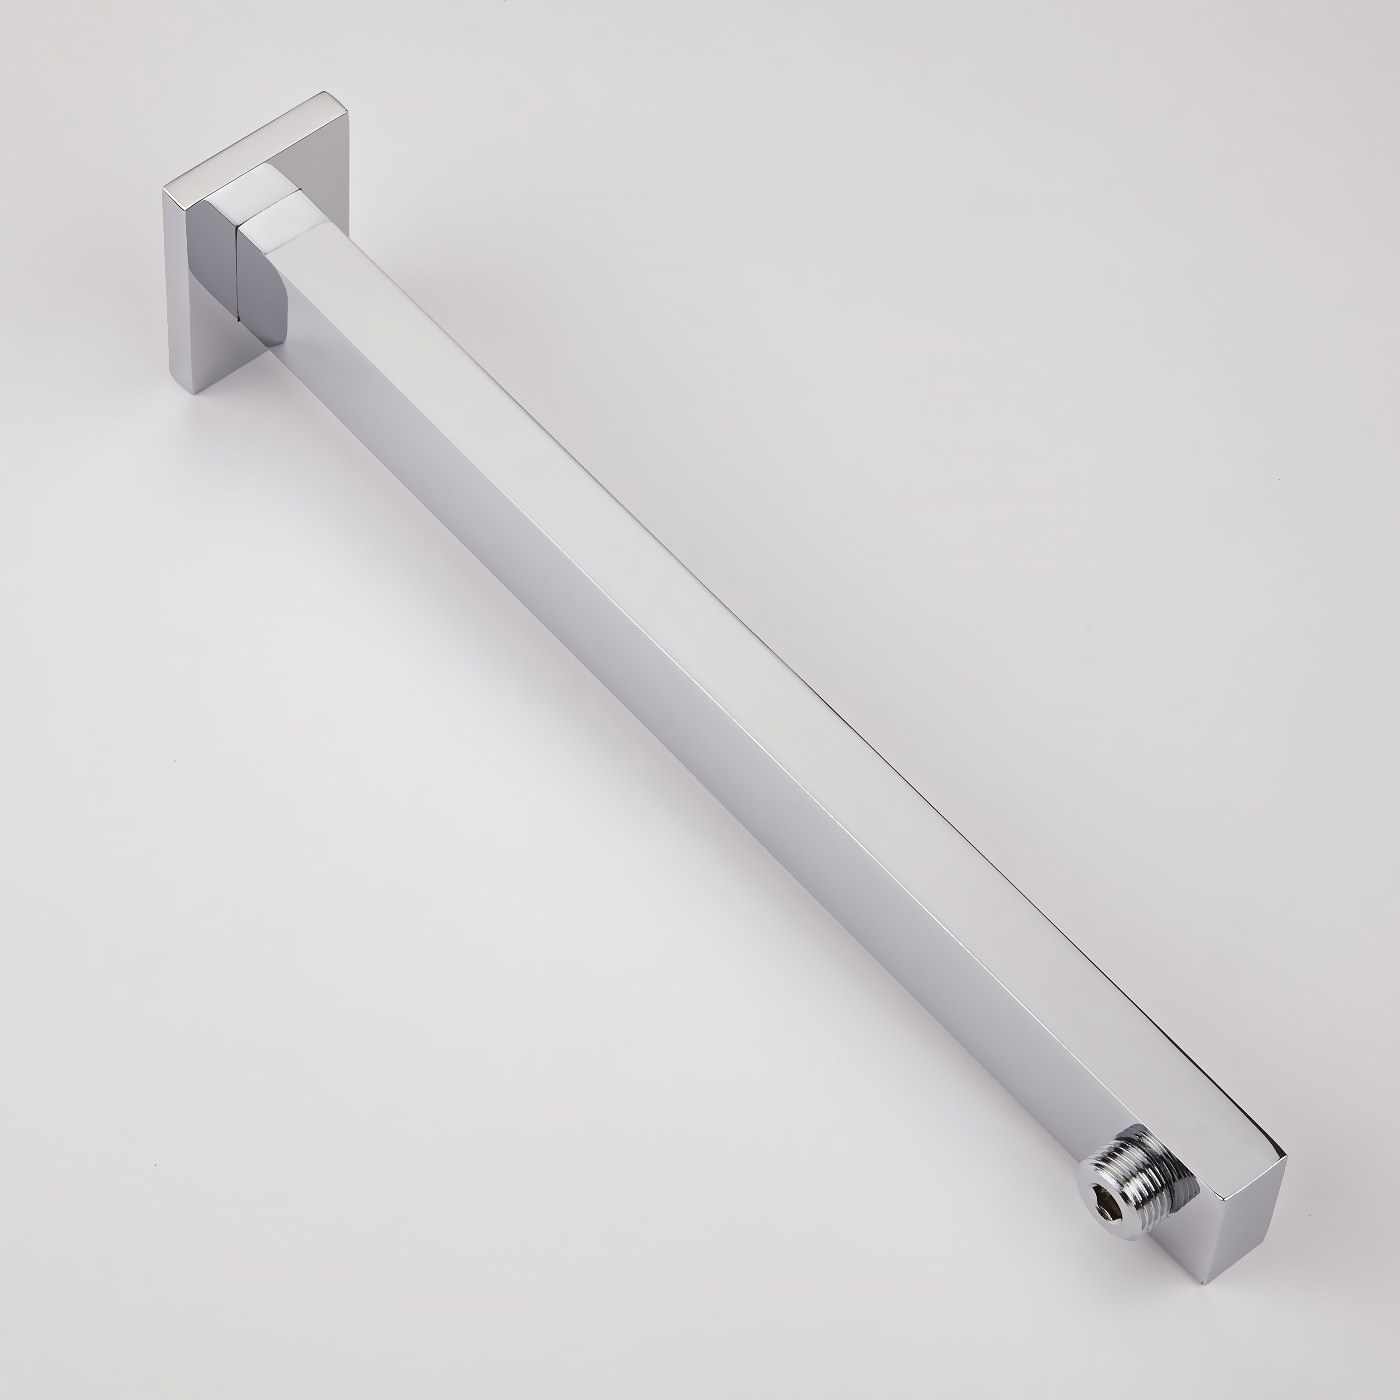
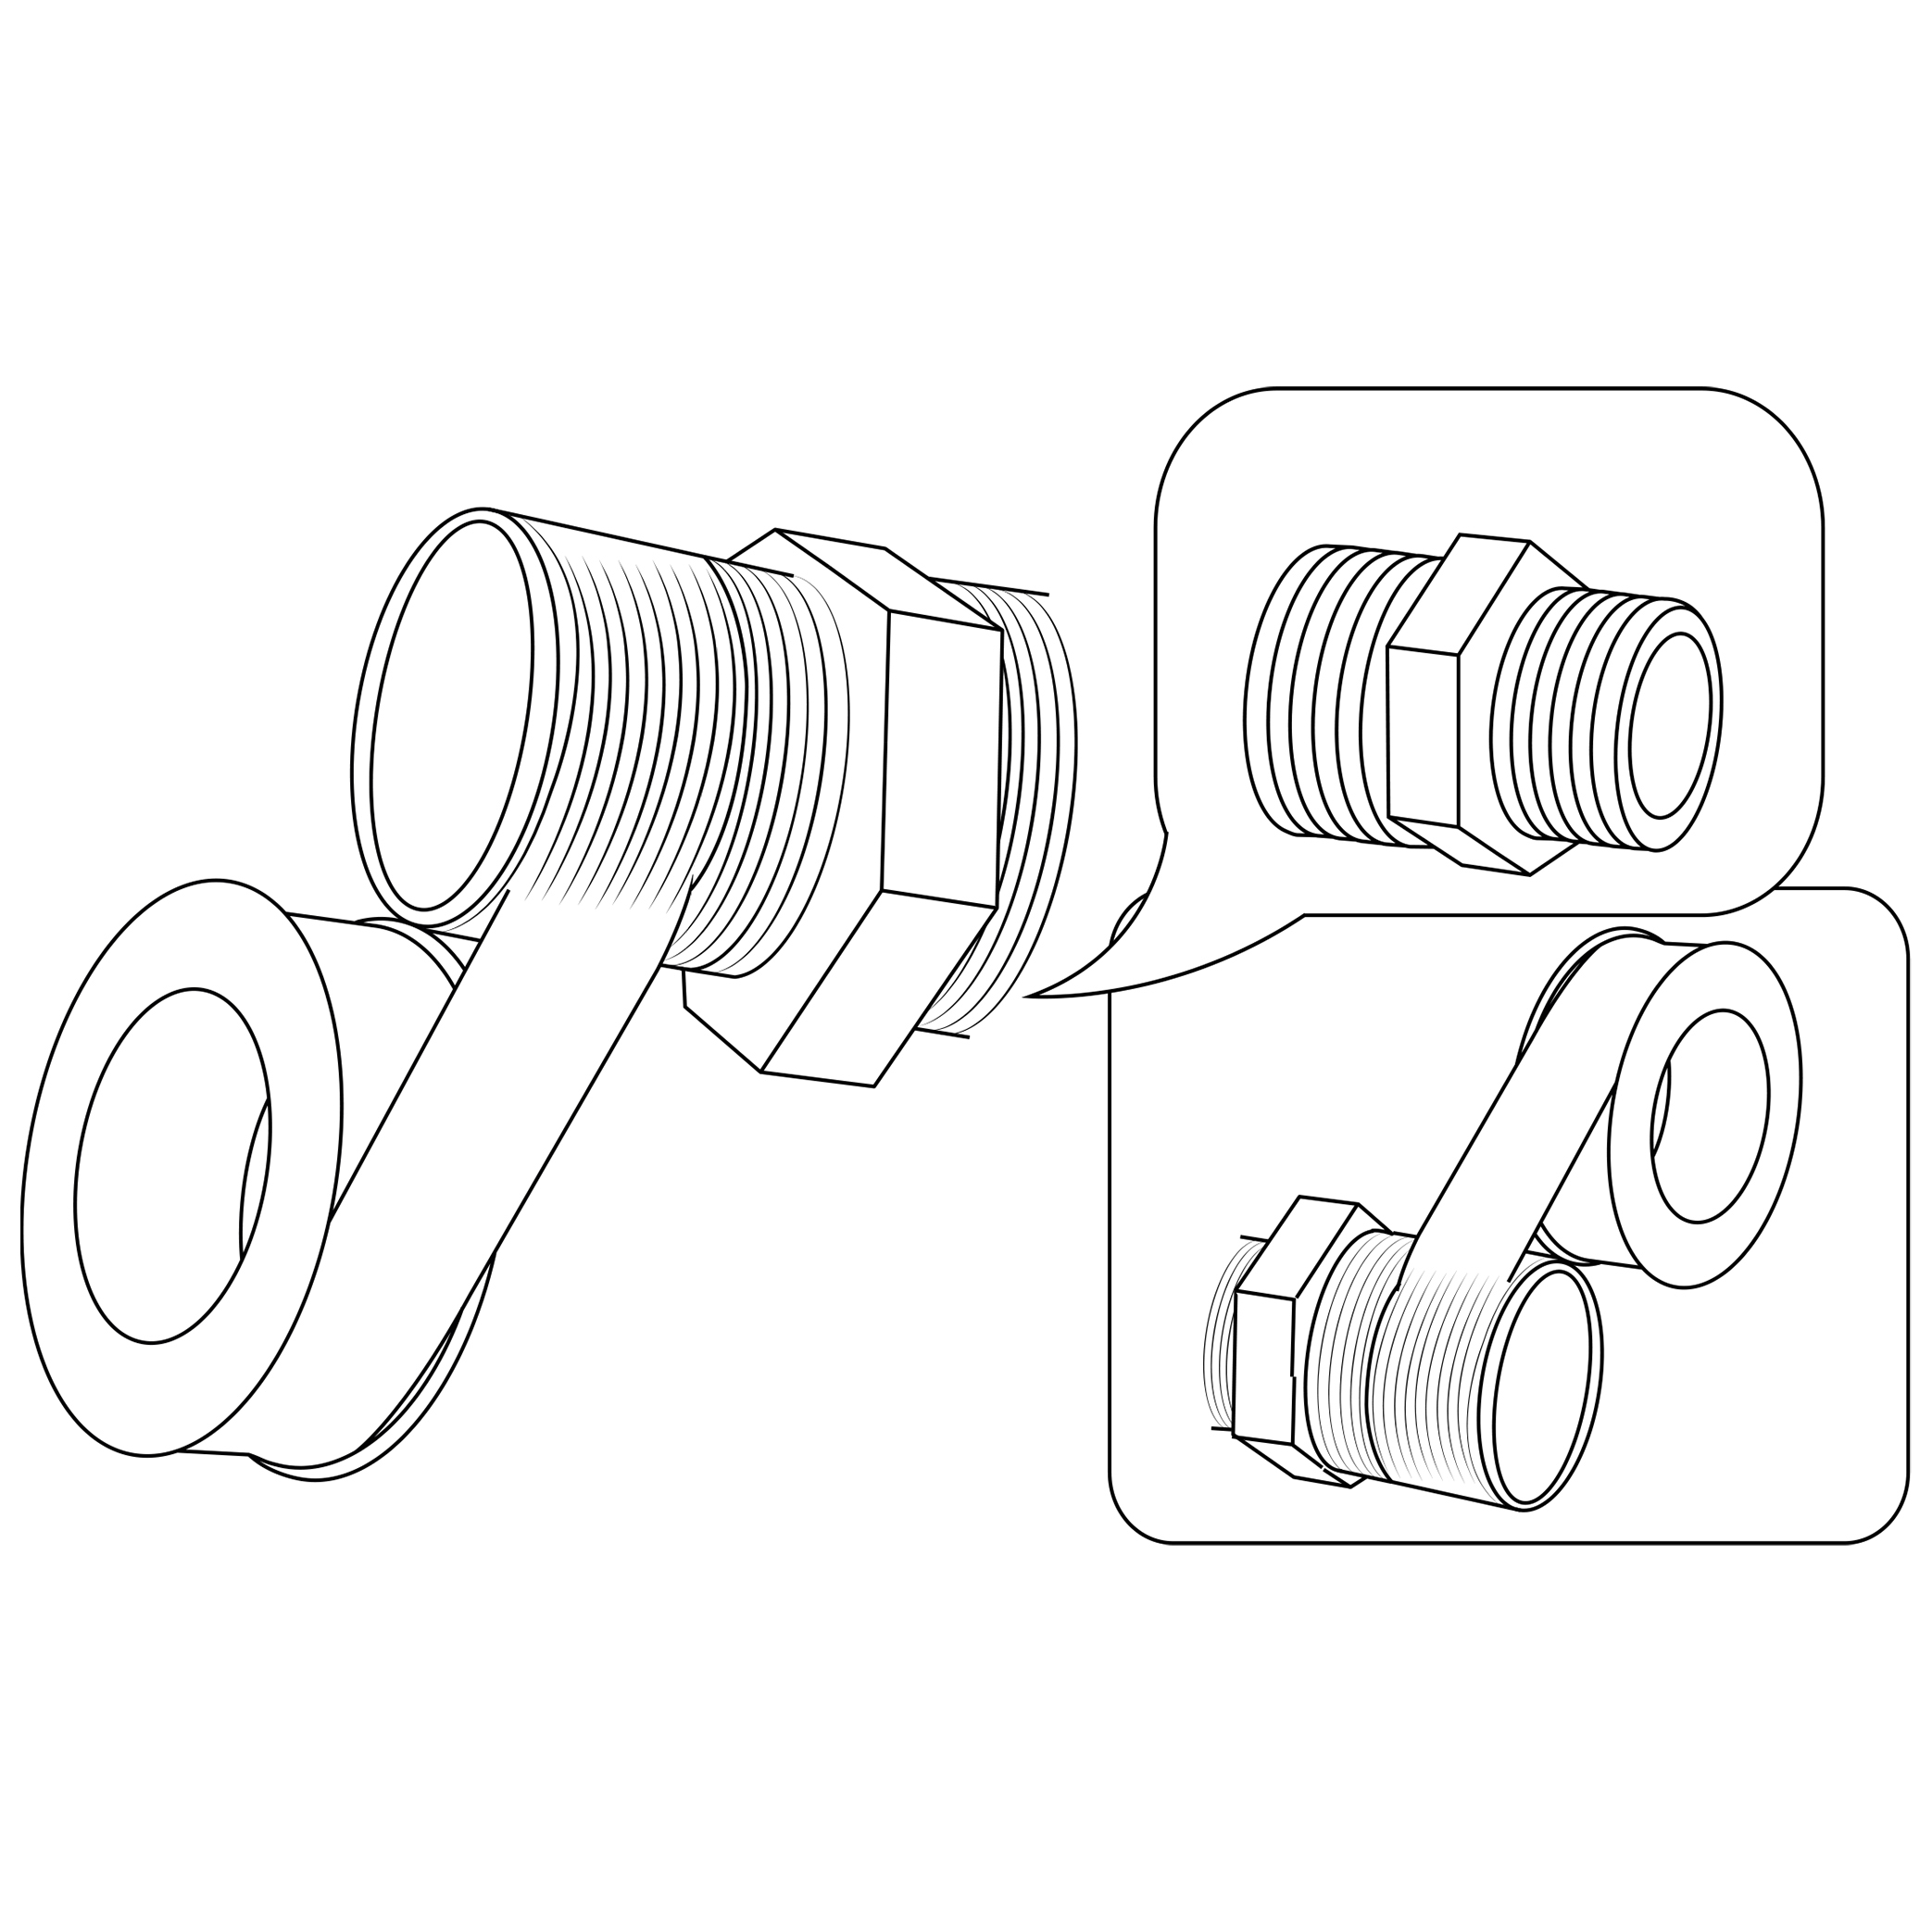
1. Apply plumber's tape to the threads on both ends of the shower arm and slide on the decorative escutcheon.
2. Insert the new arm into the fitting in the wall and twist to tighten. Finish tightening with your adjustable wrench. Wrap a dry cloth around the shower arm to protect the finish while tightening with an adjustable wrench.
3. Thread the new showerhead onto the arm and hand-tighten. Hold the shower arm in place with groove joint pliers and finish tightening the shower head with your adjustable wrench. Wrap both in a dry cloth to protect the finish.
4. Before securing the decorative escutcheon, turn on the water supply to make sure that all connections are tight and there is no leaking. If no leaks are detected, continue with the installation. If leakage does occur, use your adjustable wrench to tighten the connections as necessary.
5. Apply a bead if silicone sealant to the back of the escutcheon and press firmly into place against the installation surface. Wipe away any excess sealant with your damp cloth.
| | |  |
Hand Held Shower Installation Instructions
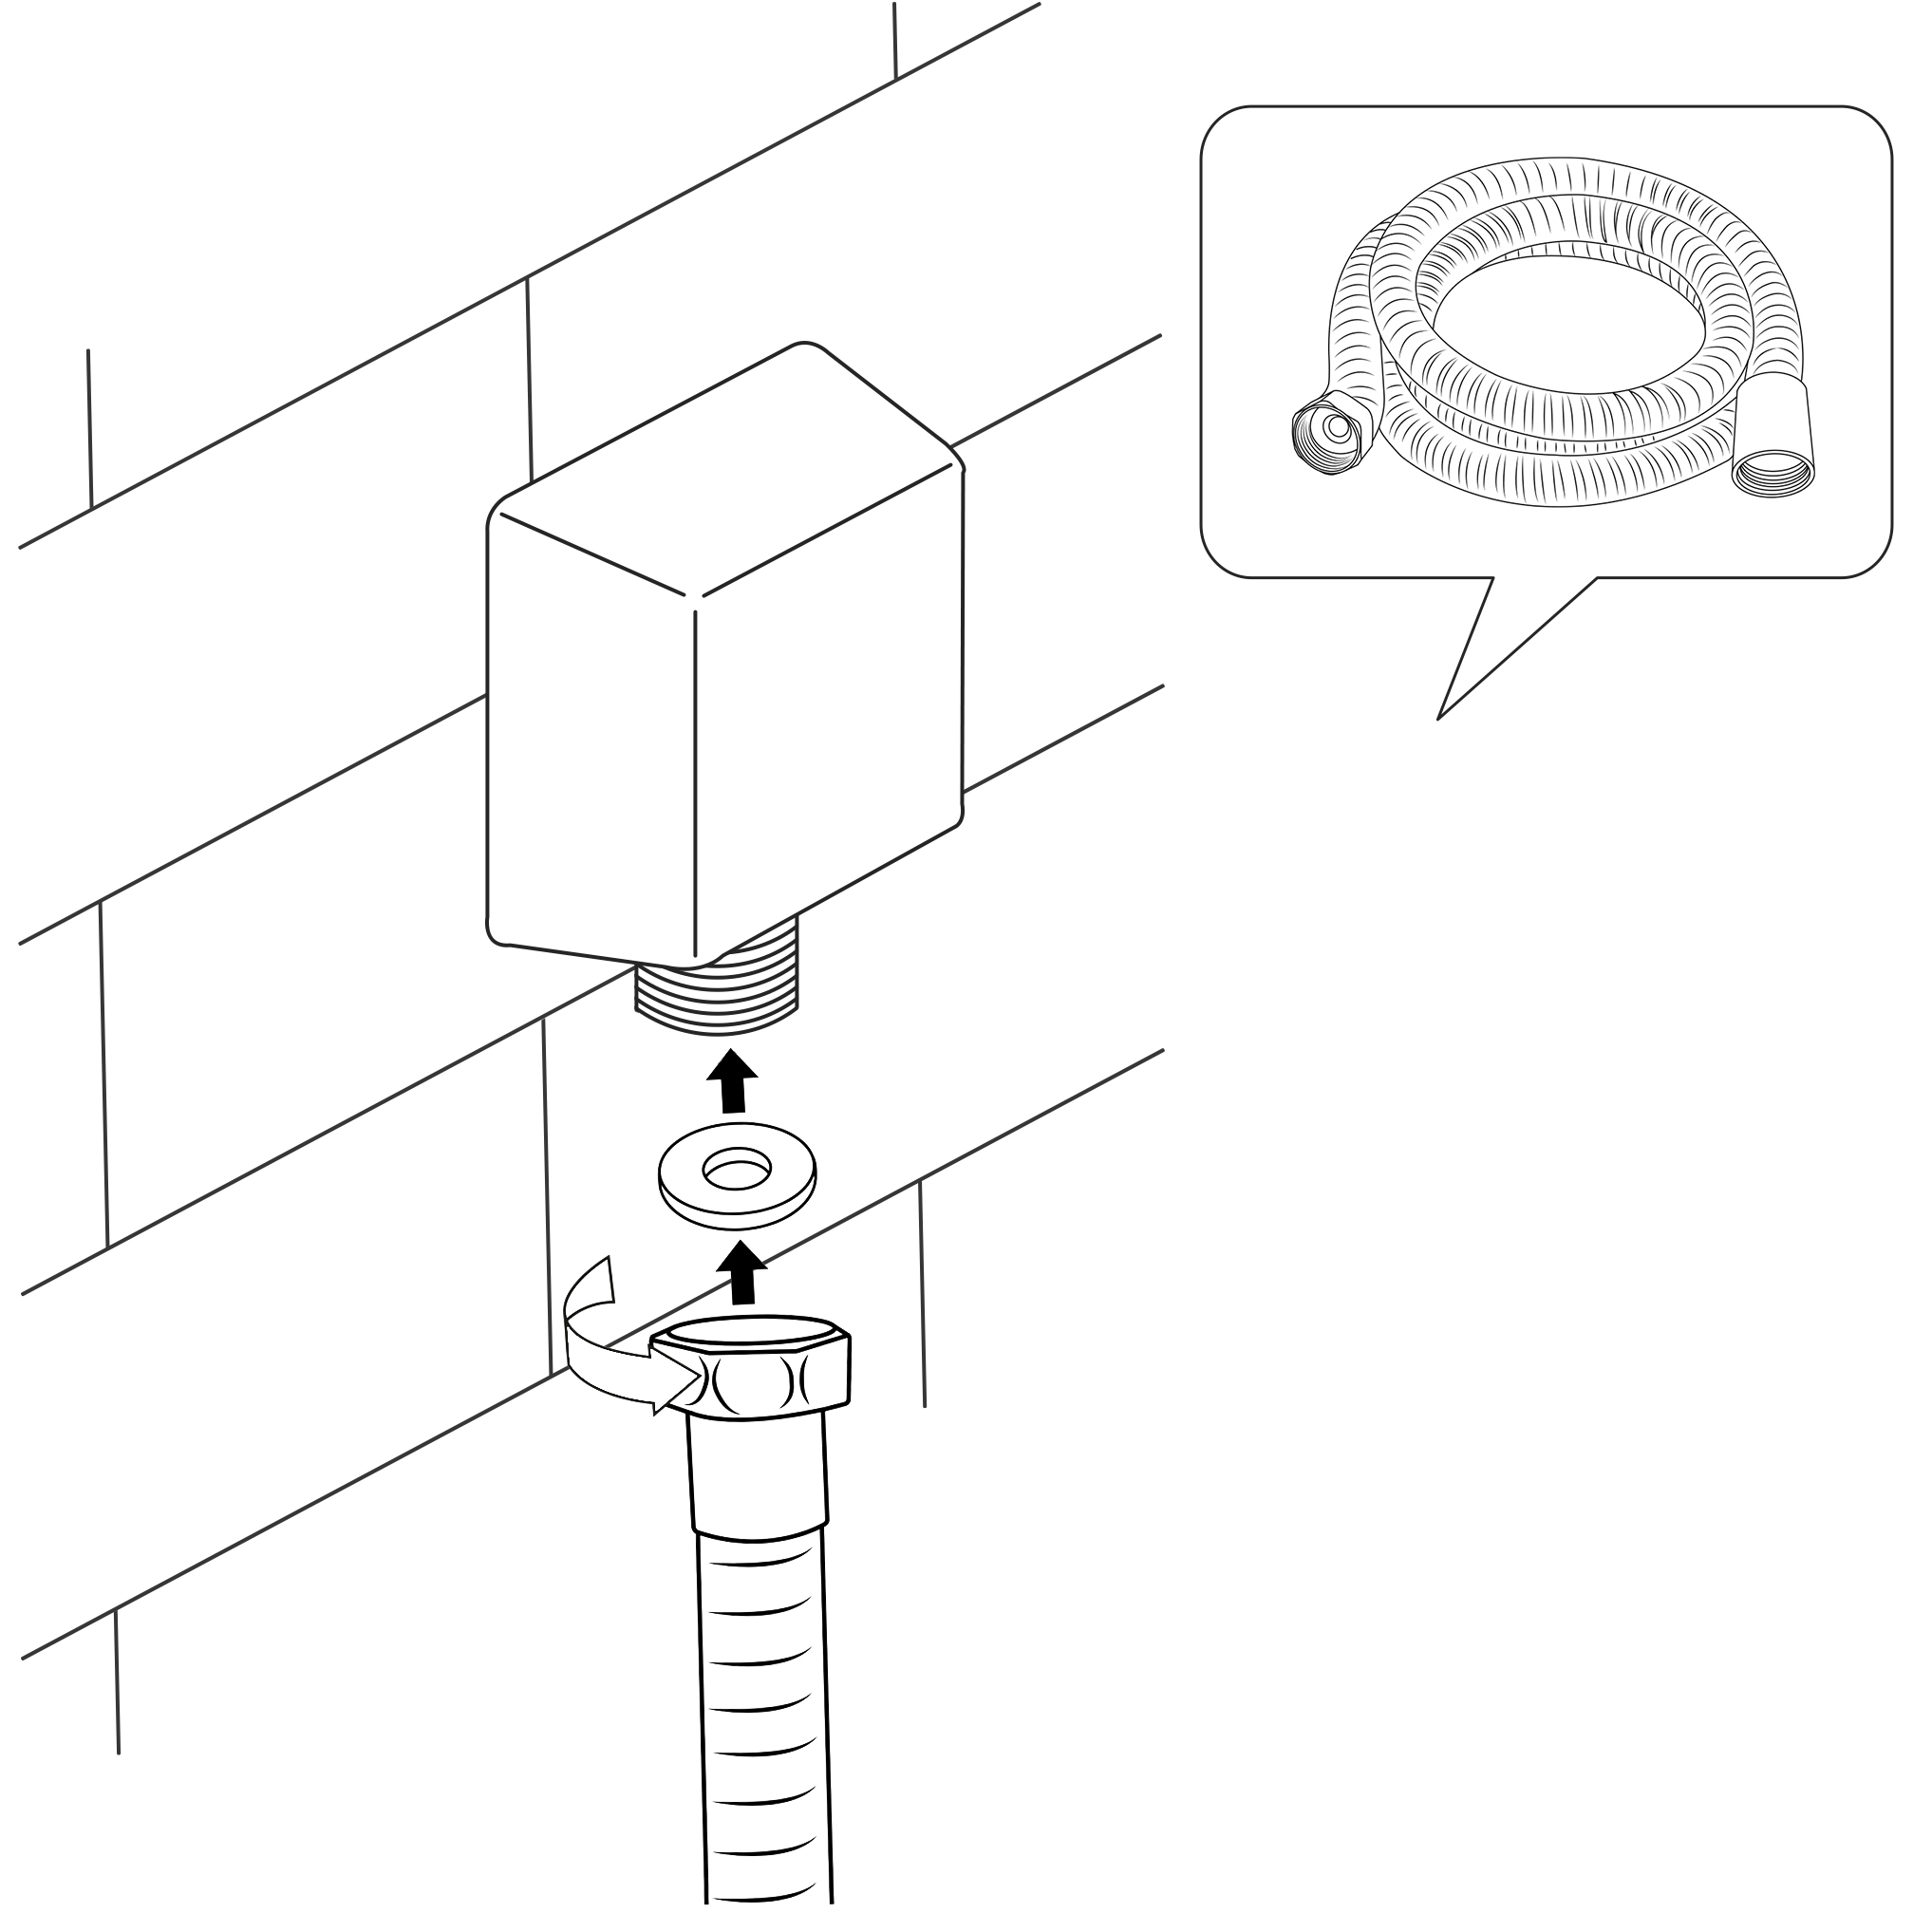
| Step 1: | | hand shower | Step 2: | | | 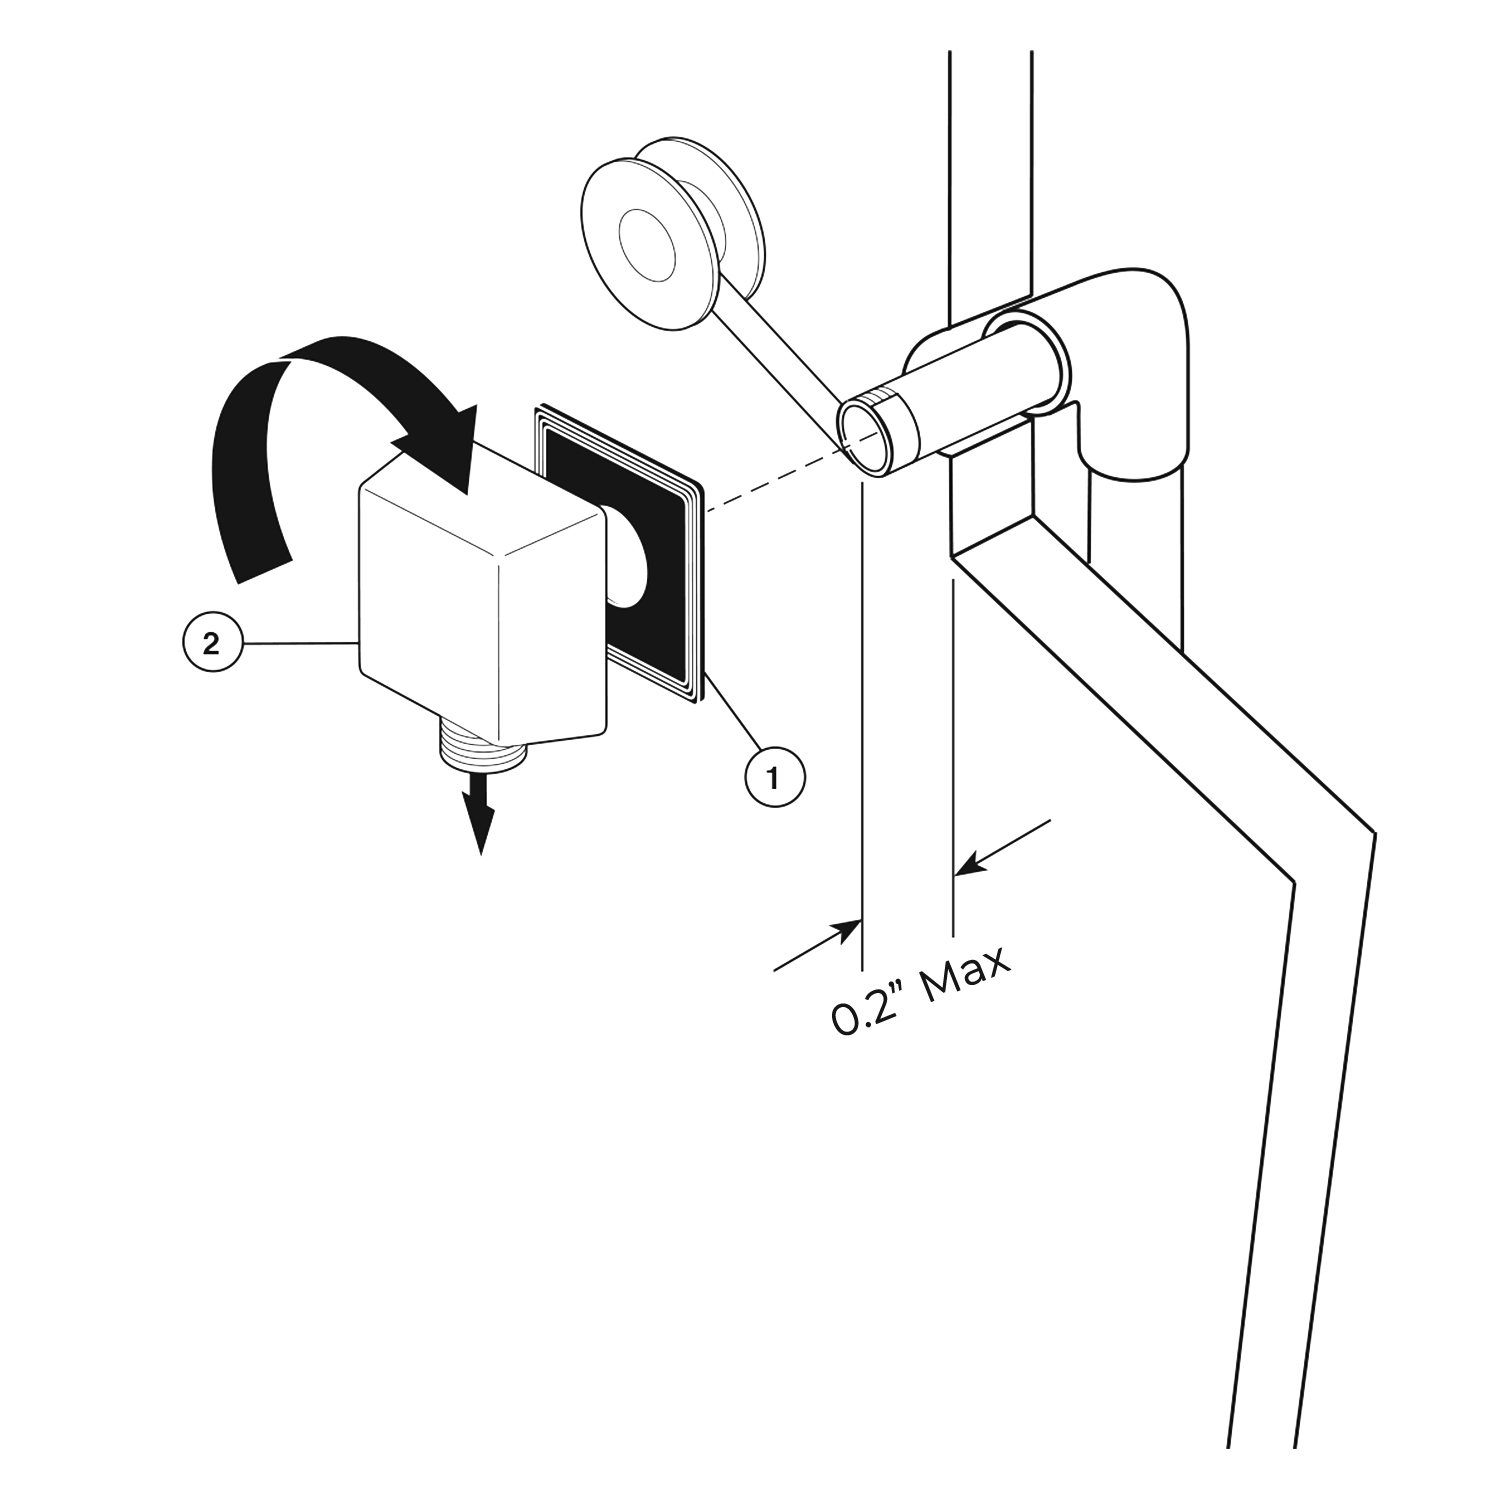 | |
| 
| HAND
HELD
SHOWER |
|
| | |
| | | | Step 3: | | |
| | |  | | | 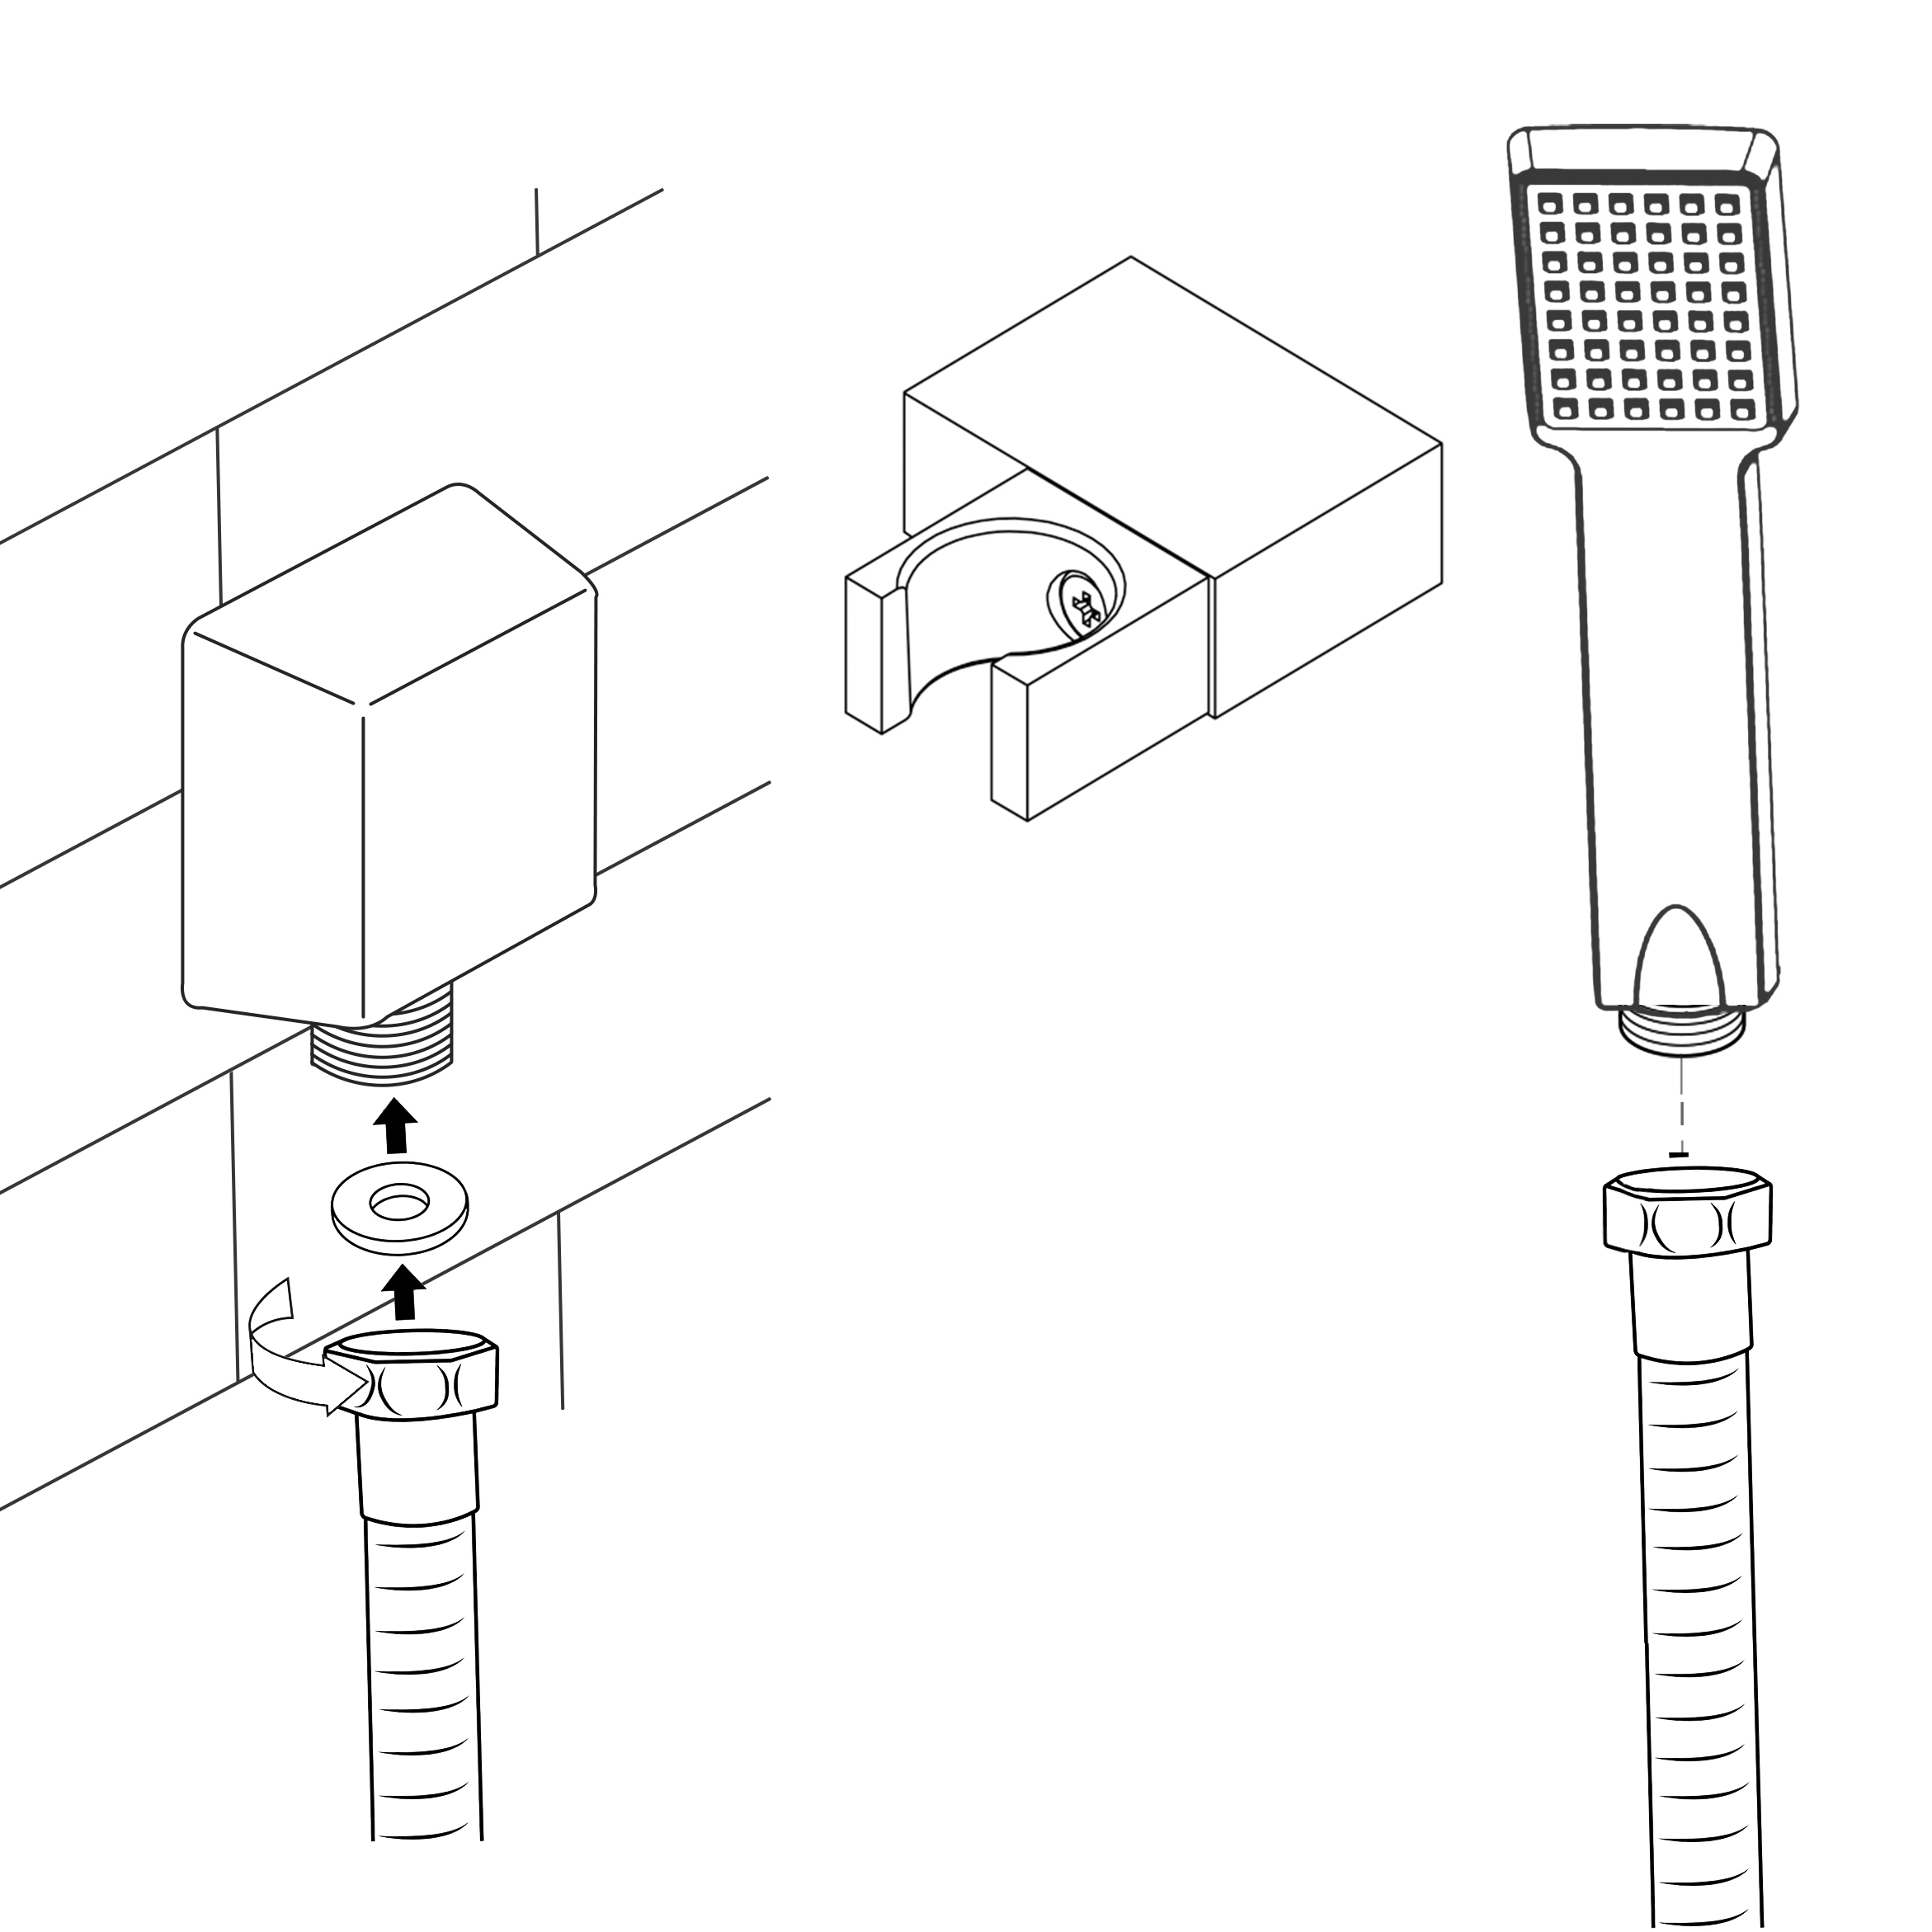 |
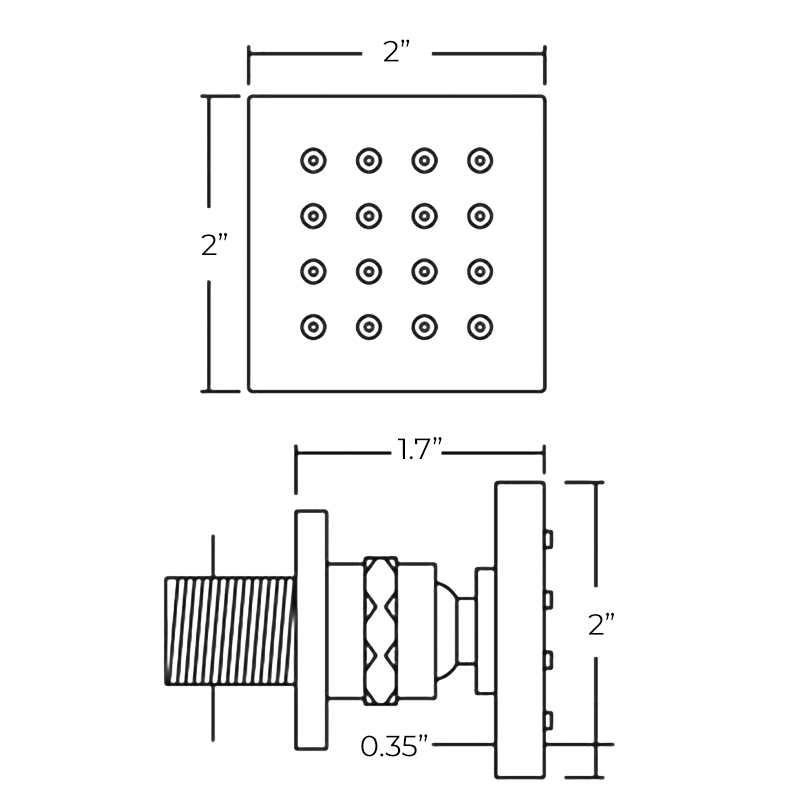
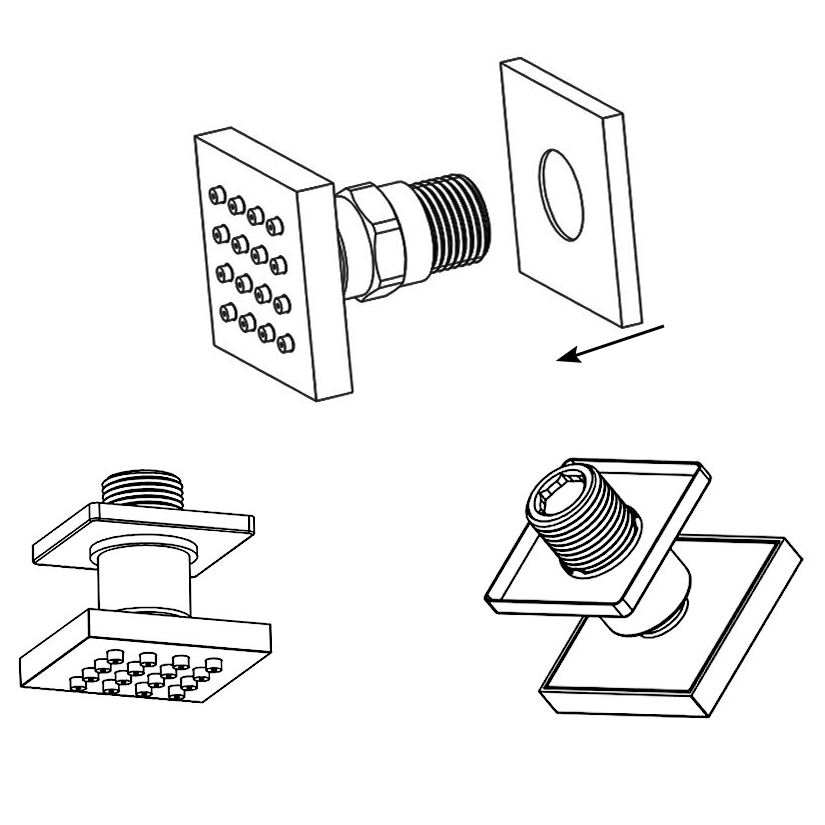
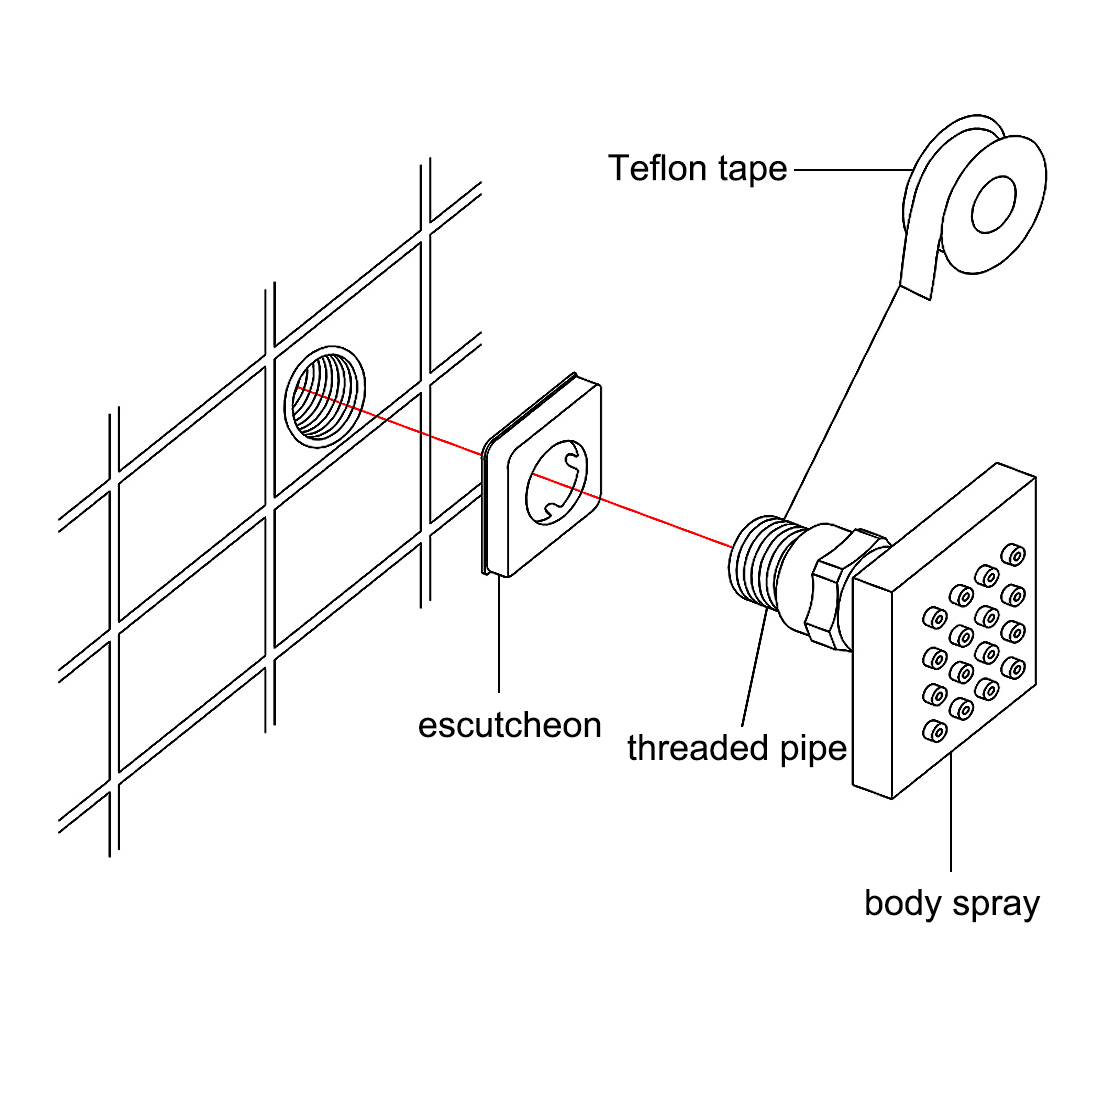
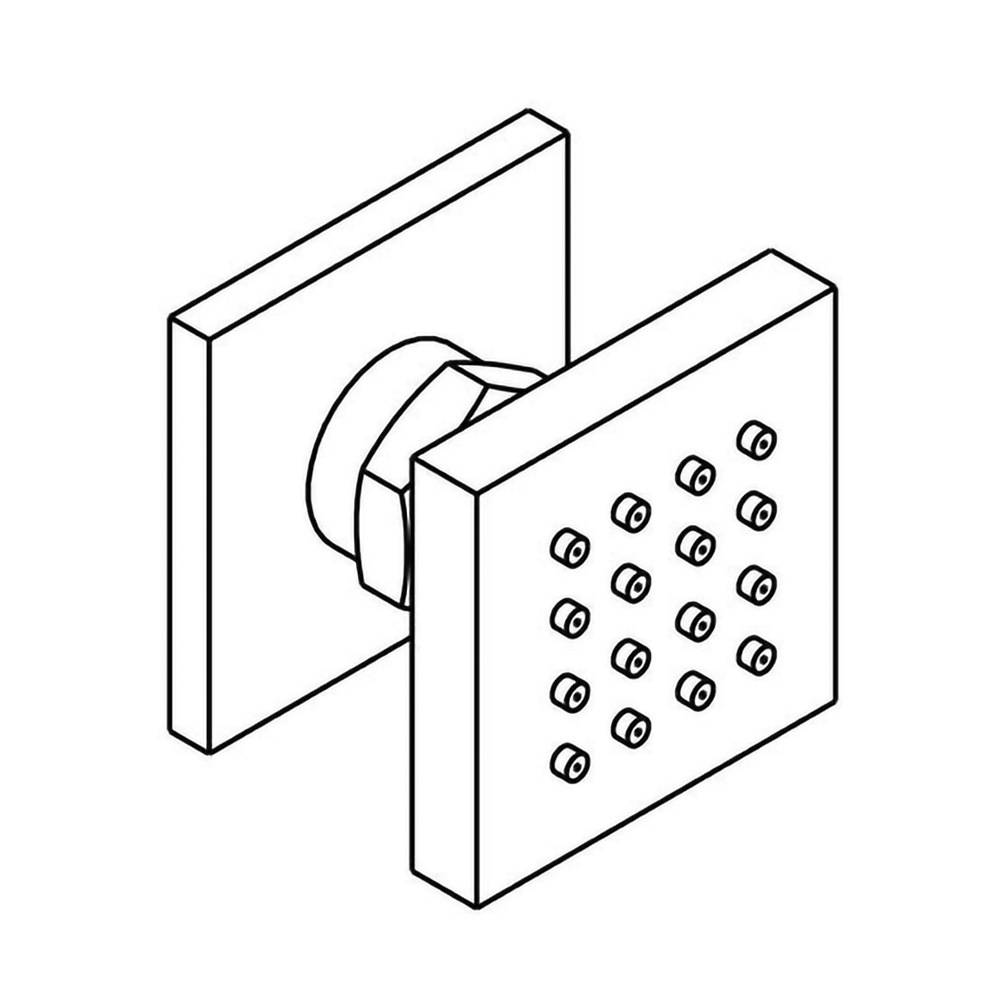
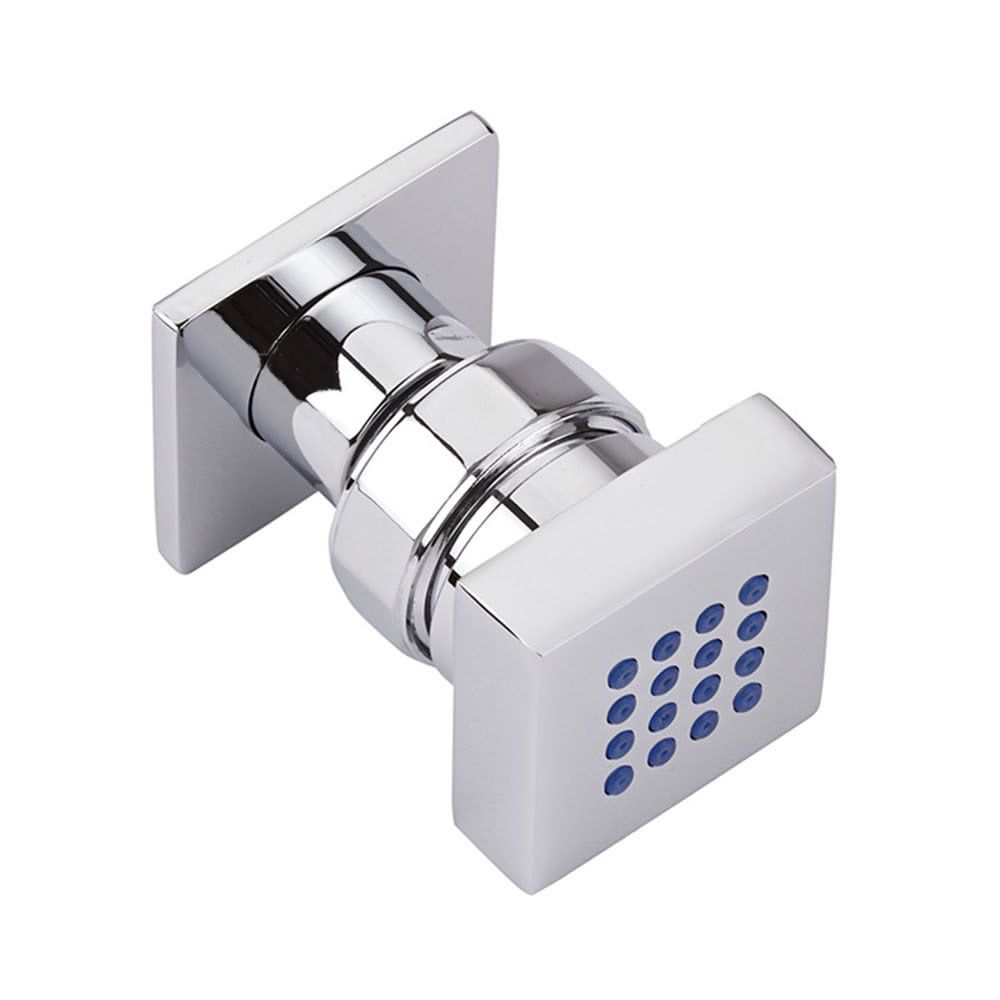
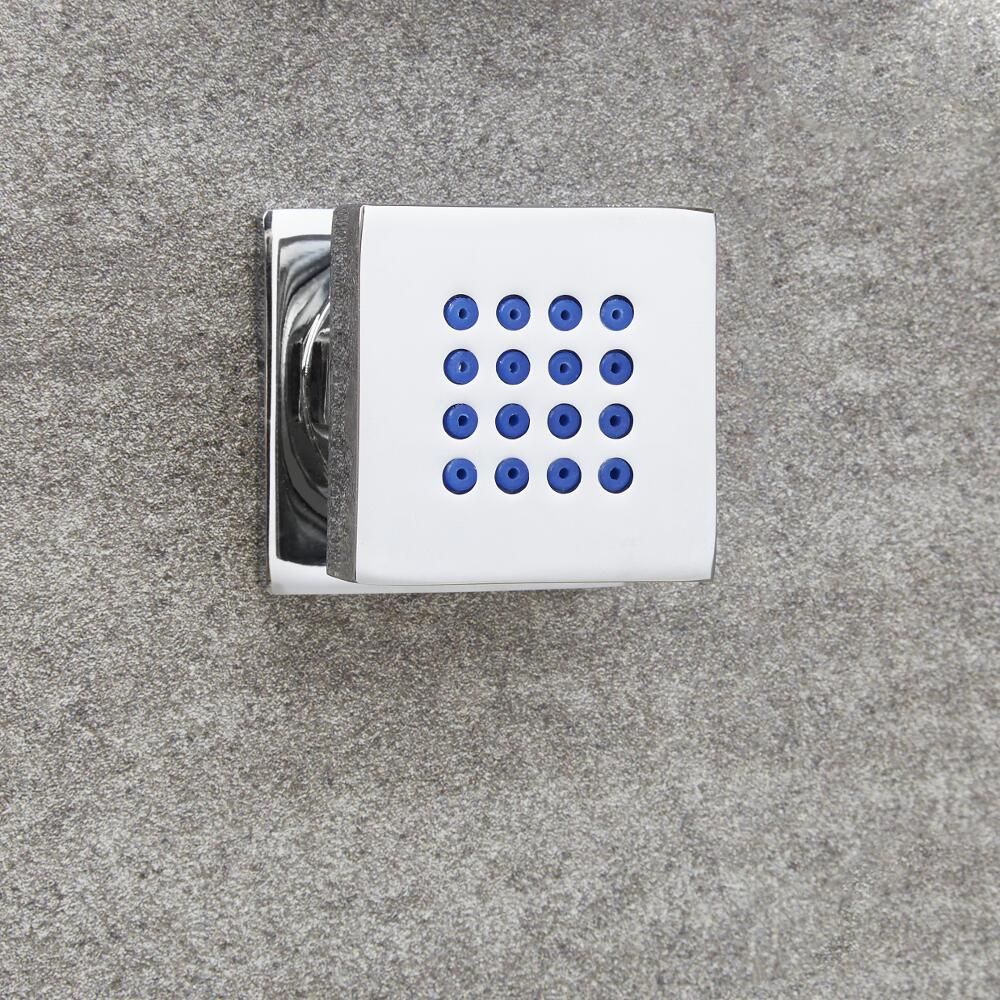
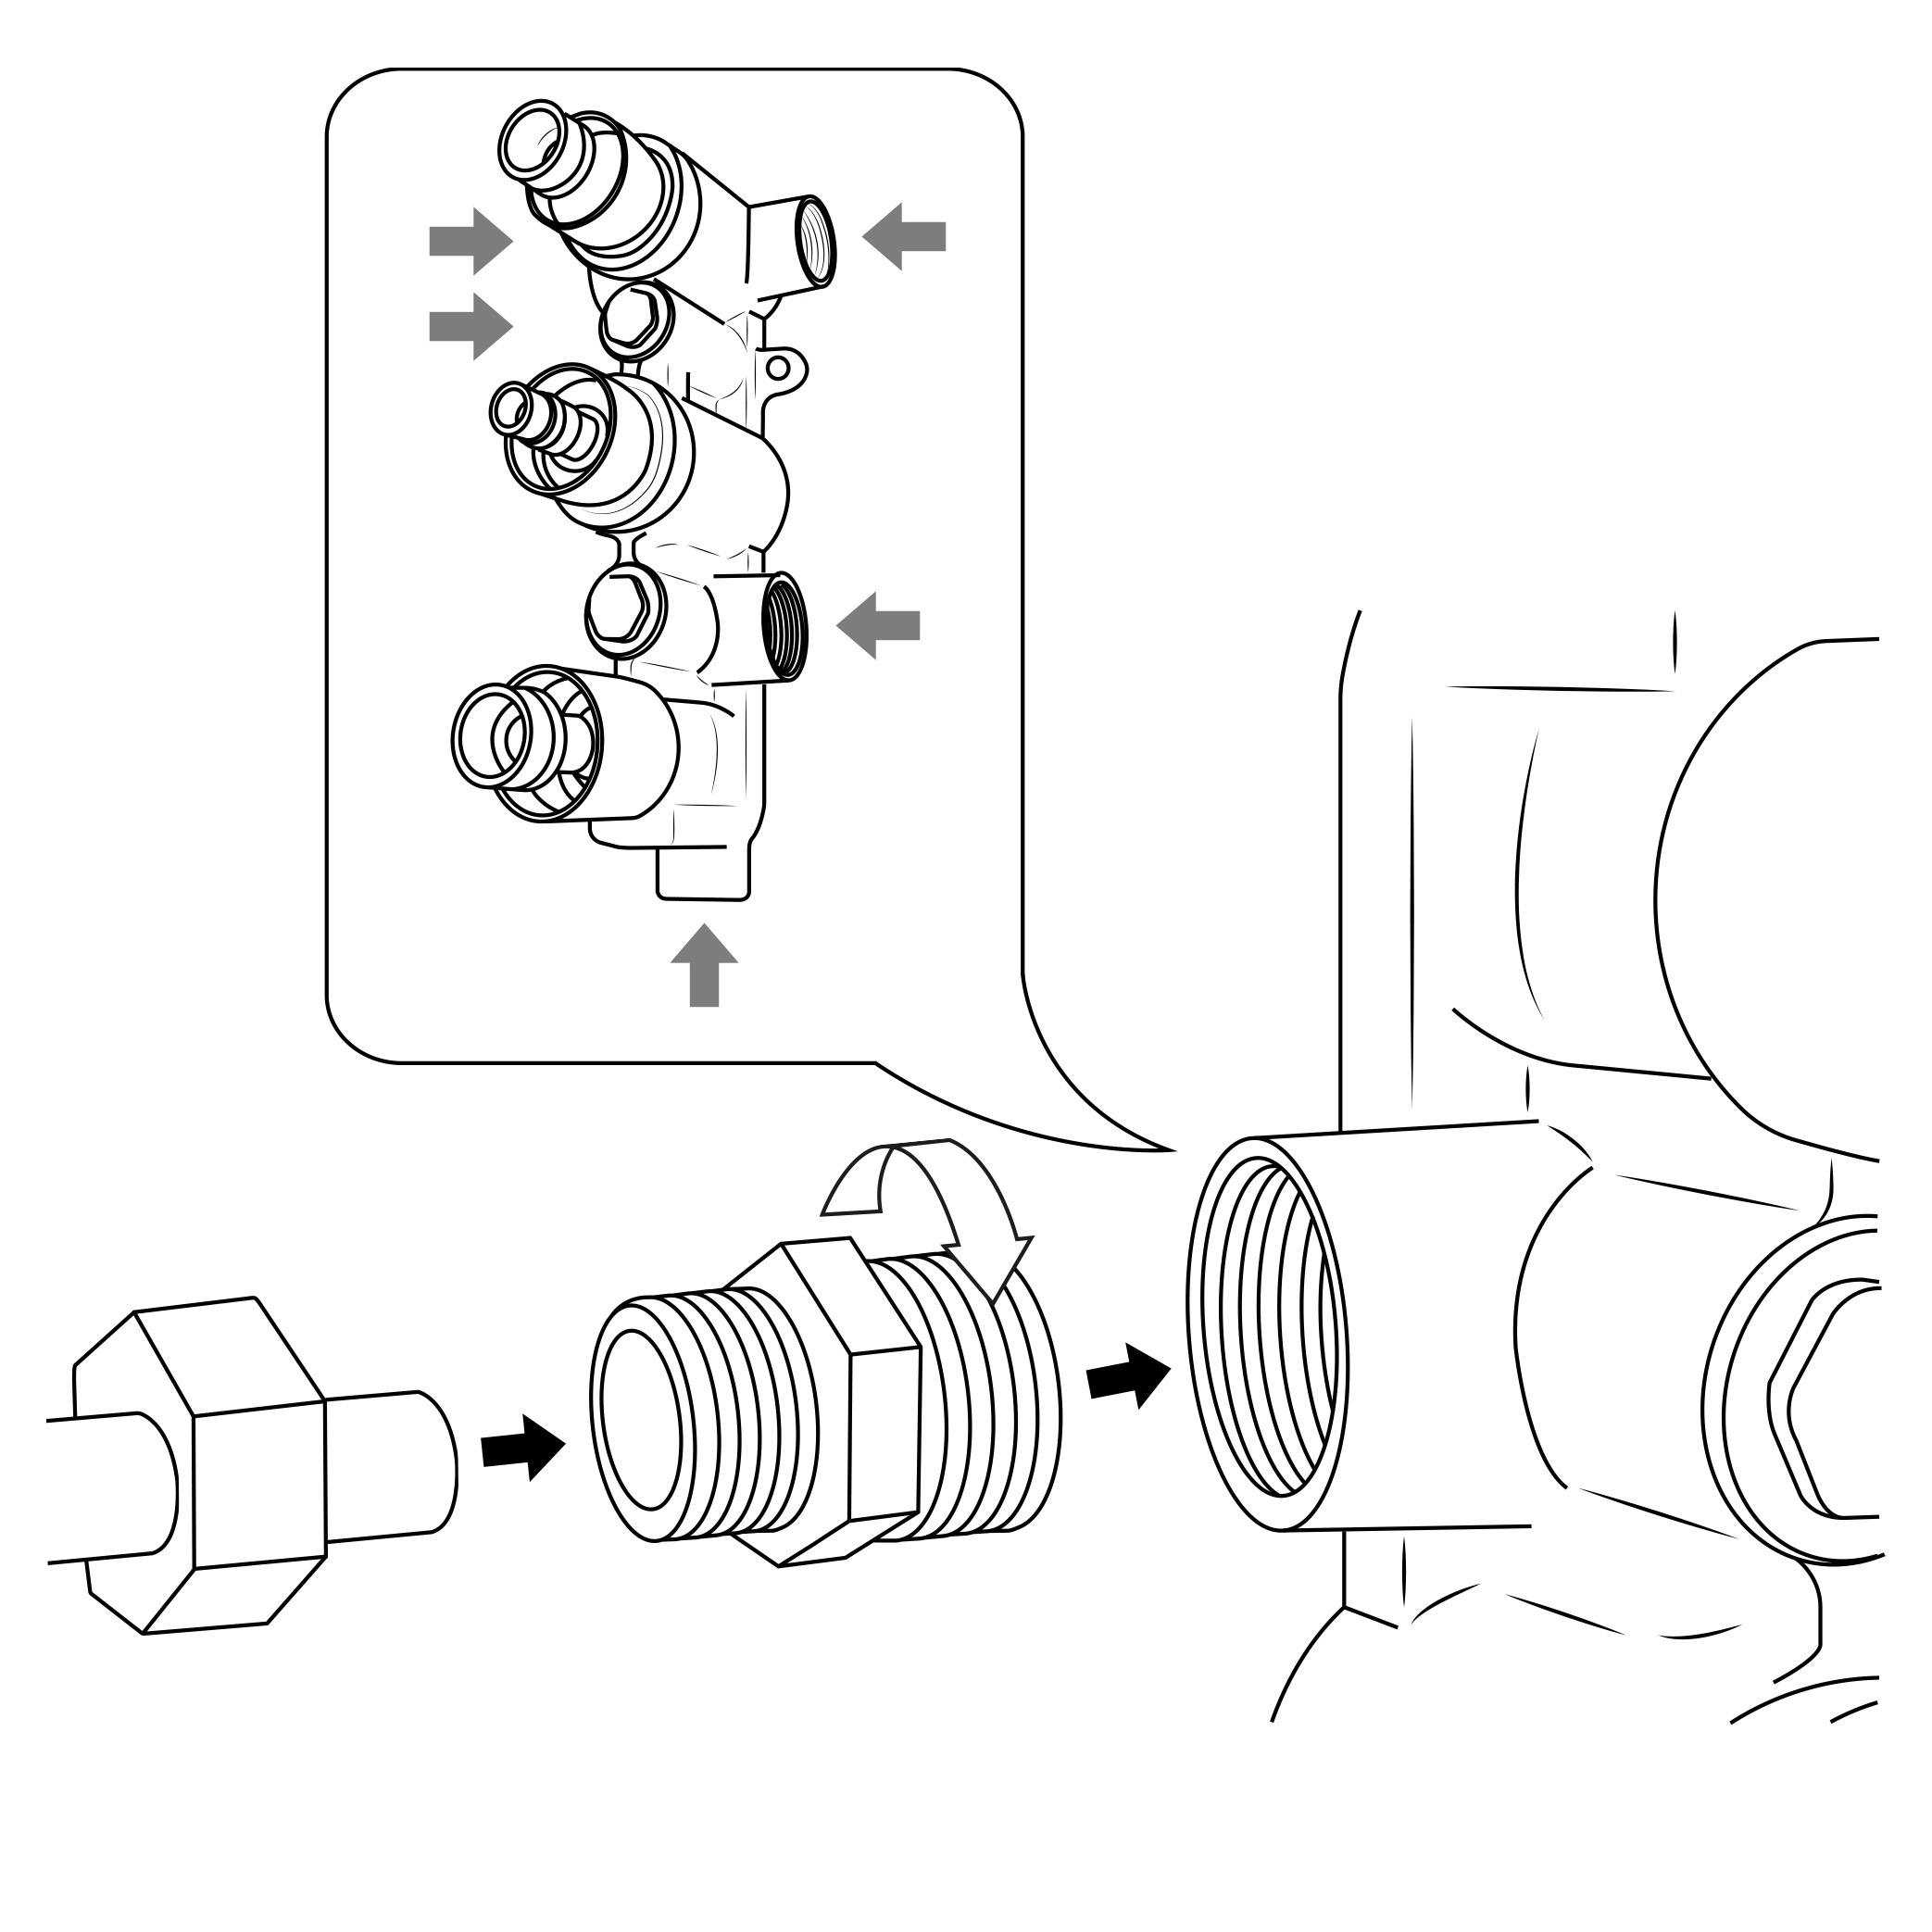
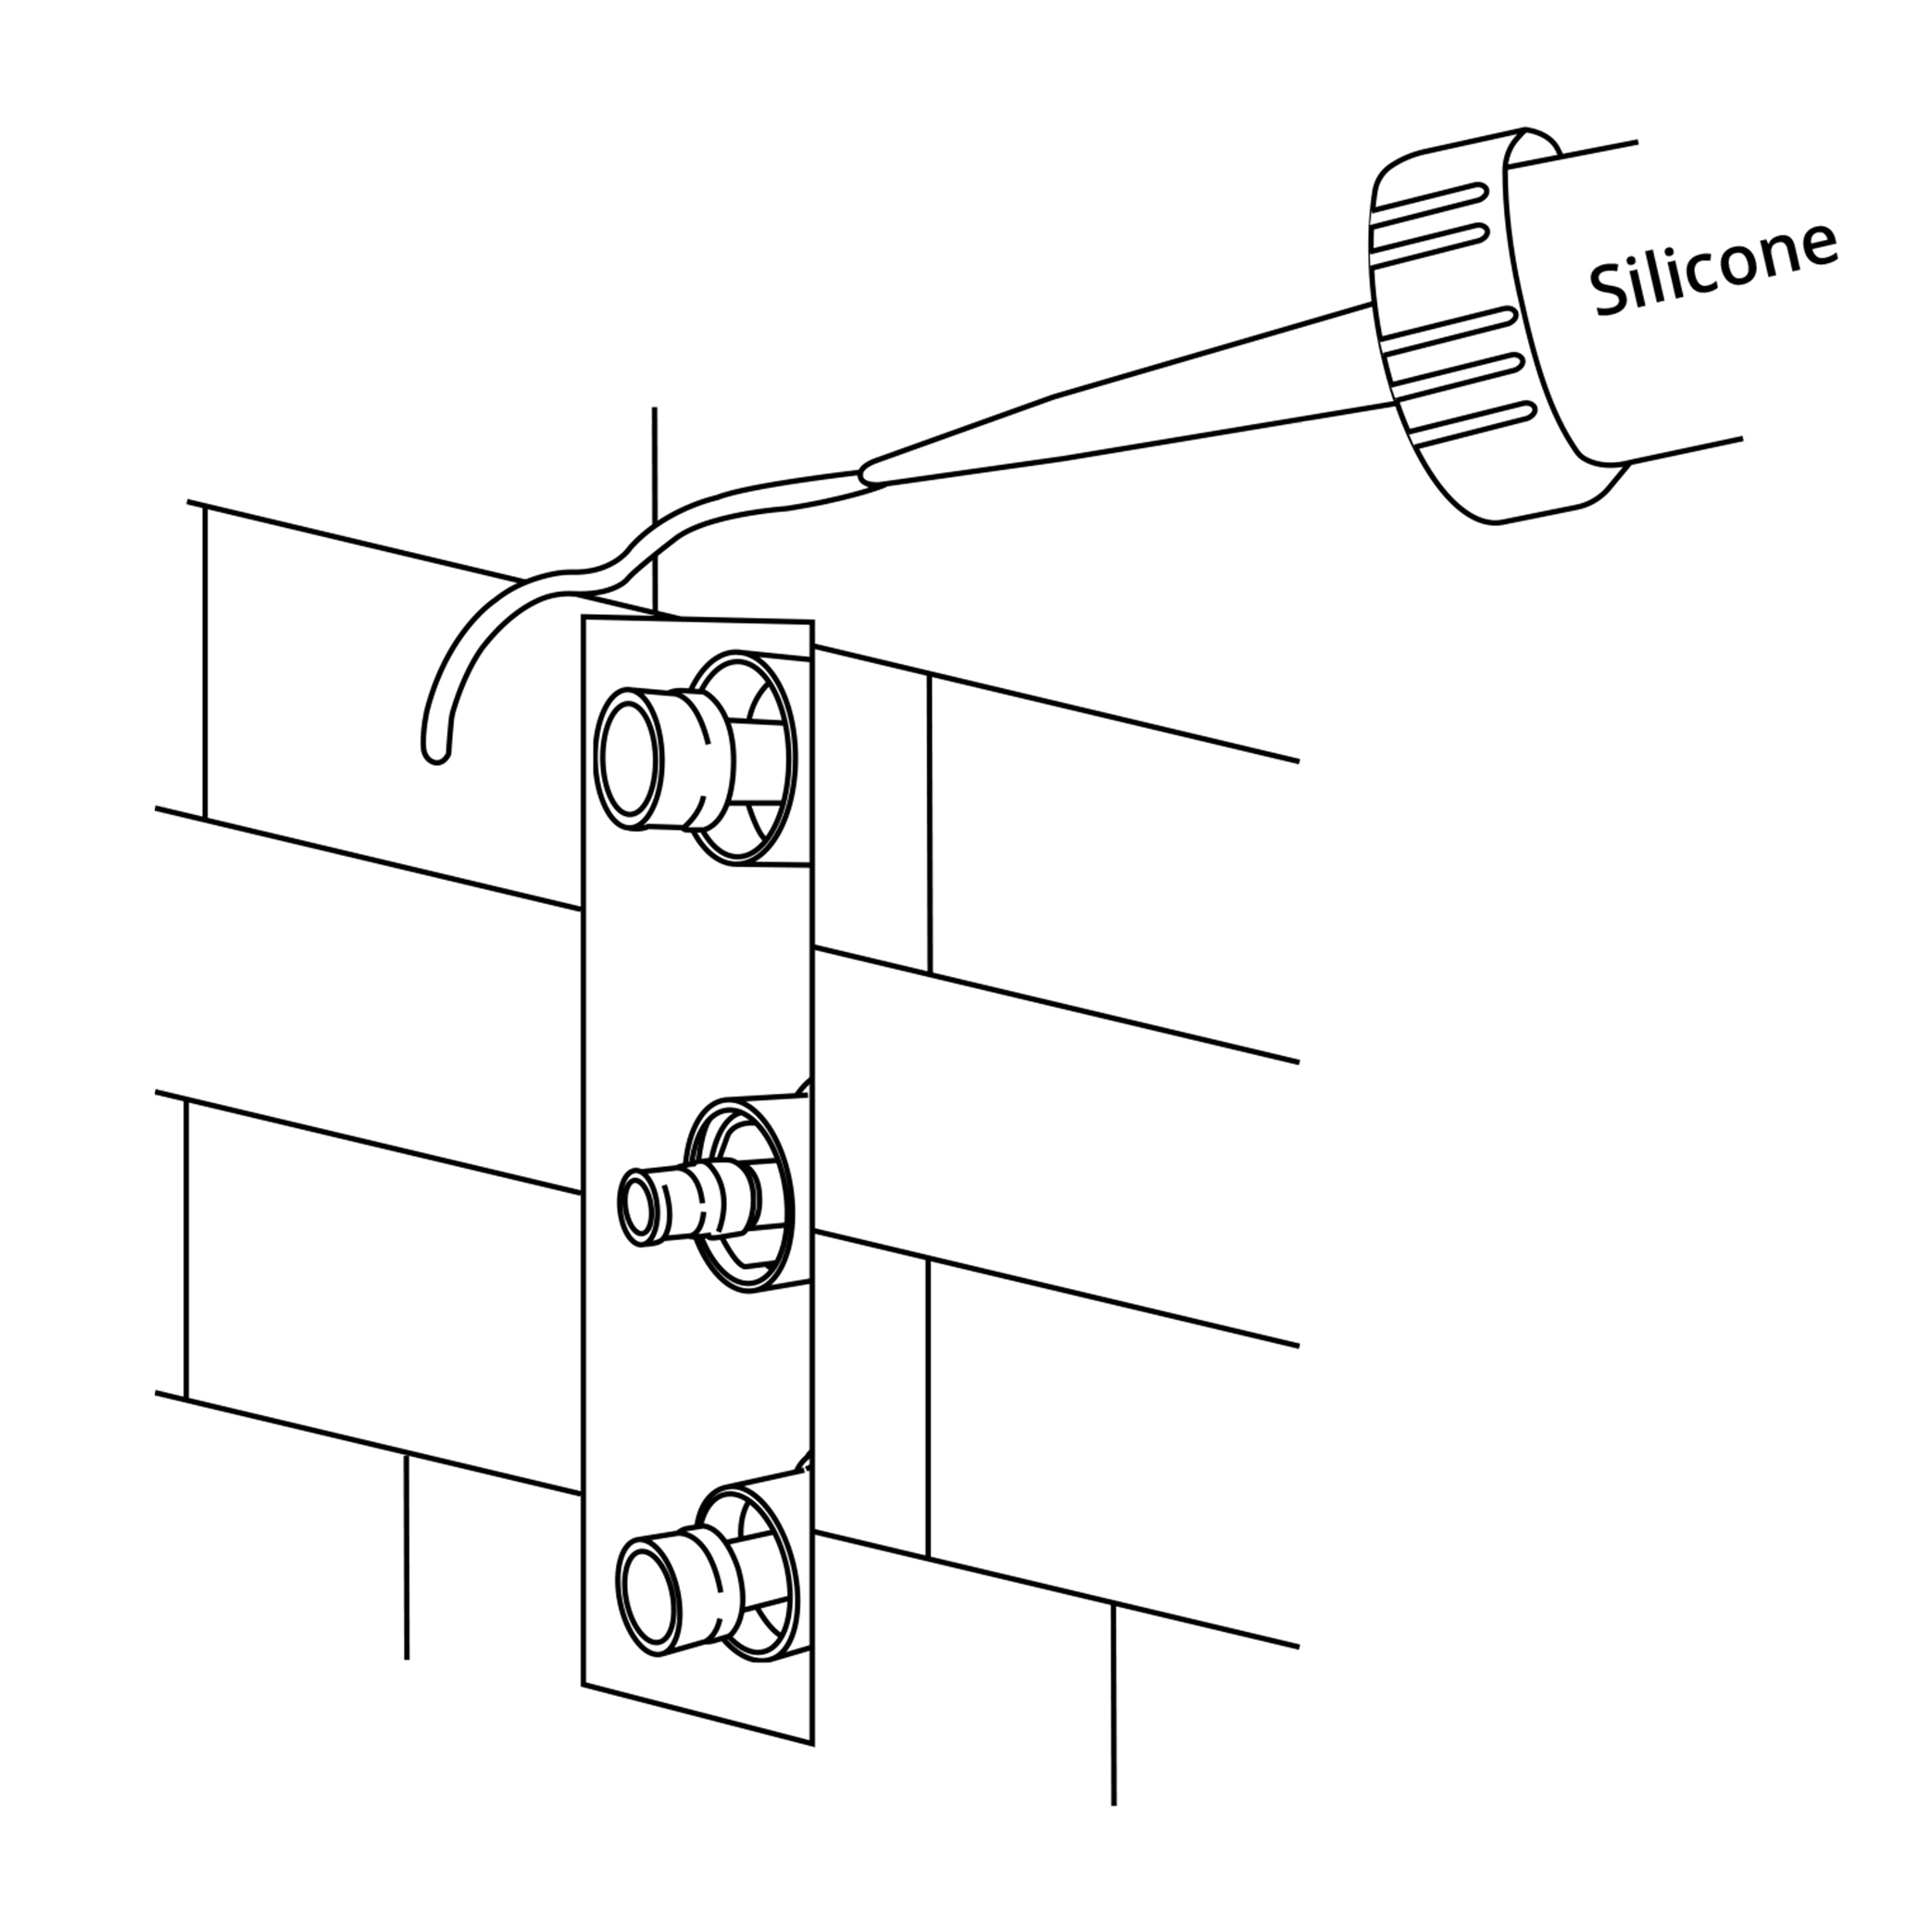
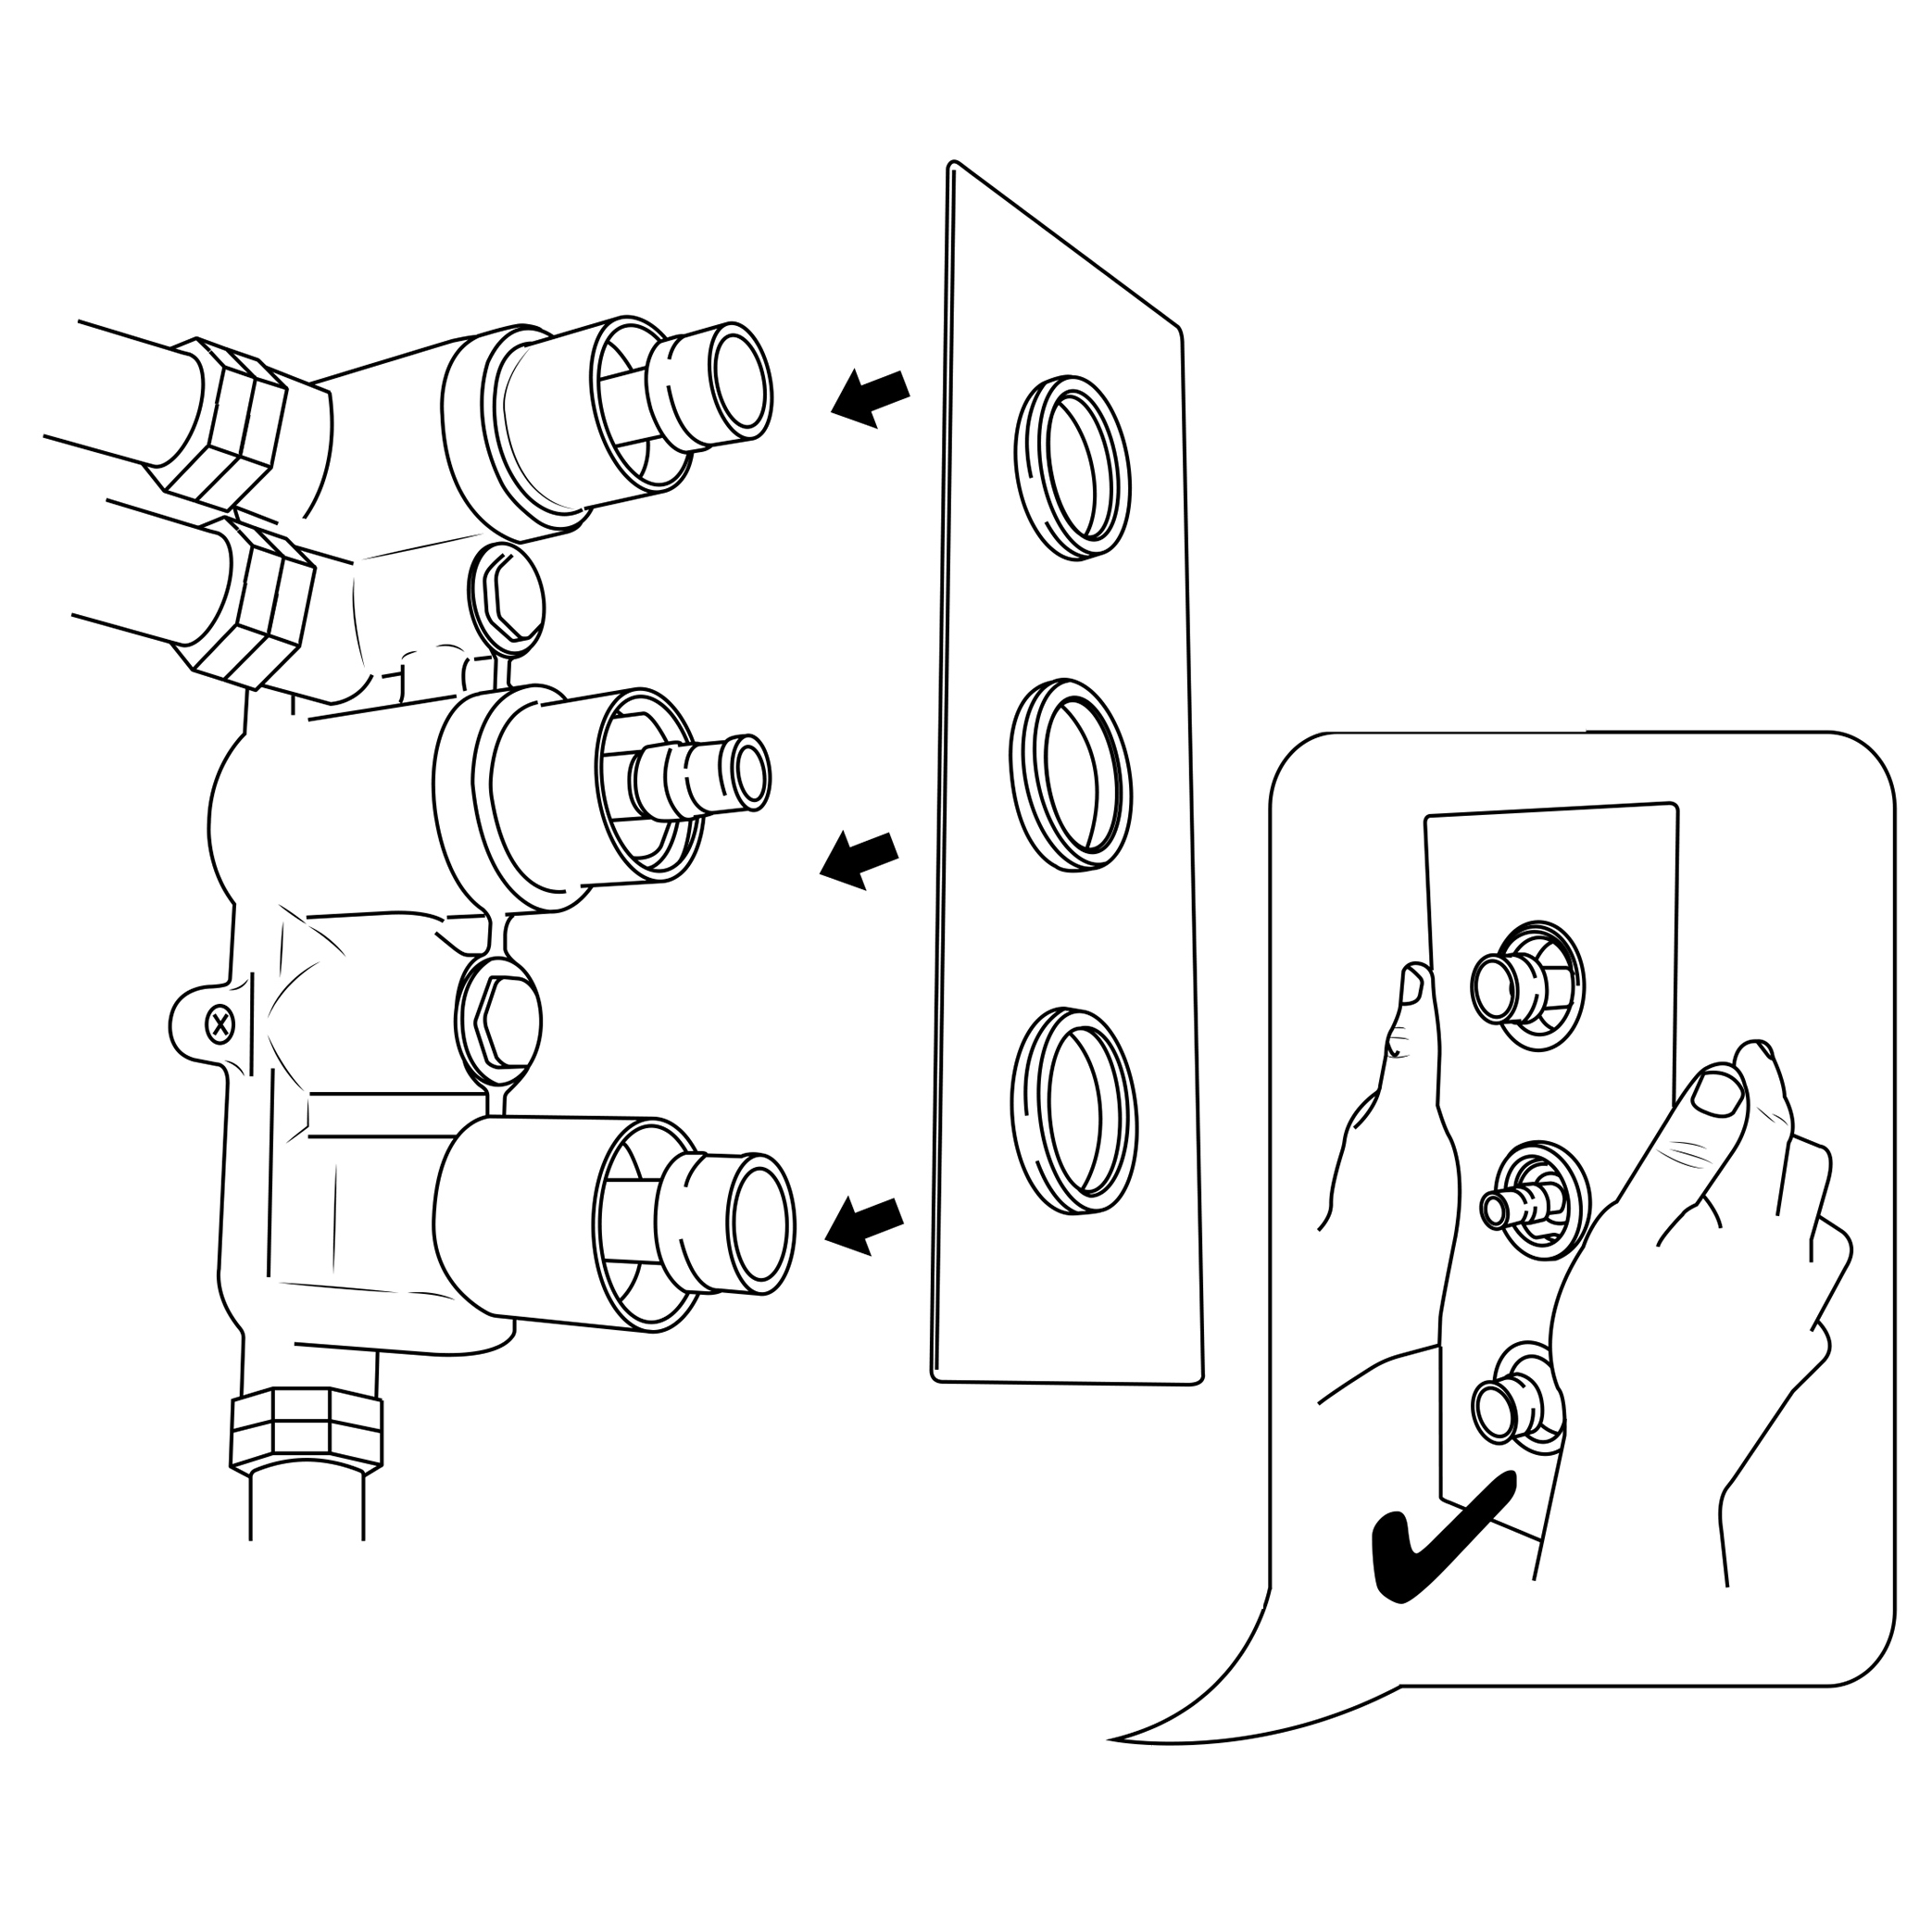
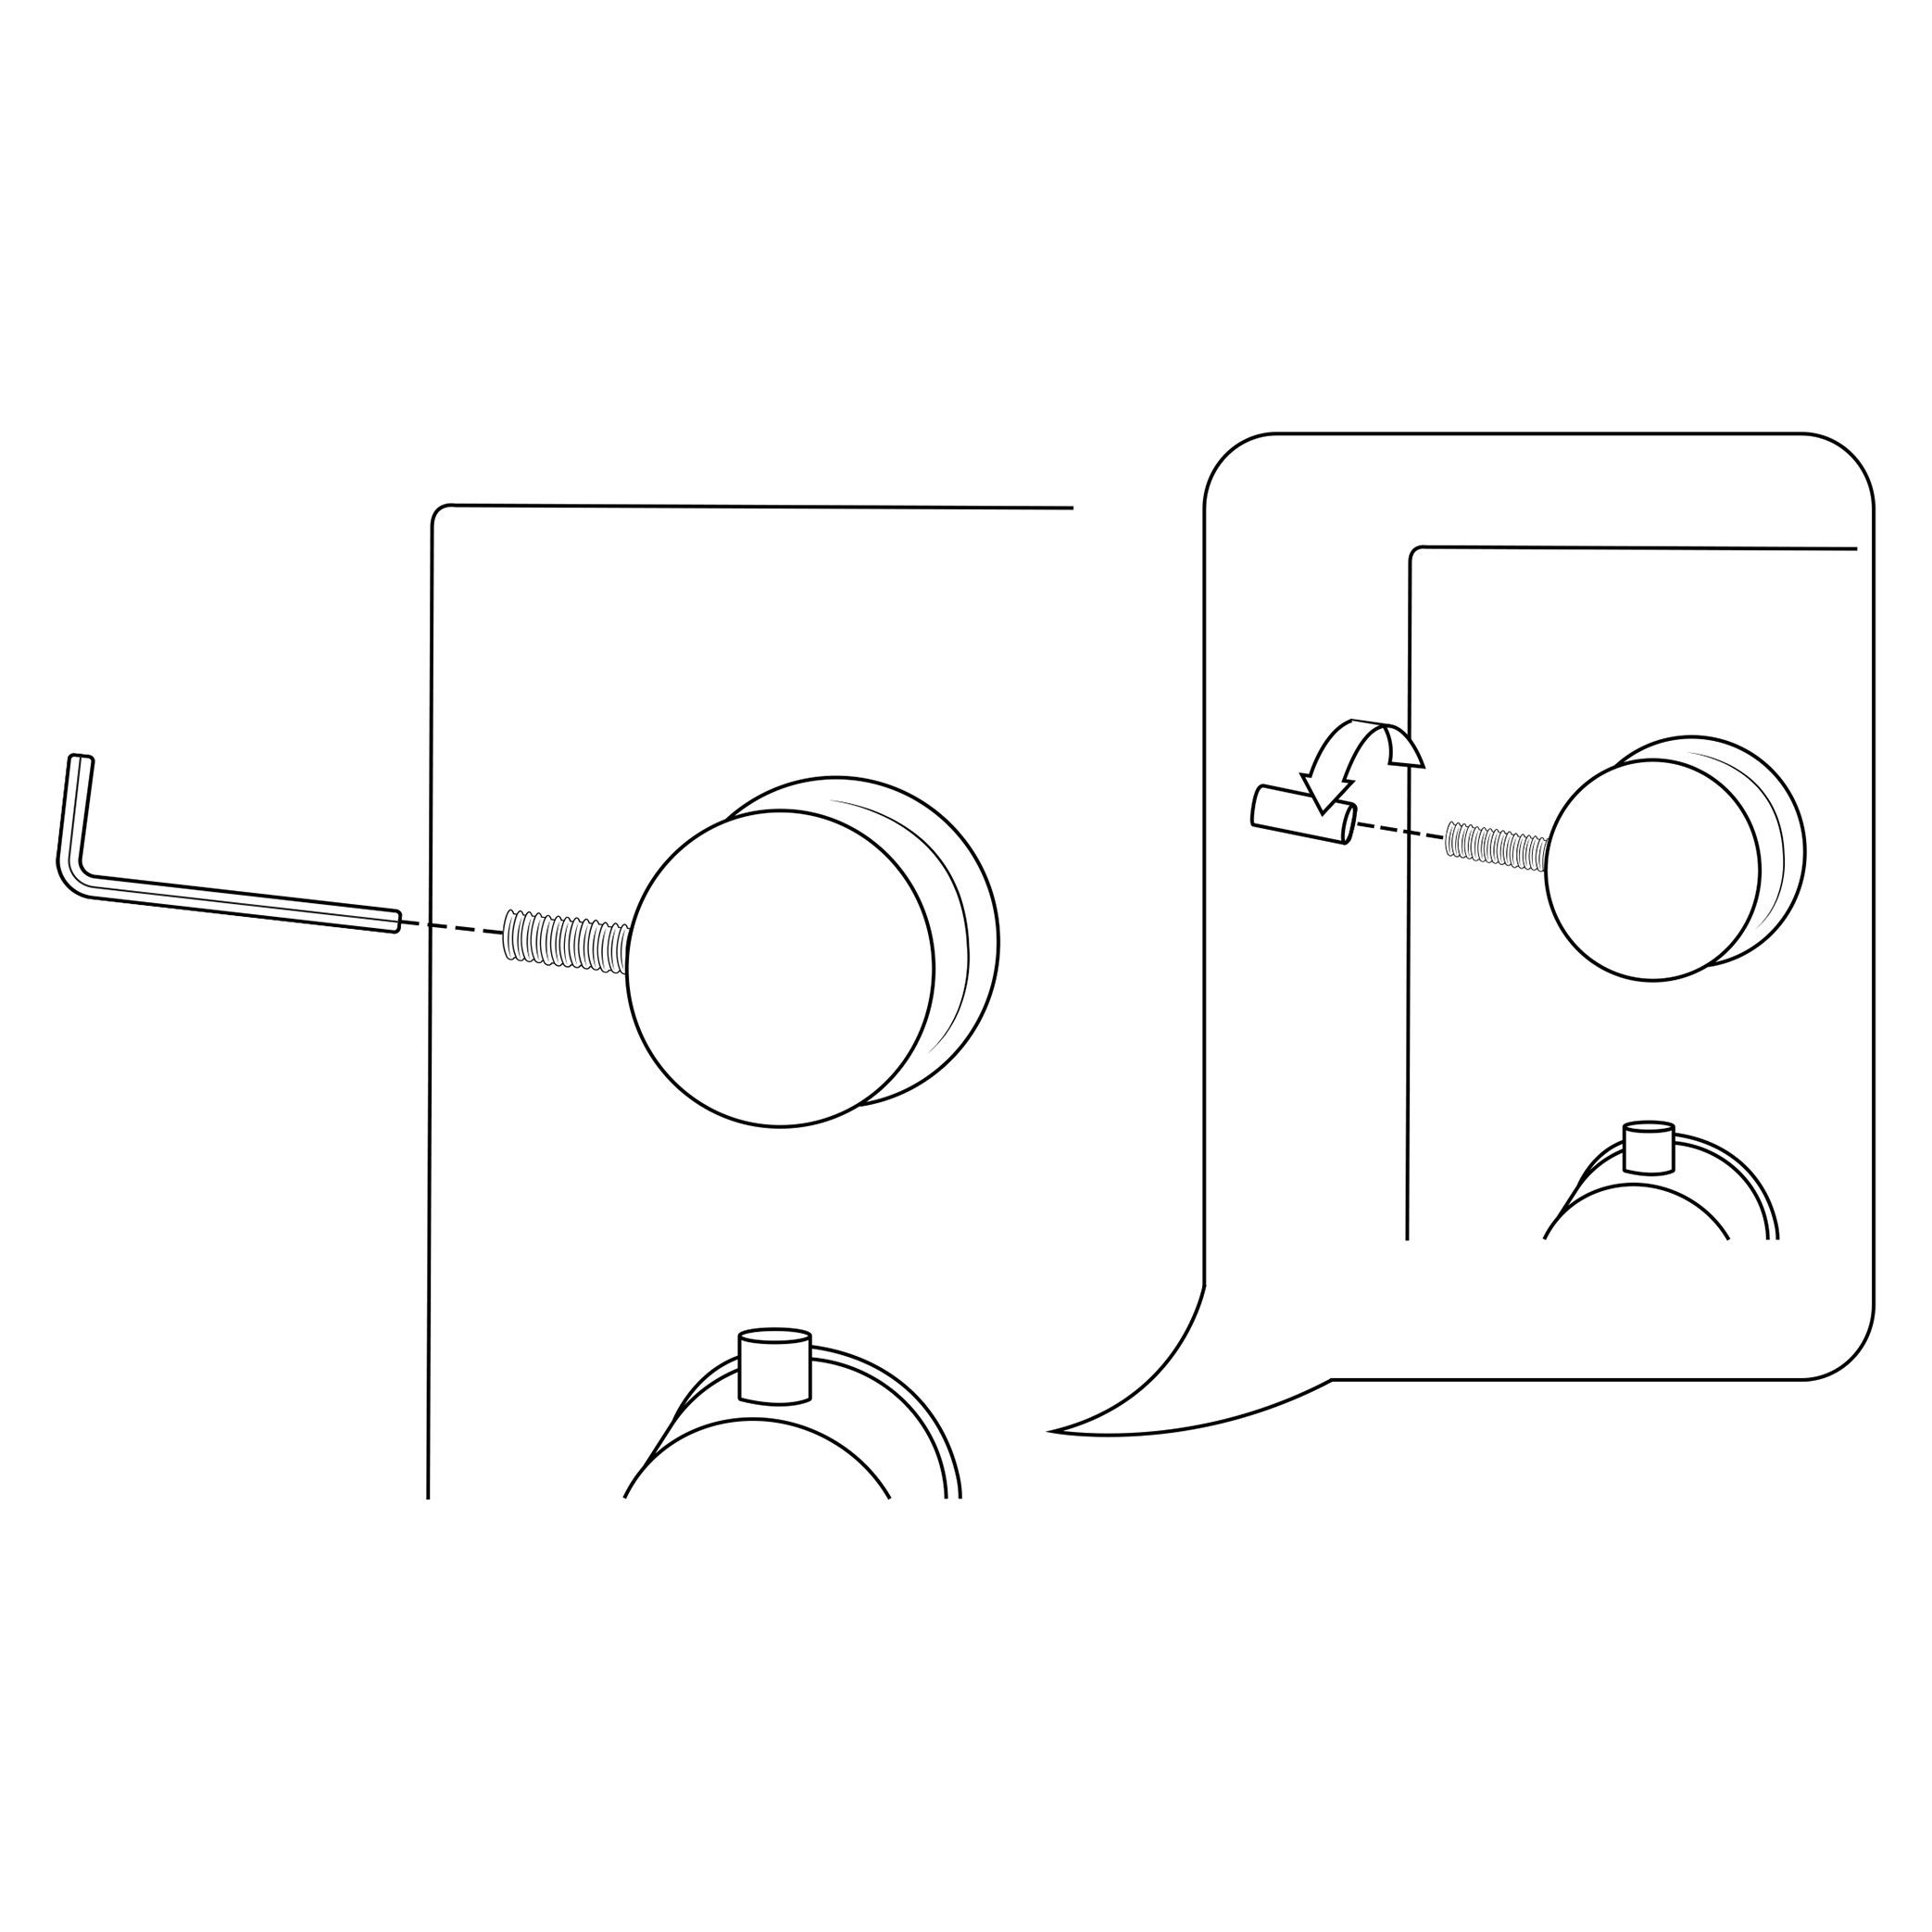
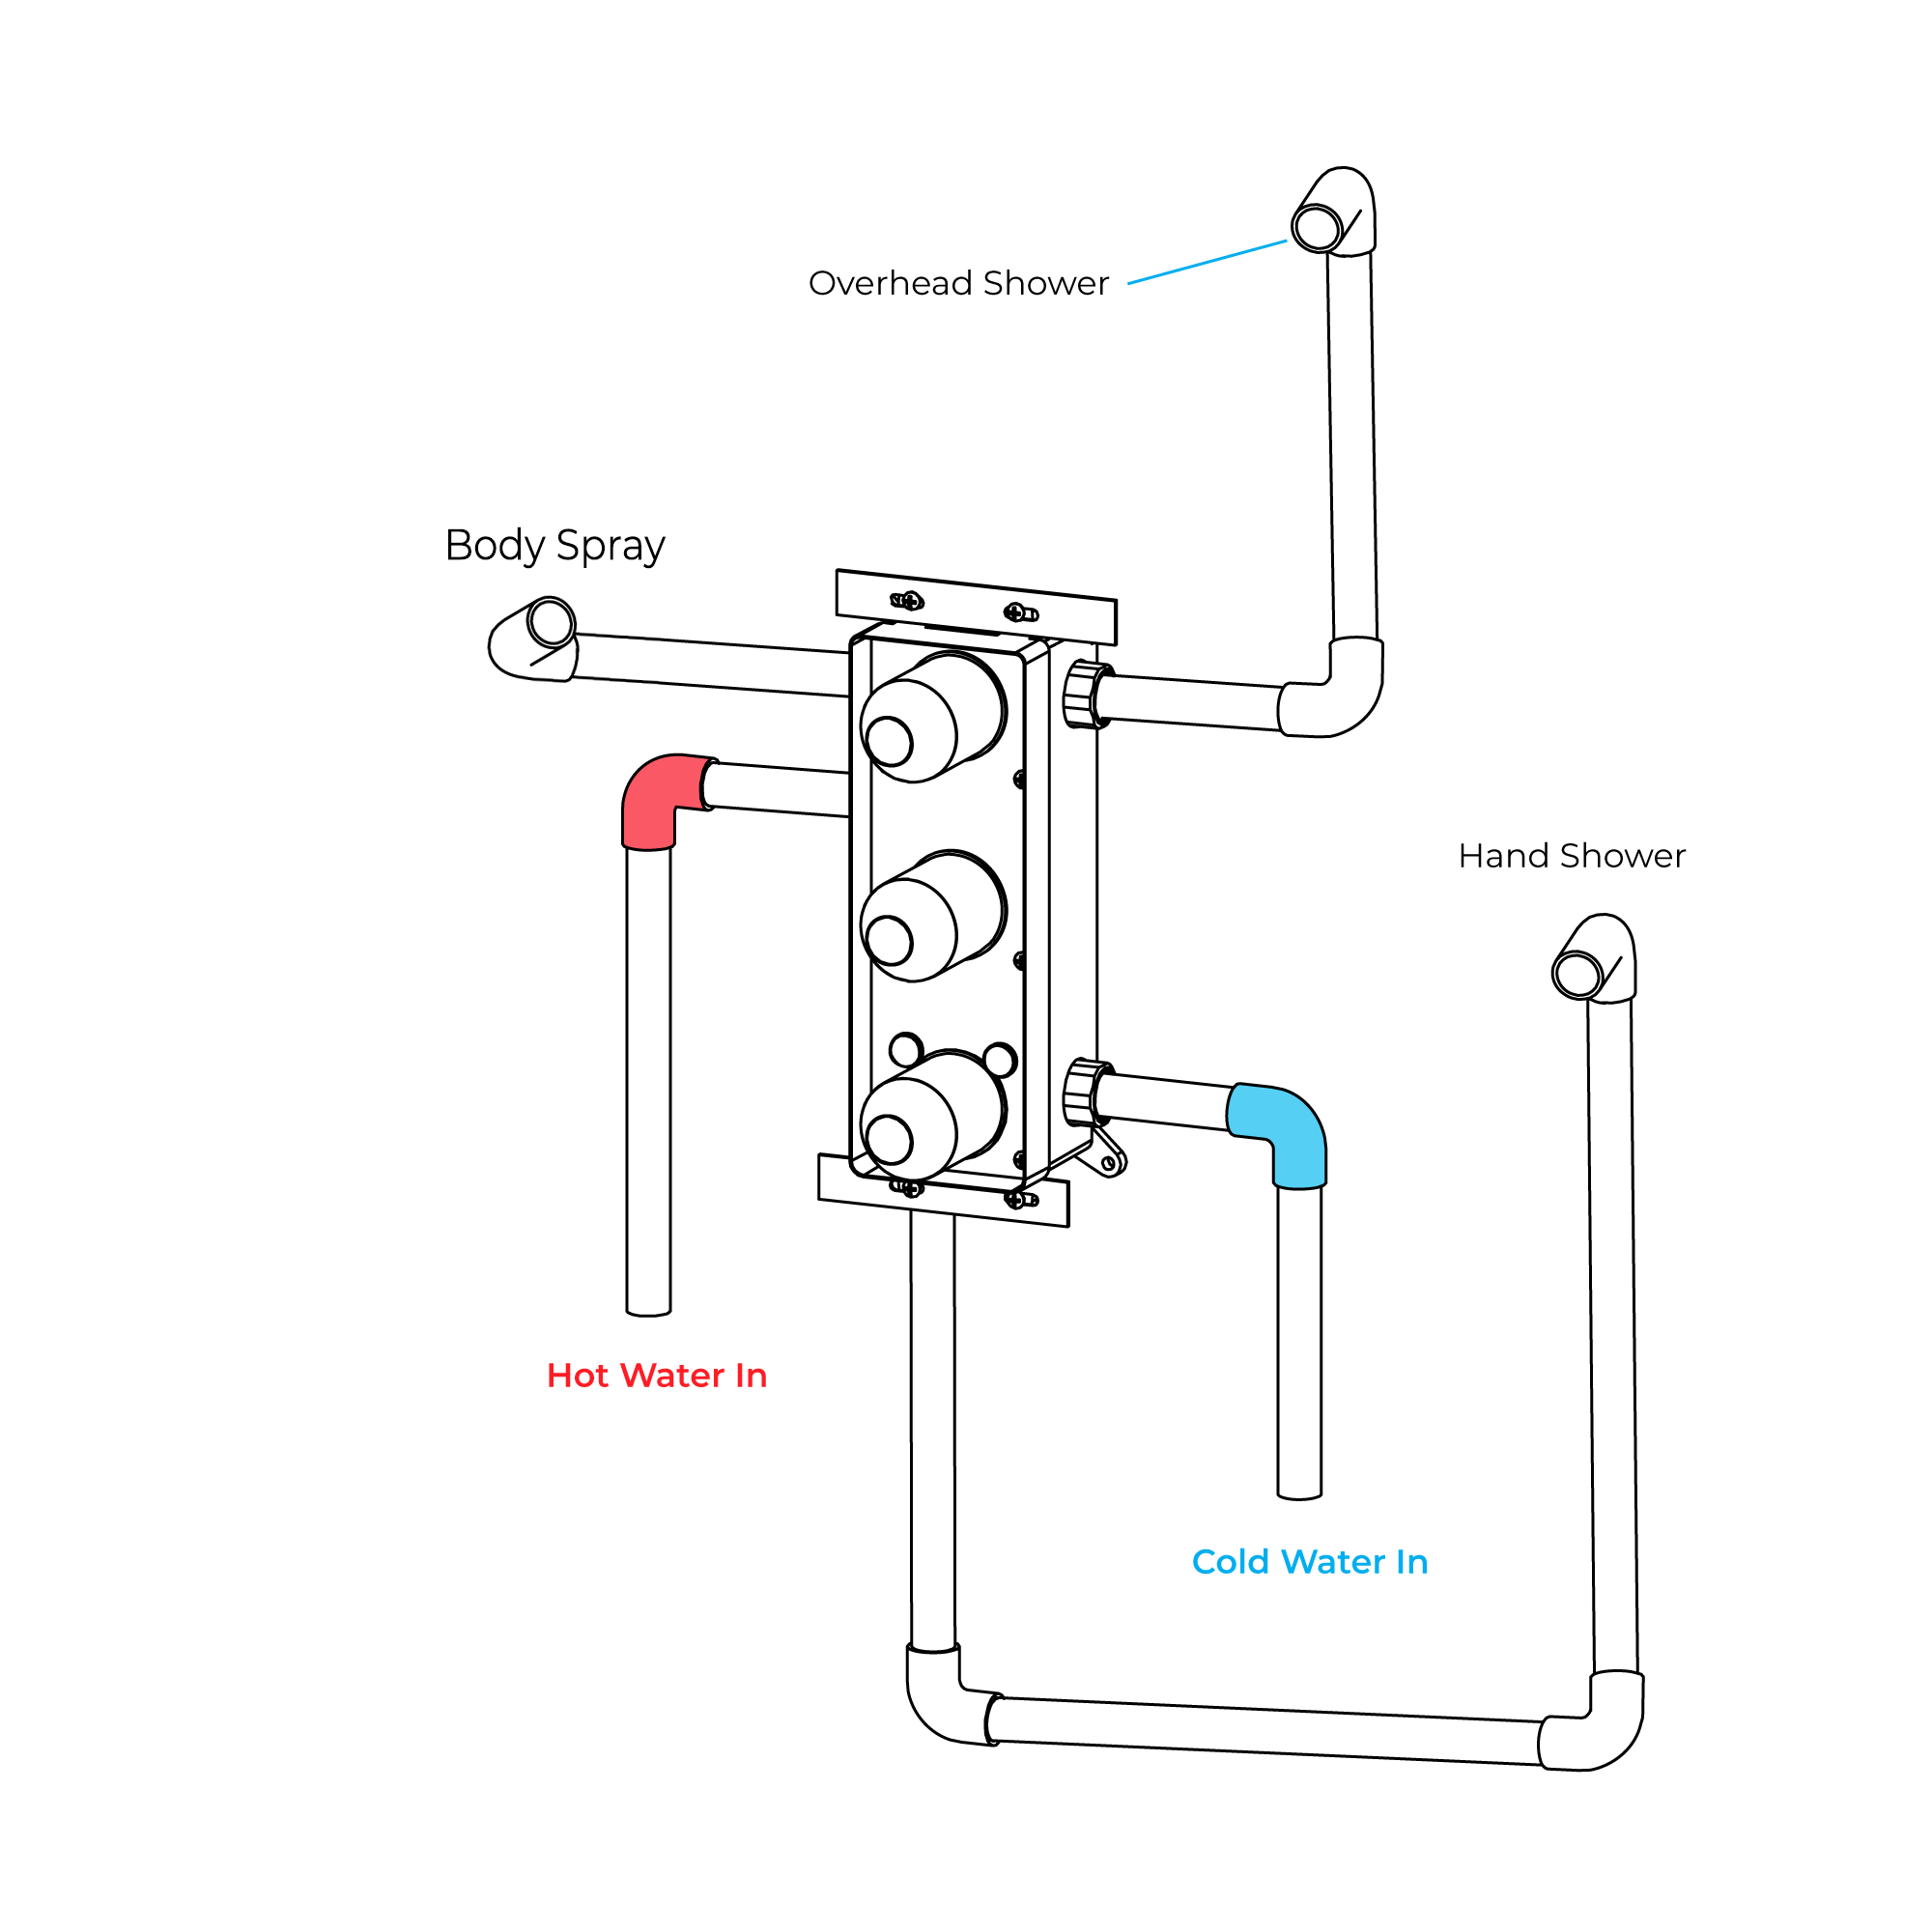
Shower Body Jets Installation Instructions
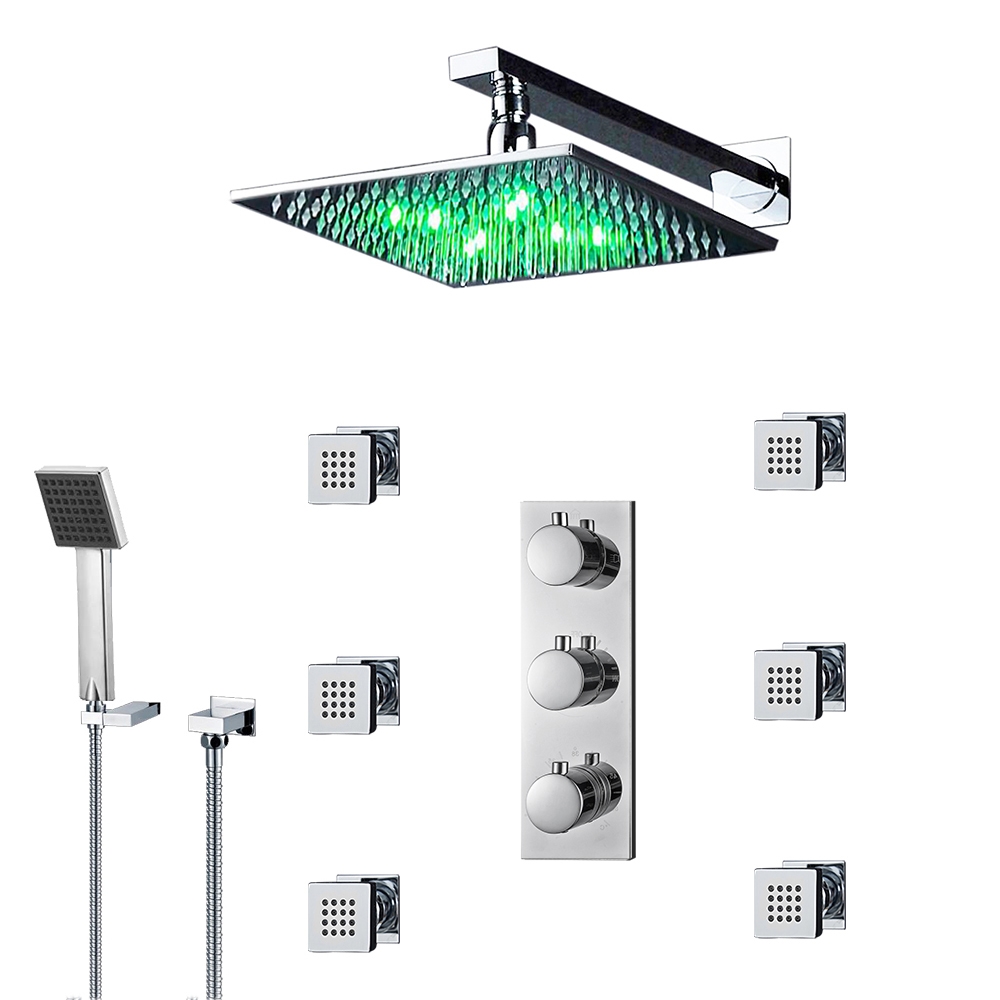
Features: | Brand Name: FontanaShowersModel Number: LED-SHOWER-HEAD-0522GTType: Shower SetMaterial: Solid BrassFinish: Polished ChromeStyle: Contemporary Rain ShowerheadShowerhead Thickness: 0.33"Showerhead Width: Available in 8", 10", 12", or 16"Showerhead Length: Available in 8", 10", 12", or 16"LED Power Source: Water FlowLED Colors: Blue, Green, RedShowerhead Style: Contemporary Rain ShowerMount Method: Wall or Ceiling MountConnection: 1/2" US standard (included)Shower Arm: IncludedBody Jets: Solid Brass | |  |
|
|