Installation Instructions
Download PDF Installation Instructions
- Before you begin, read the installation instructions below. Observe all local plumbing and building codes.
- For the following Installation Instructions for your new shower head, it is assumed that any old fixtures have been removed and all rough-in work has been completed.
- Unpack and inspect the showerhead for any shipping damages. If you find any damages, do not install it. Contact Customer Service. If you need assistance while installing your new showerhead, call Customer Service.
We recommend consulting a professional if you are unfamiliar with installing bathroom fixtures and plumbing. Shut off the water supply lines where the new shower head is being installed.
TOOLS AND MATERIALS:
- Groove Joint Pliers
- Adjustable Wrench
- Plumber’s Tape
- Dry Cloth
- Screwdriver
- Silicone Sealant
- Damp Cloth
- Allen Wrench (provided)
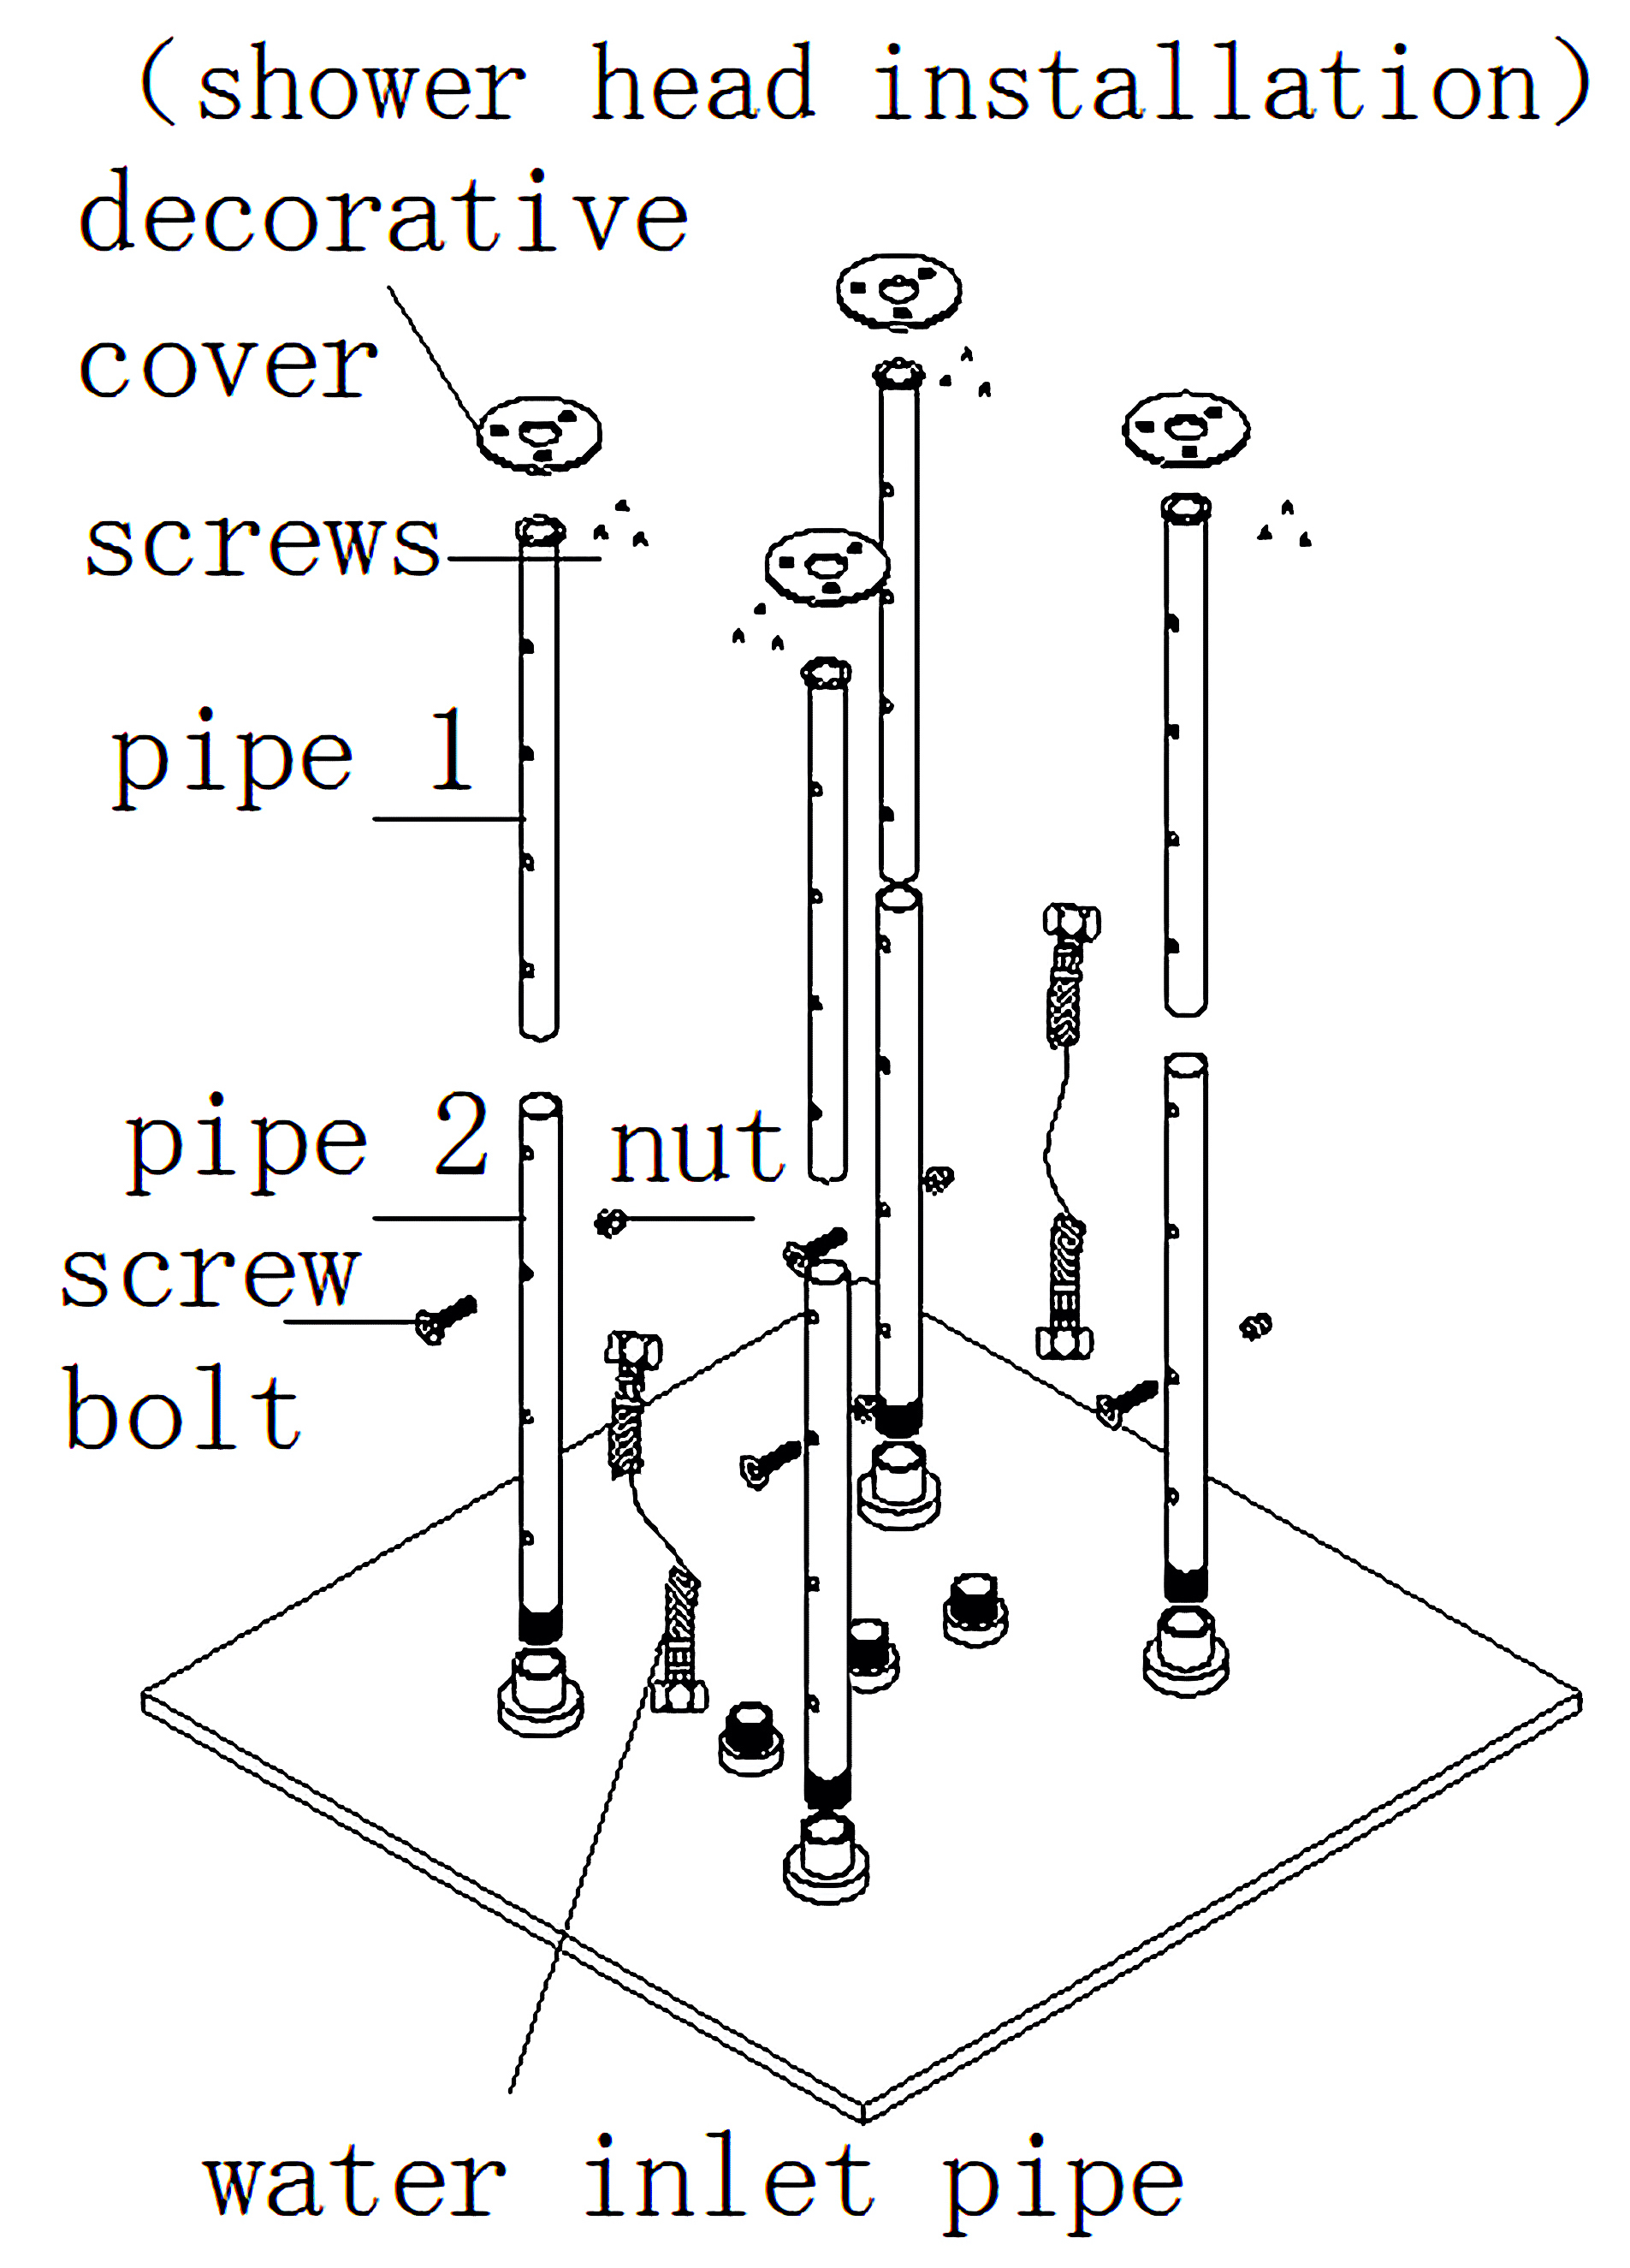
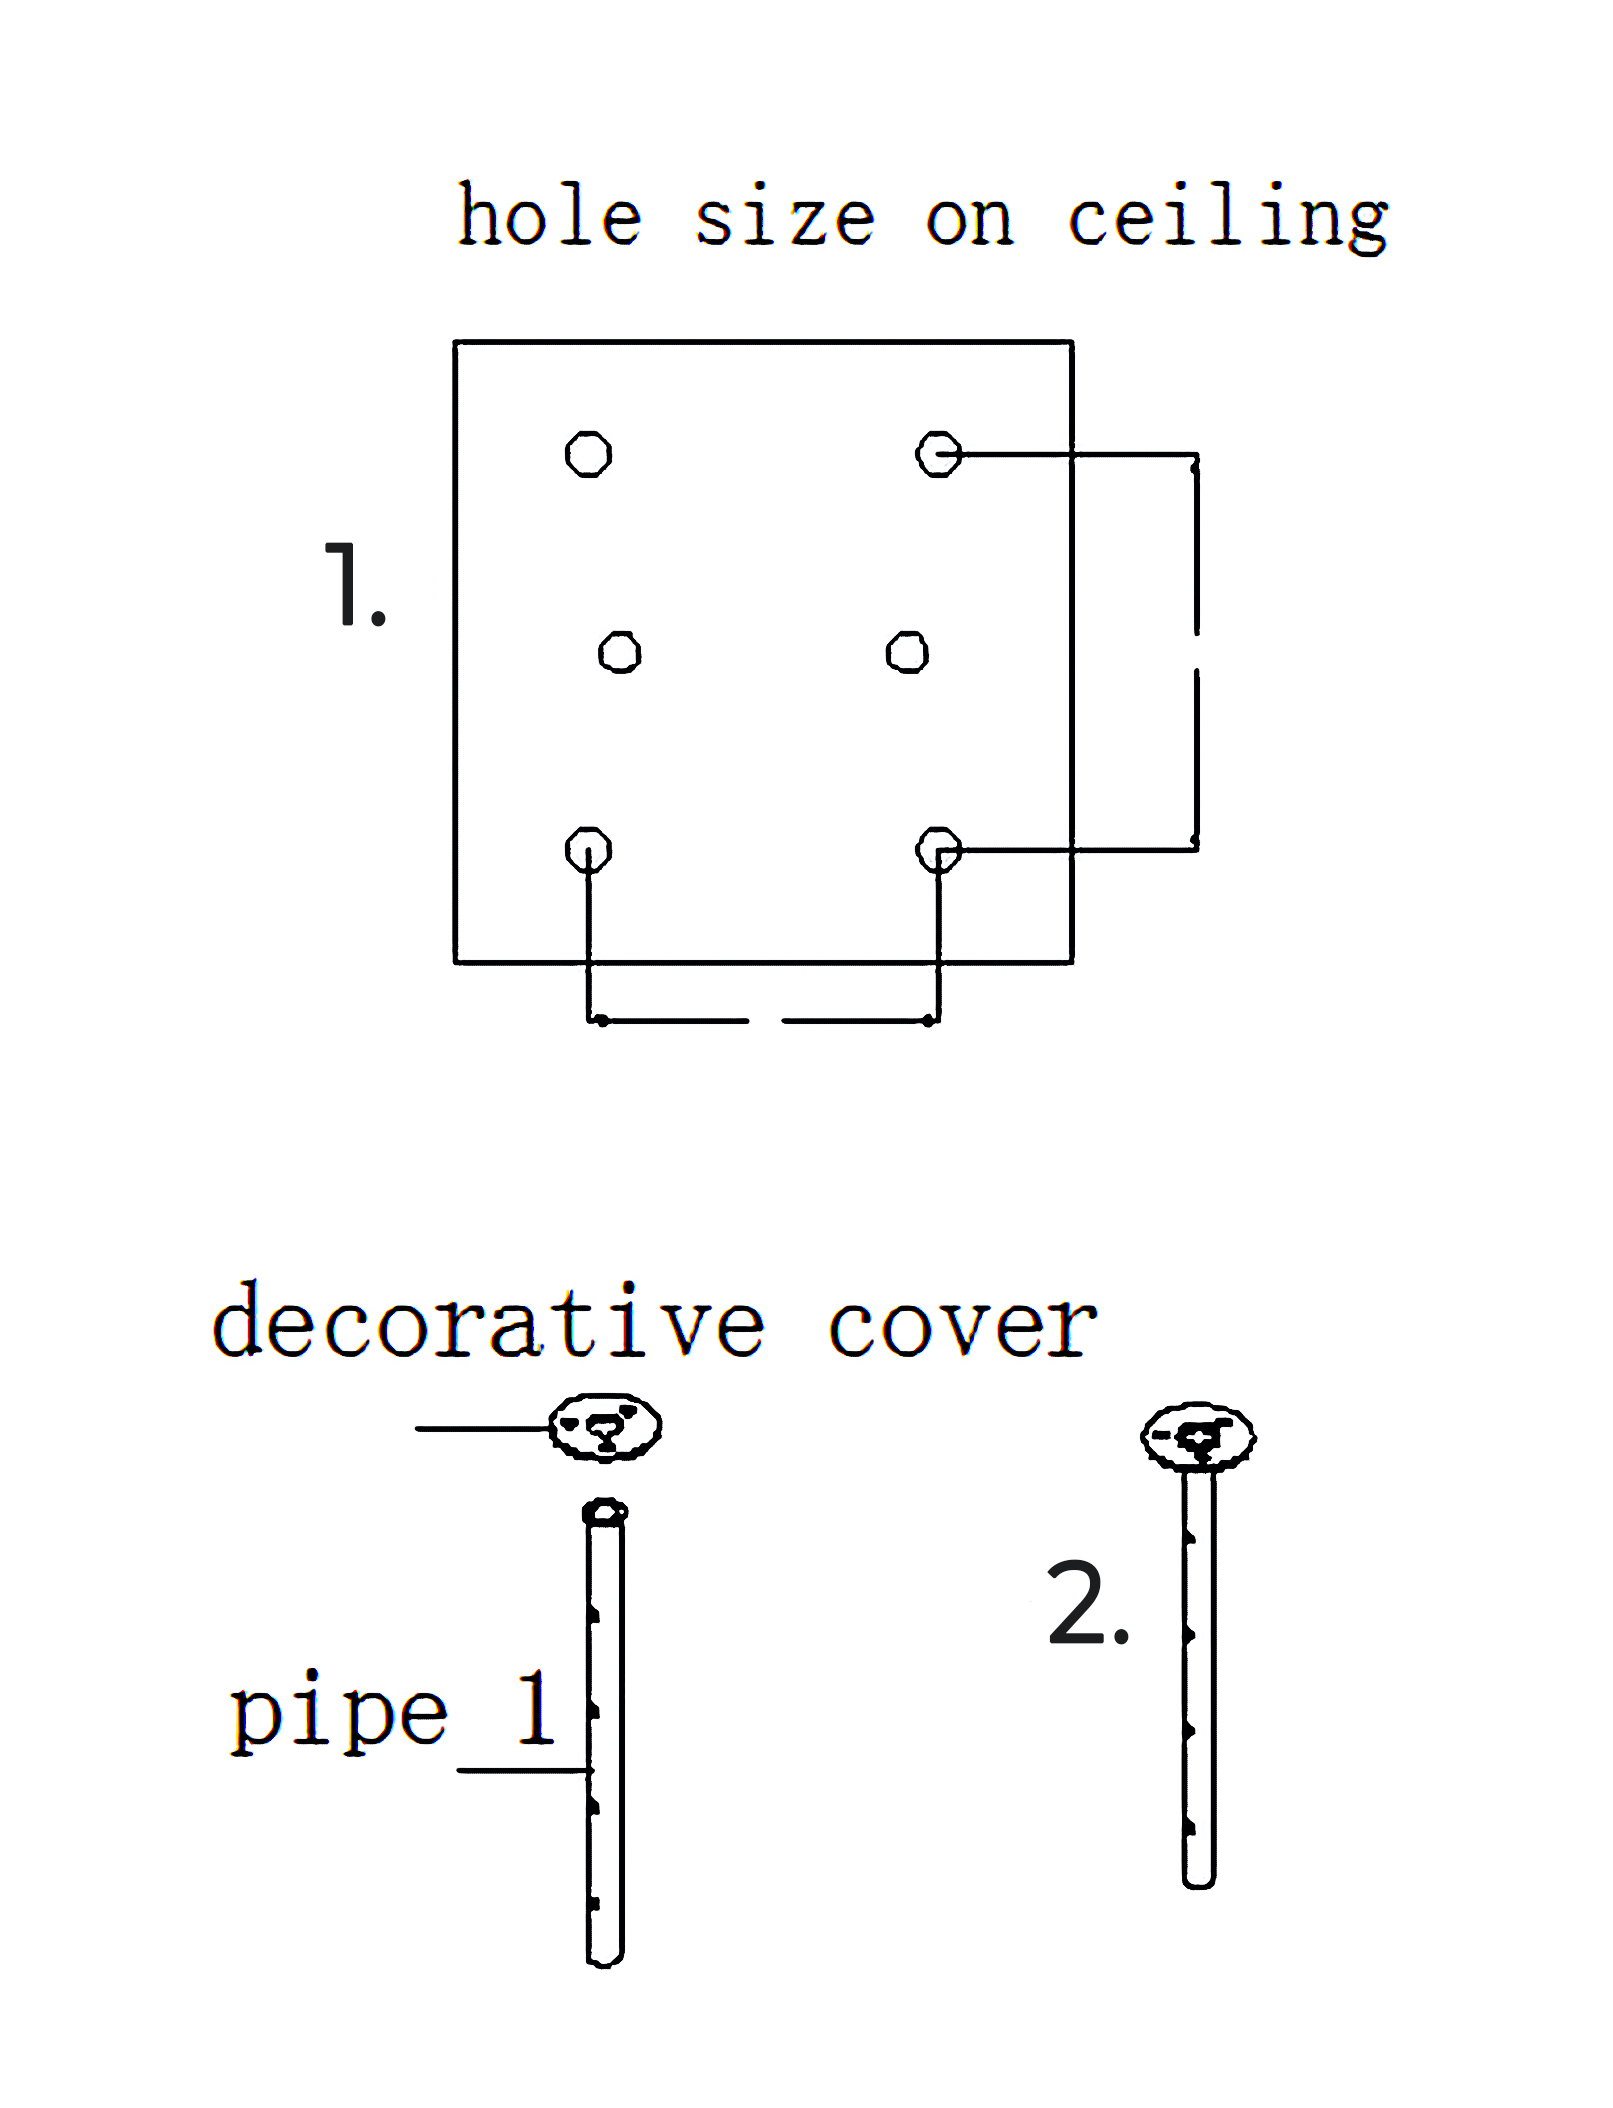
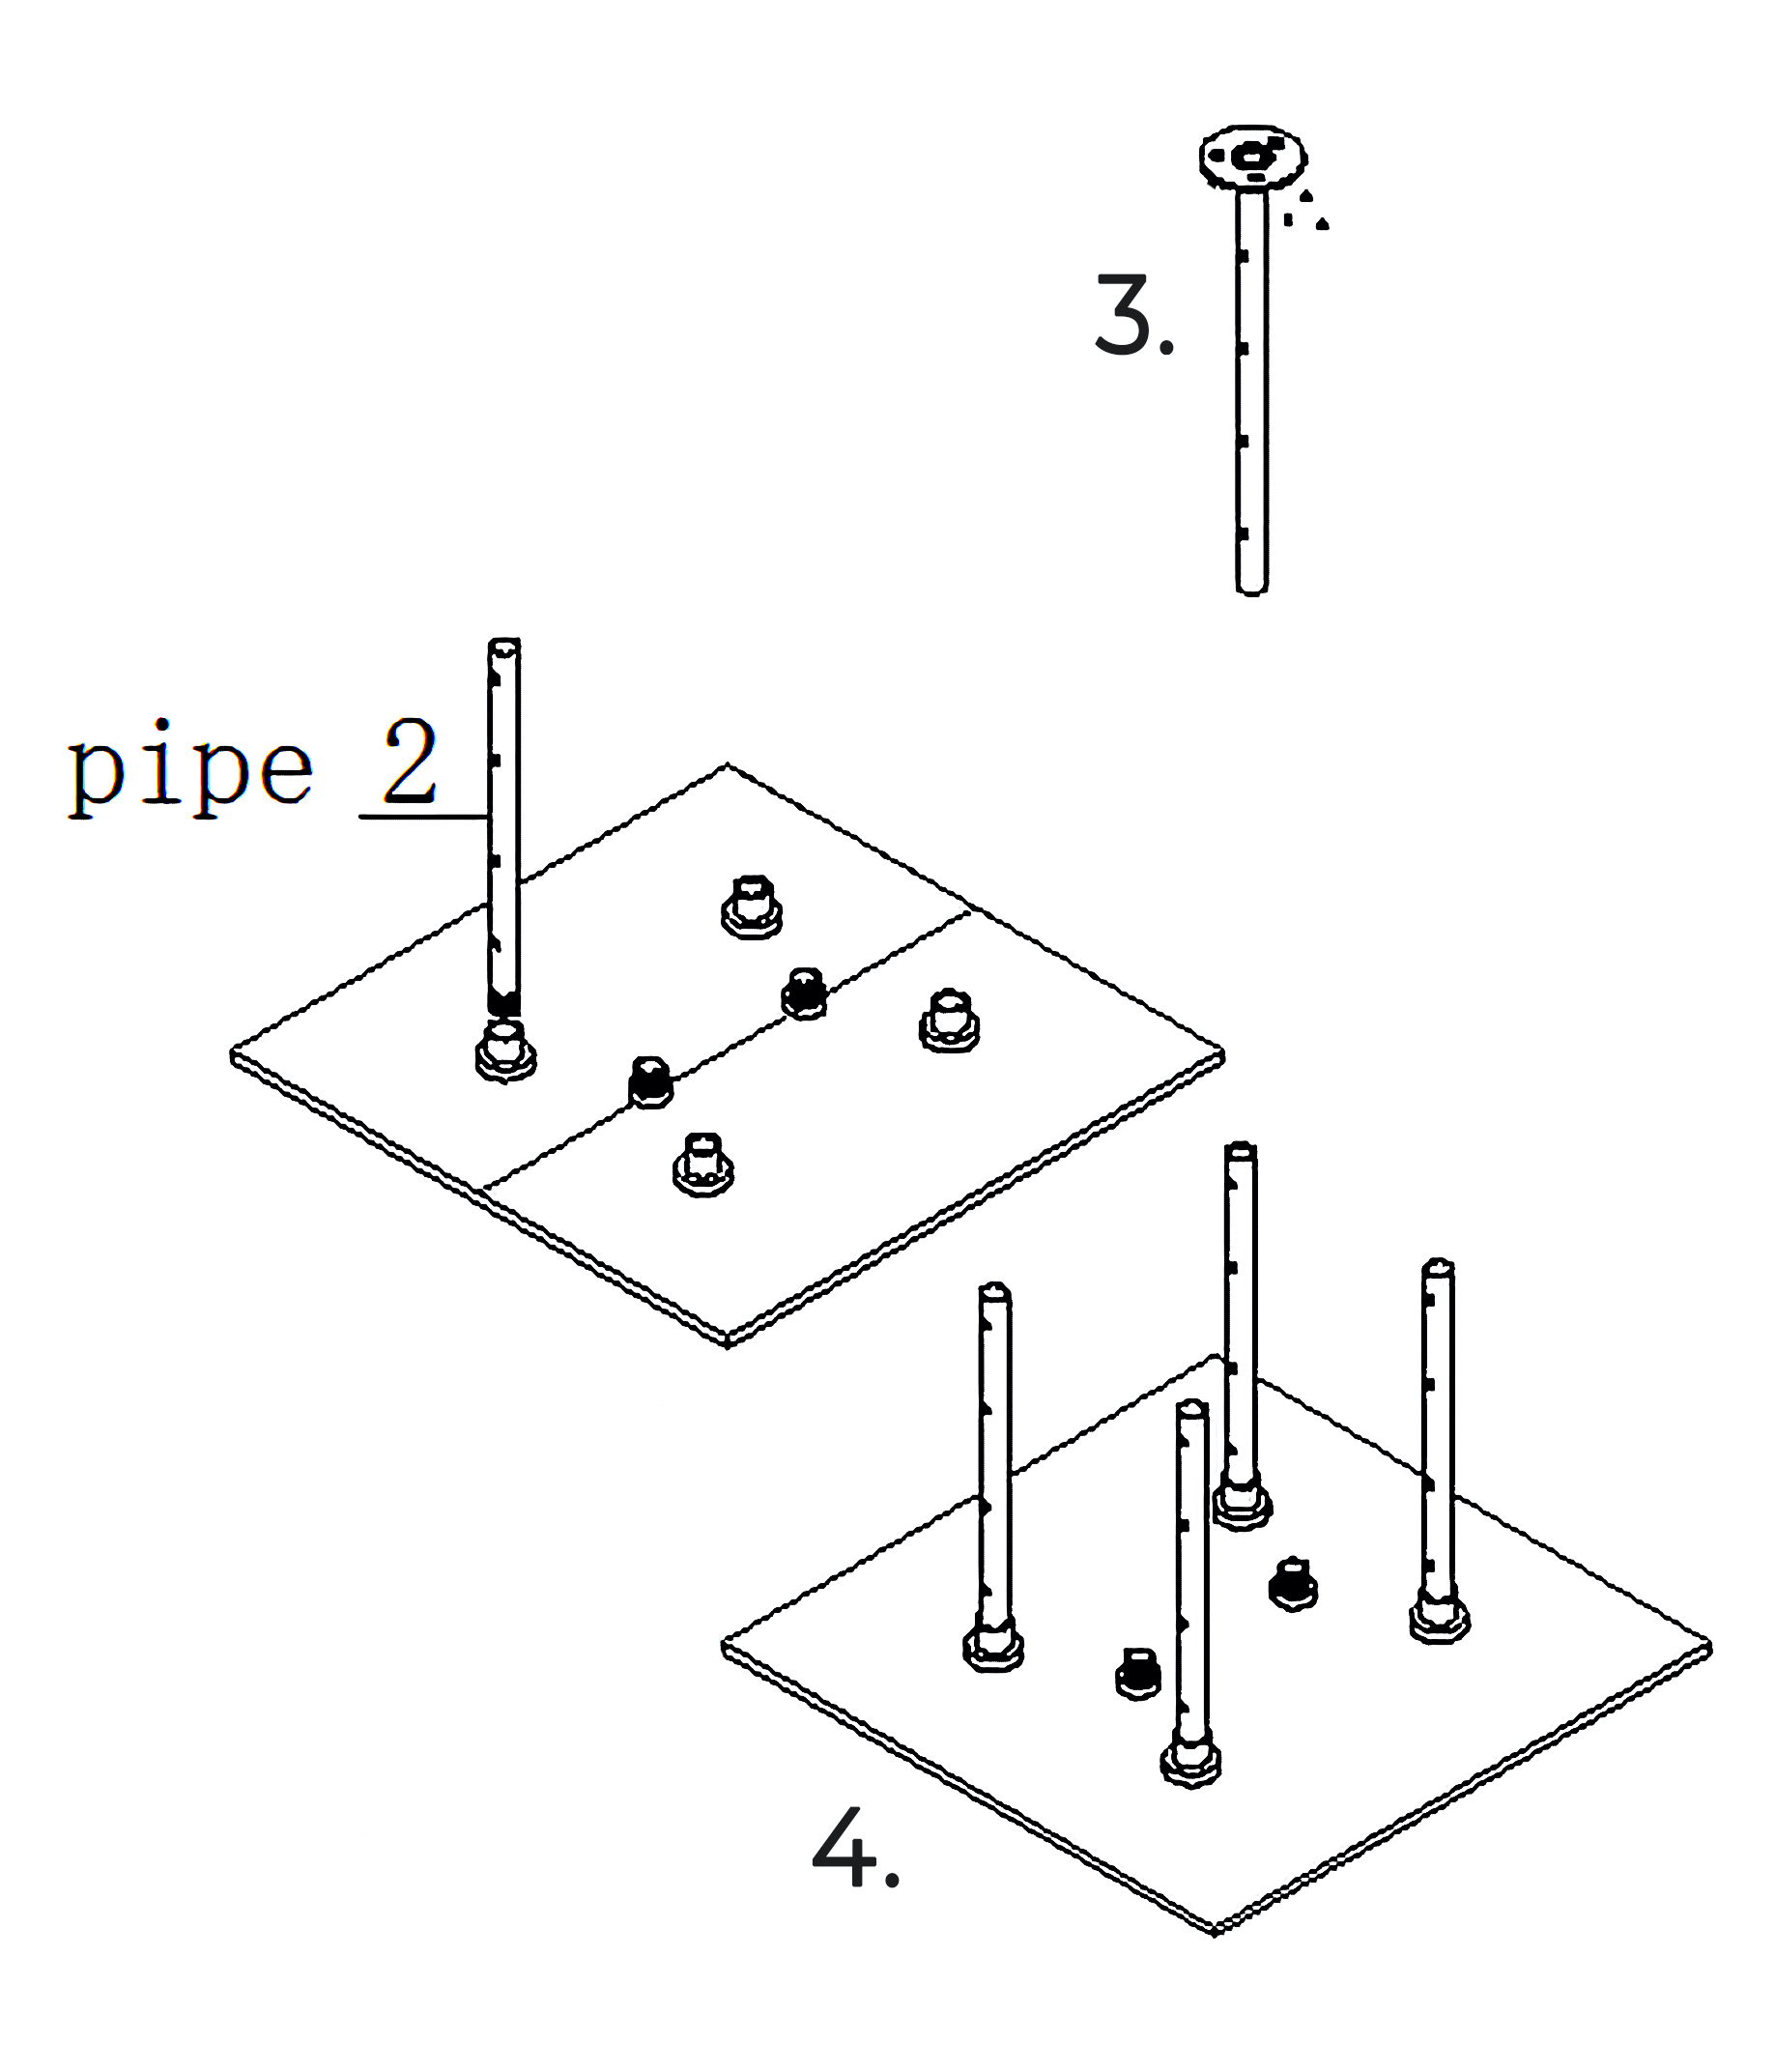
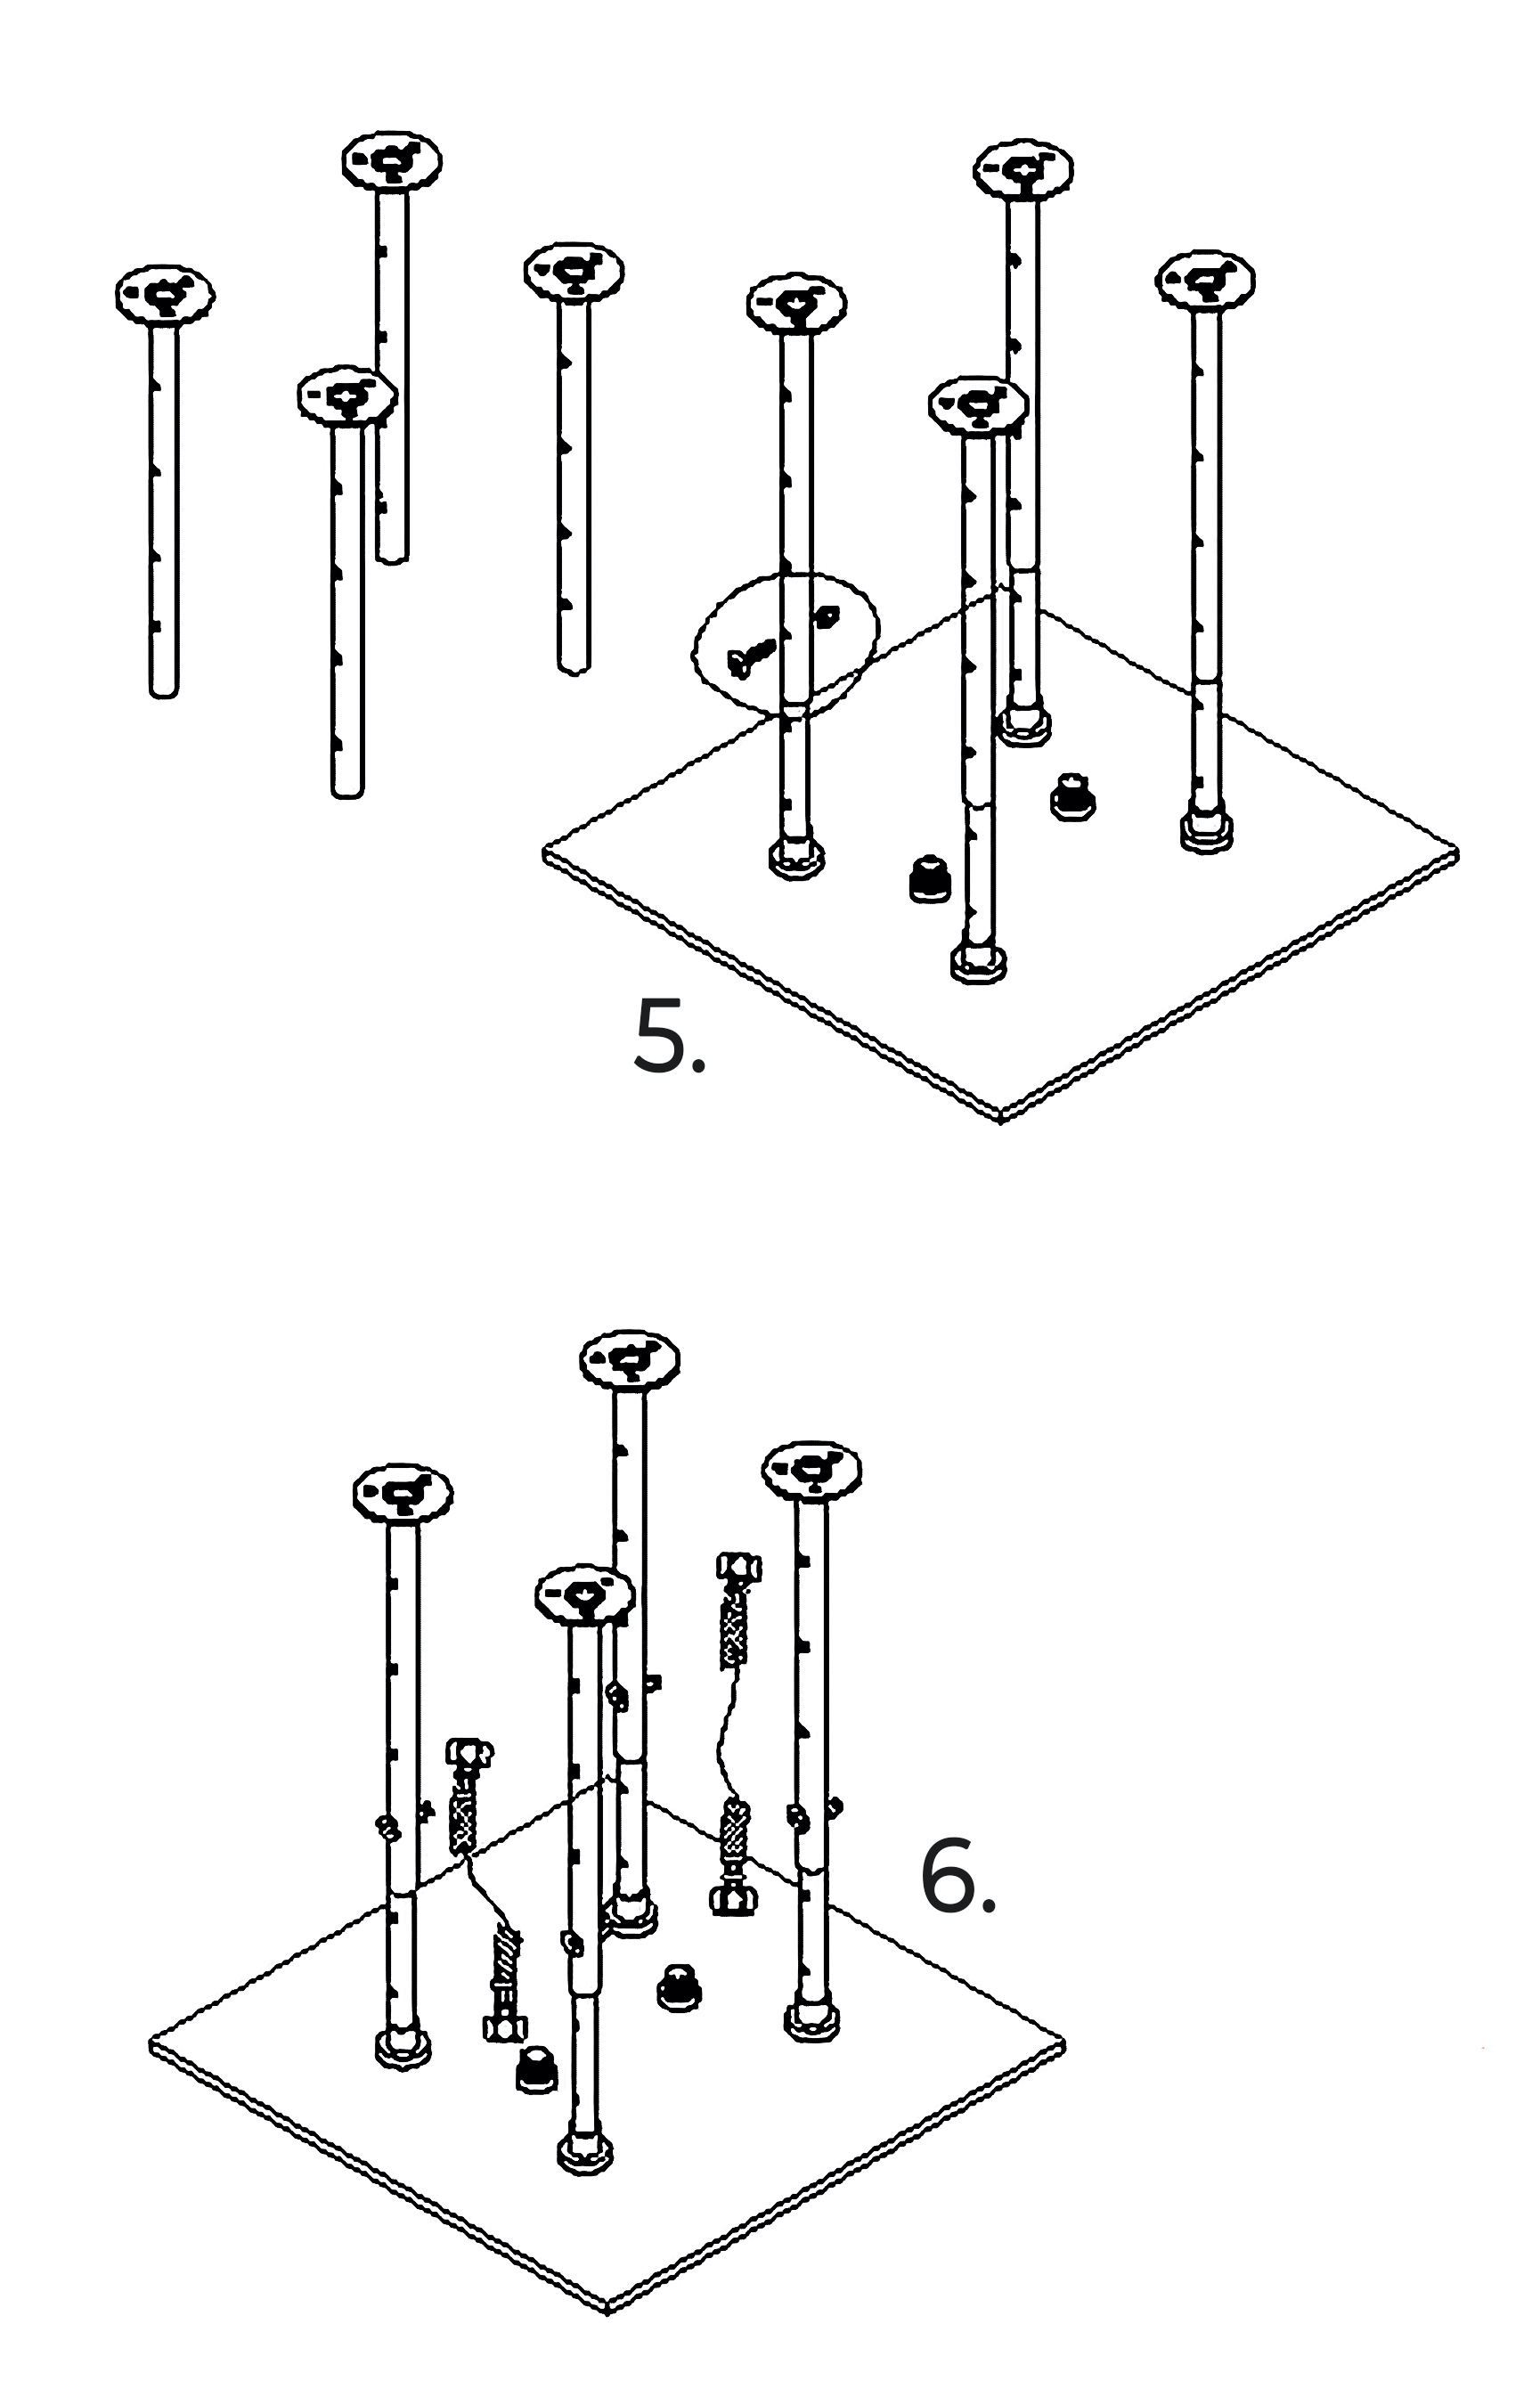
Installation Instructions
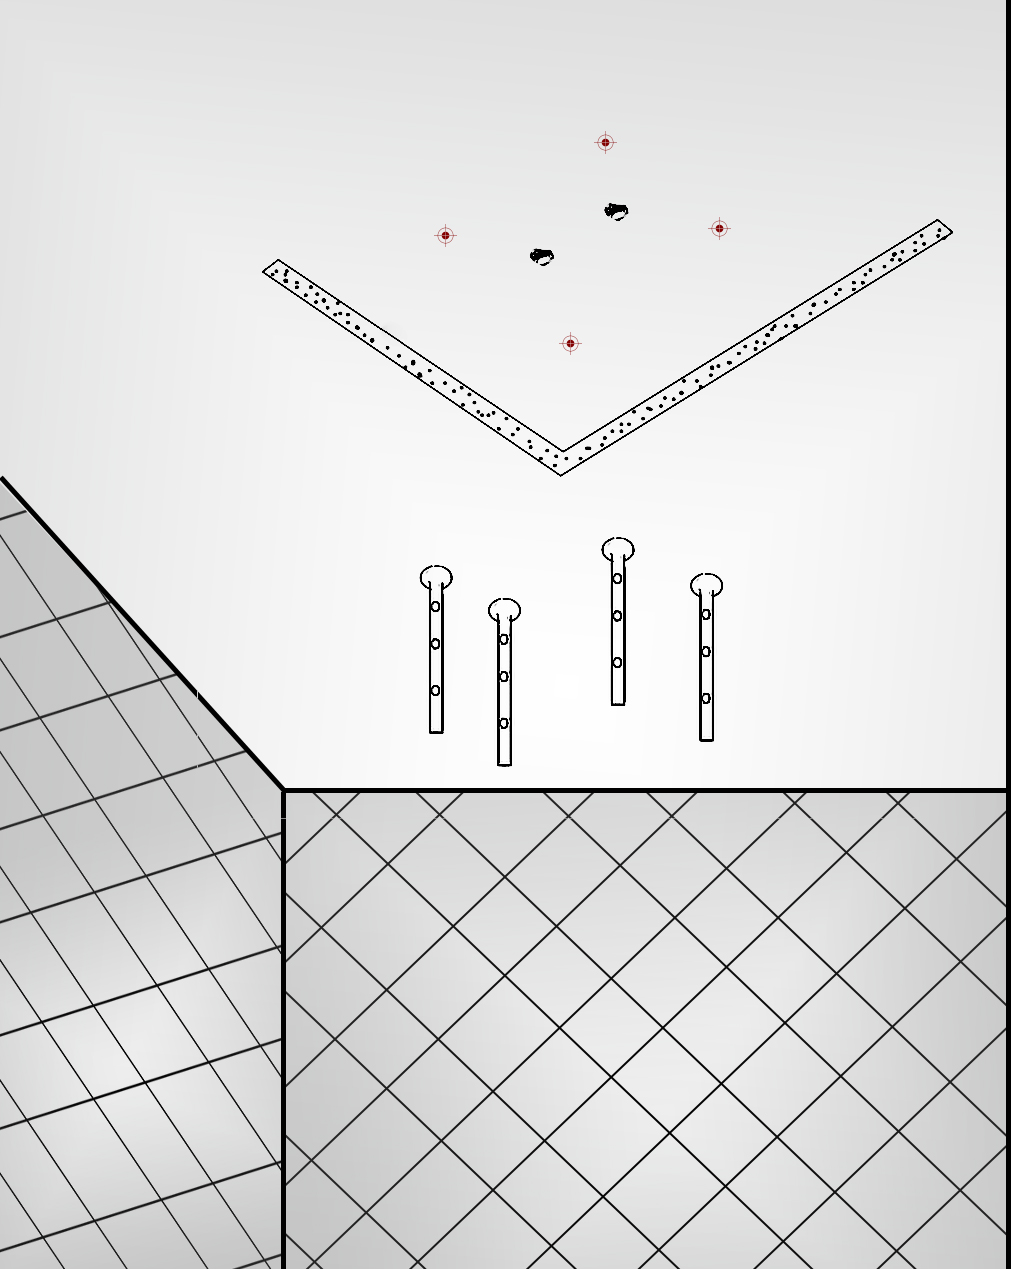
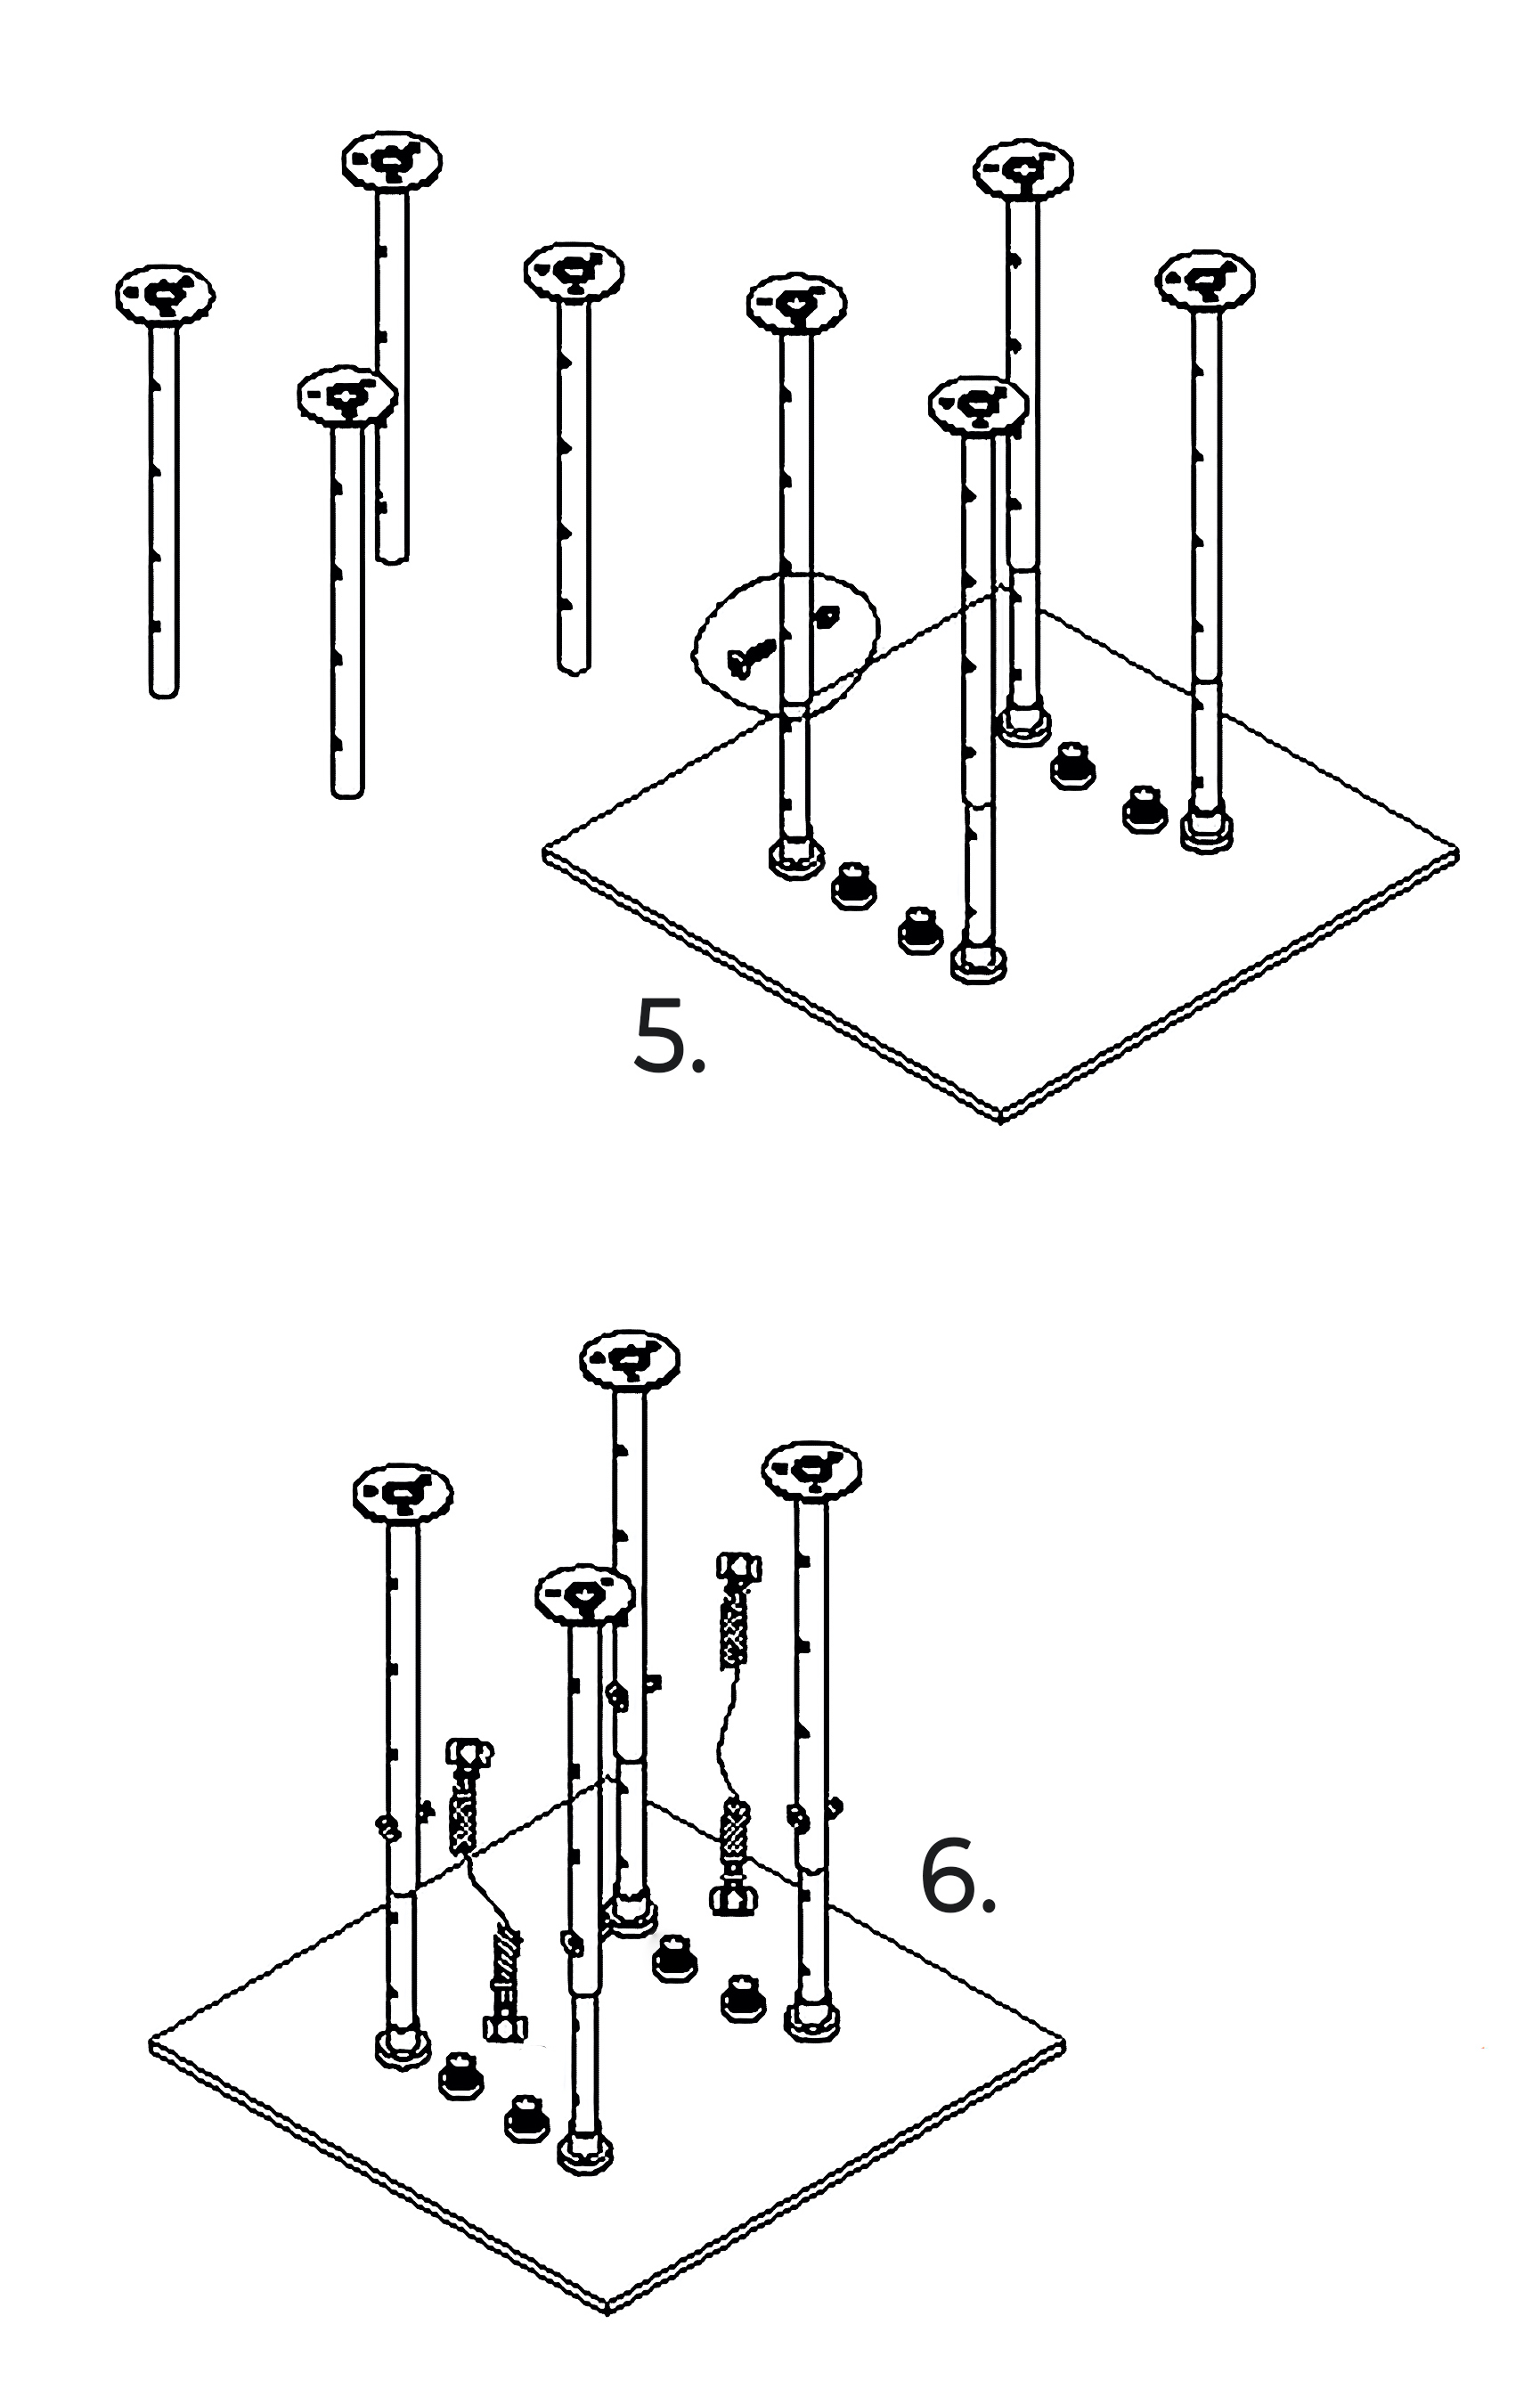
Remarks: Ceiling mounted shower head come with fixing bar installation
1. Draw size on ceiling
2. Install fixing bar on ceiling
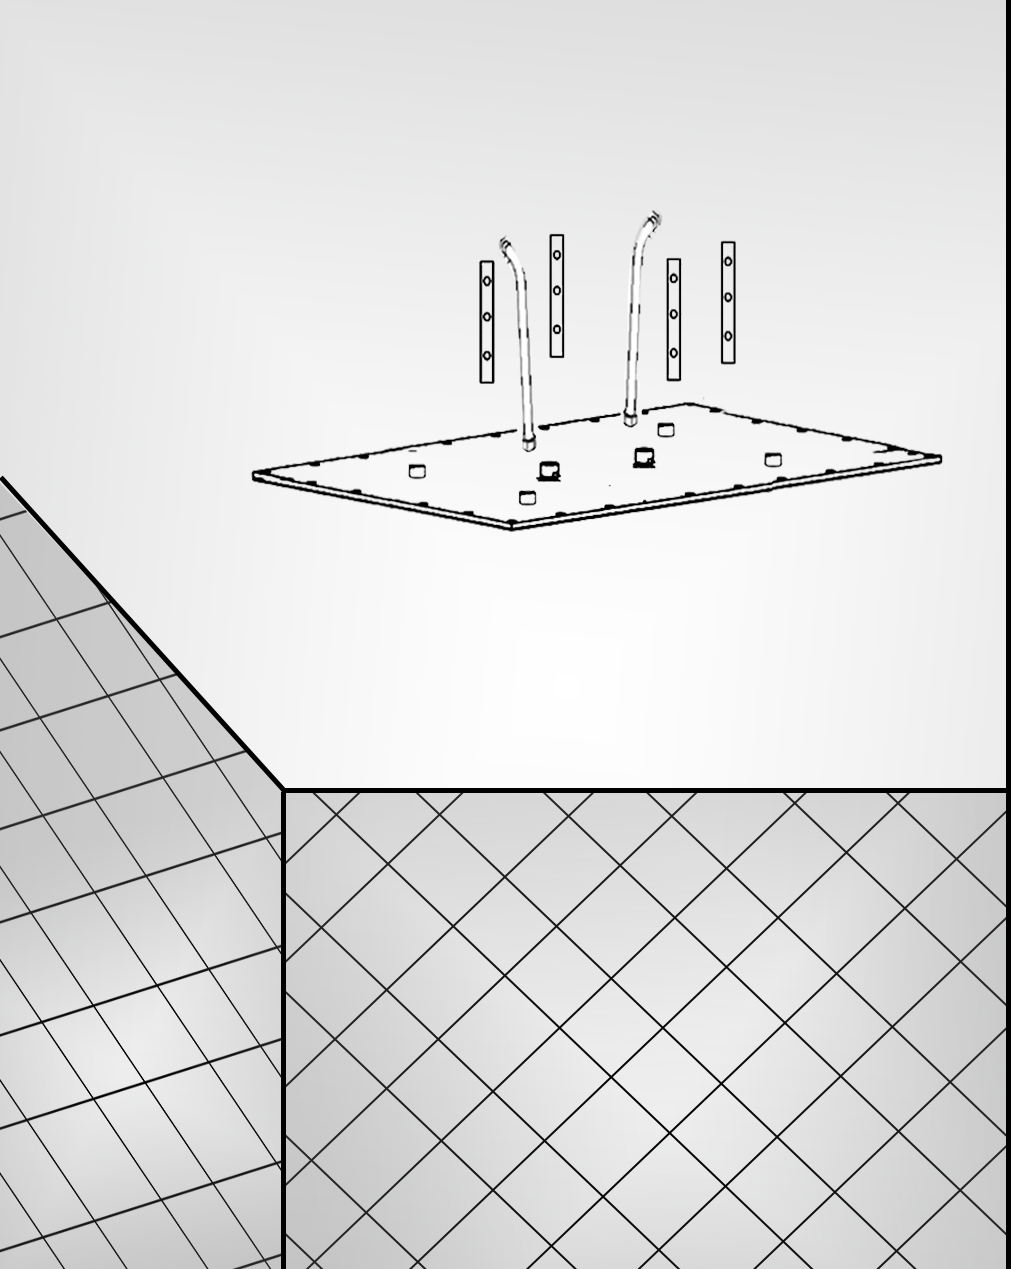
3. Install fixing bar on shower head
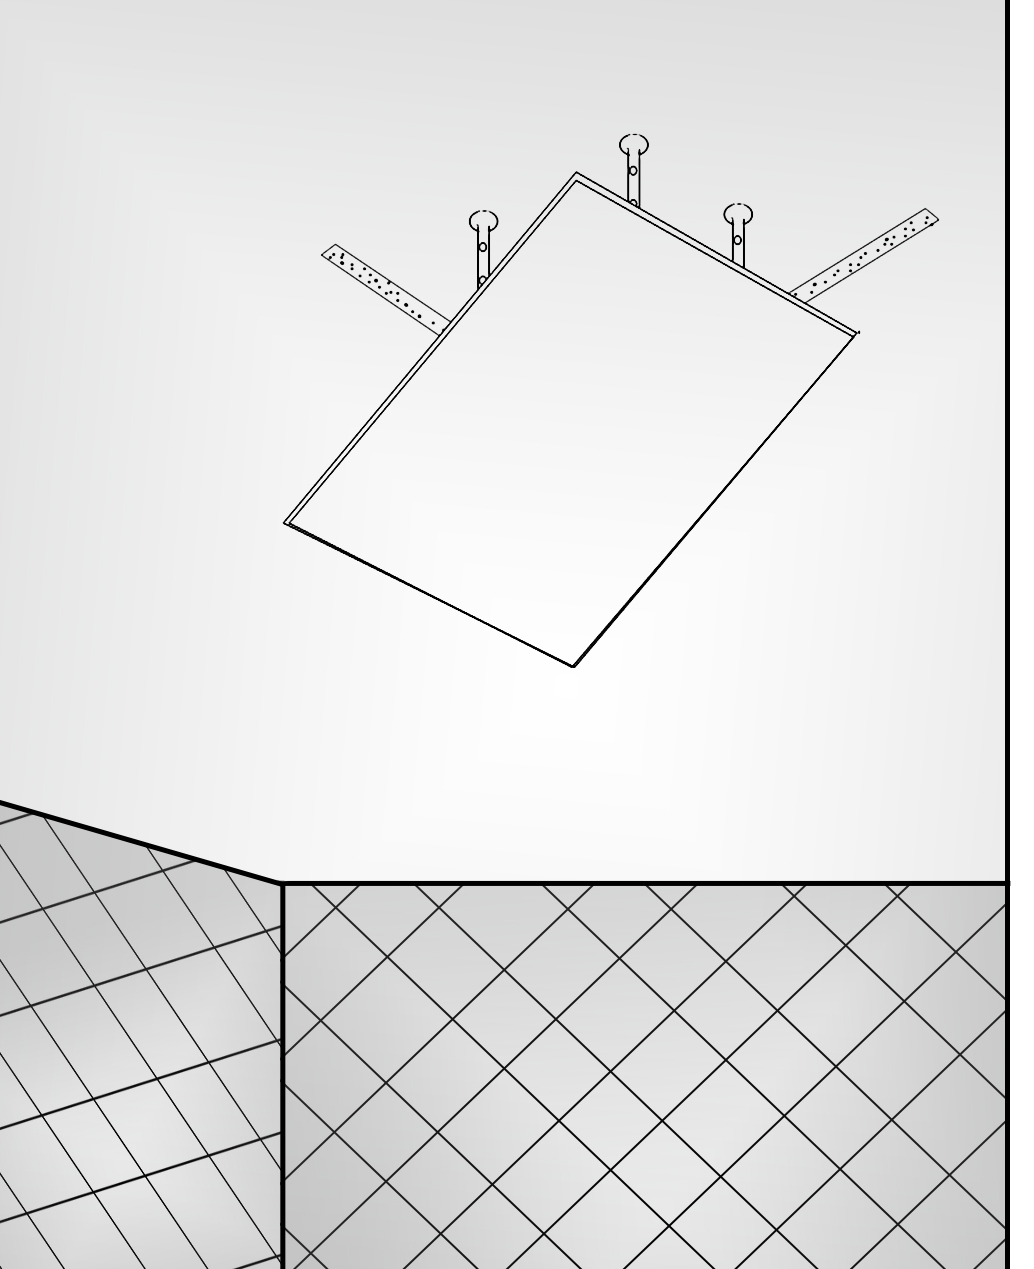
4. Put shower head bar on ceiling fixing bar.
The showerhead installation is now complete.
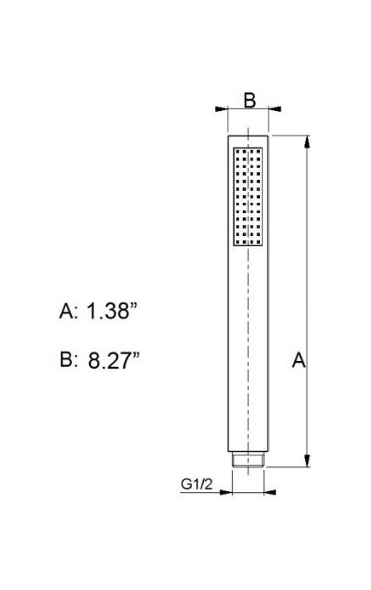
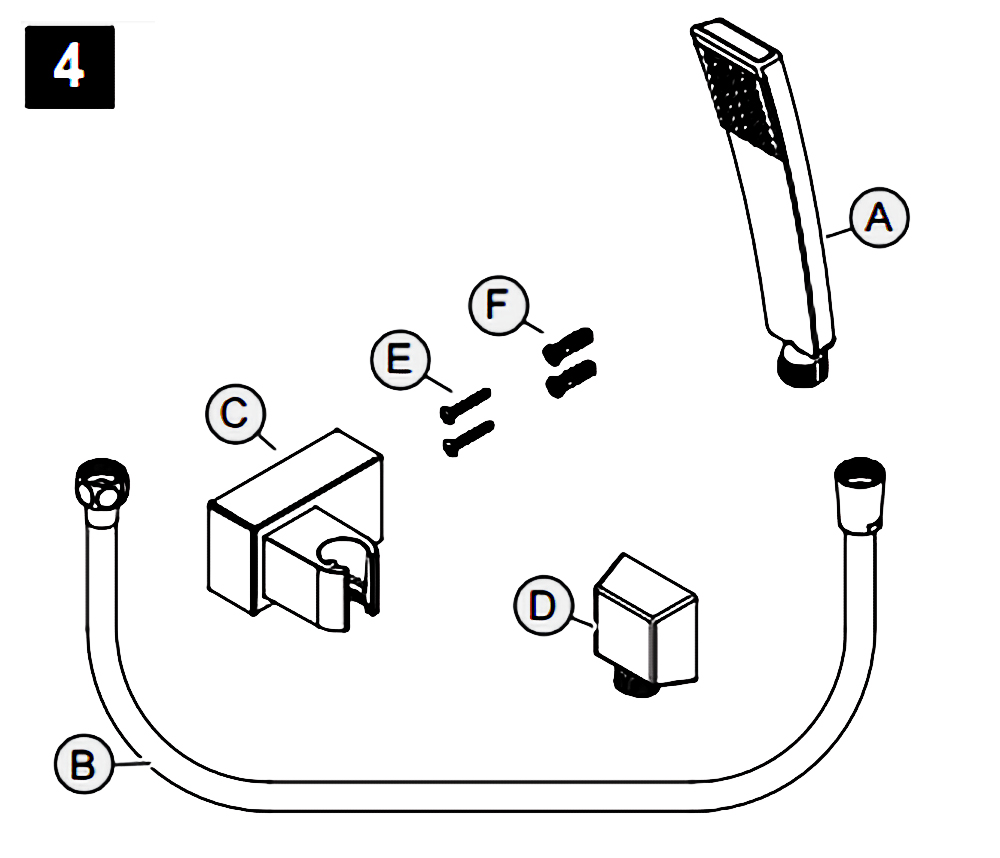
Hand-Held Shower Instructions
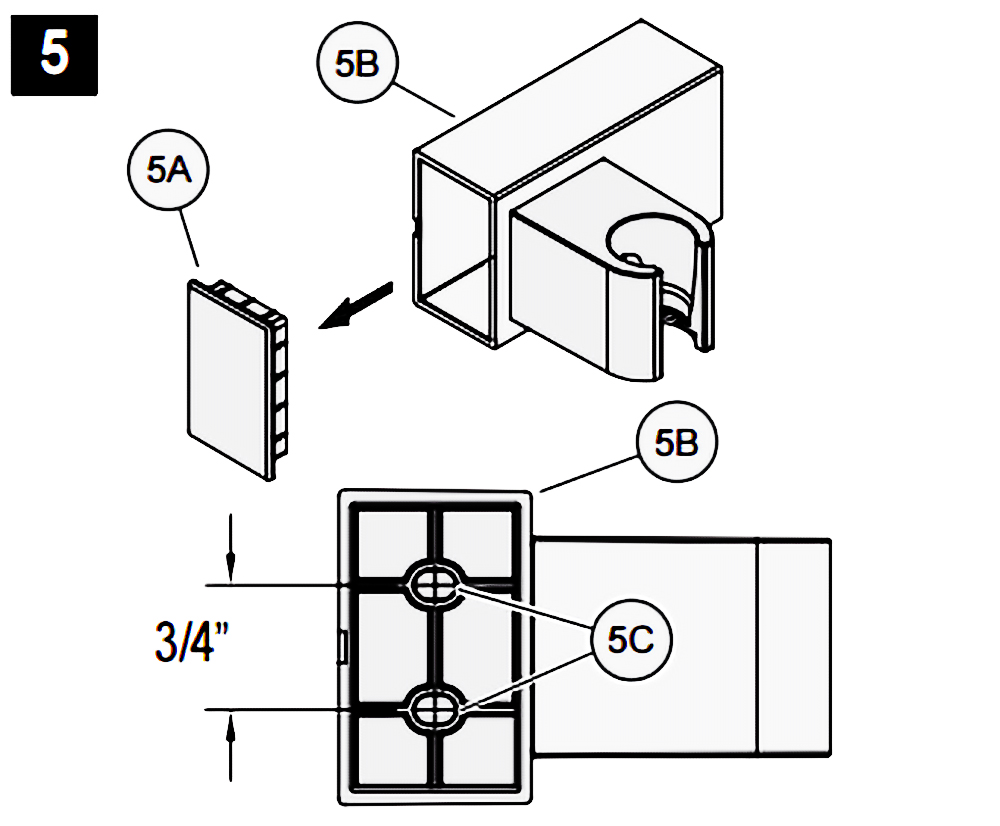
5. HOLE LOCATIONS FOR WALL MOUNT
Remove Front Cover (5A) from Wall Mount (5B). Use Wall Mount Screw Holes (5C) to place the desired location. Using a punch or awl, tap the screw hole locations. Holes must be vertically aligned.
6. ANCHOR INSTALLATION
Drill two 1/4” dia. Holes (6A). If installing into a studs drill two 1/8” dia. holes and do not use Anchors (6B). Insert Anchors (6B) into Holes (6A) and tap flush with wall.
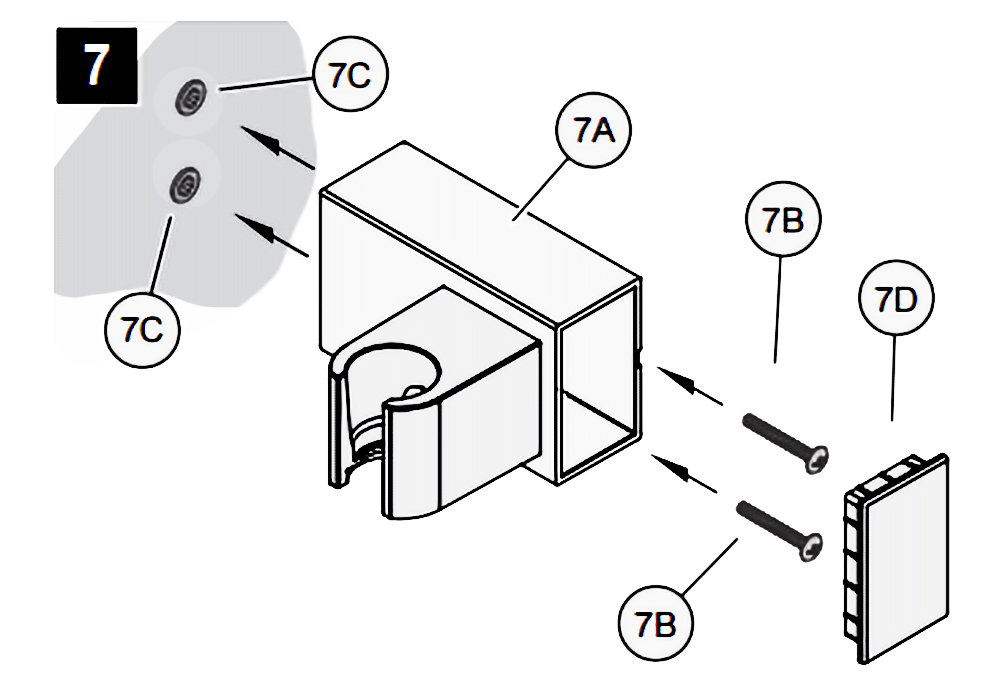
7. WALL MOUNT INSTALLATION
Place Wall Mount (7A) into wall and inset Mounting Screws (7B) through Wall Mount Holes (7C) and tighten until Wall Mount (7A) is flush with the wall. Do Not Over Tighten! Insert Front Cover (7D) into Wall Mount (7A)
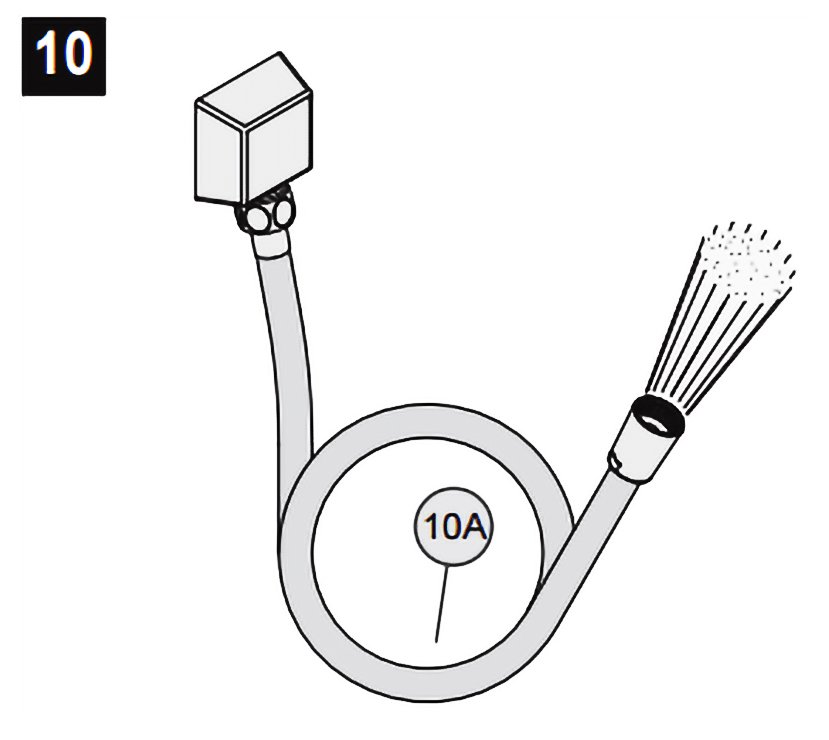
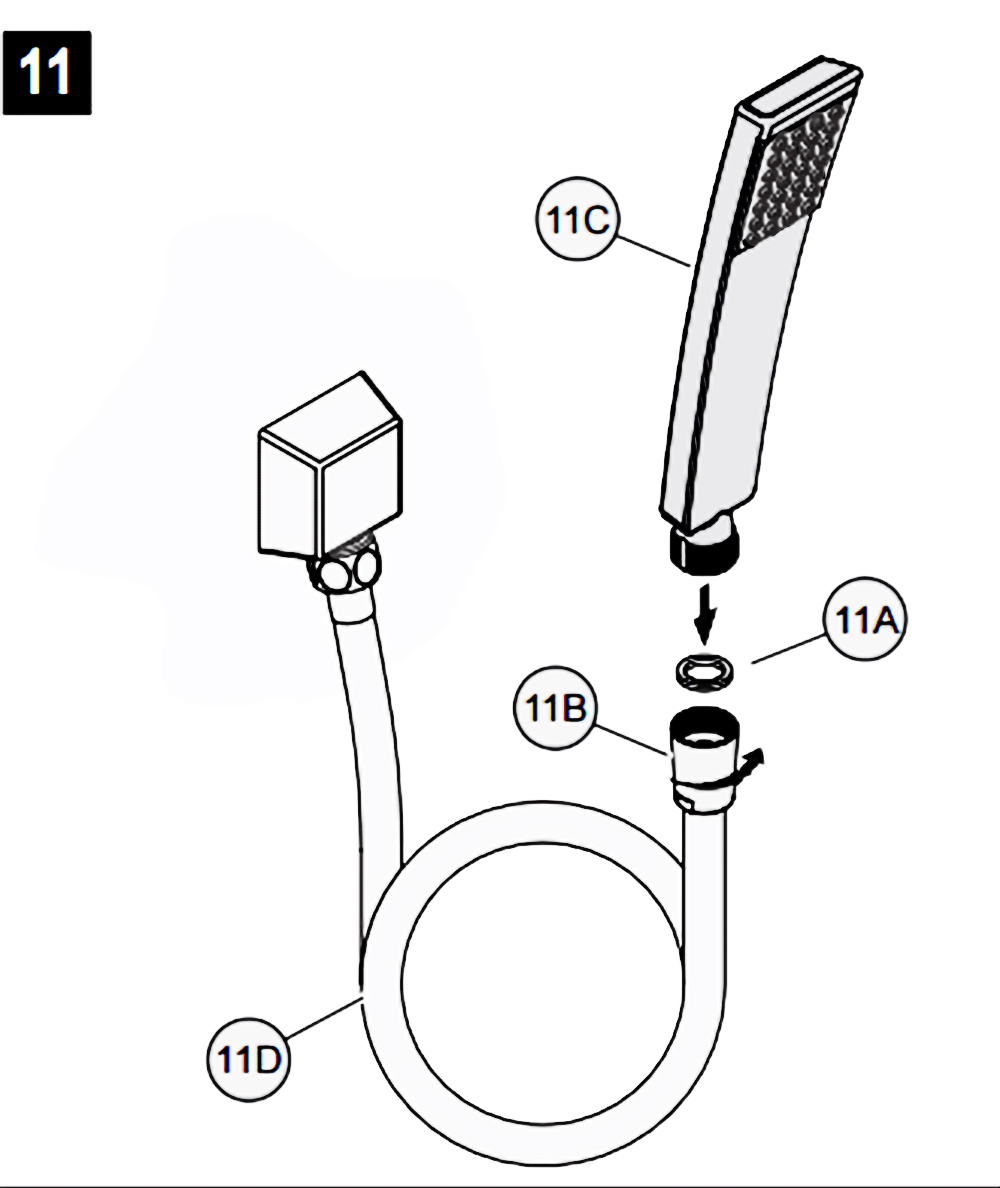
8. DROP ELBOW & HOSE INSTALLATION
Apply PTFE plumbers tape on both ends of Pipe Nipple (8A) (not included). Screw Pipe Nipple (8A) into the elbow inside the wall. The Pipe Nipple (8A) i