How to install Fontana Sita Platinum LED Shower Head Set With Diverter, Mixer And LED Spout | LED-SHOWER-HEAD-FLED6104
| | Visit Product Page  | | Installation Instructions for Bathroom Shower Set
- Before you begin, please read the installation instructions below. Observe all local building and safety codes.
- Unpack and inspect the product for any shipping damages. If you find damages, do not install.
- Please note all products must be installed by a professional and certified plumber otherwise warranty might be voided.
| shower | 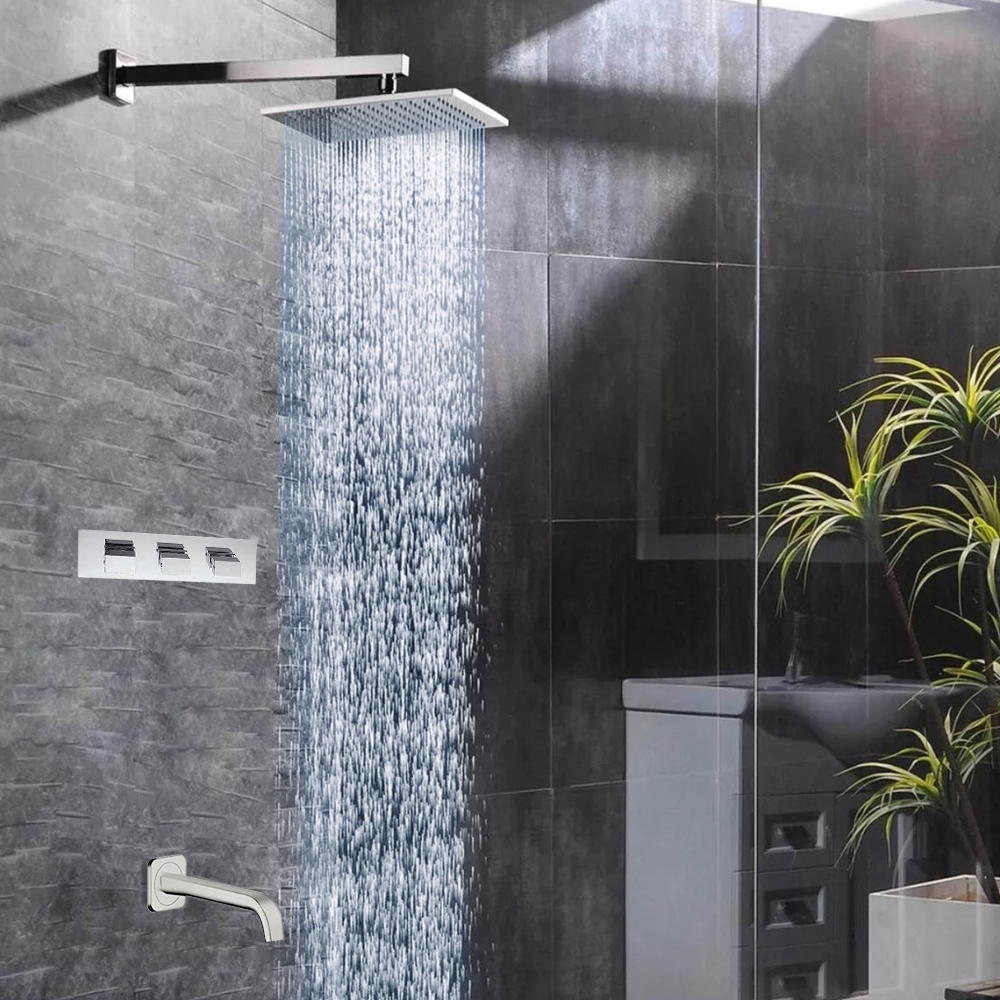 |
Installation Instruction
Product Package:
Additional Information:
- The LED lights are powered by water flow and will be activated once the water is turned on.
- The LED light will change its color by detecting water temperature:
- 0-30 °C (32-86 °F): Blue LED
- 30-40 °C (86-104 °F): Green LED
- 40-50 °C (104-122 °F): Red LED
- 50-100 °C (122-212 °F): Flashing Red LED
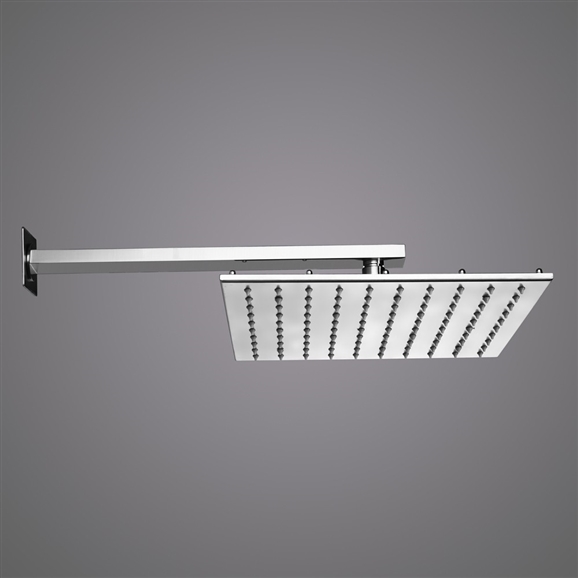
Wall Mount Shower Head Installation Instructions

| | | | | | | | Step 1: | shower | Step 2: | | | | 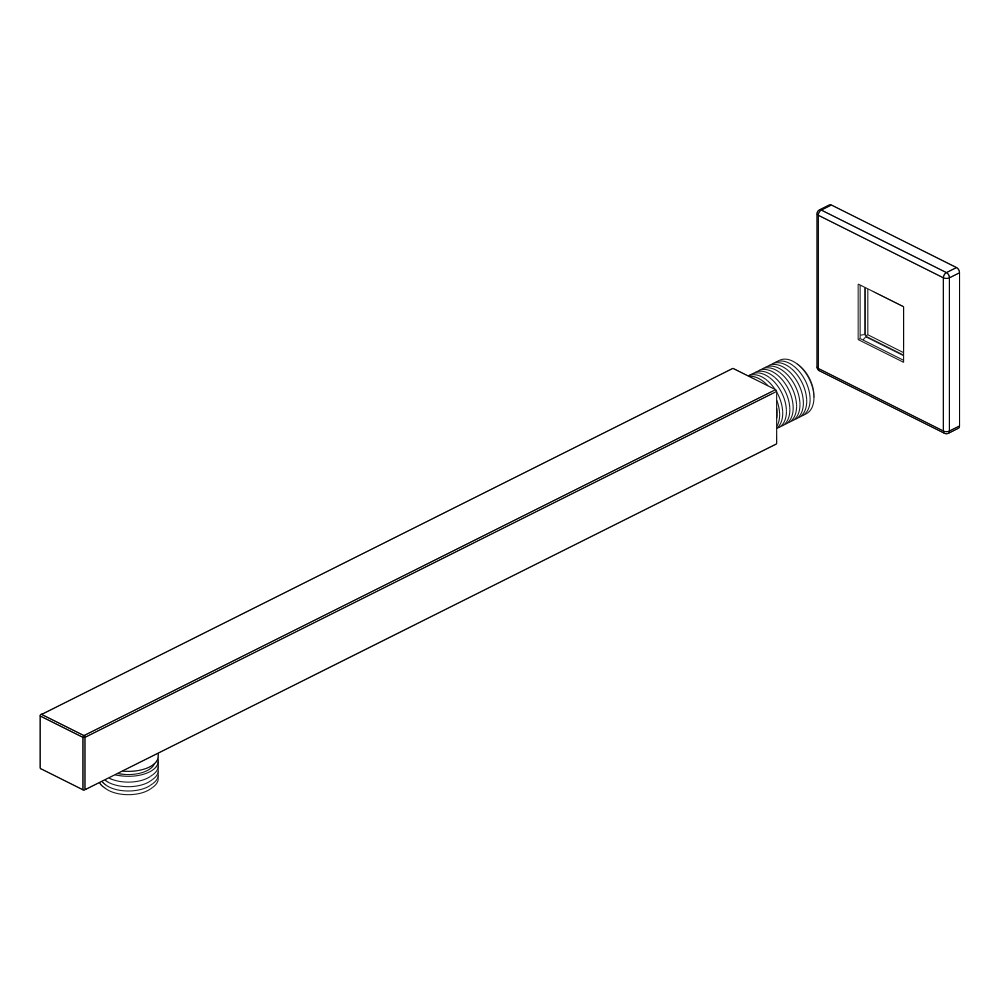 | | 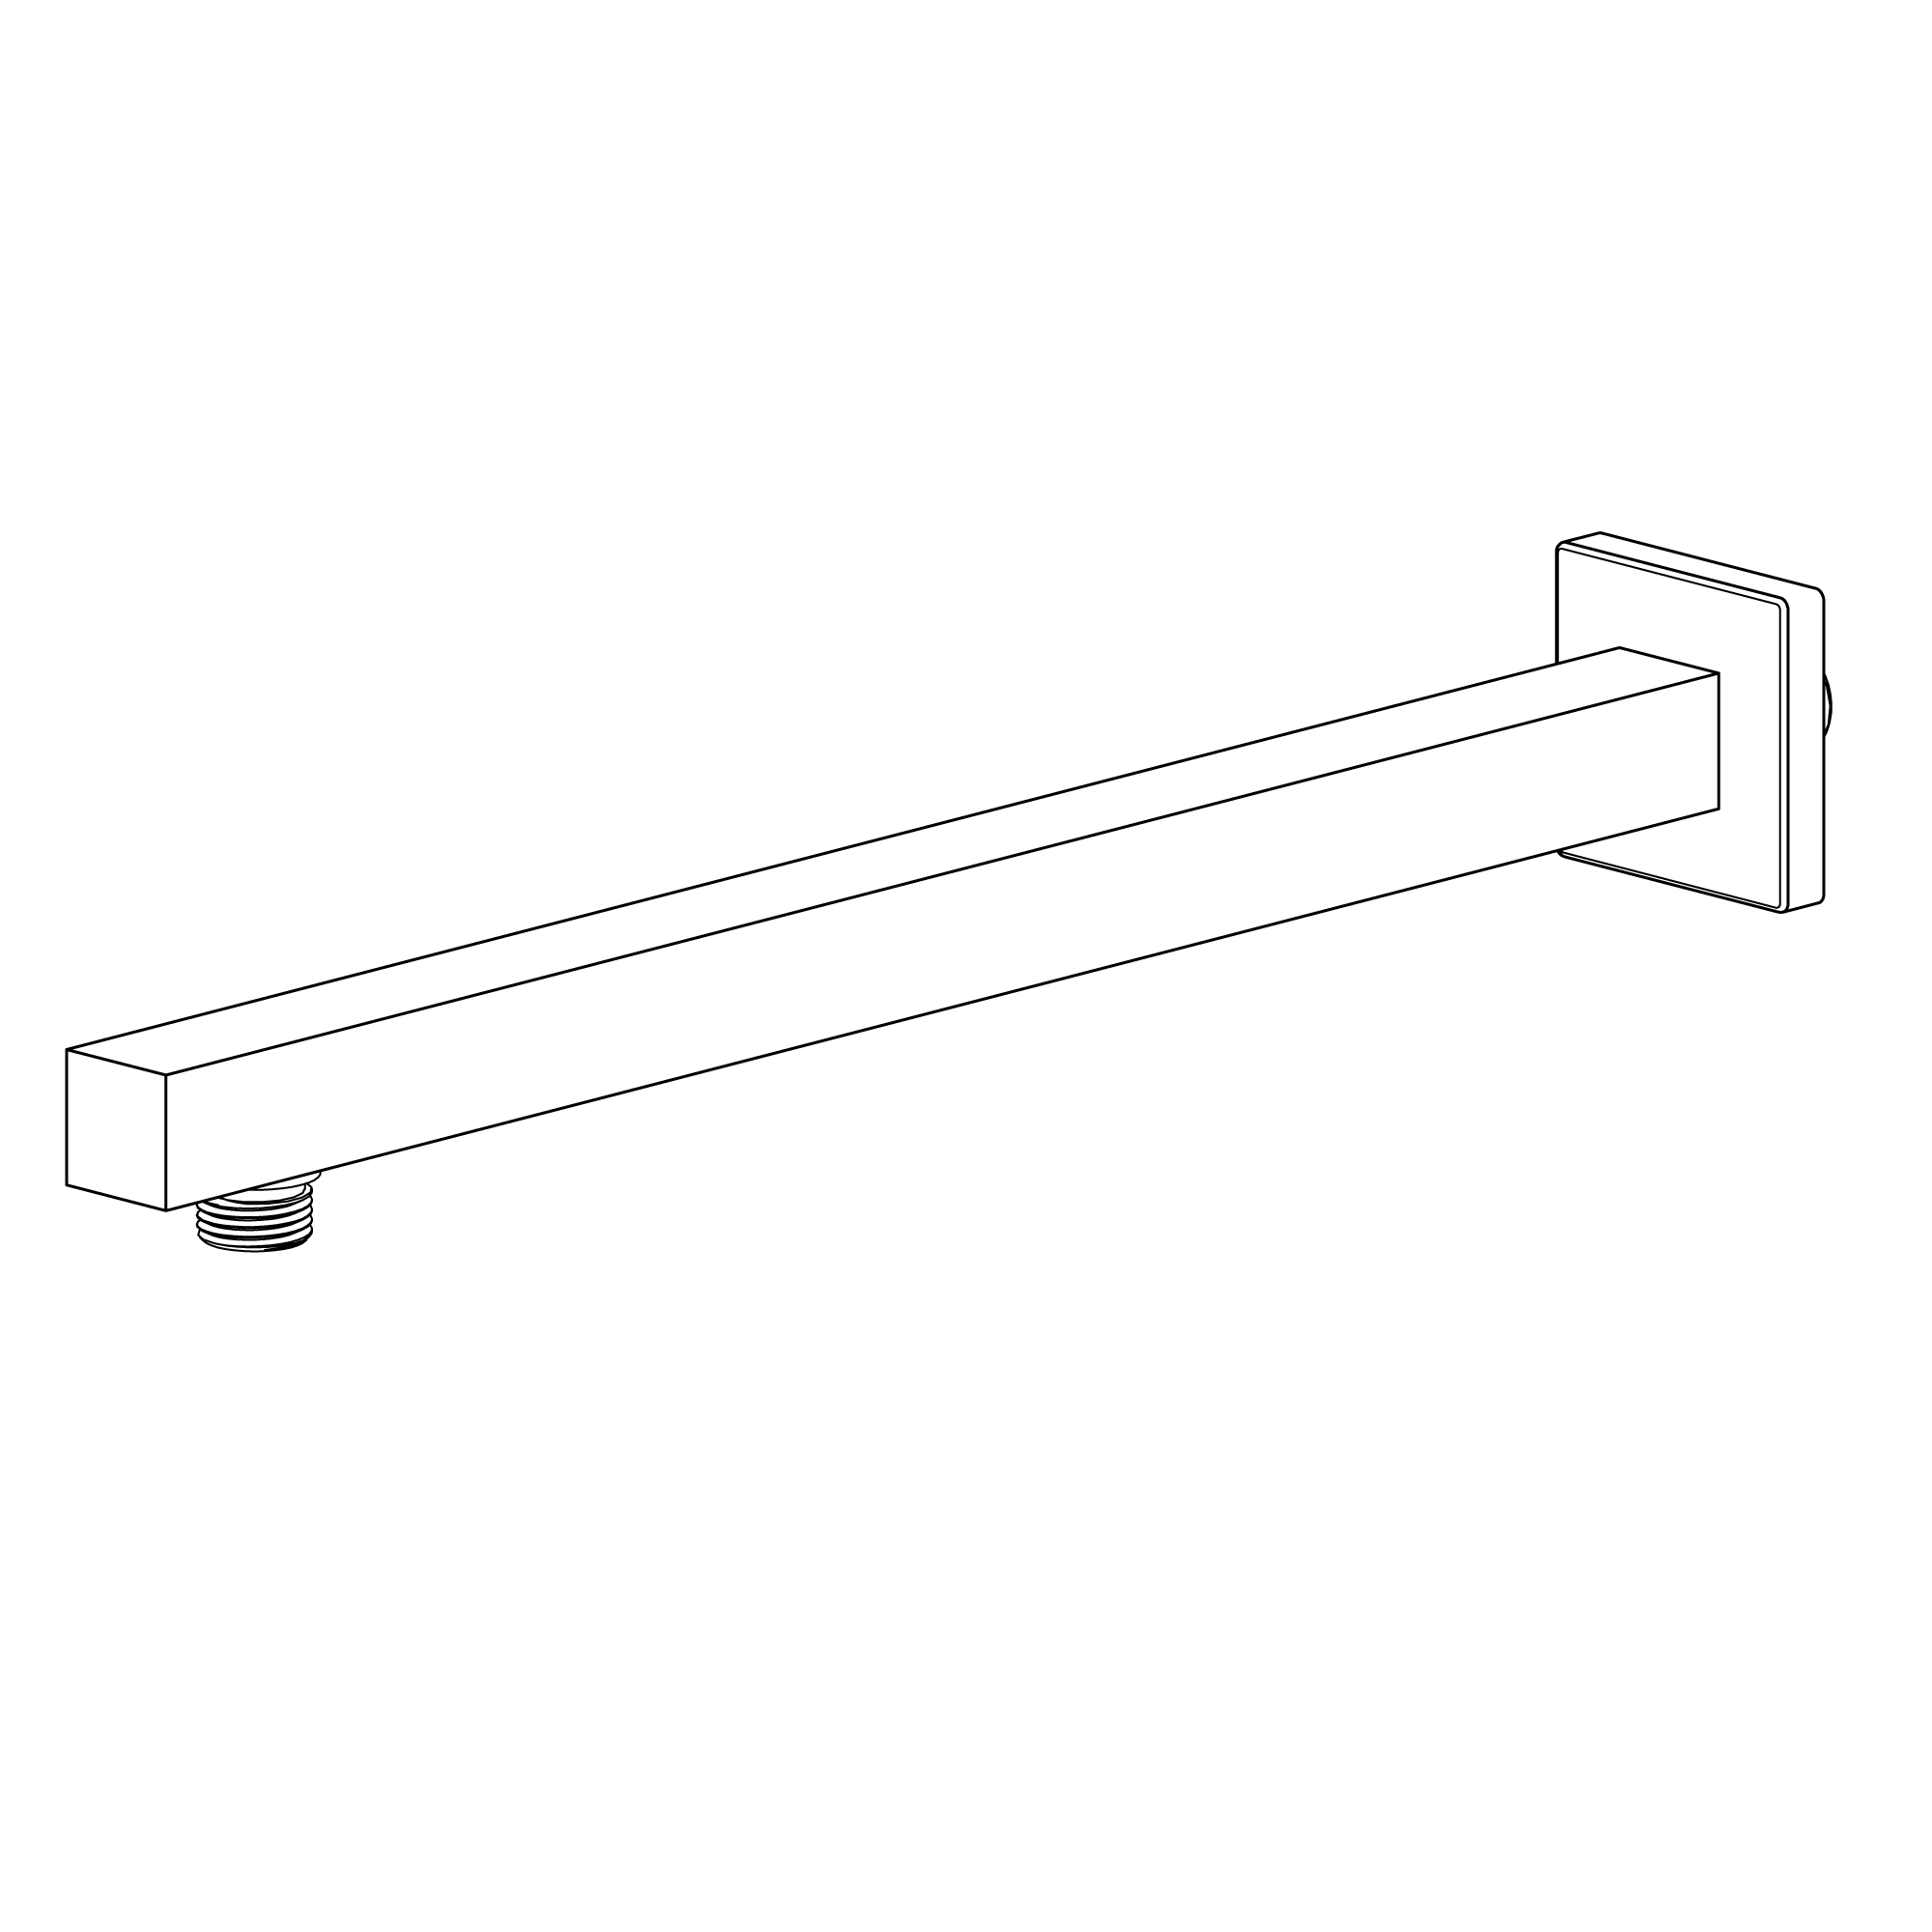 |  | | |
| | | | | | Step 3: | | Step 4: | | | |  | | 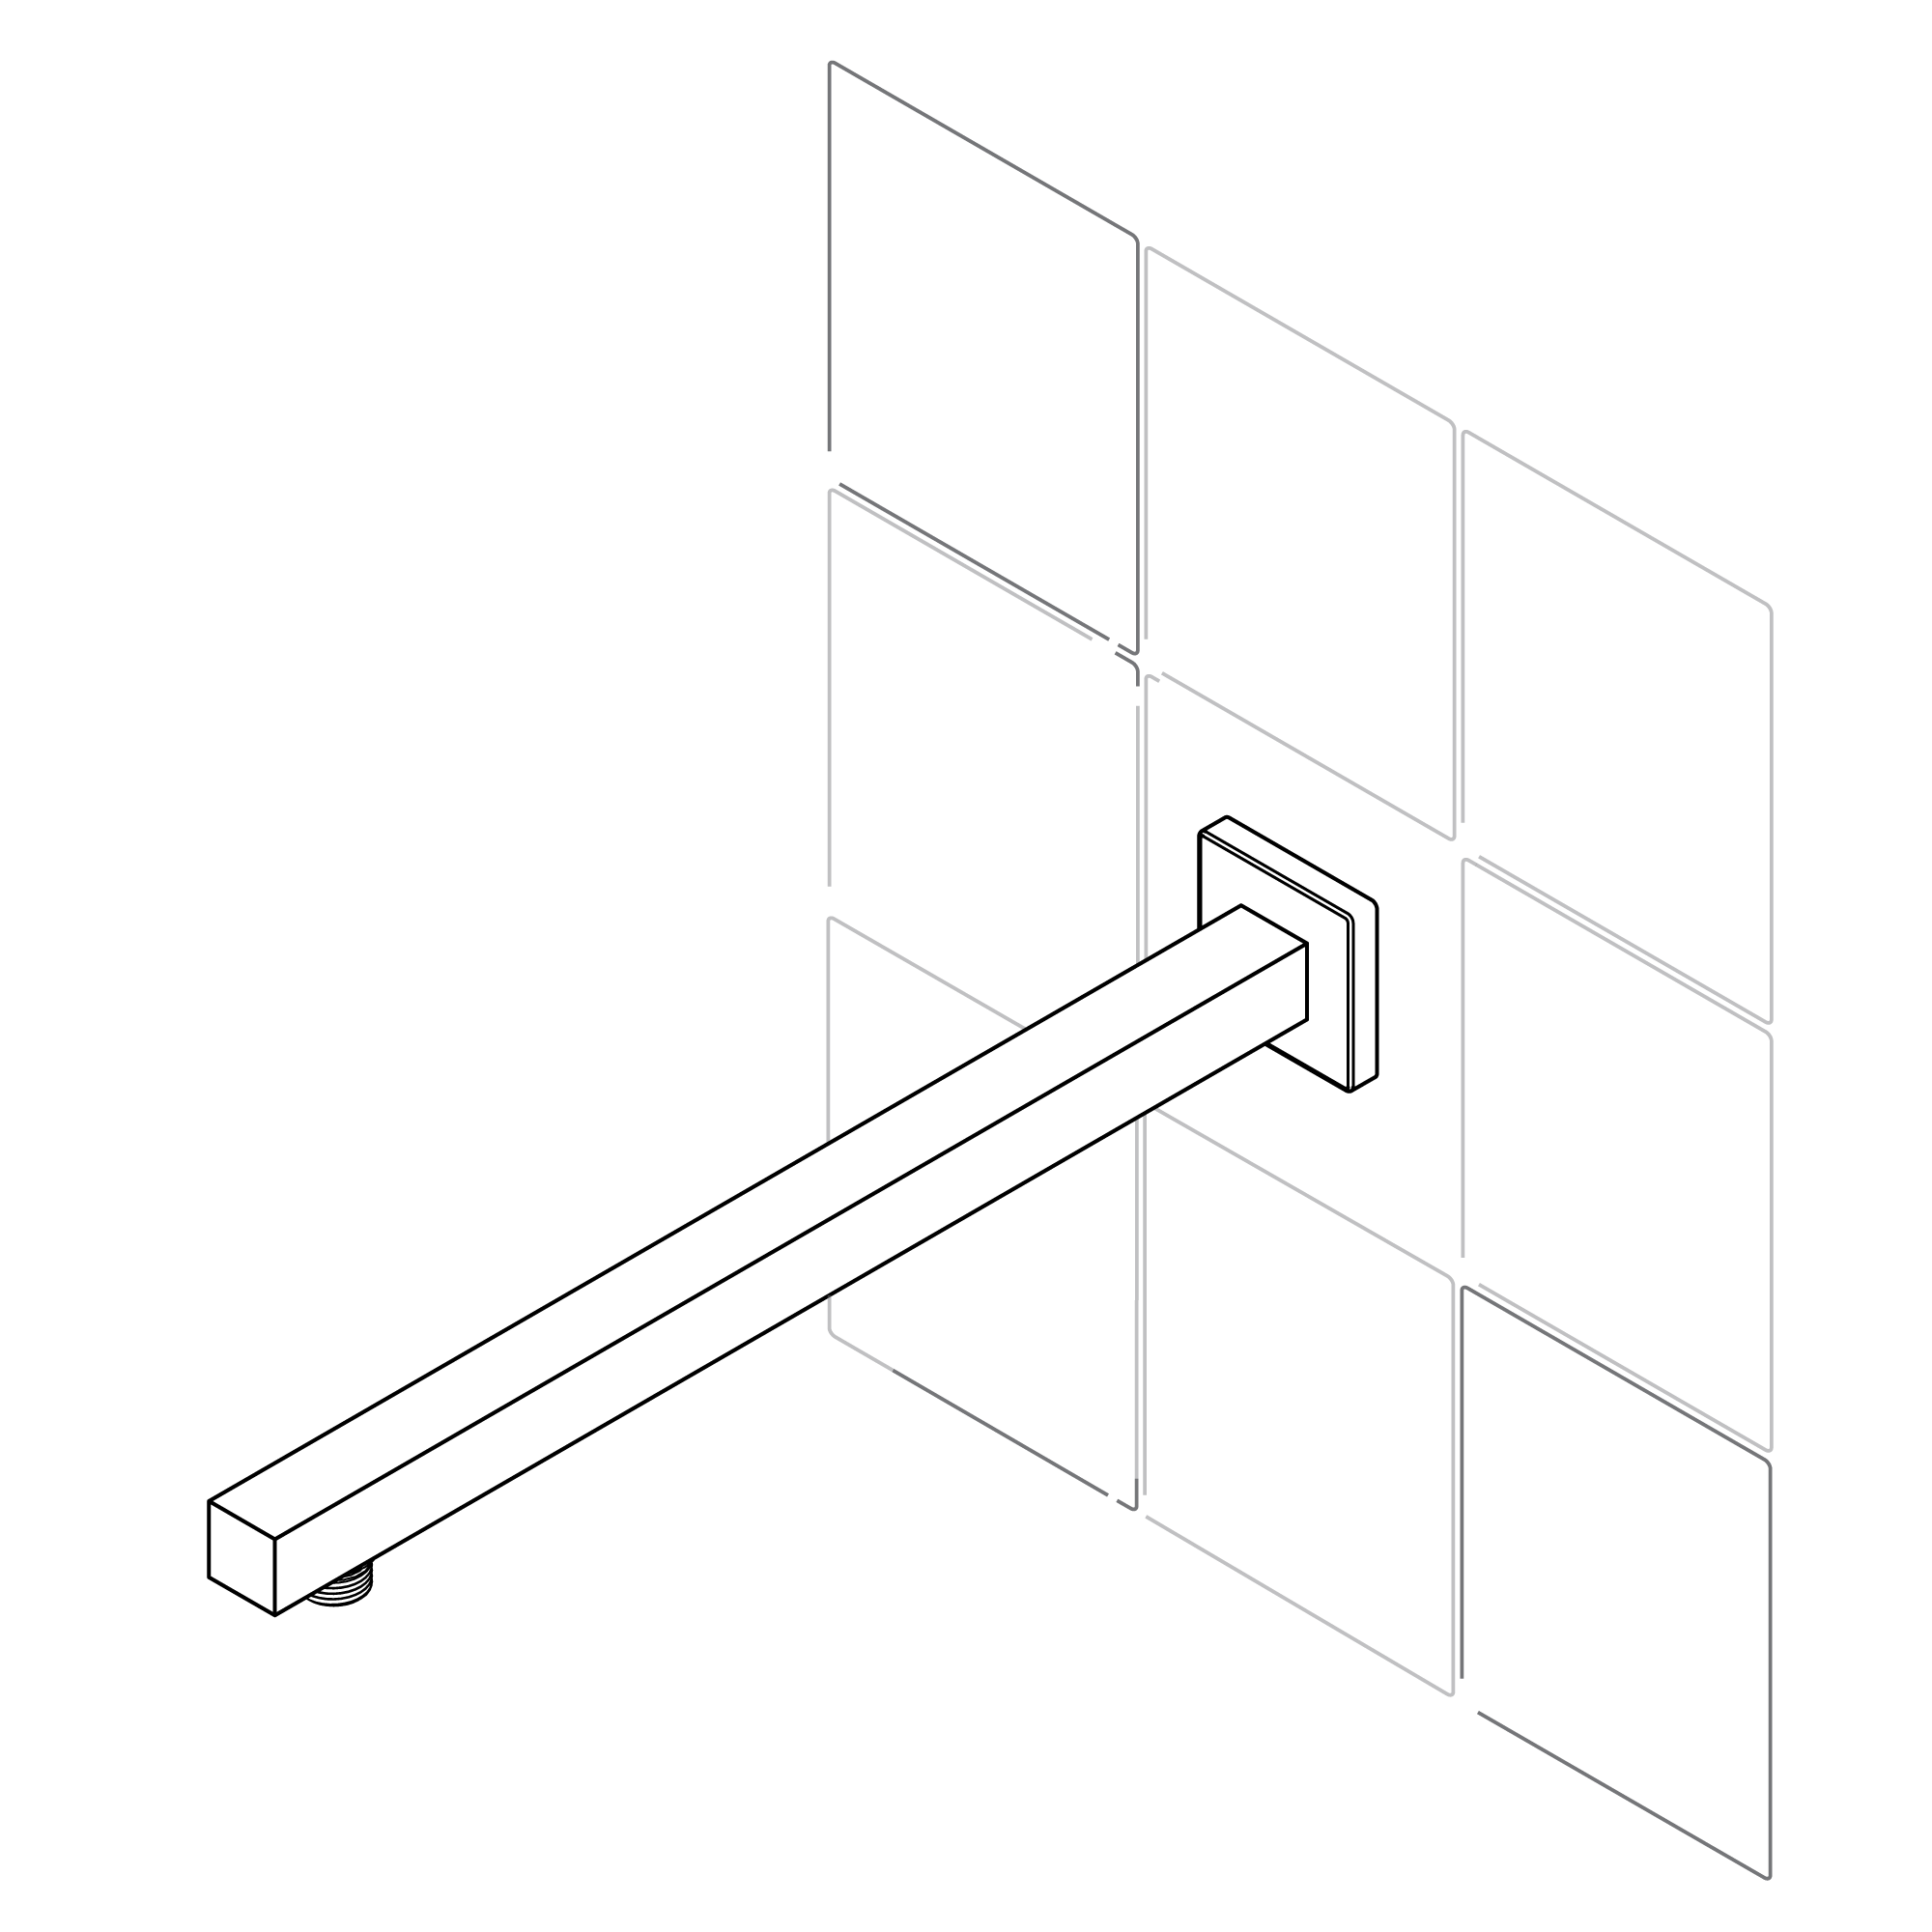 | | | | | | | | | | Step 5: | | Step 6: | | | | 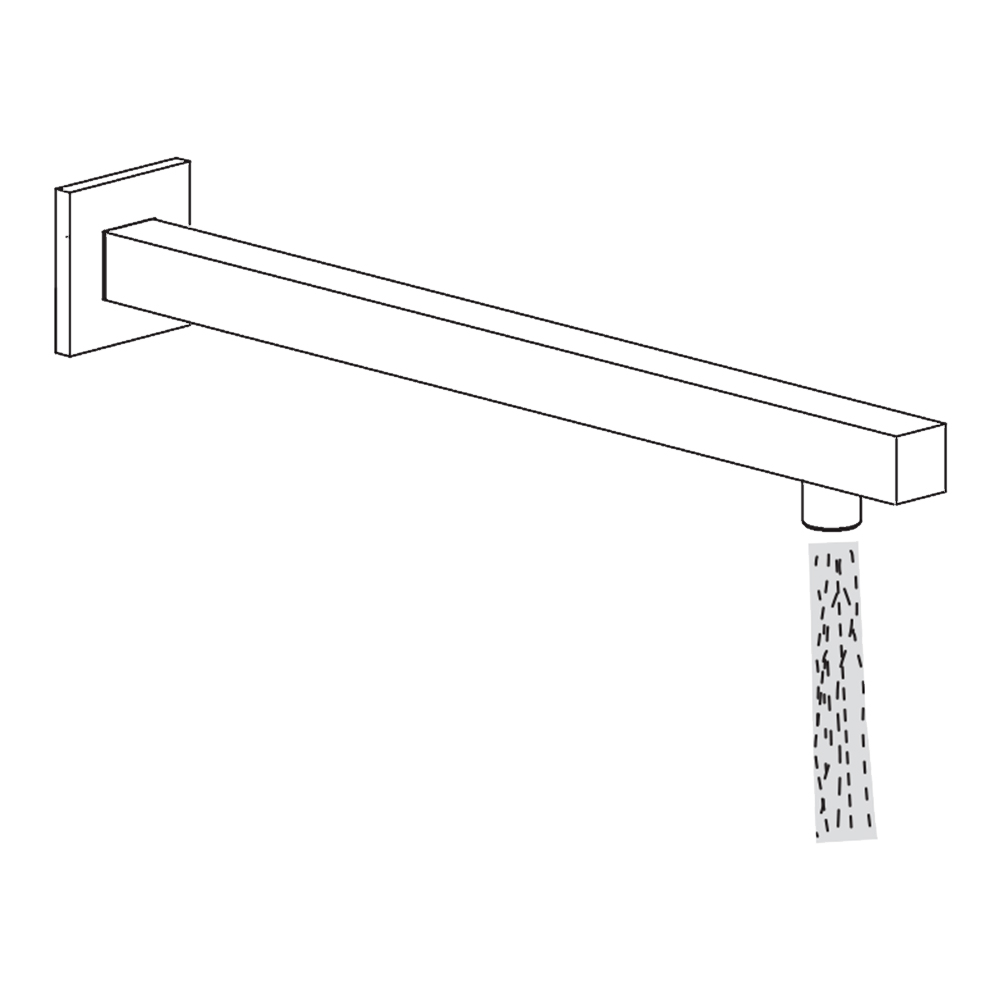 | | 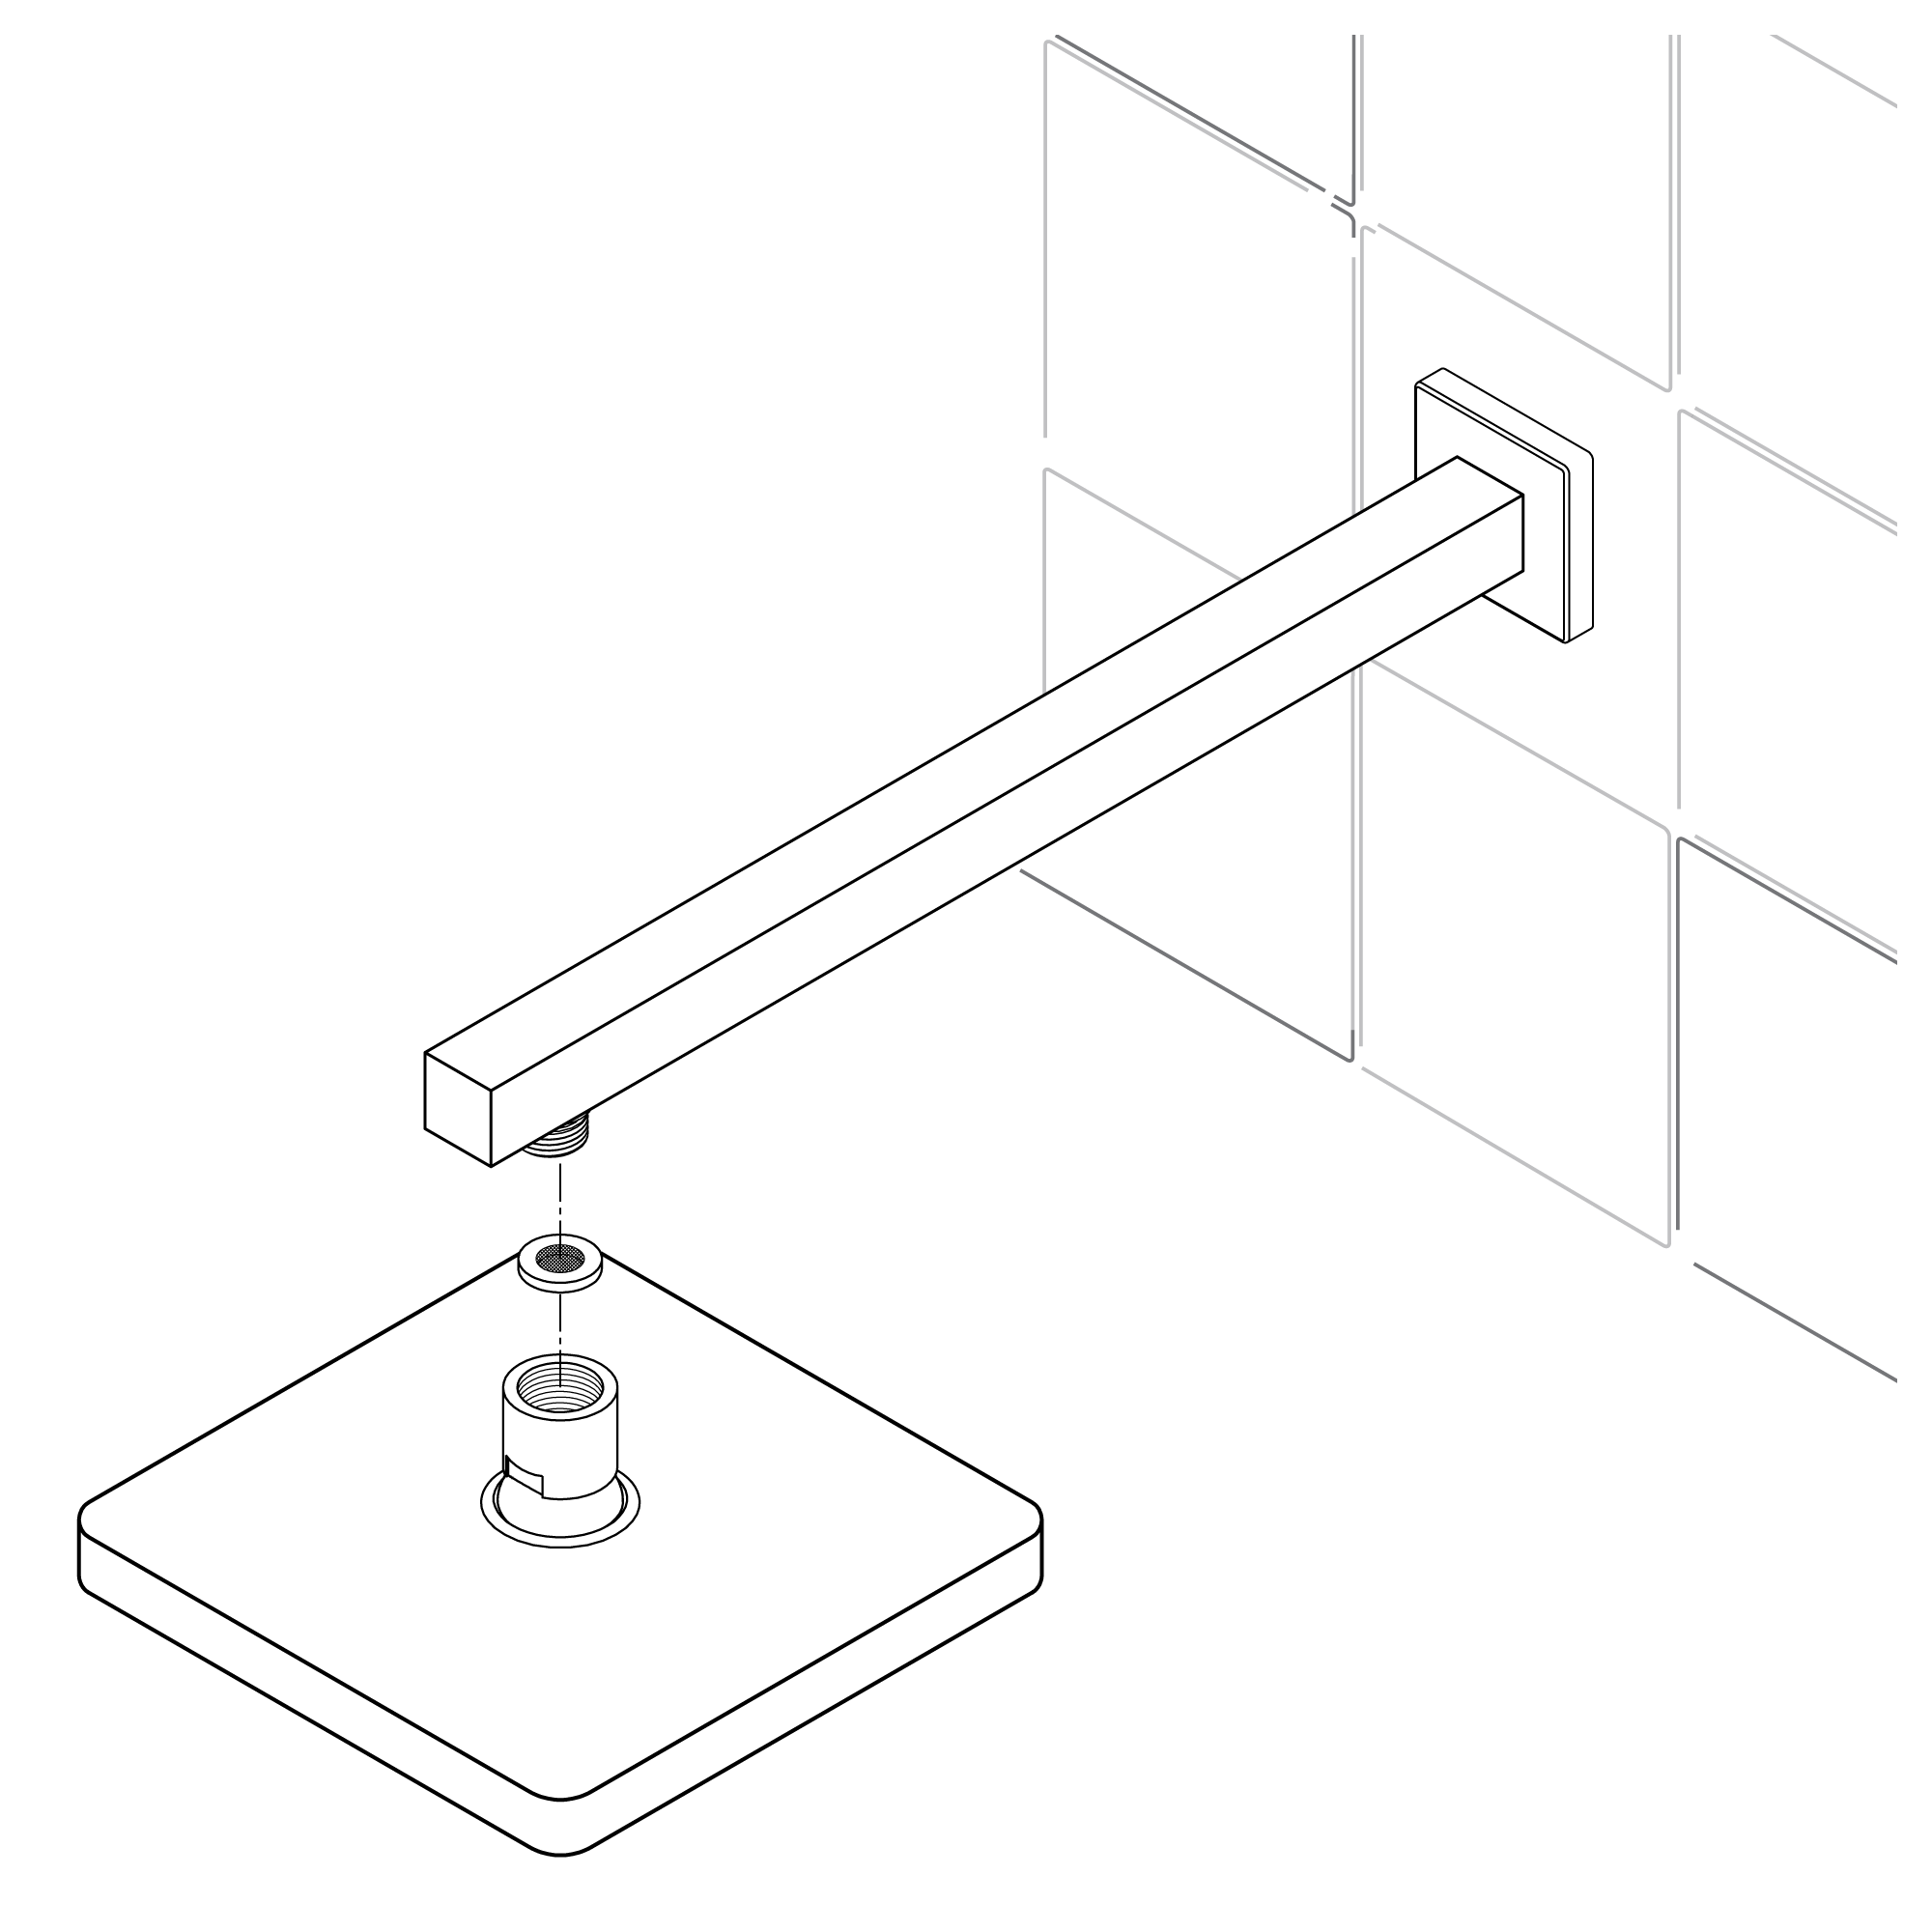 | | | | | | | | | | Step 7: | | Step 8: | | | | 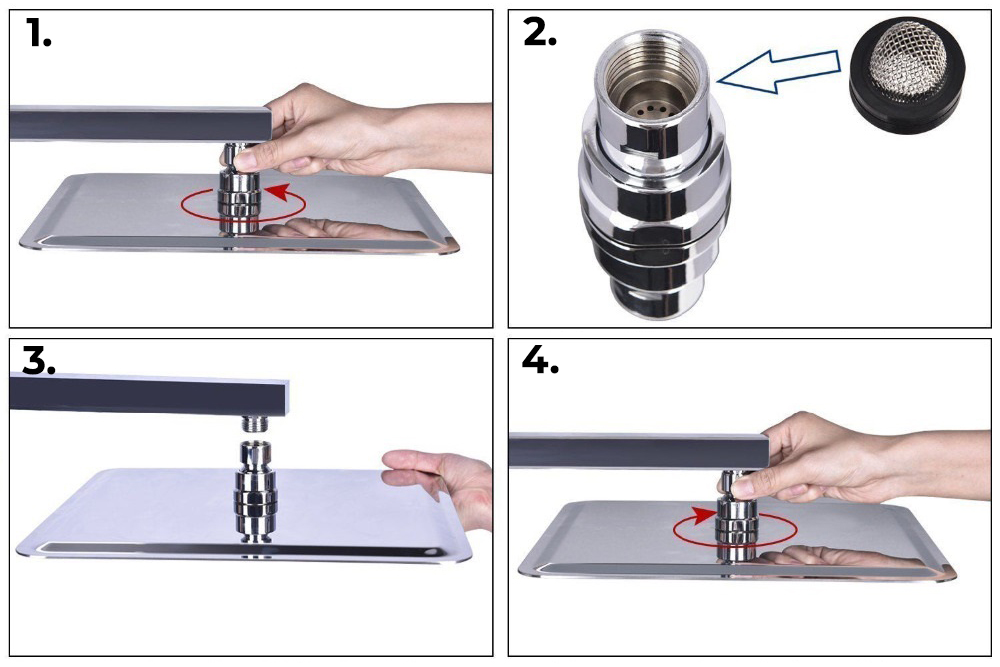 | |  | |
| | | | | |
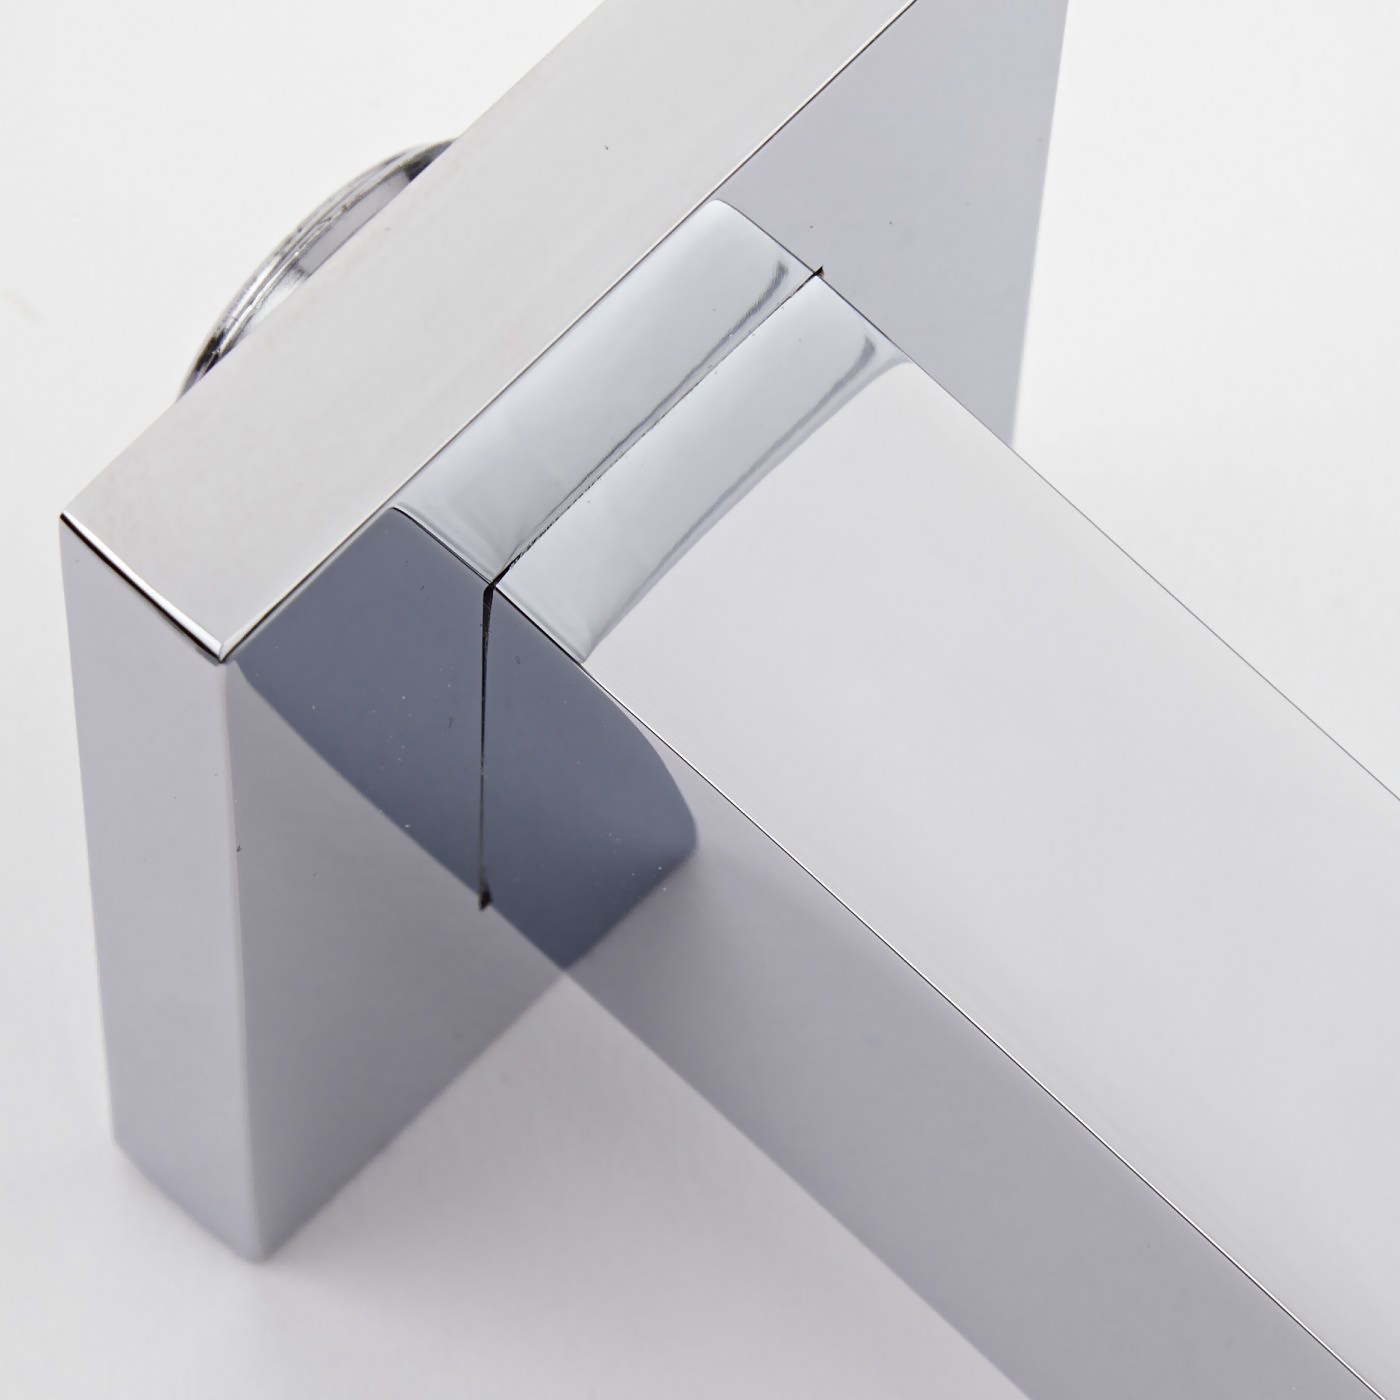
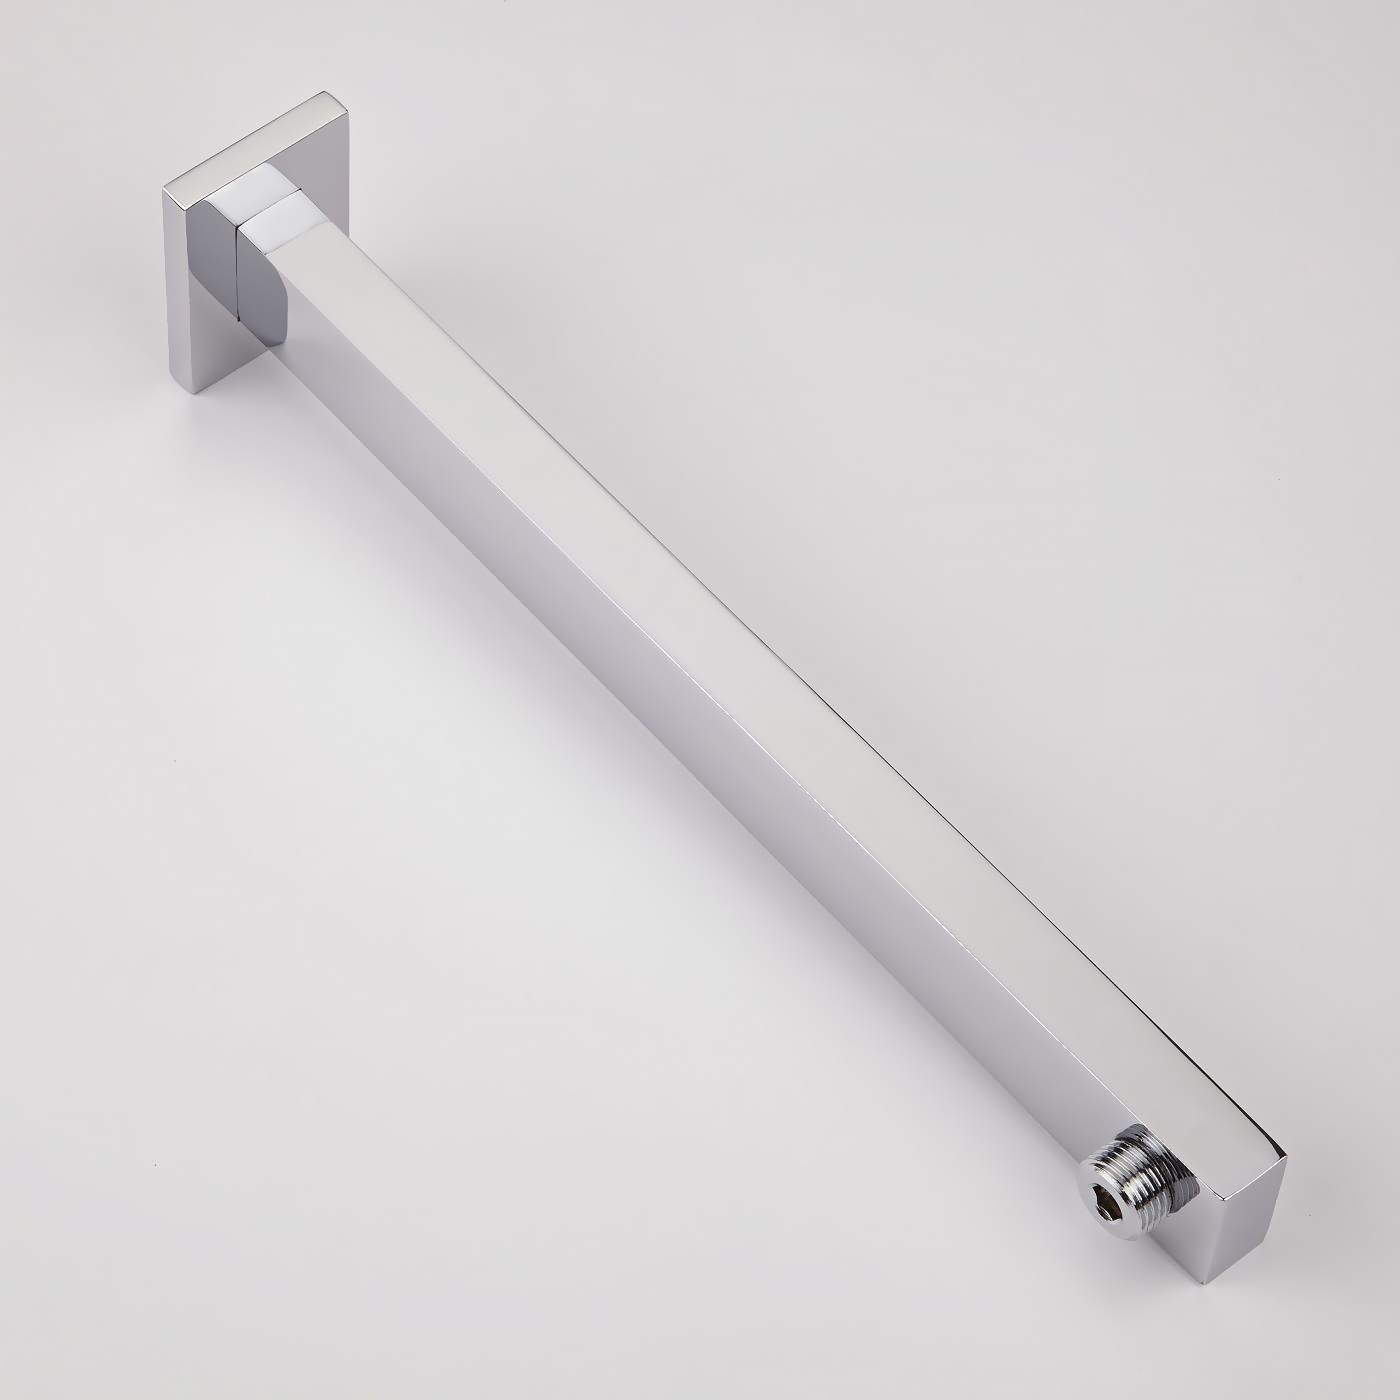
1. Apply plumber's tape to the threads on both ends of the shower arm and slide on the decorative escutcheon.
2. Insert the new arm into the fitting in the wall and twist to tighten. Finish tightening with your adjustable wrench. Wrap a dry cloth around the shower arm to protect the finish while tightening with an adjustable wrench.
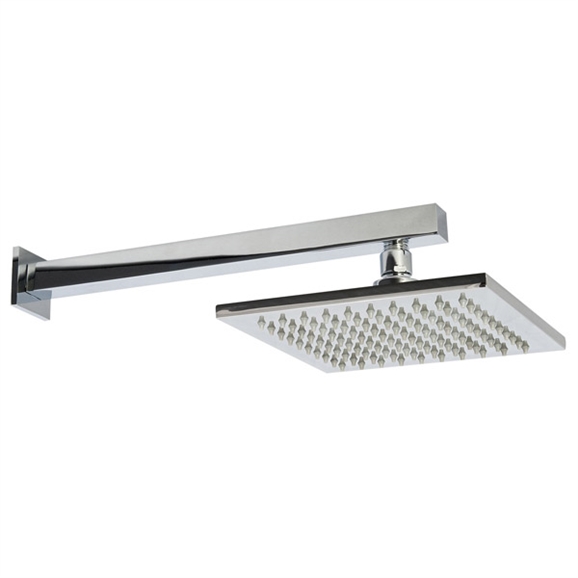
3. Thread the new showerhead onto the arm and hand-tighten. Hold the shower arm in place with groove joint pliers and finish tightening the shower head with your adjustable wrench. Wrap both in a dry cloth to protect the finish.
4. Before securing the decorative escutcheon, turn on the water supply to make sure that all connections are tight and there is no leaking. If no leaks are detected, continue with the installation. If leakage does occur, use your adjustable wrench to tighten the connections as necessary.
5. Apply a bead if silicone sealant to the back of the escutcheon and press firmly into place against the installation surface. Wipe away any excess sealant with your damp cloth.
| | |  |

Thermostatic Mixer Installation Instructions| Shower Mixer Dimension | 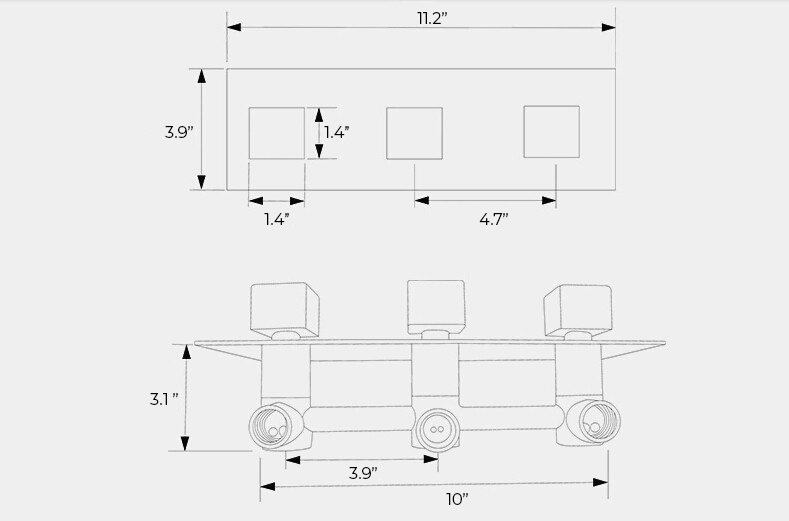
|
Shower Mixer ConnectionStep 1
| mixer | Step 2
| Step 3

| | Step 4

| |
|  | |  |
Once the shower valve has been installed the wall surface should be finished and tiled up-to the valve. Rear access is required to allow for future servicing and maintenance of the valve filters. The thermostatic cartridge is accessible from the front.
Before Installation Flush through the pipework to ensure removal of any debris. Turn off the mains water supply and close any isolating valves.
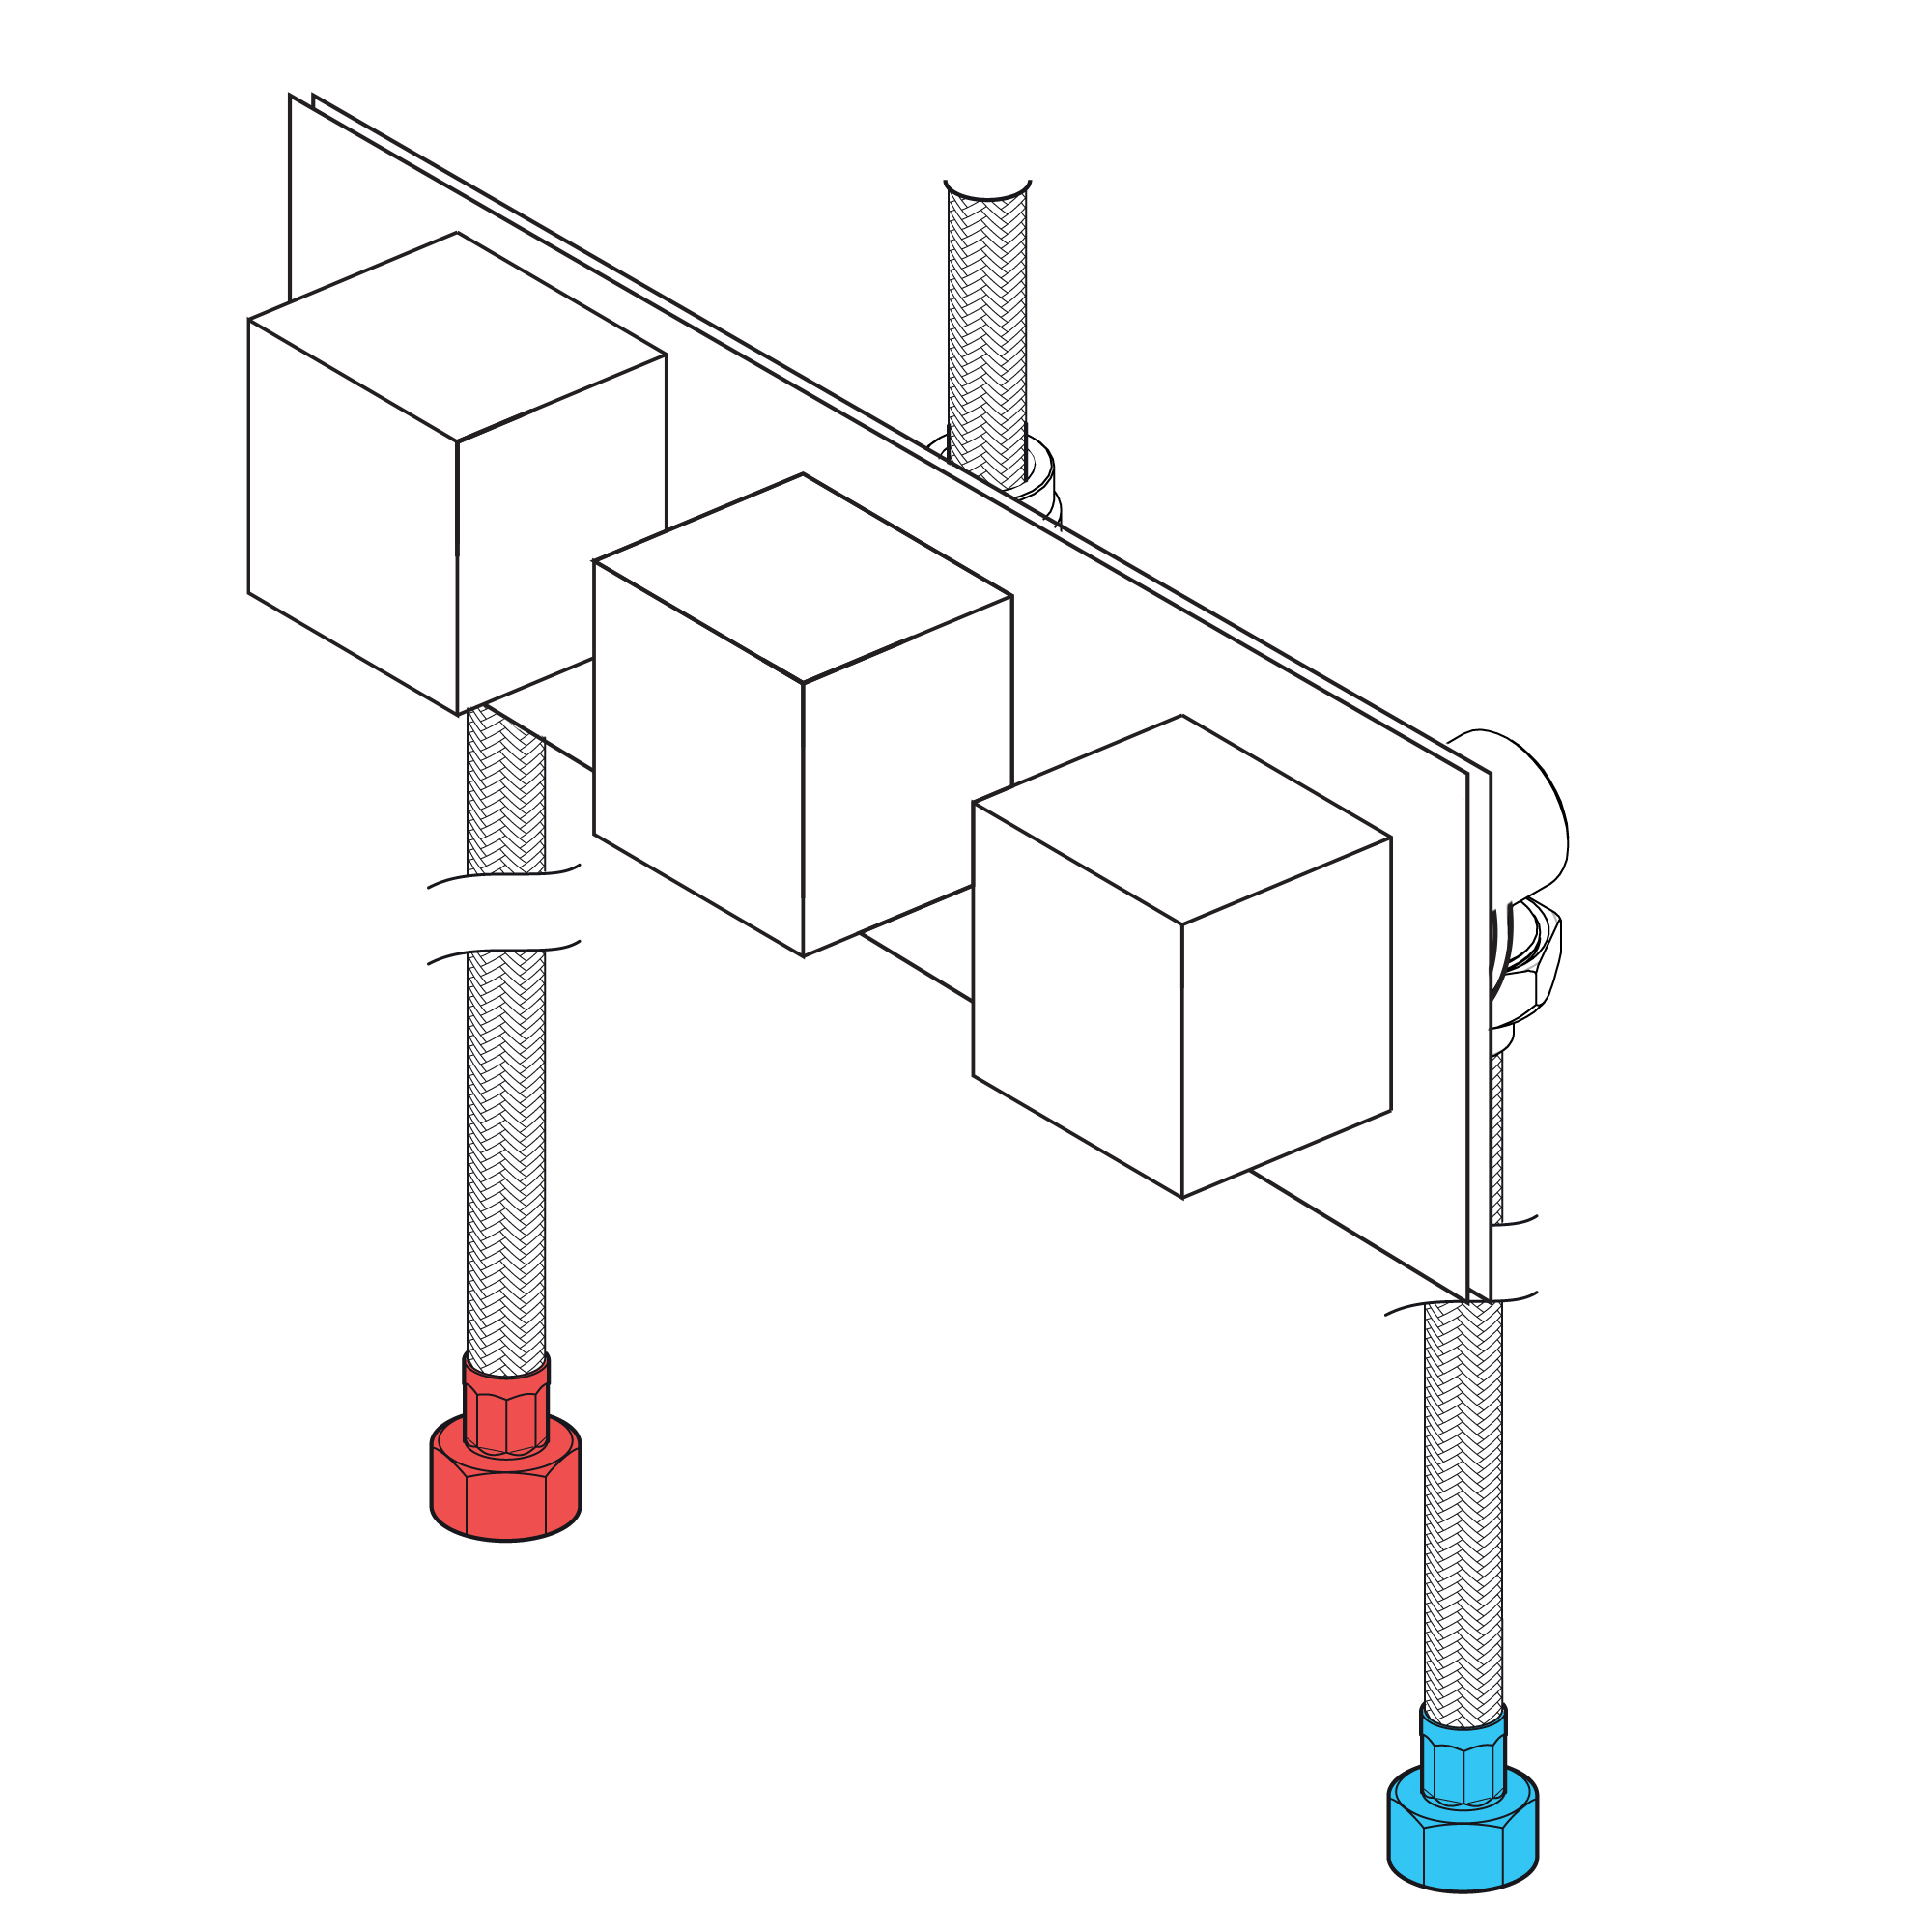
1. Install shower valve Install suitable battens (if required) onto the rear cavity wall. Place the shower valve in the required position and mark the fixing holes. Drill suitable holes and insert the wall plugs (if necessary). Securely attach the shower valve to the wall/battens using the screws supplied.
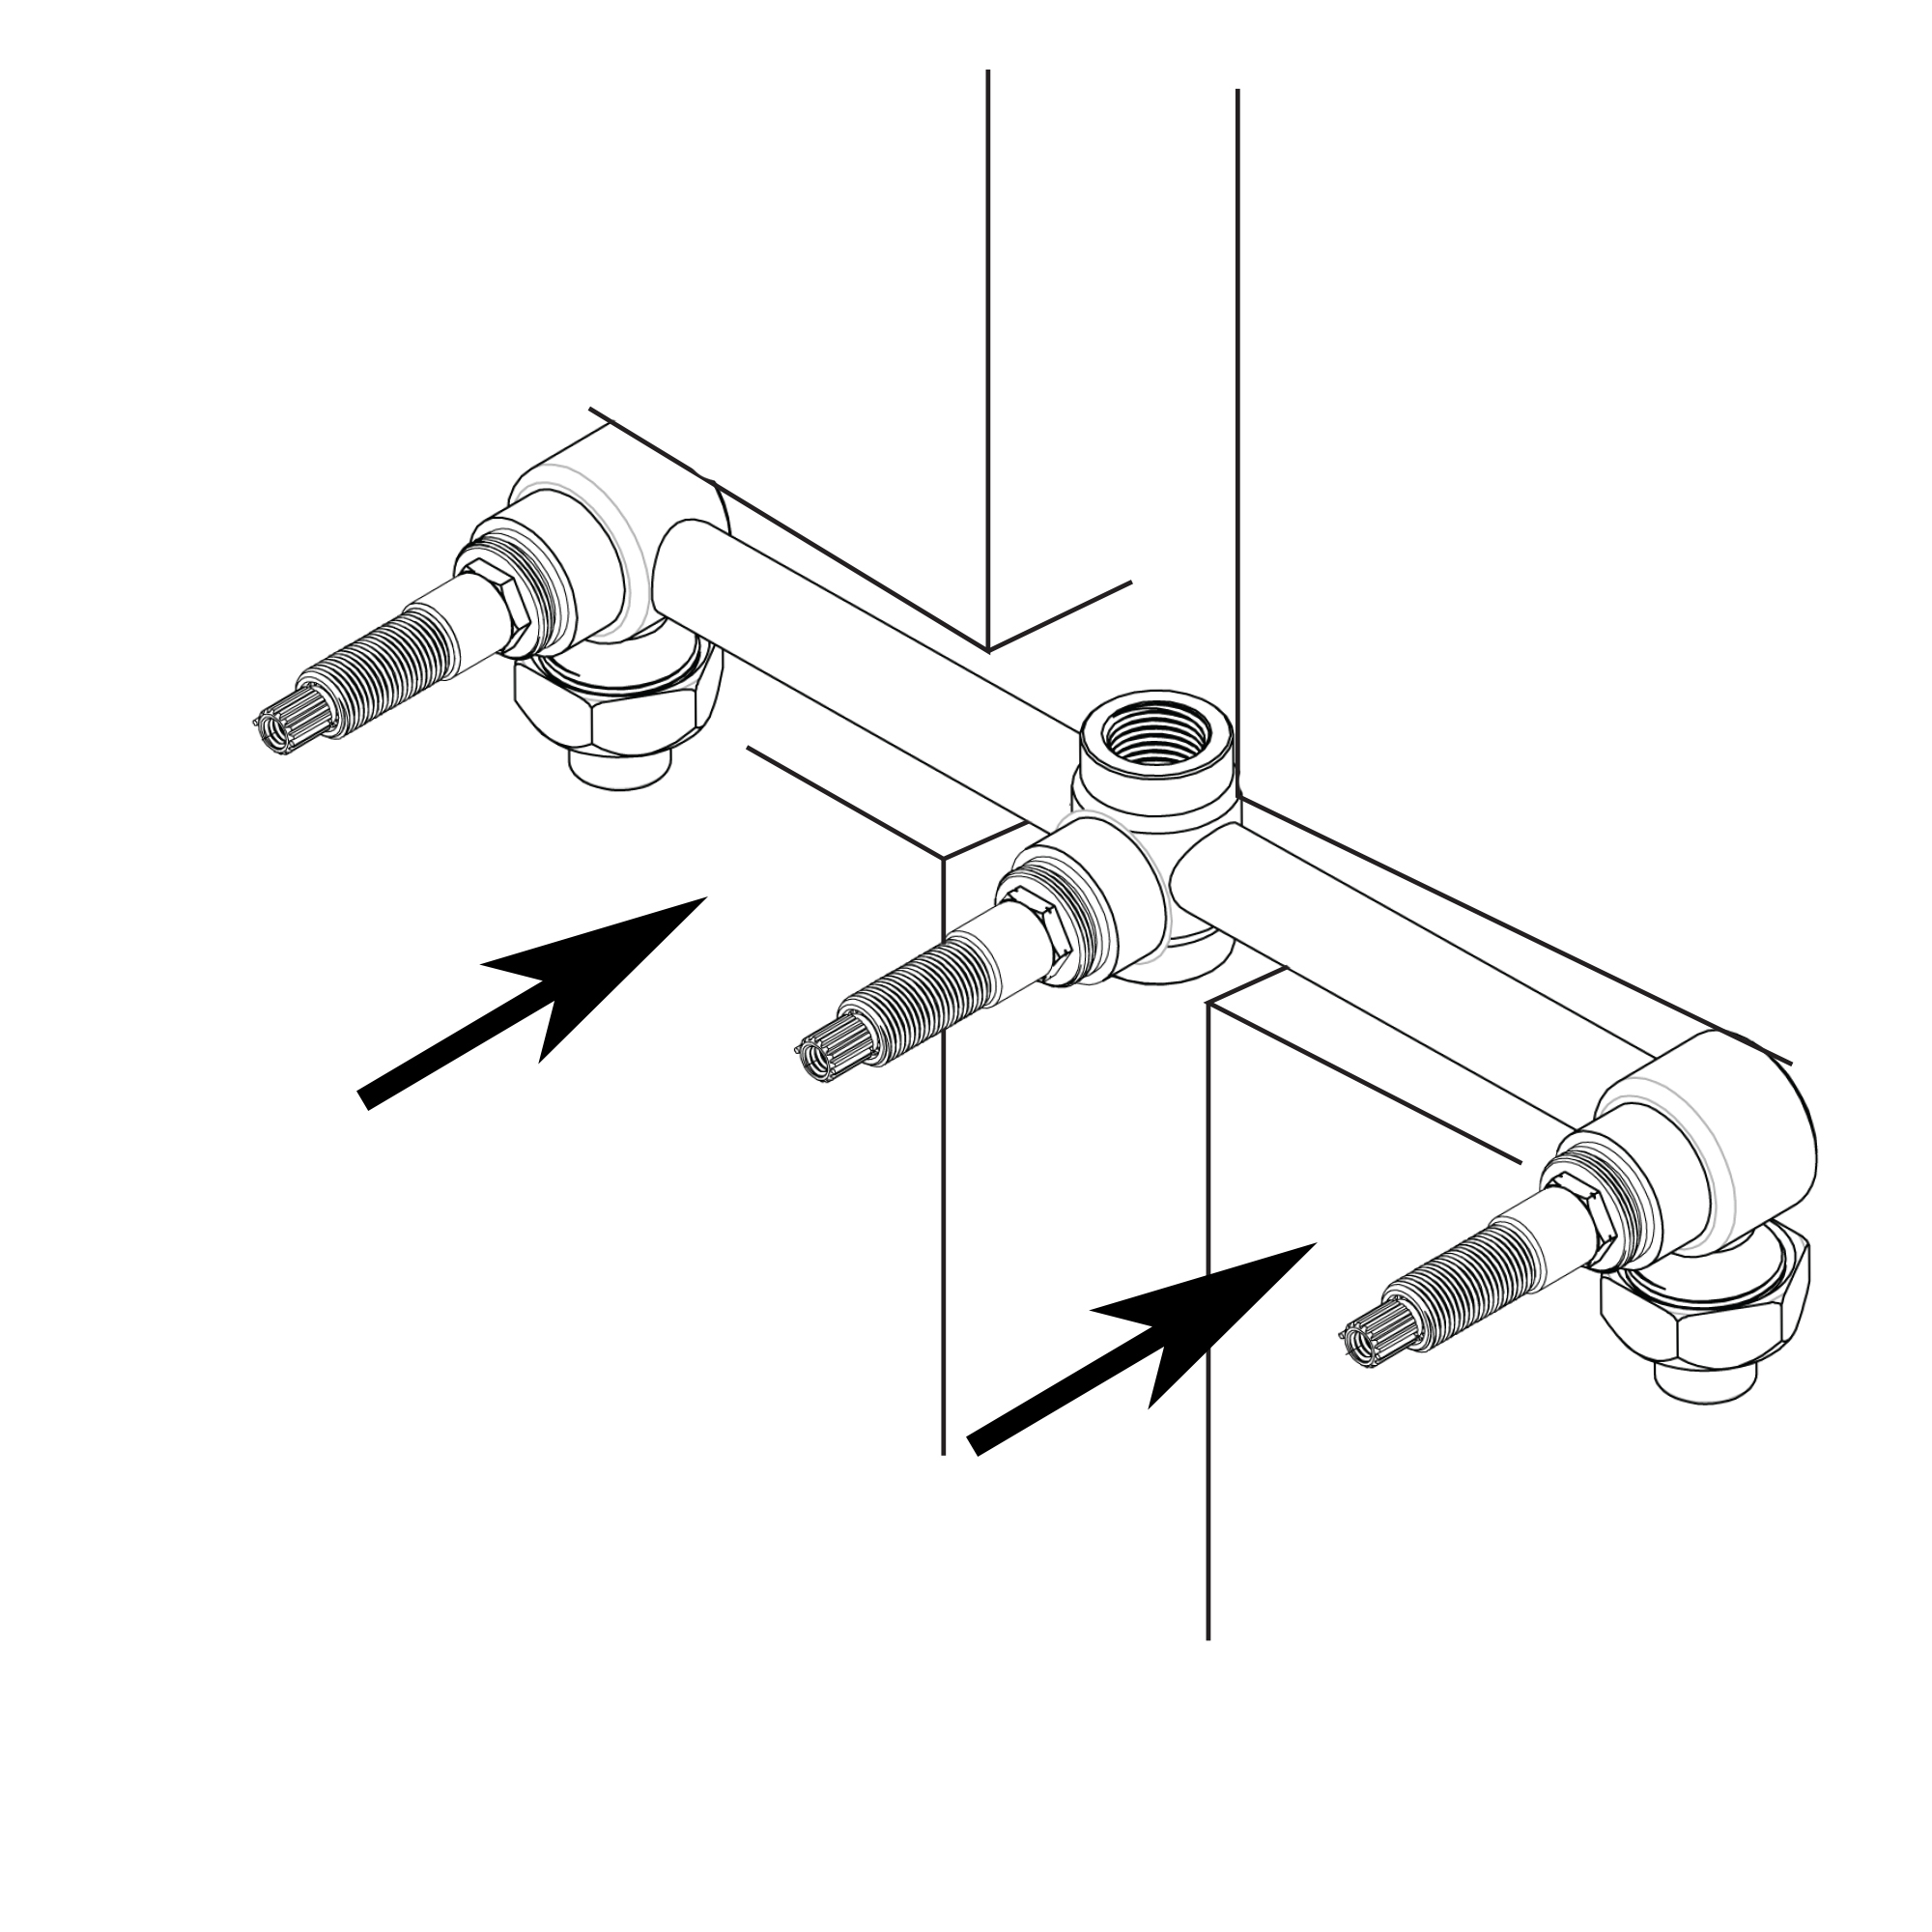
2. Connect water supply pipes Insert 15mm hot and cold water supply pipes into the inlet connections and tighten nuts, ensuring the olives are fitted.
3. Plumb in outlets Insert 15mm pipework into the top and bottom outlets and plumb into the users chosen products. Ensure the olives are fitted when tightening the nuts.
4. Finish wall surface Plasterboard and tile the cavity wall ensuring there is a gap between the tiles and the shower valve.
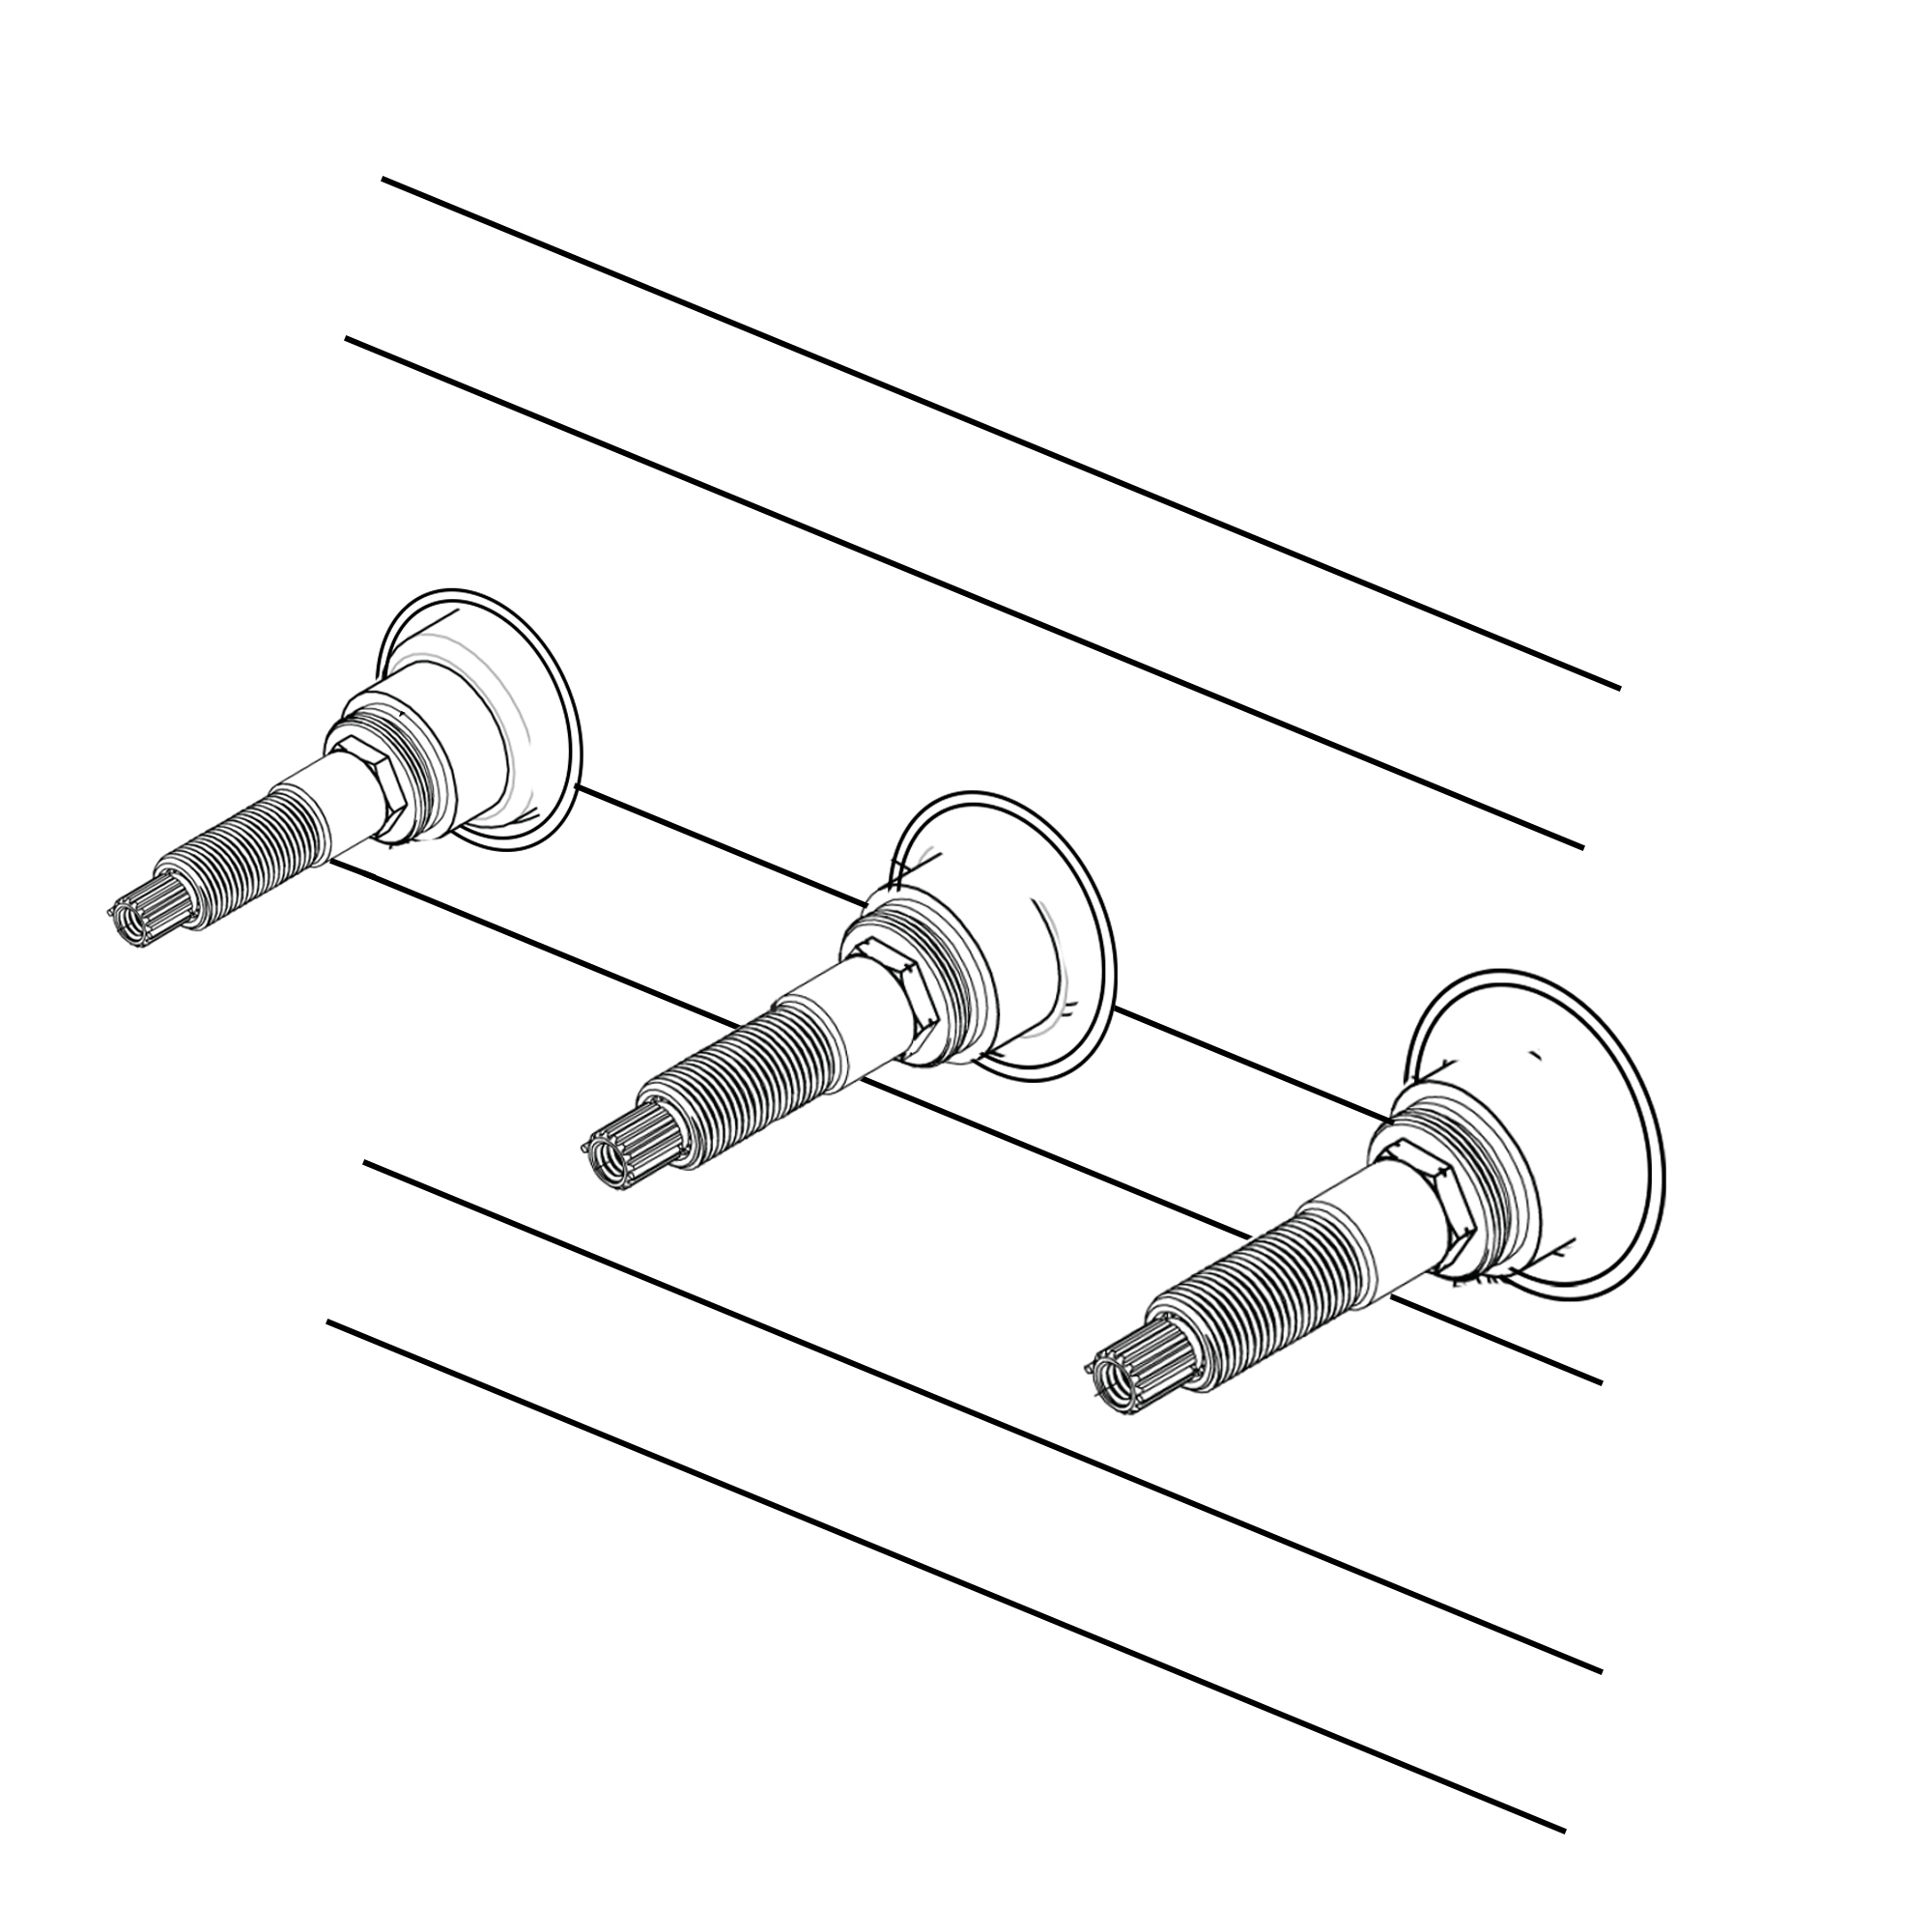
5. Fit concealing plate and handles Run a bead of waterproof silicon sealant around the inner edge of the concealing plate. Slide the concealing plate onto the shower valve and apply firm pressure to ensure to silicon sealant spreads.
6. Fit handles Push the spline adaptors onto the valve spindles. Push the handles onto the spline adaptors and secure by tightening the grub screw and push-fit the cap into position.
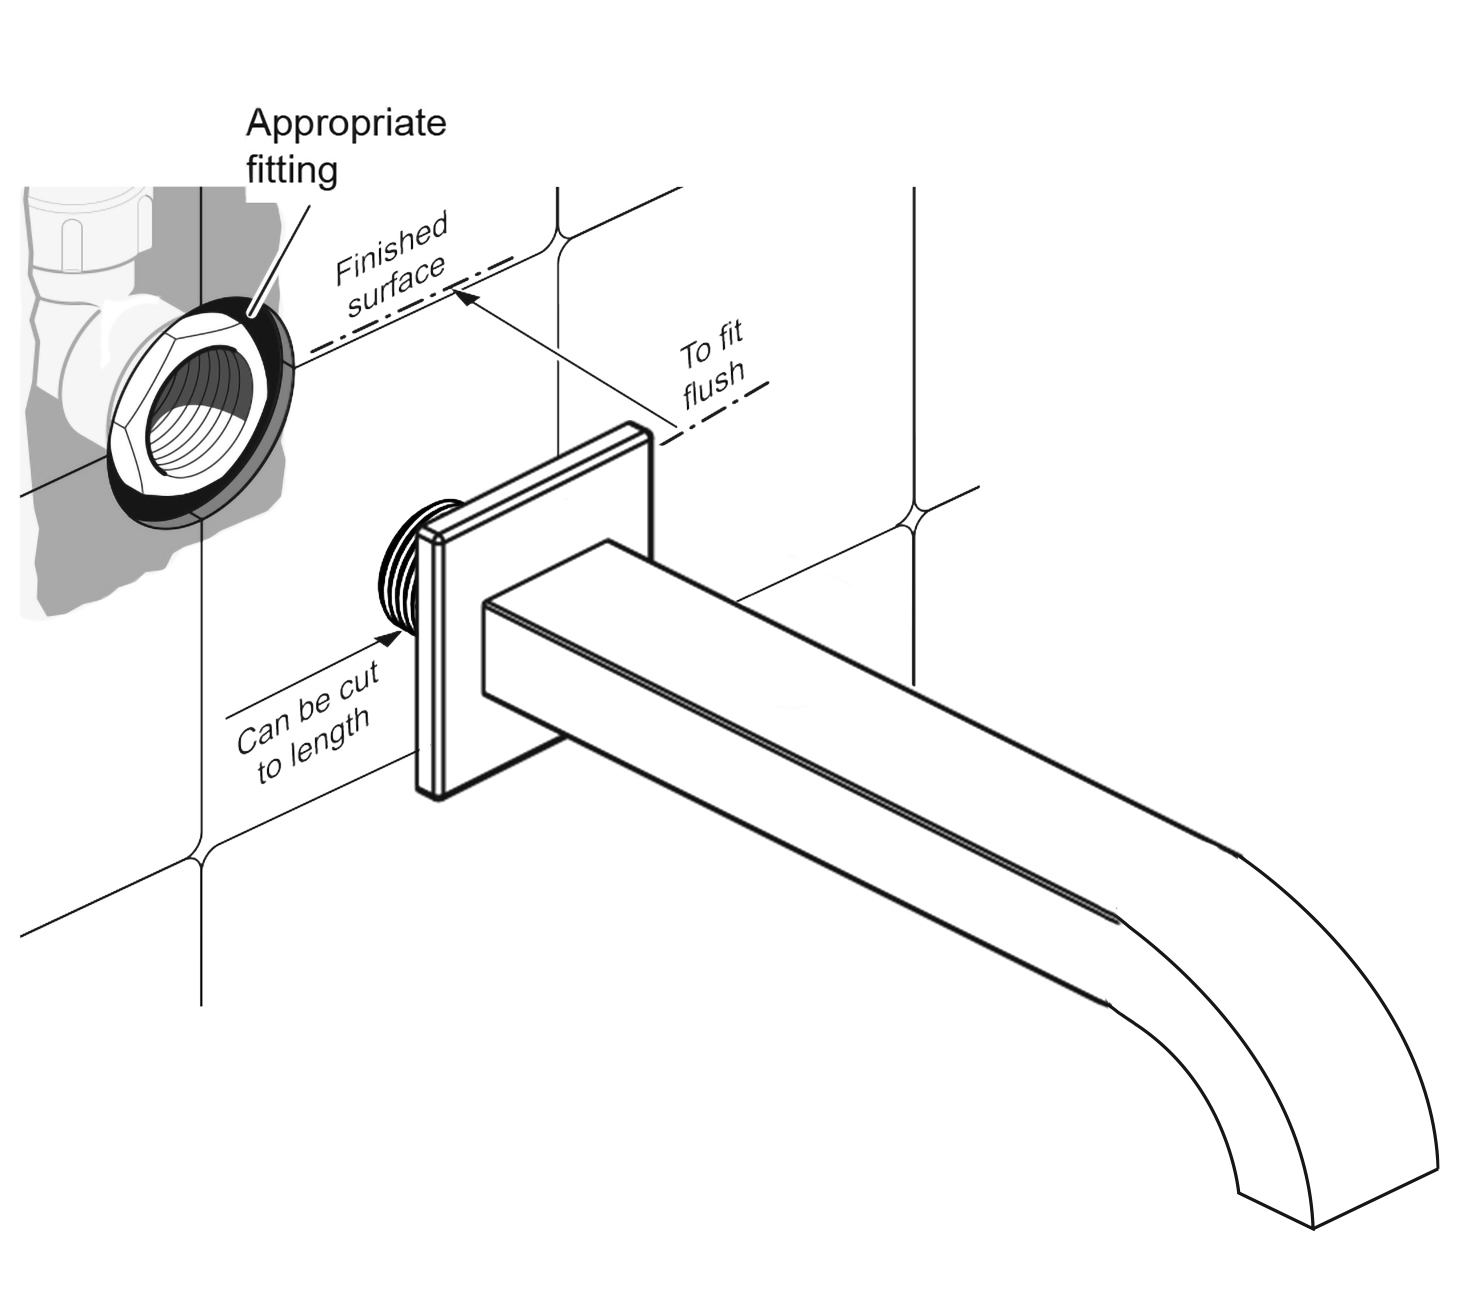
7. Create rear access Rear access to the shower valve is required to enable the shower to be maintained and serviced. Cut out the rear plasterboard in the back of the wall cavity to create access. A piece of plasterboard or a panel may be used to cover the access hole but must be removable.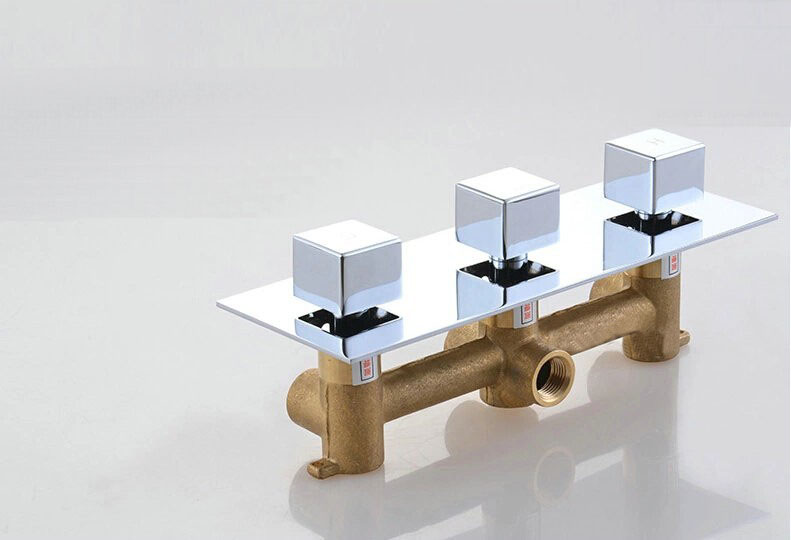  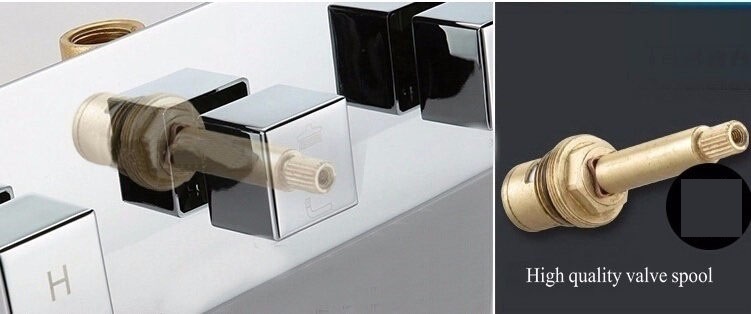 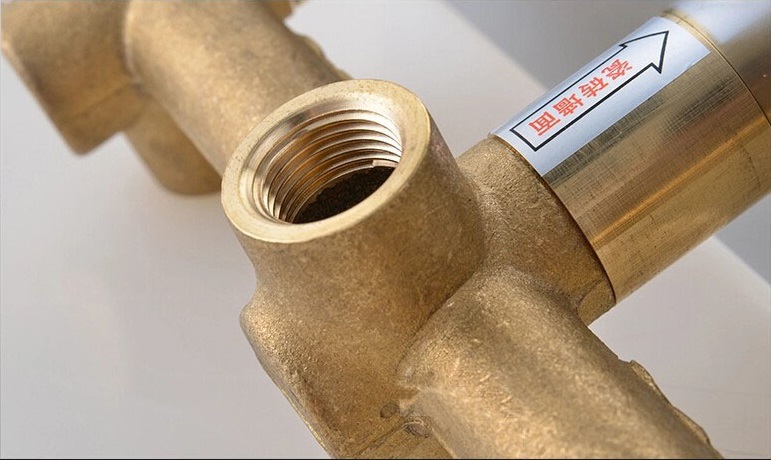 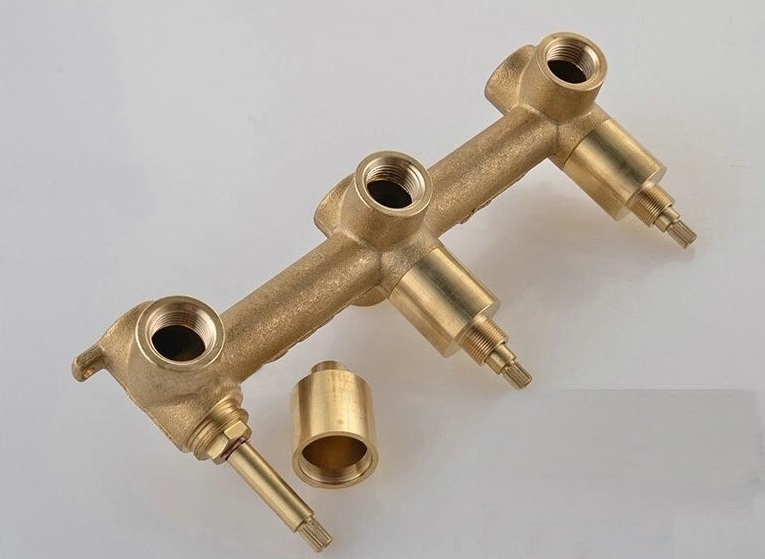 Shower Spout Installation Instruction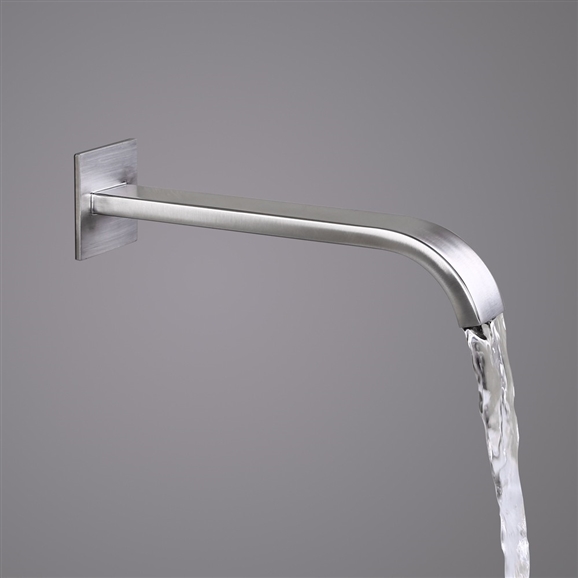
| | | | | Step 1: | shower spout | Step 2: | |  | | 
|


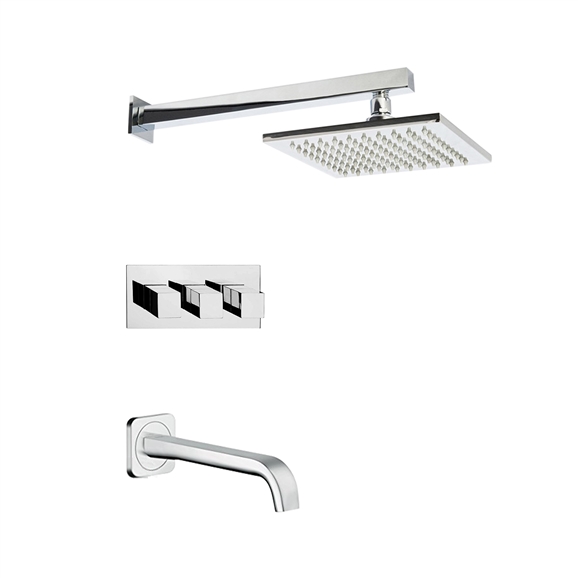
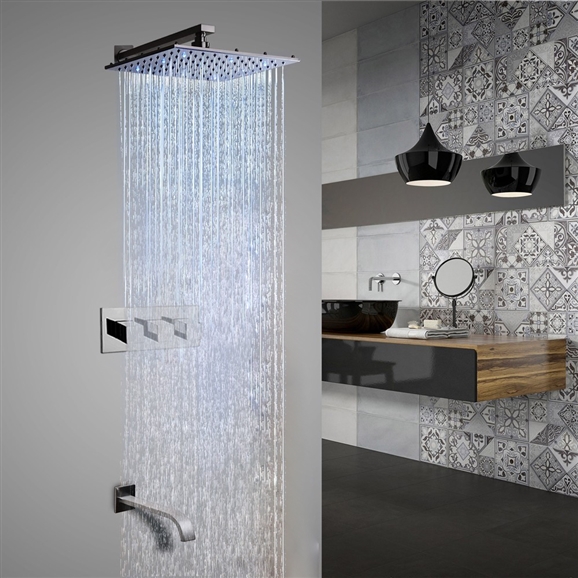
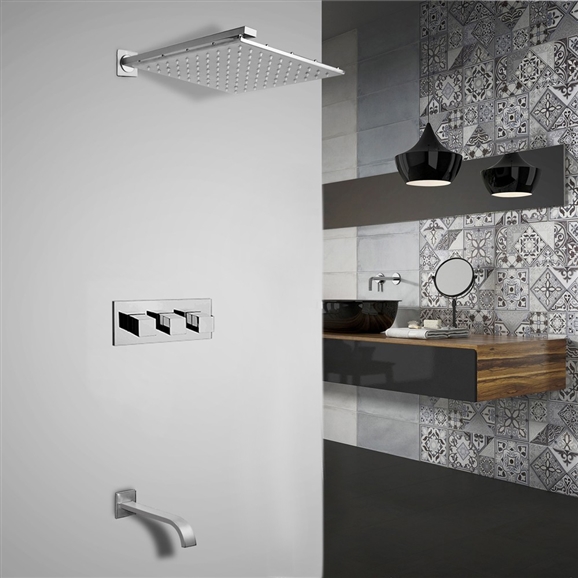
Fontana Sita Platinum LED Shower Head Set With Diverter, Mixer And LED SpoutPlatinum provides a sleek and polished look to any bathroom. The Fontana Sita Platinum Shower Set has it all. LED shower head, multi-level mixer, massage spray, handheld shower, and a multi-function solid brass control valve all at an affordable price. Built-in hydro-powered device powers the LED lights, which provide visual shower temperature cues to reduce water waste. All Fontana LED shower heads change color by detecting water temperature. When water temperature is ≤89 °F (≤32 °C), Blue will show automatically. When water temperature is between 97 to 107 °F (36-42 °C), Green will show automatically. When water temperature is between 109 to 122 °F (43-50 °C), Red color will show automatically. When water temperature is above 122 °F (>50 °C), Red color will flash immediately. Drip-free ceramic disc cartridge for smooth and long-lasting operation. Fontana Sita Platinum LED Shower Head Set comes with all installation items you will need, including anti-twist brass conical nut & brass hex nut.
Features: | Brand Name: FontanaShowersModel Number: LED-SHOWER-HEAD-FLED6104Type: Shower SetShower Head Size: 8"; 10"; 12", 16"Water Flow: 2.0 GPMStyle: Rain ShowerheadValve Material: BrassControl: BalancedConnection: Standard PlumbingMinimum Pressure Required: 29 PSIMaximum Pressure: 72 PSITechnology: Ceramic DiscInlets and Outlets: ½"Compatibility: Standard USFinish: Chrome | | |
|