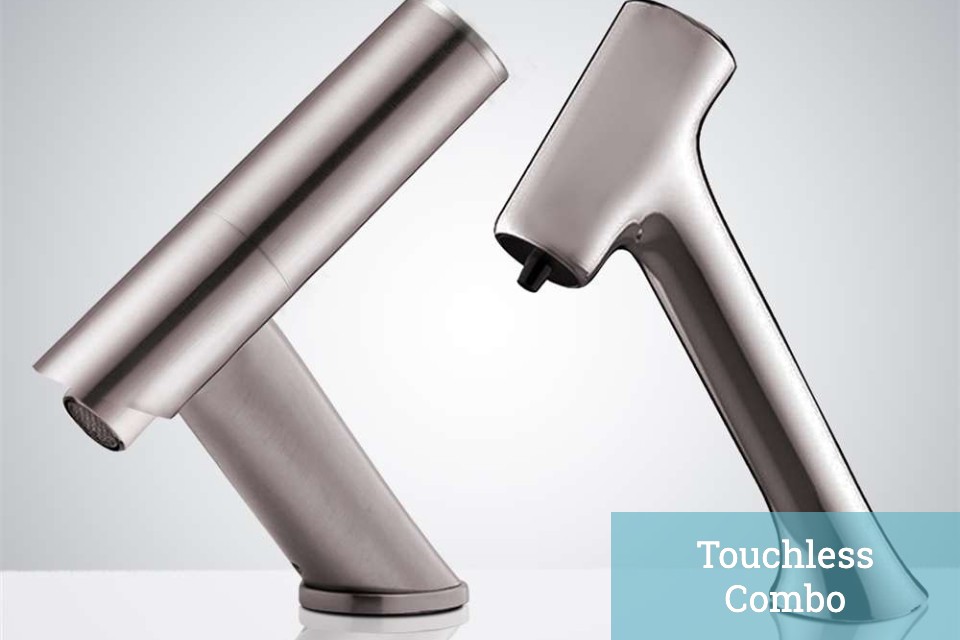
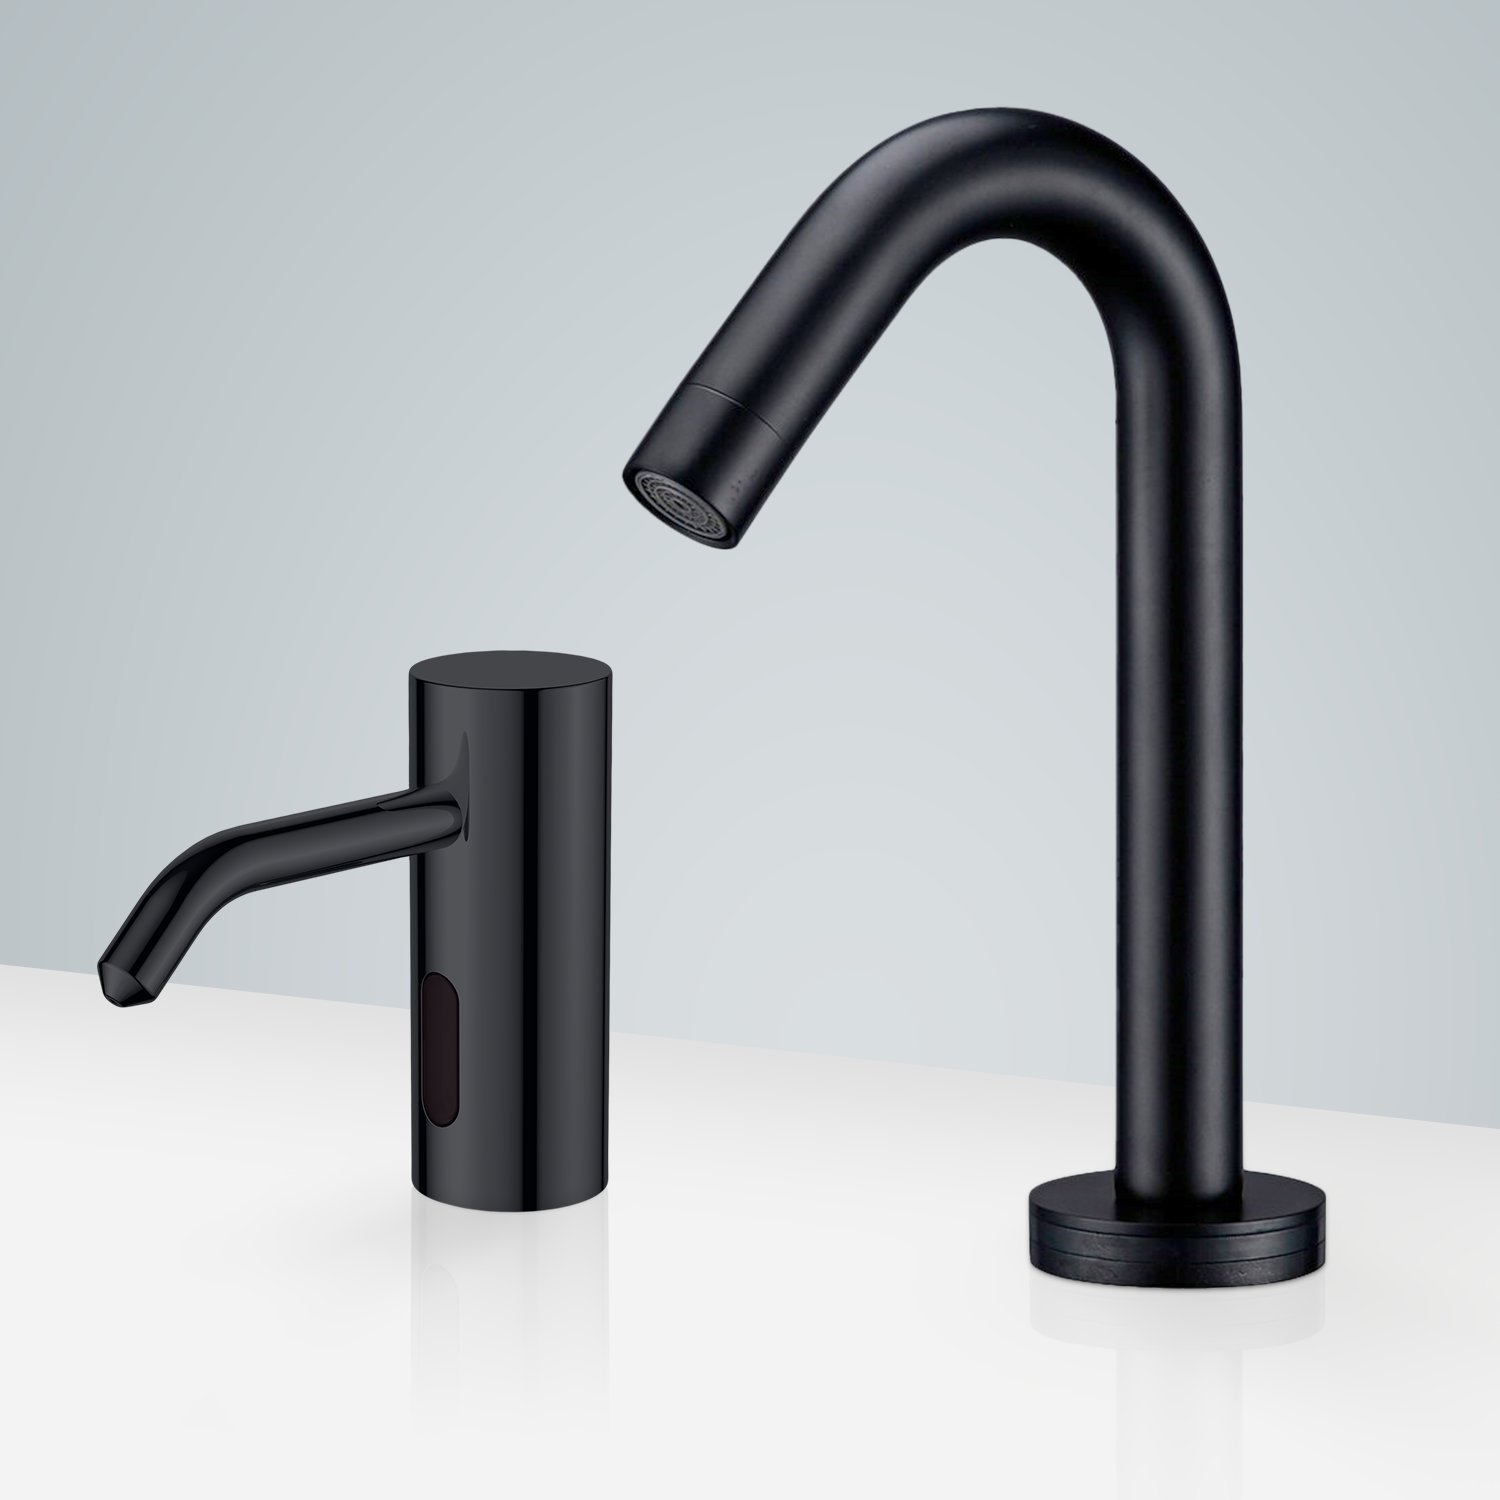
How to
install Fontana Marsala Dark Oil Rubbed Finish Motion Sensor Faucet &
Automatic Soap Dispenser For Restrooms | FS18296
Easy step by steps Installation Instructions for Commercial Automatic Sensor Faucet
|
| Visit Product Page  |
|
Before starting
- Please review the installation instructions provided below.
- Ensure compliance with all local building and safety regulations.
- Unpack and carefully inspect the products for any shipping damage. If any damage is found, do not proceed with the installation.
- It is important to note that all products must be installed by a professional, certified plumber to maintain the warranty.
|
sensor
|
|
|
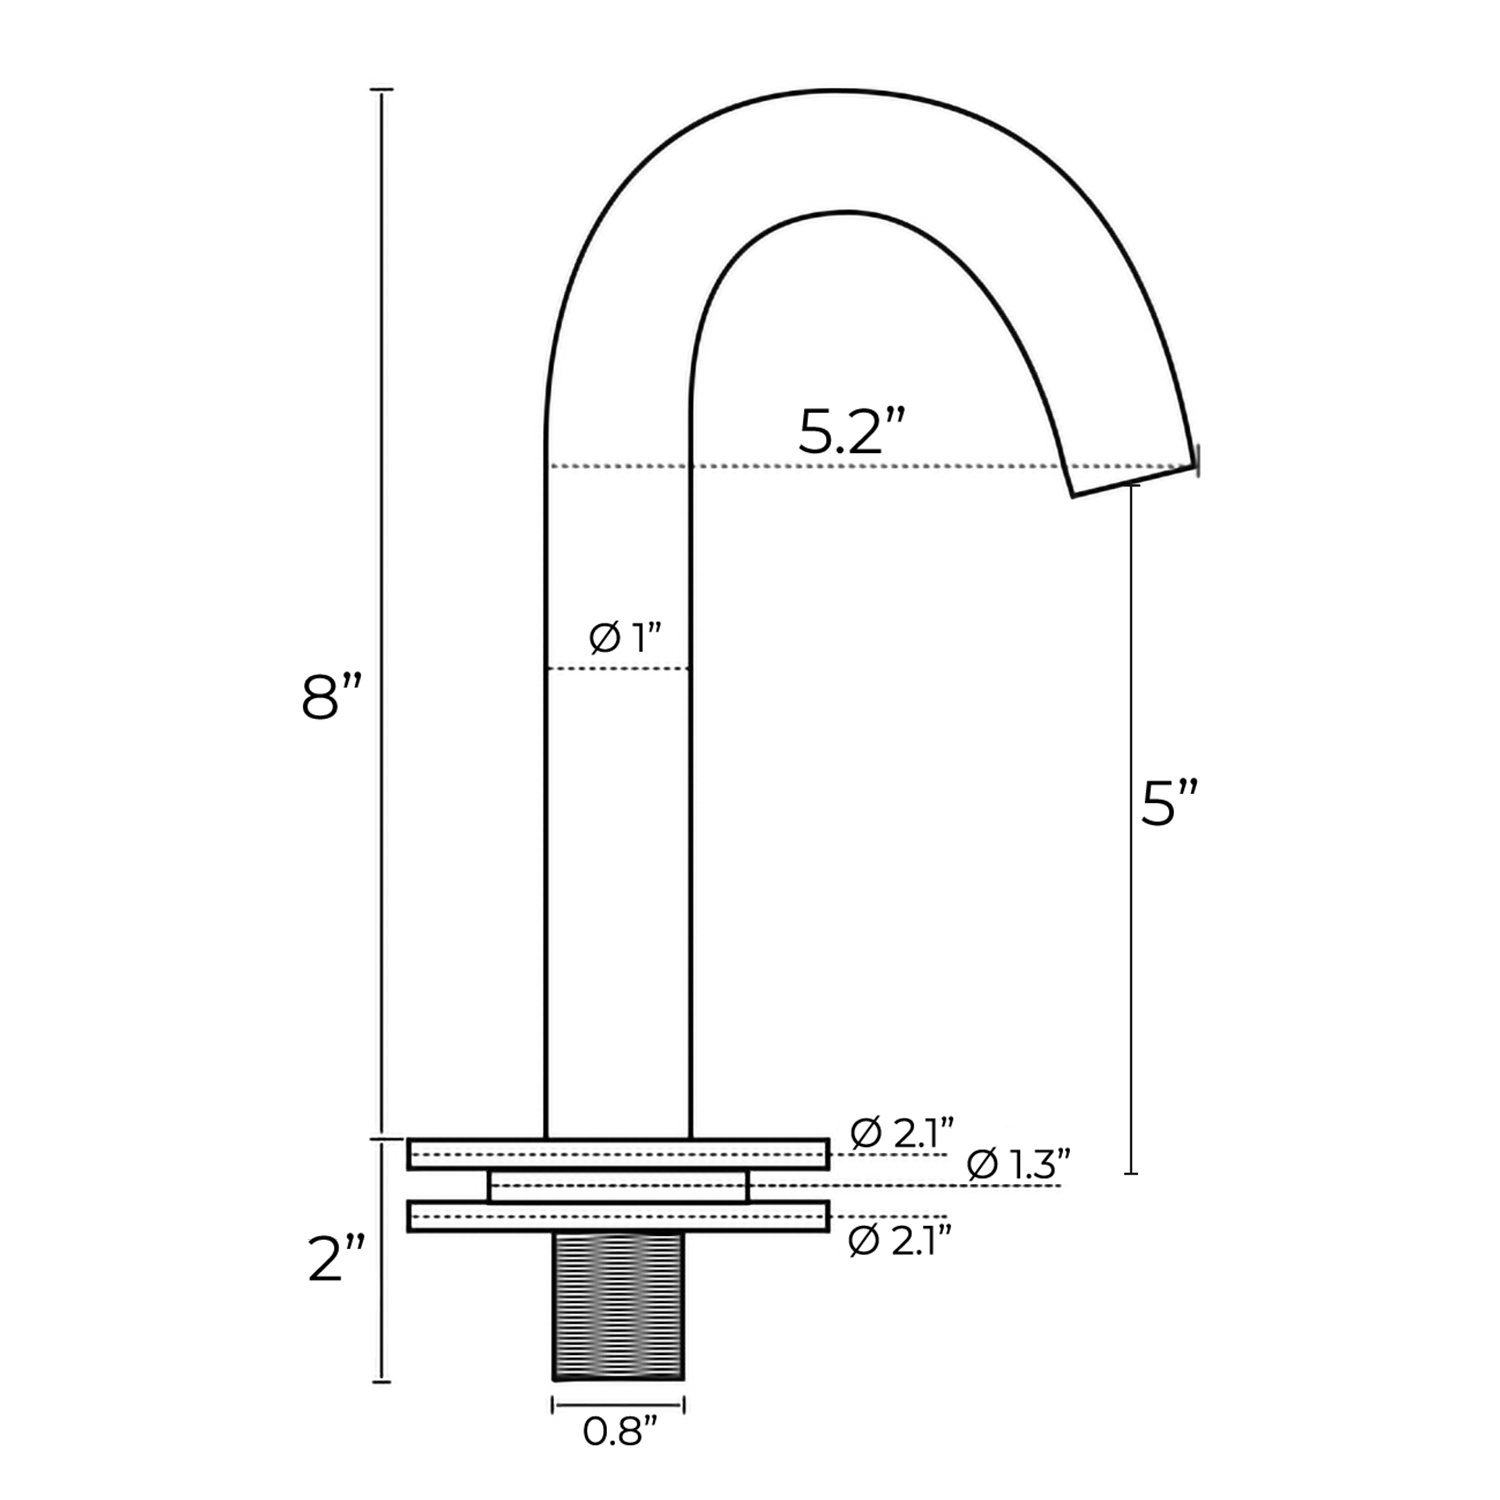
Sensor Faucet Installations Instructions
| Size: | | Hole Size: |

| | 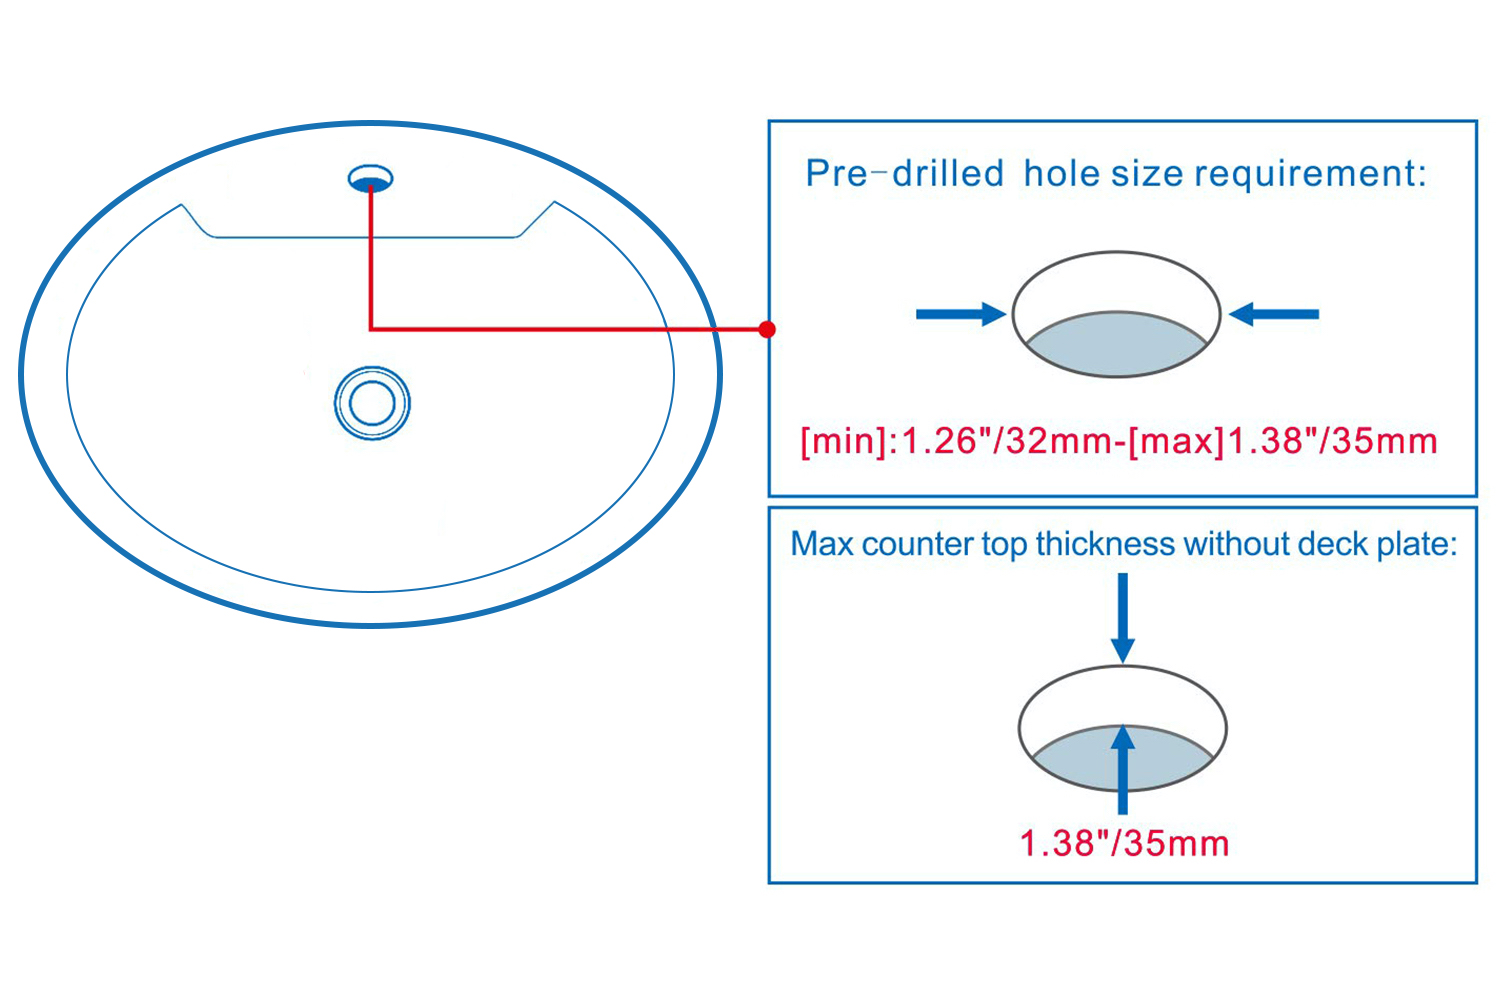 |
|
|
|
|
|
|
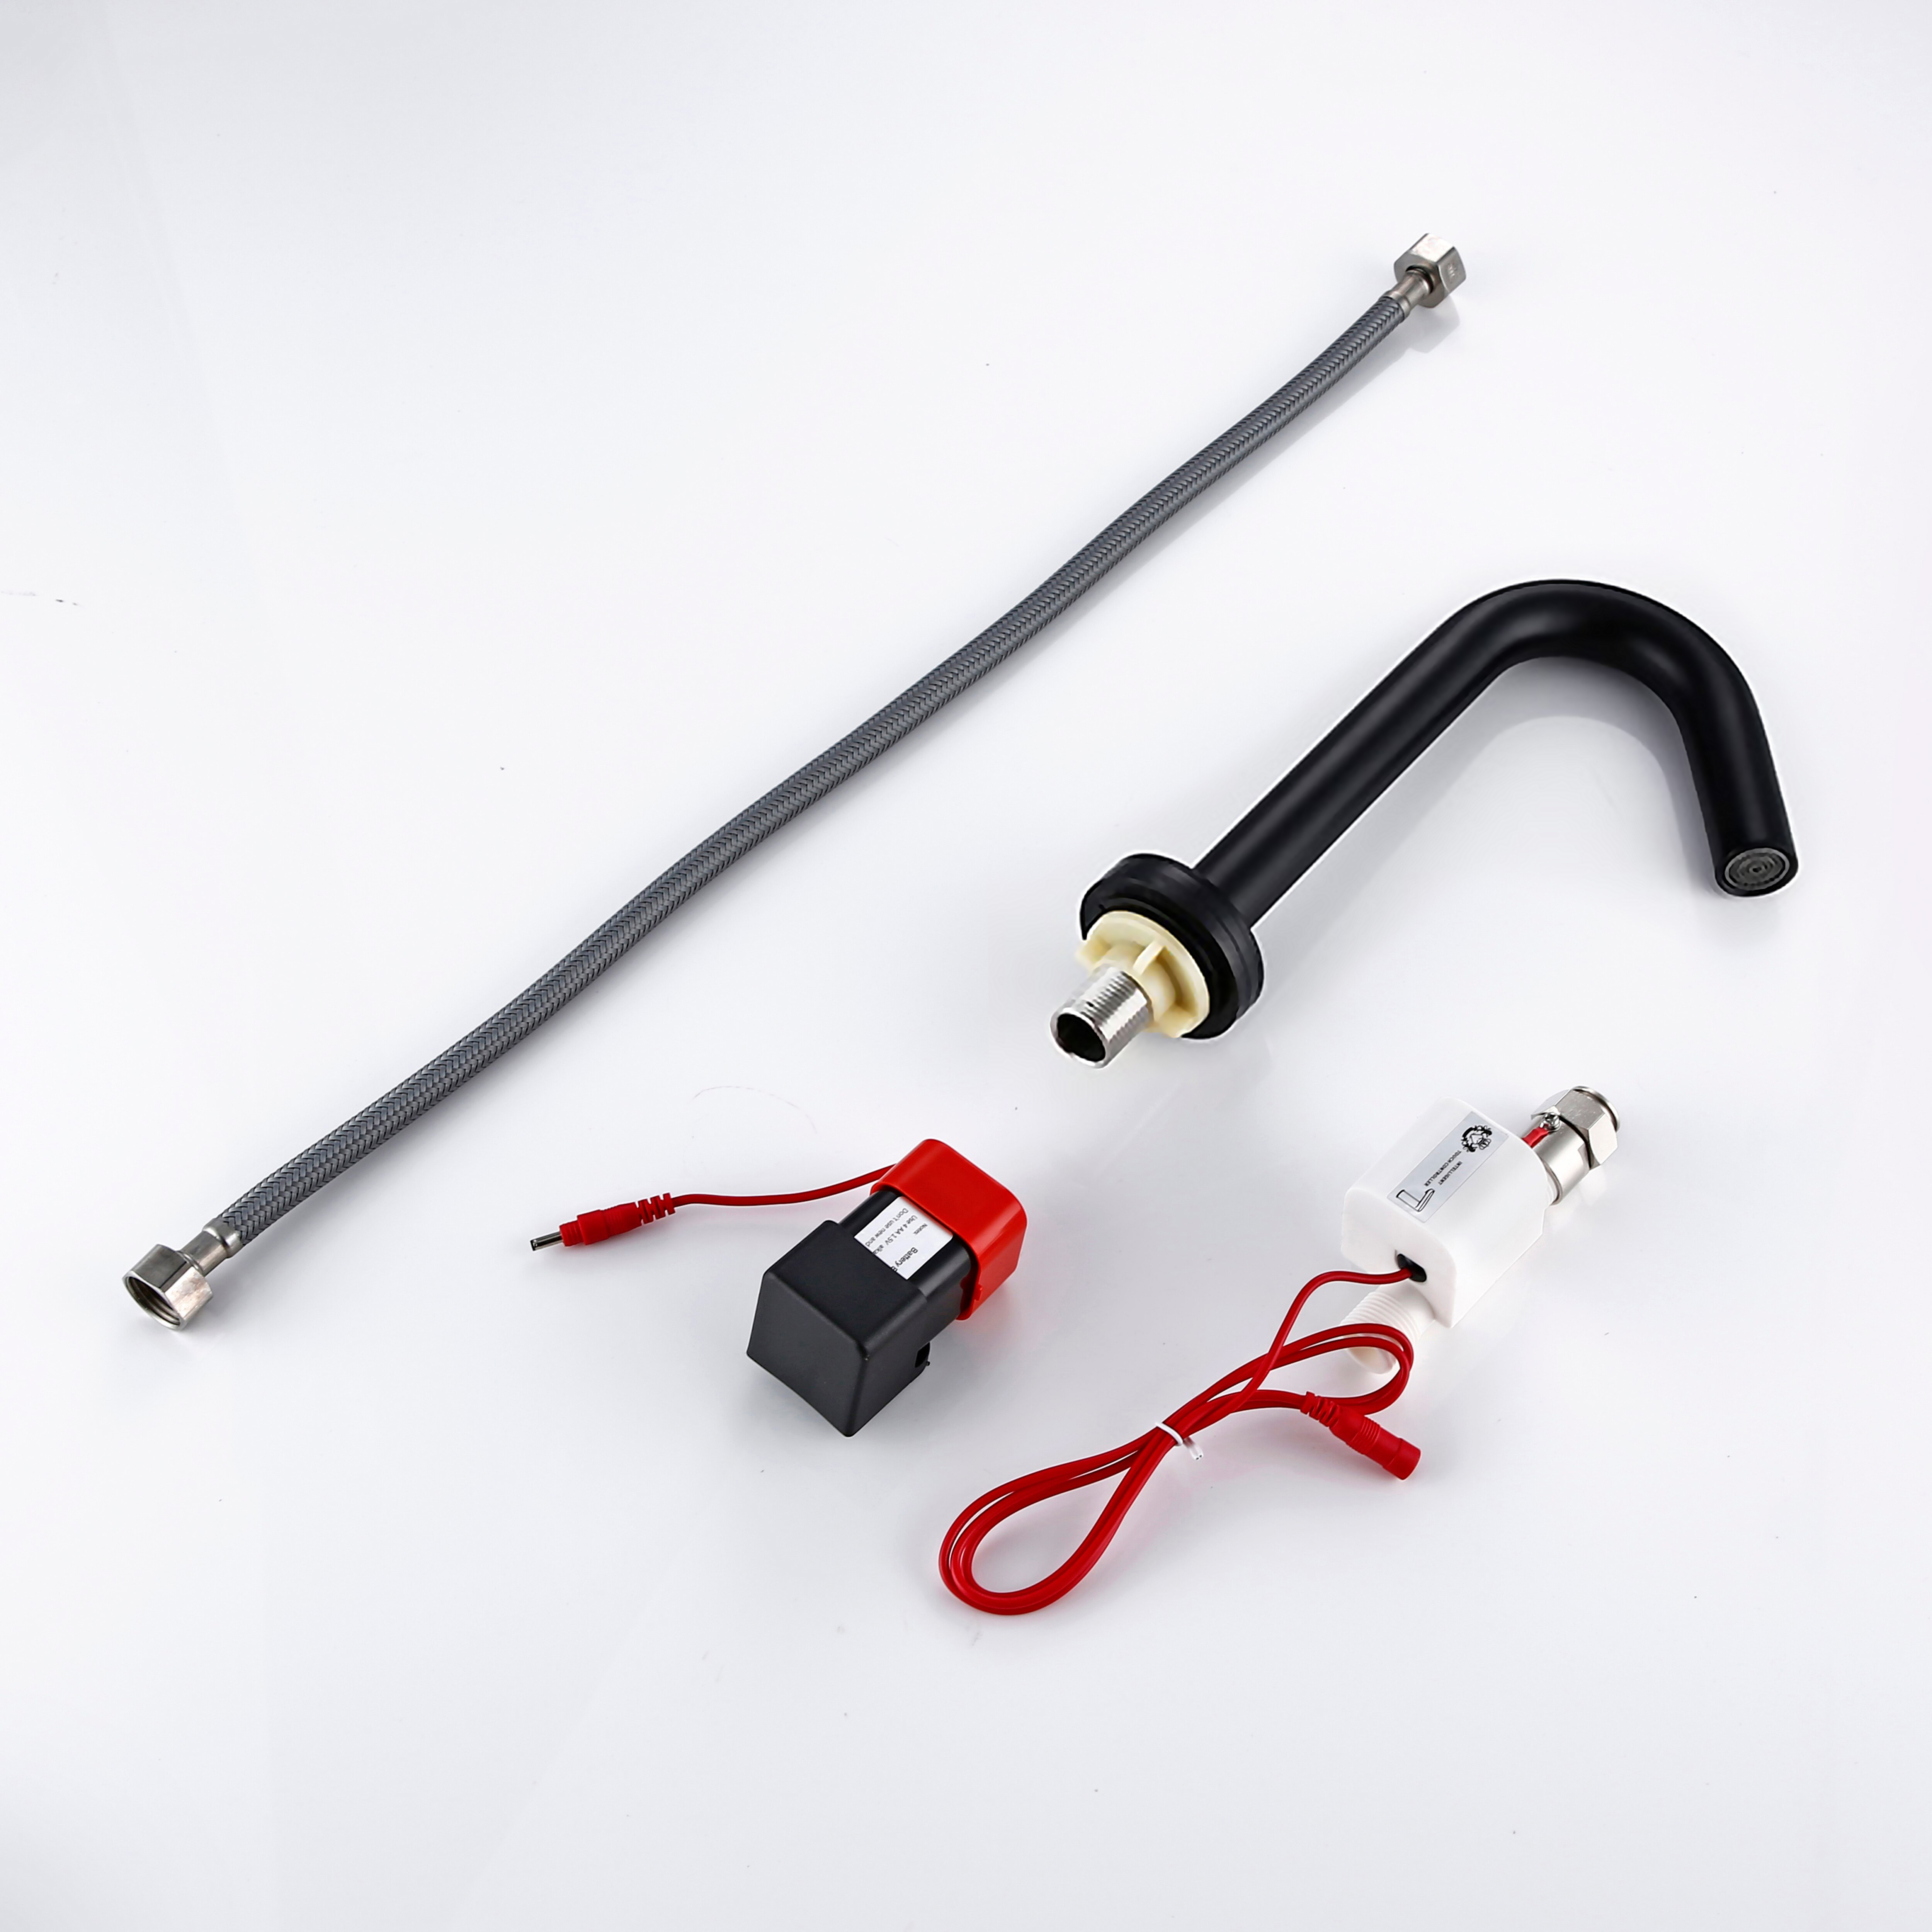
| Parts: | |  |
|
|
Step 1: Deck Mount Installation |
|
Step 2: Control Box & Battery Connection |
|
sensor
|
 |
|
|
|
|
Step 3:
|
|
Step 4: (Correct way for Hose) |
 |
|
 |
|
|
|
| | |
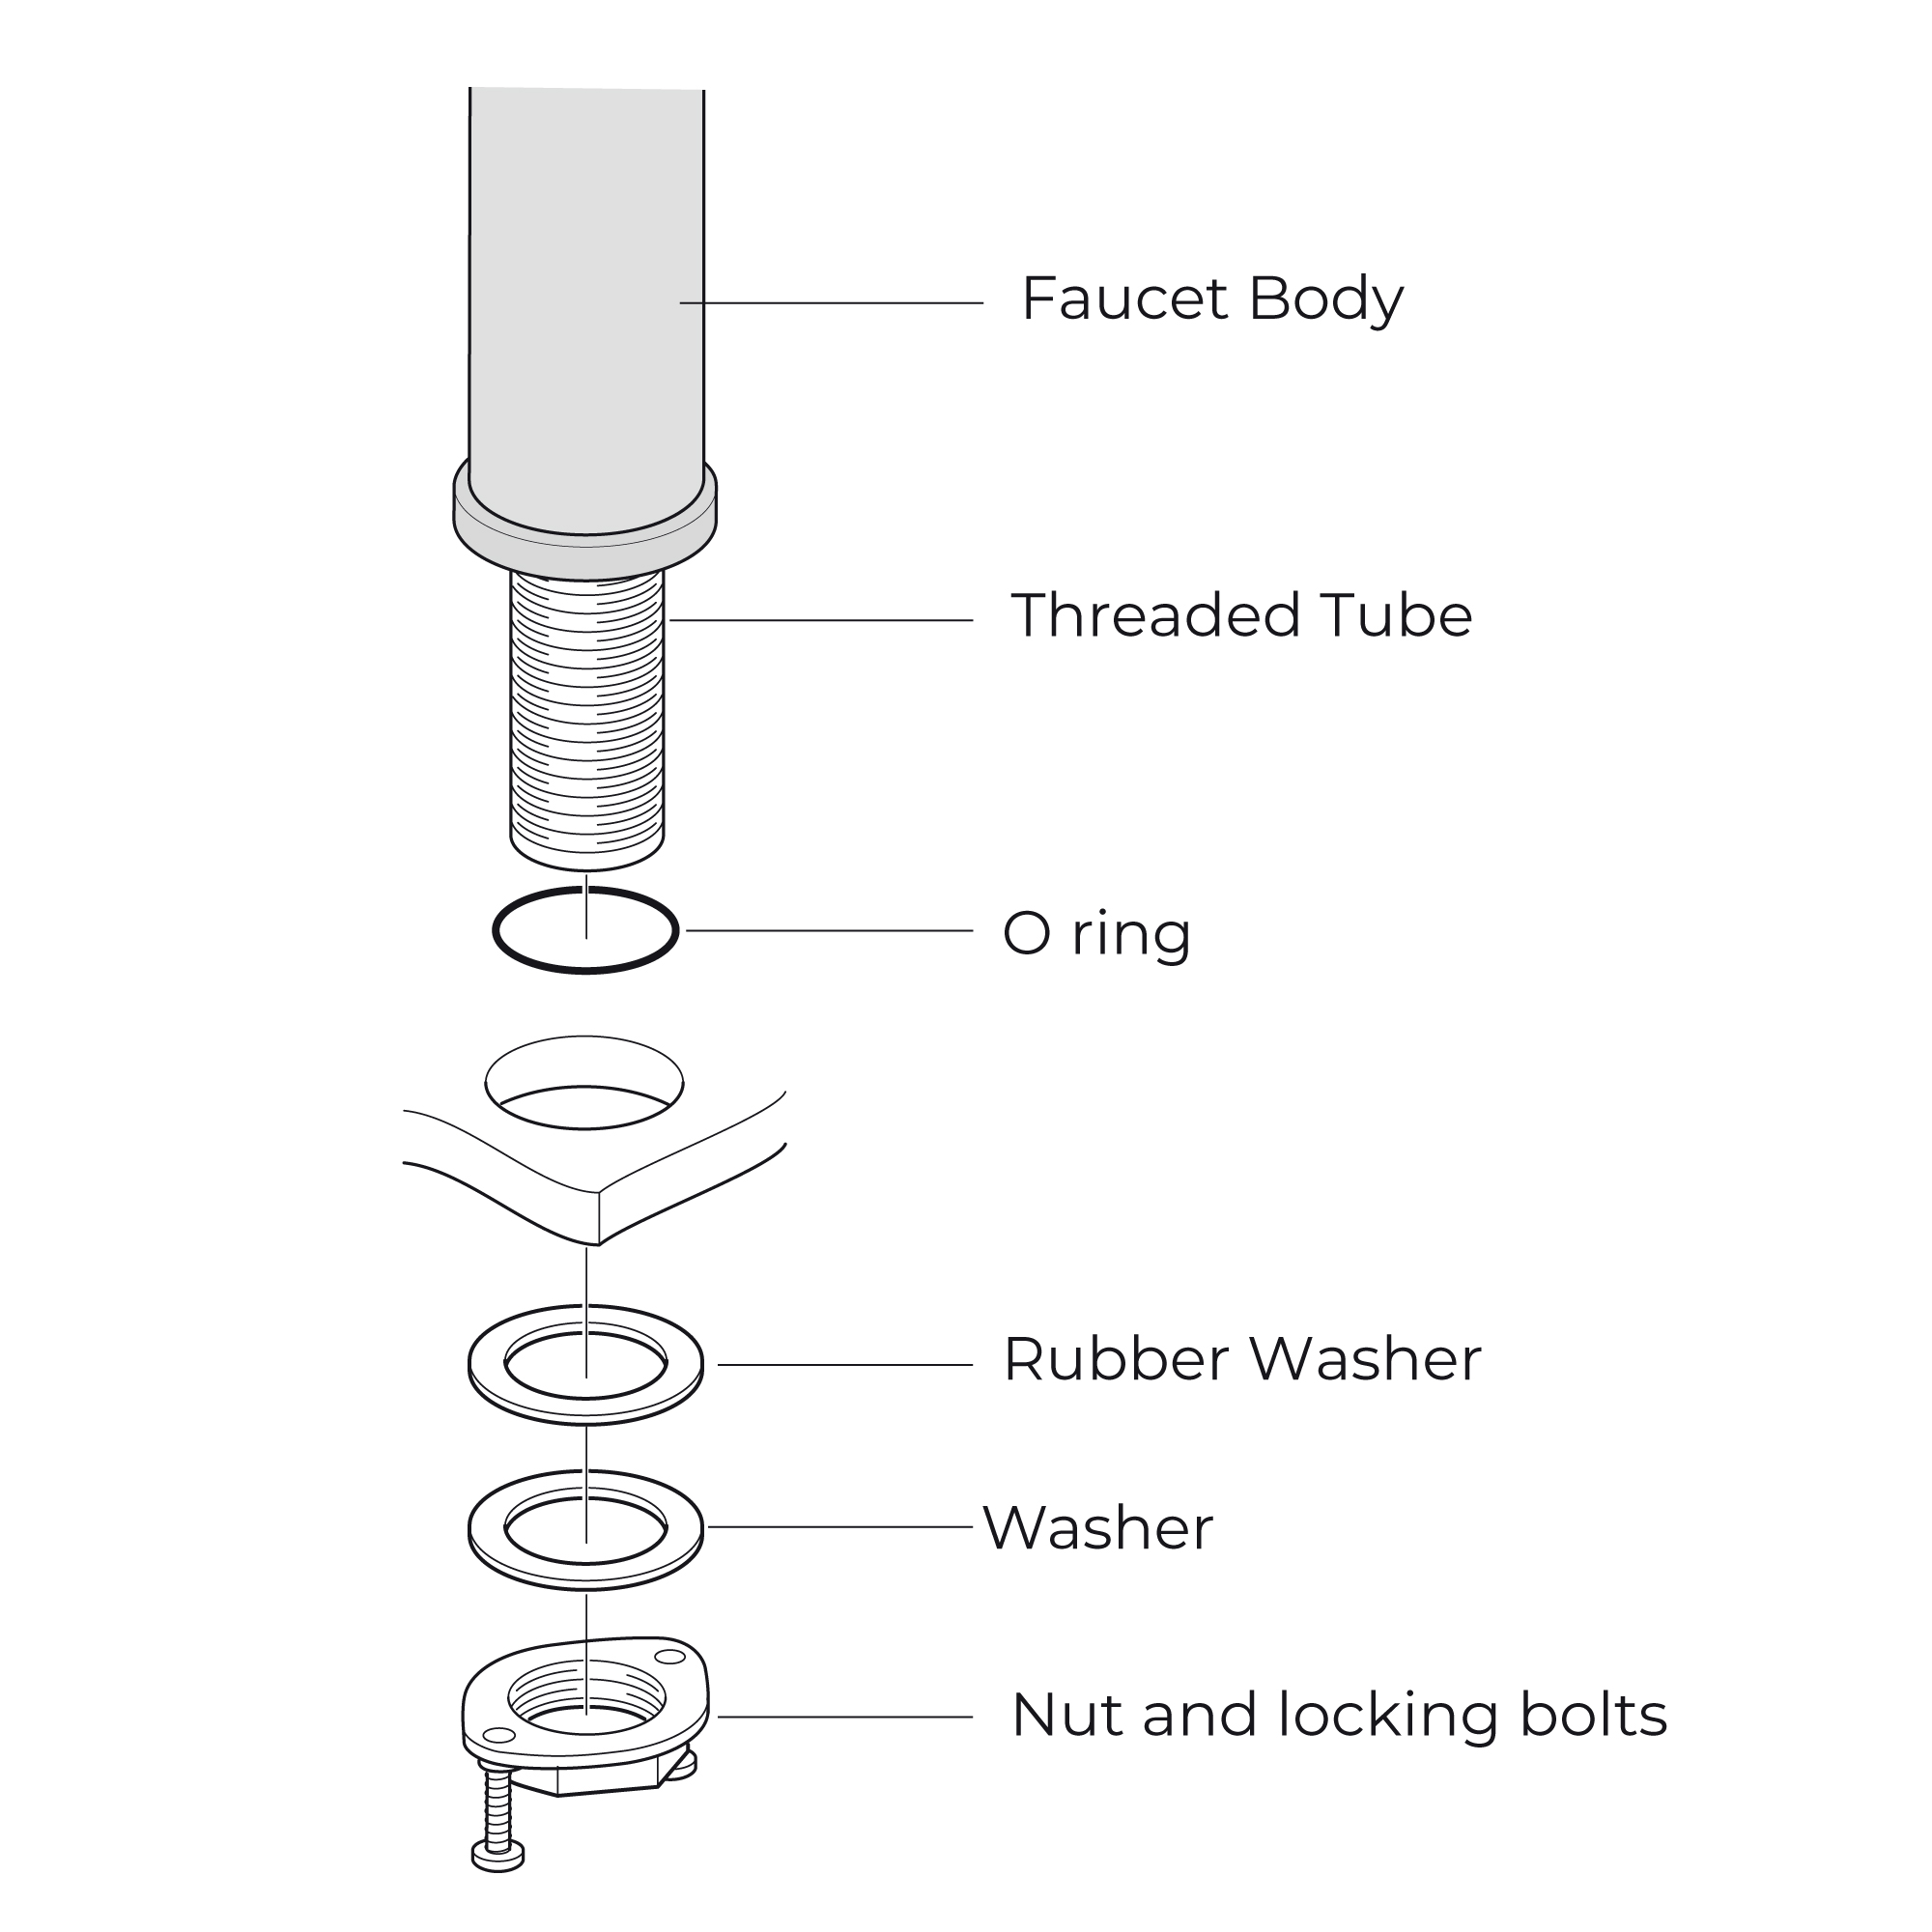
- Attach the hose to the corresponding screw-hole on the faucet body and secure the o-ring into the bottom groove of the faucet body.
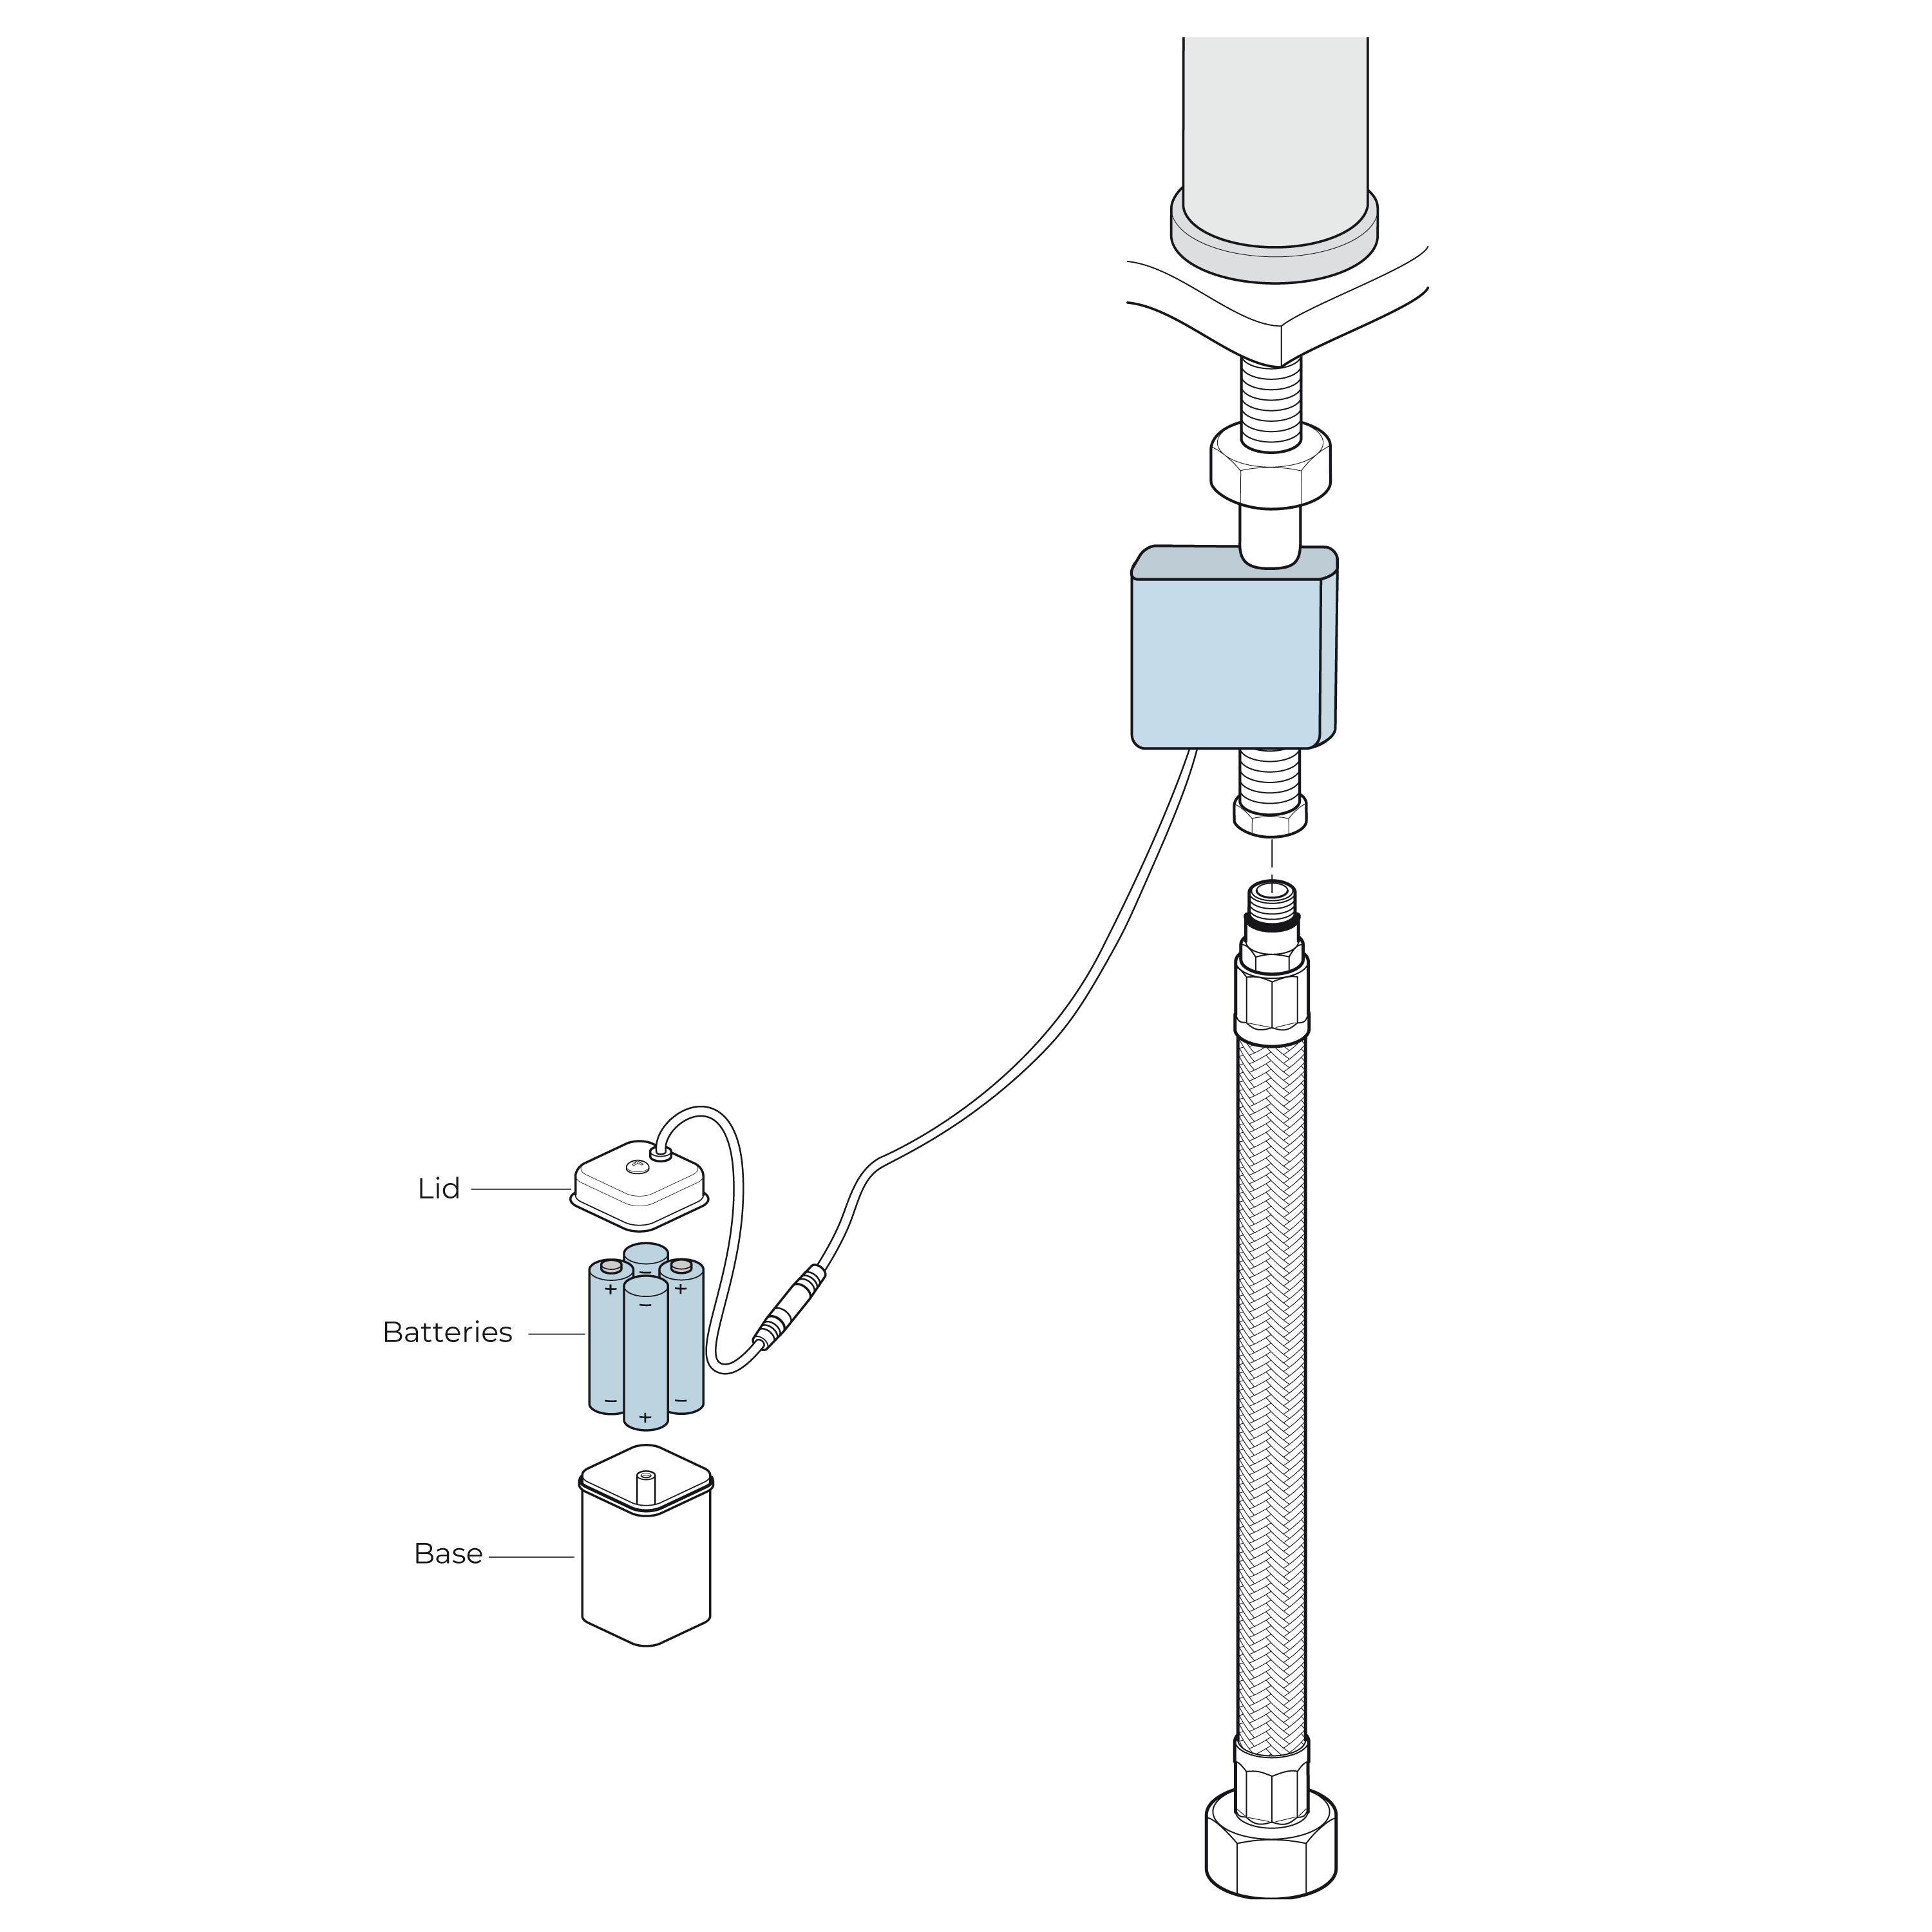
- Thread the hose, threaded pipe, and data cable through the drilled hole in the countertop. Place the rubber washer and metal washer onto the threaded pipe and screw in the mounting nut. Adjust the faucet body as needed and tighten the mounting nut with screws.
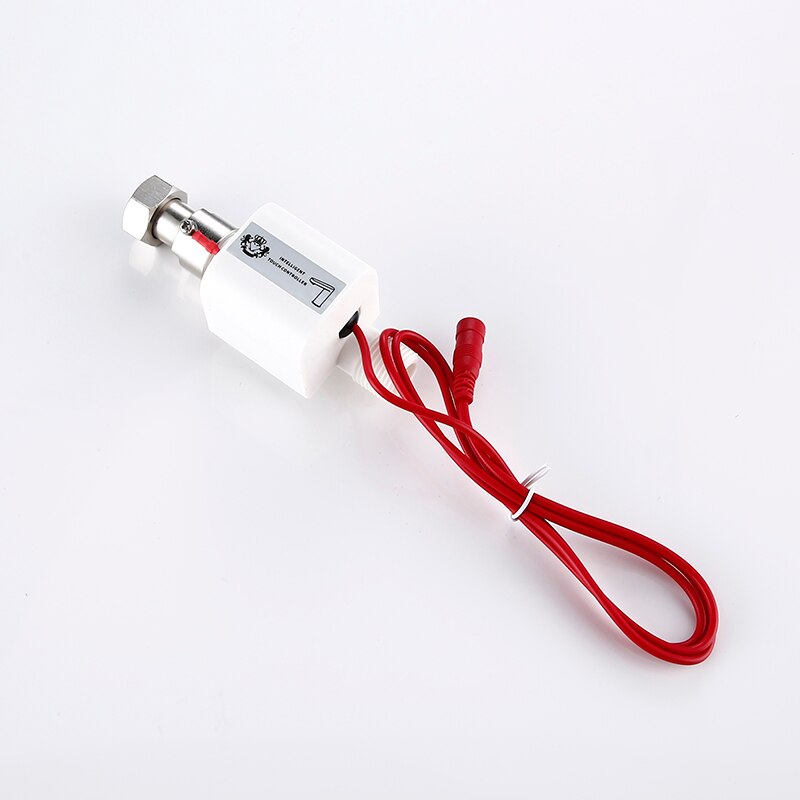
- Install the control box onto the faucet.
- Connect the battery cable to the control box.
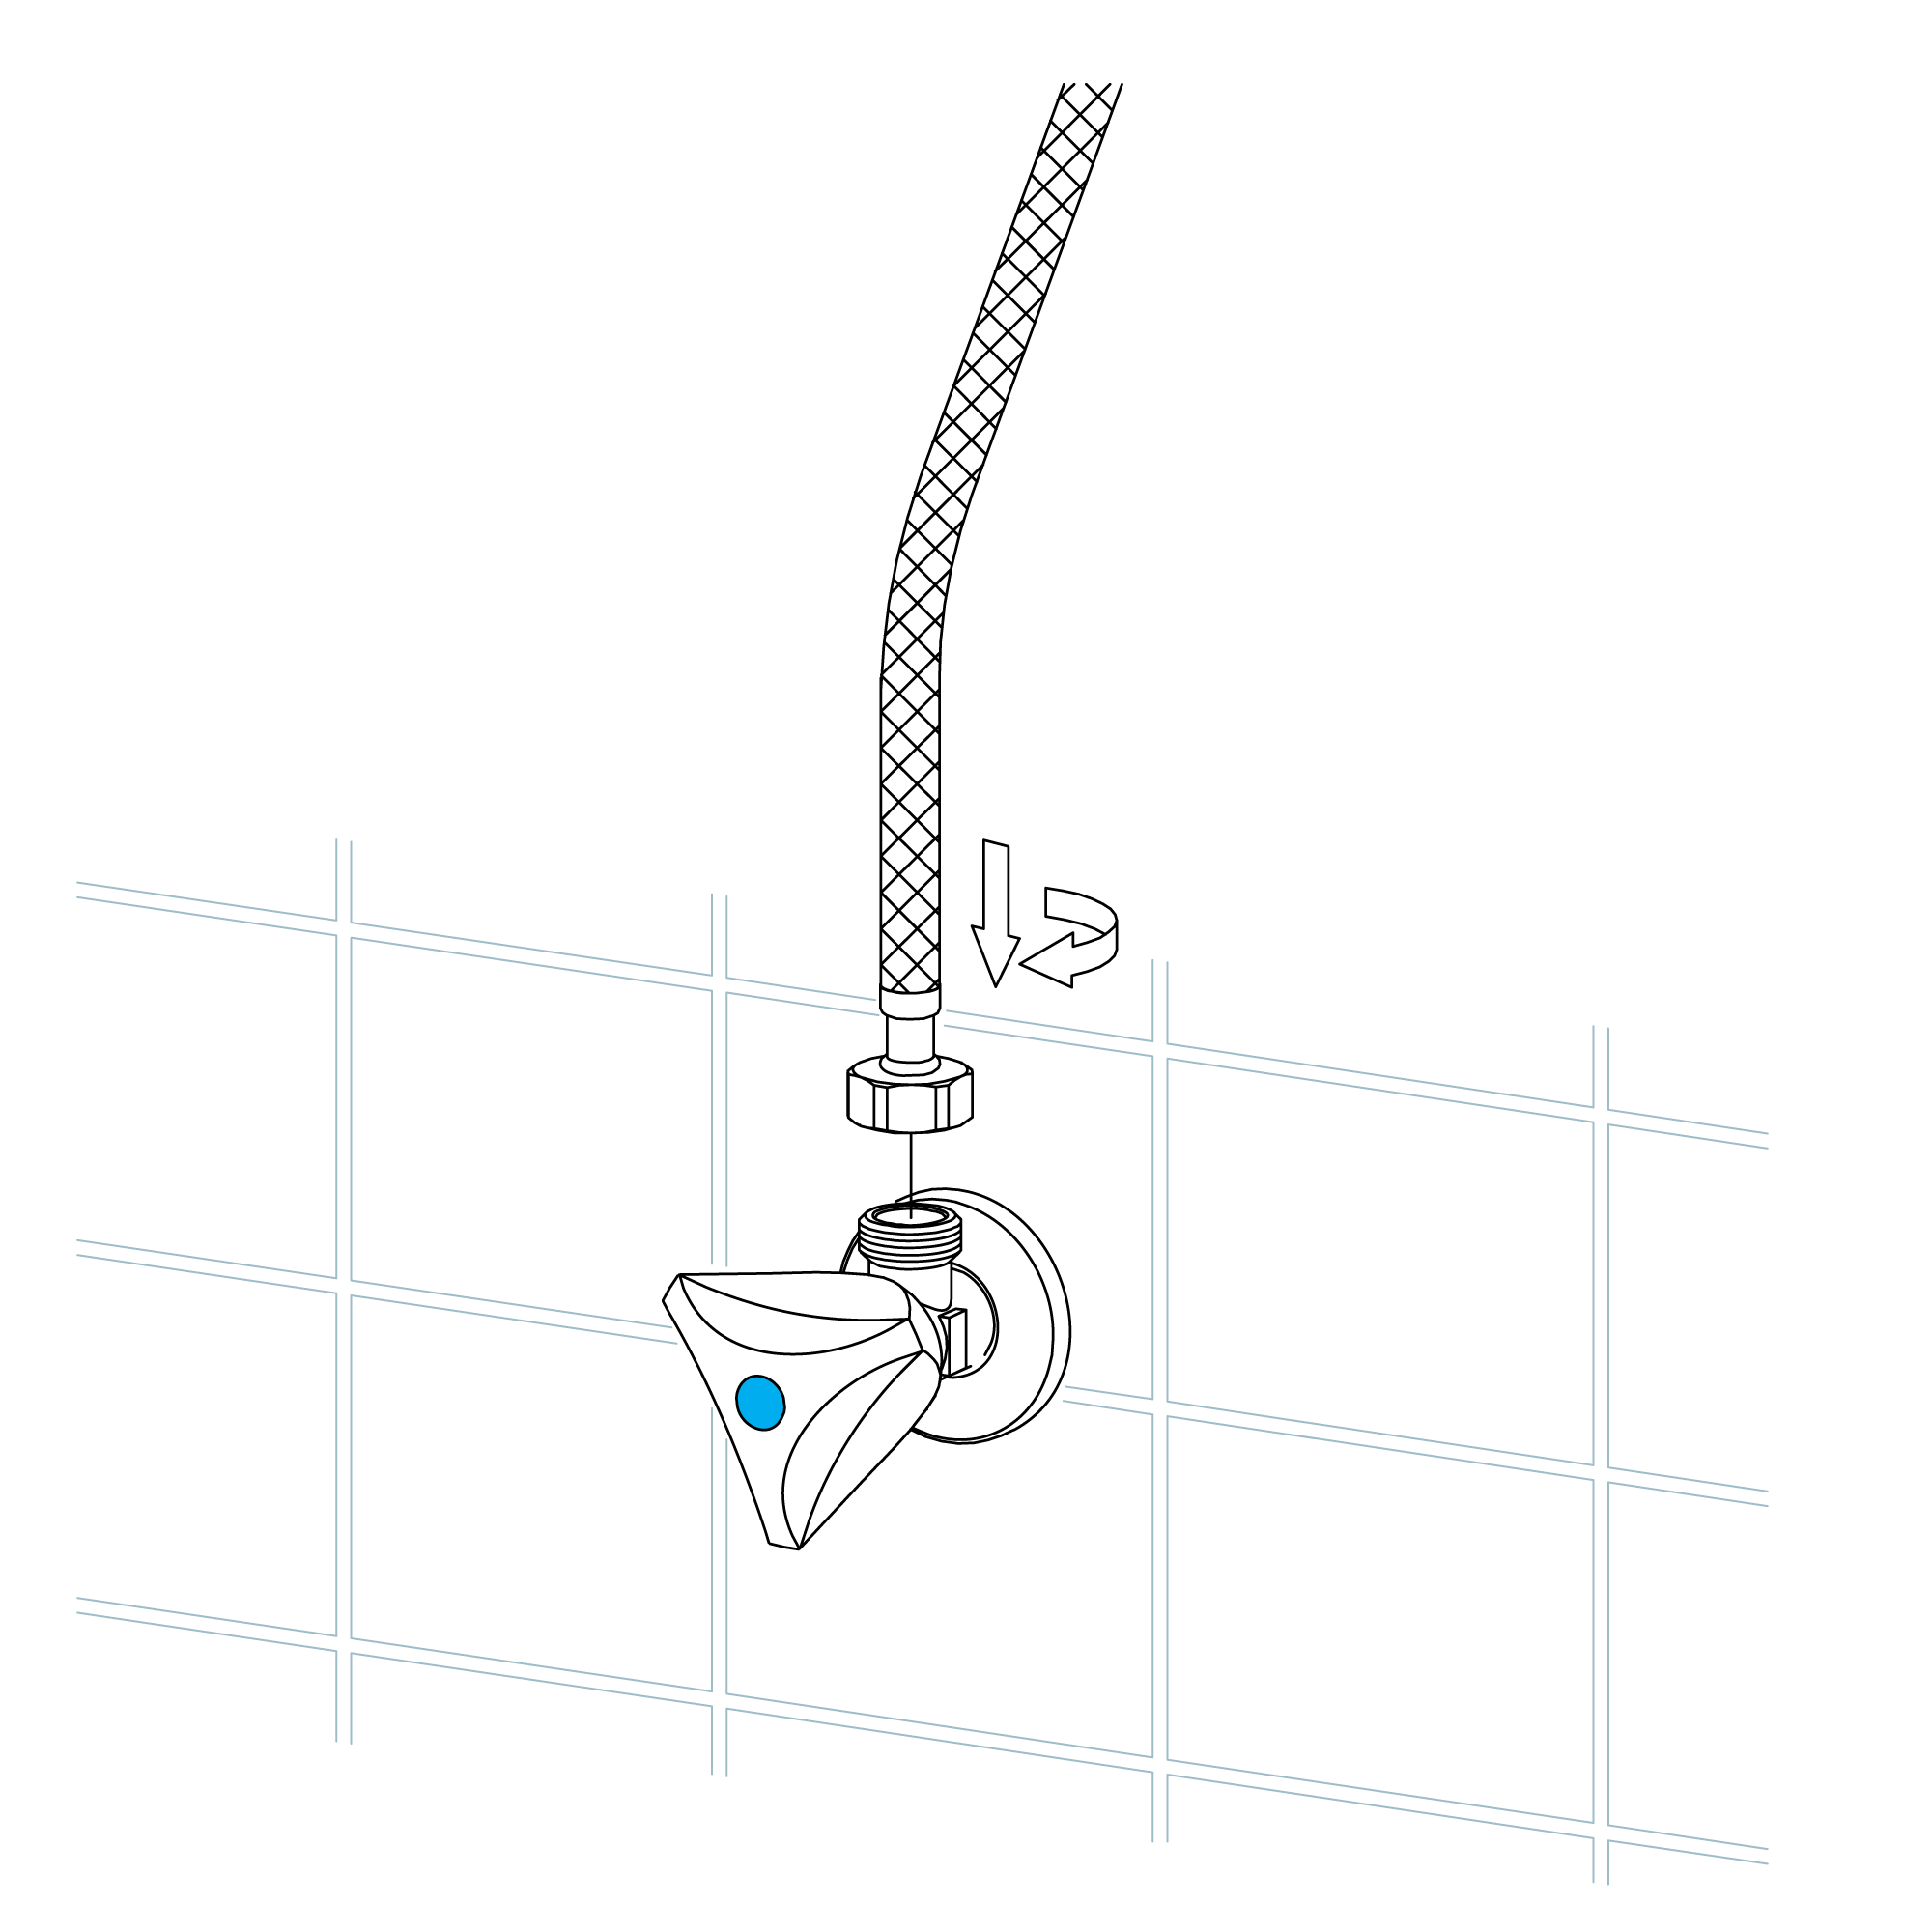
- Connect the water supply lines. Turn on the water supply and flush the water lines into a container for one minute. Important: This step removes any debris that could damage internal parts.
- Attach the water lines to the angle stops. Turn on the angle stops and check for leaks (DO NOT TURN ON THE FAUCET).
- Turn the faucet on for one minute to flush out any remaining debris.
Flexible Connecting Hose- When connecting the flexible hose from the power supply box to the spout, ensure it does not bend sharply, kink, or twist. Refer to the above guidelines for the recommended methods of fitting the flexible connecting hose.
Important: Not adhering to these guidelines may result in poor performance and potential damage to the flexible hose.
|
|

|
|
|
|
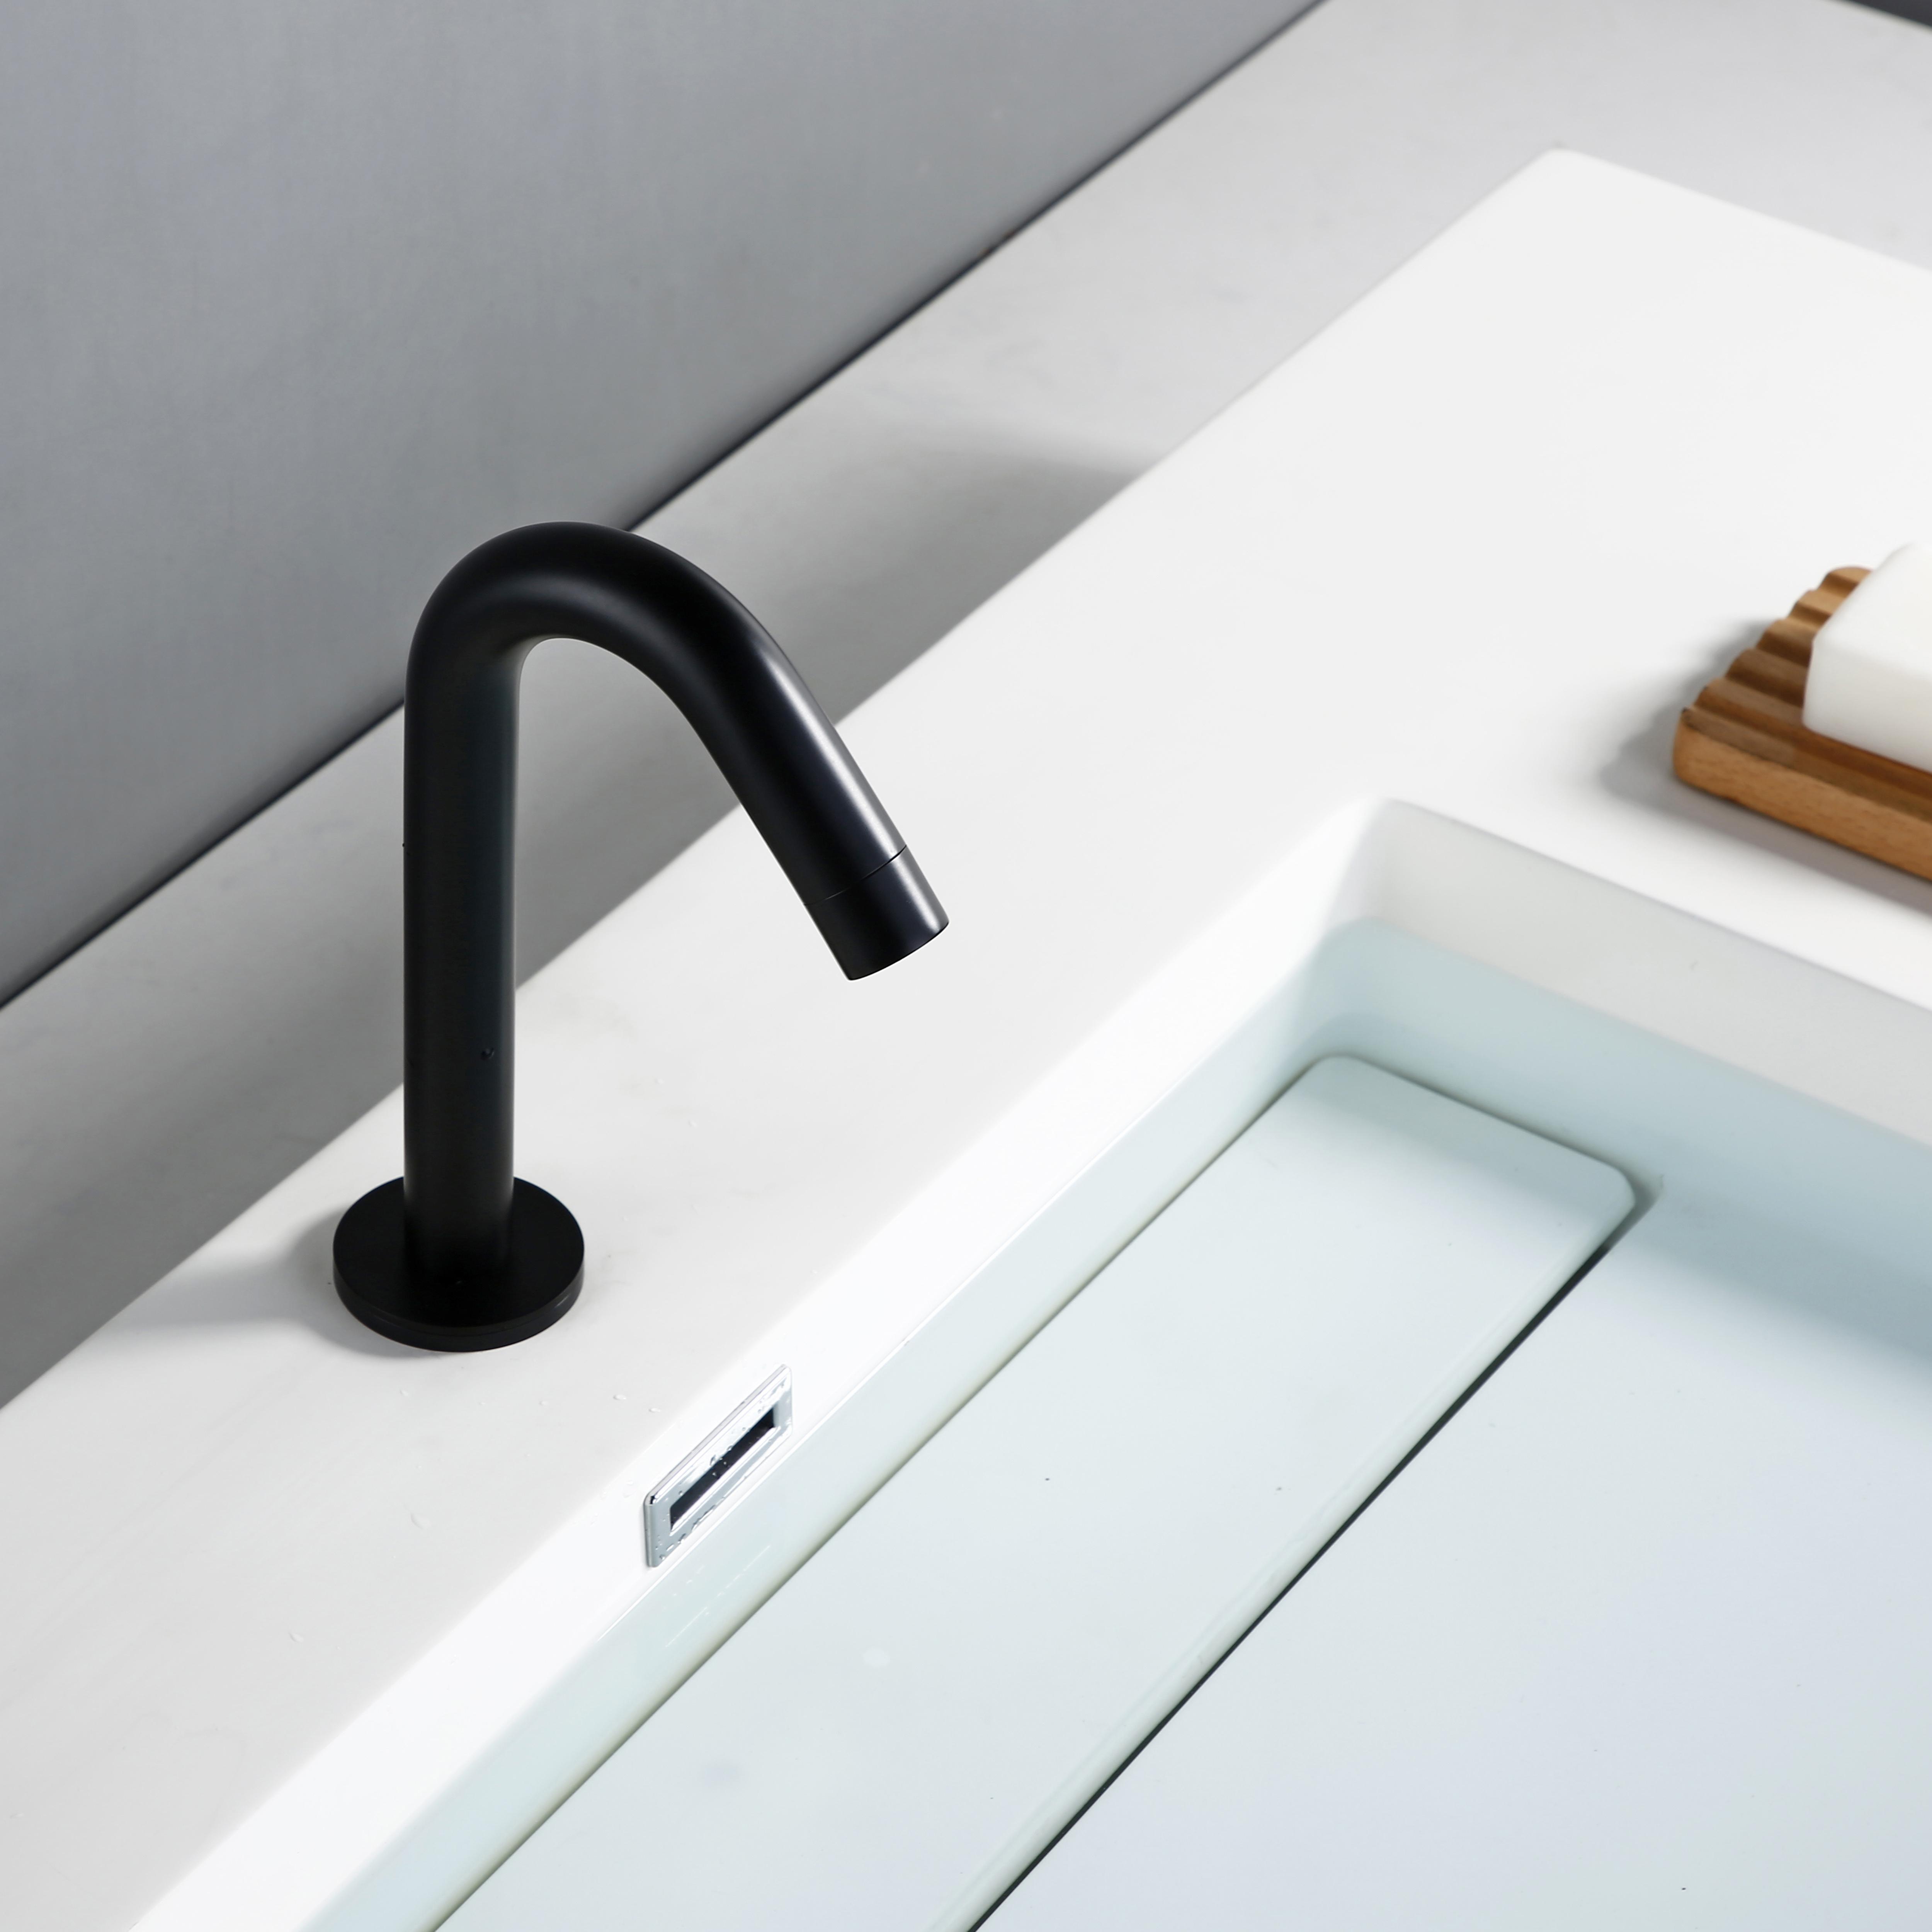
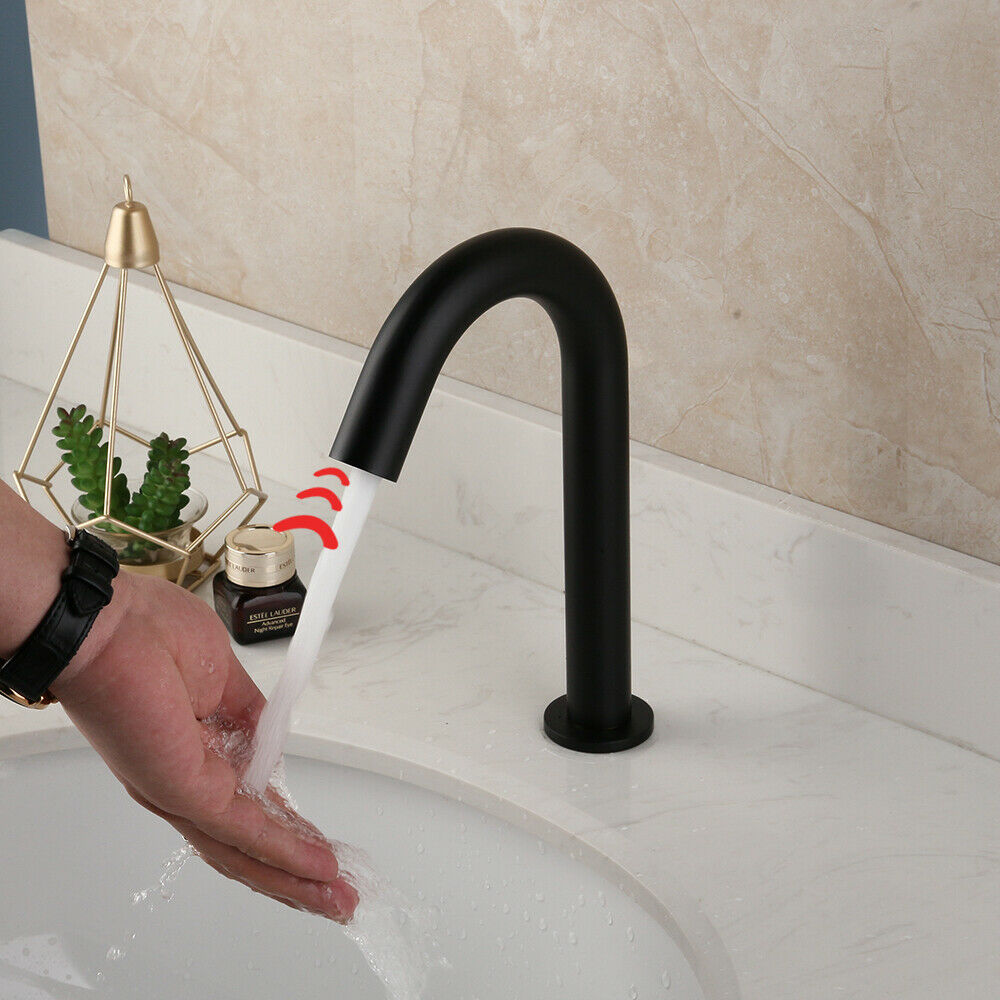
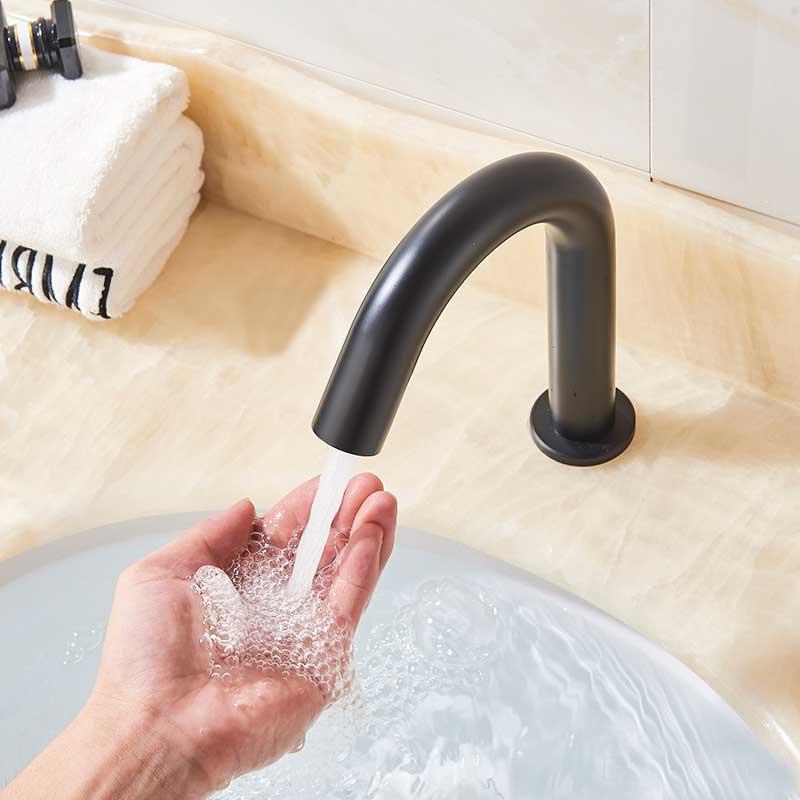
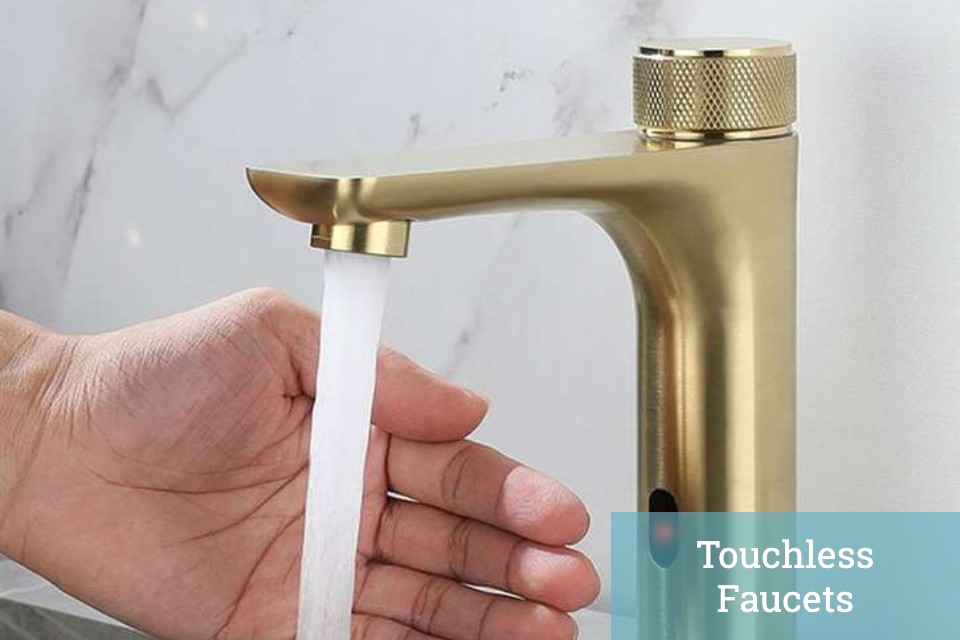
Functions:
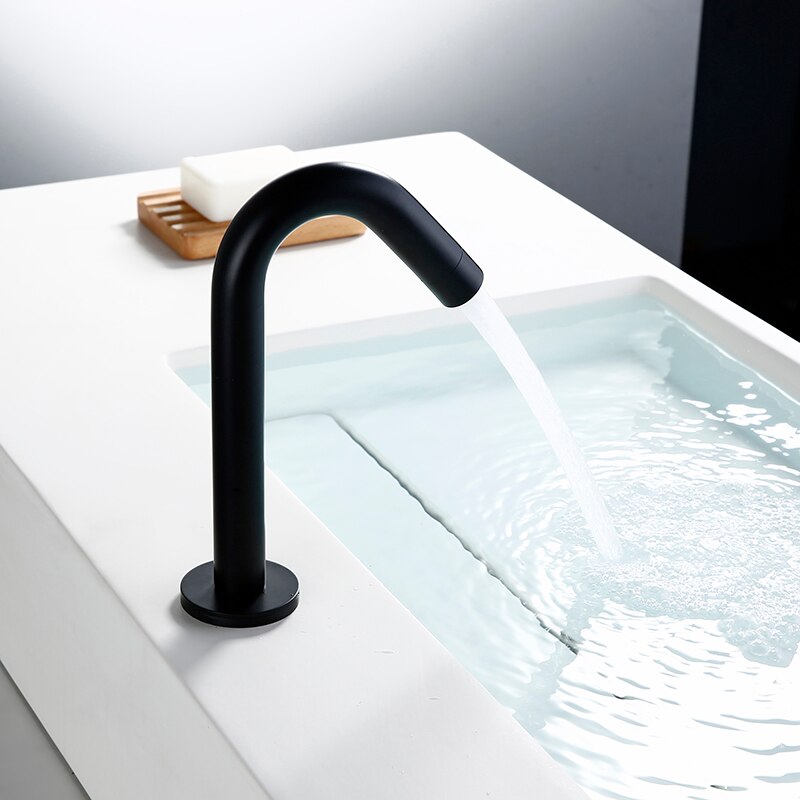
1. Water Saving: water flows out when hands get close and when your hand moves away, water stops immediately.
2. Hygienic: one open and close to hands-free from any contact, which can efficiently prevent mutual infection of bacteria
3. Intelligent: with your computer to control its action, the faucet can auto-adjust its best detection zone as per color and the shape of the sink
4. Low power consumption: for DC agitators, 4AA alkaline batteries can be used for 2 years.
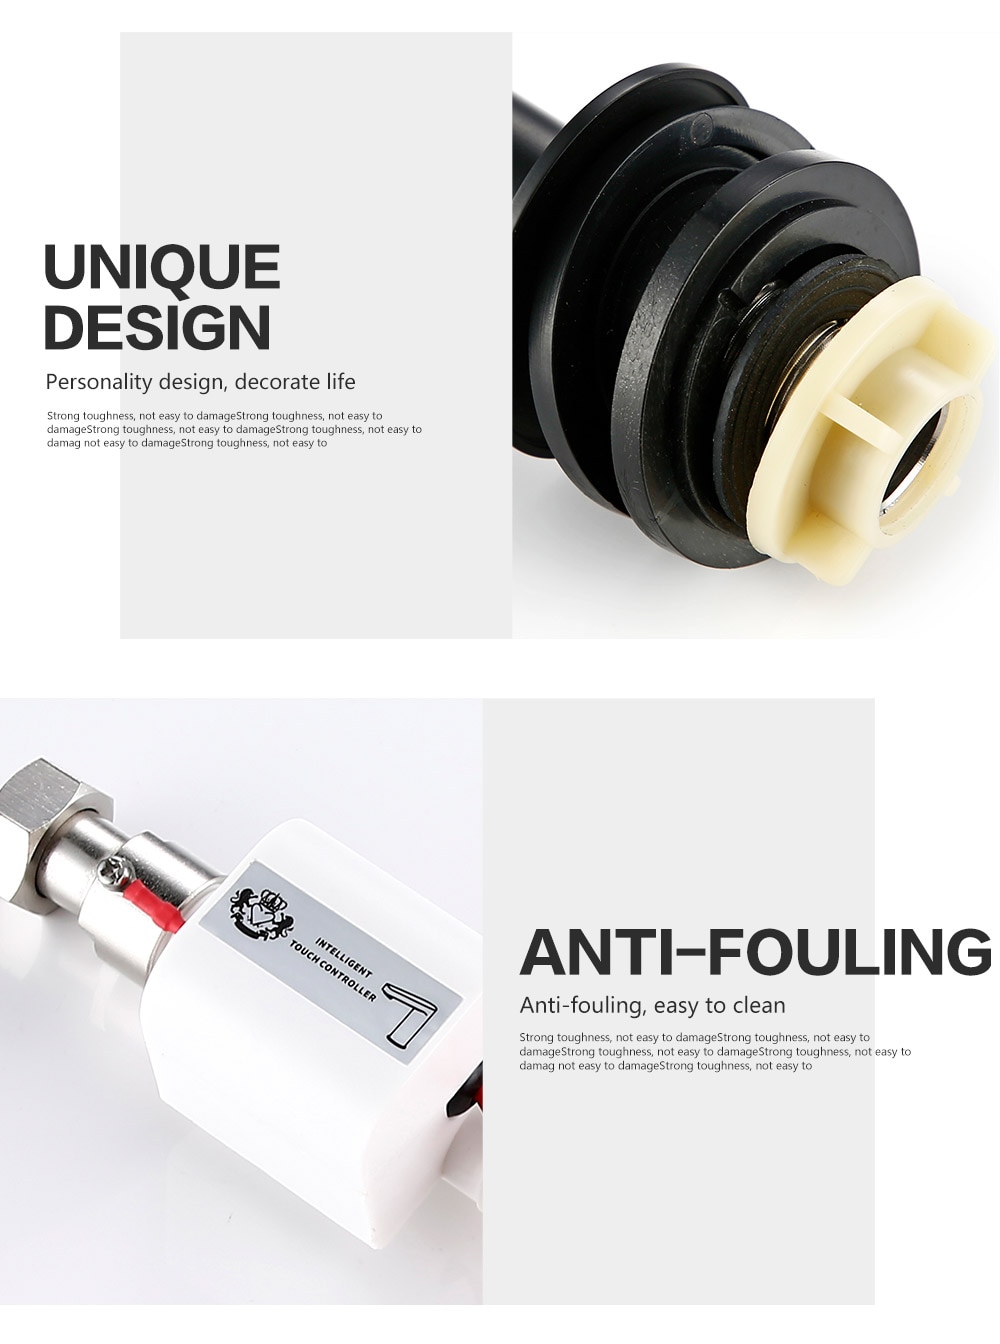
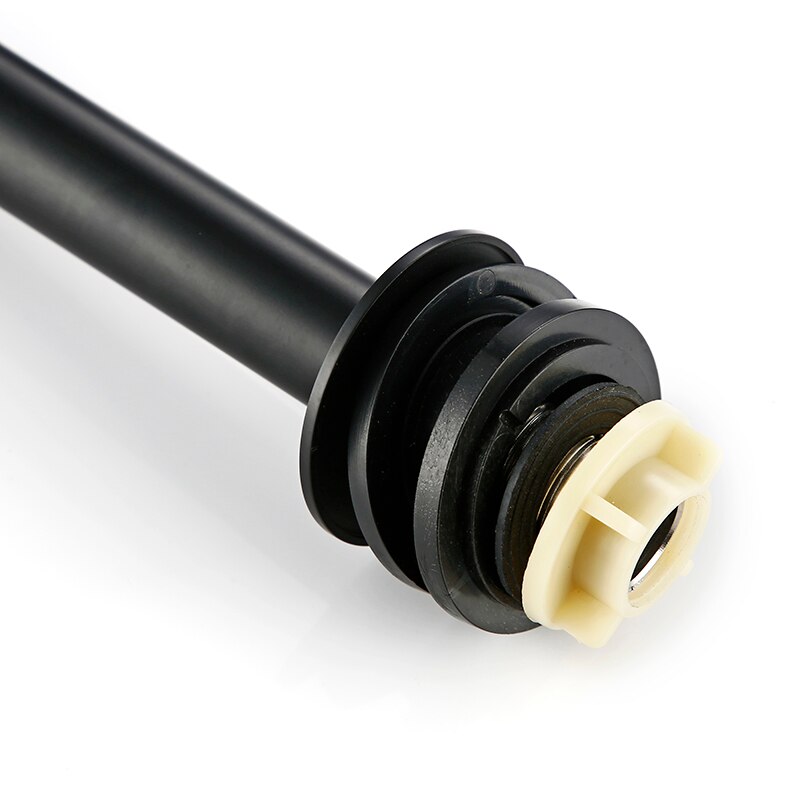
5. Convenient to maintain: there is an internal filter to prevent the entry of the solenoid valve of miscellaneous and the filter is easy to clean.
| |  | |
Automatic Soap Dispenser Installation Instructions| Step 1: | sensor | Step 2: | | 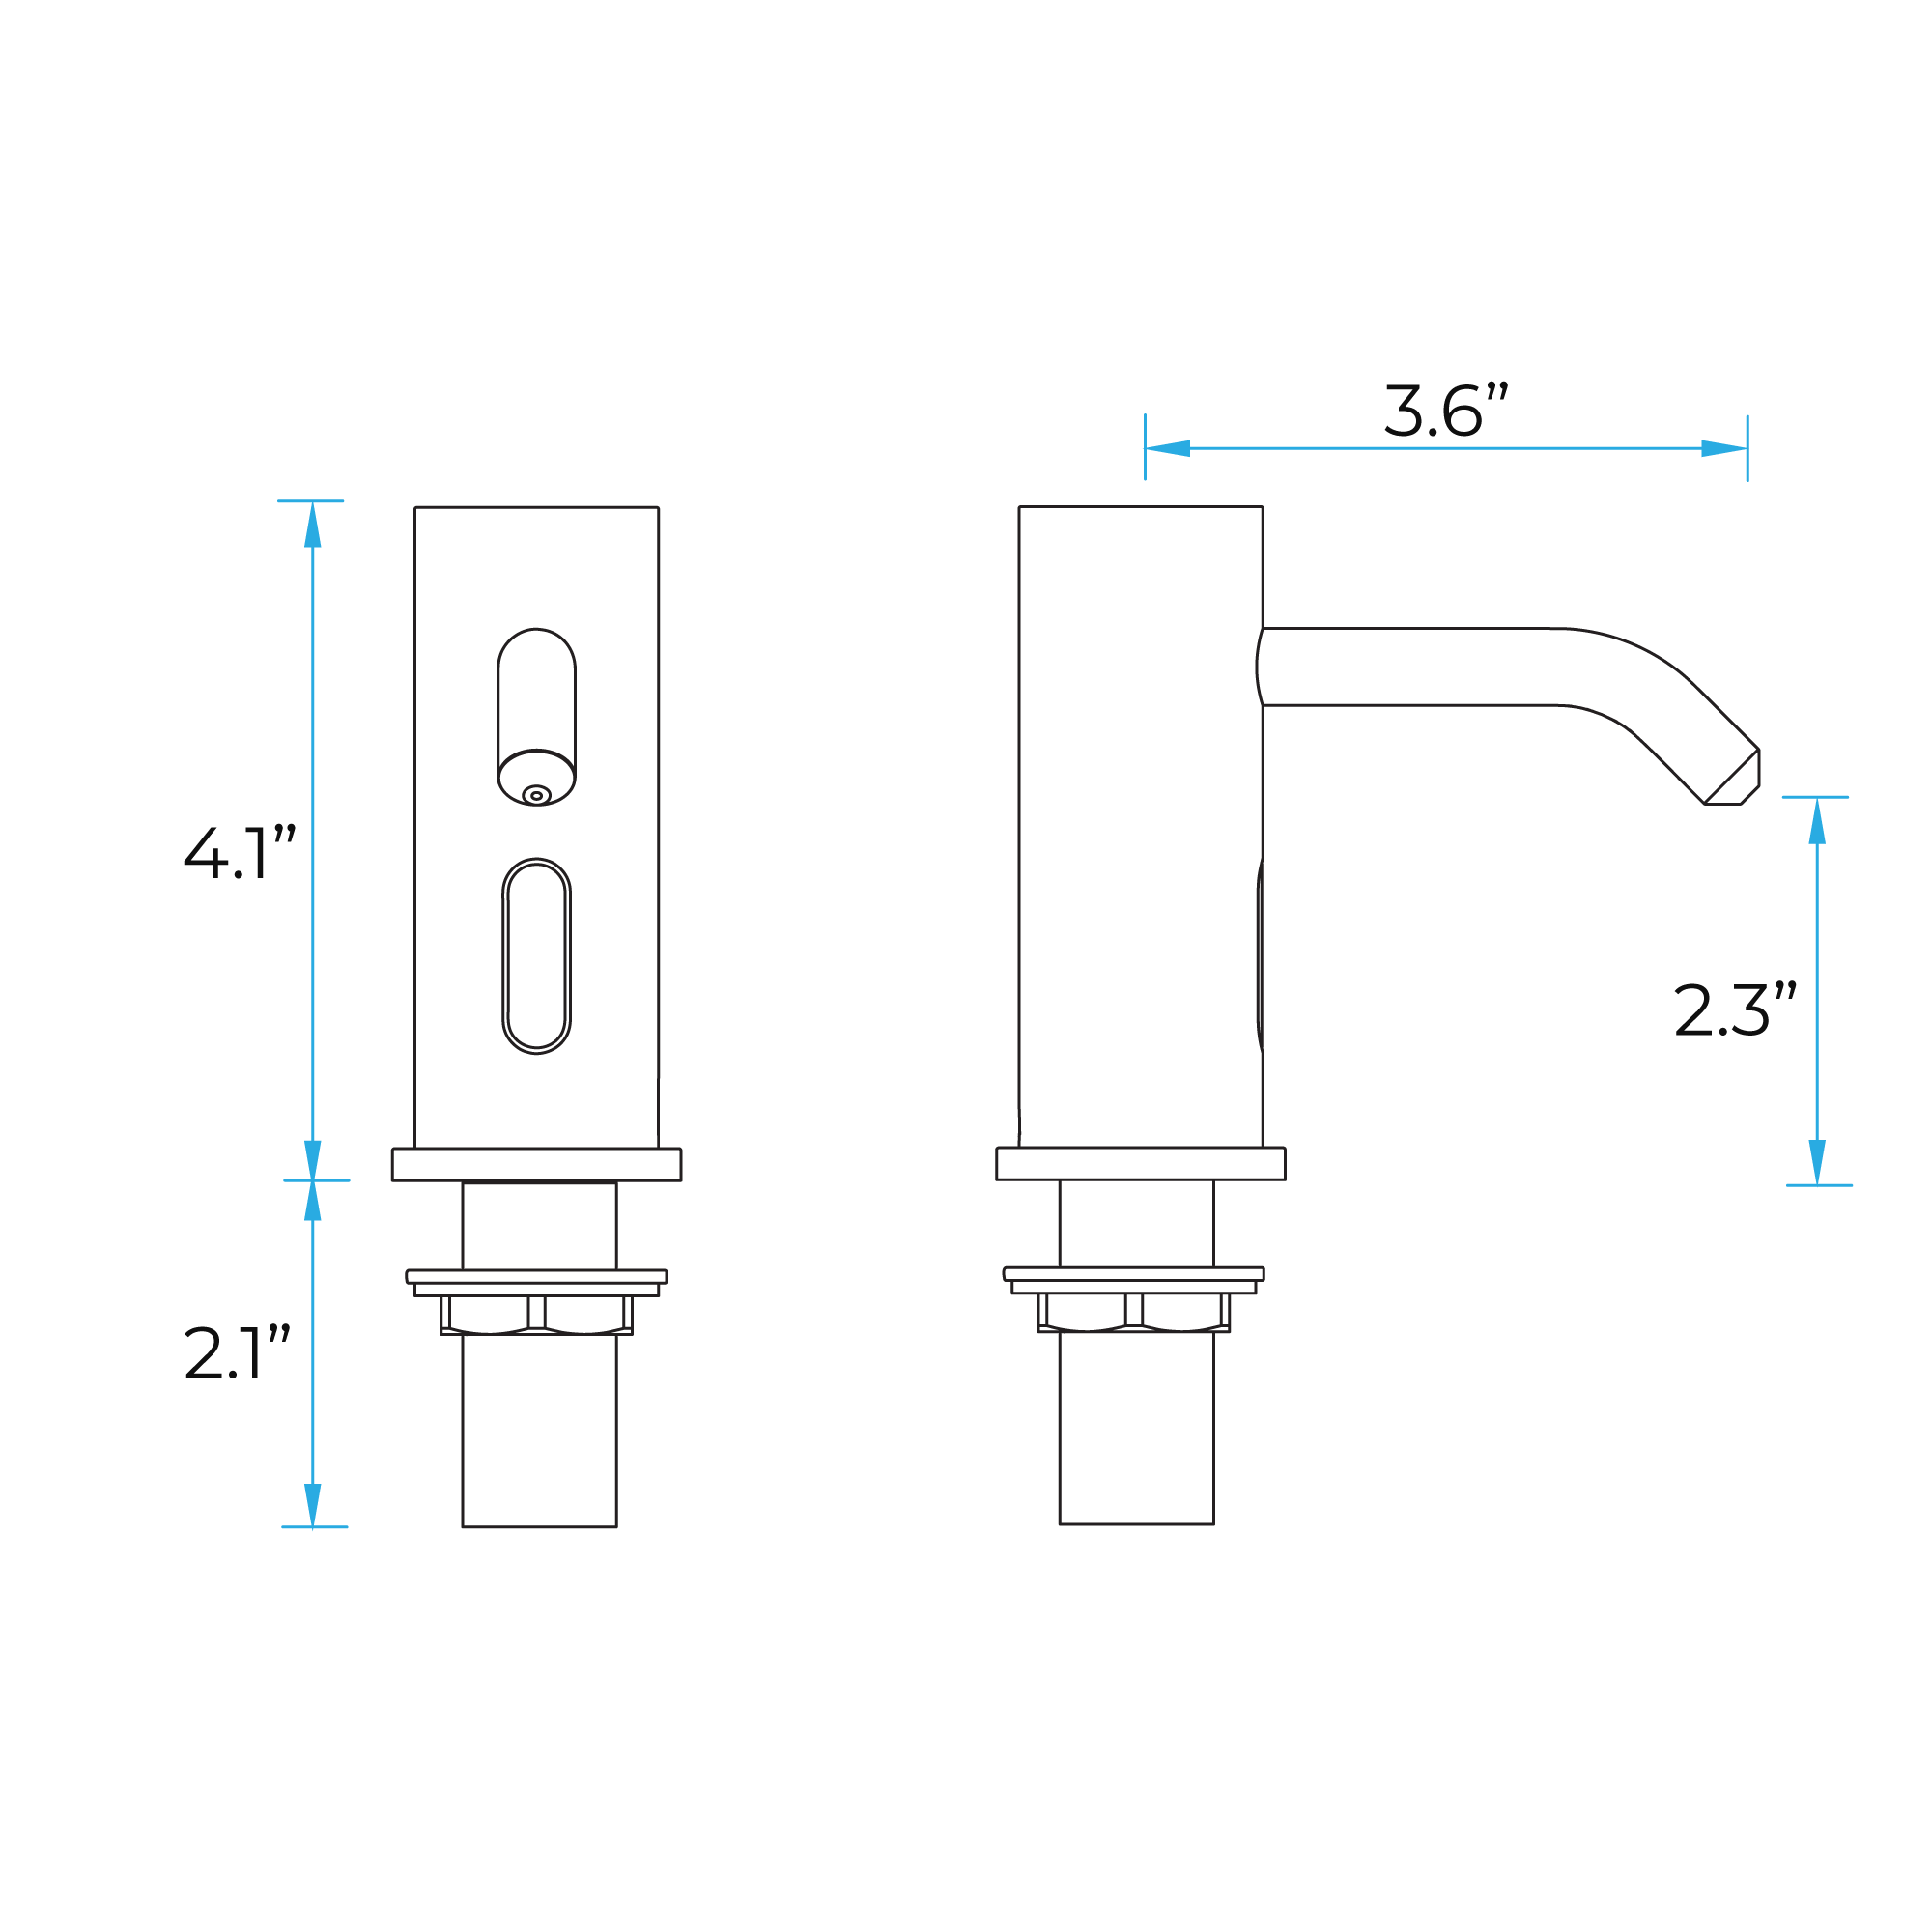 | |  |
|
| |
| | | Step 3: | | Step 4: | | 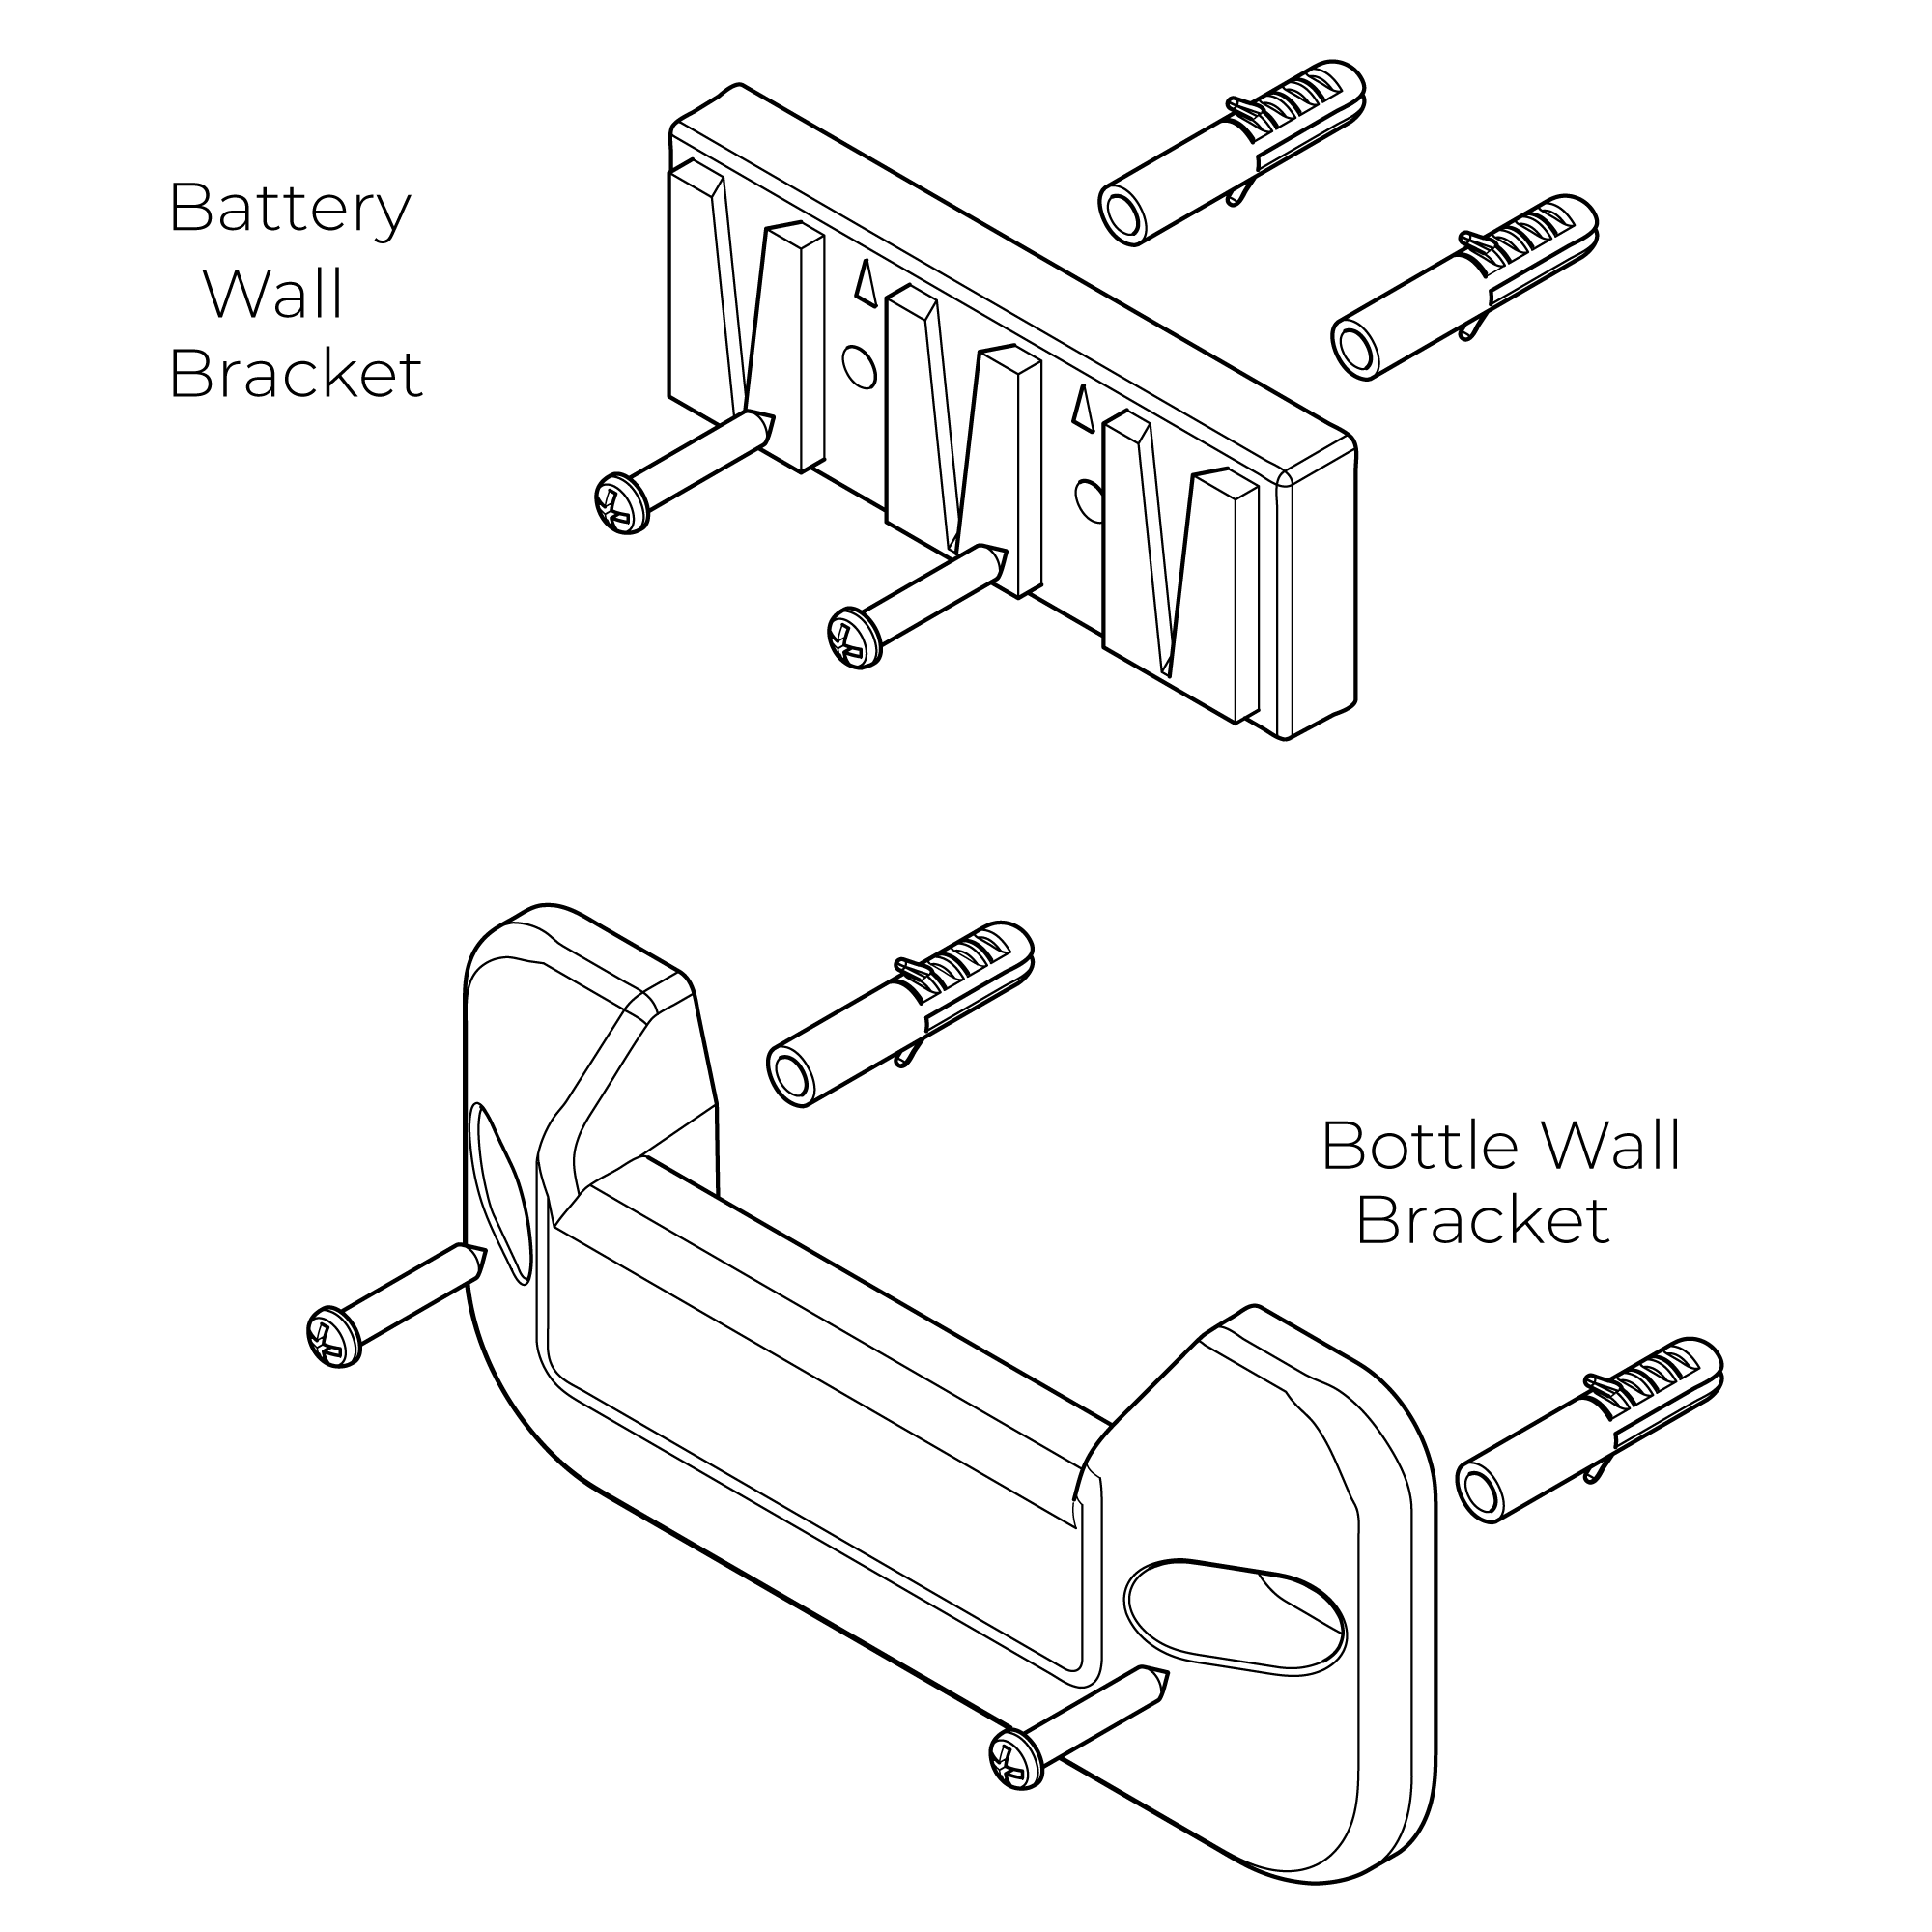 | | 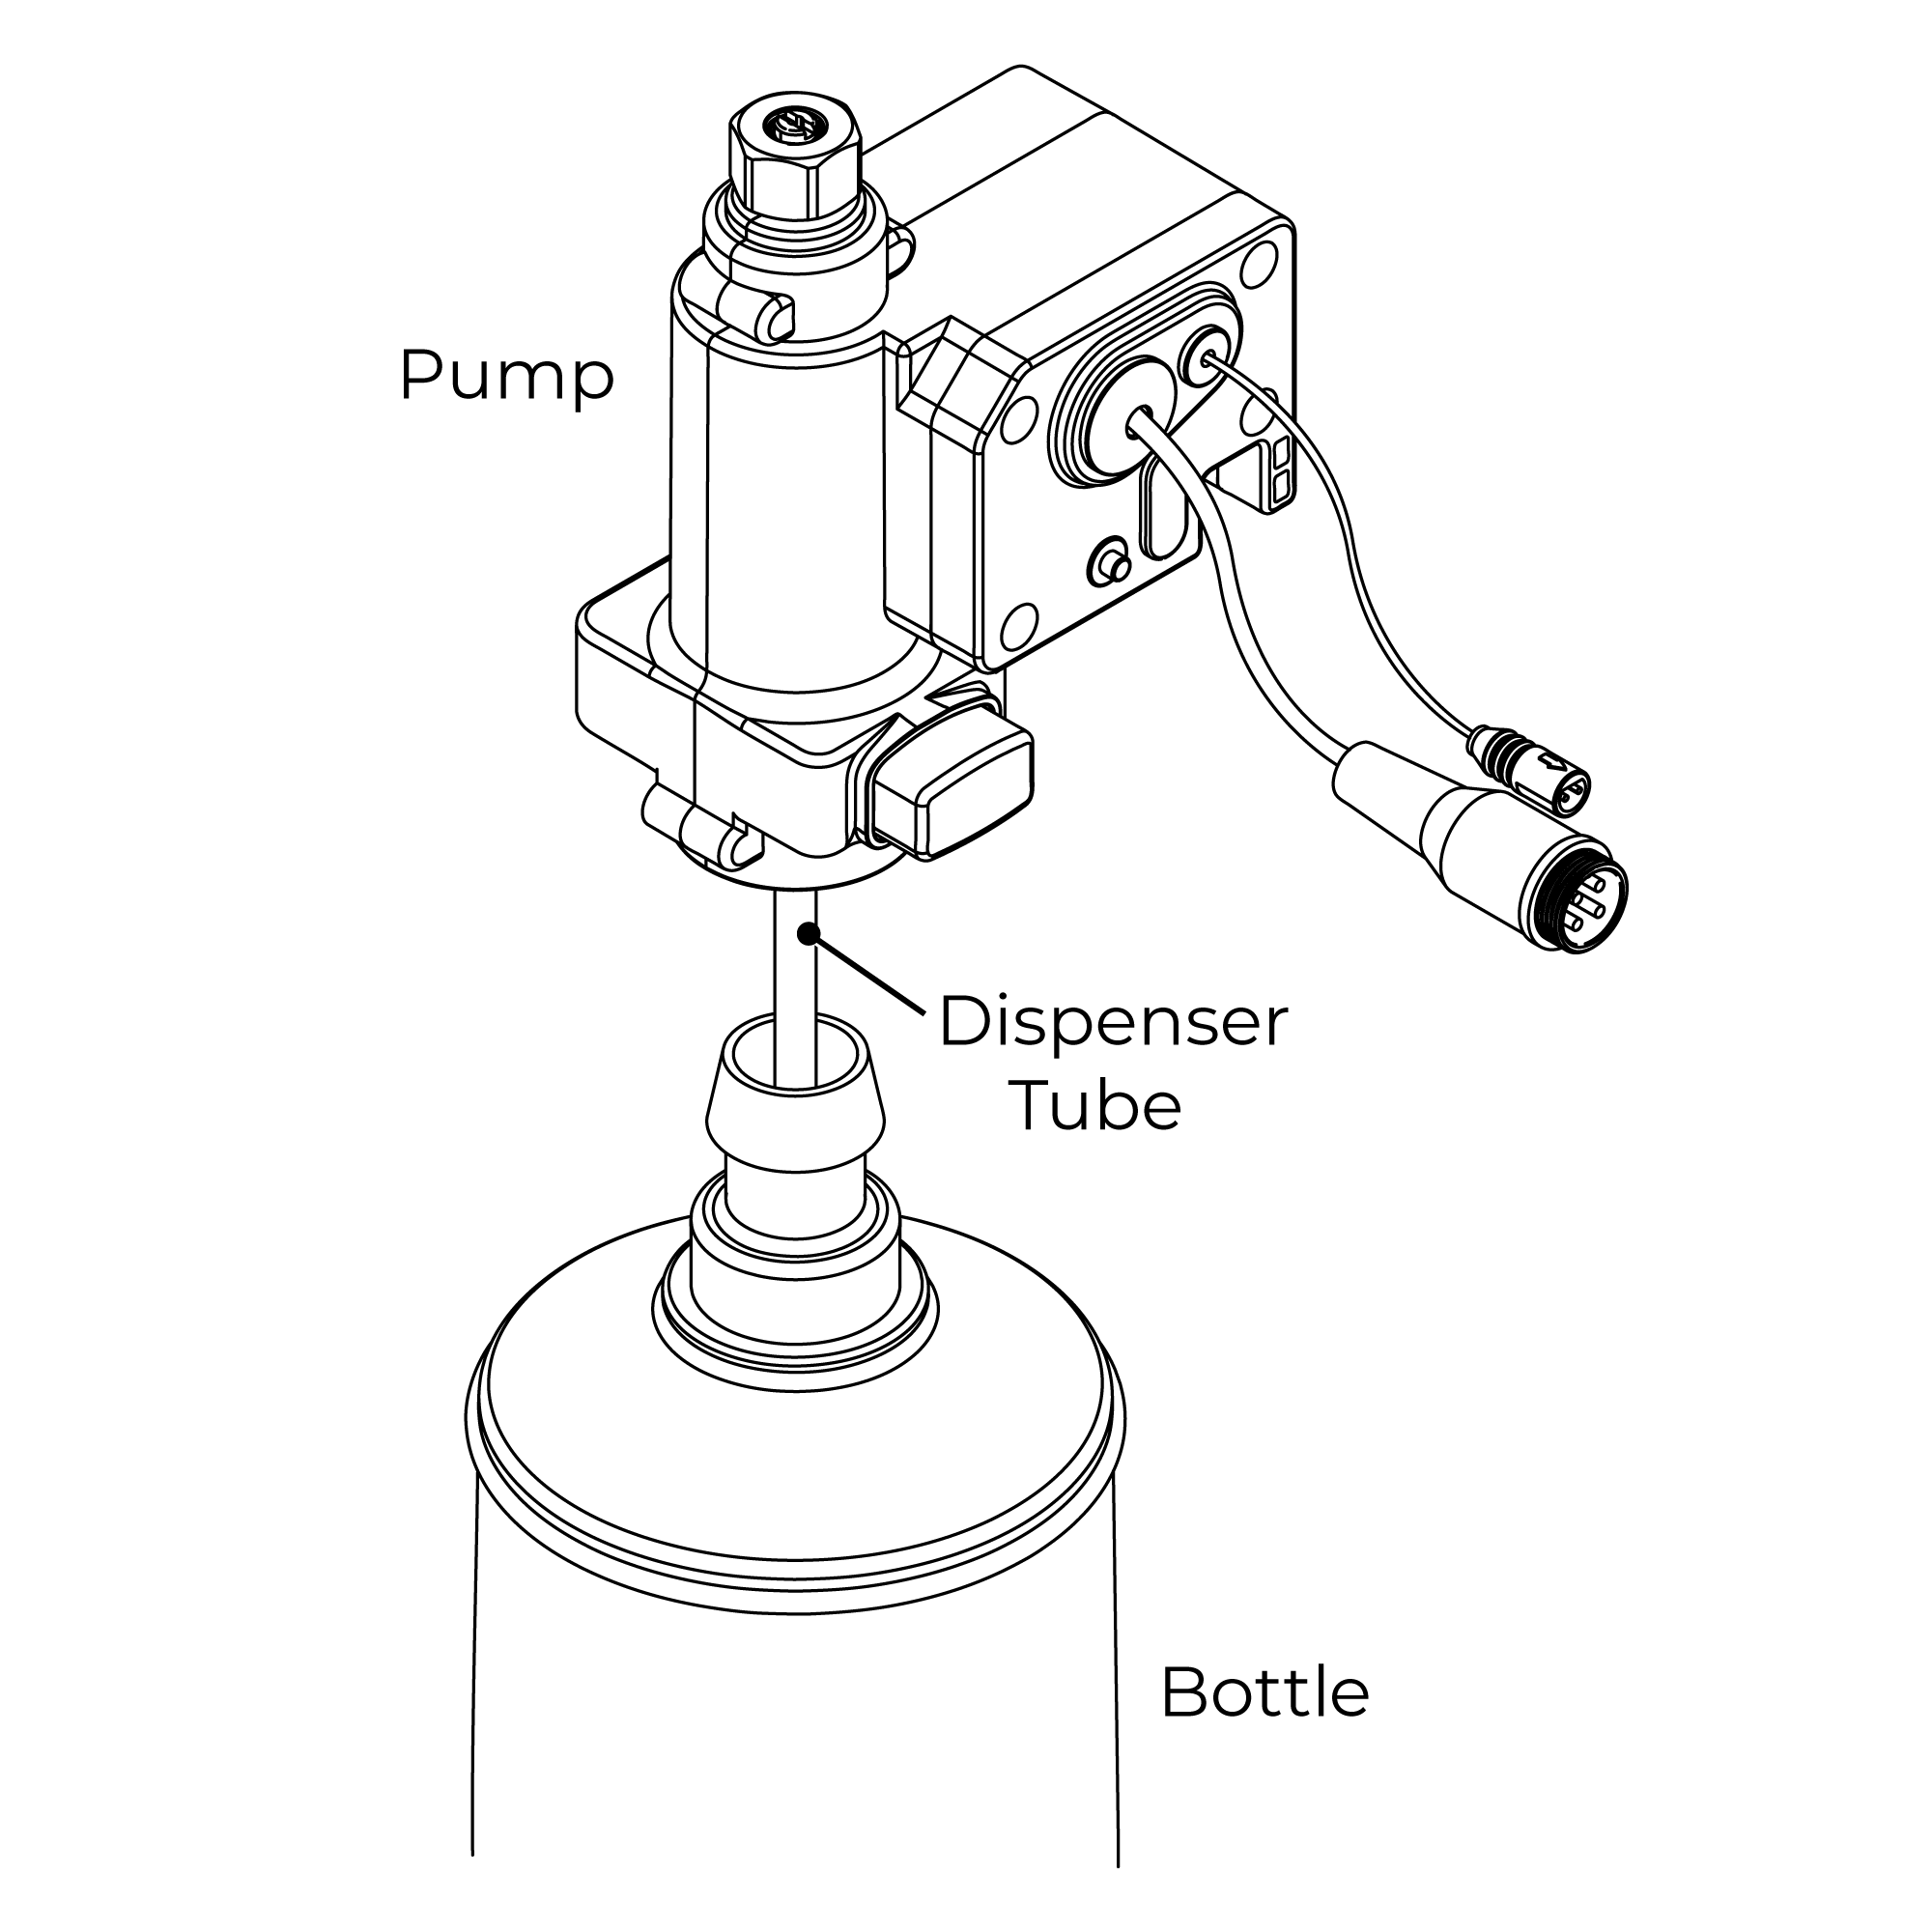 | |
| | | | | Step 5: | | Step 6: | | 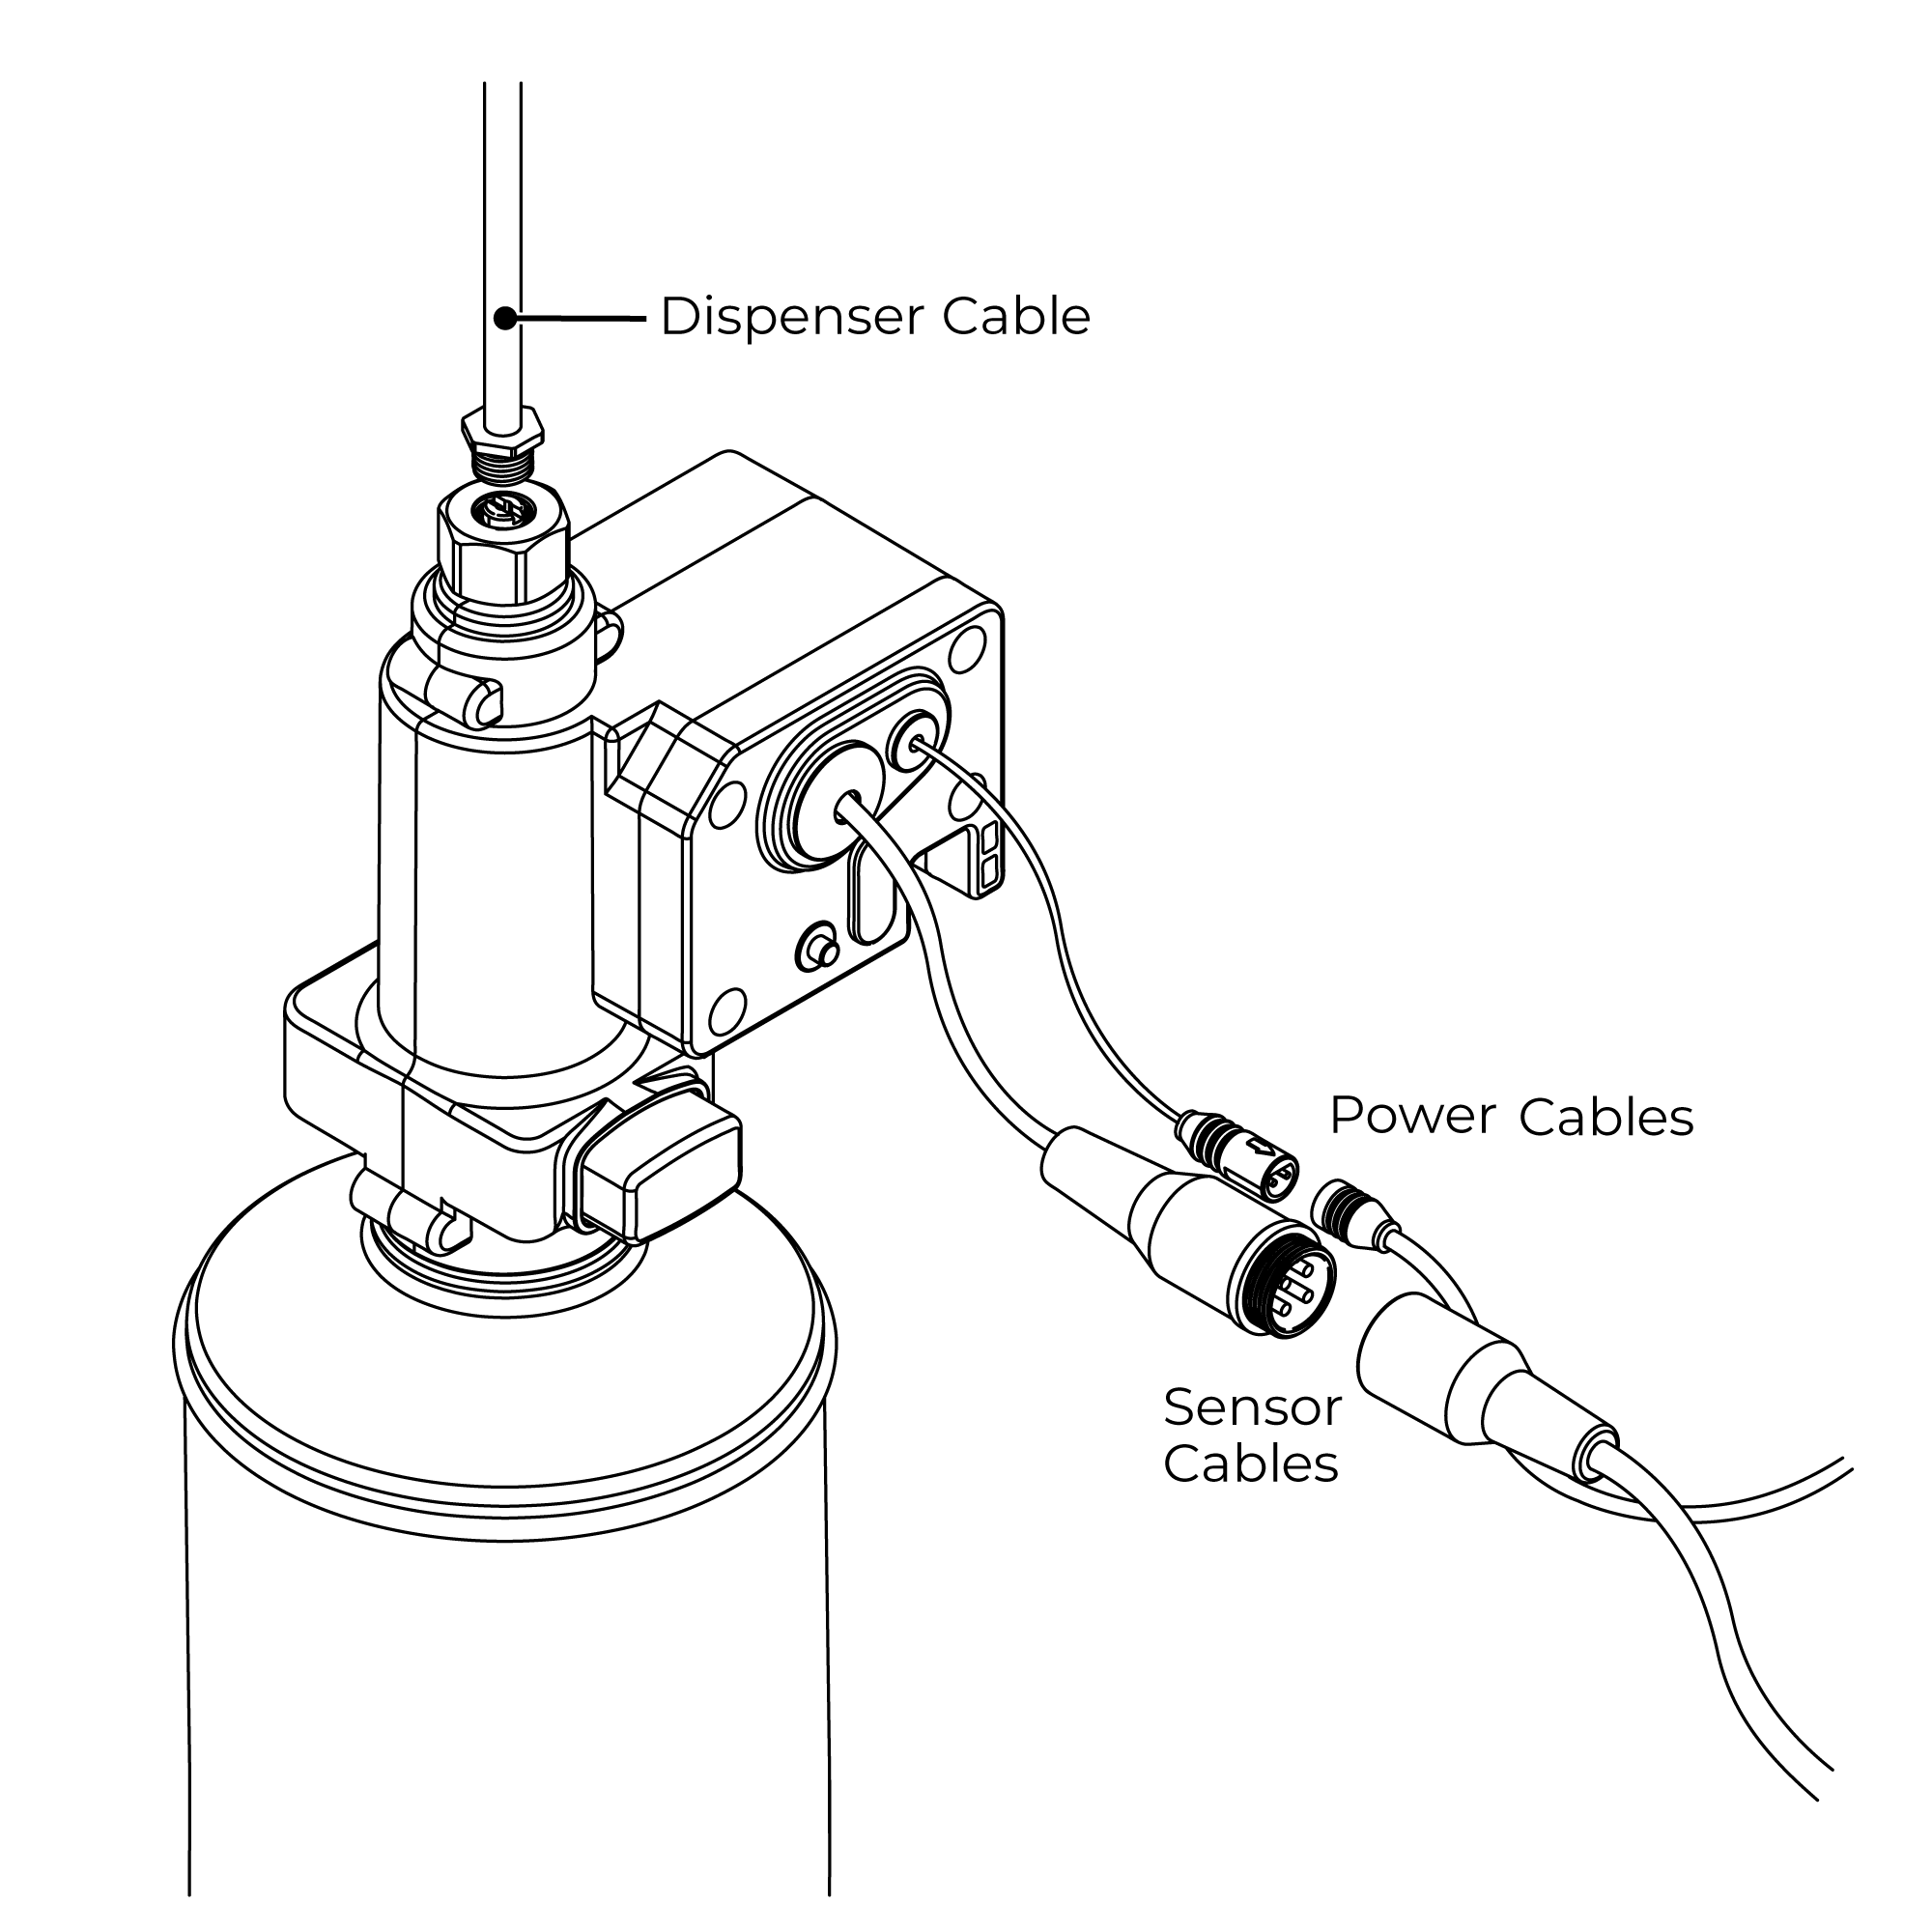 | | 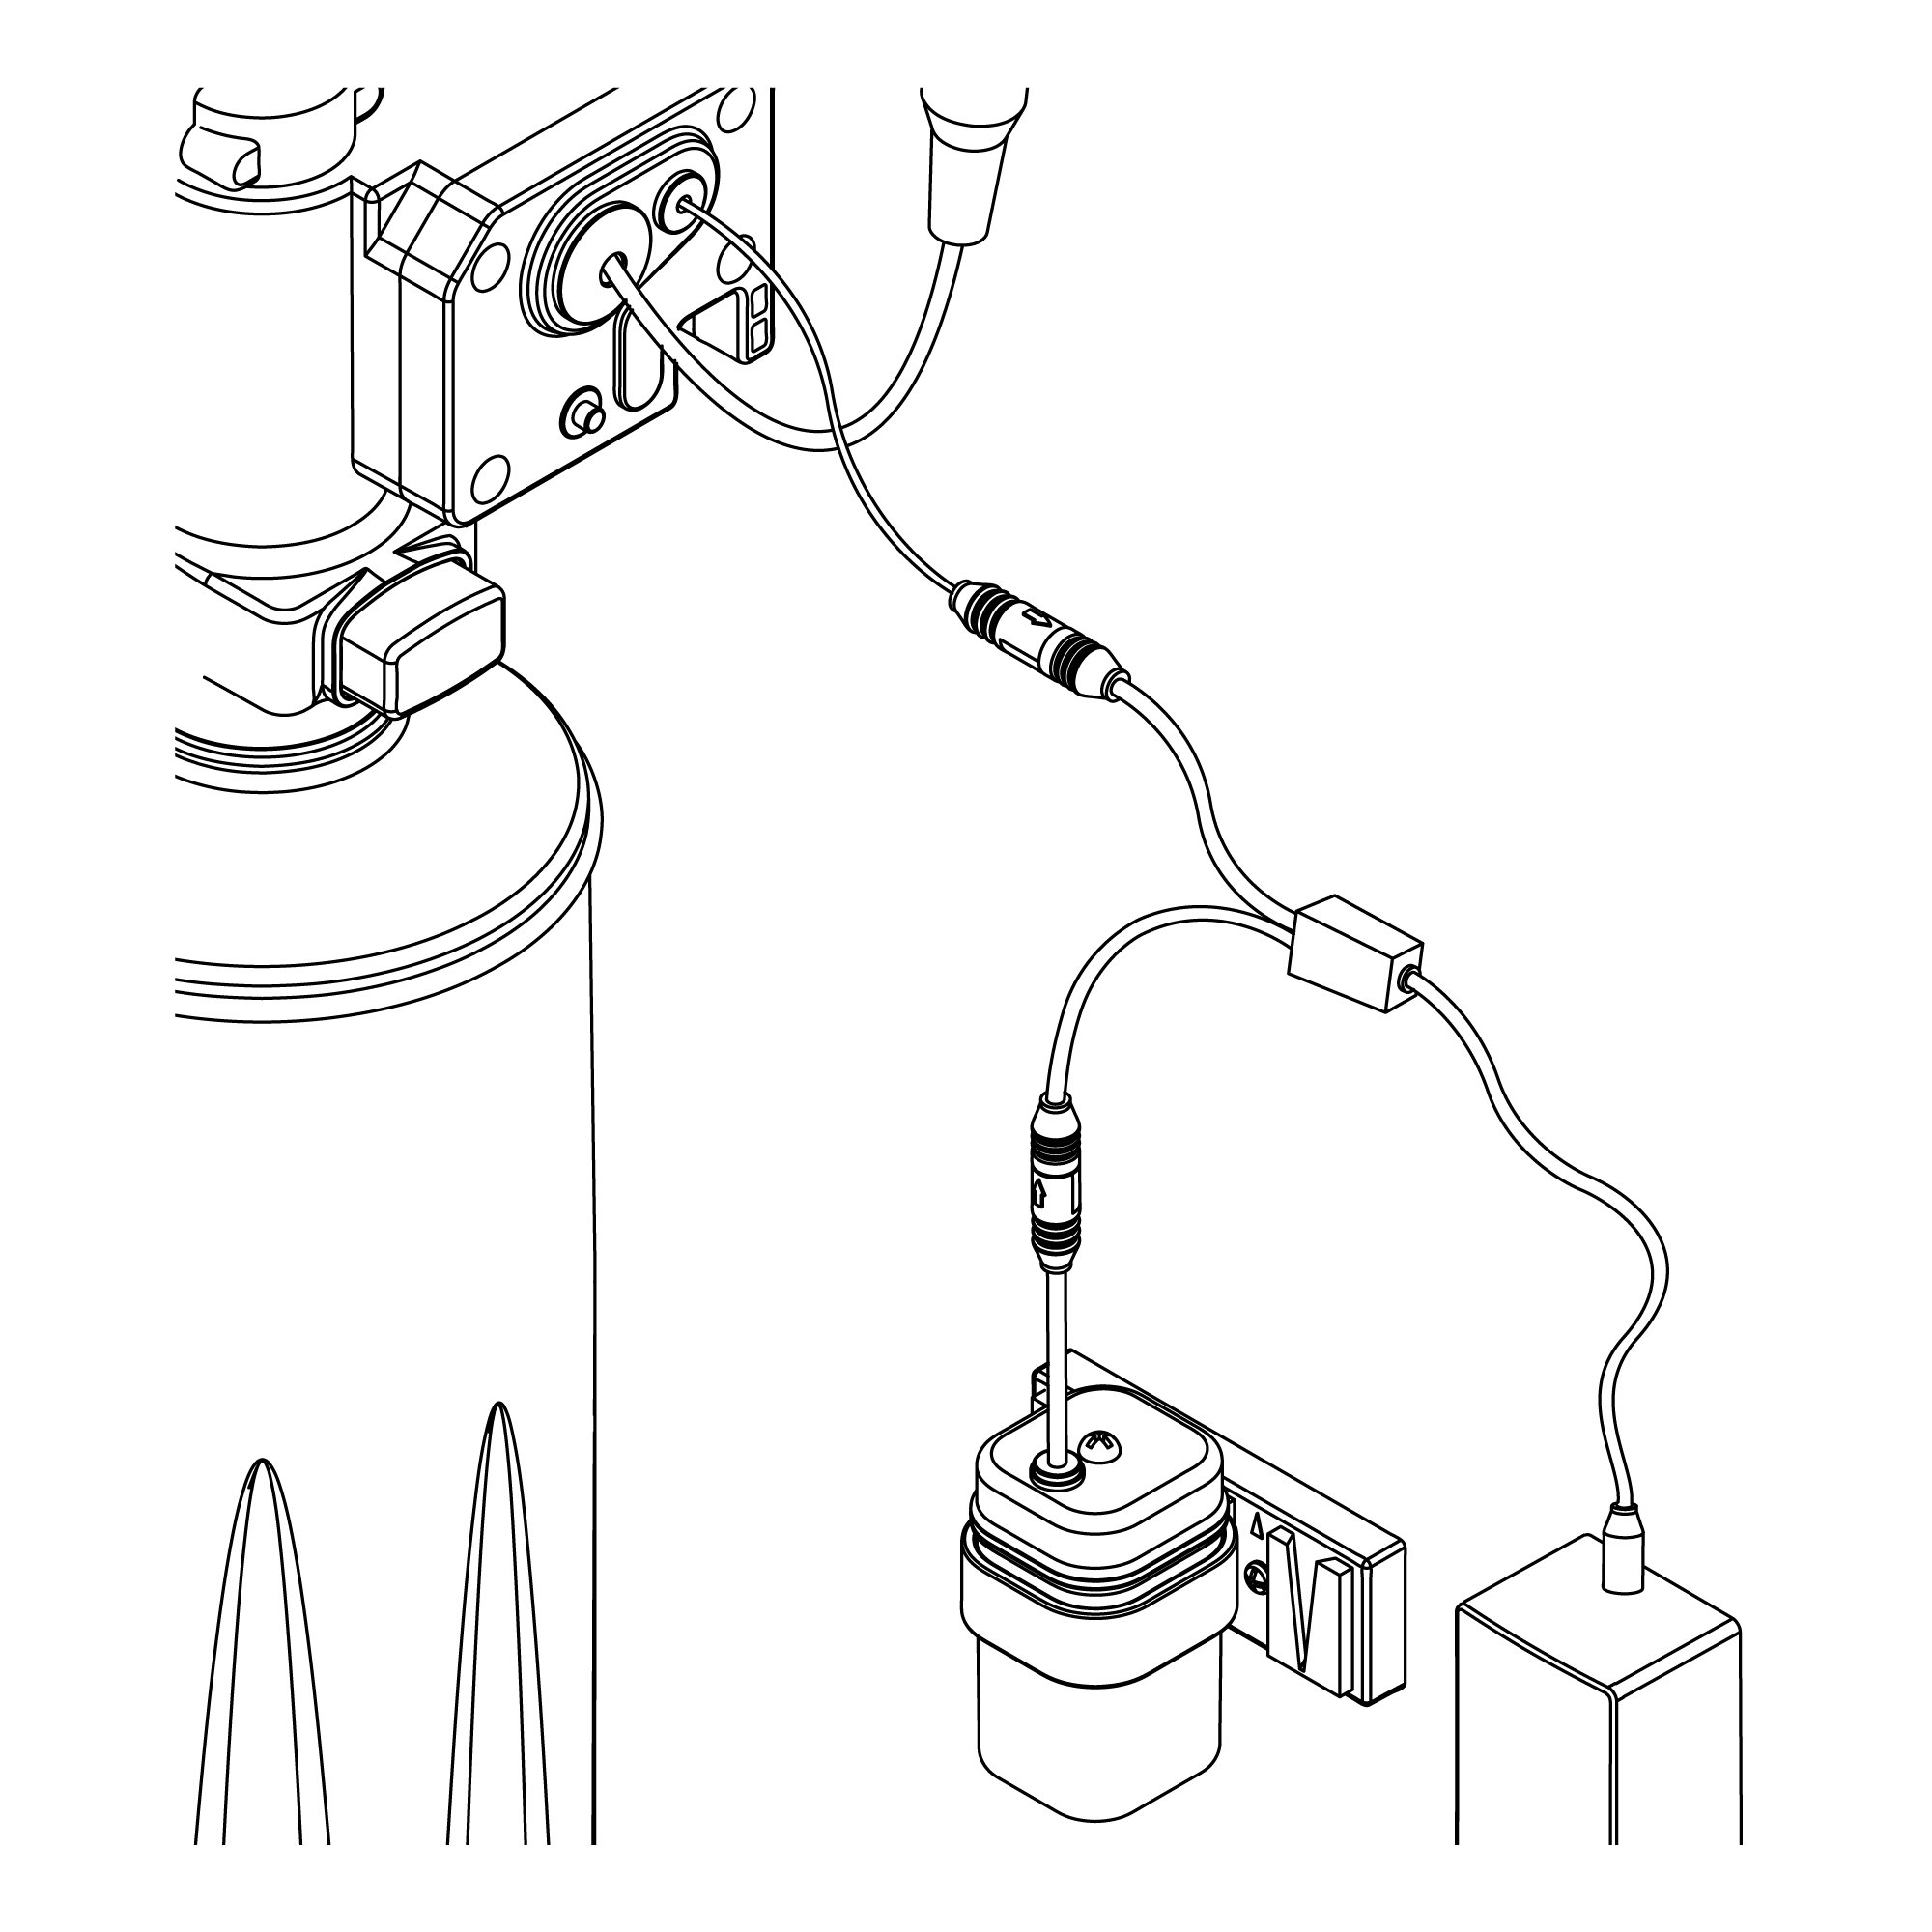 | |
| | | | | Step 7: | | Step 8: | | 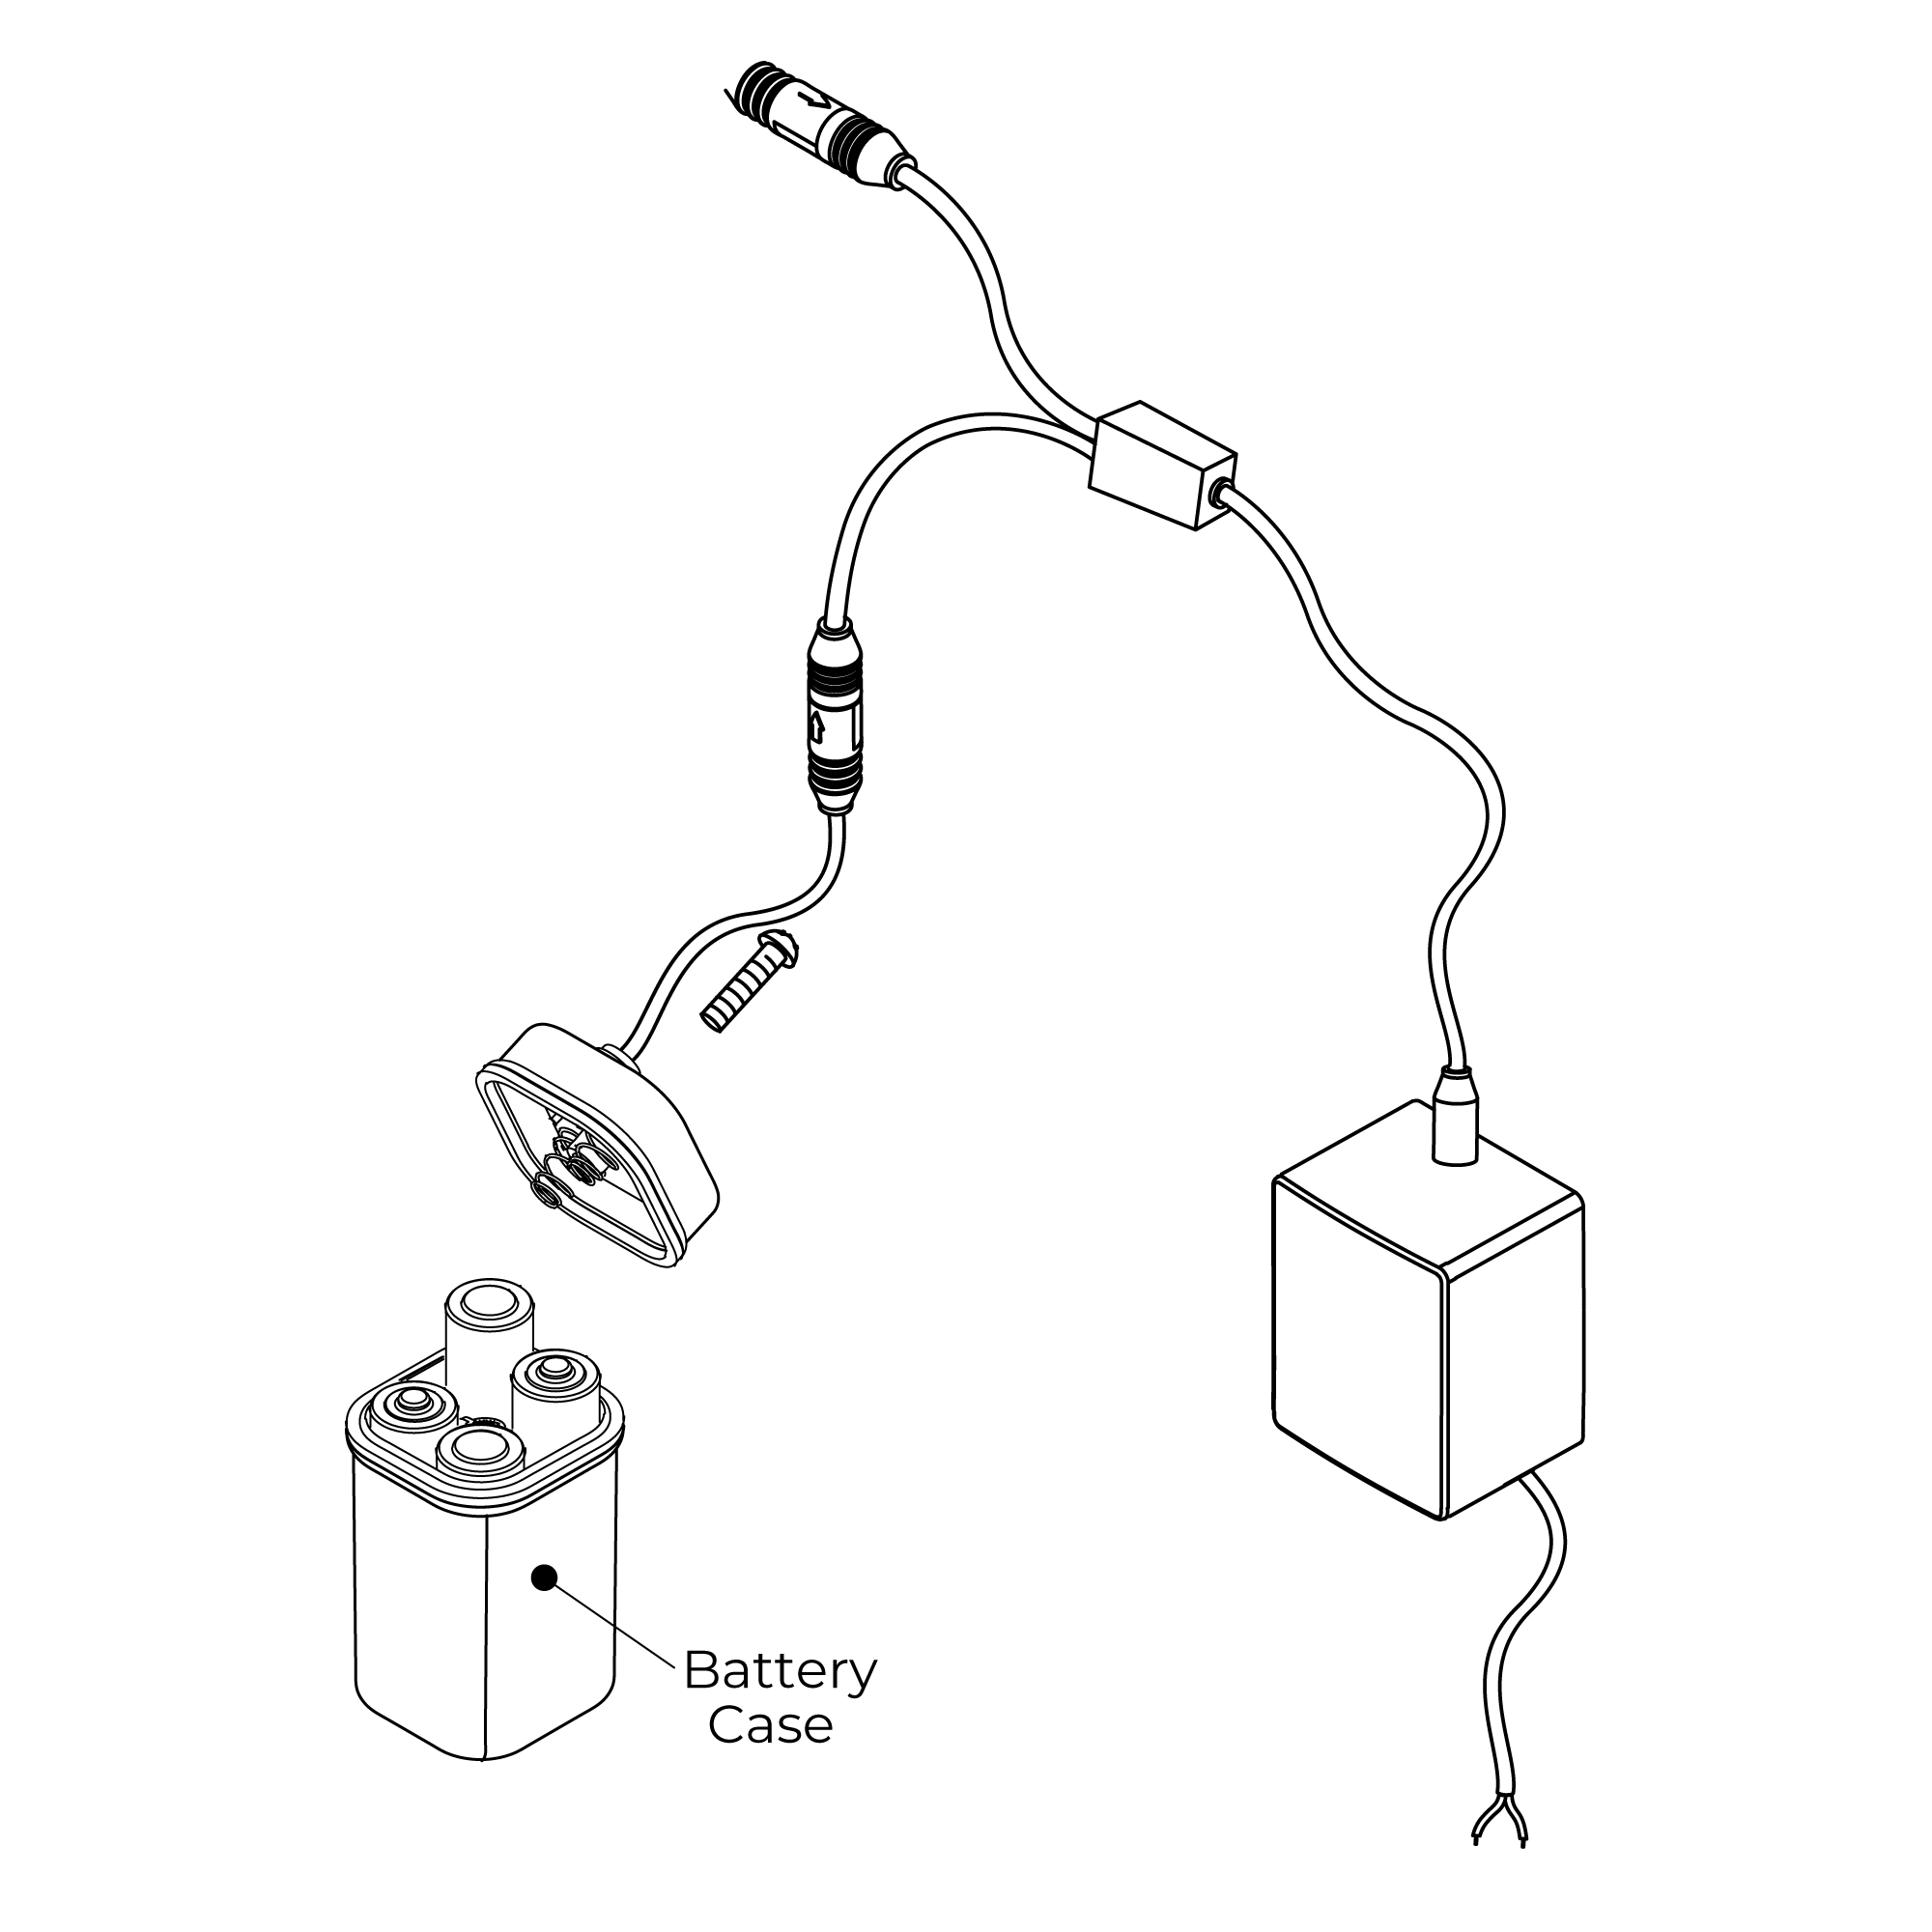 | | 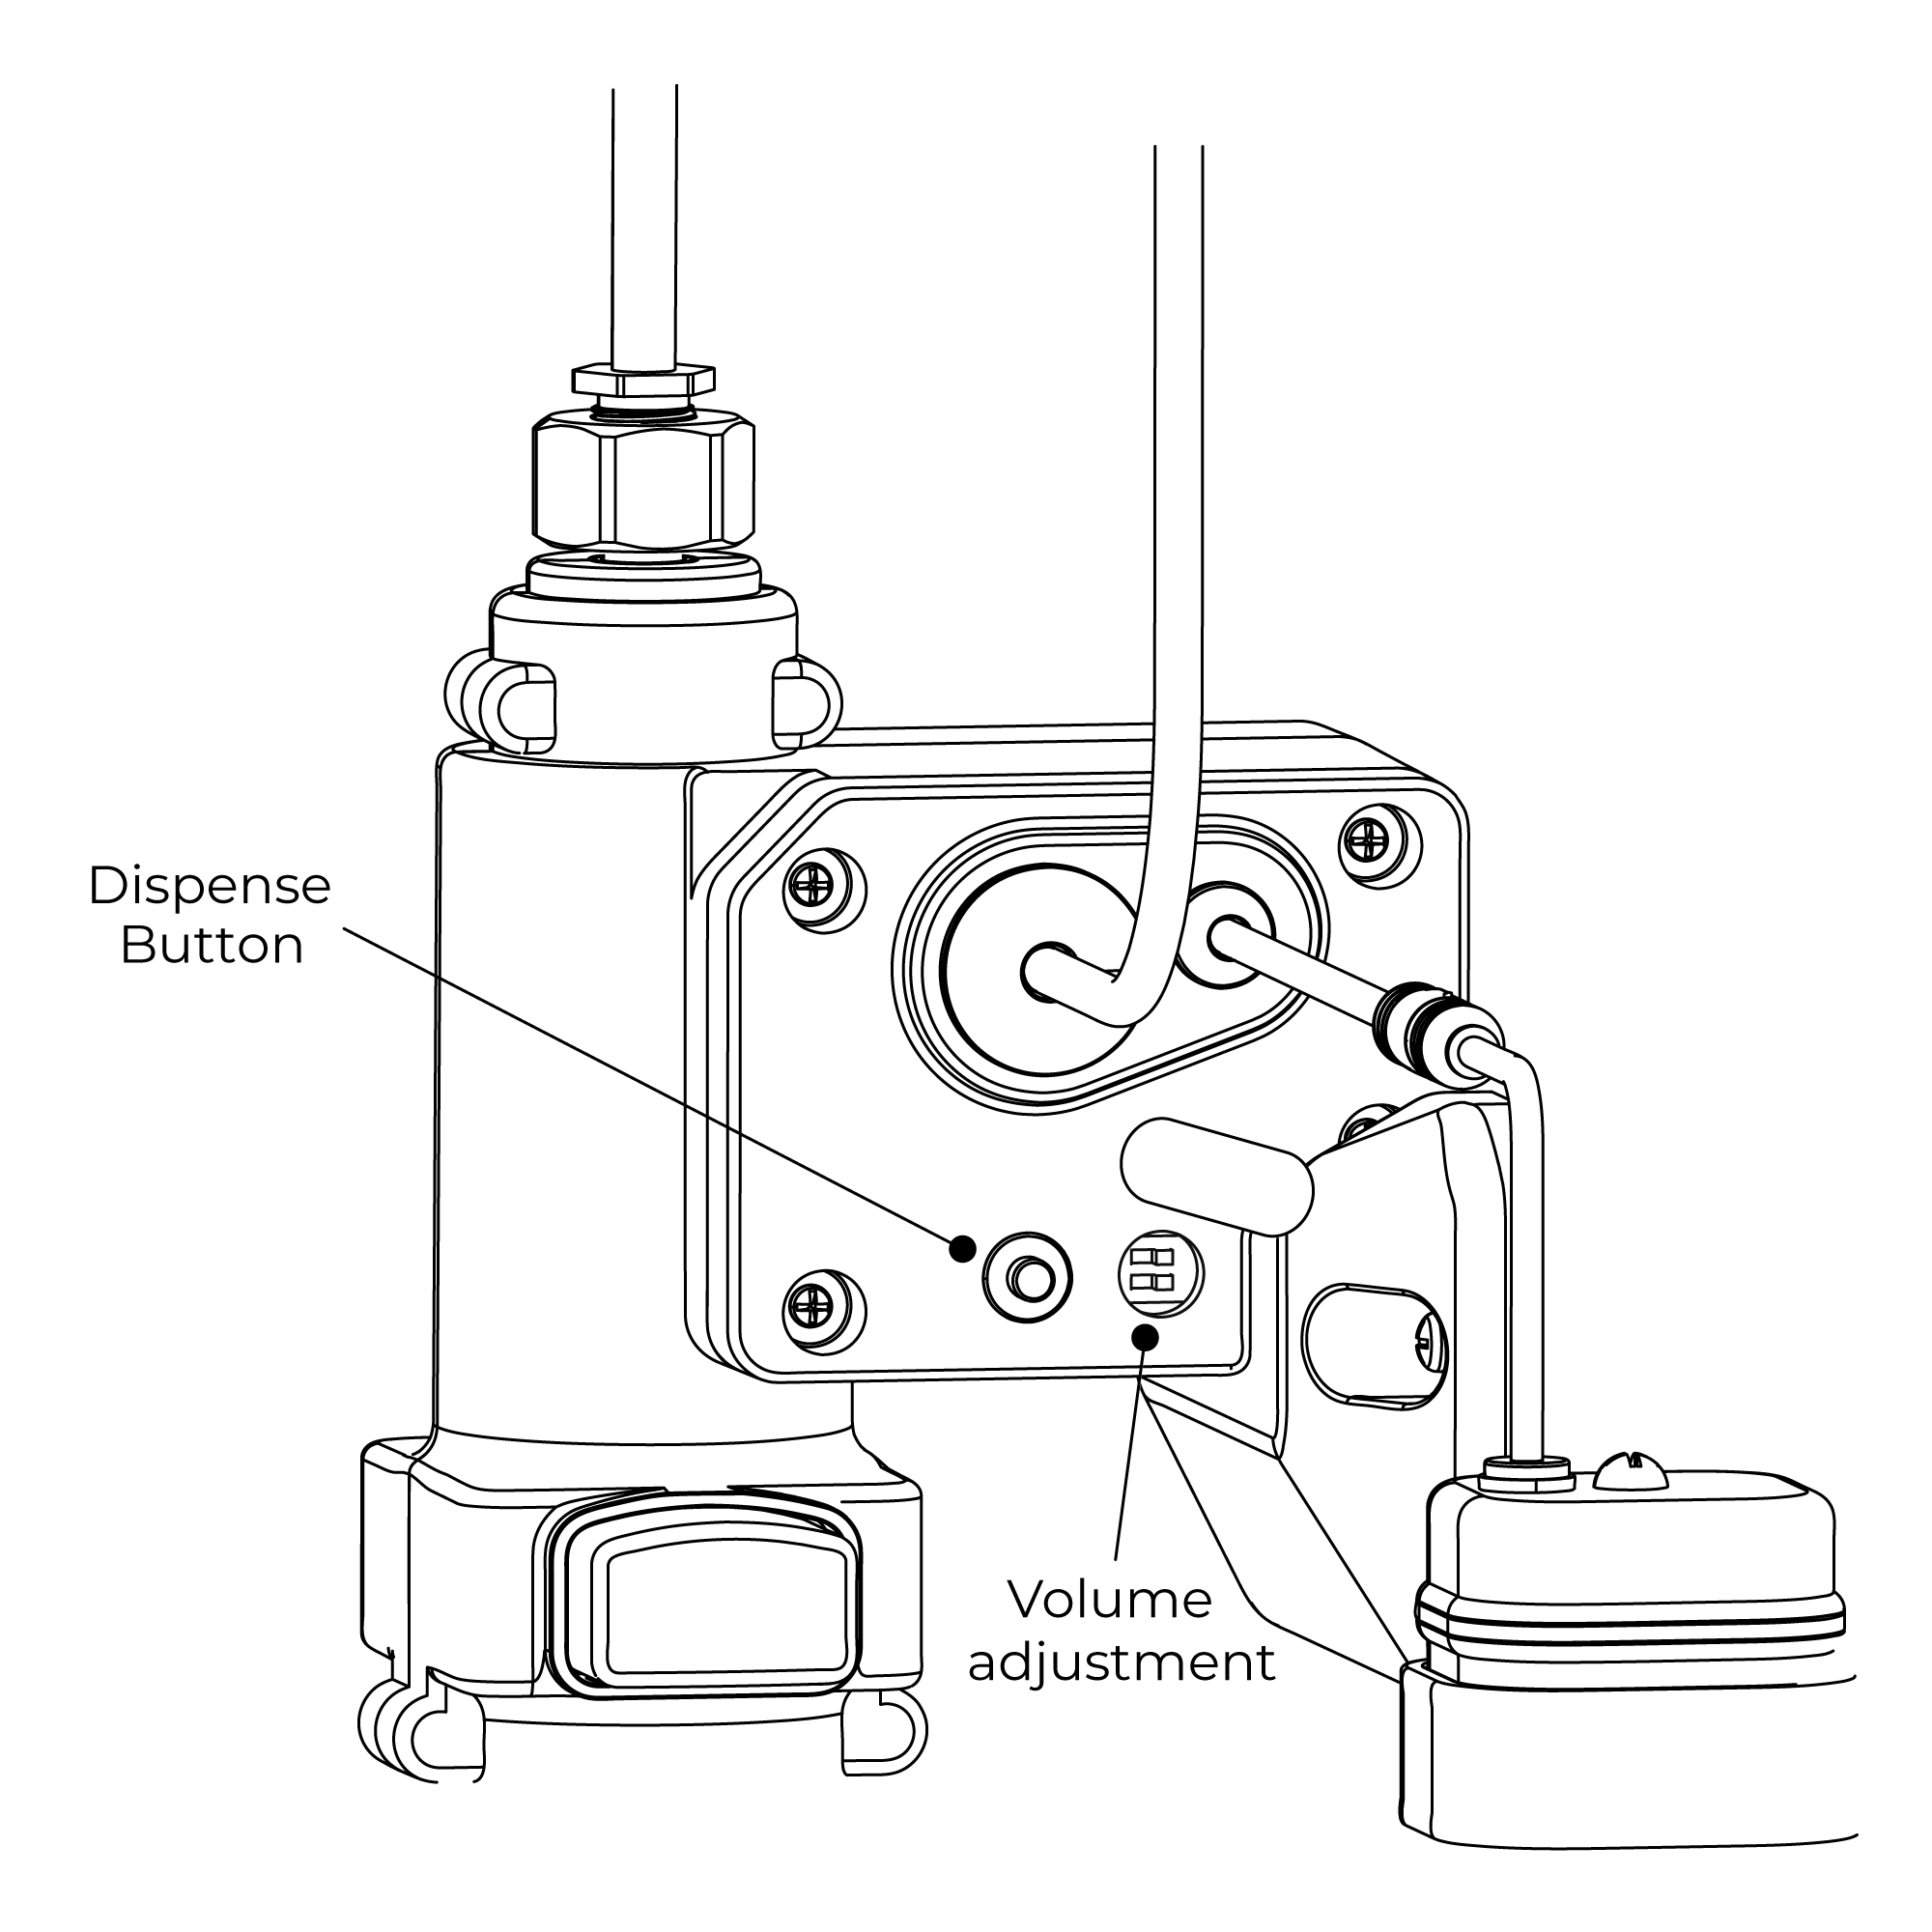 | | | Step 9: | |
| |  | |  | | | | | | | | | |
Features:
Enhanced Hygiene: The proximity sensor eliminates the necessity for direct contact with the spout, thus diminishing the spread of germs and lowering the risk of cross-contamination.
Battery Backup: Your infrared soap dispenser comes equipped with a backup battery pack. In the event of a power outage, the product seamlessly transitions to battery-operated mode, ensuring uninterrupted functionality of the spout.
Low Battery Alert: When the battery power depleted and falls below 3.9V, the sensor light flickers, signaling the need for battery replacement. Once the batteries are fully exhausted, the sensor light ceases to illuminate.
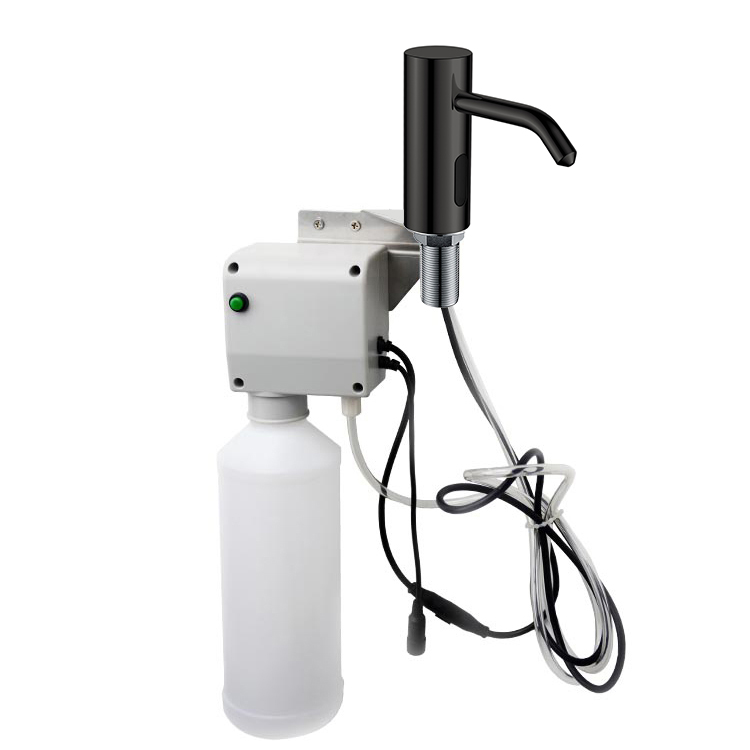
InstallationInstall the Spout: Attach the spout to the sink/basin, ensuring that the dispensing cable and sensor cable are threaded through the corresponding hole in the sink/basin. Secure the Spout to the Sink/Basin: Fasten the metal back nut onto the thread of the spout until it reaches the underside of the sink/basin. Use a suitable spanner to tighten the back nut securely. Install Wall Brackets: Place the brackets onto the wall surface and mark the positions of the fixing holes. Remove the brackets and drill appropriate holes for the supplied wall plugs.
Important note:
Before drilling, ensure there are no concealed electrical wires, cables, or water supply pipes using an electrical detector. If using power tools, remember to wear eye protection and unplug equipment after use. Fit the wall plugs and position the brackets, securing them with the provided screws. Attach Pump to Bottle: Ensure that the dispenser tube is inside the bottle and firmly push the pump down onto the bottle until you hear a distinct 'click' sound. To remove the pump from the bottle, press the release button on the side of the pump and pull it out. Connect Sensor Cable and Dispenser Cable: Join the sensor cable from the spout to the sensor cable on the pump. Push the two connections together and tighten the connecting ring to secure them. Connect the dispensing cable from the spout to the top connection on the pump. Push the threaded connection of the dispensing cable into the pump connection and tighten the nut securely. Use a suitable spanner if necessary. Place Pump into Bracket: The pump has a cut-out section where the wall bracket slots in. Connect Power Supply Cable: Before commencing any electrical work, ensure that the power supply is isolated. Wire the electrical power cable into a switched fused spur off the ring main. Connect the blue wire to the neutral connection and the brown wire to the live connection. Note: The power lead must be permanently connected to the fixed wiring of the mains supply using the factory-supplied power cable. Plug the power cable into the pump's power cable. Insert Batteries: Loosen the screw in the top of the battery cover to remove it. Insert four batteries into the battery box, ensuring correct orientation. Replace the battery box cover and tighten the screw. Insert the battery box into the holder and push the holder into the battery box wall bracket.
Commissioning SequenceBefore utilizing the soap dispenser for the initial time, it is essential to follow these steps:
- Fill the bottle capacity with soap.
- Identify the dispense button located on the side of the pump. Press and maintain the button until soap emerges from the spout. This action guarantees that the dispenser tube and cable are completely filled with soap.
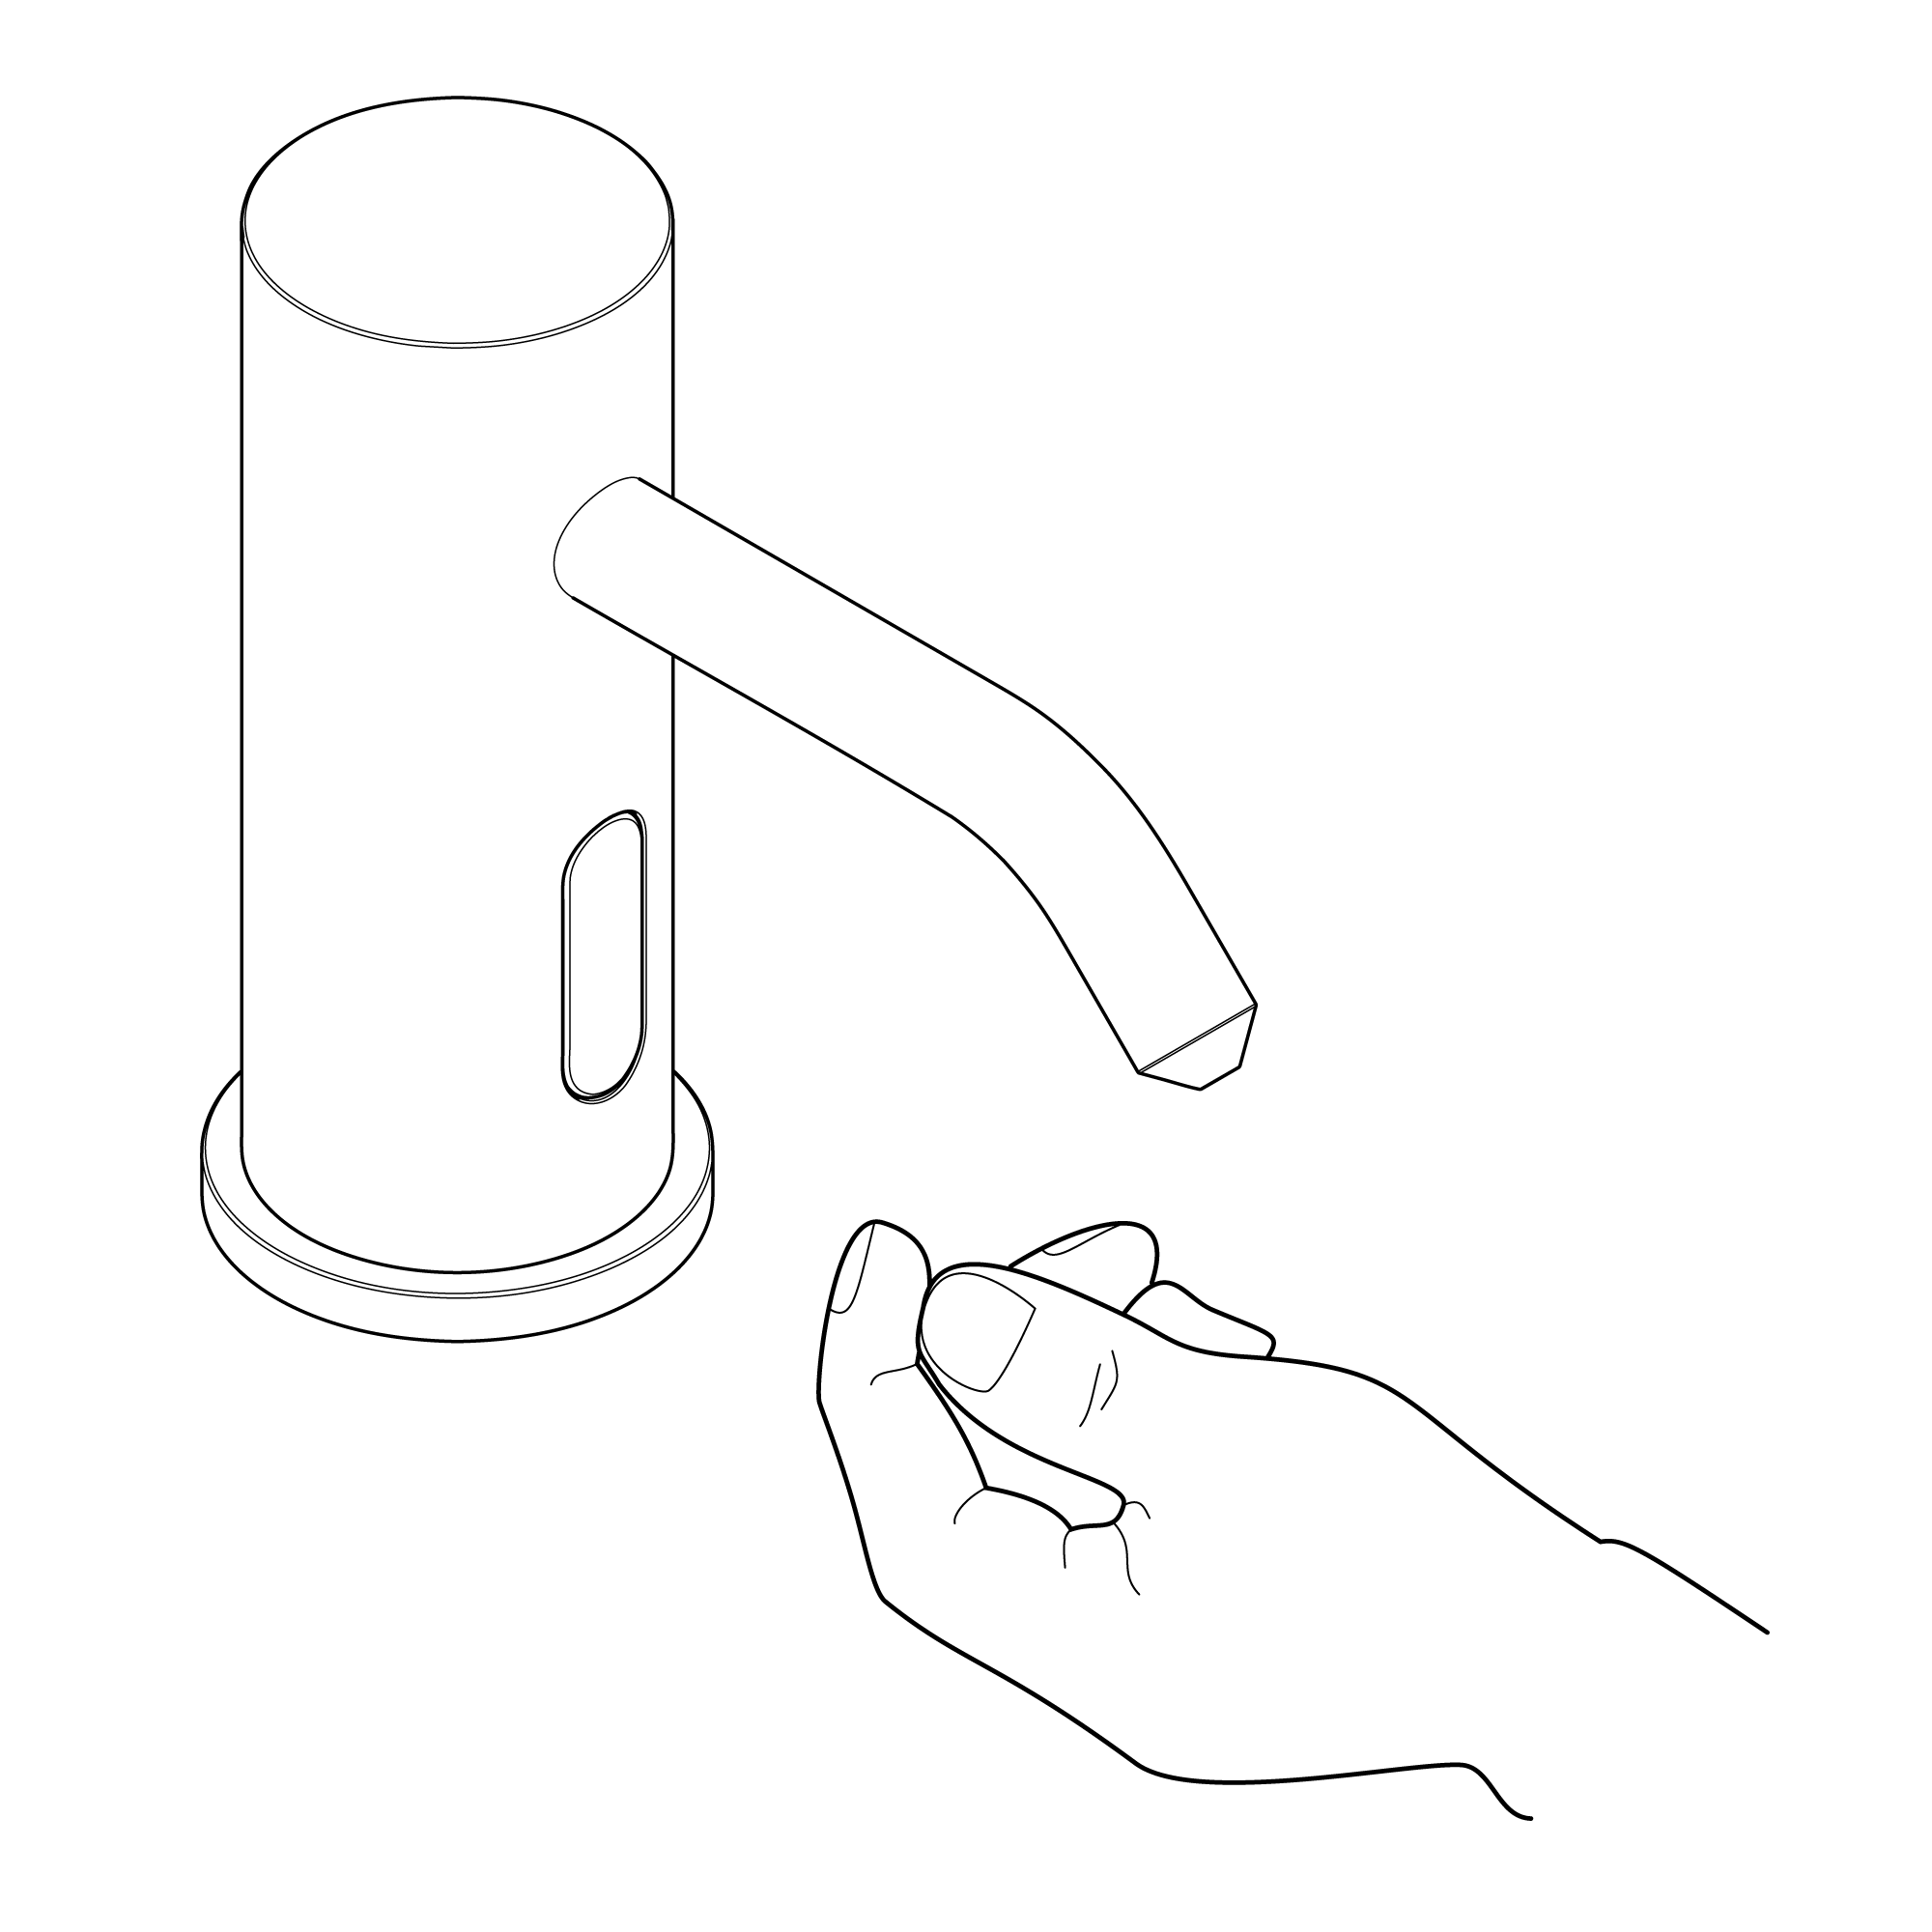
OperationTo operate the Automatic Soap Dispenser:
- Position your hands beneath the spout within its sensing range.
- Upon detecting the user's hands, the dispenser will release a small amount of soap.
Specifications:
No. | Product description | Automatic Foam Soap Dispenser | 1 | Power supply | DC: 6V (4 x AA alkaline batteries) AC: 220V-240V/50Hz or AC110V/60Hz | 2 | Power consumption | Static ≤ 0.3mW; Active ≤ 3W | 3 | Battery life | |
|
|